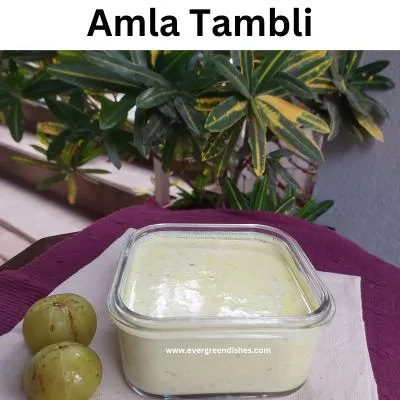
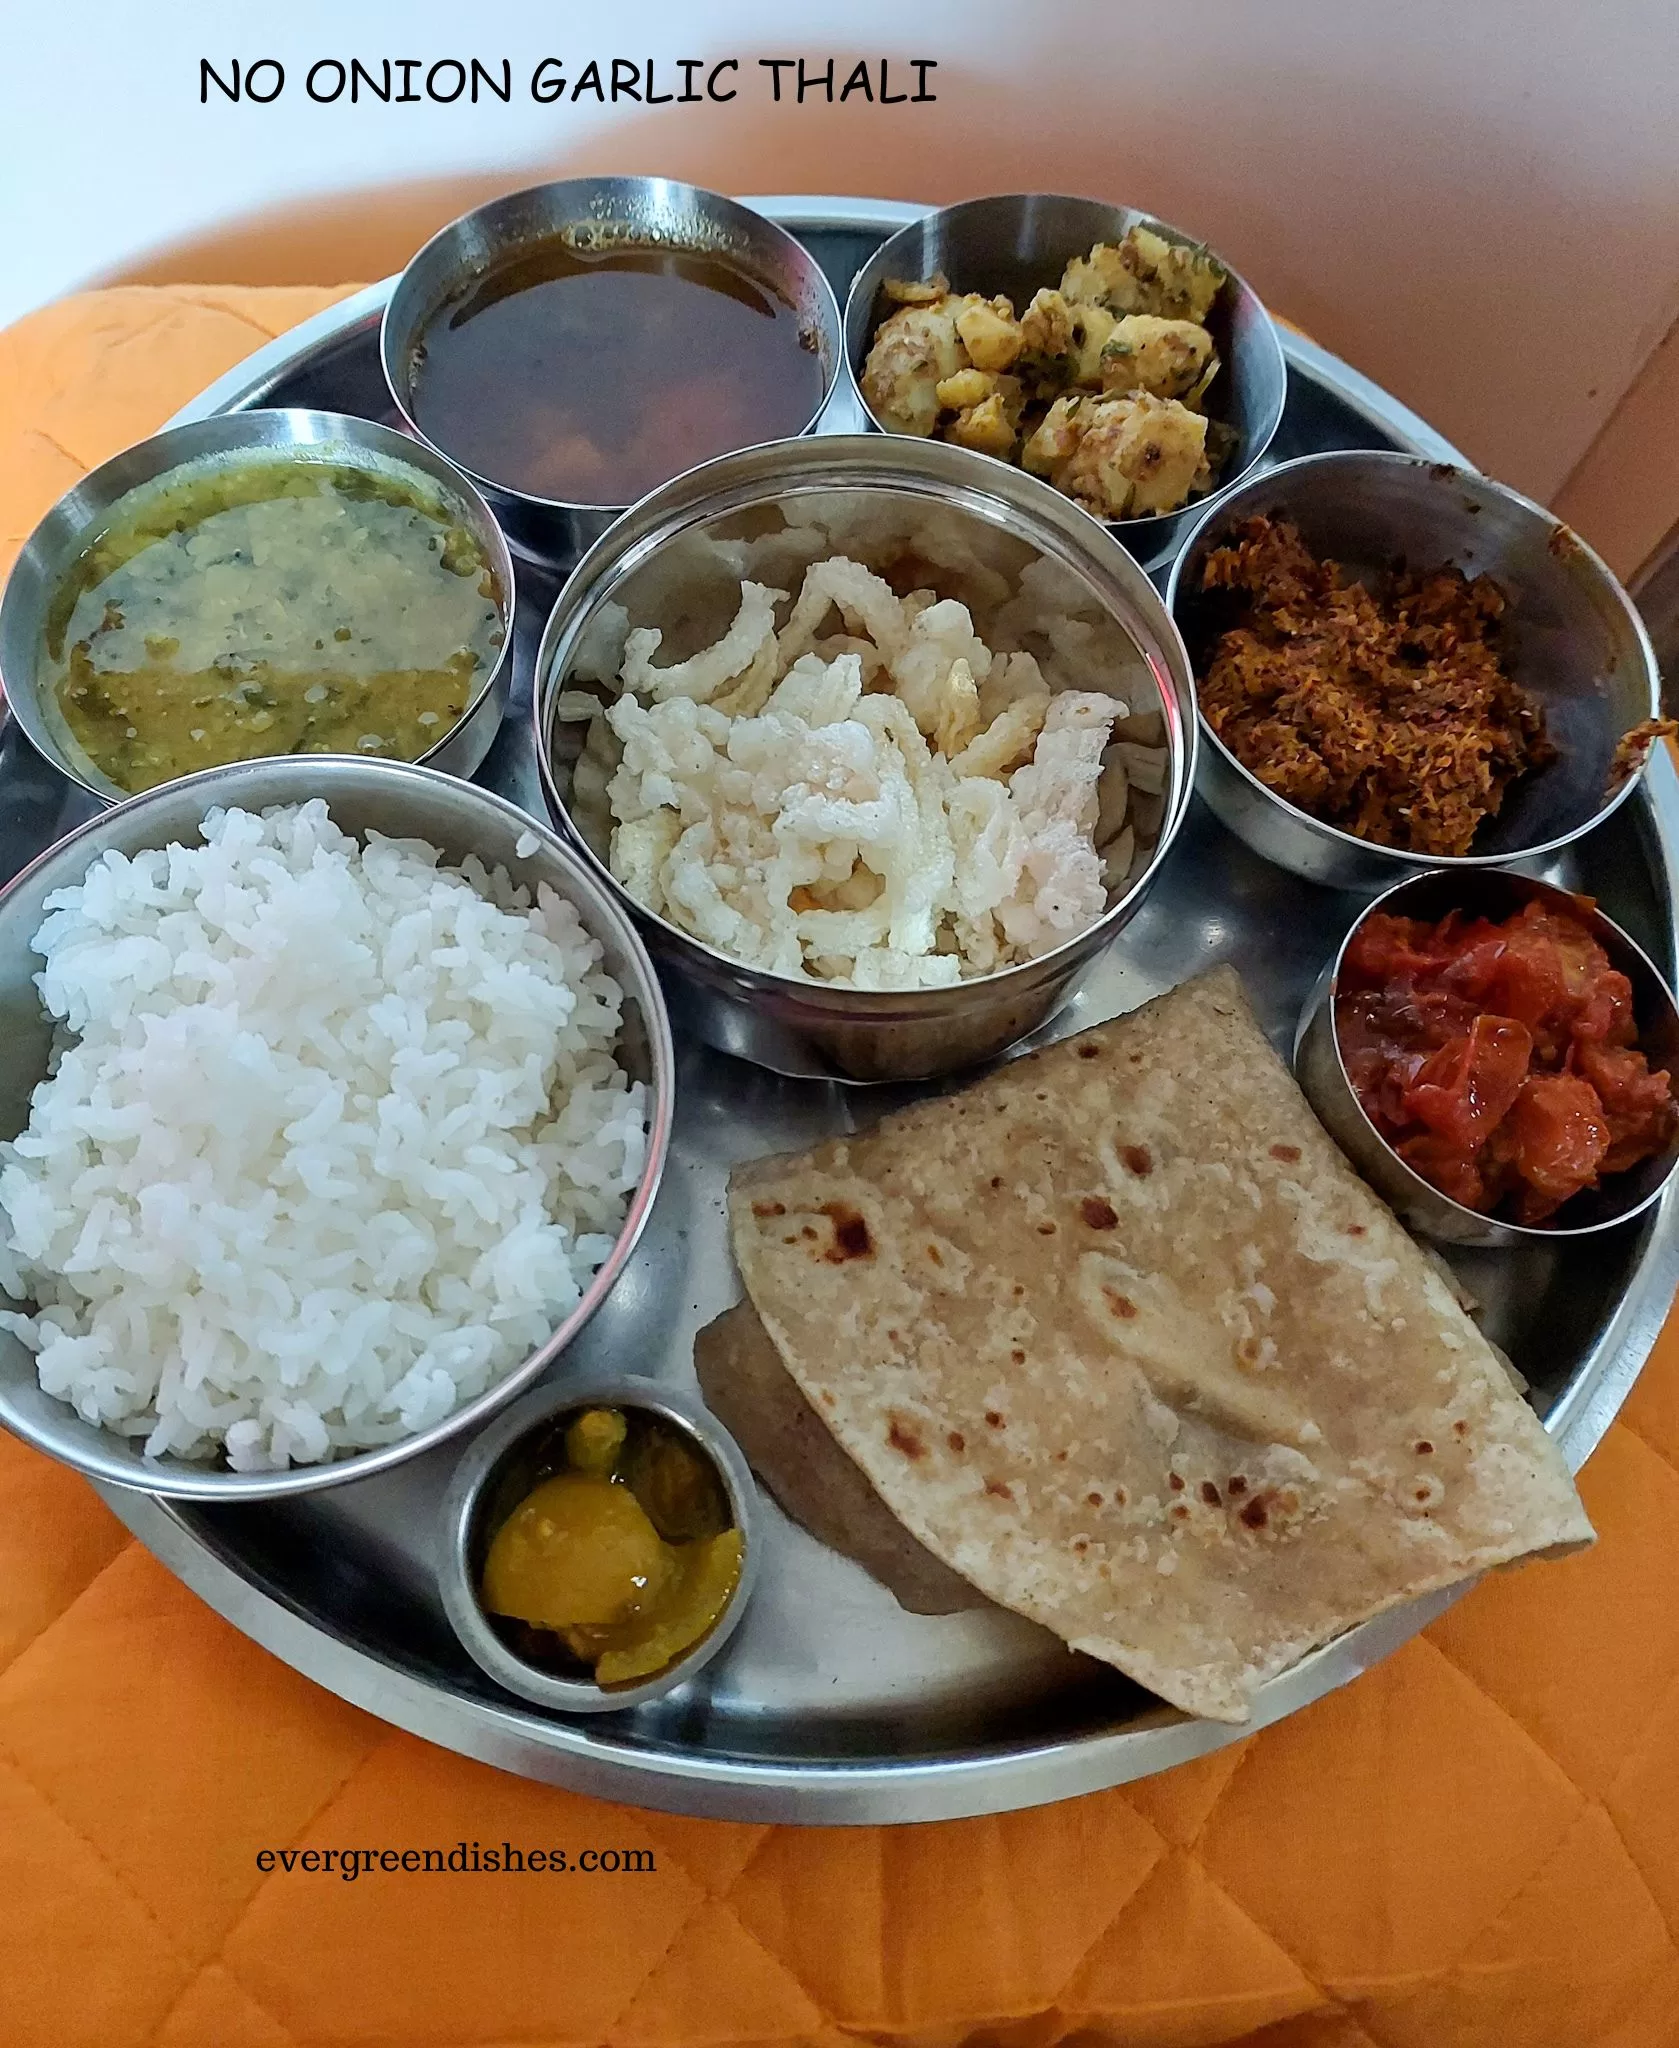
Amla Tambli is a tasty, healthy dish from South Canara. It pairs well with hot, steamed rice.
Amla or the Indian gooseberry is a fruit native to South Asia. It is widely used in Ayurvedic medicine. The botanical name of Amla is Phyllanthus emblica. It is a rich source of Vitamin C. It also contains anti-oxidants and other essential nutrients as iron, calcium and fiber.
Amla is generally round in shape and greenish yellow in colour. It is usually available during months of December and January. It is used to make various kind of dishes as amla pickle, amla murabba, amla rasam, amla tambuli and amla chitranna. Sadly, I have not posted any amla recipes on the blog. So, here is to new beginnings.
Benefits of Amla :
- Boosts immunity : Being a good source of Vitamin C, one can include it to get the nutrients and anti-oxidants. The anti-oxidants helps in replenishing the cells and fights against the diseases.
- Aids in digestion: The dietary fibre helps in preventing constipation.
- Good for the heart : The amla extracts are found to be ideal to lower cholesterol and triglycerides. It also helps to reduce the blood pressure.
- Good for the kidneys: Studies have shown that it is good for the kidneys.
- Ideal for skin health : The high concentration of vitamin C promotes the texture and elasticity of the skin.
- Good for hair care : Amla is often used in hair care products.
Side effects :
I am not a health worker or a doctor. Please use any suggested food ideas as per your health conditions. Although, amla is a good source of Vitamin C, it is suggested to be used in moderation. Excess use may cause varied kinds of problems. The high fibre content may cause bloating and diarrhoea in some individuals.
It can affect the blood sugar levels also. People with diabetes should be careful about using it.

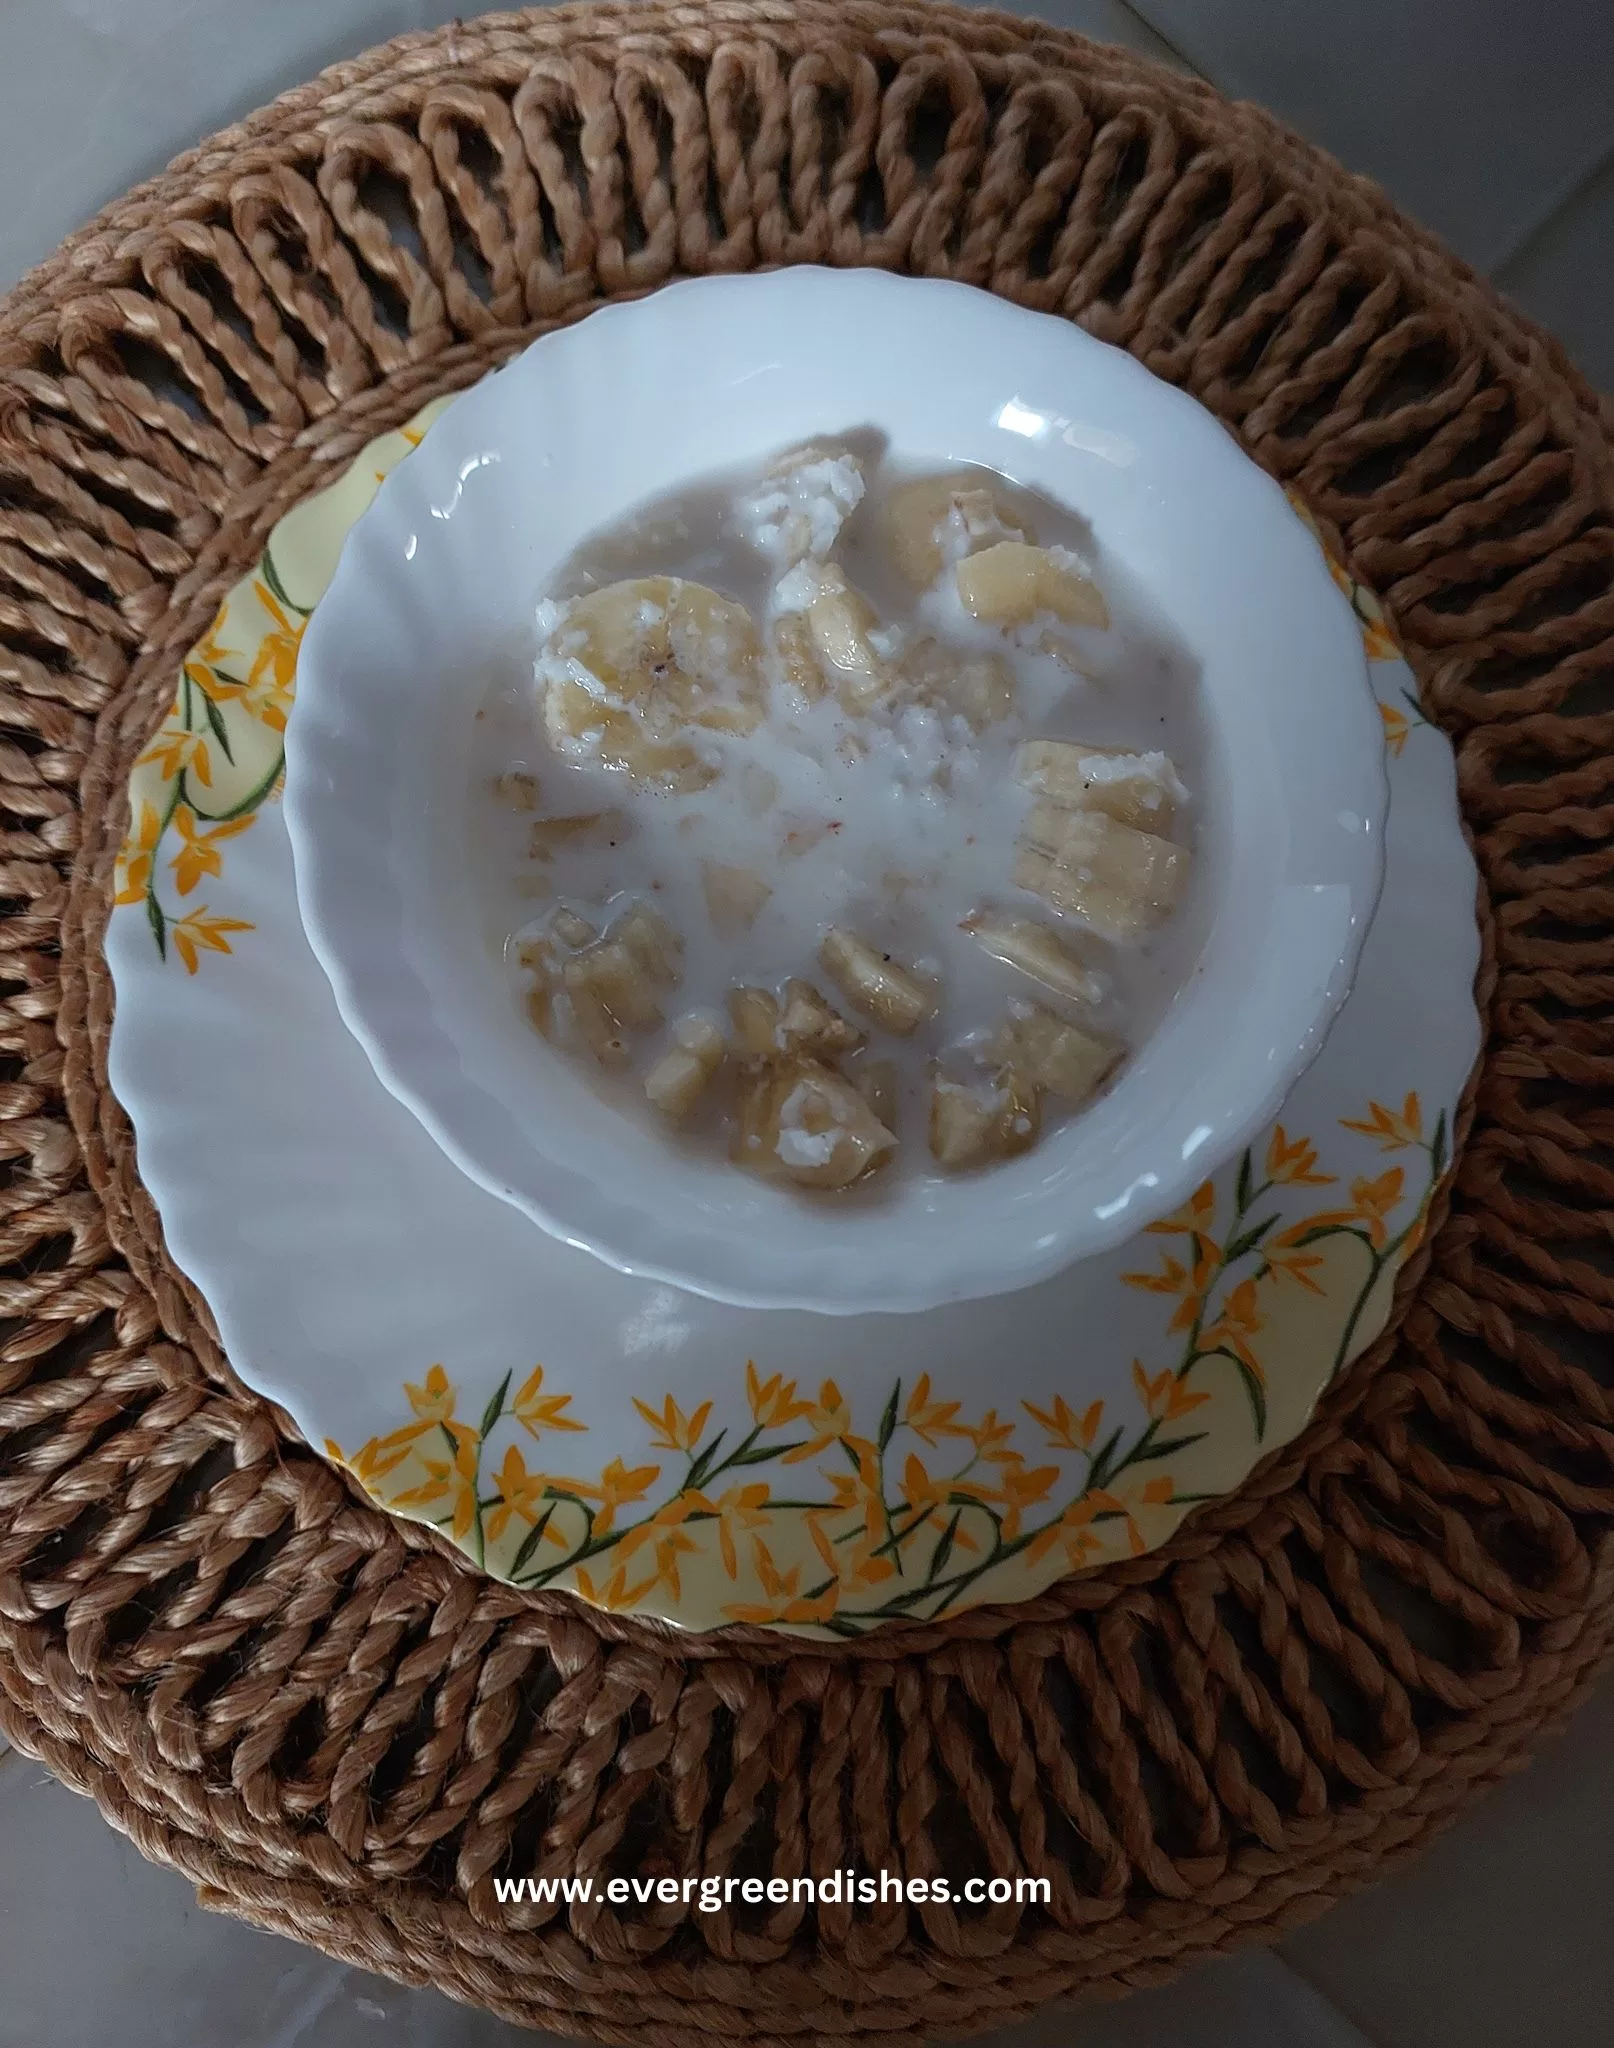
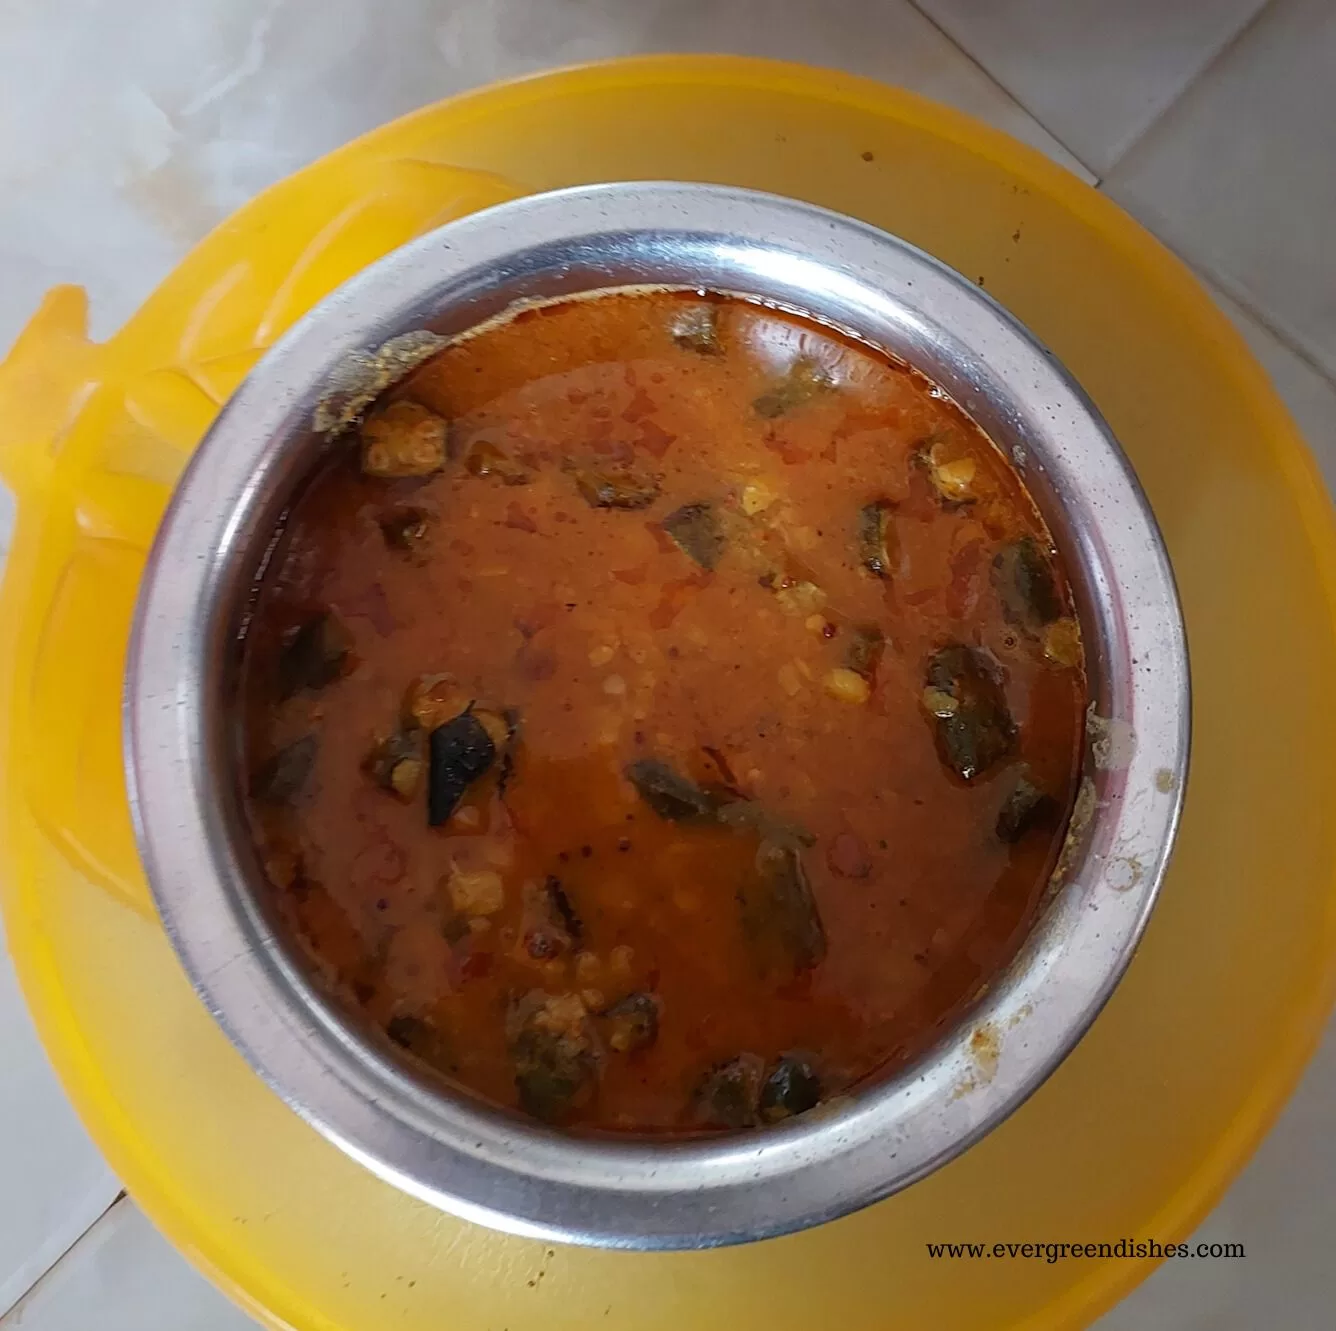
Amla Tambli
Amla Tambli is an easy to make, tangy dish ideal to serve with hot, steamed rice. It is a good way to include amla in our diet. Usually, the round shaped known as bettada nellikayi is used in cooking.
Amla pickle is often made in made home. Here is an instant amla pickle by my co-blogger Seema.
Why should you make amla tambli ?
Amla tambli is an easy to make dish. It is ready in ten minutes. It is ideal to serve with hot steamed rice.
Can it be stored for a couple of days ?
No. I suggest to make it in a small quantity and consume it.
Can I use other kind of oil?
Coconut oil lends a good taste but feel free to use any neutral cooking oil
Can I make it spicy ?
You my add an extra chilli if you need.
Can I use sour curd ?
No, use fresh curd to make tambli.
Amla Tambli
Ingredients
Method
- Grind the ingredients under the section,”To be made into a paste”. Put curd and blend it again. Remove it in a bowl.
- Add some water to it. Put salt.
- Make seasoning with coconut oil. Add mustard seeds. As it splutters, put a few curry leaves, asafoetida and turmeric powder. Pour it over the prepared dish. Amla Tambli is ready to serve.
Notes
Use fresh curd.
You may adjust the quantity of green chilly as per the need.
If you ever make Amla Tambli in your kitchen, take a picture and share on Instagram by tagging @foodiejayashree. You can also tag me on facebook. Subscribe to get all updates in your inbox and an e-book of handyhints for free. Until next time, happy cooking !
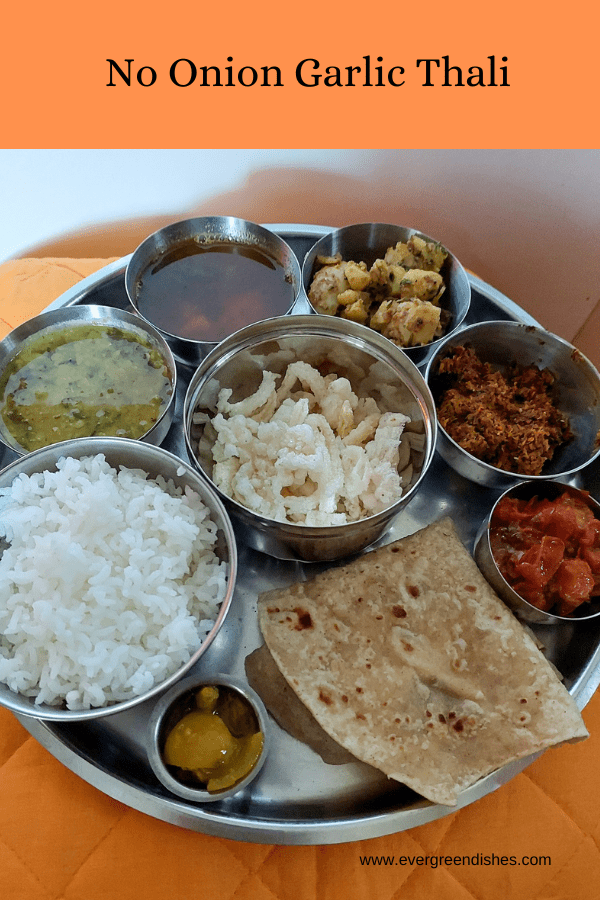
Pin it for later :


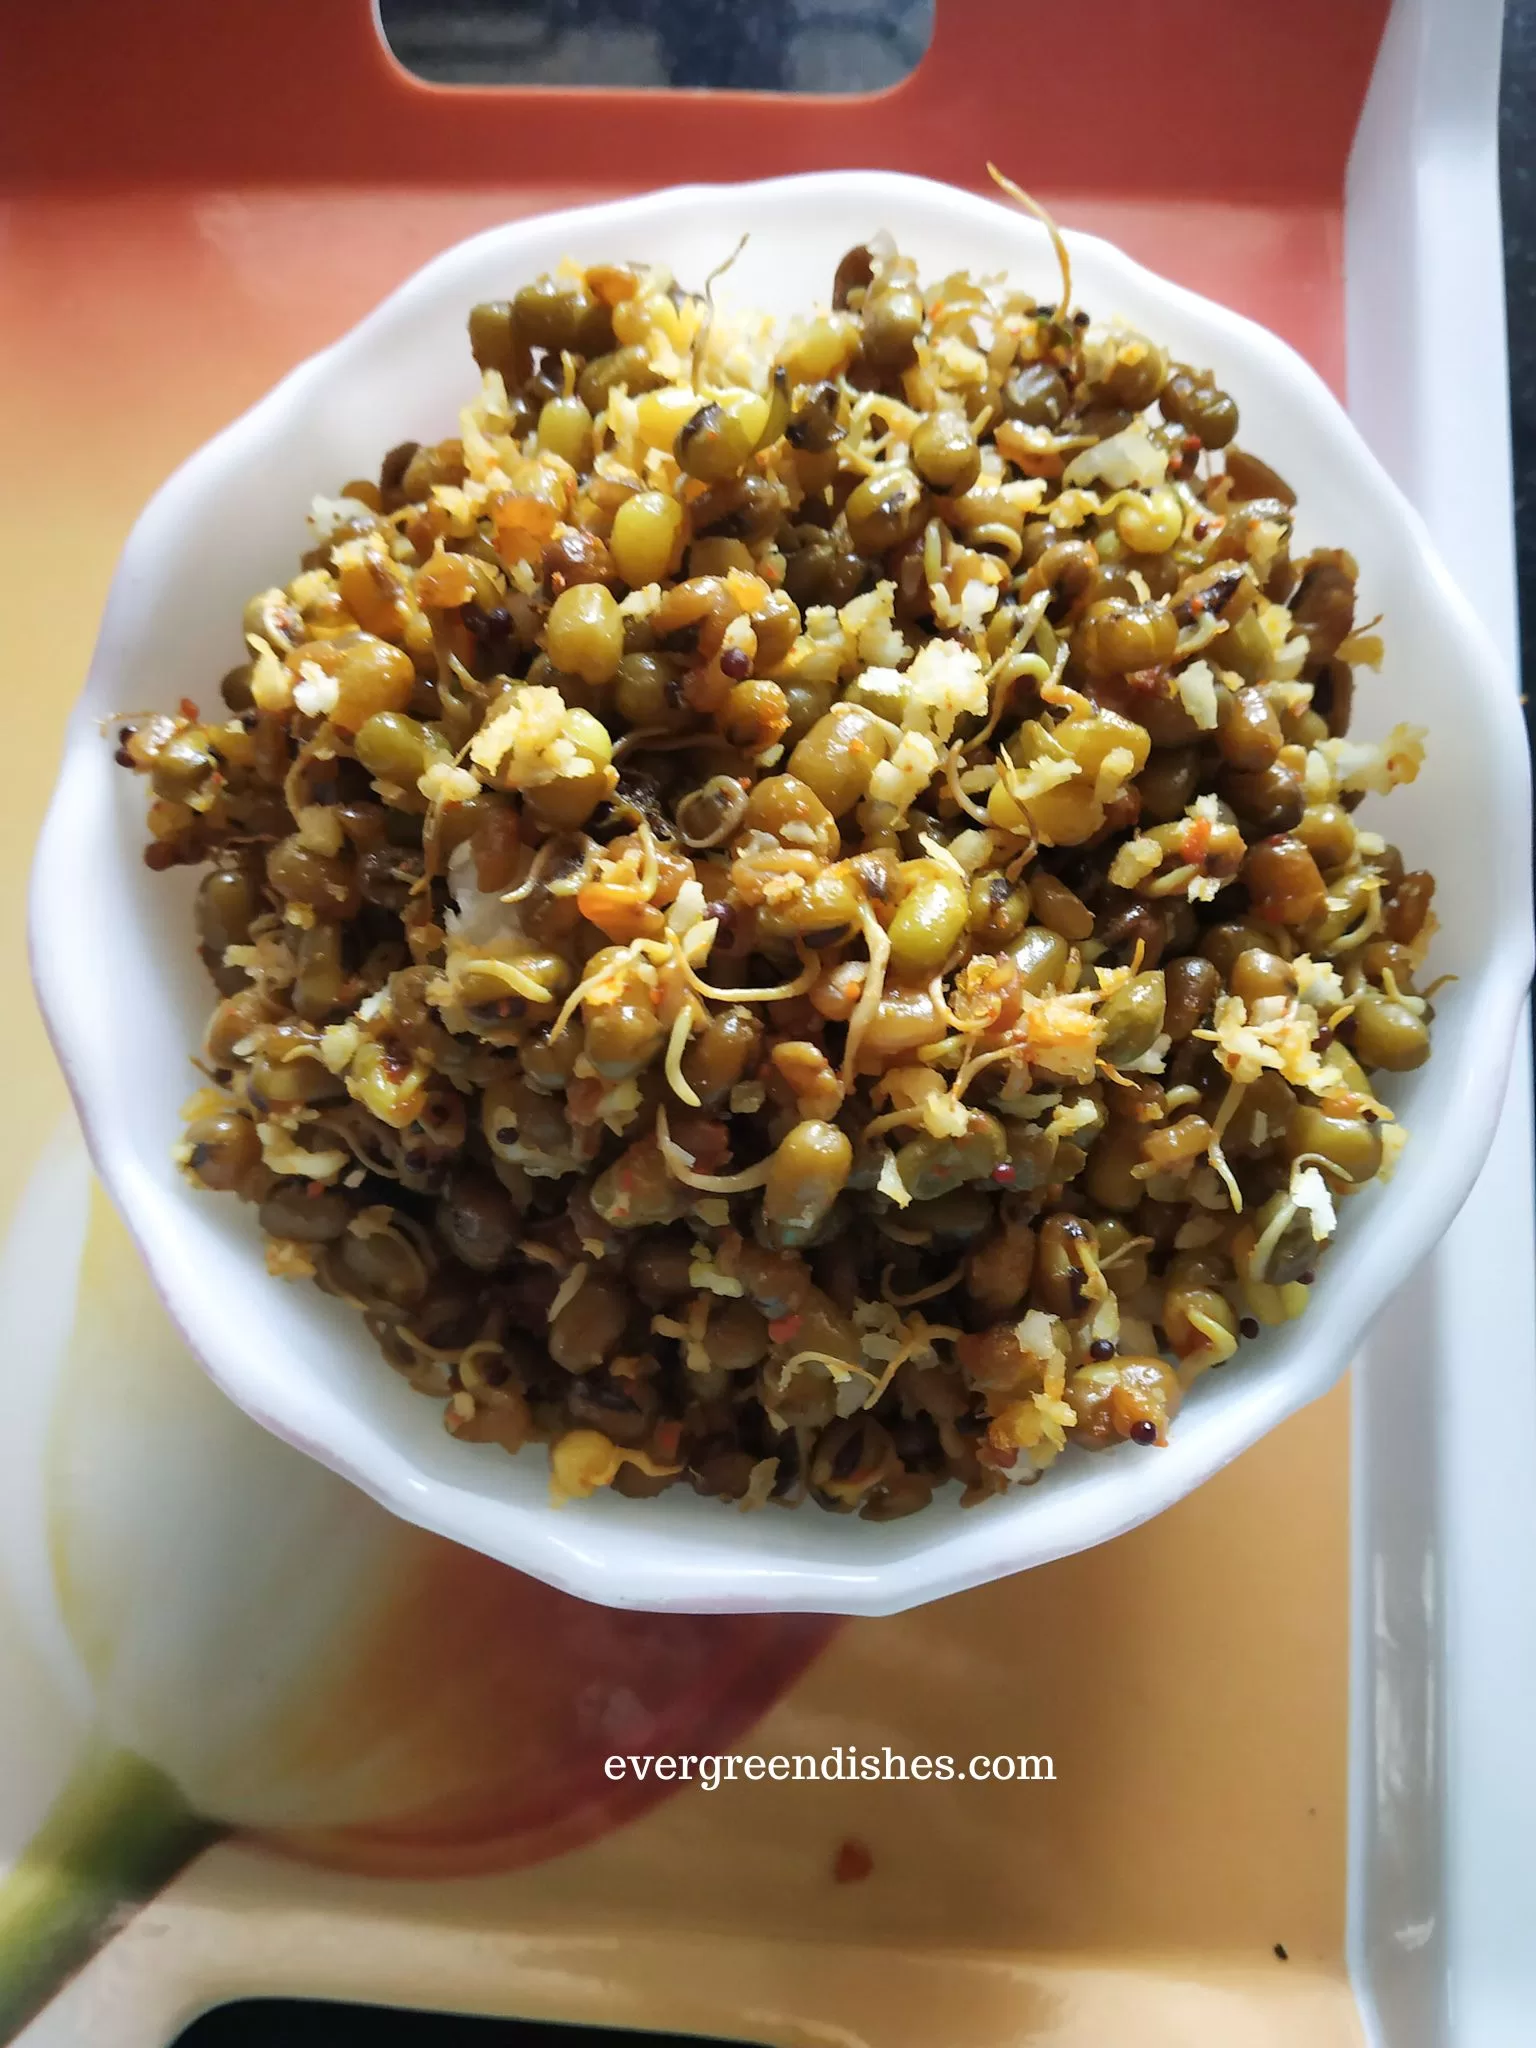

 If you make Sprouted Moong Methi Stir Fry, take a picture and share it by tagging @foodiejayashree on Instagram and @evergreendishes on Facebook. Subscribe to get all updates and an e-book for free.