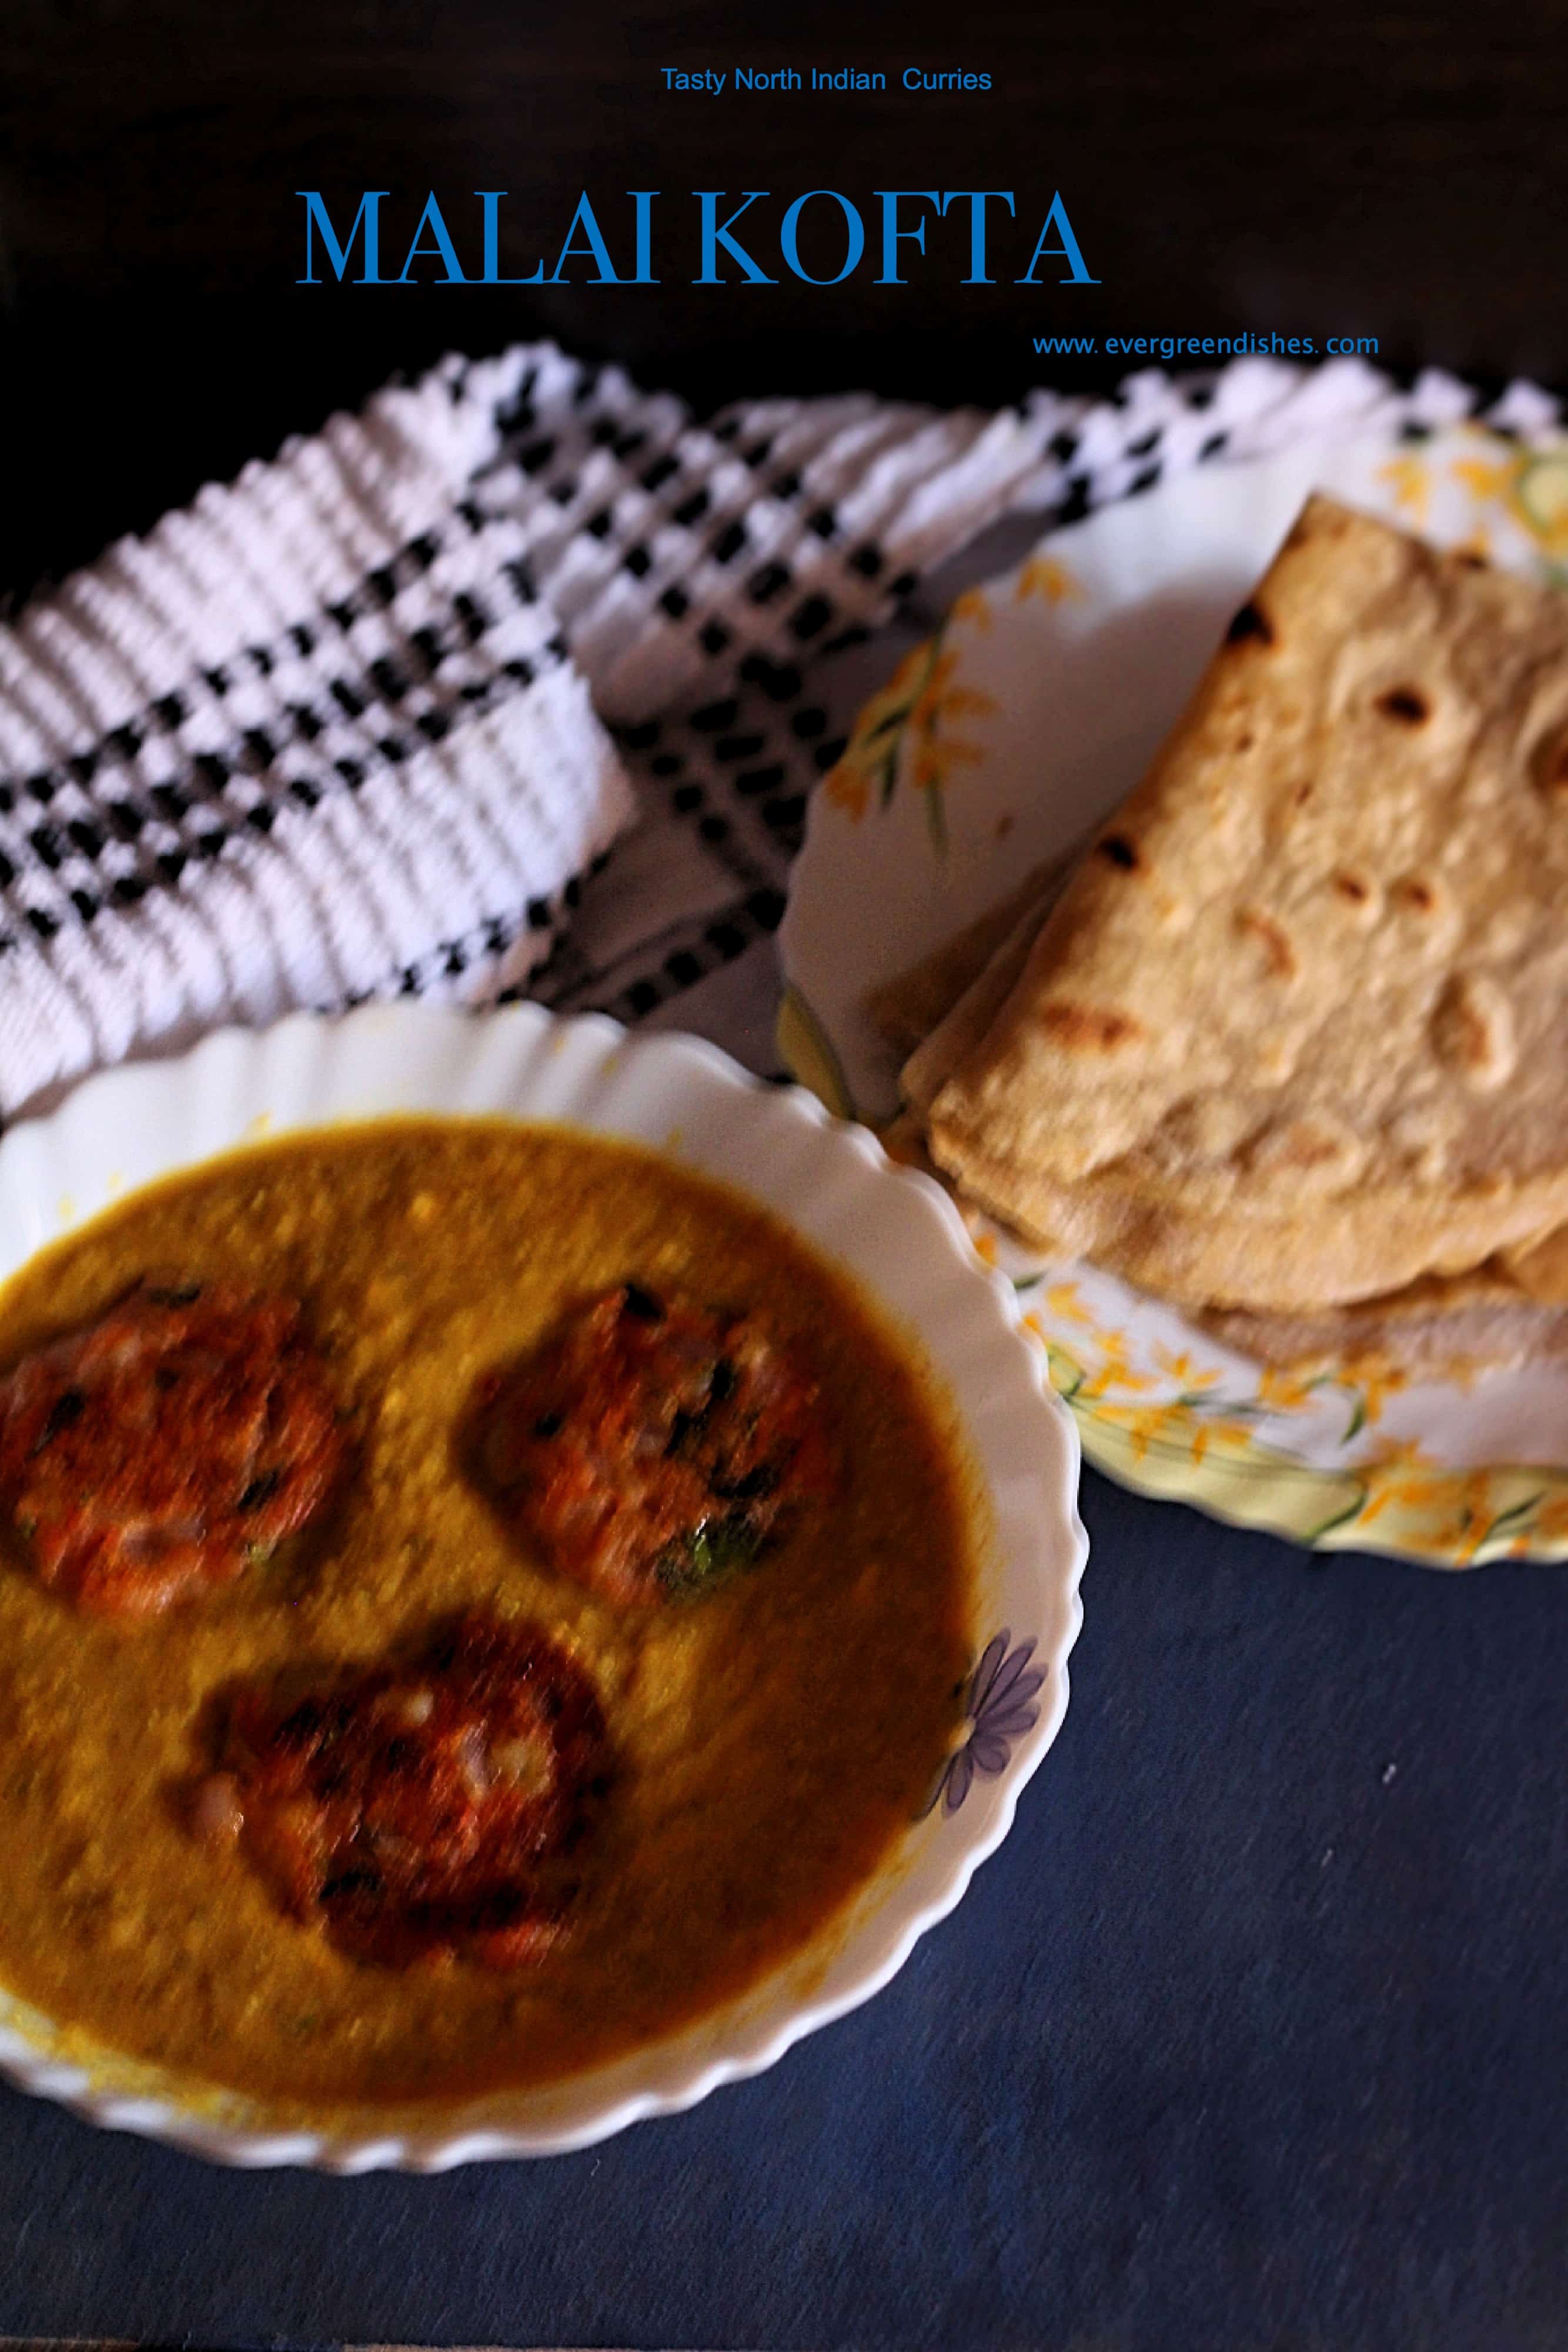
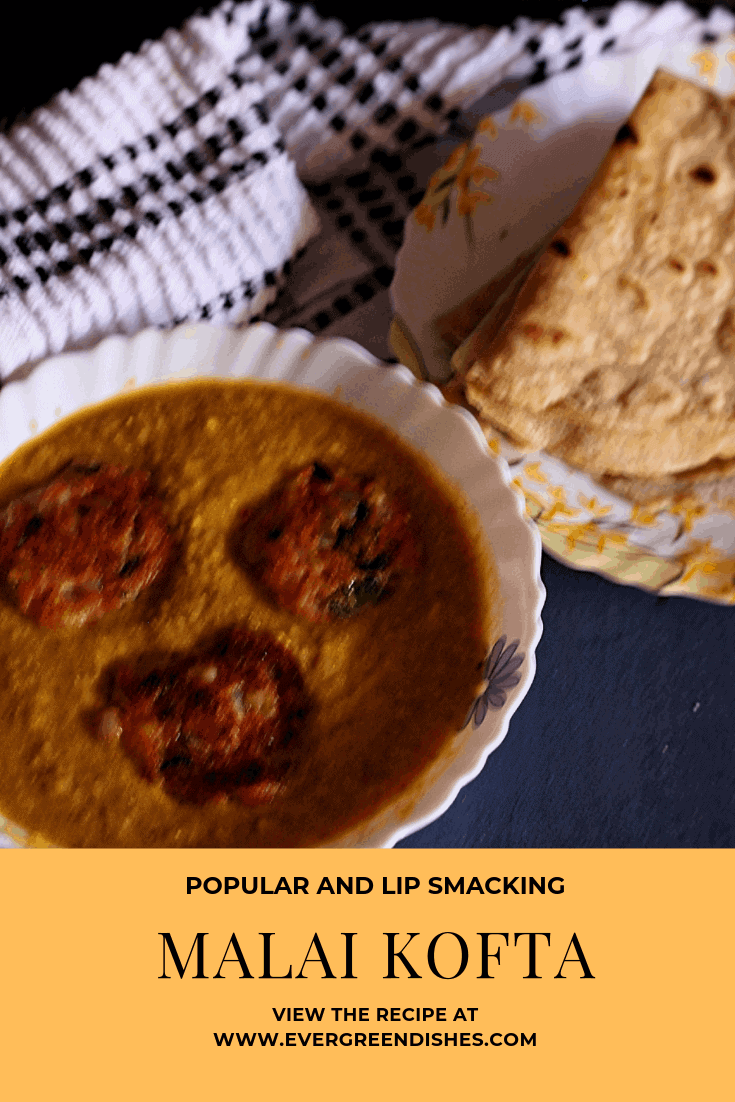
Malai Kofta is a tasty and popular North Indian side dish. Koftas are small balls made by deep or shallow frying. They are immersed in the gravy made with malai (fresh cream).
The koftas and gravy are made of different kinds as using vegetables, paneer or potatoes. Here is one kind which is immensely liked by all at home.
What is Malai Kofta ?
Malai is the Hindi word and literally translates to cream. Kofta are dumplings made with potato or other veggies mixed with spices and bread crumbs. They may be deep or shallow fried. The gravy dunked with koftas makes a tasty accompaniment.
Let’s get to the recipe of Malai Kofta:
INGREDIENTS :
FOR THE GRAVY :
- onion 1
- tomato 2
- ginger 1inch
- coriander seed1tsp
- cumin 1tsp
- green chilly 2
- almonds 8
- poppy seeds 1tsp
- turmeric powder 1/2 tsp
- chilly powder 1 tsp
- salt to taste
- fresh cream 1/2 cup
FOR THE KOFTAS:
- potatoes boiled 4
- red chilli powder 1tsp
- coriander leaves 1/2 bowl
- salt to taste
- onion 1
- maida 1tbsp

METHOD:
- Remove the skin of the tomato by making an incision and putting them in hot water.
- Cut onions .
- Put almonds in hot water in another bowl to remove the skin.
- Make a puree of tomato and onions.
- Grind ginger ,dhania, cumin,almonds and poppy seeds to a fine paste.Keep aside.
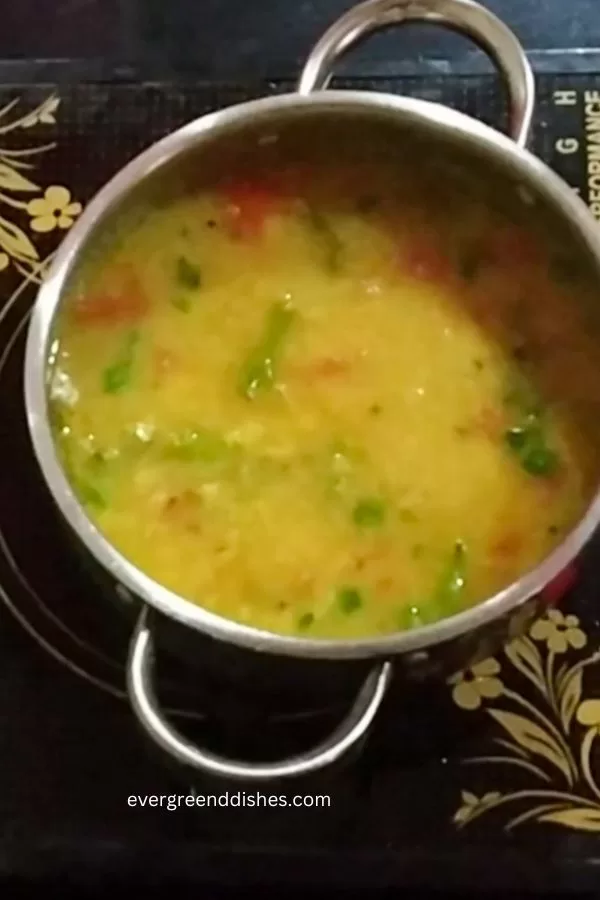
To make the gravy :
Take oil in a kadai . Add the onion and tomato puree and fry till oil seperates. Add turmeric powder and chilli powder and stir again for sometime. Now,add the ground paste and required quantity of water. Add salt. Whisk the cream well and mix into it. Let boil for sometime.
TO MAKE THE KOFTAS :
Koftas are usually deep fried. But here,I am shallow frying them. You can deep fry them, they are more tastier. But, keeping the health factor in mind, I have been shallow frying and it is equally good.
Mix all the ingredients together. Make it small balls and flatten between palms. Heat a skillet and shallow fry.
TO SERVE :
Add koftas just before serving. Tastes good with nan,roti, kulcha or chapati.
Malai Kofta
Ingredients
Method
- Remove the skin of the tomato by making an incision and putting them in hot water.
- Cut onions .
- Put almonds in hot water in another bowl to remove the skin.
- Make a puree of tomato and onions.
- Grind ginger ,dhania, cumin,almonds and poppy seeds to a fine paste.Keep aside.
- Take oil in a kadai . Add the onion and tomato puree and fry till oil seperates. Add turmeric powder and chilli powder and stir again for sometime. Now,add the ground paste and required quantity of water. Add salt. Whisk the cream well and mix into it. Let boil for sometime.
- Koftas are usually deep fried. But here,I am shallow frying them. You can deep fry them, they are more tastier. But, keeping the health factor in mind, I have been shallow frying and it is equally good.
- Mix all the ingredients together. Make it small balls and flatten between palms. Heat a skillet and shallow fry.
- Add koftas just before serving. Tastes good with nan,roti, kulcha or chapati.
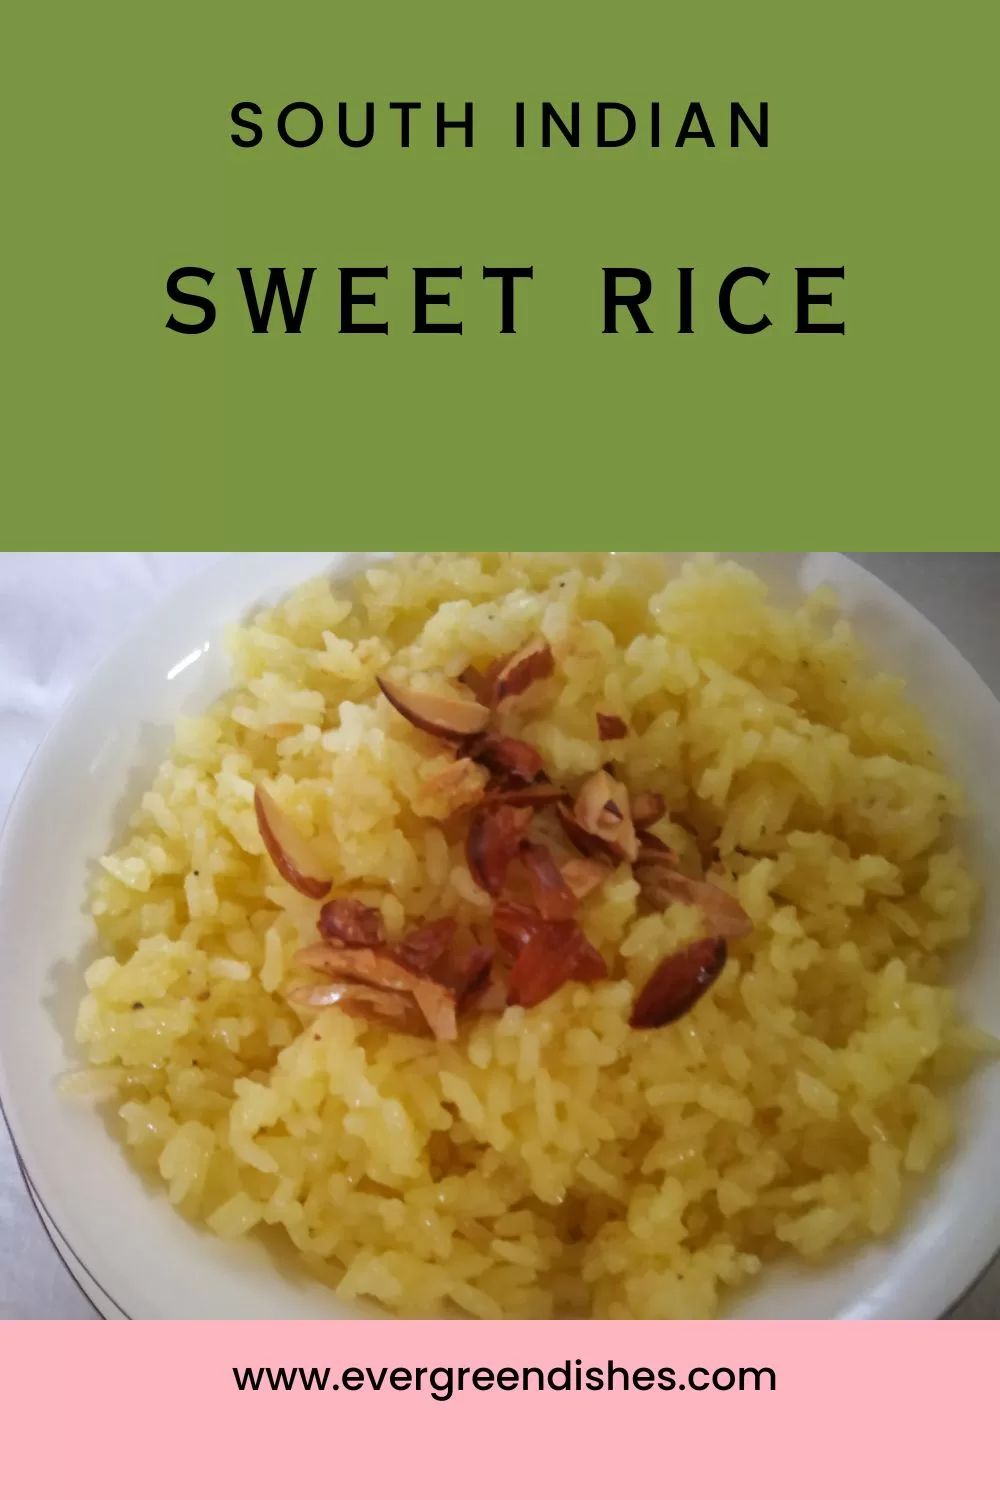
Pin it for later:
The other recipes of blog hop can be found here:
Anu Nagaraja Easy Bites Online
Piyali Shekhar Mutha My Tryst With Food And Travel
Ritu Ahuja Scrumptious Indian Recipes
This is a post which I had written four year back, now I am redoing it with better quality pictures and sending it to the blog hop Foodies_Redoing Old Post 2

Subscribe to get an e-book for free !
If you like this post, do leave a comment below. If you ever recreate this dish, take a picture and tag @evergreendishes on Facebook or @foodiejayashree on Instagram
Subscribe to get all updates and a book of handyhints for free !