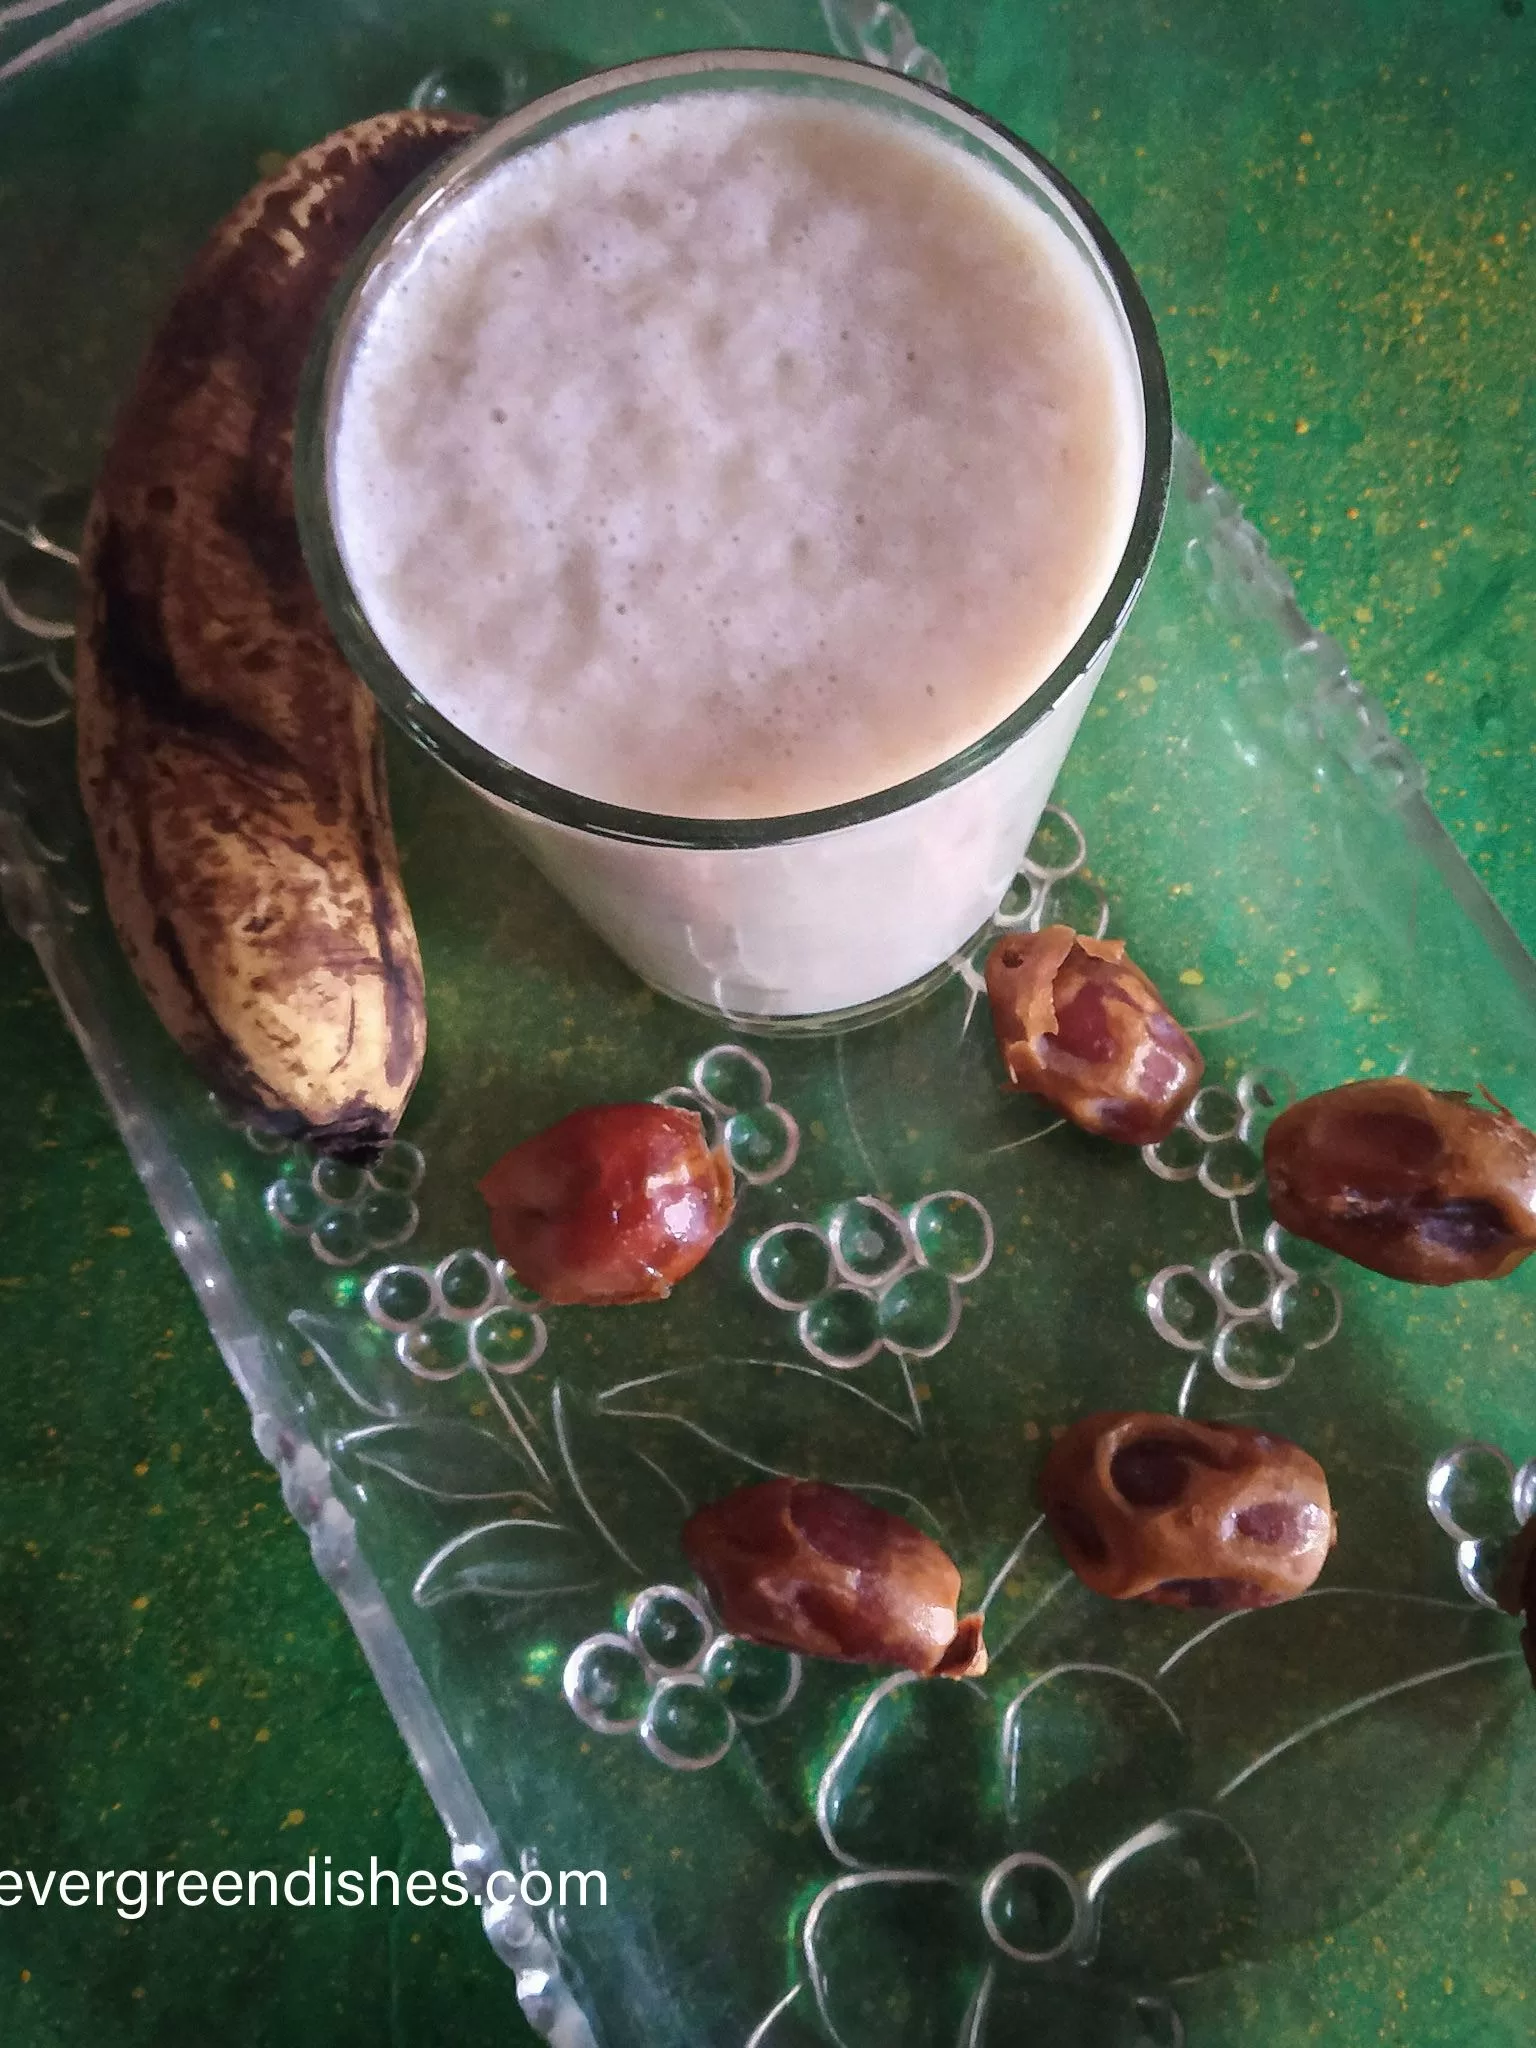
Banana Date MilkShake is a tasty, healthy drink. It is ideal for people of all ages.
Banana Date Milkshake is a tasty and healthy drink. Dates are natural sweeteners and lend a good taste to it. Banana is a store house of energy and available all round the year, one need to serve more of this wonderful fruit . Here is a different kind of milkshake, a good way to use the ripe banana. Dates is a natural sweetener and good source of calcium and magnesium.
Ingredients:
2 banana
6 dates
1/2 litre milk
To Prepare :
Soak dates in warm milk in a small bowl for fifteen minutes. Blend it in a mixer, then add the bananas along with the milk and blend together. Serve chilled or with a cube of ice.
Take a tip :
Children may need a little sugar to it.
Freeze the banana for sometime, it gives a good texture to the milkshake.
Ripe banana is a rich source of nutrients. It is a good way to use them here.
Evergreendishesdev
Banana Date Milkshake
5 from 2 votes
Banana Date Milkshake is a tasty and healthy drink ideal to serve for breakfast.
Soak dates in warm milk in a small bowl for fifteen minutes. Blend it in a mixer, then add the bananas and a little milk and blend together. Serve chilled or with a cube of ice.
Notes
Children may need a little sugar to it.
Freeze the banana for sometime, it gives a good texture to the milkshake.
About the event :
An old post updated with better pictures. Sending this to Foodies_Redoing Oldpost _130. It is a fortnightly event, a group of bloggers work on an old post either by fixing the picture, text or both. Here, I have changed the pictures, the recipe remains the same.
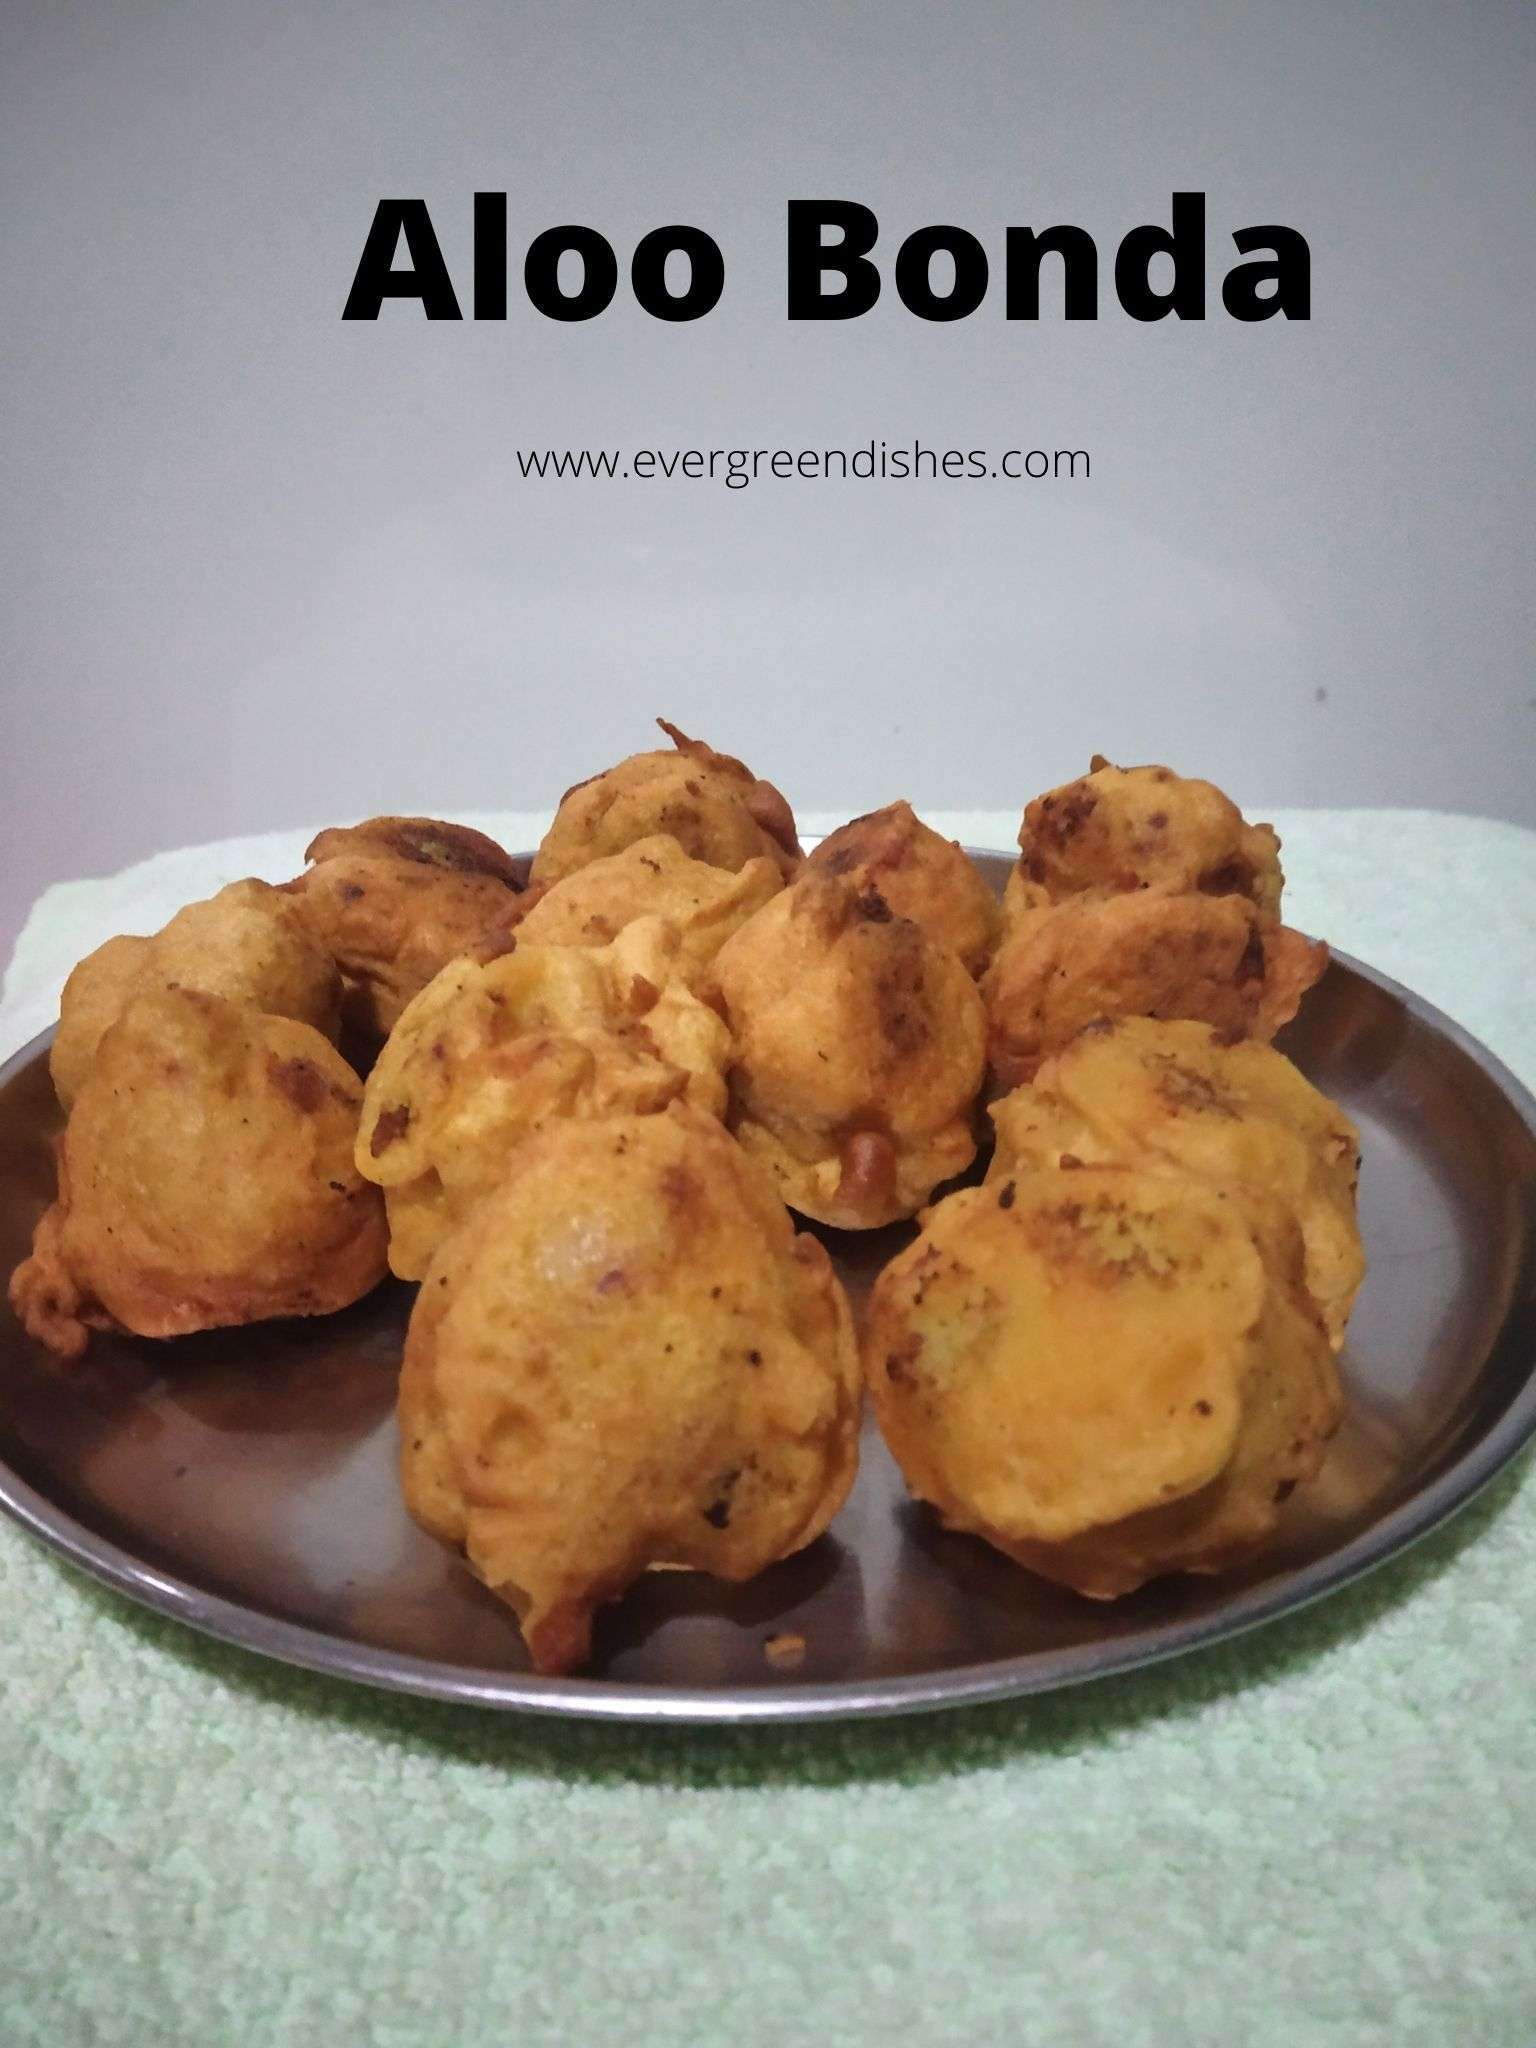
Aloo Bonda is an all time favourite snack. Potato stuffed wadas are deep fried as a dumpling in chickpea batter. It makes a good snack to serve with tea.
It makes an excellent accompaniment for lunch or dinner or a good snack over a cup of coffee.
Aloo Bonda is a popular snack from Inndian cuisine. Every region has its own version of it. In South India, it is usually served as a snack. But, the usage is not limited. It is often served with breakfast menu or as an accompaniment with lunch during functions and ceremonies. As an evening snack, it tastes good with a cup of masala chai.
The making of Aloo Bonda is in four stages: 1) Boiling of potatoes 2) Preparing the stuffing 3) Making of batter 4) Deep frying
Boiling of potatoes : The potatoes should be properly boiled and cooled before using. You can either boil them in the pressure cooker or directly in a pan.
Preparing the stuffing: Here I have used onion, adding of onion is optional. You may avoid using it if you are preparing it on festive days. Garlic may be used while grinding, it is totally upto you. I have not used it.
Making the batter: The gram flour should be of a good quality. While mixing the batter, add water in small quantities. The batter should be neither too thick or thin. The batter should cover the potato balls well.
Deep frying: Put a few balls dipped in the batter at a time. Fry them on moderate flame, toss them in between. Once, they are golden in colour, remove them on a plate with tissue paper.
aloo bonda
Aloo Bonda Recipe / Potato bonda/ Batata Wada
Ingredients for the stuffing :
boiled potatoes 4
green chillies 5
onion finely cut 1
ginger 1/2 inch
finely cut coriander
salt
oil
seasoning
Mint leaves may be added,but some do not like the taste of it.
Ingredients for the batter:
gram flour 1 bowl
rice flour 2 tsp
salt
chilli powder
cumin 1/4 tsp
Method:
Mix the ingredients of the batter into a semi thick consistency.
Mash the potatoes in a bowl. Grind the coriander, chilli and ginger to a paste and keep aside.
Take oil in a kadai, make the seasoning and saute the onions, then add the paste and salt. Mix the mashed potatoes to it and keep aside. Let it cool.
Take oil in a kadai. Make small balls of the stuffing . Take a ball, dip into the batter and put it into the oil. Repeat for four to five balls. Deep fry till golden brown in colour.
Drain on a kitchen paper and serve it with tomato ketchup or green chutney.
Evergreendishesdev
Aloo Bonda / Potato Bonda
5 from 3 votes
Aloo Bonda is a popular snack from Indian cuisine. It is ideal to serve as a snack or accompaniment with any meal.
Mint leaves may be addedbut some do not like the taste of it.
Ingredients for the batter:
1bowlgram flour
2teaspoonrice flour
salt
chilli powder
1/4teaspoon cumin
Equipment
1 wide bowl
1 frying pan
1 slotted ladle
1 big plate
1 small plate
Method
Mix the ingredients of the batter into a semi thick consistency.
Mash the potatoes in a bowl. Grind the coriander, chilli and ginger to a paste and keep aside.
Take oil in a kadai, make the seasoning and saute the onions, then add the paste and salt. Mix the mashed potatoes to it and keep aside. Let it cool.
Take oil in a kadai. Make small balls of the stuffing . Take a ball, dip into the batter and put it into the oil. Repeat for four to five balls. Deep fry till golden brown in colour.
Drain on a kitchen paper and serve it with tomato ketchup or green chutney.
Notes
Ensure the filling is cooled before frying.
Garlic may be added while grinding.
You may avoid onion if you wish.
The consistency of the batter matters most. It should neither be too thin or thick.
Ajwain can be added to the batter instead of cumin.
About the event:
This is one of the first few posts which I wrote when I started in 2014. Now, I have changed the pictures and put more text in it. Sending this to Foodies Redoing Old Posts _69. I am joining after a break for sometime.
If you ever make this recipe, do take a picture and tag @foodiejayashree on Instagram or @evergreendishes on Facebook or Twitter. I will be glad to see your creation and share it further.
Subscribe to get all updates and an e-book for free. Check out my e-books on Amazon. Happy Cooking !
In the blazing heat, nothing is more heart warming than ice creams and candys. Kulfis and fruits are always stocked in refrigerators for children. Bored with the traditional kind, I made a different version and it turned out good, since than its this royal kulfi for sometime.(more…)
( Disclosure : As an Amazon Associate, I will get a small commission for qualifying purchases without no addition cost to you.)
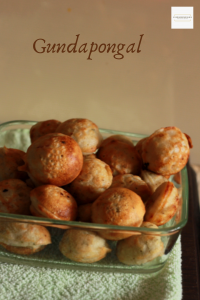
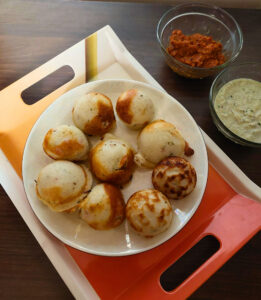
Gundapongal | Paddu | Kuzhi Paniyaram | South Indian Breakfast | Indian food | Tamilnadu | Andhra Pradesh | Karnataka
Gundapongal is a popular breakfast in South India. It is also known as paddu, guliyappa and kuzhi paniyaram. The batter is mixed with onion and other ingredients and cooked in a paddu maker, it makes a good breakfast.
Mornings are quite busy, many errands and you have to prepare breakfast and pack the lunch box. Well, we Indians love idly and dosa for breakfast. I think it is ideal to keep a box of batter in the refrigerator, it just saves some time. The chutney too can be pre-made and refrigerated.
I often have dosa batter as I can make gundapongal or uttappam the next day. The same batter can be used for all the three recipes. Serve gundapongal with coconut chutney. Crispy dosa smeared with ghee and some podi tastes good.
About the pan:
Gundapongal is made in a special pan with cavities. The number of cavities depends on the size of the pan and the cavities in-built. You can either buy a cast iron or a non-stick as per your convenience. Cooking in non-stick is easier and needs a small quantity of of oil. The cast iron pan gives a different taste, it is crispy on the outside and soft inside.
Take the required quantity of batter in a bowl. Make a paste of the listed ingredients. Put the onions, green chilly paste, salt if needed. Tear the curry leaves and throw them in it.
Take the gundapongal pan, heat it on a low flame. Smear some oil in each of the perforations. Add a spoonful of batter in each of the perforations and close it with a lid.
Let cook for sometime. Turn each of them with a spoon. Allow it to cook for sometime.
Once they are done, remove and serve hot with chutney.
Take a tip:
You can make plain paddus also.
Addition of onion is optional. You can make sans onion on festive days.
Adjust the level of spiciness.
Addition of soaked bengal gram is optional, it gives a good taste in it. It should be soaked for two hours atleast.
gundapongal
gundapongal
About the event:
The old posts are often neglected but they need to be looked up. I am sending this to Foodies_Redoing Old Post 23, a group where we every fortnightly, work on an old post and share it. This is one of the first few posts I wrote, now I have changed both the text and pictures.
Gundapongal
Gundapongal is a popular breakfast from South India. It is also known as Paddu or Kuzhi Paniyaram. Onion pieces and other ingredients are mixed in the dosa batter and cooked in a paddu pan, it is served with coconut chutney.
Take the required quantity of batter in a bowl. Make a paste of the listed ingredients. Put the onions, green chilly paste, salt if needed. Tear the curry leaves and throw them in it.
Take the gundapongal mould, heat it on a low flame. Smear some oil in each of the perforations. Add a spoonful of batter in each of the perforations and close it with a lid.
Let cook for sometime. Turn each of them with a spoon. Let cook.
Once they are done, remove and serve hot with chutney.
Notes
Addition of onion is optional.
Adjust the spiciness as per the taste required.
Pin it for later:
gundapongal
If you have liked this post, do share it with your family and friends. You can save the above image on Pinterest for further reference.
If you ever make this recipe, do take a picture and tag @foodiejayashree on Instagram or @evergreendishes on Facebook
Let’s be connected, do follow us on social media. Subscribe to get a book of handy hints for free !
( Disclosure : As an Amazon Associate, I will get a small commission for qualifying purchases without no addition cost to you.)
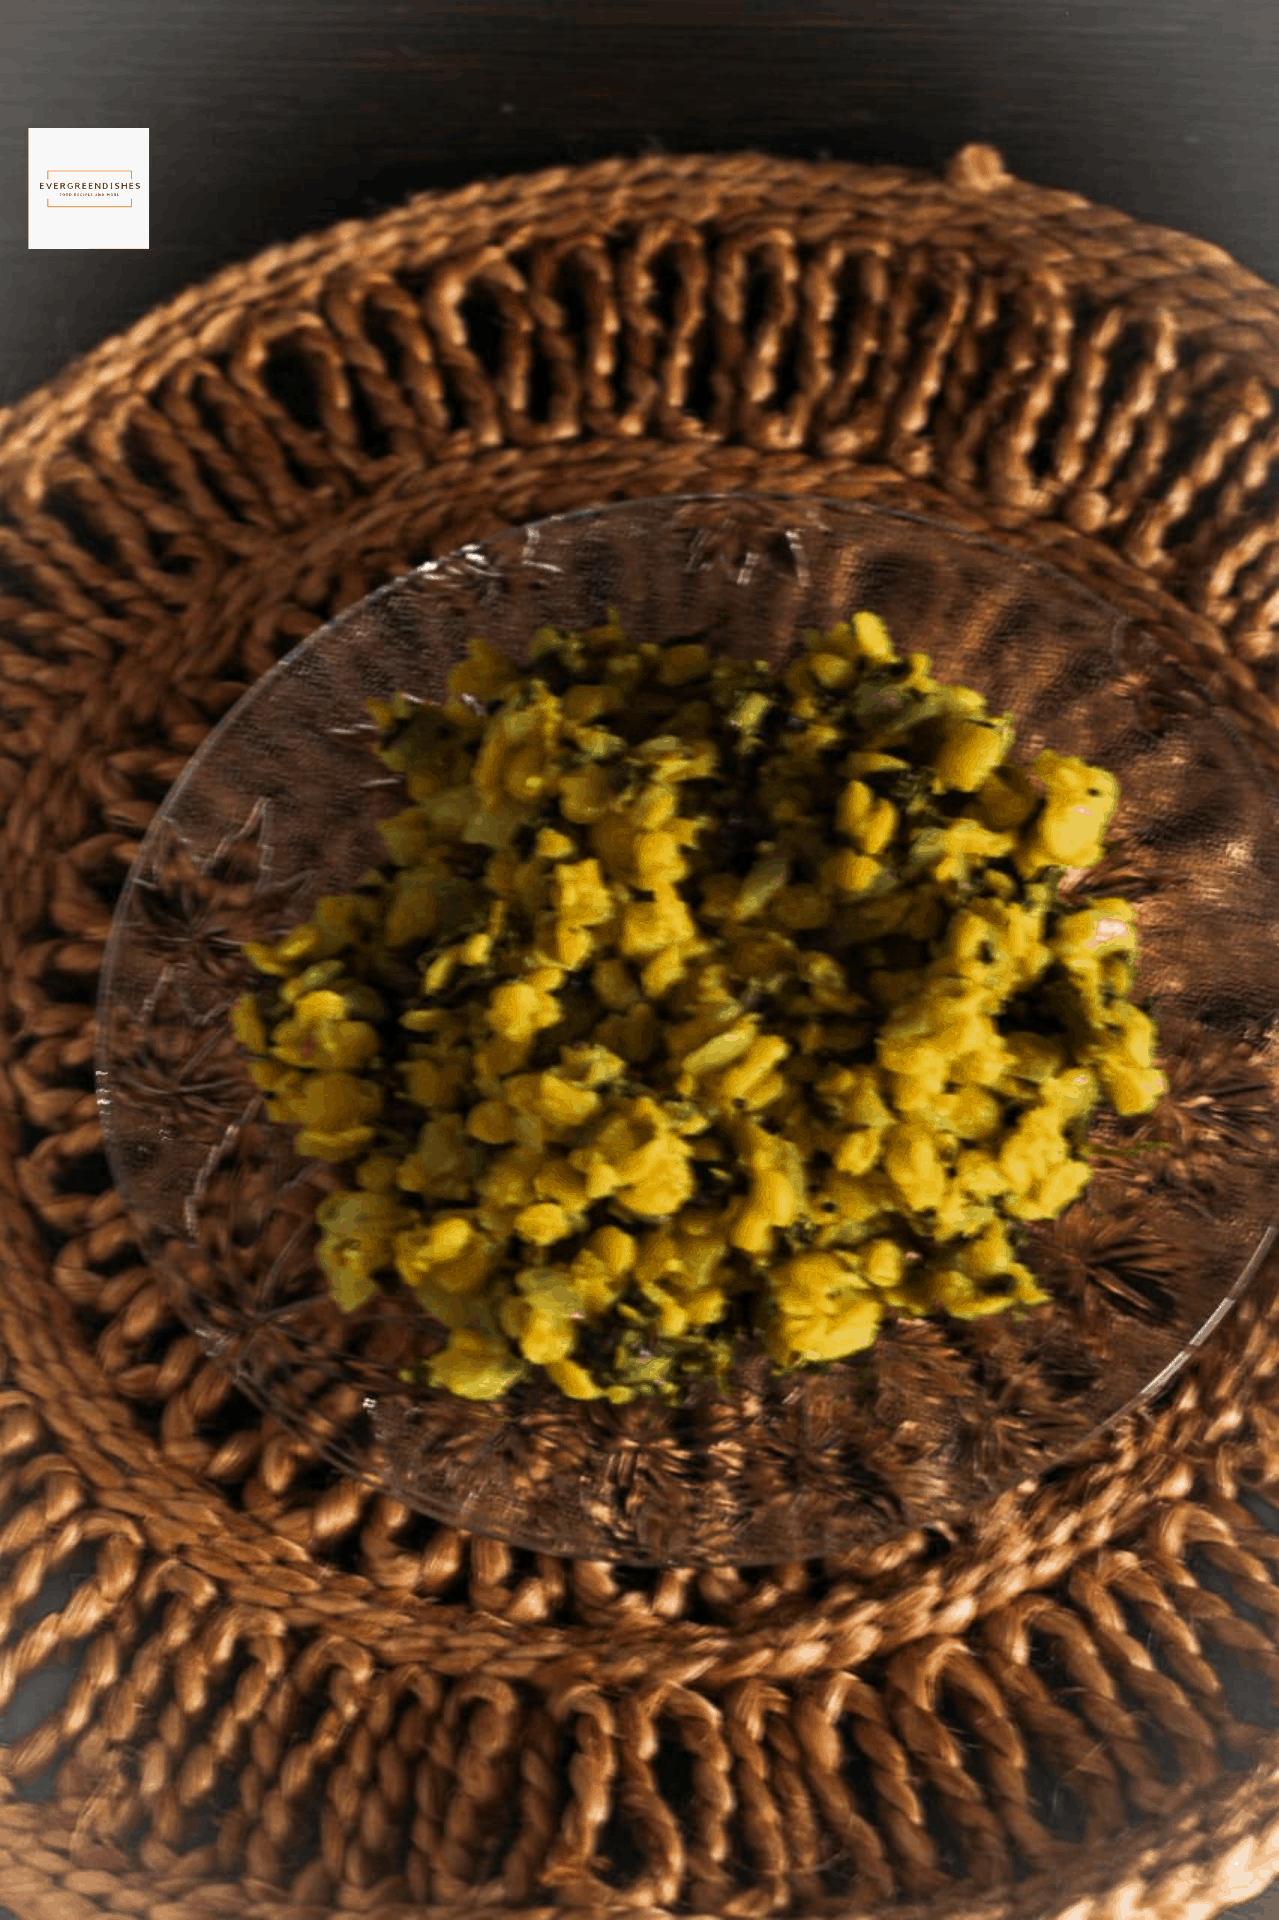
The semi cooked tur dal with methi leaves and onion makes a good accompaniment with chapati or jowar roti. . It is one of the dishes which has been cooked since ages and is still prevalent, because of its good taste. More over,it is easy to cook and needs no much organising.
dal with methi stir fry
DAL WITH METHI STIR FRY
INGREDIENTS:
1 cup turdal 1 cup = 150 ml
2 clusters of methi or fenugreek leaves
2 onions finely cut
4 green chillies
1 tsp of cumin seeds
1 tbsp of oil
asafoetida
mustard seeds
1/4 tsp of turmeric powder
salt
METHOD:
Cook the tur dal in an open vessel. We need a semi-cooked dal of around 70%
Cut and wash the methi leaves.
Make the seasoning with cumin and green chillies. Add onion to it. Saute for a while, put the onions.
Drain the cooked dal and keep it aside.
Put the cooked dal to it. Add salt and mix well. Simmer for some time.
Take a tip:
The drained water of tur dal is rich in nutrients. It can be used for making rasam.
A few cloves of garlic may be added to it.
If you want it spicy, add two more green chillies.
About the event:
This is an old post, in fact one of the first few posts that I wrote when I started my blog. Sending this to Foodies_Redoing Old Post 35, a fortnightly event, we work on an old post by changing the pictures or text. Here, I have put new photos and edited the post also.
Evergreendishesdev
Dal with methi stir fry / Bele Palya
Semi cooked dal with methi leaves and onion makes a good accompaniment with chapati and jowar roti. It is a traditional dish from North Karnataka.
Cook the tur dal in an open vessel. We need a semi-cooked dal of around 70%
Cut and wash the methi leaves.
Make the seasoning with cumin and green chillies. Add onion to it. Saute for a while, put the onions.
Drain the cooked dal and keep it aside.
Put the cooked dal to it. Add salt and mix well. Simmer for some time.
Notes
The drained water of tur dal is rich in nutrients. It can be used for making rasam.
A few cloves of garlic may be added to it.
If you want it spicy, add two more green chillies.
Pin it for later:
Dal with Methi Stir Fry
If you have liked this post, do share it further with your family members and friends. If you ever recreate this recipe, take a picture and tag @foodiejayashree on Instagram. Do check out my e-books on Amazon.
Subscribe to get all updates in your inbox and an e-book for free !
Vegetable Curry is the accompaniment used with jeera rice. It can be used with nan and rotis too. I have tried various kinds but this one is the tastiest, hence I am sharing this one with you.
The ingredients that you need for the curry are:
1 bowl of assorted veggies as beans,carrot,peas and potato
oil
salt
To be ground to a paste :
1 onion
2 tomatoes
1 bowl of fresh grated coconut
2 cloves
2 cardamom
1 green chilli
coriander leaves
a small piece of cinnamon
2 cloves of garlic
1 tsp chilli powder
Procedure:
Boil the veggies and keep them aside.
All the nine ingredients to be grinded to a fine paste.
Take oil in a wok, add the ground paste and fry for sometime.
The colour changes gradually and the oil leaves at the side of the wok.
Now add the boiled veggies along with the water. All the nutrients will be lost if you throw away the water.
Add salt and cook for sometime.
Serve with jeera rice or any kind of roti.
Evergreendishesdev
Vegetable Curry
Vegetable curry is a delicious side dish used with pulav, jeera rice and biryani.
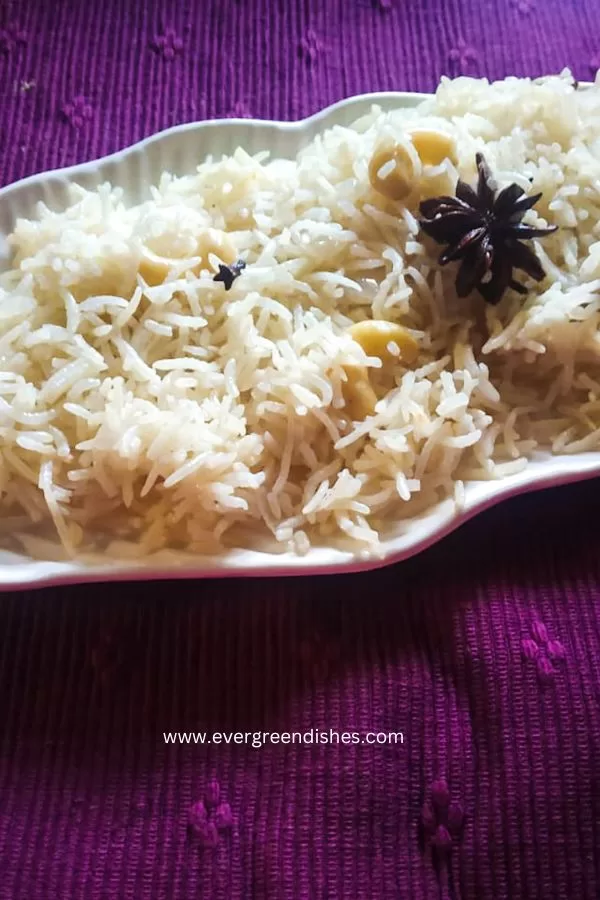
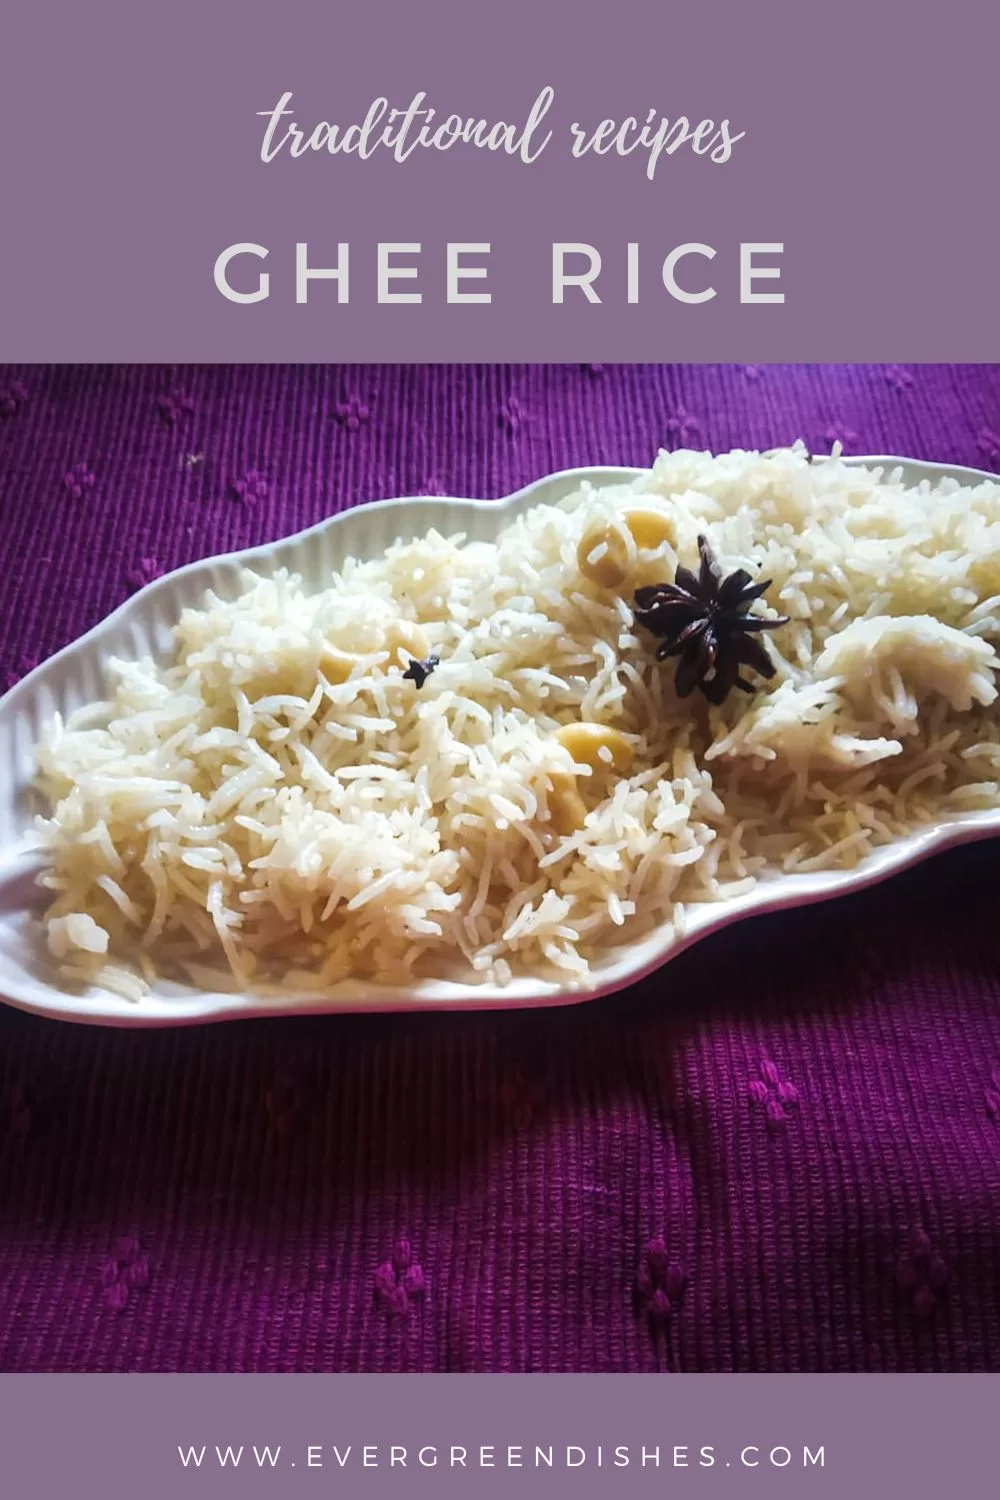
Ghee Rice is a popular rice dish from South Indian cuisine.. It is usually served with a curry or kurma. It is ideal for parties or a get-together.
Ghee rice and gravy always makes a sumptuous meal at parties or on weekends and family get togethers. I always prefer the rice dishes to be prepared in a rice cooker as it is perfectly cooked and the heat is retained, but it is a personal choice. In all my recipes, I am giving the traditional method of cooking, but you can easily switch it over to the rice cooker after you saute it in a wok.
Memories of ghee rice :
When we were young, mummy used to prepare ghee rice frequently. It was a delight to have it with kurma. It was only in the later years, we were introduced to jeera rice. Last month, I prepared ghee rice after a long time and the ghee rice recipe got a face lift.
ghee rice
Ghee Rice Recipe
Ingredients :
1 cups long grain rice
1 cup onion slit length wise
2 tbsp ghee
2 sticks of cinnamon
4 cloves
4 cardamom
1 bay leaf
1 star anise
2 green chillies slit lengthwise
cashew nuts and raisins
salt
2 cup water ( depends on the mode of cooking and the kind of rice used )
Method:
Wash the rice and keep aside for fifteen minutes.
Take ghee in a pressure pan, put the cashew pieces. After a while, add the raisins. Saute them for sometime. Once they are golden in collour, remove and keep them in aplate.
In the same oil, put the spices. Put green chilli to it. After a few seconds, put the onions and saute it until translucent.
Then add the rice and continue to saute for three minutes
Add 2 cup of water and salt to it. A little bit of lime juice creates wonders.
Initially, keep the flame high, then reduce it to a low flame and allow to cook until it is done. Keep covered for ten minutes.
Put the cashew and raisins kept aside and gently mix the ghee rice. Serve with any curry or kurma.
Take a tip :
Always use good quality ghee to make ghee rice.
To cook in pressure cooker, put one three-fourth cup of water and salt. Mix it and close the lid. Put the whistle and allow to cook for one whistle. Let the pressure release by itself. Later, garnish with the roasted nuts.
To cook in the rice cooker, transfer it after you saute the rice. Put two cups of water and salt, mix and switch on the power.
To use left over rice, make sure the rice is aromatic and the grains are separate. Take ghee in a pan, add two cardamom, cloves, green chilli and onion. Once you saute the onions, put half a teaspoon of pepper powder and salt. Mix the rice to it.
ghee rice
A few other rice recipes from South India I often make at home are :
2cupwaterdepends on the mode of cooking and the kind of rice used
Method
Wash the rice and keep aside for fifteen minutes.
Take ghee in a pressure pan, put the cashew pieces. After a while, add the raisins. Saute them for sometime. Once they are golden in collour, remove and keep them in aplate.
In the same oil, put the spices. Put green chilli to it. After a few seconds, put the onions and saute it until translucent.
Then add the rice and continue to saute for three minutes
Add 2 cup of water and salt to it. A little bit of lime juice creates wonders.
Initially, keep the flame high, then reduce it to a low flame and allow to cook until it is done. Keep covered for ten minutes.
Put the cashew and raisins kept aside and gently mix the ghee rice. Serve with any curry or kurma.
Notes
Always use good quality ghee to make ghee rice.
To cook in pressure cooker, put one three-fourth cup of water and salt. Mix it and close the lid. Put the whistle and allow to cook for one whistle. Let the pressure release by itself. Later, garnish with the roasted nuts.
To cook in the rice cooker, transfer it after you saute the rice. Put two cups of water and salt, mix and switch on the power.
To use left over rice, make sure the rice is aromatic and the grains are separate. Take ghee in a pan, add two cardamom, cloves, green chilli and onion. Once you saute the onions, put half a teaspoon of pepper powder and salt. Mix the rice to it.
If you ever make Ghee Rice recipe, take a picture and tag @foodiejayashree on Instagram or @evergreendishes on Facebook. Subscribe to get all updates and an e-book for free.
We need a lot of pre-made ingredients while cooking. Today’s post is related to the making of them, I hope you find it useful.
1 Tomato puree
Tomato puree is widely used in North Indian dishes. Take firm red tomatoes. Wash them and make an incision at the tip. Put these in boiling water for a few minutes. After sometime, peel the skin and make a purée of it.
2 Cumin powder
Dry roast the cumin until light brown in colour. When cool, grind it to a fine powder. It can be stored in an air tight container.
3 Coriander powder
Dry roast the coriander seeds until you get a pleasant aroma. Keep it on a low flame. When cool, grind it in a mixer and store in an air tight jar.
4 Curd
Curd or yoghurt is essential in Indian homes. Hence, it is set on a daily basis with a starter agent. Warm the milk and add a little curd to it. Close it with a lid and keep it in a warm place for five to six hours. It converts to a thick wobbly dish. When you do not have curd, one can put two or three green chilli into the milk and keep it covered.
5 Buttermilk
The curd is churned and water is added to it. Salt or sugar may be added. Sweet buttermilk with thick cream is called as lassi.
If you find this post useful, do follow evergreendishes on Facebook , Twitter, Facebook and @foodiejayashree on Instagram. Subscribe to get a book of handy hints for free.
This is one of the rice dishes that I prepare quite often as it is easy and one of the favourites of my children. The first time I ate this at one of my friends place.It was mildly fragrant and was delicious. Soon, I laid my hands on it as I always prefer easy and tasty cooking.
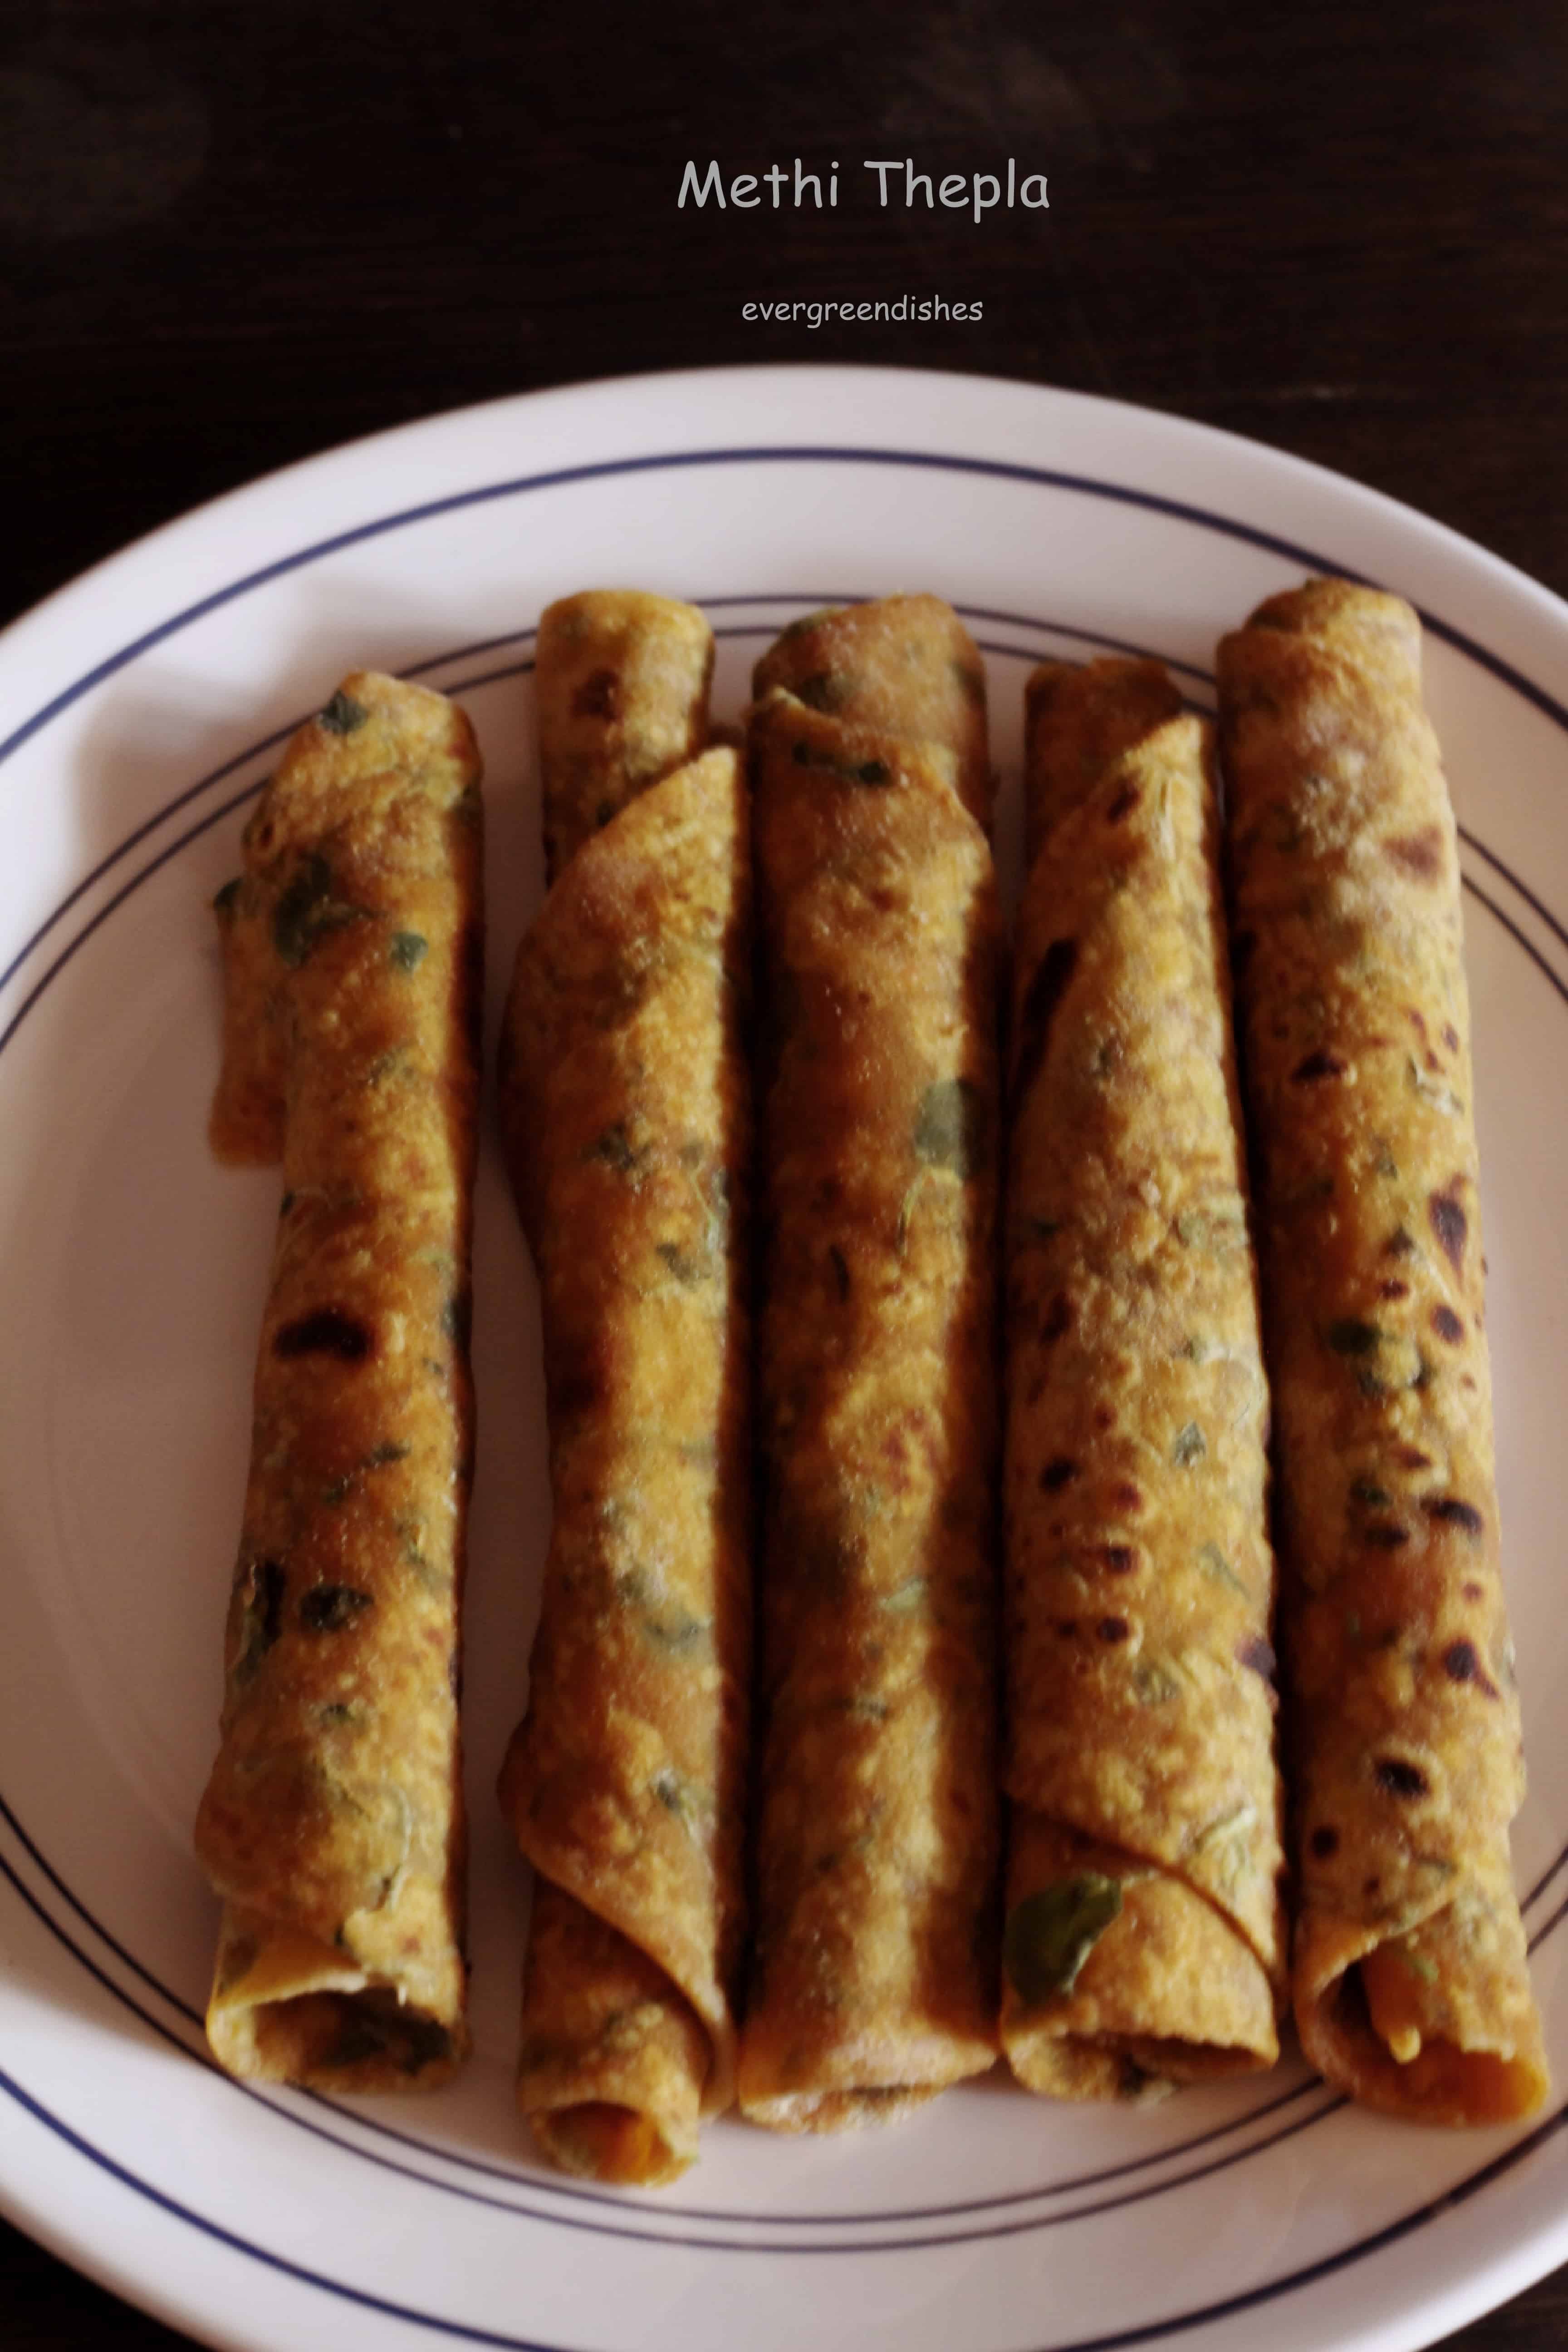
Methi chapatis are tasty and healthy. It is a popular dish of the Gujaratis. It is known by the name of “Thepla”. It makes an ideal mid day meal or pack it in the lunch box.
Methi or fenugreek leaves have a distinct taste and give a good taste to all the dishes. It is ideal to include as it is rich in Vitamin C, Vitamin A, Riboflavin, Calcium and minerals such as folate and riboflavin. It also contains antioxidants which helps the body to heal naturally.
I love using methi leaves in my cooking. I use it to make a lentil stir fry, pairs well with chapati. Dal with methi is absolutely delicious. And I make alu methi once in a fortnight. Methi delight is good as a snack but I prefer to make it as an accompaniment with meals.
Gujarati thepla, methi paratha
The ingredients that you need are:
wheat flour 2 cups
gram flour 1tbsp
fenugreek or methi leaves 2 bunch
chilli powder 2 tsp
turmeric powder 1/2 tsp
a pinch of asafoetida
cumin powder 1 tsp
coriander powder 1 tsp
curd 1 tbsp
salt to taste
oil for smearing
Method:
Cut the fenugreek leaves finely. Immerse it in salt water, strain and keep aside.
Take a wide bowl and mix all the ingredients with water into a dough of thick consistency.
Keep aside for ten minutes.
Take a ball, dust it with flour and roll into a circle. Smear oil, fold it into half, and again into a quarter. Dust with a little flour, roll it into a circle as a chapati.
Heat a skillet. Put the rolled thepla onto the tawa. Smear oil and flip to the other side. Put some oil and allow it to cook for a few seconds.
Roast until brown spots are visible. Keep them in a container. Serve them as and when needed. Tastes good when it is hot.
Take a tip:
Fenugreek leaves should be cleaned well. Use only the leaves here.
Addition of gram flour is optional.
Evergreendishesdev
Methi Thepla / Gujarati cuisine
Methi thepla is a popular dish from Gujarati cuisine. A flatbread with the goodness of fresh fenugreek leaves and other spices makes a good breakfast or lunch option.