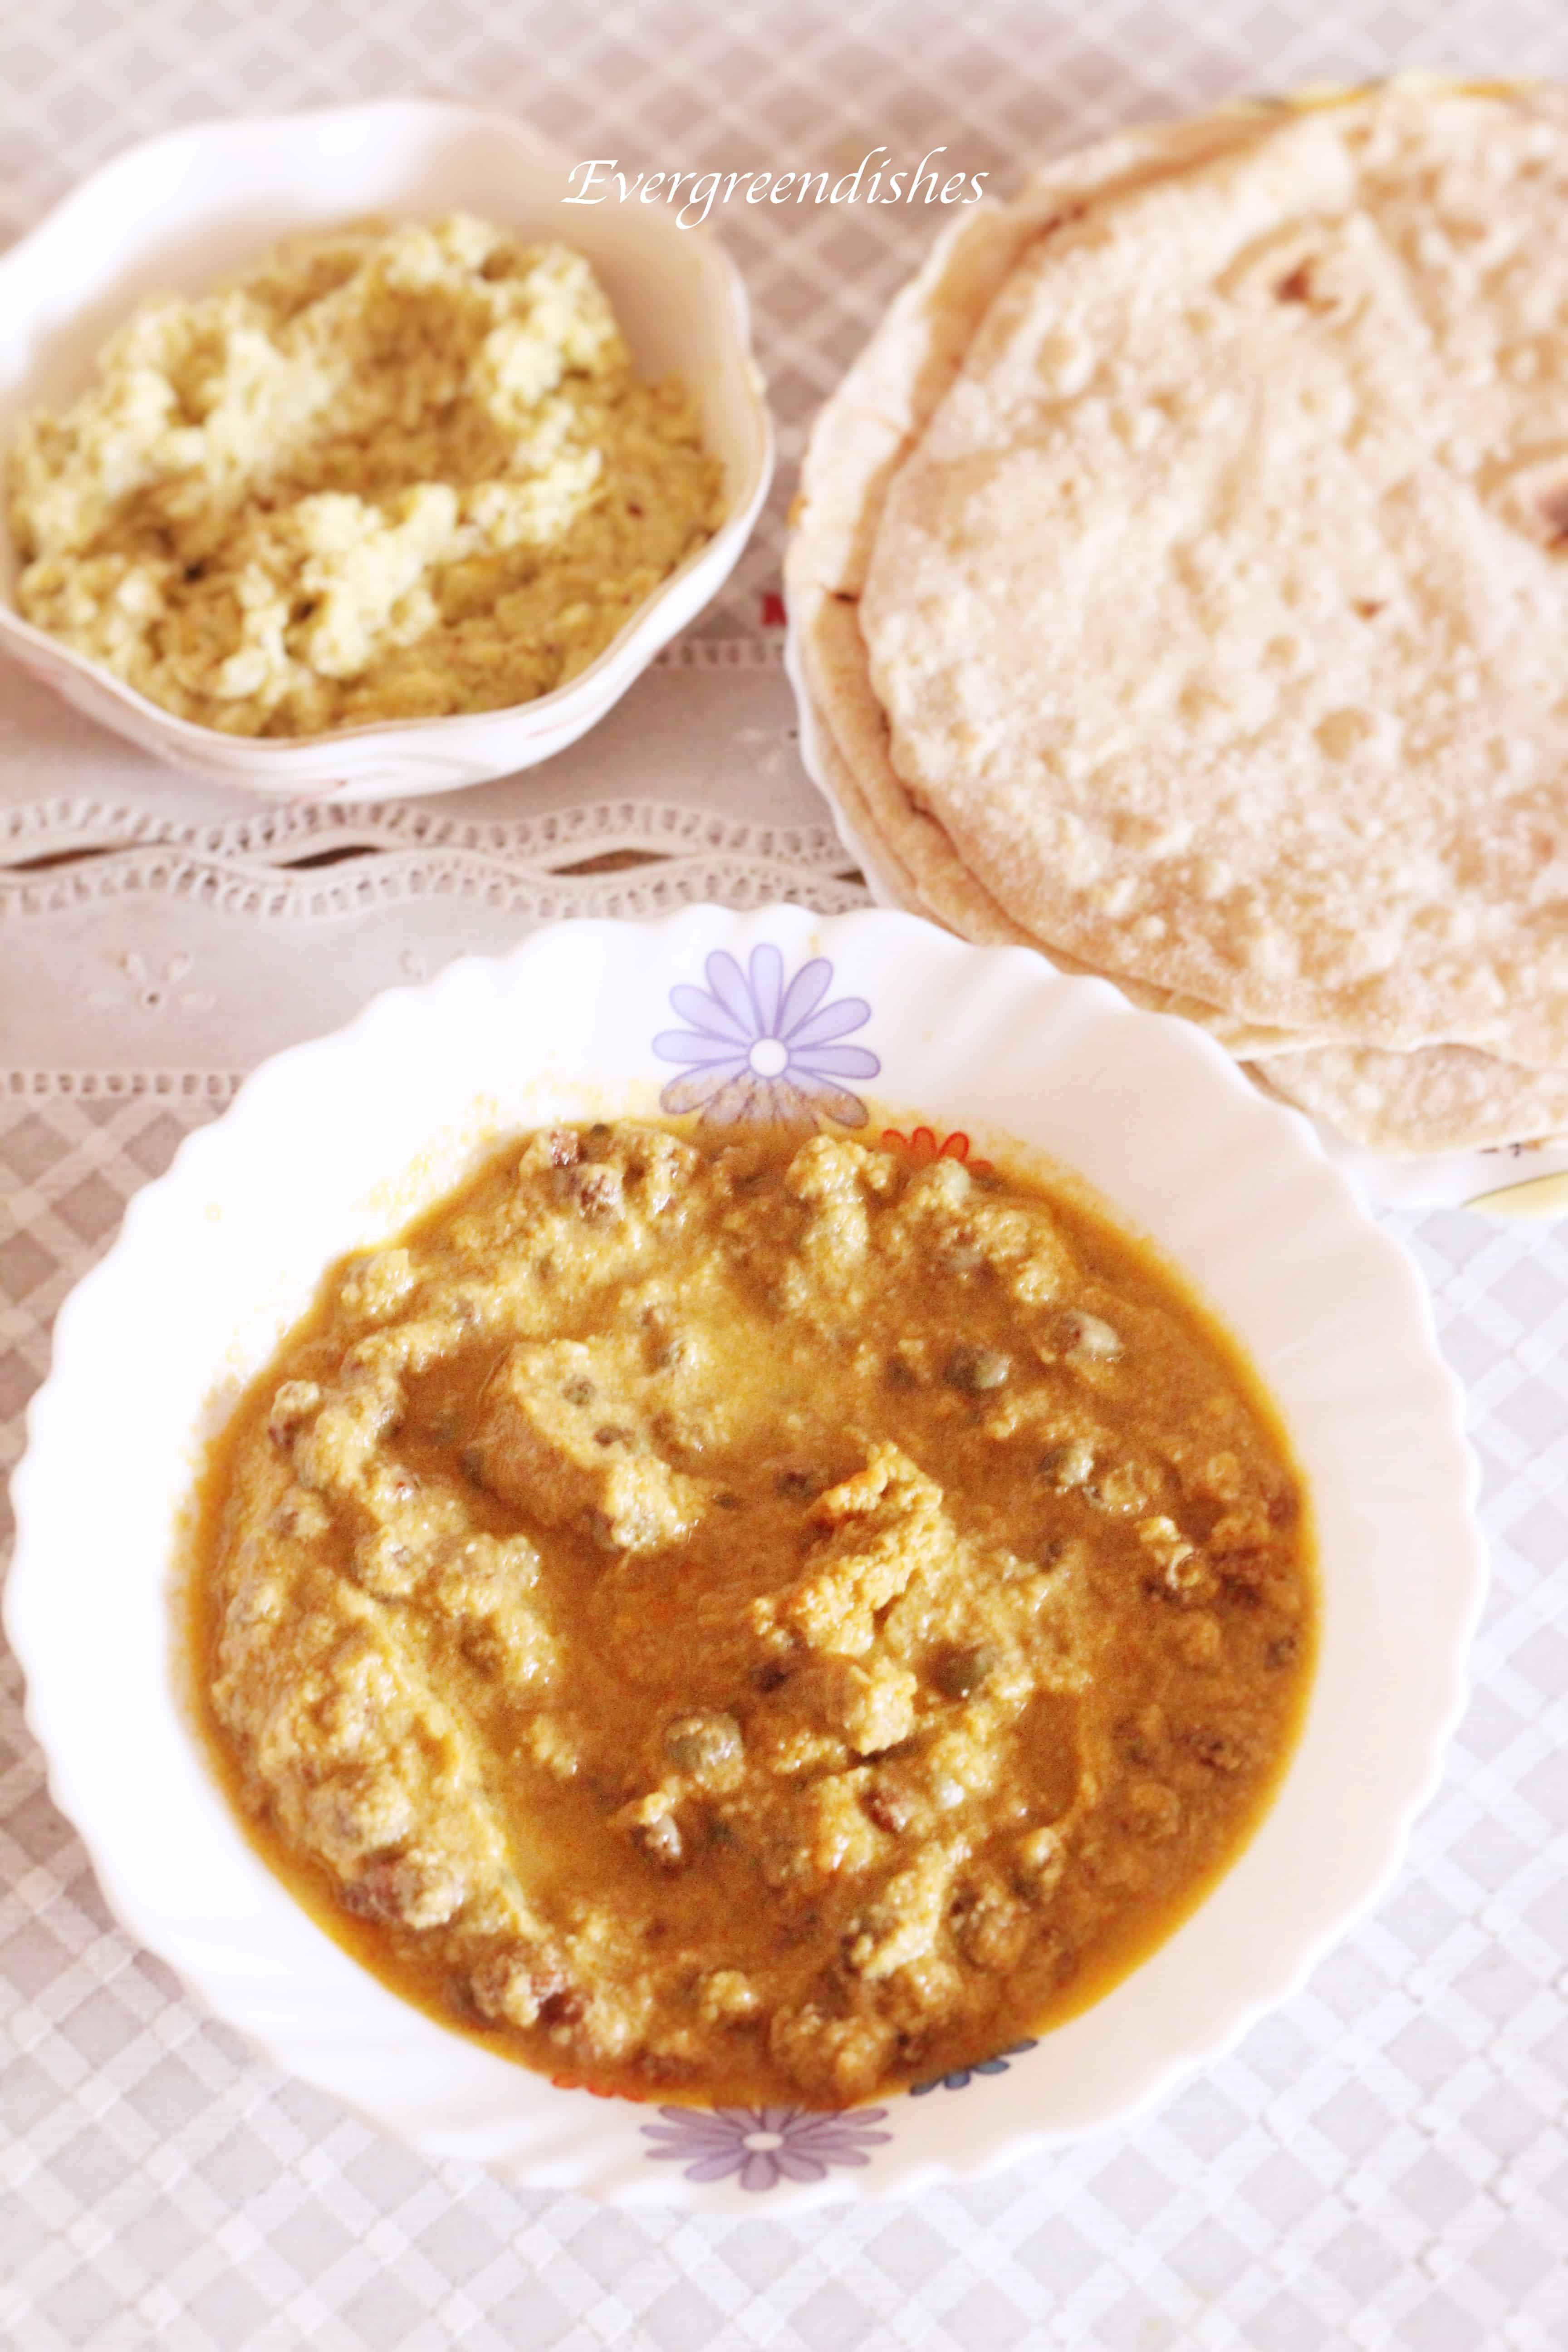
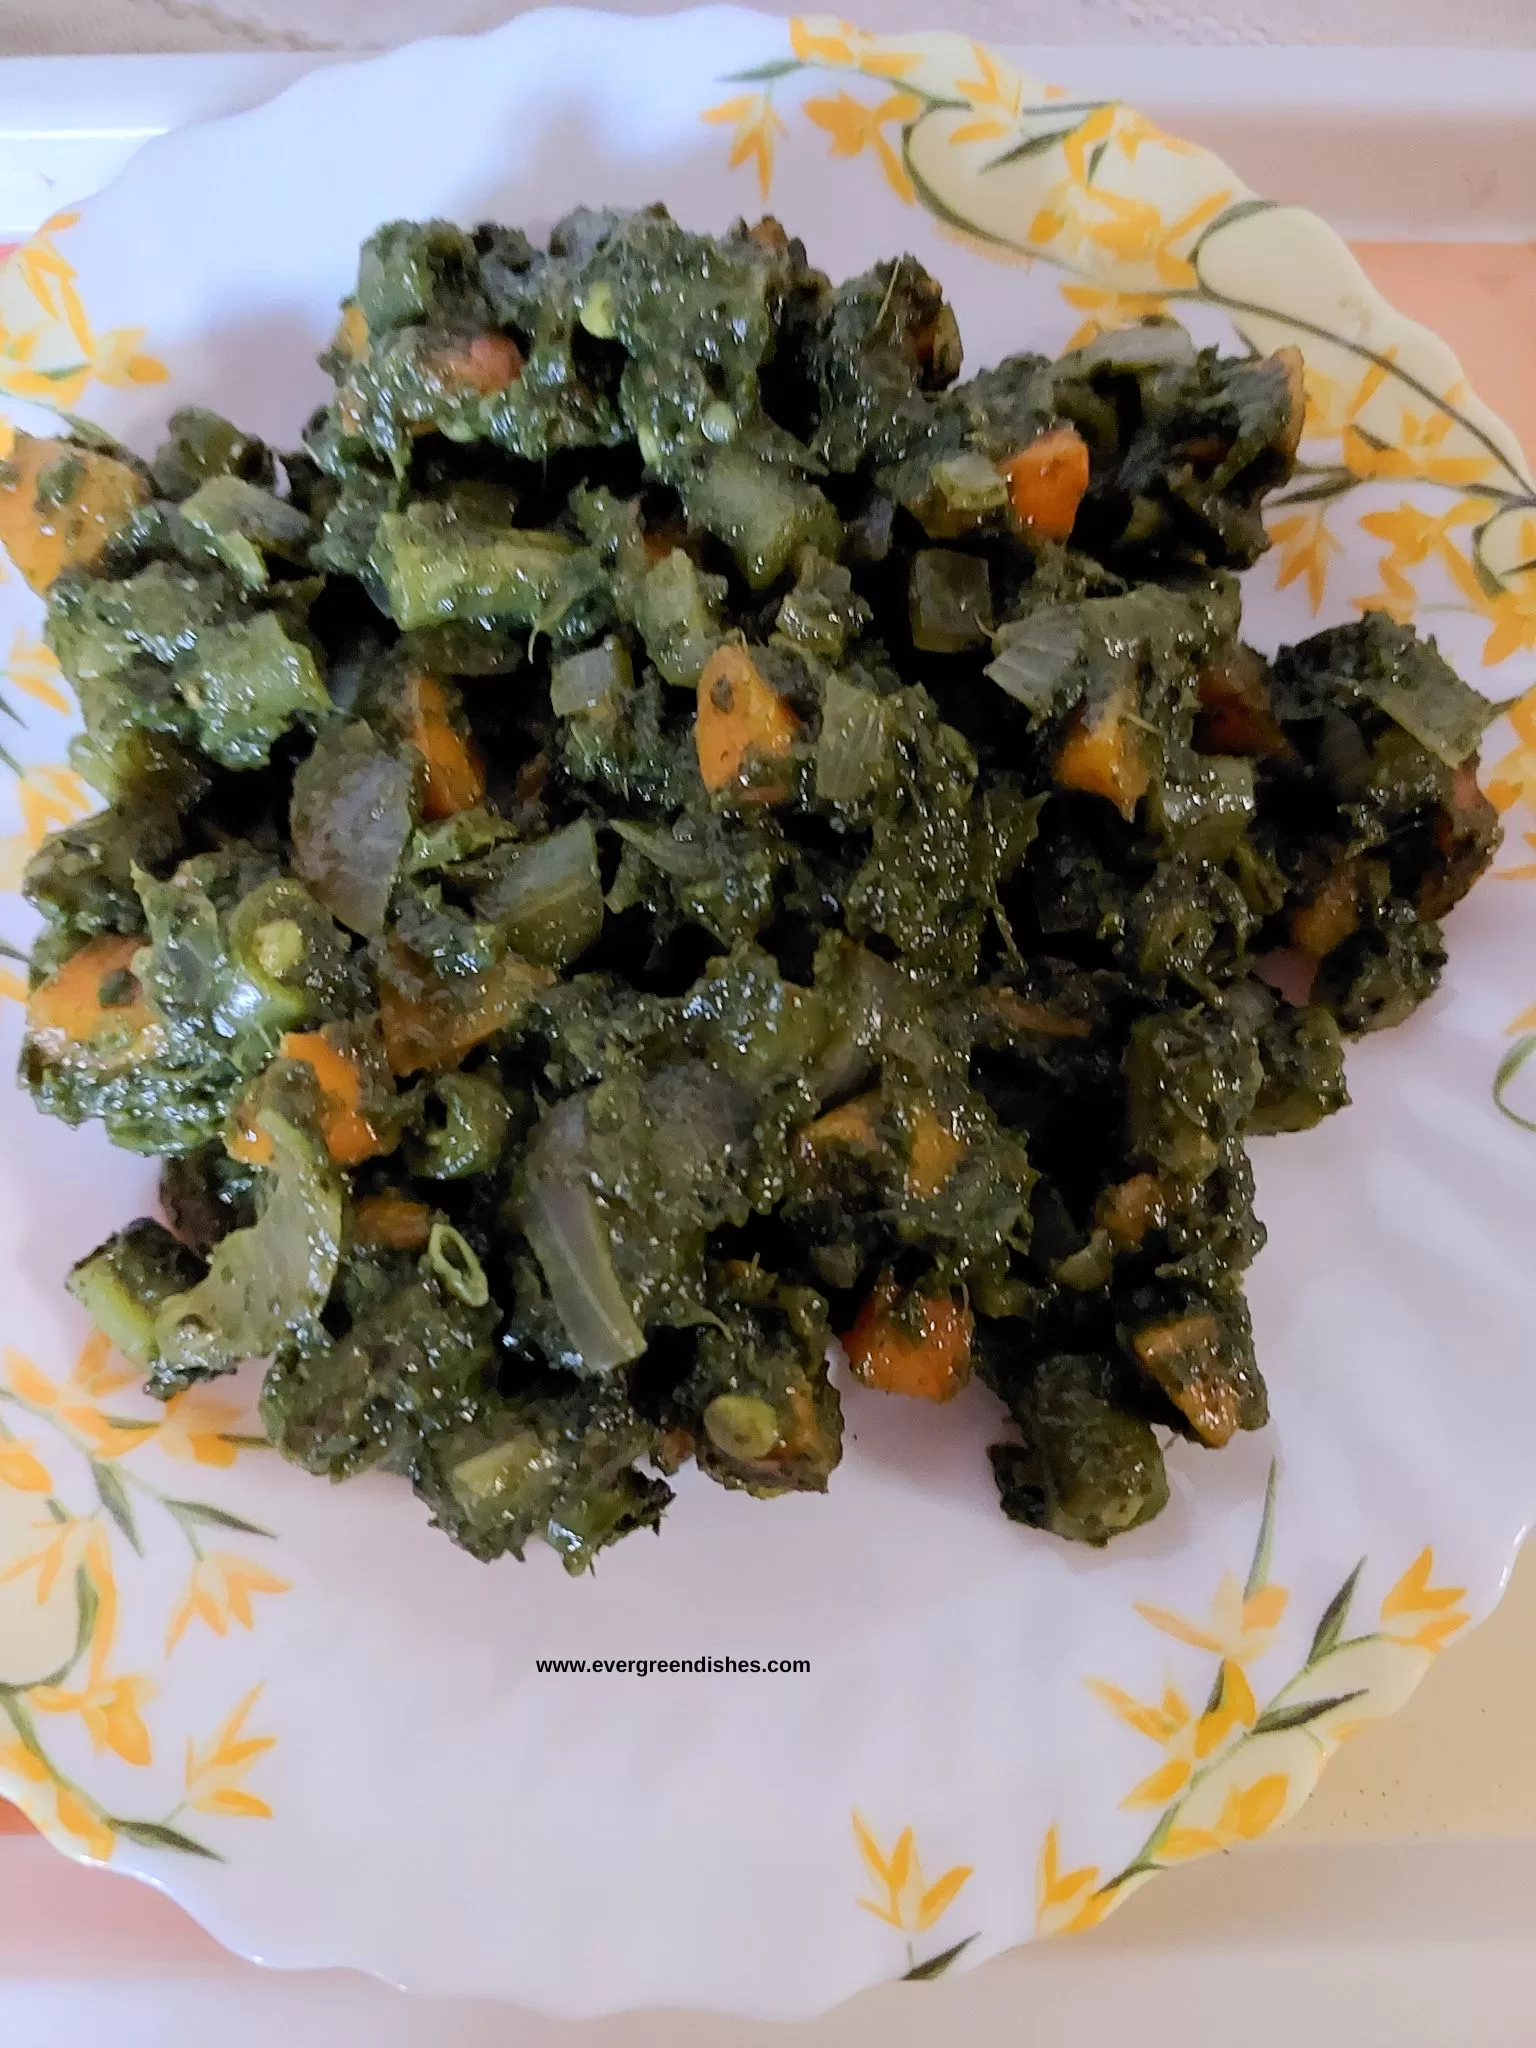
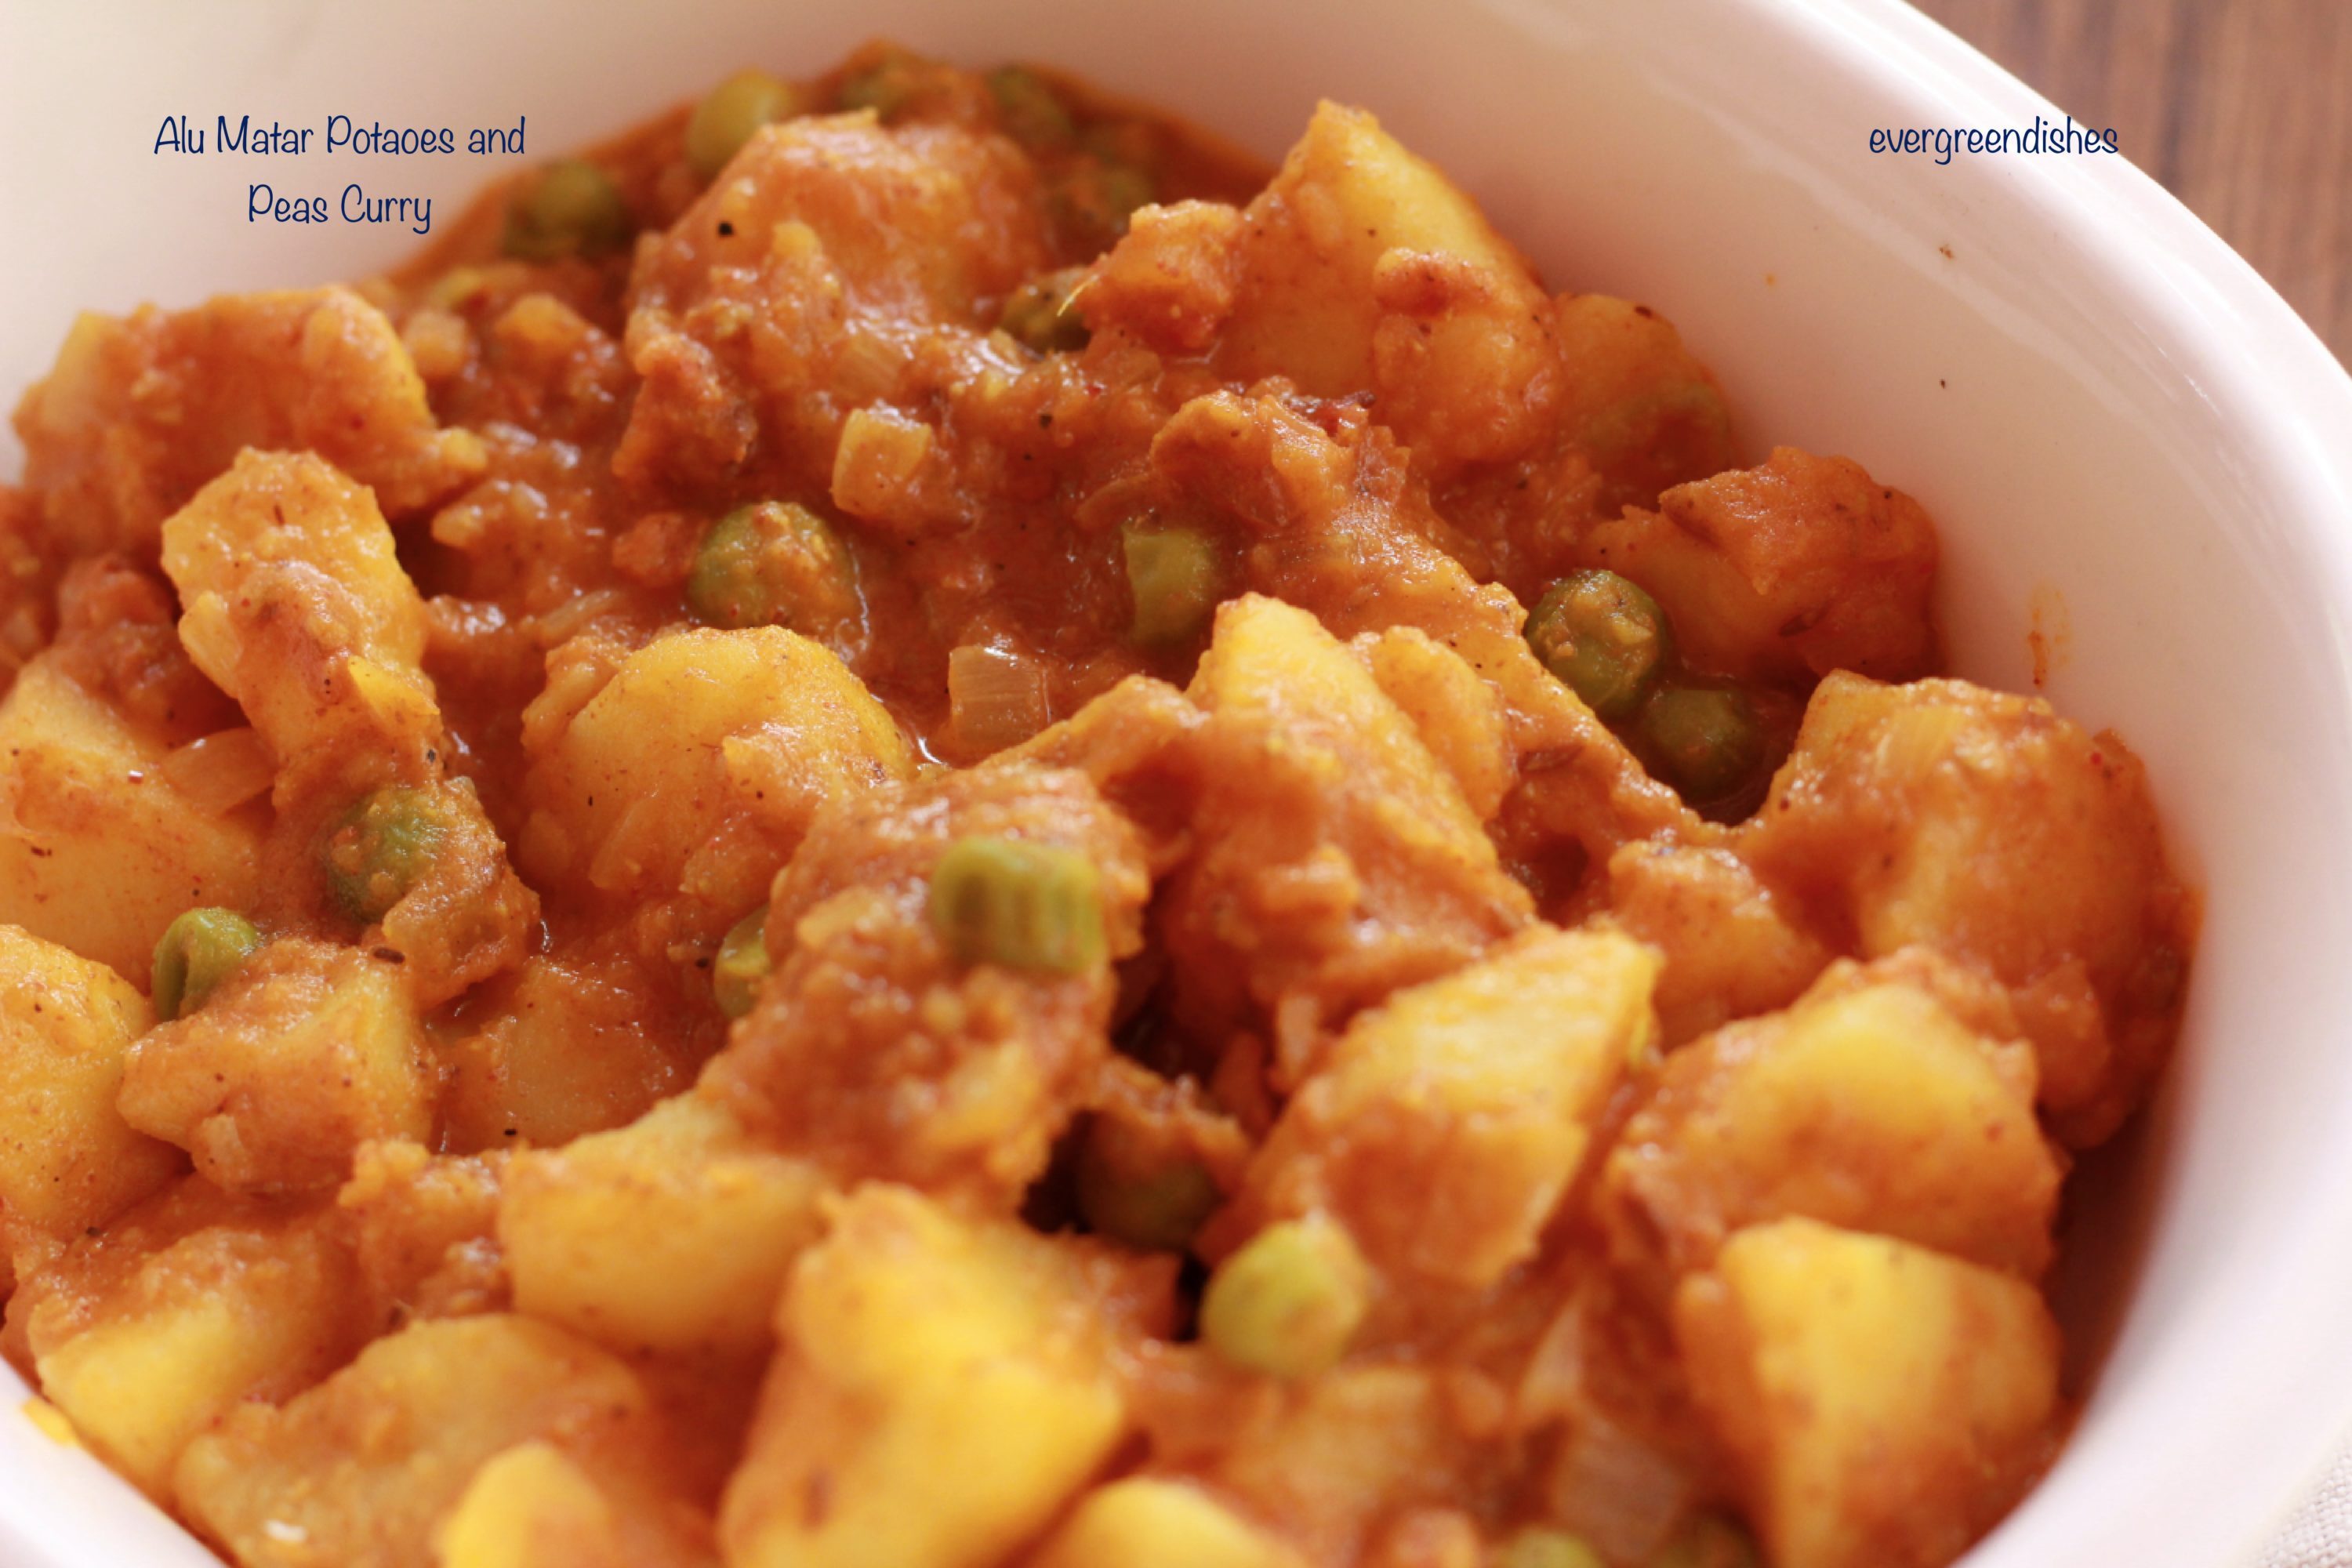
Aloo matar/ potato pea curry is a classic North Indian accompaniment. Chunks of boiled potato and green peas are immersed and cooked in a delicious gravy laden with spices, it makes a tasty accompaniment with any Indian flat bread as roti, nan, chapathi or phulka.
Potato is a versatile vegetable and easy to prepare. It helps to prepare tasty dishes that is loved by all.
Aloo Matar can be served during breakfast, lunch or dinner. It is ideal to pack in lunch box too. It is vegan and gluten free.
My other North Indian curry on the blog
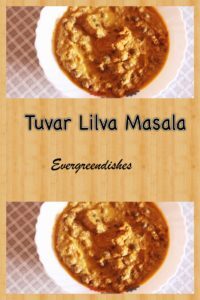
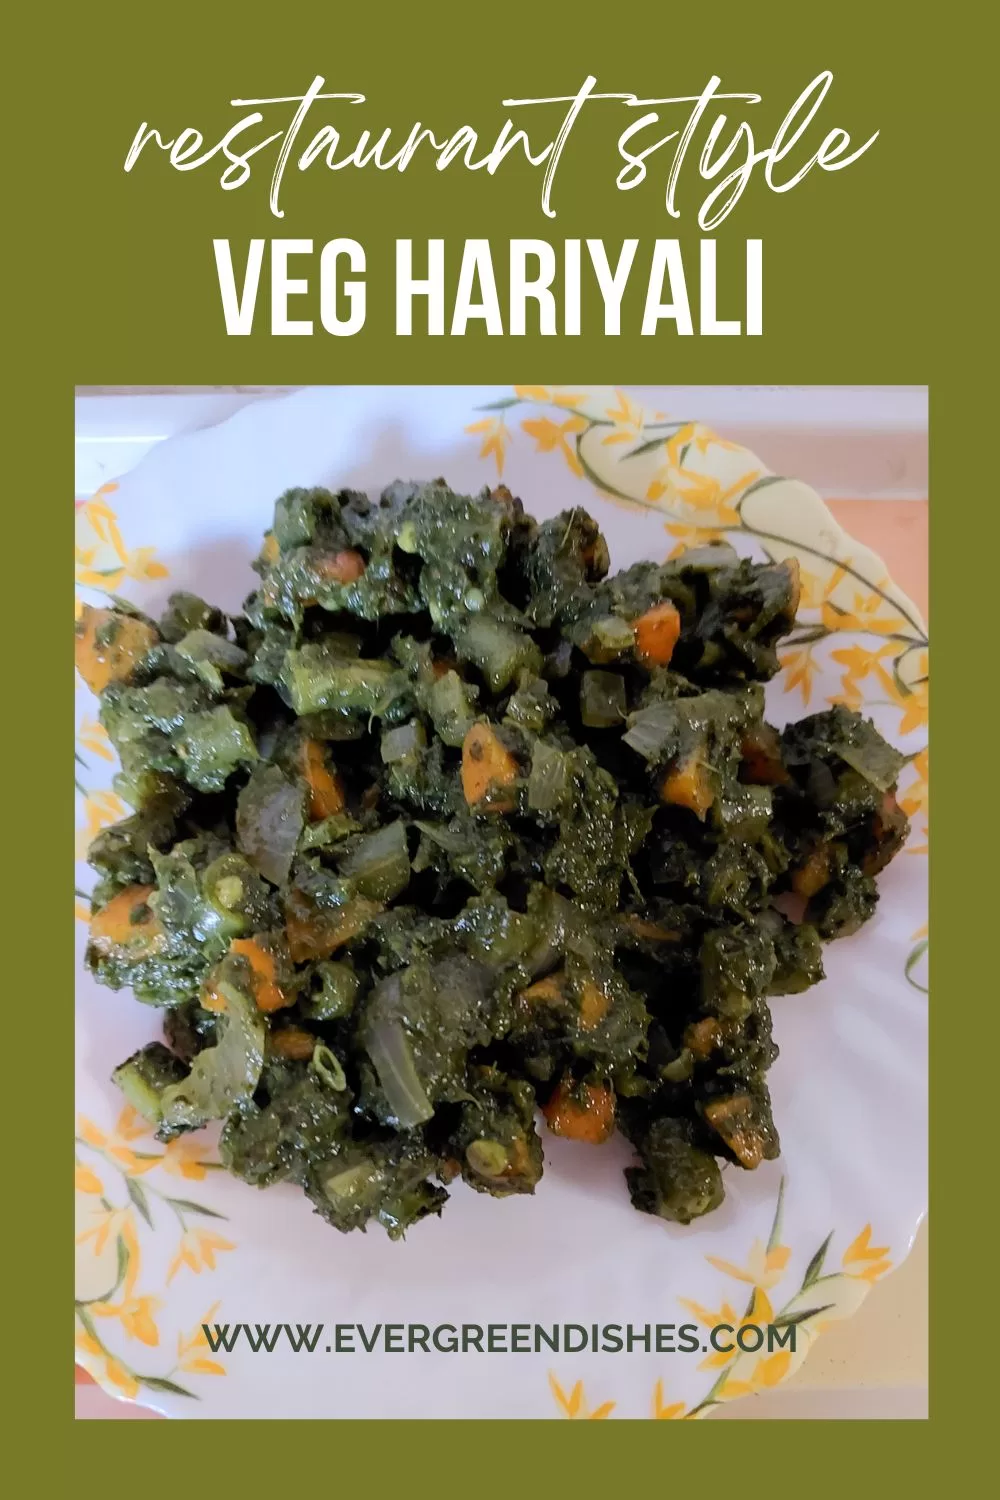
Restaurant Style Veg Hariyali, Tuvar Lilva Masala Curry, Matar Paneer
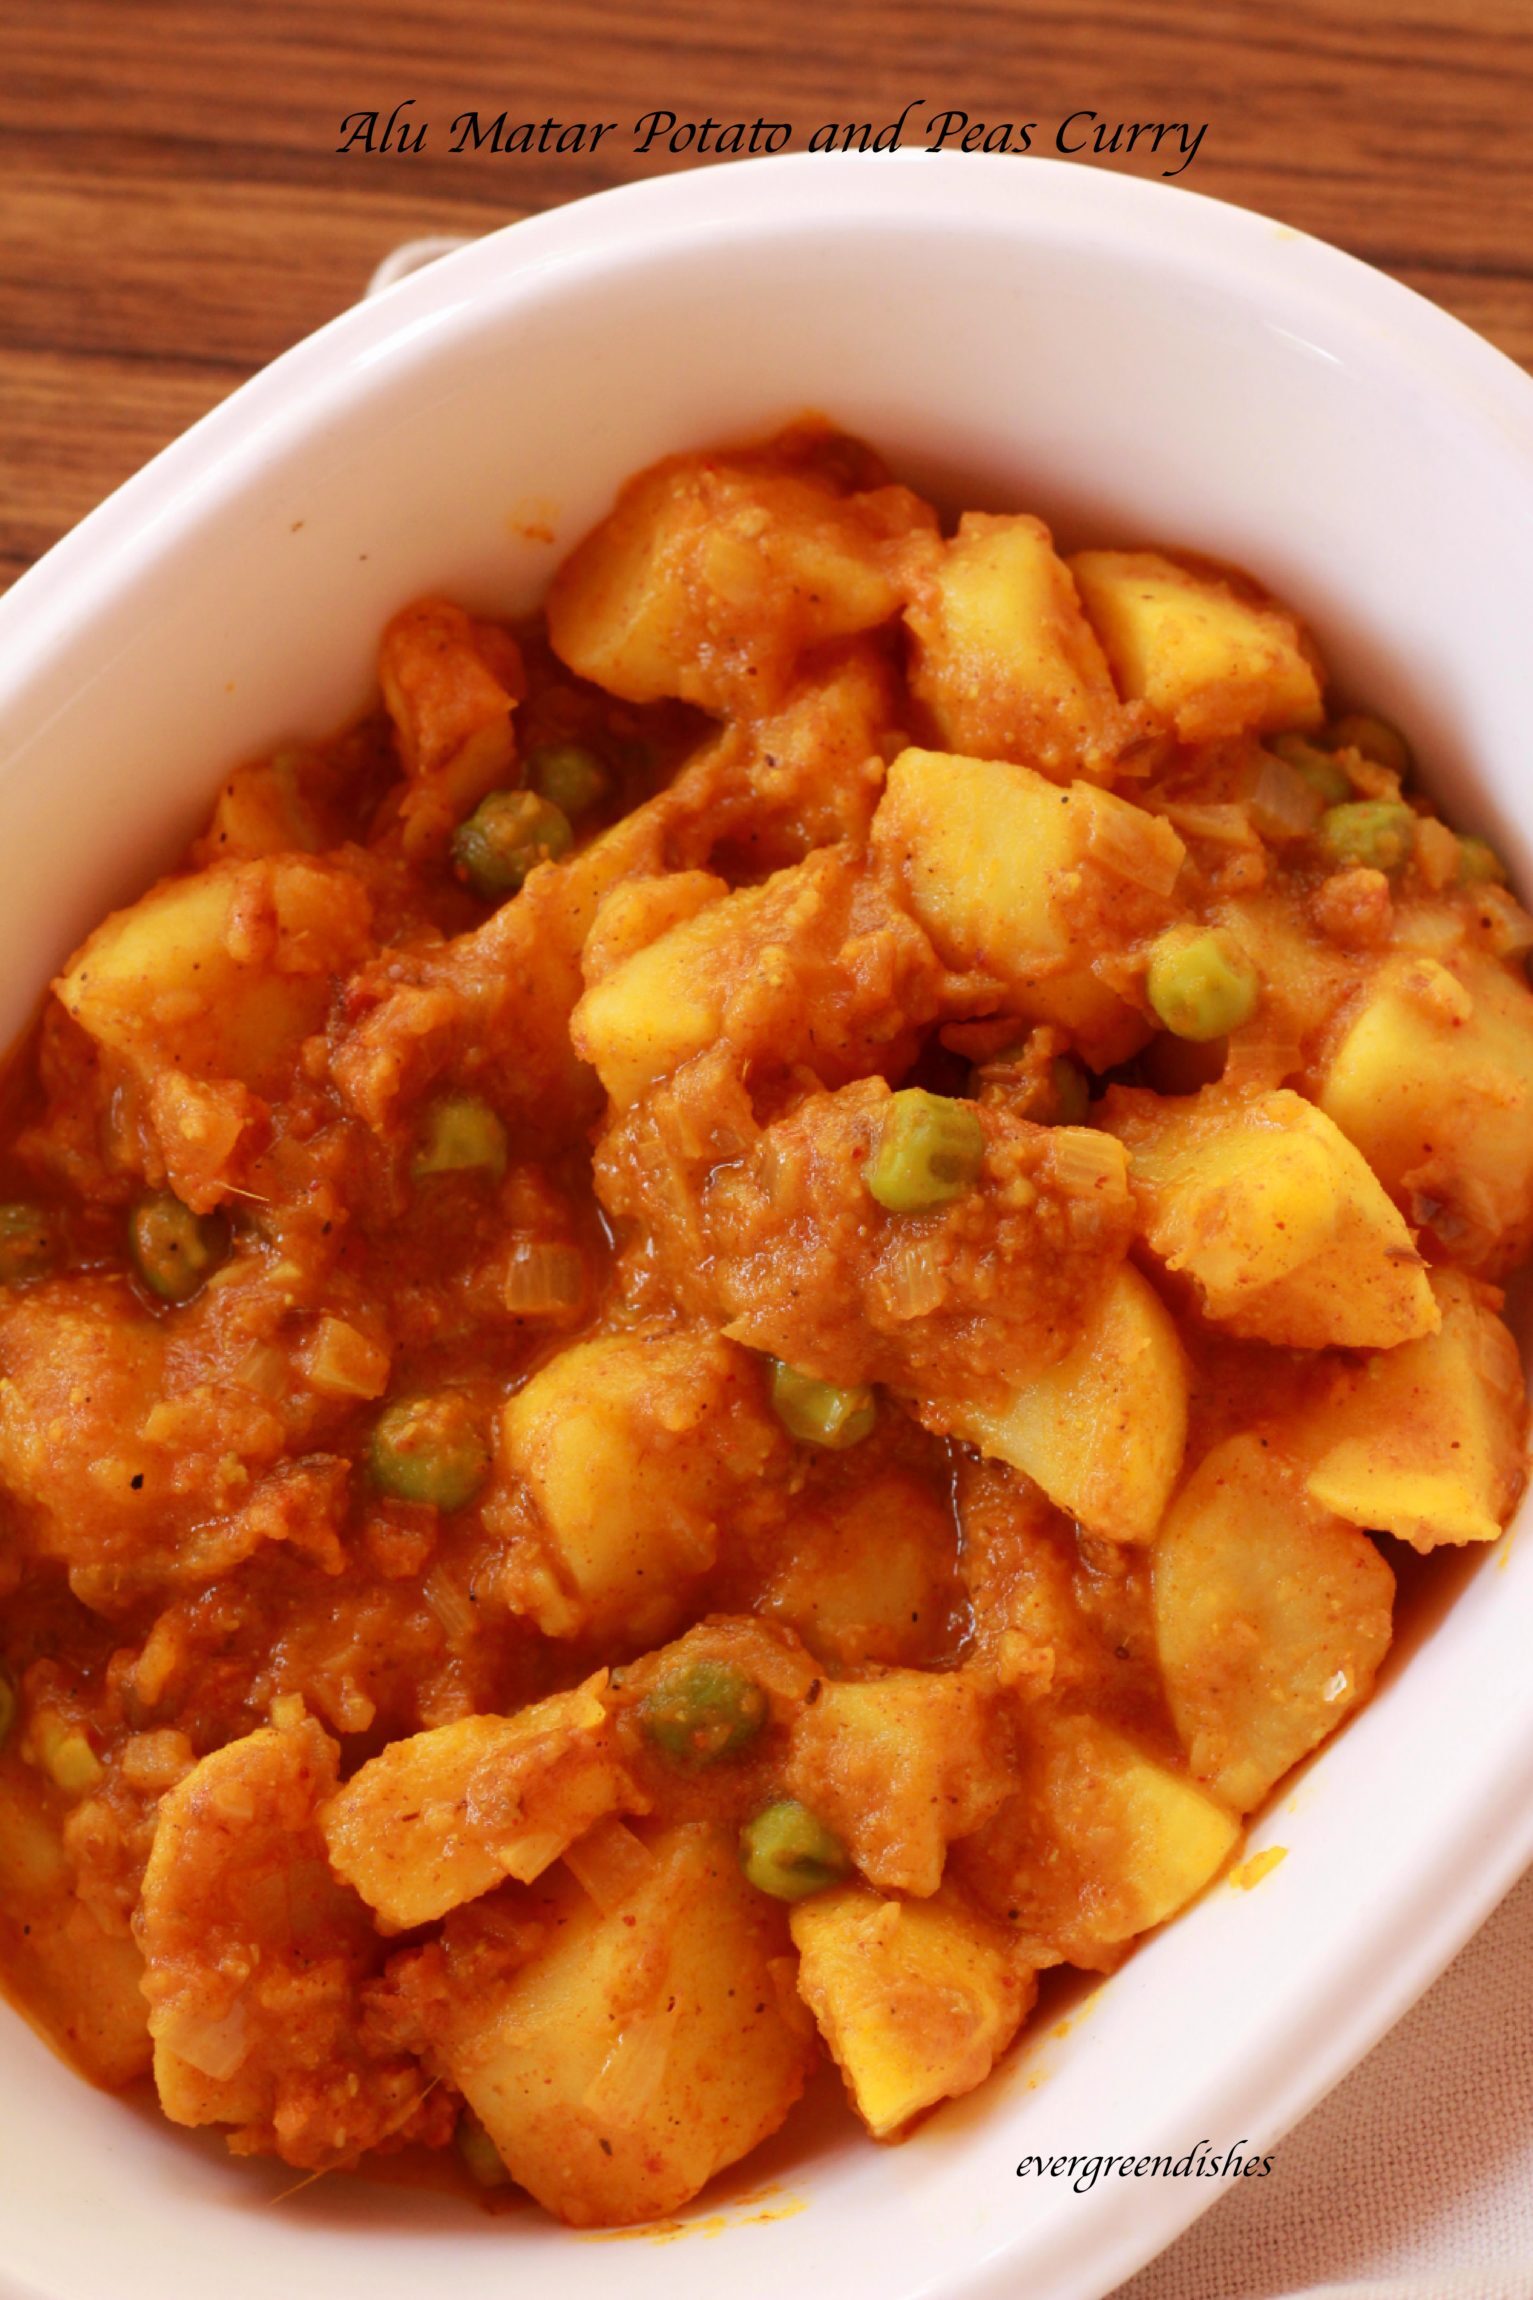
Aloo Matar, Potato Pea Curry
Measurment used : 1 cup =200 ml
Ingredients:
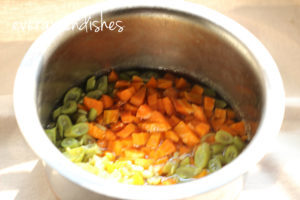
- 4 potatoes boiled
- 1 cup green peas
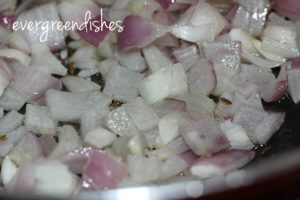
- 2 onions
- 3 tomatoes
- 1 tablespoon melon seeds
- 1 tablespoon oil
- 1/2 teaspoon cumin
- 1 teaspoon ginger garlic paste
- 1/2 teaspoon turmeric powder
- 2 teaspoon coriander powder
- 3/4 teaspoon garam masala powder
- 1 teaspoon chilly powder
- salt to taste
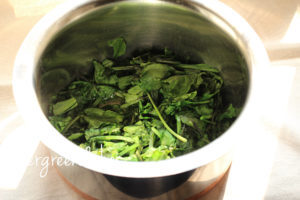
- 1/4 teaspoon kasuri methi ( dried fenugreek leaves)
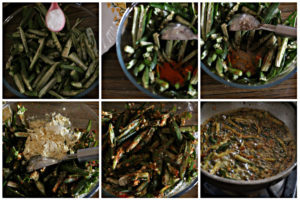
Method:
- Blanch the tomatoes.
- Soak the melon seeds in water.
- Peel the skin and cut into cubes.
- Make a puree of the tomatoes.
- Make a puree of the soaked melon seeds.
- Boil the green peas, if using frozen peas, put them in hot water.
- Take oil in a pan, add cumin, as it splutters, add onion to it.
- Saute it for sometime.
- Add the puree and continue to saute for three minutes. Add turmeric powder, garam masala and coriander powder to it. Let cook for sometime.
- Put the melon paste to it.
- Add water accordingly to get the consistency of the gravy.
- Peel the skin of potatoes and cut into cubes. Put potato pieces and boiled peas to the gravy.
- Crush kasuri methi with fingers and sprinkle over it.
- Cook for three minutes.
- Serve with hot phulkas.
Take a tip:
- Having boiled potatoes in the refrigerator eases quicking.
- Kasuri methi is readily available in the market. You can make it at home also. Take a bunch of fresh fresh fenugreek leaves, cut the stalk, wash the leaves by rinsing a couple of times in water and put it dry. After sometime, put the fenugreek leaves in a microwave safe bowl and mixcrowave for two or three minutes. Fresh kasuri methi is ready. You can also dry the leaves in sunlight.

Aloo Matar Potato Pea Curry
Ingredients
Method
- Boil potatoes in pressure cooker.
- Boil peas separately. If using frozen, do not boil for long. Soak melon seeds in hot water for fifteen minutes.
- Blanch tomatoes and make a puree. Make paste of melon seeds.
- Take oil in a pan, add cumin, as it splutters, put onion in it. Saute for sometime, until it turns light pink in colour. Add ginger garlic paste and let cook for sometime.
- Add tomato puree, let cook for two minutes. Add turmeric powder, garam masala, coriander powder and salt to it. Let cook for sometime, add the melon paste and mix it well.
- Adjust the consistency of the curry.
- Peel the potatoes and cut them into cubes. Throw them into the curry along with green peas. Crush the kasur methi with finger and sprinkle over it.Let cook for sometime.
- Serve hot with phulkas.
Notes
- Having boiled potatoes eases cooking.
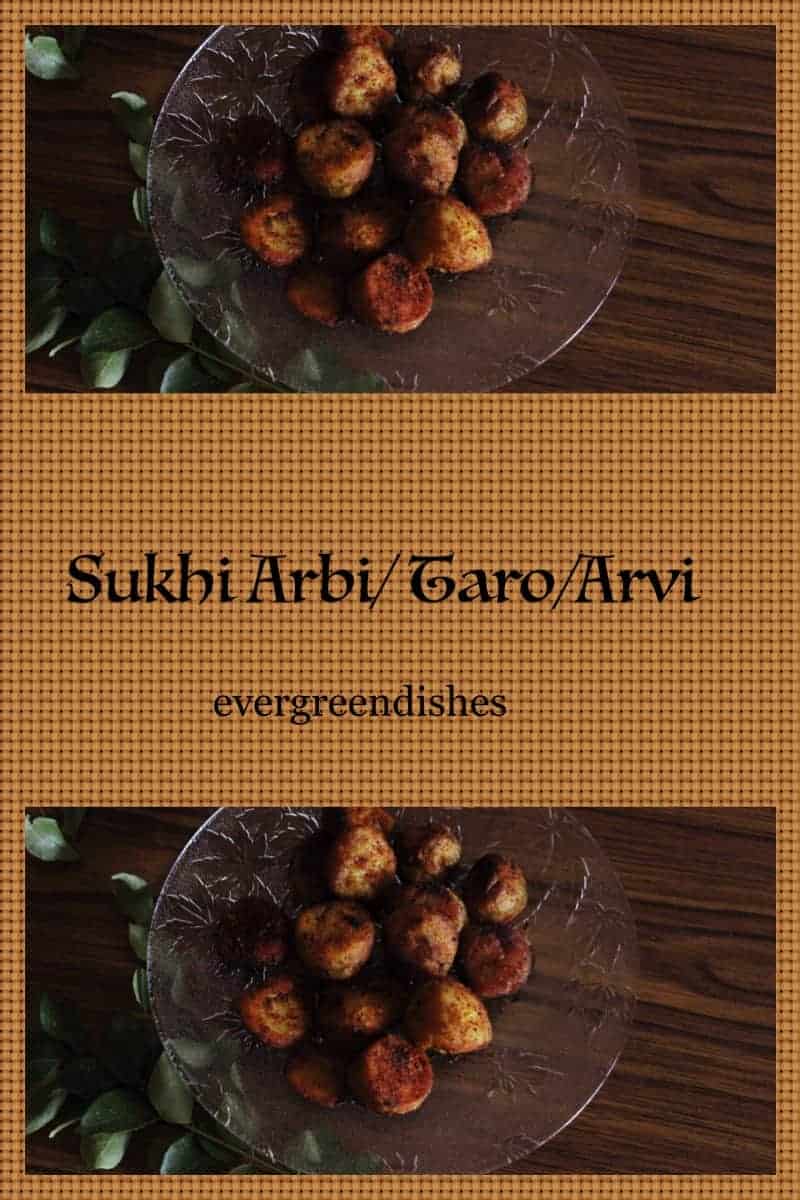
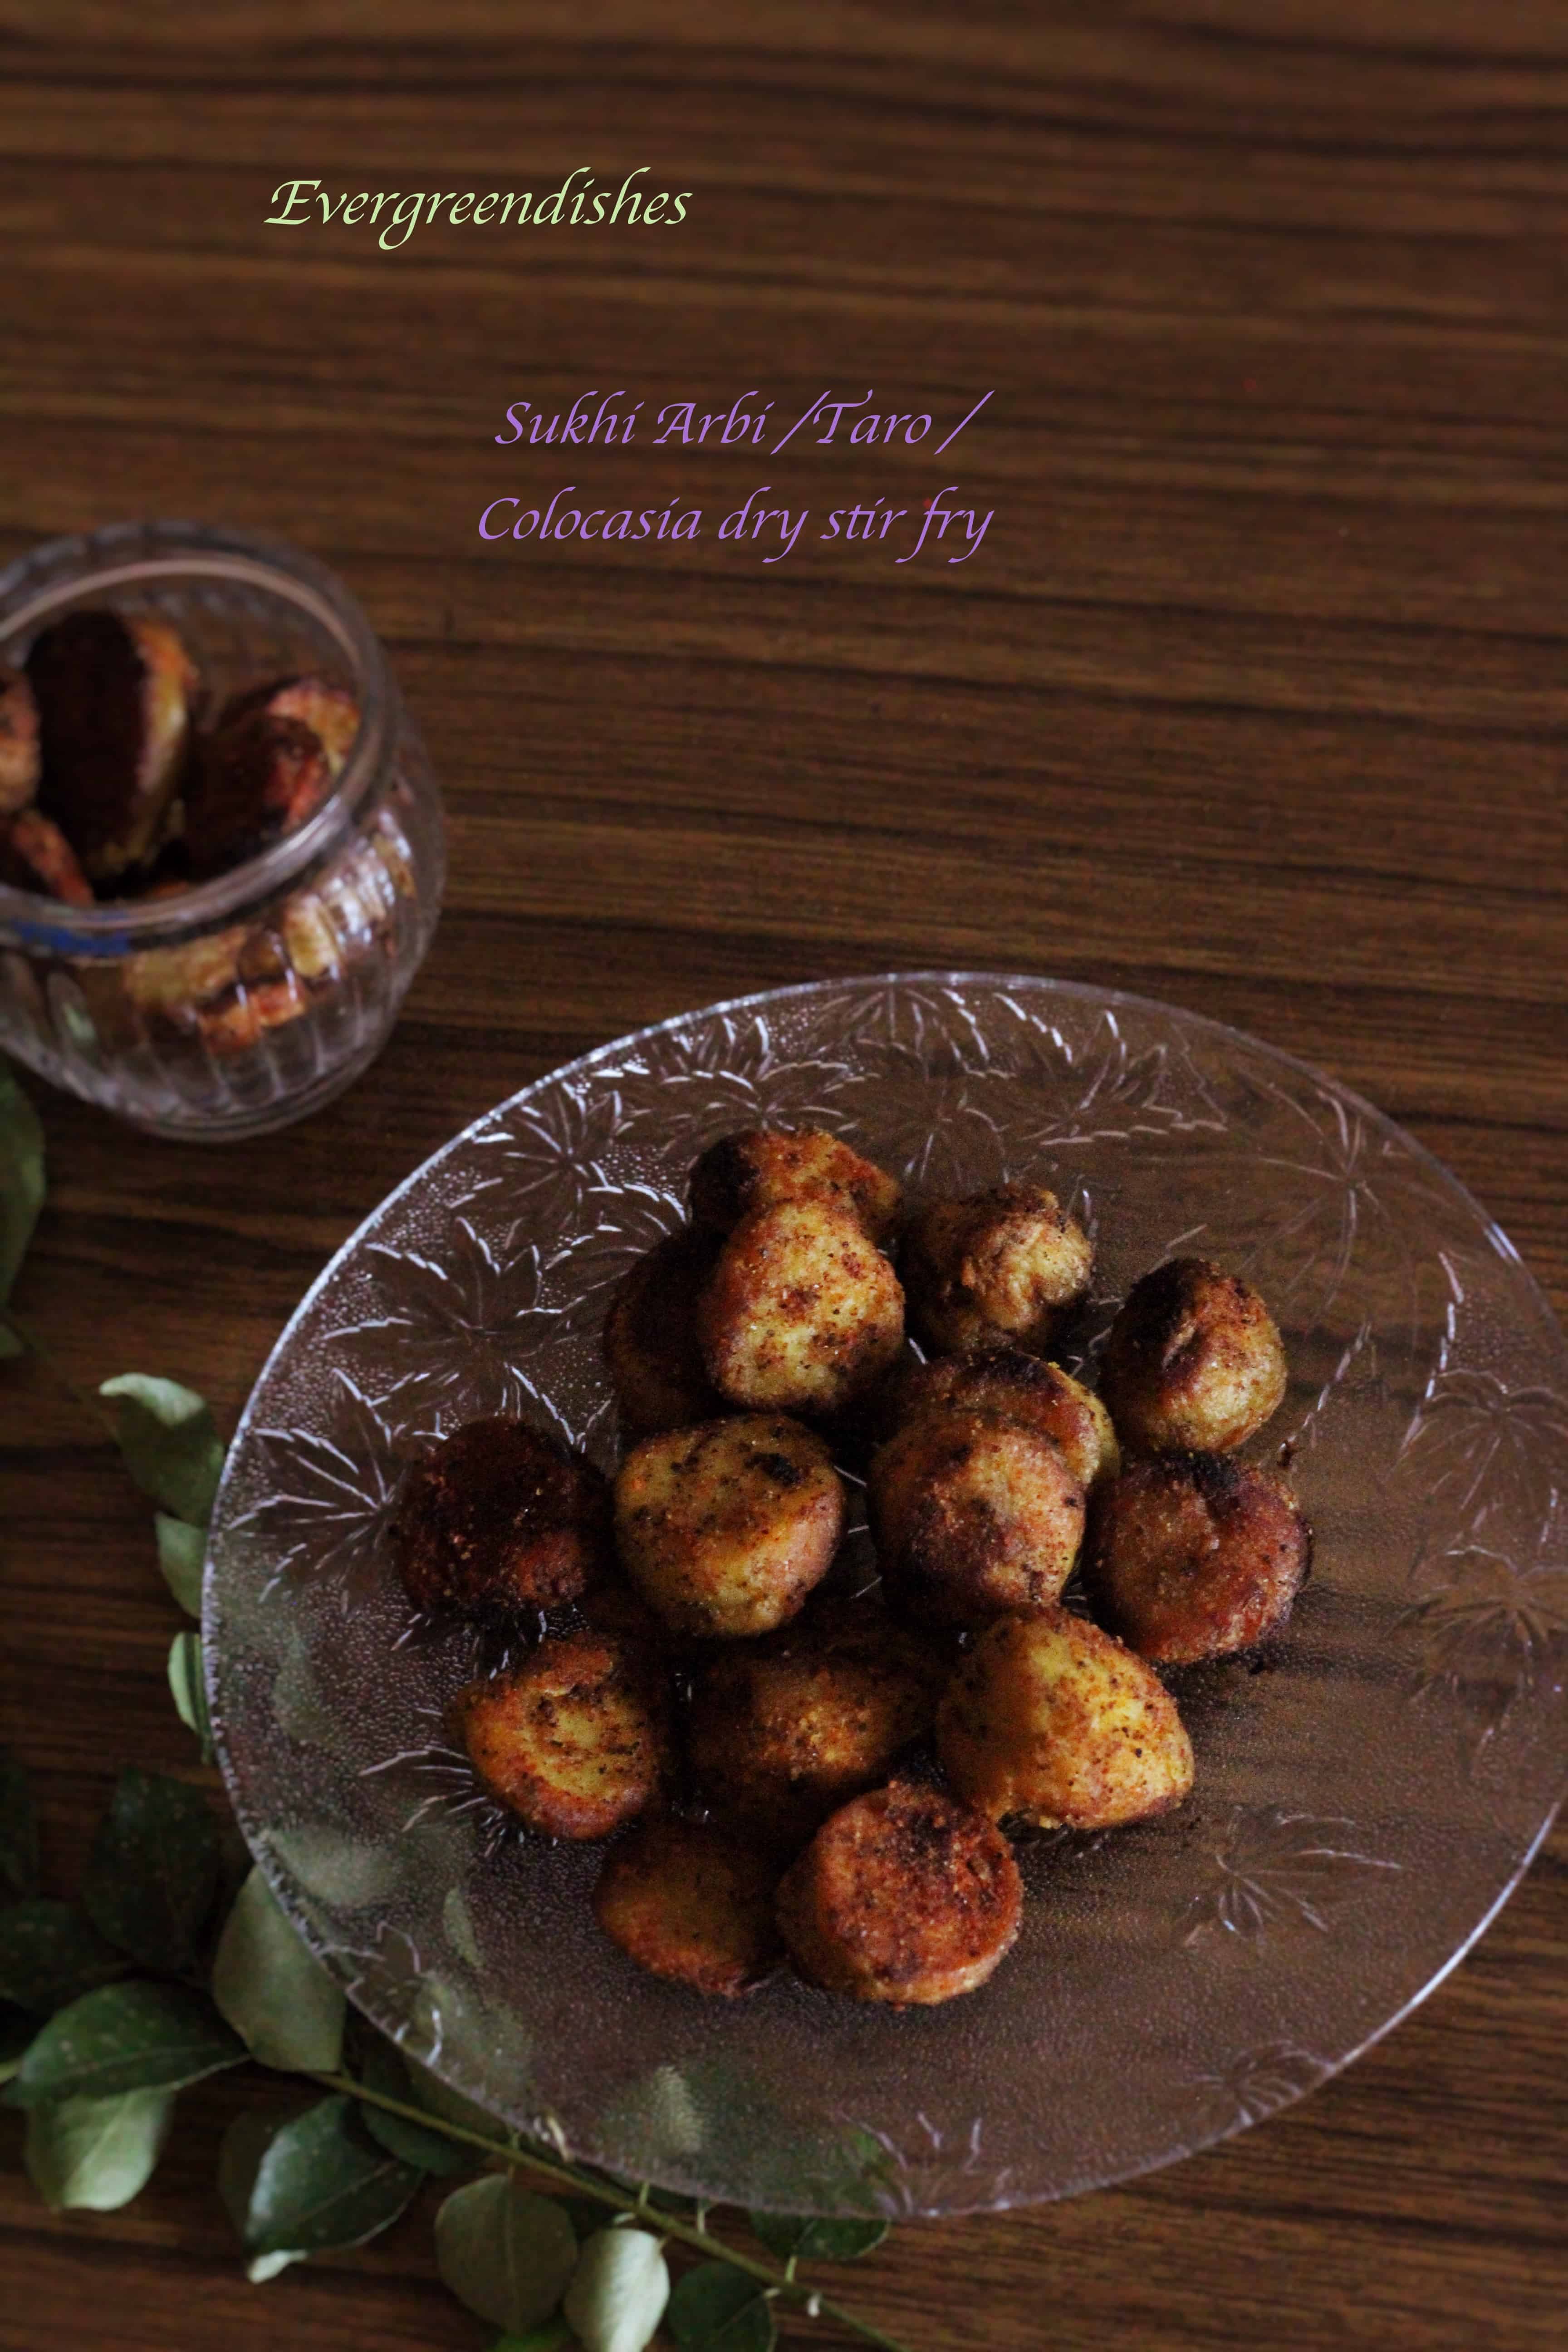
Pin it for later:

Subscribe to get all updates in your inbox. If you ever recreate this dish, do tag me @foodiejayashree on Instagram, i would love to see your creation.
Follow evergreendsihes on Facebook and Pinterest
Sending this to