I had heard and read so much of moringa leaves, but I had never seen them. Using it in my cooking was just a dream, I did ask a few vegetable vendors but I never got a futile answer. Thus, my search for moringa leaf ended. But suddenly, last week, one morning, my maid brings a bagful of these leaves and I was in awe. Well, at last I did cook with these leaves in my lifetime and now I know from where to get them.
Moringa leaves are super healthy and rightly called as “Magical Moringa”. It is rich in iron, fibre and anti-oxidants. A few benefits of these leaves are listed below.
Benefits of moringa leaves:
- It aids in weight loss.
- It helps to lower the cholesterol level.
- It helps to improve the digestive system.
- It fights insomnia. It is rich in proteins and helps to boost the feel good hormones.
- It is rich in nutrients. It has three times more iron than spinach and twice the amount of protein in milk.
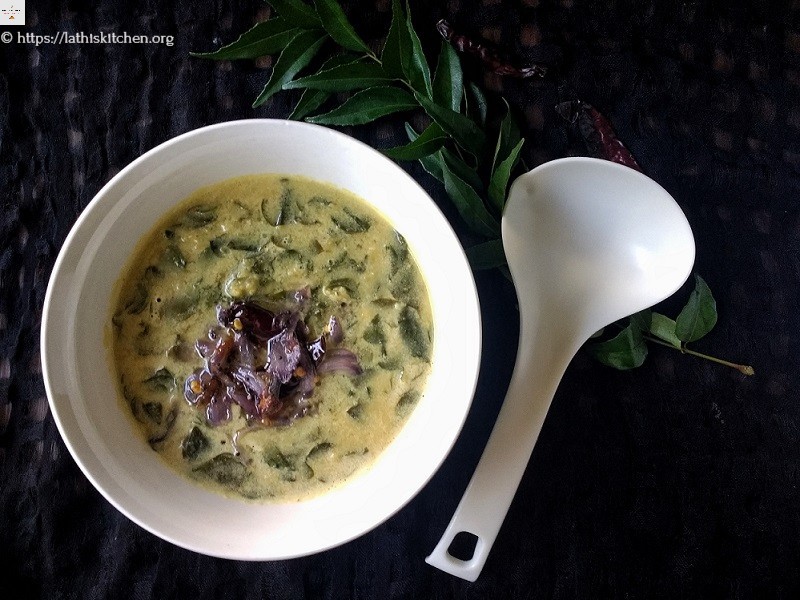
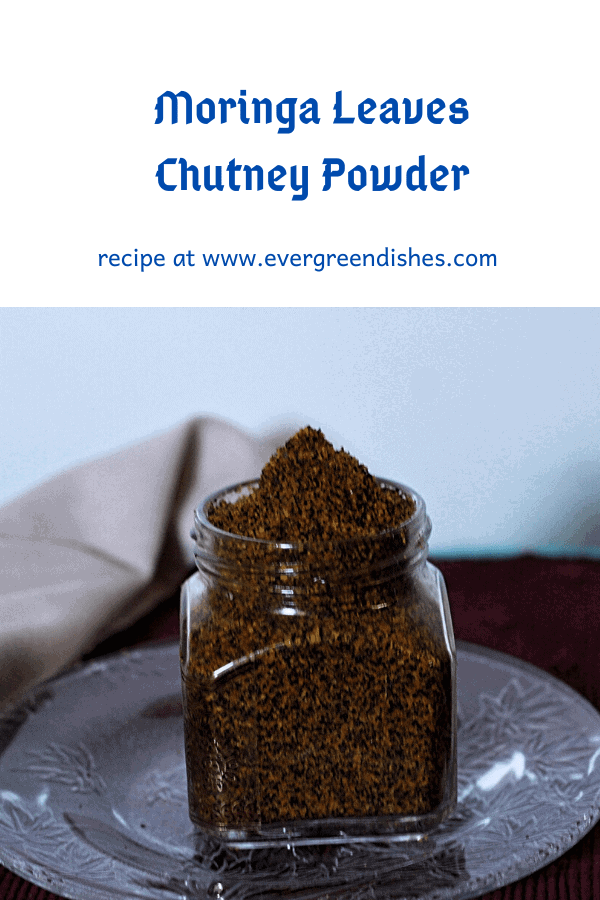
Moringa leaf chutney powder makes a good condiment. It tastes good with hot steamed rice when served with a little ghee or oil. It pairs well with curd rice. It is ideal to use with idly and dosa.
How to separate the moringa leaves:
I learnt this from the vegetable vendor who comes regularly to my house. Separating the moringa leaves from the stalk is a tremendous task. The leaves are small and one needs ample time and patience to do it. The best way to remove the leaves is to put the fresh stalk of leaves in a polythene bag, tie it tightly and keep it aside for a day. The next day, most of the leaves shed by themselves. You can also string them very easily now.

Moringa Leaves Chutney Powder
Ingredients:
- 1 cup moringa leaves (drumstick leaves, nuggekayi soppu)
- 1/2 cup dessicated coconut
- 1 tablespoon urad dal
- 2 teaspoon chilly powder
- a small piece of tamarind
- jaggery
- salt
- 1 tablespoon oil
- asafoetida
Method:
- Wash the moringa leaves and put them to dry on a cloth.
- Dry roast the coconut. Put it aside on a plate.
- Dry roast the urad dal. Put it aside.
- Dry roast the moringa leaves until they are crispy.
- Take a little oil, put the chilly powder and roast it.
- Roast the tamarind for a few seconds.
- Once they are cool, at first, grind the coconut and urad dal together. Then, add the roasted moringa leaves and grind them together for a few seconds. Add tamarind, salt and jaggery to it. Grind.
- Take oil in a pan, heat it, add asafoetida and remove it. Put the ground powder to it and mix well.
- Moringa leaf chutney powder is ready to serve.
Recently, I made another version of moringa chutney powder and it turned out good.
2nd kind of Moringa Leaf Chutney Powder :
Ingredients:
- 1 cup desiccated coconut
- 1 tablespoon urad dal
- 2 teaspoon sesame
- 1 tablespoon groundnut
- 1 cup moringa leaves
- 1/2 cup curry leaves
- tamarind
- 1 teaspoon oil
- 5 red chilli
- 1 tablespoon oil
- asafoetida
Method:
- Wash the moringa leaves and lay them on a cotton cloth.
- Wash the curry leaves and wrap them in a cloth.
- Dry roast the coconut pieces. Put it aside in a plate.
- Dry roast urad dal, it should be golden in colour.
- Dry roast sesame and ground nut separately.
- Dry roast curry leaves and moringa leaves separately until crisp.
- Dry roast the tamarind.
- In a little oil add the red chilli and saute them until crisp.
- Coarsely grind coconut pieces, now add urad dal, sesame and ground nut to it, give a swirl.
- Add red chilli to it and grind them together.
- Finally, add the curry leaves and moringa leaves to it. Put salt and give a swirl.
- Add the roasted tamarind and a little jaggery to balance the flavours. Grind them for the last time.
- Make seasoning with asafoetida, put the powder into it and mix.
- Once it is cool, store in an air-tight container.
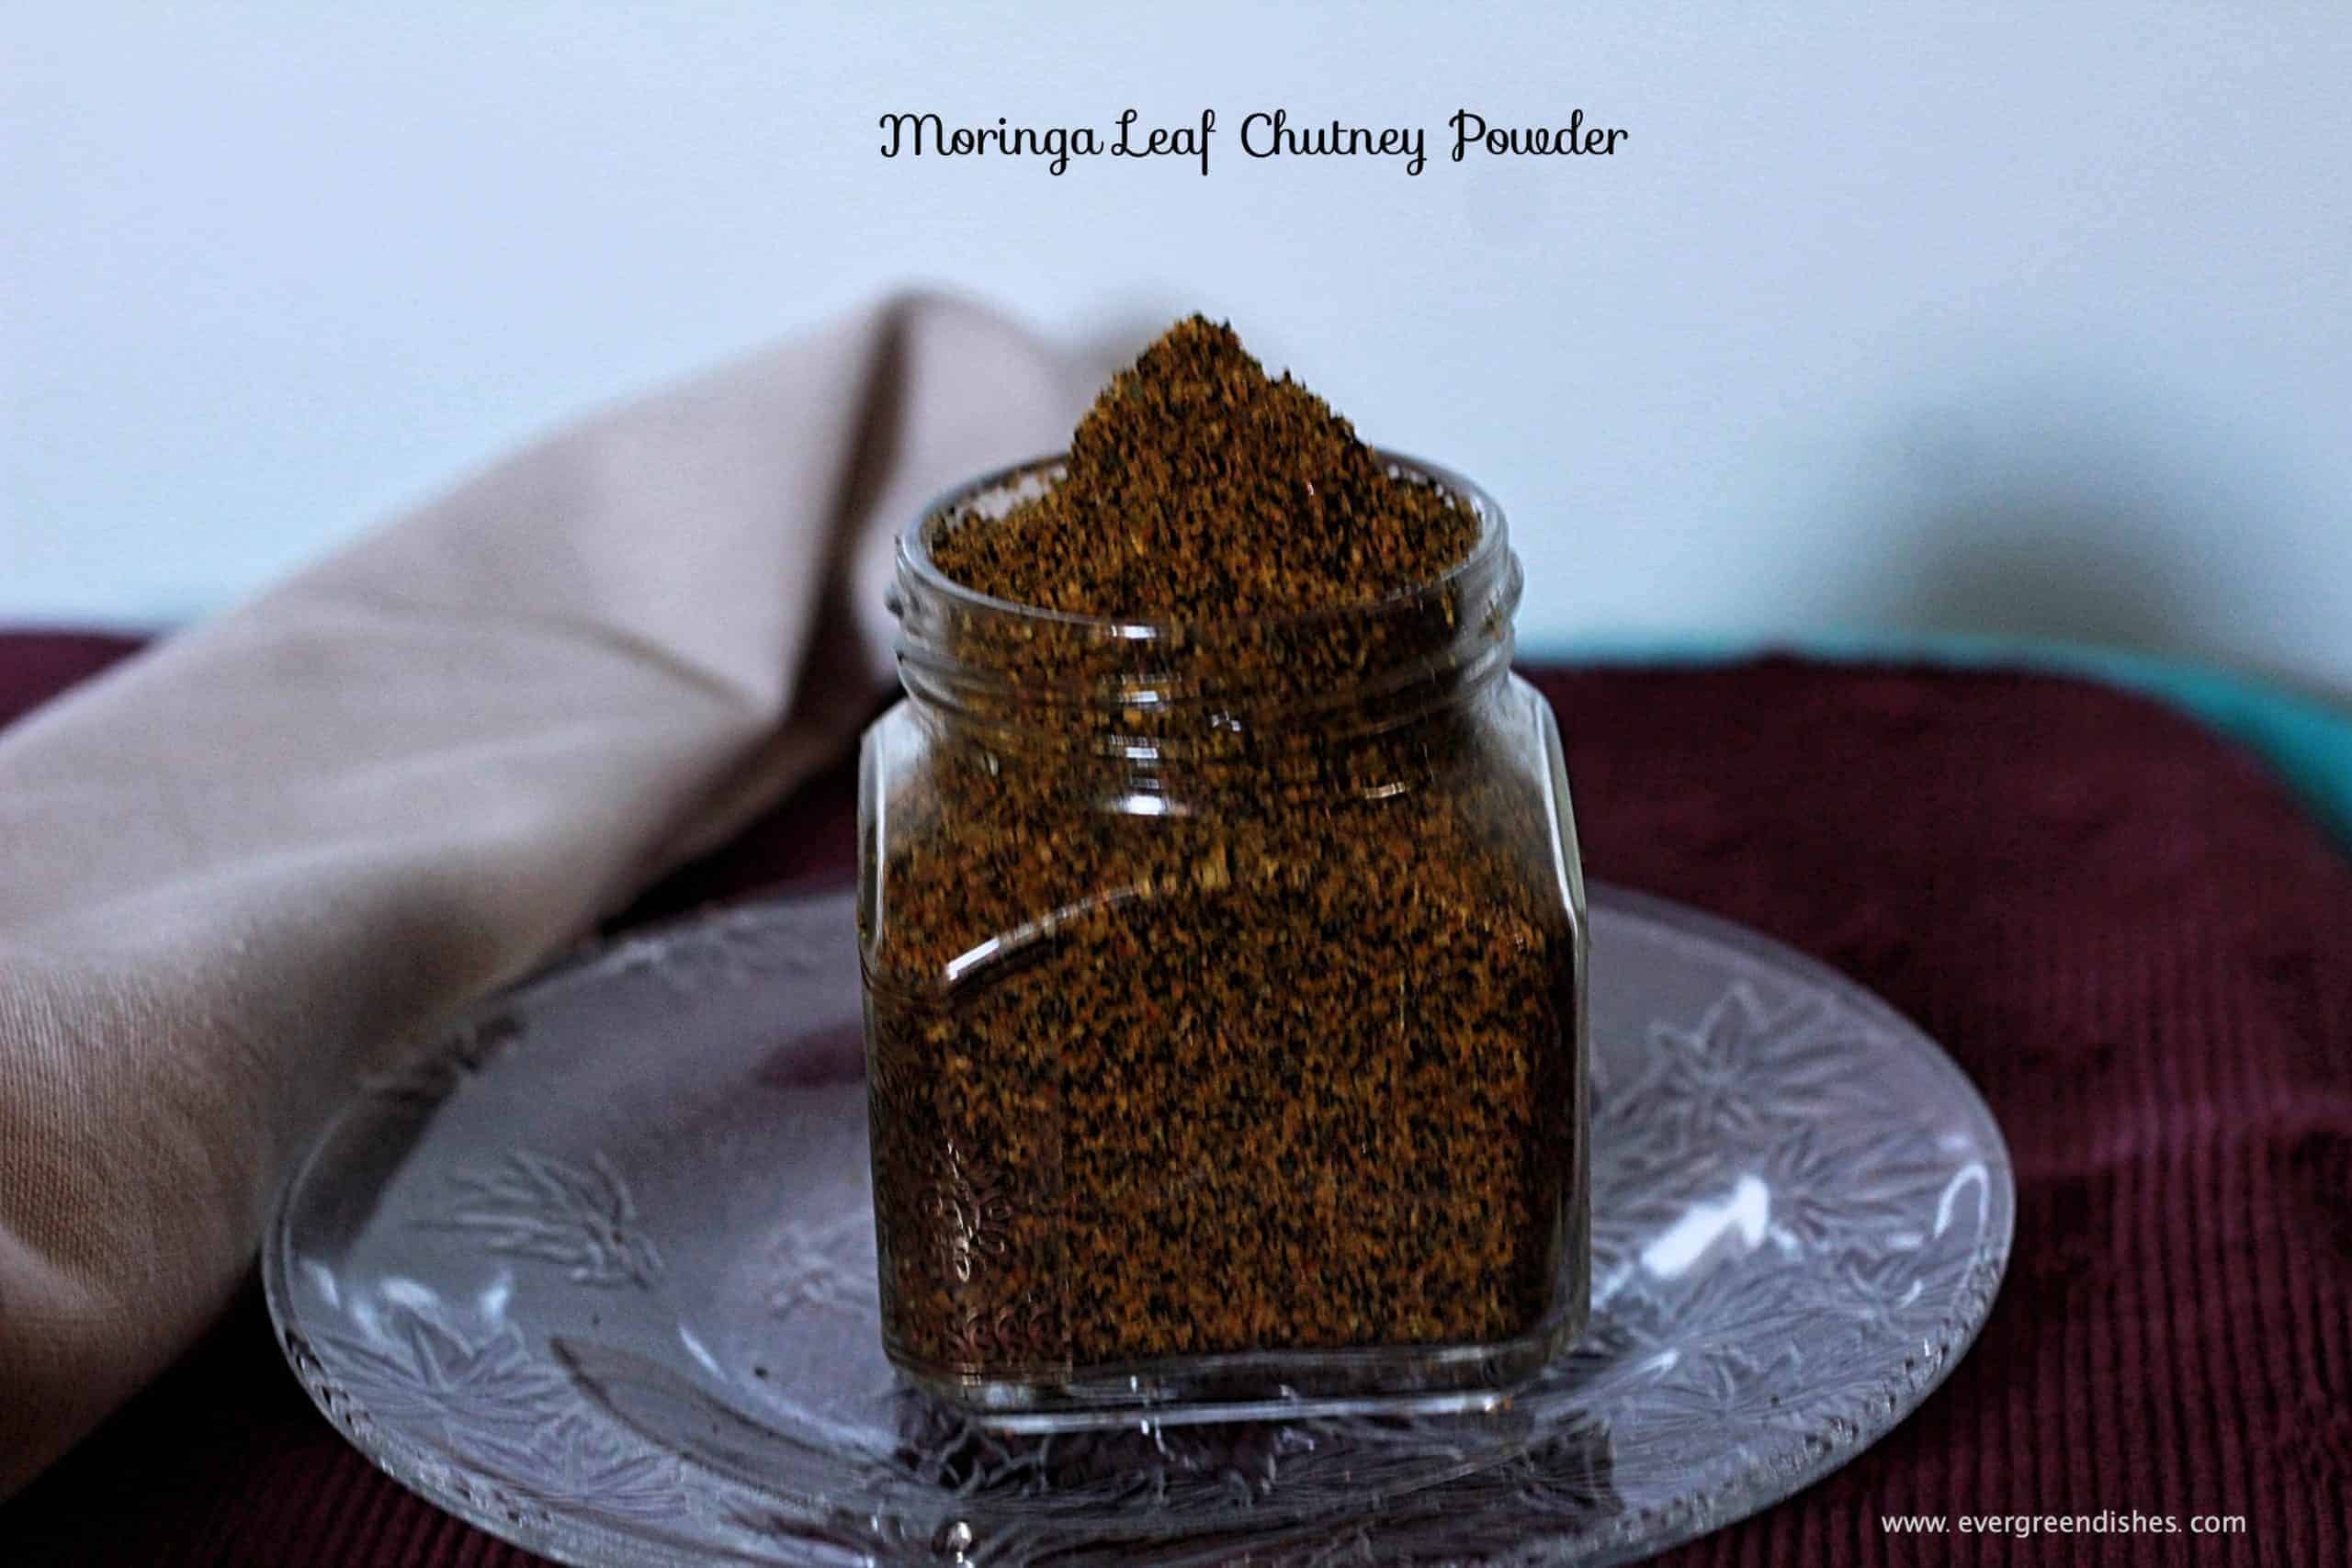
Moringa Leaf Chutney Powder
Ingredients
Method
- Wash the moringa leaves and put them to dry on a cloth.
- Dry roast the coconut. Put it aside on a plate.
- Dry roast the urad dal. Put it aside.
- Dry roast the moringa leaves until they are crispy.
- Take a little oil, put the chilly powder and roast it. Put the asafoetida over it.
- Roast the tamarind for a few seconds.
- Once they are cool, at first, grind the coconut and urad dal together. Then, add the roasted moringa leaves and grind them together for a few seconds. Add tamarind, salt and jaggery to it. Grind.
- Moringa leaf chutney powder is ready to serve.
Notes
The other kind of chutney powder recipes that I have on blog are : Garlic chutney powder, Peanut chutney powder, Curry leaf powder
The other recipe that I have using moringa leaves is a guest post by Lathiya used in dal
Pin it for later:
If you have liked this recipe, do share it with your family and friends. If you ever recreate it, take a picture and tag @foodiejayashree on Instagram, or evergreendishes on Facebook and Twitter.
Let’s be connected !
Subscribe to get all updates and a book of handy hints for free !