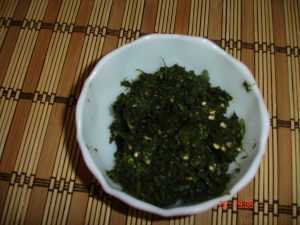
Kothimbir Vadi is one of the specialities of the Maharashtrian cuisine. It is fritters made of coriander leaves. You can use them as snacks with tea or as an accompaniment with main course of food.
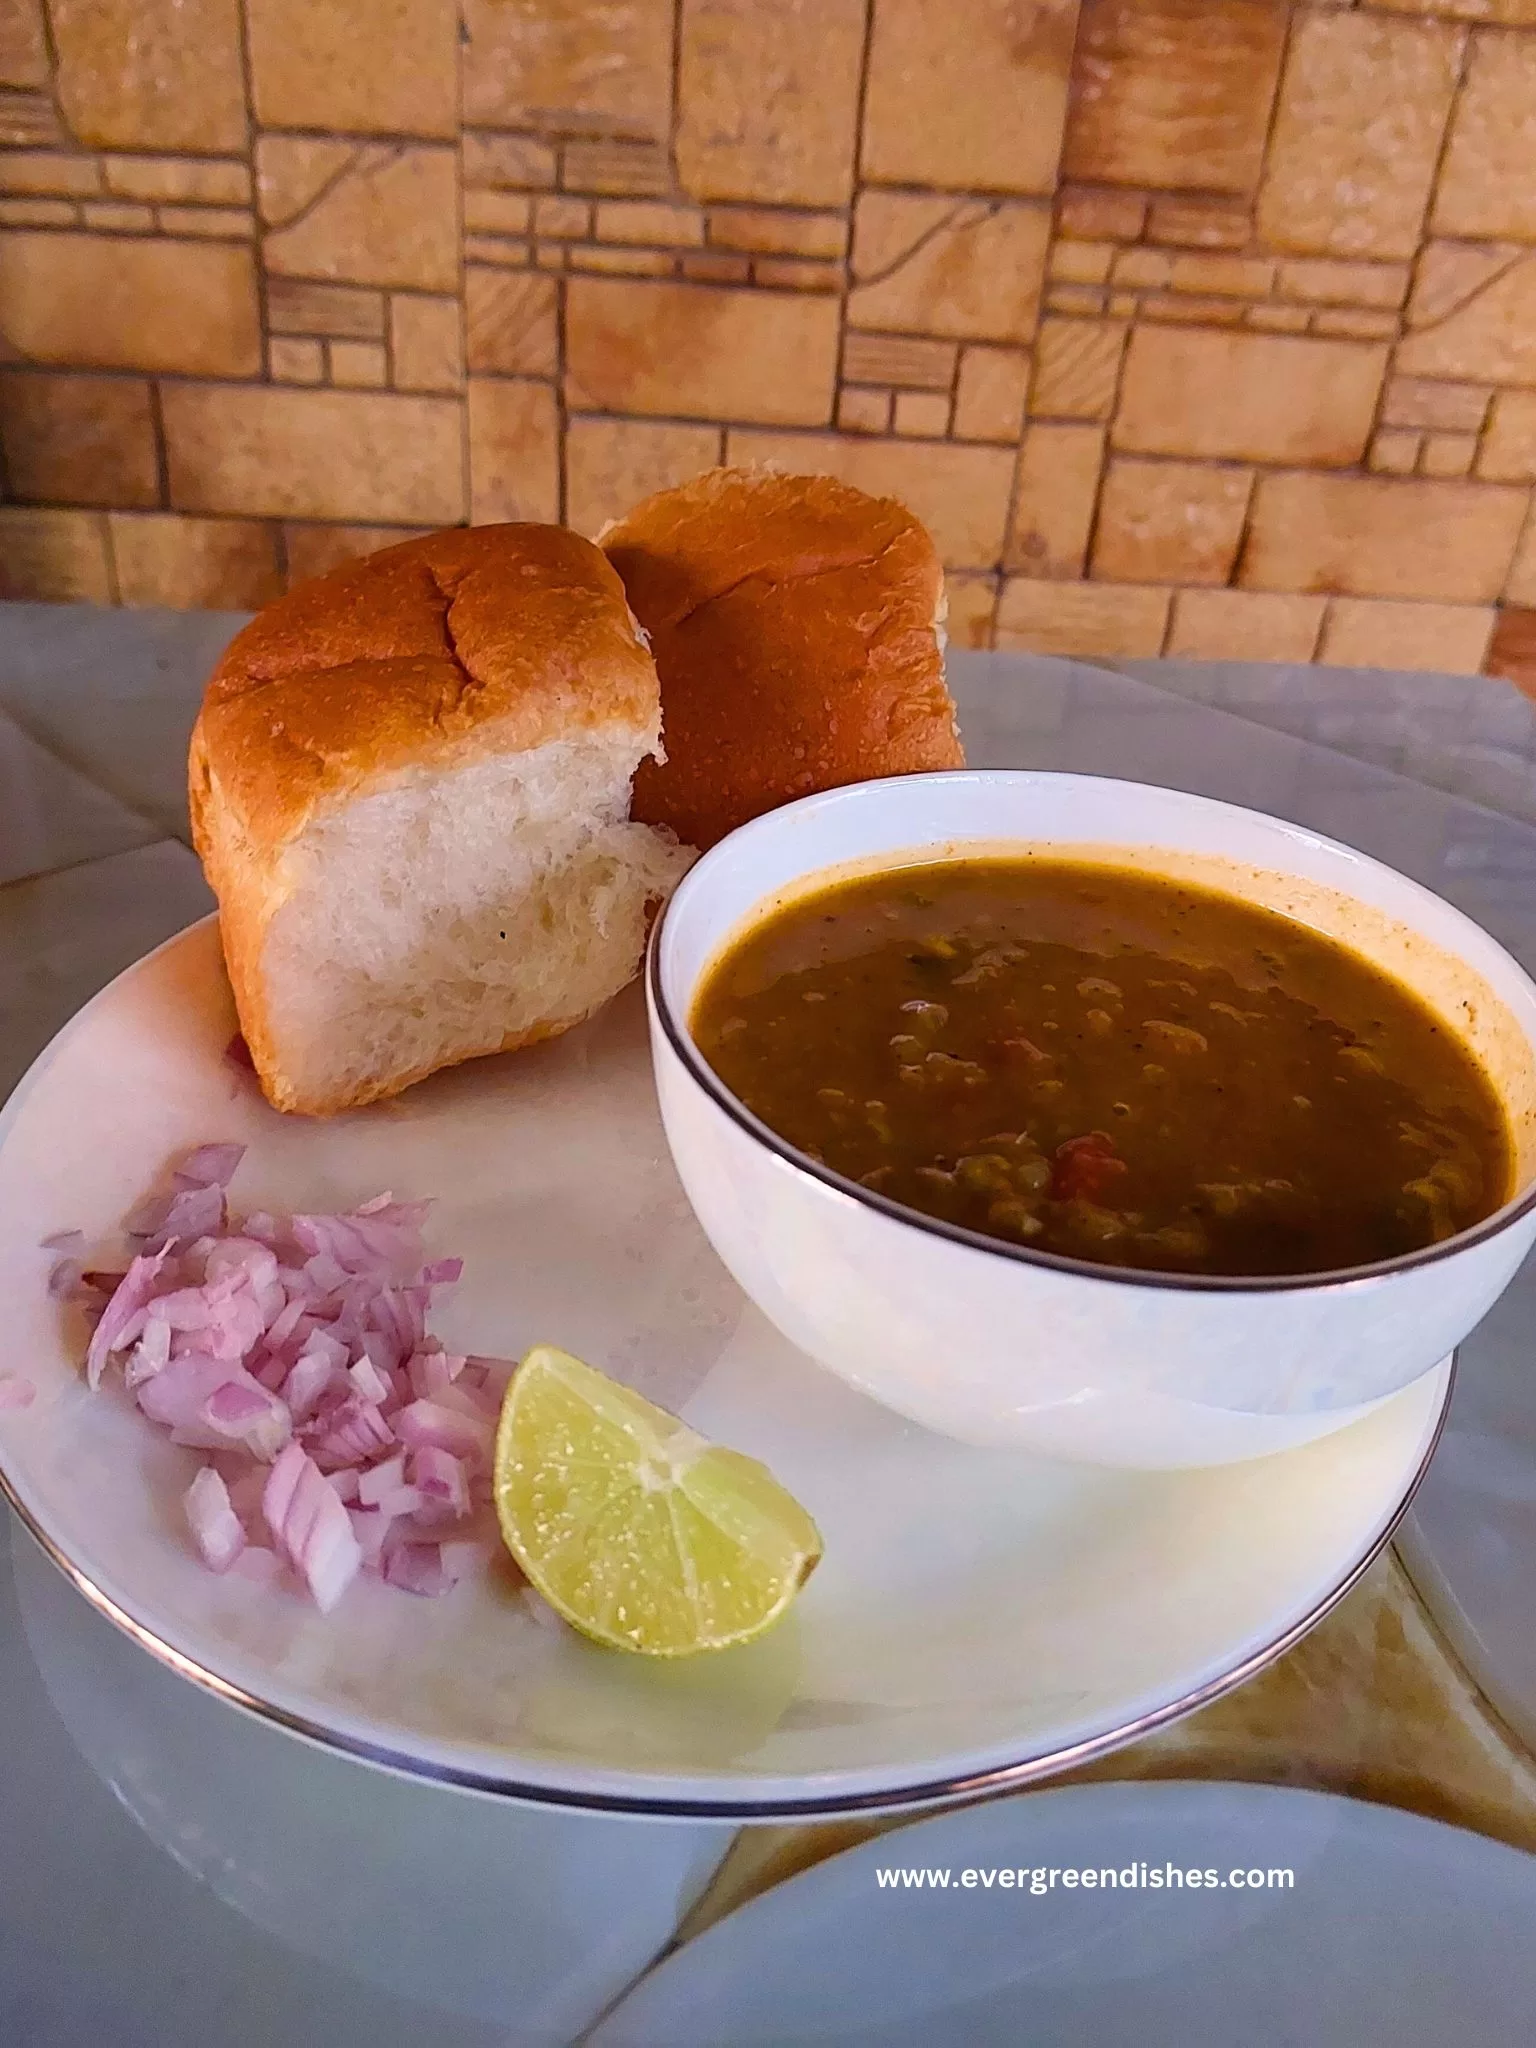
Pav Bhaji is a popular dish from Maharashtrian cuisine. It is tasty, filling and can be made ahead of the time.
Pav bhaji is one of the snacks that I grew eating it very regularly and cherish this so much. It’s easy to make on hard days, good for the parties or any time of the day , and most of all it fills your stomach , not something like uff, I have eaten so much and still feel hungry…unlike the pani puris, isn’t it ? I am really pretty excited to share it here.
Pav Bhaji is a popular street food of Mumbai. It is very popular and so delicious, that you can find these vendors selling it everywhere and till late nights. This month , we Culinary Hoppers have decided to explore the Maharashtrian cuisine. This variety of food has so much to offer and it has a unique blend of taste. It is spicy with a little bit of sweetness in it. Chapati and phulka are more commonly made here. Accompaniments such as dry potato sabzi or matki usal are common. A dish of gram flour called as Jhunka is very famous here. With rice, they make a rasam like known as amti. The curry powder used is different one, known as Goda Masala. This powder is also used in preparing variety of rice dishes.
As we are lovers of pav bhaji at home, I decided to make this and Kotambir Wadi for the blog hop. I hope you enjoy this authentic recipe of pav bhaji recipe as much as I am glad to share it here .
pav bhaji
Mumbai Pav Bhaji
Recipe Type: Snacks
Cuisine: Maharashtrian
Author: Jayashree
Prep time:
Cook time:
Total time:
Serves: 6
A tasty and mouth watering delicacy of Maharashtra
Chop the carrots, peel the potatoes and cut them into cubes. Check the cauliflower and cut into florets. Put all the vegetables in a separator along with green peas and cook for two whistles.
Take butter in a pan. Add cumin, ginger-garlic paste and saute for a while. Put the onion pieces and saute for sometime until it is translucent.
Add the tomato pieces to it . Continue cooking. Add the capsicum pieces also.
Put pav bhaji masala and red chilli powder to it. Add turmeric powder and salt. Let the flavours mingle emitting a good aroma.
Add the mashed vegetables to it. Adjust the consistency by adding some water to it.
Let cook for sometime. Set it aside.
To serve:
Heat a pan. Cut the pav and put some butter. Toss them on the skillet until it is lightly brown in colour.
Put the prepared bhaji in a bowl, top with onion and coriander and serve with toasted pav buns.
Notes
You need to use butter in the recipe.
Oil can be mixed with it. Butter can be any kind, store bought or homemade.
I have used home made.Use fresh ginger garlic paste. I used eight cloves of garlic and an inch of ginger.
You can use ready made pav bhaji masala.
Reduce the quantity of vegetables and pav bhaji masala to make a smaller portion.
Chop the carrots, peel the potatoes and cut them into cubes. Check the cauliflower and cut into florets. Put all the vegetables in a separator along with green peas and cook for two whistles.
Take butter in a pan. Add cumin, ginger-garlic paste and saute for a while. Put the onion pieces and saute for sometime until it is translucent.
Add the tomato pieces to it . Continue cooking. Add the capsicum pieces also.
Put pav bhaji masala and red chilli powder to it. Add turmeric powder and salt. Let the flavours mingle emitting a good aroma.
Add the mashed vegetables to it. Adjust the consistency by adding some water to it.
Let cook for sometime. Set it aside.
To serve:
Heat a pan. Cut the pav and smear some butter.
Toss them on the skillet until it is lightly brown in colour.
Put the prepared bhaji in a bowl, top with onion and coriander and serve with toasted pav buns.
Notes
You need to use butter in the recipe.
Oil can be mixed with it. Butter can be any kind, store bought or homemade.
I have used home made.Use fresh ginger garlic paste. I used eight cloves of garlic and an inch of ginger.
About the event :
Sending this to Foodies_Redoing Old Post _137. I have redone the post with better pictures. It is a fortnightly event, a group of bloggers together, work on an old post. It gives a new gleam to the old posts which was done years back.
mumbai pav bhaji
If you ever make Mumbai Pav Bhaji in your kitchen, take a picture and share on Instagram by tagging @foodiejayashree. You can also tag me on facebook. Subscribe to get all updates in your inbox and an e-book of handy hints for free. Until next time, happy cooking !
Winter brings it own blessings for us. Beautiful season awaits along with good food for the taste buds.This cold weather, urges us to deep fry some snacks as pakodas and other kind with a cup of hot tea. Bread pakoda is an easy to make snack that can be made in a jiffy. Do give a try to this version of mine.
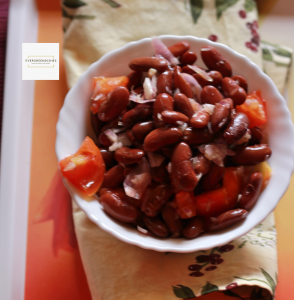
Kidney bean salad is a tasty, healthy and easy to make snack. It is packed with nutrition and ideal protein supplement for vegetarians.
Kidney bean aka rajma is a wonderful source of nutrition. It is one of the essentials in North India.They are widely used in gravy based dishes. But today, I have an interesting recipe here, Kidney bean salad, easy to make and healthy too.
The kidney beans are dark red coloured and shaped like kidney. They are rich in molybdneun, folate,fiber, potassium, manganese, phosphorous, protein and vitamin B.
They help prevent cholestrol. They provide fat free protein. They help in reducing the level of blood sugar, thus it is highly recommended for these patients. Being heart friendly, these also , give folate to the body. Like all legumes, it is rich in both kinds of fiber.It is considered to help in improving memory.
Salads of legumes are packed with nutrition. They should be used more often in our daily diet. The first time I came across this kidney bean salad was in the book by cooking magnet, Tarla Dalal, loved the idea of making a salad of these. But the recipe here, is slightly different from the original and mine.
Take a wide bowl and add the boiled kidney beans. Add the onion and tomatoes.
Mix the ingredients “for The dressing” in a bowl.
Pour it over the veggies and chill in refrigerator.
Serve with a garnishing of cilantro.
Notes
To cook the kidney beans, soak them overnight in water. Next day, discard the water, wash and put fresh water to it. Put in the pressure cooker and cook for at least eight whistles. Allow the pressure to release by itself.The kidney beans should be tender when touched with fingers.Otherwise, cook them again.
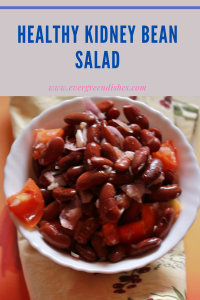
Healthy Kidney Bean Salad
Kidney bean salad makes a good snack to binge on. It should be consumed regularly by vegetarians.
Take a wide bowl. Add the boiled kidney beans. Put the onion and tomato pieces to it.
Mix the ingredients, “For the dressing” in a bowl.
Pour it over the beans, chill and serve.
Notes
Soak the kidney bean in water for eight hours. Drain the water, wash under running water and cook in the pressure cooker for a couple of whistles. They should be soft to eat. Do not remove until the pressure is released by itself.
About the event :
This is an old post which I have redone with better pictures and text. Sending this Foodies_Redoing Oldpost29, which is a fortnightly event. Our old posts which were written long back are getting a fresh touch now, thanks to Renu Agarwal Dongre.
3.5.3208
Pin it for later:
If you have liked this post, do share it with your family and friends. If you ever make this, take a picture and share it by tagging @foodiejayashree on Instagram or @evergreendishes on Facebook or Twitter.
Let’s be connected, the follow buttons are on the side bar. Subscribe to get all updates and an e-book for free!
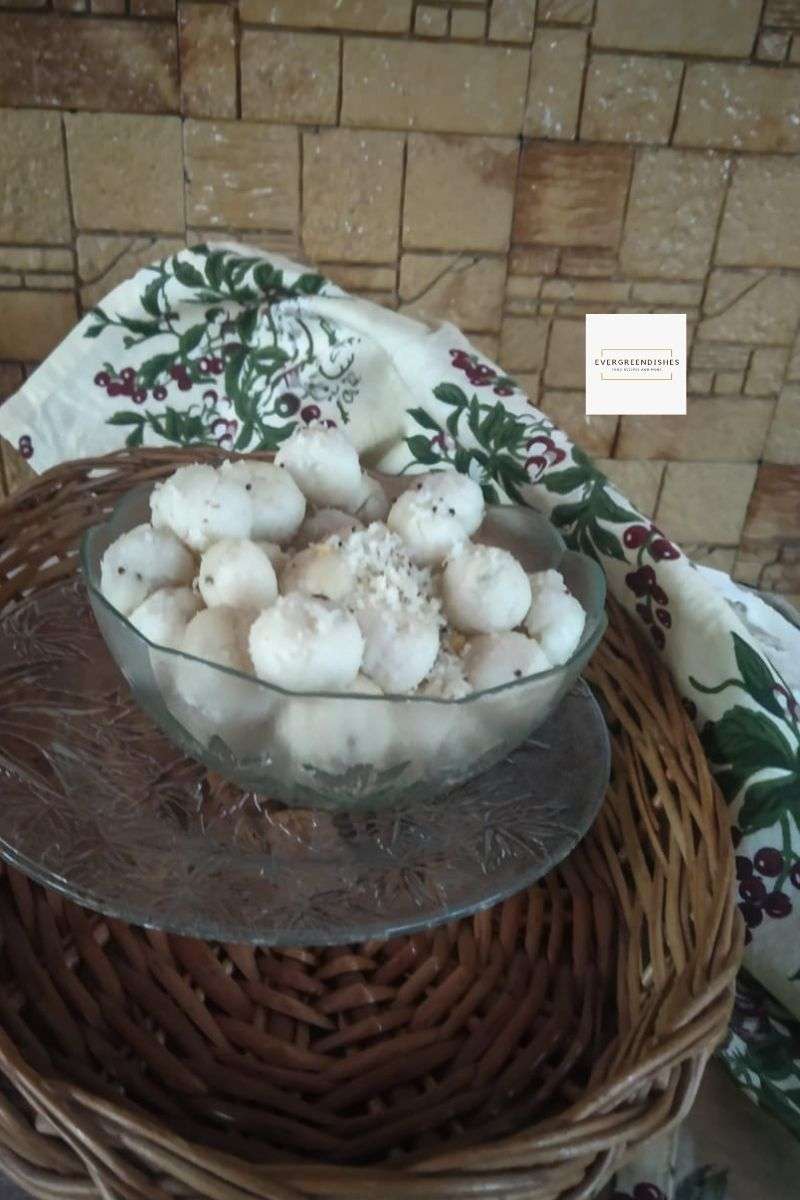
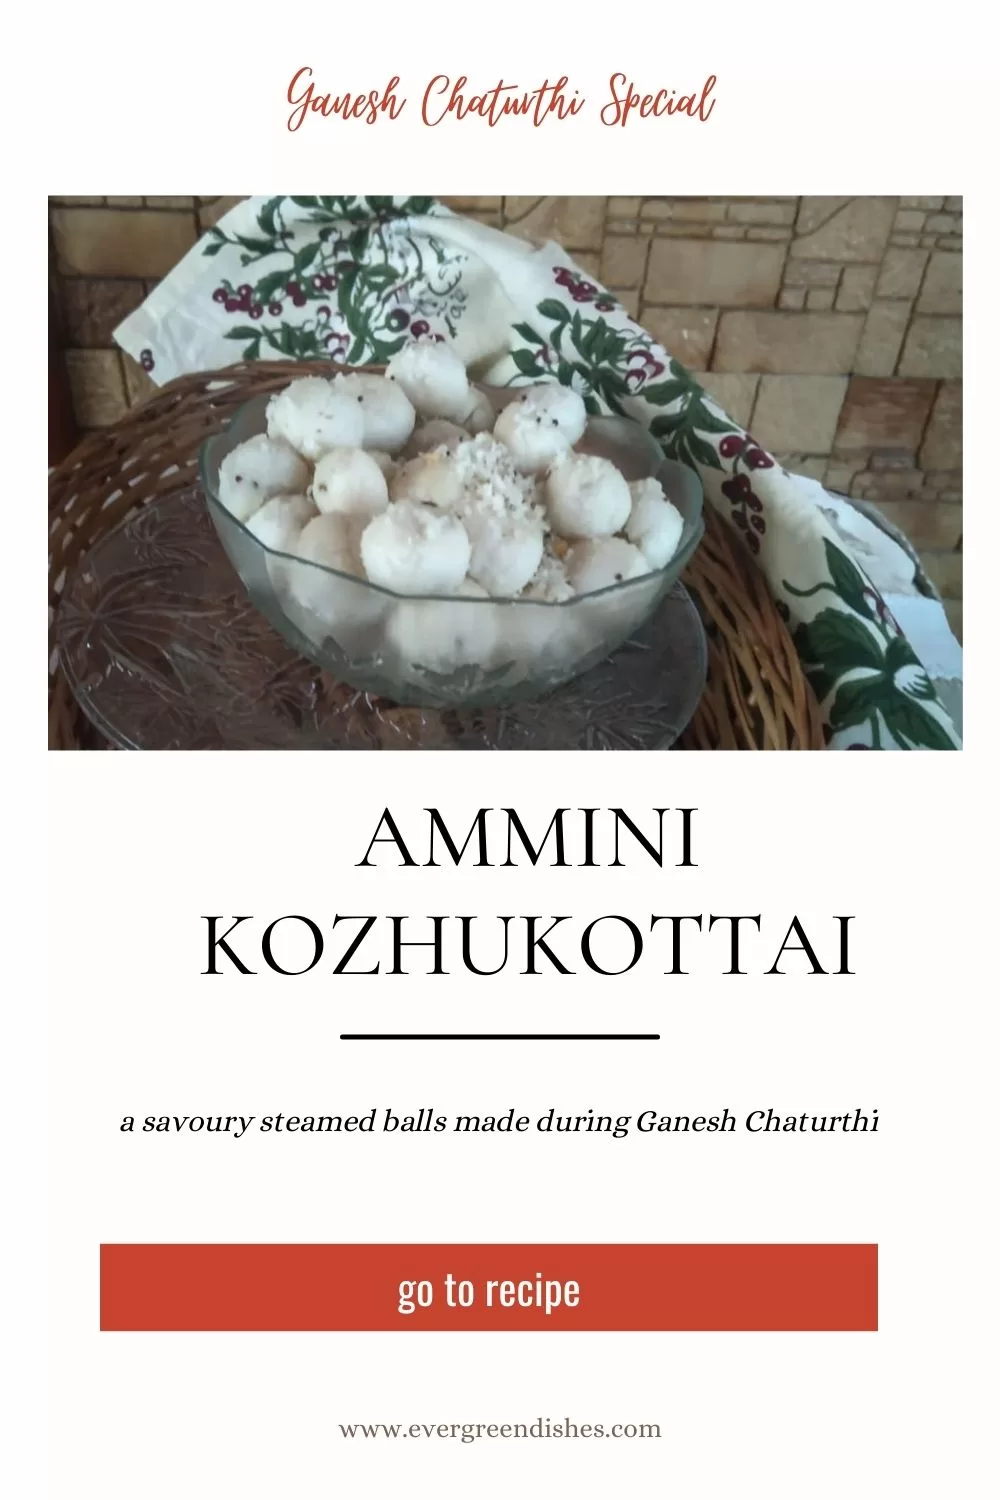
Ammini kozhukattai is a south indian dish. It is made in Tamil Nadu cuisine where different kinds of kozhukottai are popular. It can be served as a snack or along with lunch as an accompaniment.
Ammini Kozhukottai is a savoury dish made usually during Ganesha Chaturthi.The round white balls of rice flours are steamed and immersed in a seasoning with condiments and fresh grated coconut.
I often make it during weekends. It is funny some kind of food create an impact that lasts forever. I learnt it late but since then, making it regularly.
ammini kozhukottai
Ammini Kozhukattai
Ingredients :
2 cups rice flour
salt to taste
1/2 teaspoon cumin
water
oil
1 teaspoon urad dal
2 dry red chilli
1/2 teaspoon mustard seeds
asafoetida a pinch
1/2 cup fresh grated coconut
a few curry leaves
Method :
Take the rice flour and dry roast for a few seconds. Do it on a low flame, lest it gets burnt. There is no need of the colour to change. Allow to cool.
Add salt and cumin, mix well with hands. Add a little quantity of water and knead it to a hard dough.
Smear oil and keep it aside for fifteen minutes.
Make small balls of the dough.
Take a pan and pour water in it. Keep the balls in a wide bowl and steam it for fifteen minutes.
In a kadai, make the seasoning with asafoetida,mustard, urad dal.curry leaves and red chilli
Add the steamed dumplings and give a stir.
Garnish with fresh grated coconut.
Ammini kozhukattai is ready. Serve it as a offering to Lord Ganesh,
Take the rice flour and dry roast for a few seconds. Do it on a low flame, lest it gets burnt. There is no need of the colour to change. Let it cool.
Add salt and cumin, mix well with hands. Add a little quantity of water and knead it to a hard dough.
Smear oil and keep it aside for fifteen minutes.
Make small balls of the dough.
Take a pan and pour water in it. Keep the balls in a wide bowl and steam it for fifteen minutes.
In a kadai, make the seasoning with asafoetida,mustard, urad dal.curry leaves and red chilli
Add the steamed dumplings and give a stir.
Garnish with fresh grated coconut.
Ammini kozhukattai is ready. Serve it as a offering to Lord Ganesh.
Notes
To make it gluten free, avoid using asafoetida.
Pin it for later:
savoury steamed balls
z
About the event:
This is an old post which I have updated with better pictures. Sending it to Foodies_Redoing Old Post_72, a fortnightly event. I was quite regular initially, but took a break in between, now I have joined again since last month.
If you ever make this Ammini kozhukottai recipe , do take a picture and tag @foodiejayashree on Instagram or @evergreendishes on Facebook or Twitter. I will be glad to see your creation and share it further. Let’s be connected, do follow on social media platforms. Until next time, let’s stay connected. Subscribe to get all updates and an e-book for free. Check out my e-books on Amazon. Happy Cooking!
Kachori is a savoury snack which originated in Uttar Pradesh and Rajasthan. Today, it is popular in many states as Madhya pradesh, Gujarat, Maharashtra and all the northern states. Various kind are prepared with different filling inclusive of sweet and dry fruits. Both baked and fried versions are made. It’s festivity time and the theme of our blog hop is “Kachoris ” I am presenting to you a popular and tasty one ” Khasta Kachori ” Do find a picturesque presentation below.
kastha kachori
Ingredients :
For the dough :
Refined flour 2 cups
soda 1/2 tsp
salt 1/2 tsp
water
oil 3tbsp
For the filling :
urad dal 1/2 cup
green chilly
ginger 1 inch
dhania powder 1tsp
cuminpowder 1/2 tsp
fennel powder 1/2 tsp
chilly powder 2tsp
sugar 1/2 tsp
salt
cashew pieces
raisins
oil for deep frying
Take a tip : I pounded fresh spice powder and it tasted great. Take a spoon each of dhania, cumin and fennel and powder it in the small jar.
Method :
To make the dough :
Sift the flour, salt and soda together.
Add oil and mix well with fingers.
Knead to a dough of thick consistency,
Cover it with a moist cloth and keep aside.
To make the filling :
Soak the urad dal for an hour.
Coarsely grind it along with ginger and green chilly.
Heat oil in a pan. Add the ground paste to it.
Along with it add asafoetida and other spice mix.
Let the moisture evaporate. Add salt and lime juice.
Let cool.
To make the kachoris :
Make 15 balls of the dough and the filling.
Take a ball of the dough, roll it into a puri. Keep it thick at the centre and thin at the edges.
Take a ball of the mixture, enclose it by sealing the edges.
Flatten it by pressing with fingers.
Repeat for others.
Heat oil in a frying pan.
Deep fry by putting three or four at a time.
It should be golden in colour.
Remove and put it on absorbent paper.
Serve with sweet chutney and green chutney.
doughfilling mixtureballs of the doughballs of the fillingdough rolledplace the fillingseal the edgesflatten it with fingersdeep fry
kastha kachori
Do check out the other variety of kachoris by Culinary Hoppers.
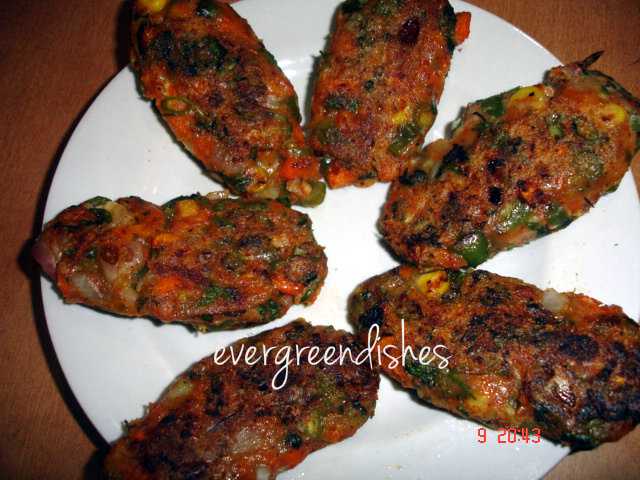
The affair with kababs continues.The pleasant weather of September, it was raining here then, (late rains) and these kababs made a wonderful treat. When I saw this Veg Seekh Kabab on my dear friend Piyali Sekhar Mutha’sblog, I could not desist. The recipe can be read here.They looked delicious and I knew it would be liked by my children. Last week. I had made these and they were really good. Now, sharing it here with you all.
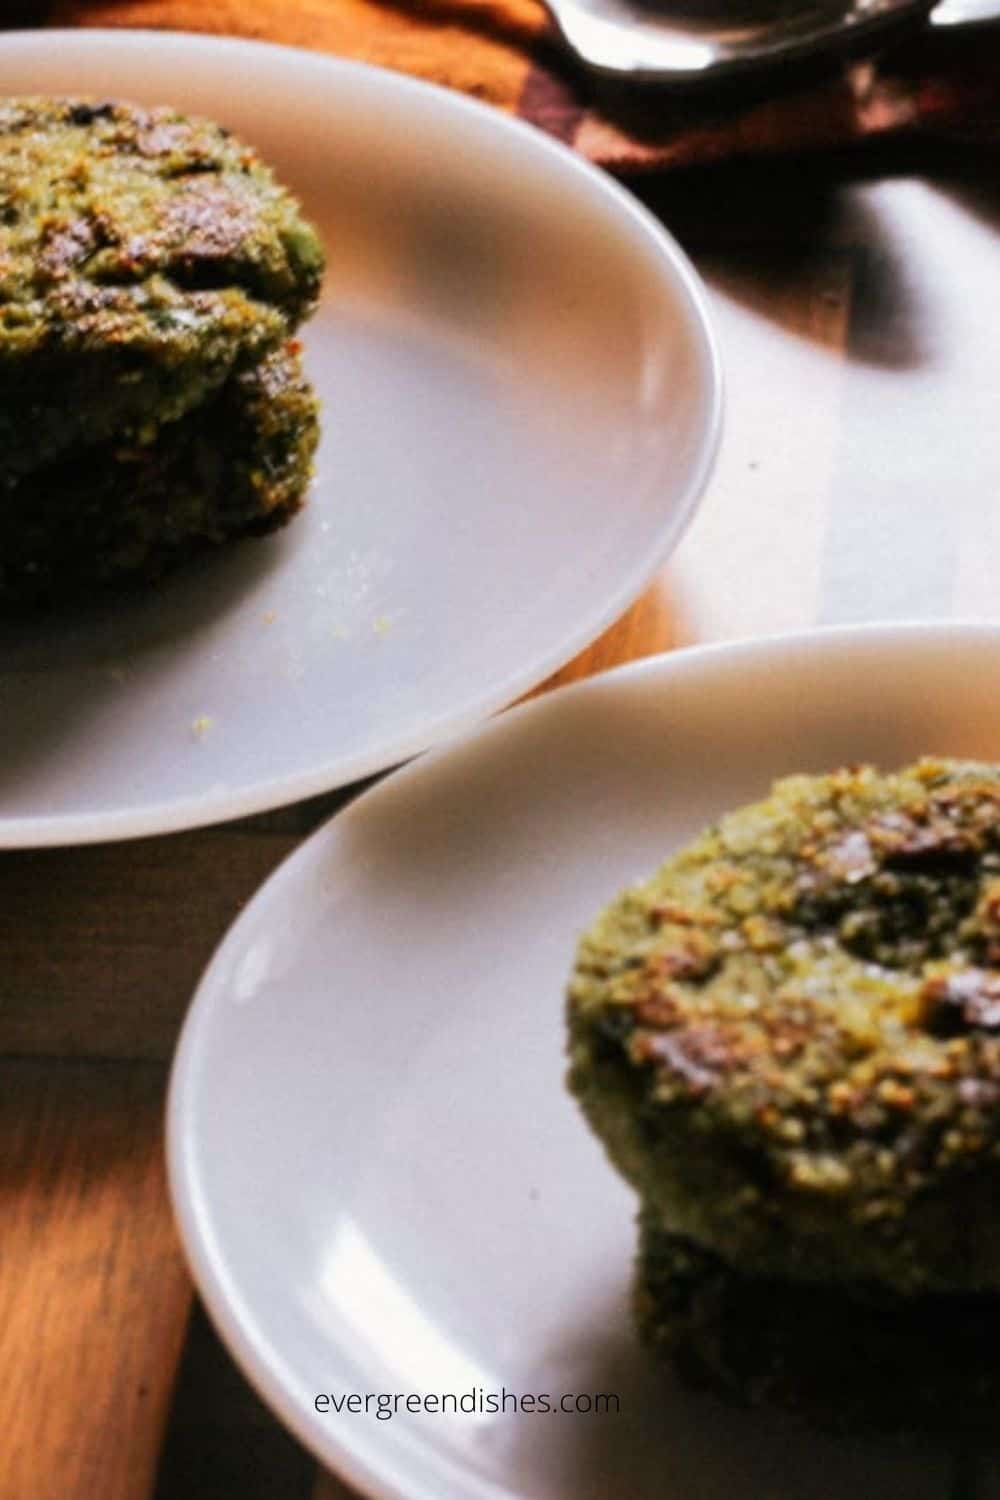
Hara Bhara Kabab is a popular kabab made using spinach, potato and green peas. This green filled savoury is much relished and sort after snack. It is a healthy snack with the goodness of spinach and green peas in it. It is ideal to serve as an appetiser or evening snack.
Hara Bhara Kabab is ideal to serve as an evening snack. It is ideal finger food for children or as an appetizer for a get-together, it is loved by all. Without much ado, here is the recipe for this one.
hara bhara kabab
Hara Bhara Kabab Recipe
Ingredients :
1 cluster (bunch)Spinach
3 boiled potato
1 cup green peas boiled
2 green chilly
1 inch ginger
2 tablespoon bread crumbs
1 teaspoon chat masala
salt to taste
1 teaspoon cornflour
oil for shallow frying
a few cashew nuts
Method:
Remove the stalk, wash and boil the spinach leaves (sans water) for three minutes. When cool grind it with ginger and green chilly to a smooth paste.
Make a paste of the green peas.
Take a bowl and add the potatoes, green peas and the spinach paste. Add bread crumbs, chat masala and salt to it. Mix well.
Make a paste with cornflour in another bowl and keep aside.
Make flat balls of the mixture.
Heat a skillet, take a ball of it and dip in the cornflour mixture, and put a cashew over it.Place it on the skillet and put a little oil on it.
Roast until golden in colour on both sides.
Alternatively you can deep fry it.
Serve hot with any dip or sauce of your choice.
Evergreendishesdev
Hara Bhara Kabab
Hara Bhara Kabab is a delicious snack made with spinach, peas and potato.
Remove the stalk, wash and boil the spinach leaves (sans water) for three minutes. When cool grind it with ginger and green chilly to a smooth paste.
Make a paste of the green peas.
Take a bowl and add the potatoes, green peas and the spinach paste. Add bread crumbs, chat masala and salt to it. Mix well.
Make a paste with cornflour in another bowl and keep aside.
Make flat balls of the mixture.
Heat a skillet, take a ball of it and dip in the cornflour mixture, and put a cashew over it.Place it on the skillet and put a little oil on it.
Roast until golden in colour on both sides.
Alternatively you can deep fry it.
Serve hot with any dip or sauce of your choice.
Pin it for later:
Hara bhara kabab is a delicious snack from North Indian cuisine.
If you ever make this hara bhara kabab recipe or any of my other dishes, do take a picture and tag @foodiejayashree on Instagram or @evergreendishes on Facebook or Twitter. I will be glad to see your creation and share it further. Let’s be connected, do follow on social media platforms. Until next time, let’s stay connected. Subscribe to get all updates in your inbox. Happy Cooking !
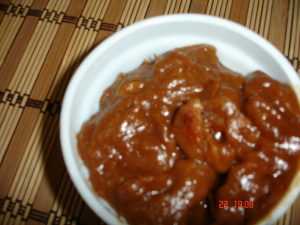
Ragda Paatis is a very popular chaat . It is a one filling meal. It can be easily prepared if you have the soaked peas. Potato tikkis or patties are prepared and served with a delectable dish of peas, topped with various chutneys.
With this dish on mind, I was on the look out for this recipe from various sources. Nothing seemed to appease me.Atlast, I prepared my sister Gayatri’s recipe and it turned out awesome. Without much ado let me take you to the recipe. This post is also a part of our Culinary Hoppers Team with the theme “Chaats ”
Note : Patties kept on the skillet are rightly cooked. The picture below was taken prior and I was unable to taken another picture again.
For serving :
green chutney
sweet chutney
small sev
Let’s get cooking Ragda Patties in steps :
To make ragda
Boil peas in a pressure cooker for three whistles. They should be tender.
Take oil in a kadai and saute the onions until translucent. Add the ginger garlic paste and let cook for some time. Then, add the tomatoes and allow to cook for sometime.
Add the coriander powder, garam masala , chilli powder and salt. Mix well. Allow the spices to blend together.
Mash the peas with the ladle and mix into the kadai. Allow to cook for sometime on slow flame.
Remove and keep aside.
Ragdapatties
To make patties :
Boil the potatoes and keep aside.
Peel the skin and mash them. It is good to add cold water, peel and mash. Allowing them to cool, makes them hard.
Make a paste of coriander and green chilly.
Mix corn flour, paste and salt together.
Heat a flat skillet.
Make round,flat thick balls as tikkis.
Smear a little oil on the skillet and keep these tikkis.
On a slow flame, cook them on both sides until golden brown in colour.
Take a note :
Keeping the flame low ensures even cooking of the patties.
You can make around seven to eight at a time.
To serve :
Take a plate and arrange two patties on it. Pour two tablespoon of prepared ragda over them. Add some sweet chutney and green chutney over it. Finally, decorate with sev and serve ragda patties.
Ragada Patties
Other recipes of Culinary Hoppers are listed below
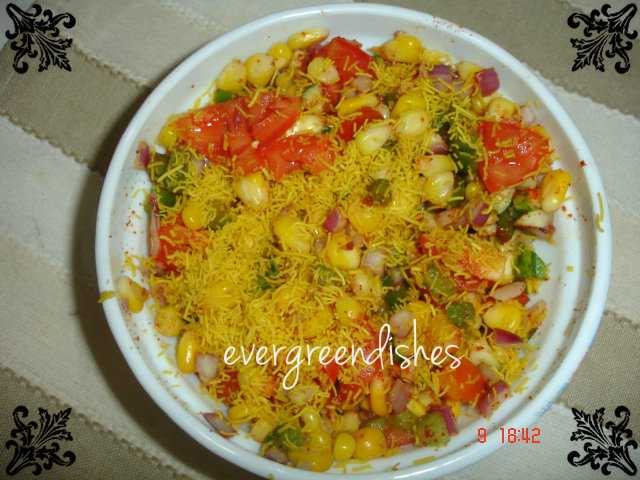
Chats have always been close to our heart. They are tasty, spicy sweet and sour, chatpat ,much enjoyed by one and all. It is simply out of the world. A favourite of teenagers, now with corn kernels this “corn chat” is simple and easy to make. Moreover, it is nutritious, filled with veggies. (more…)