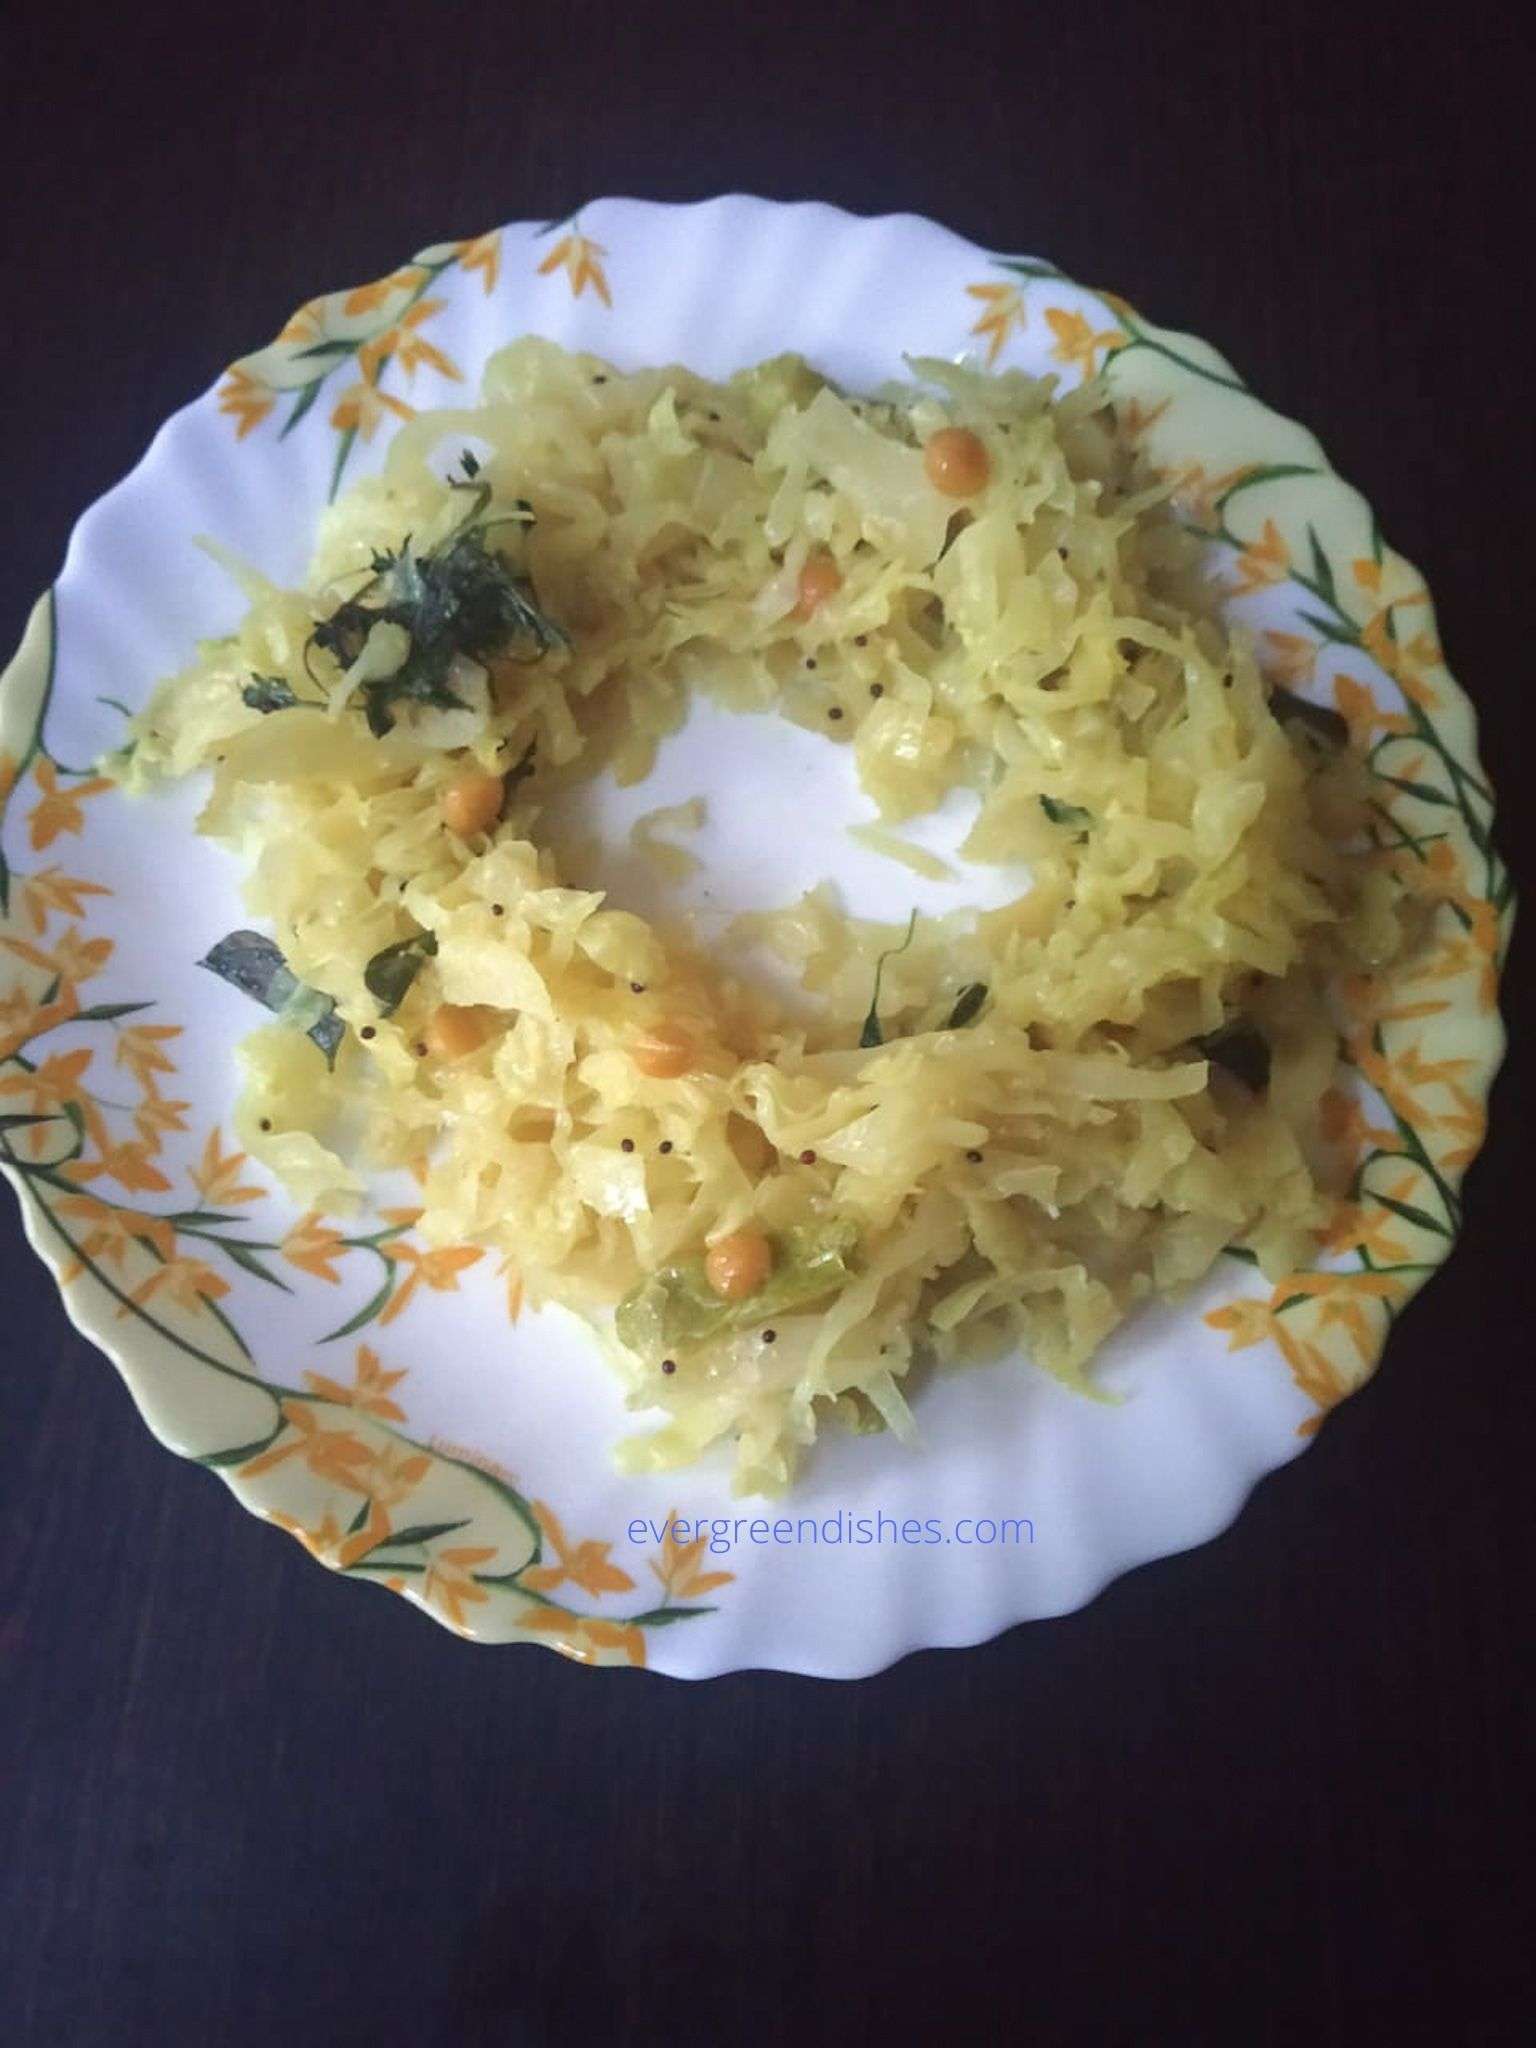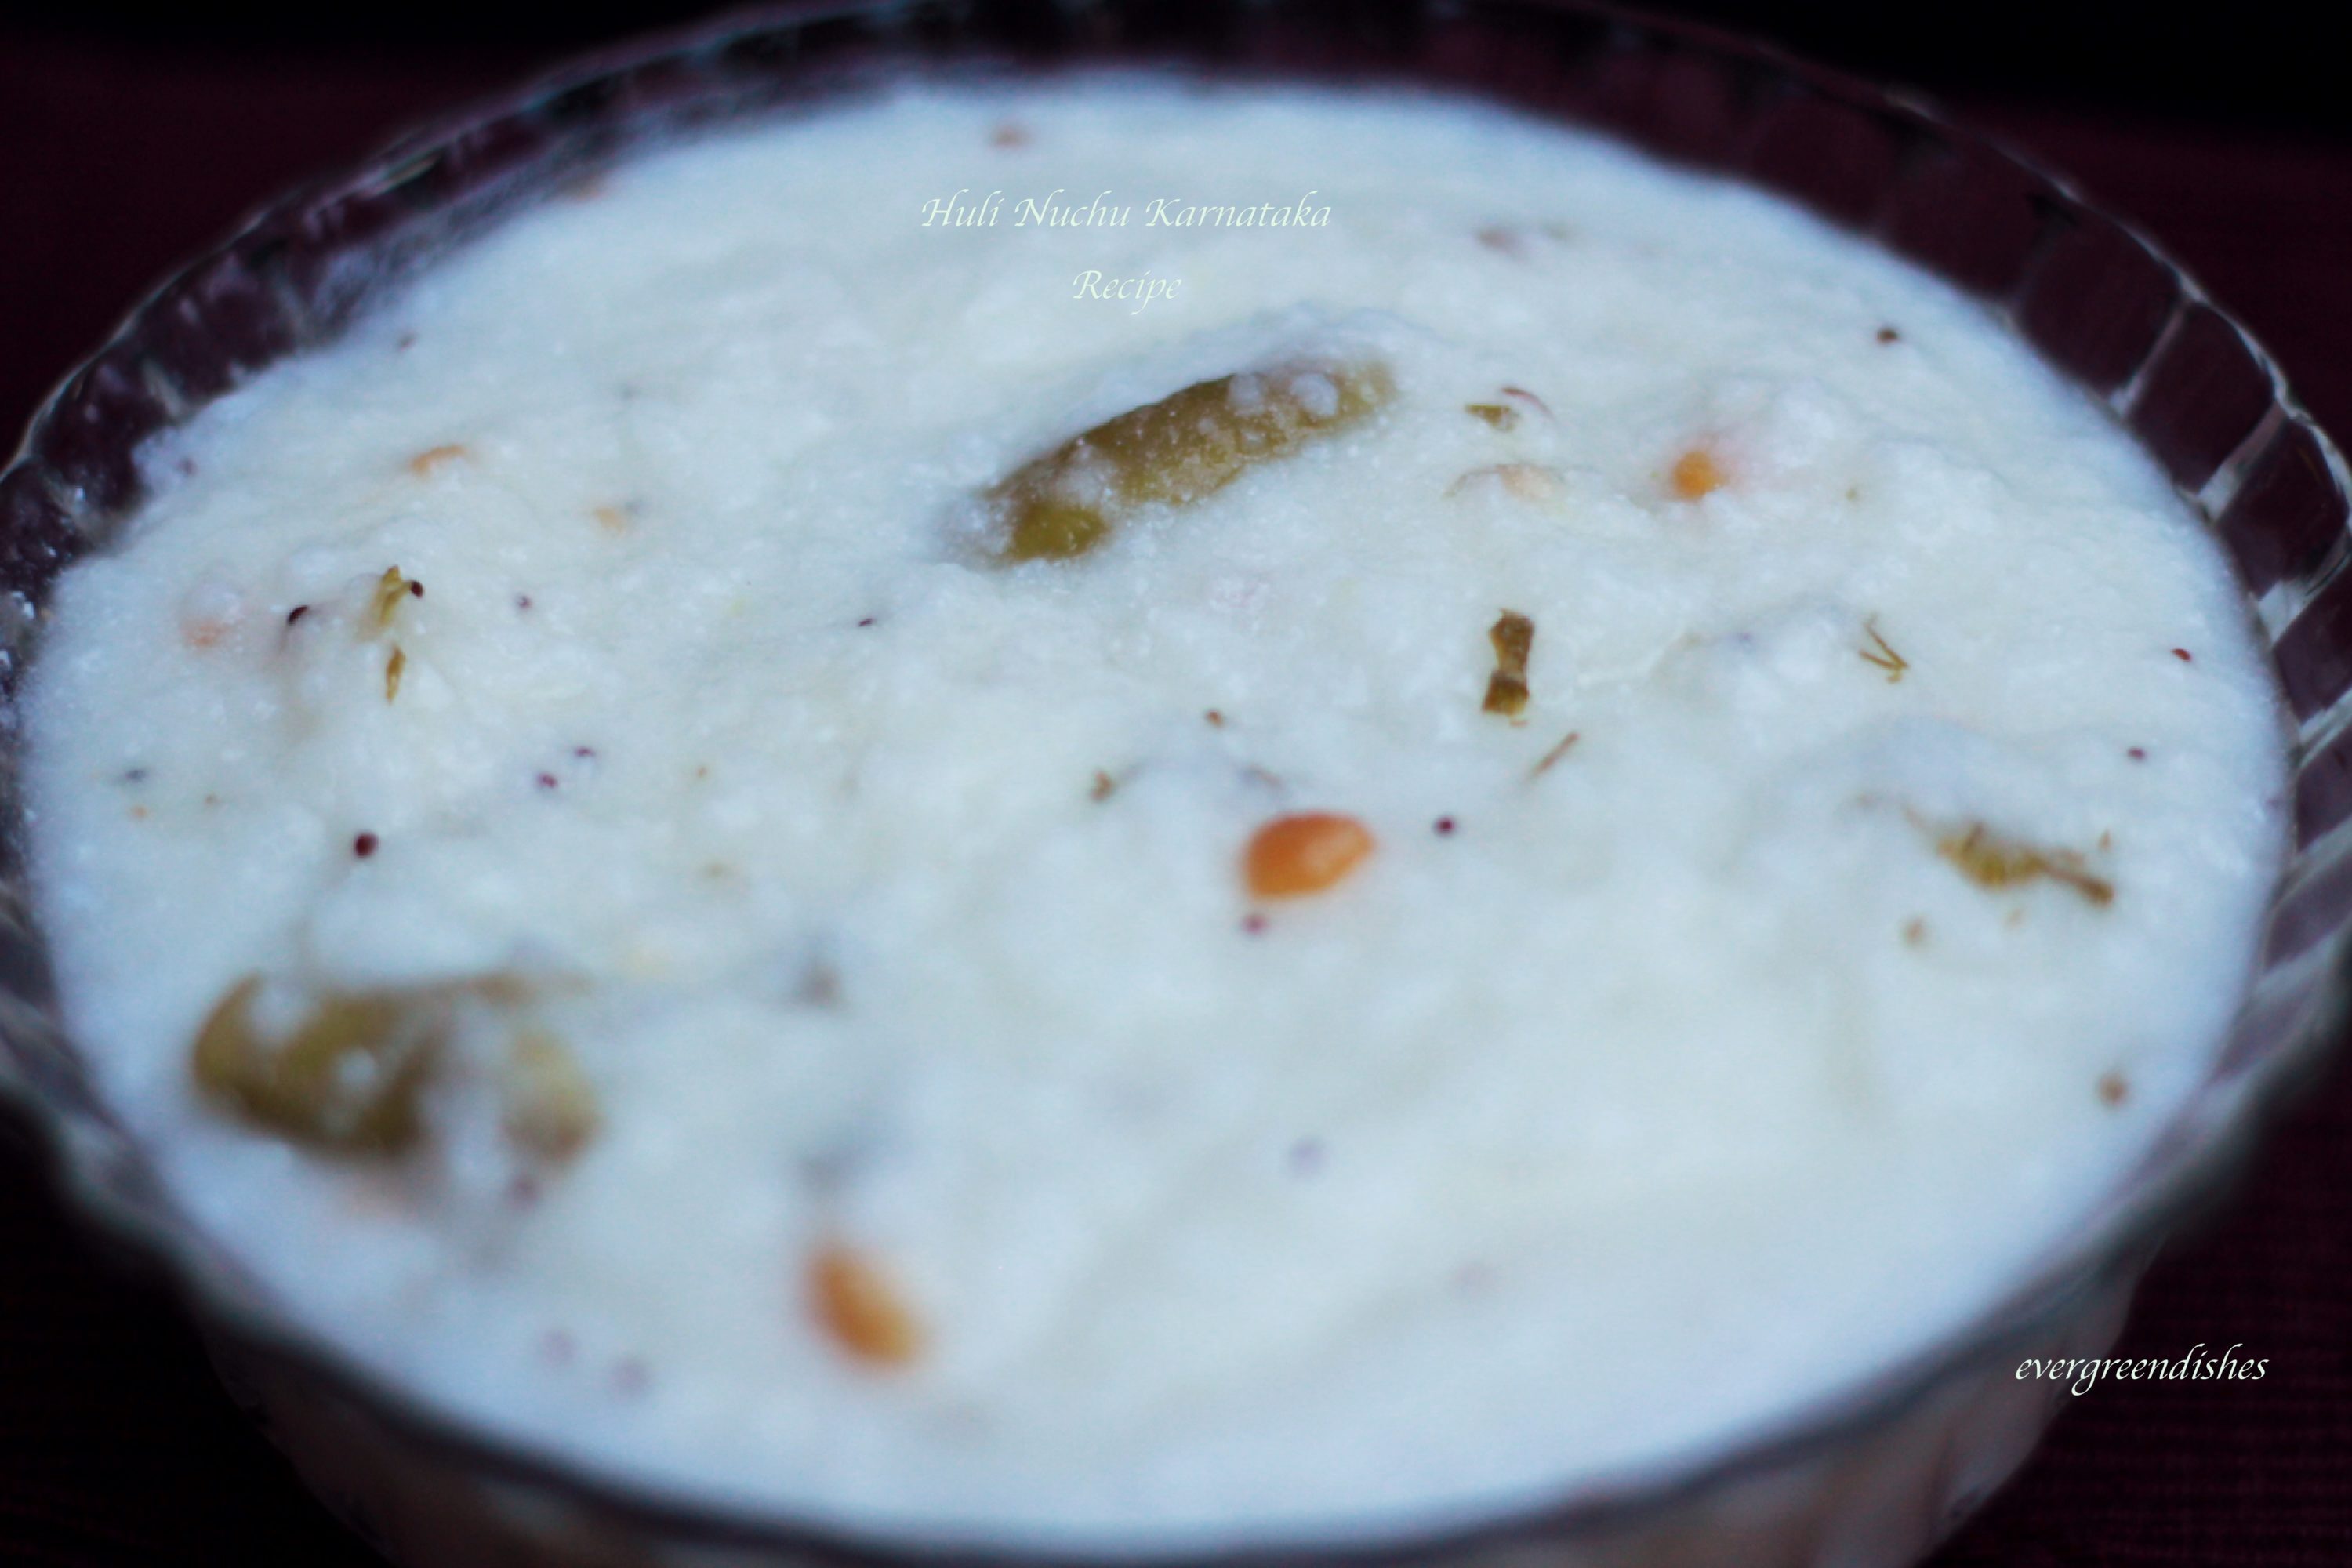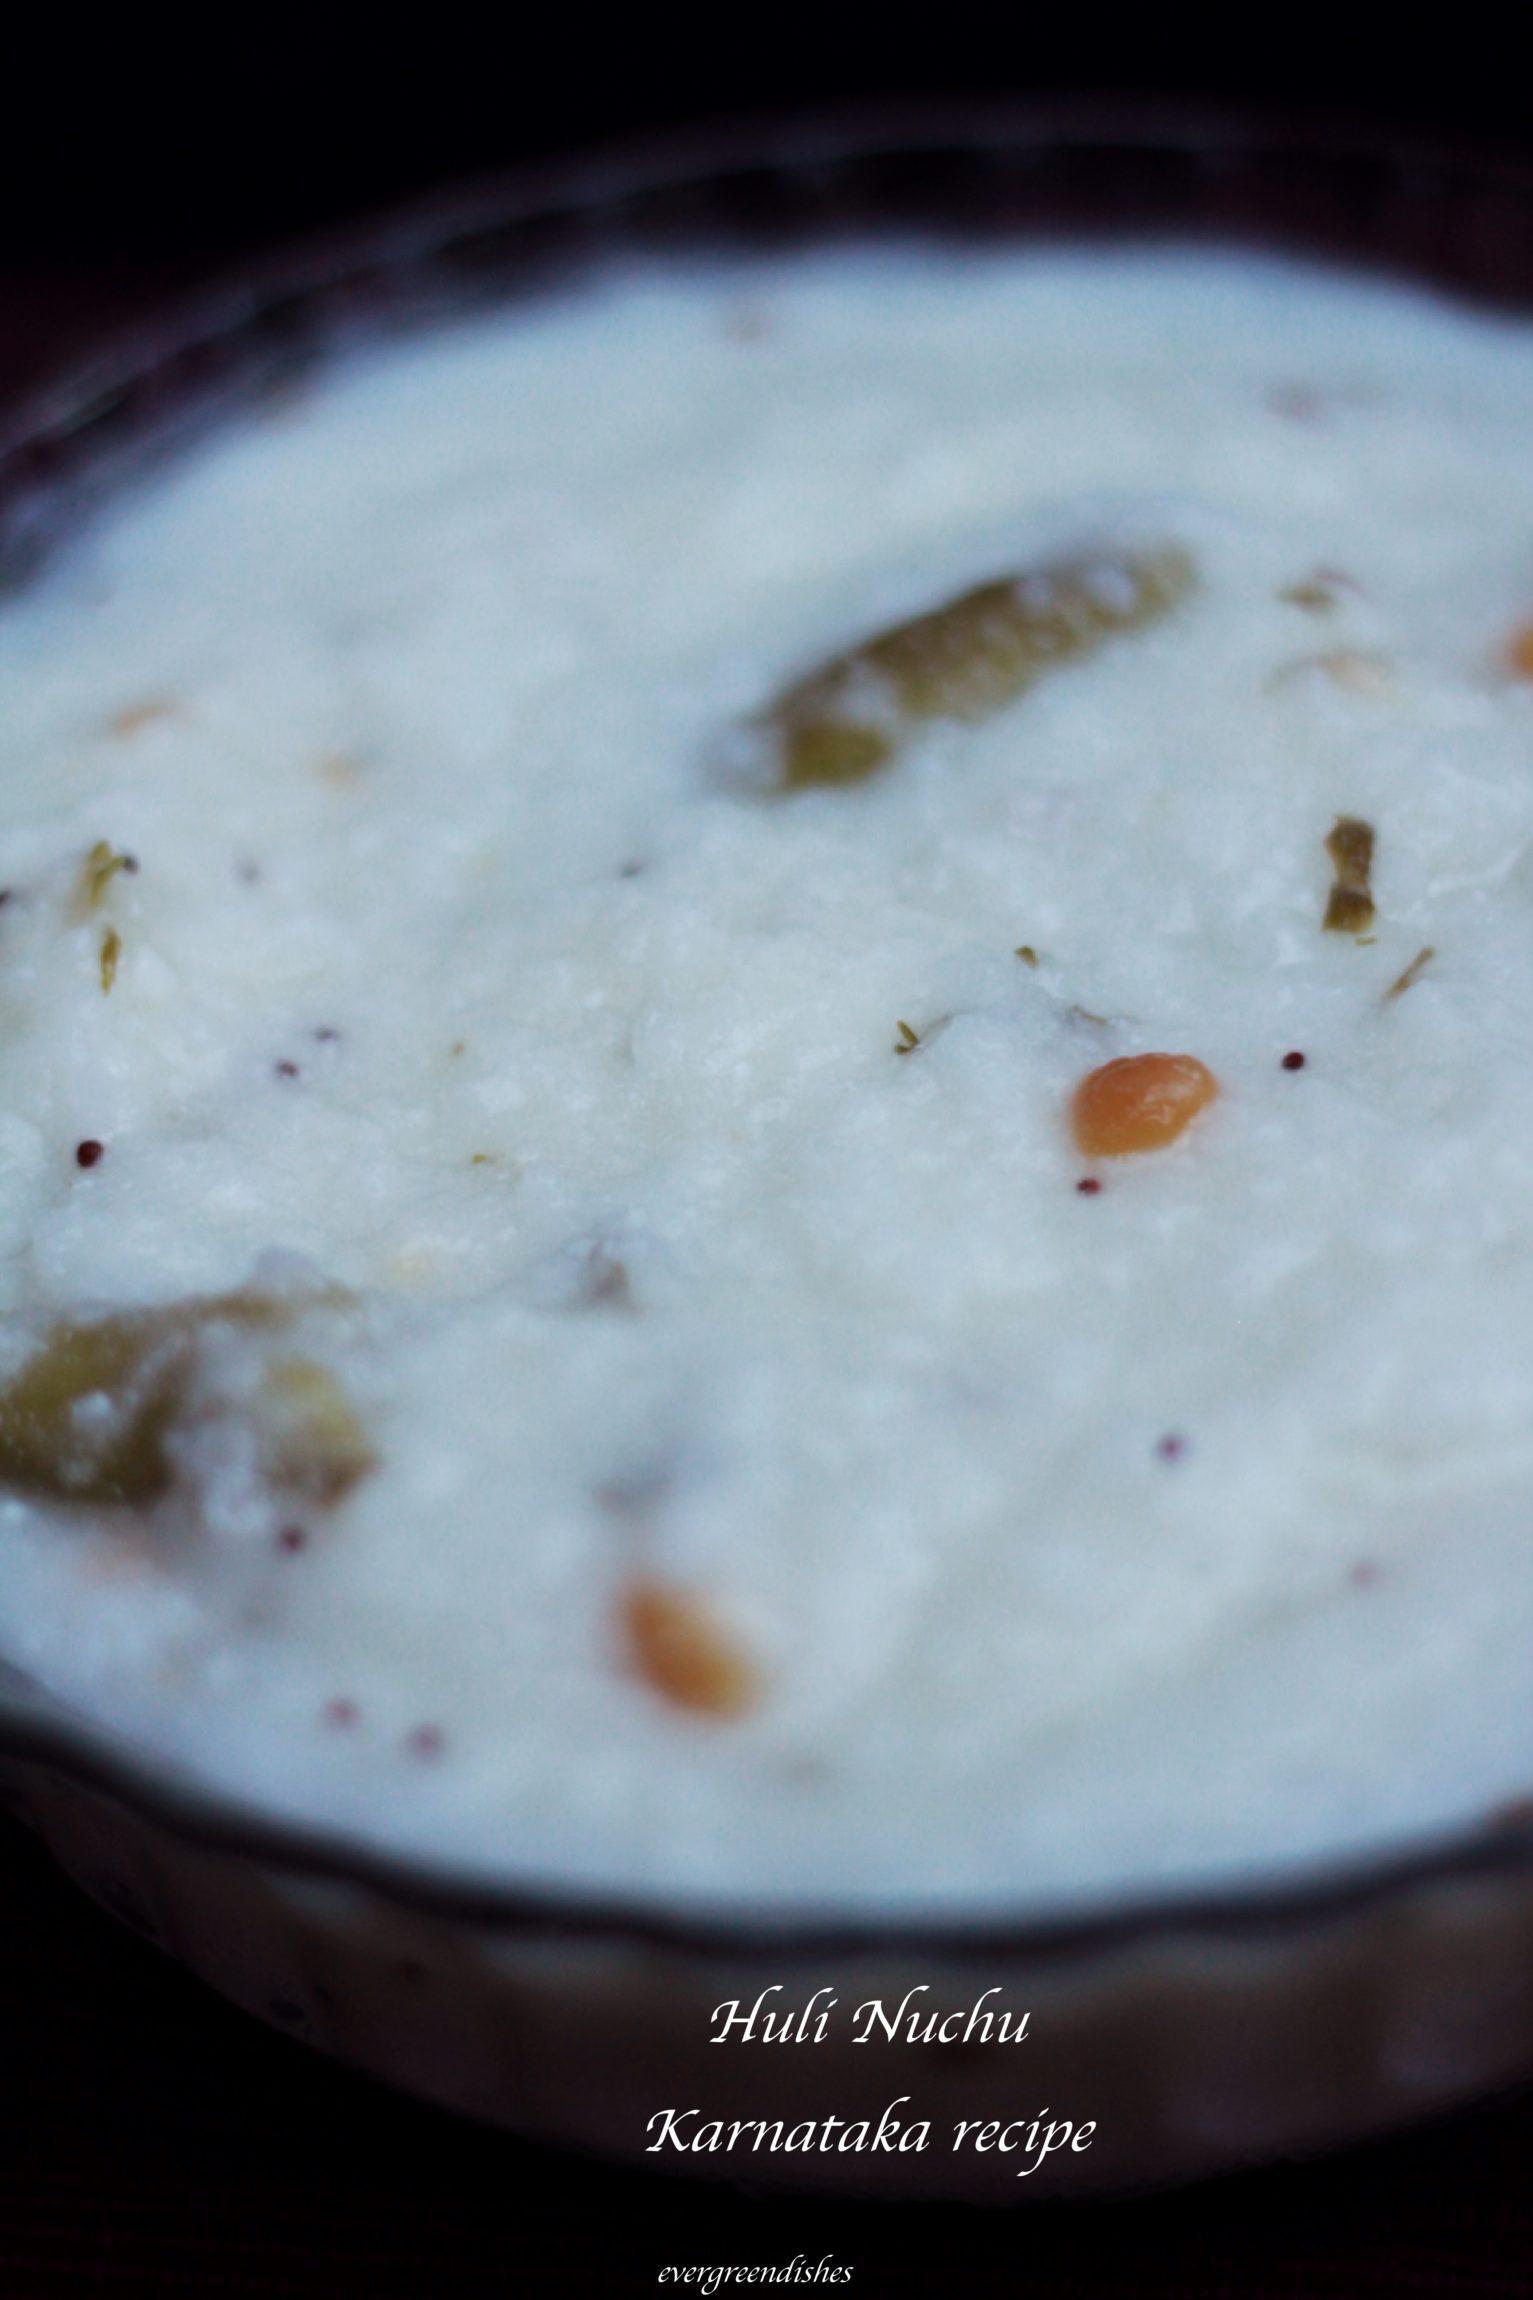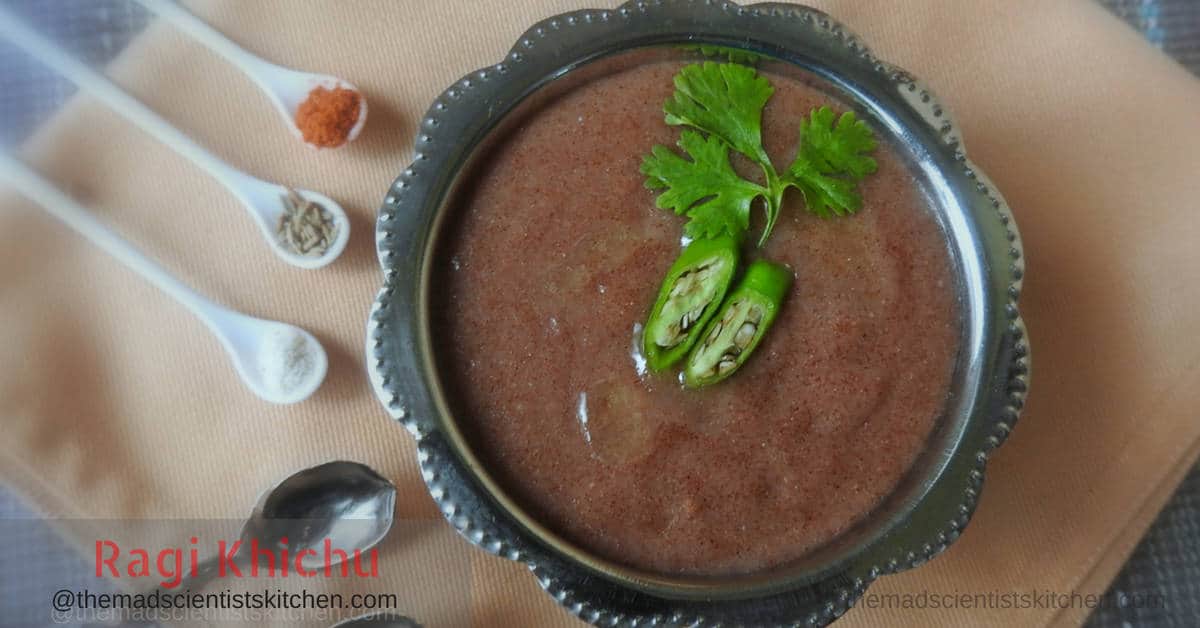
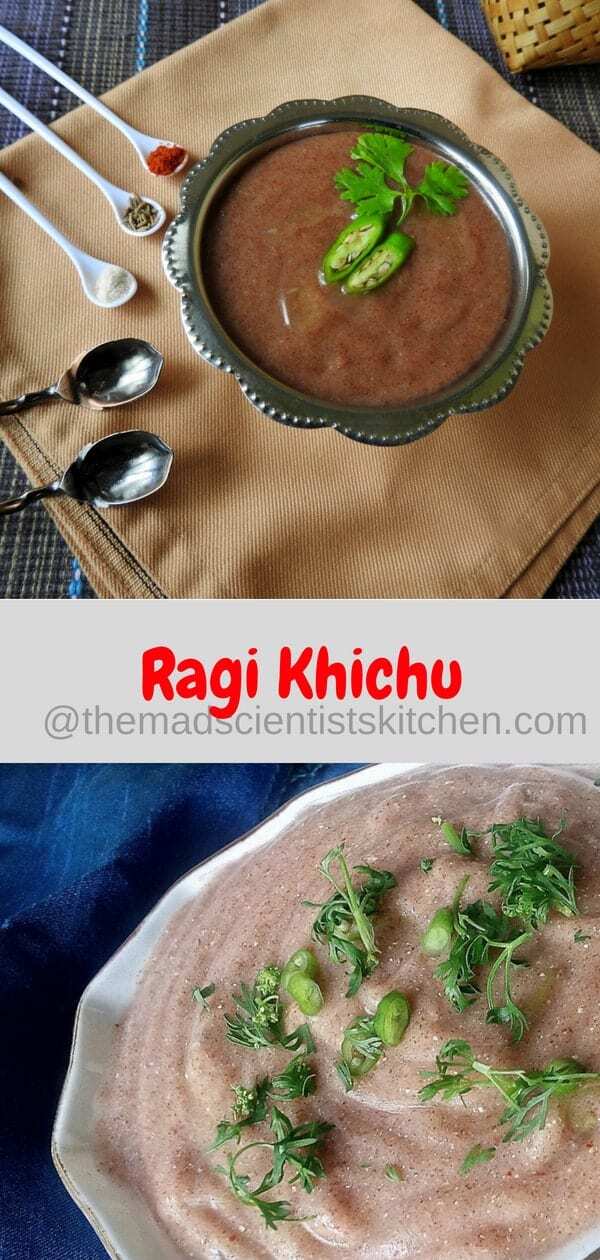
Ragi Khichu is a simple snack prepared from ragi/nachani/finger millet flour cooked in water with simple spices.
It’s been almost a month since I had a guest blogger on Evergreendishes. Today, I have Archana Potdar of The Mad Scientists Kitchen with us. She is a versatile blogger who cooks simple, tasty and healthy recipes.
It was through one of the face book groups that I first met Archana. She is a lively lady and we were soon friends. I have seen her posting many millet recipes and thus requested to post one with finger millet or ragi. Welcome Archana, indeed happy to have you here.
We all know the goodness of these millets, it is so nice of her to share a wonderful recipe with us. Thankyou so much Archana, I am sure your recipe will be liked by all.
She has many more recipes such as Ragi Porridge, Ragi Pudding, Bajra ki Khichdi, Bajra and carrot cake to name a few, do visit her blog. And now for the Khichu recipe, it’s over to Archana below:
Hello all,
Humble thanks to Jayashree for this pleasure of writing a guest post for her a dedicated blogger, this is indeed a great honour for me.
The virtual world is strange place where you can meet people from all around the world, share common passions, and become good friends. I am sure you have heard of many such stories. Well I met Jayashree in one of the blogging forums and have become good friends with her. Jayashree has written books do check her books on South Indian Breakfast she has more but I can remember only this one right now.My tryst with millets began early on but gained strength
My tryst with millets started early but gained strength with hubby’s health issues.We had to reset and restart our lifestyle and food habits. Being food lovers, we love nothing better than spending our time and money on good food. Lead eating outside home, it is now, we realise how much that has harmed us! Hubby’s sugar, cholesterol and other parameters had skyrocketed.
With this background and the fact that we get bored with the same old food I have started experimenting with millets. I am trying to use the different millets to make regular everyday food like bajra khichidi etc. With regular use of these millets, exercise and mindful eating, we have blood reports that are within the standard limits. My sceptical husband now credits me with his weight loss and better reports, makes all the expected noises about millets on his plate but eats it! What more does a satisfied food blogger want??
So today I will like to share Khichu more specifically Ragi Khichu as my guest post as Jayashree wanted me to write any dish with Ragi!
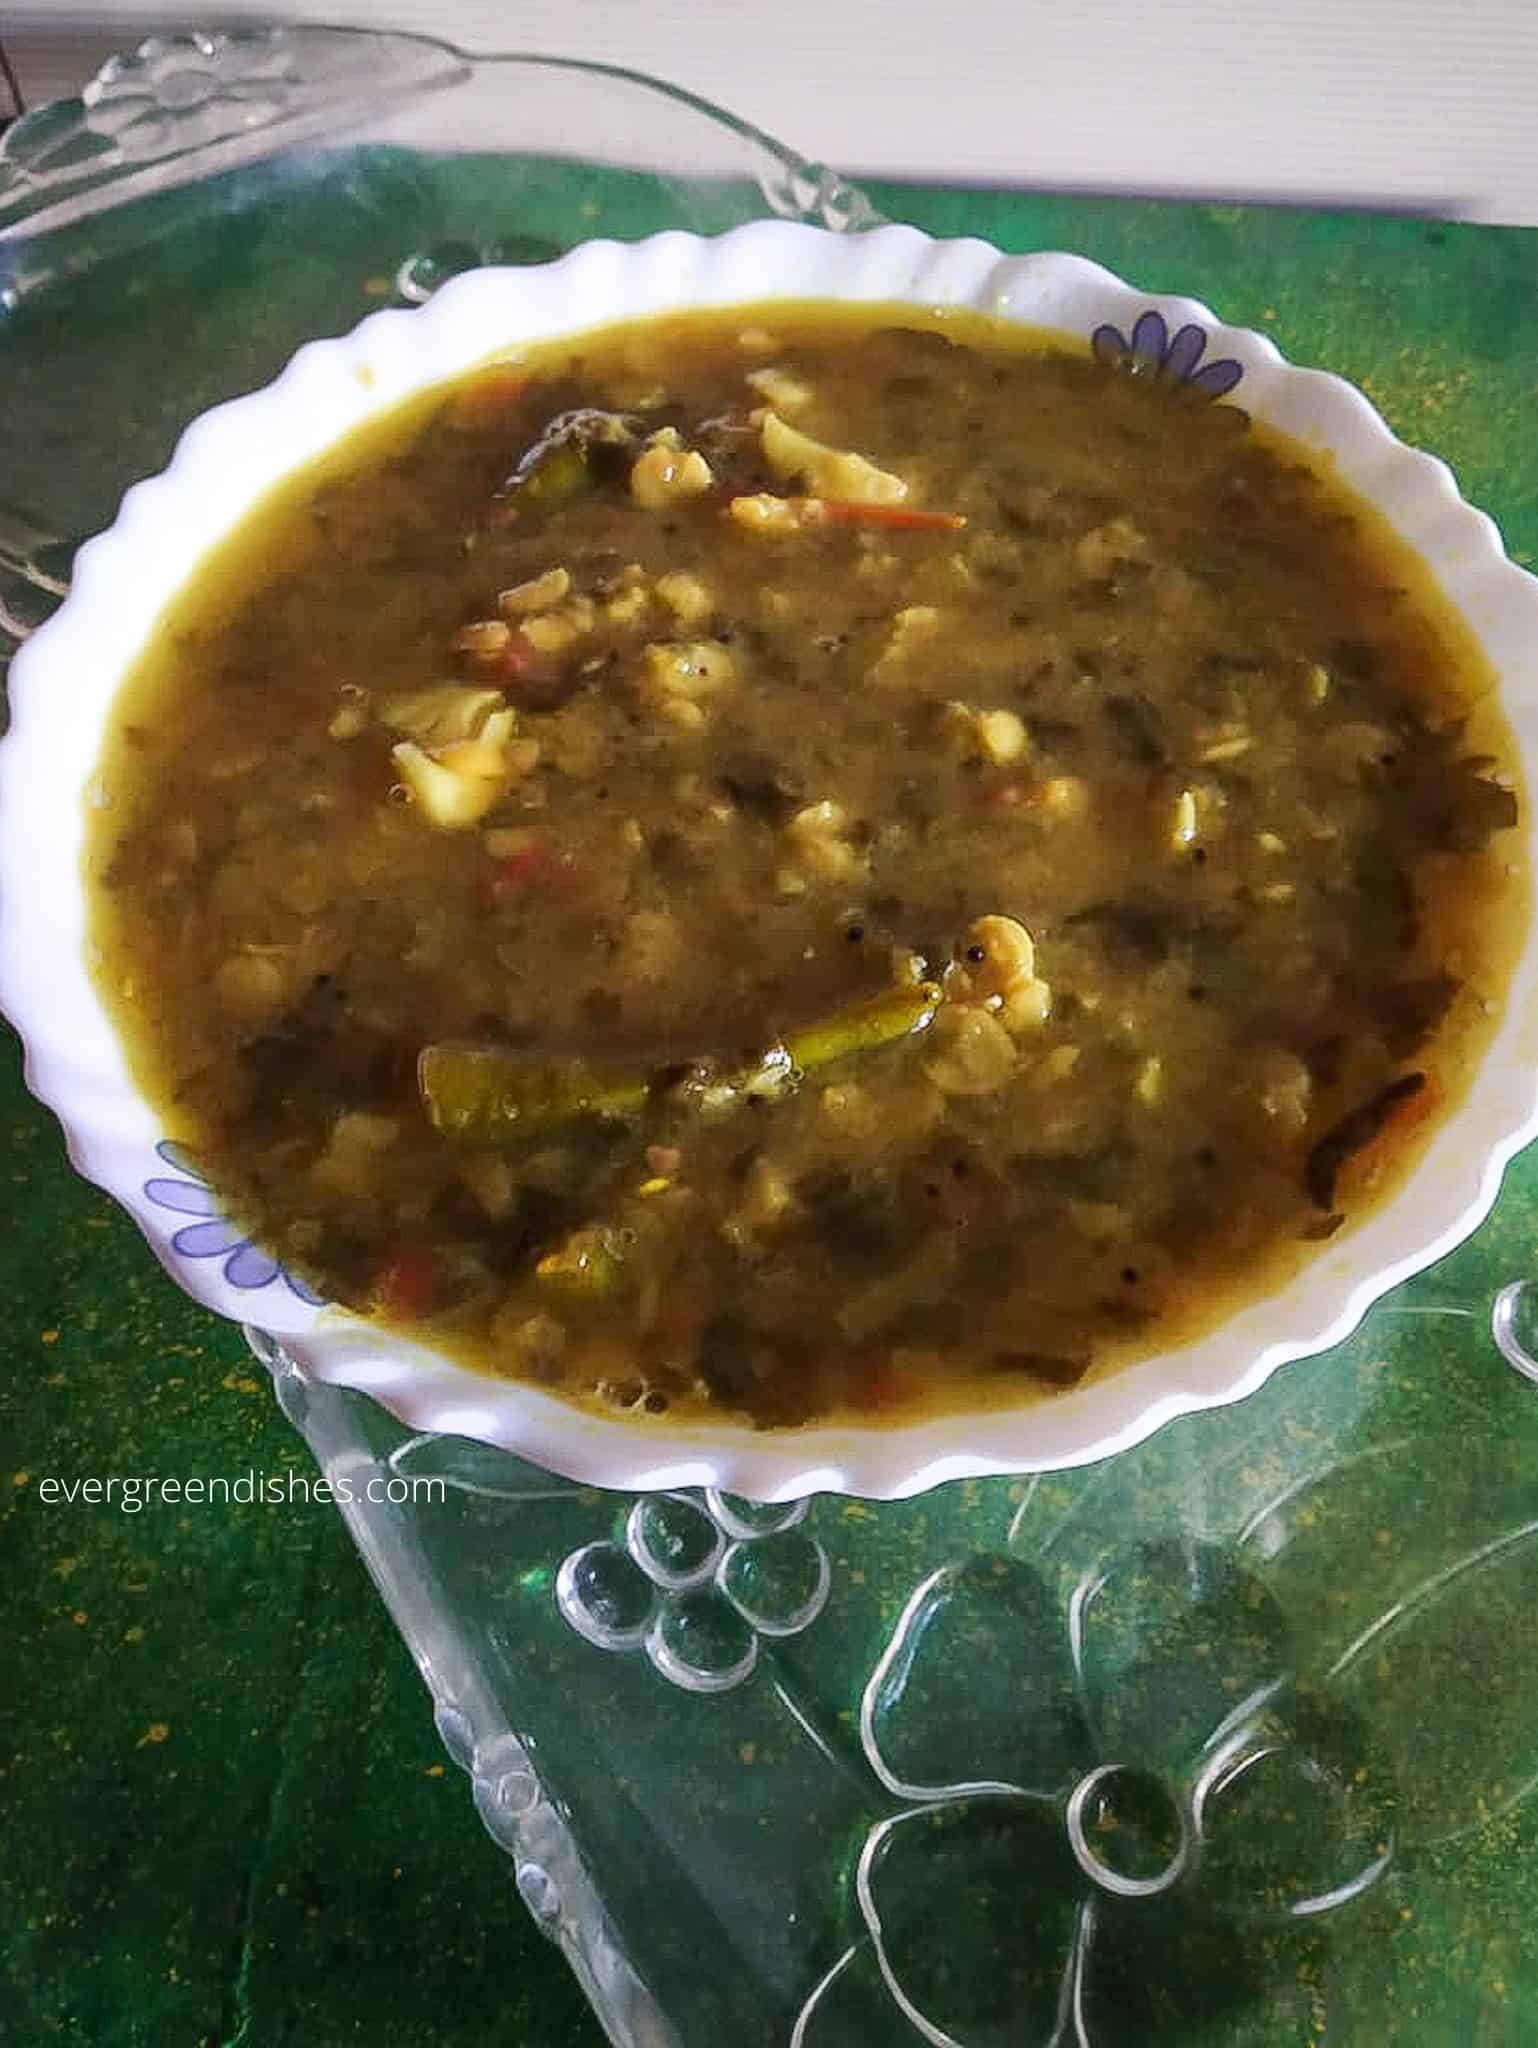
Ragi Khichu is a simple snack prepared from ragi/nachani/finger millet flour cooked in water with simple spices.
Khichu or Kichiyu is a traditional Gujarati snack. It is dough made from rice flour used to make papad. Papad made from this dough is known as Khichiya Papad. I have also seen wheat flour Khichu. So why not Ragi or Nachni? Not that I am the first one to think of it but, since I am trying to add more millets in our diet I considered trying Ragi Kichyu.
The name khichu is derived from the ductile nature of the dough. Since the dough is tasty, it is consumed as a Farsan (a snack) or as a side dish. Khichu is easy to make and is easily digestible. So in case you are looking for a great snack that is low in calories but rich in iron, protein, fibre, and calcium then look no further than Nachni Khichu.
As I have said, traditionally, Khichu is made from rice flour. The flour is cooked in water with jeera/cumin seeds and an alkaline salt is known as Papad Khar and then steamed. Khichu is served with groundnut oil and chilli powder.
Ragi Khichu| Millet Recipes| Snack Recipes
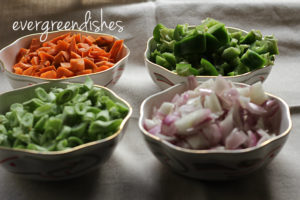
Ingredients:
- 1/2 cup ragi /nachni flour
- 1/2 cup of curd, fresh
- 1 cup of water
- salt to taste
- 1 tsp jeera/cumin seeds
- 1 tsp red chilli powder
- 1 green chilli, finely chopped
- a pinch of hing/asafoetida
- 1 pinch baking soda (I did not use)
- Dhania/ coriander leaves finely chopped
To Serve:
- 2 tsp oil (I did not use)
Method:
- In a non-stick pan, add the curd, water, salt, jeera, chilli powder, baking powder (if using) and green chillies.
- Mix all the ingredients well and bring to a rolling boil.
- Once the mixture boils add the ragi flour and stir well as you add the flour.
- Stir continuously and get rid of all lumps.
- Psst, the easier way is to get the pot off the flame to add the flour gradually and mix well breaking the lumps, only be quick. Maybe next time I will take kiddos suggestion and use the immersion mixer.
- Cook covered on low flame for about 5-10 until the mixture leaves the side of the pan.
- Add coriander leaves, drizzle the oil if using and dish up immediately.

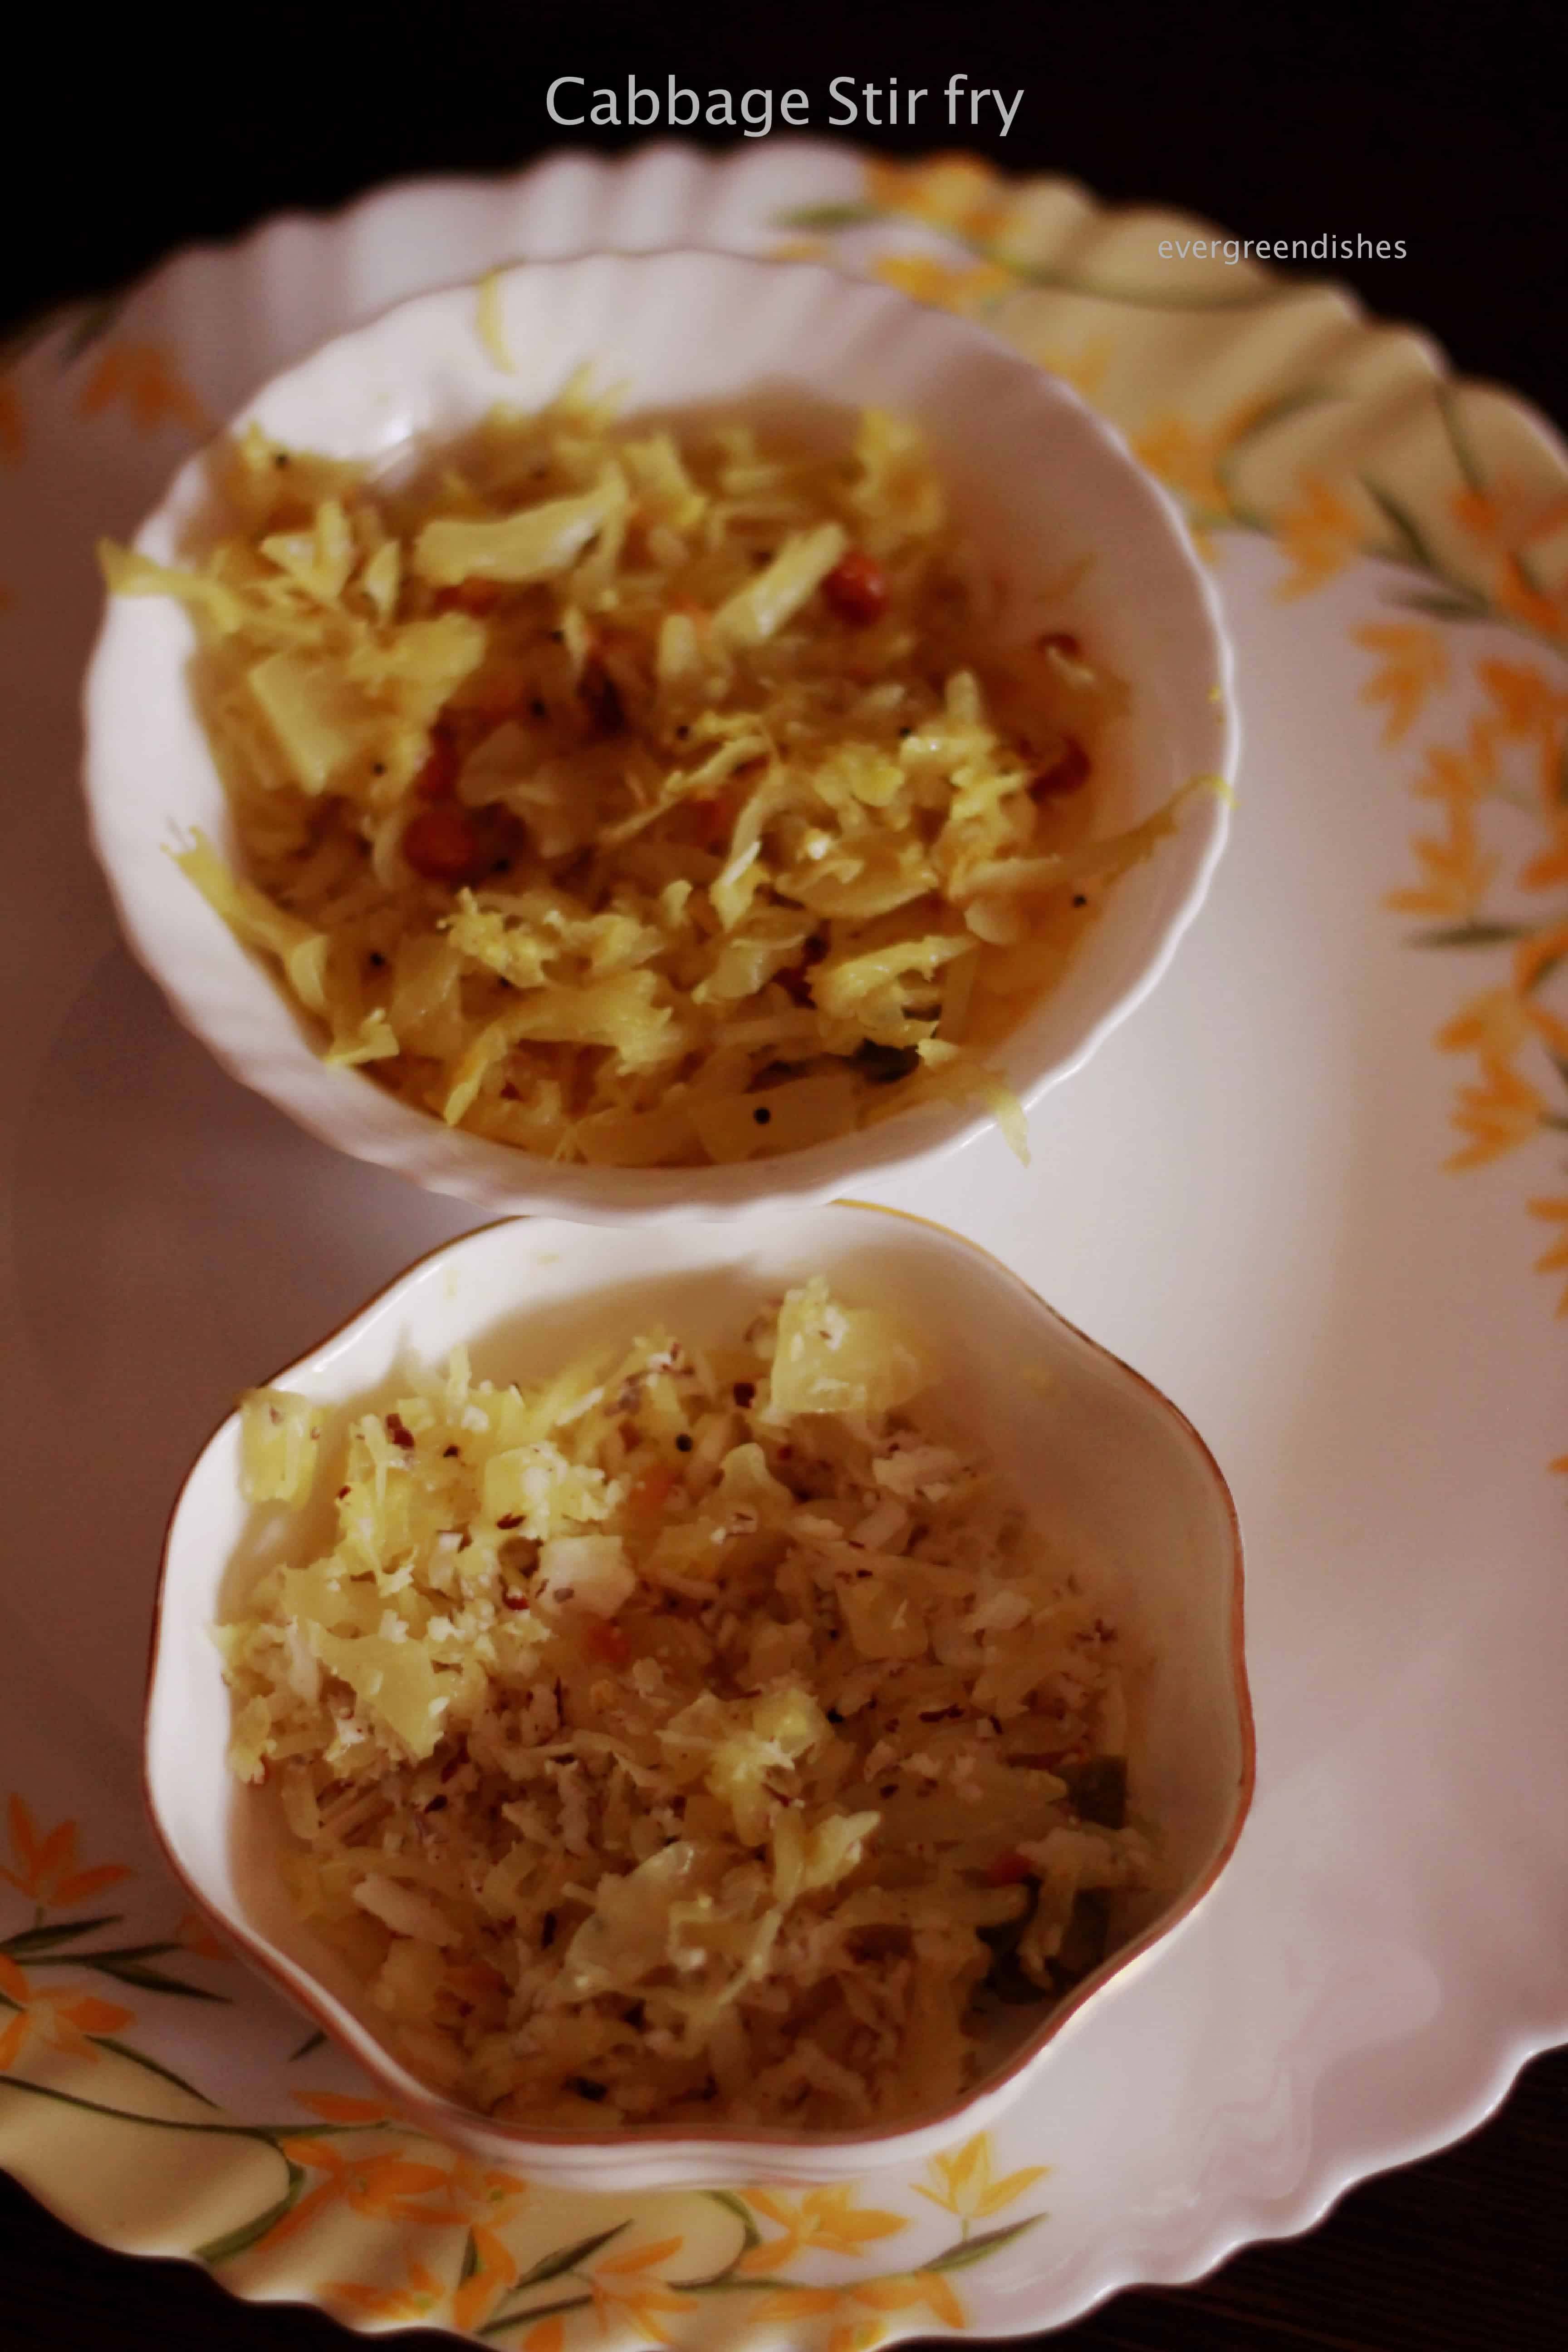
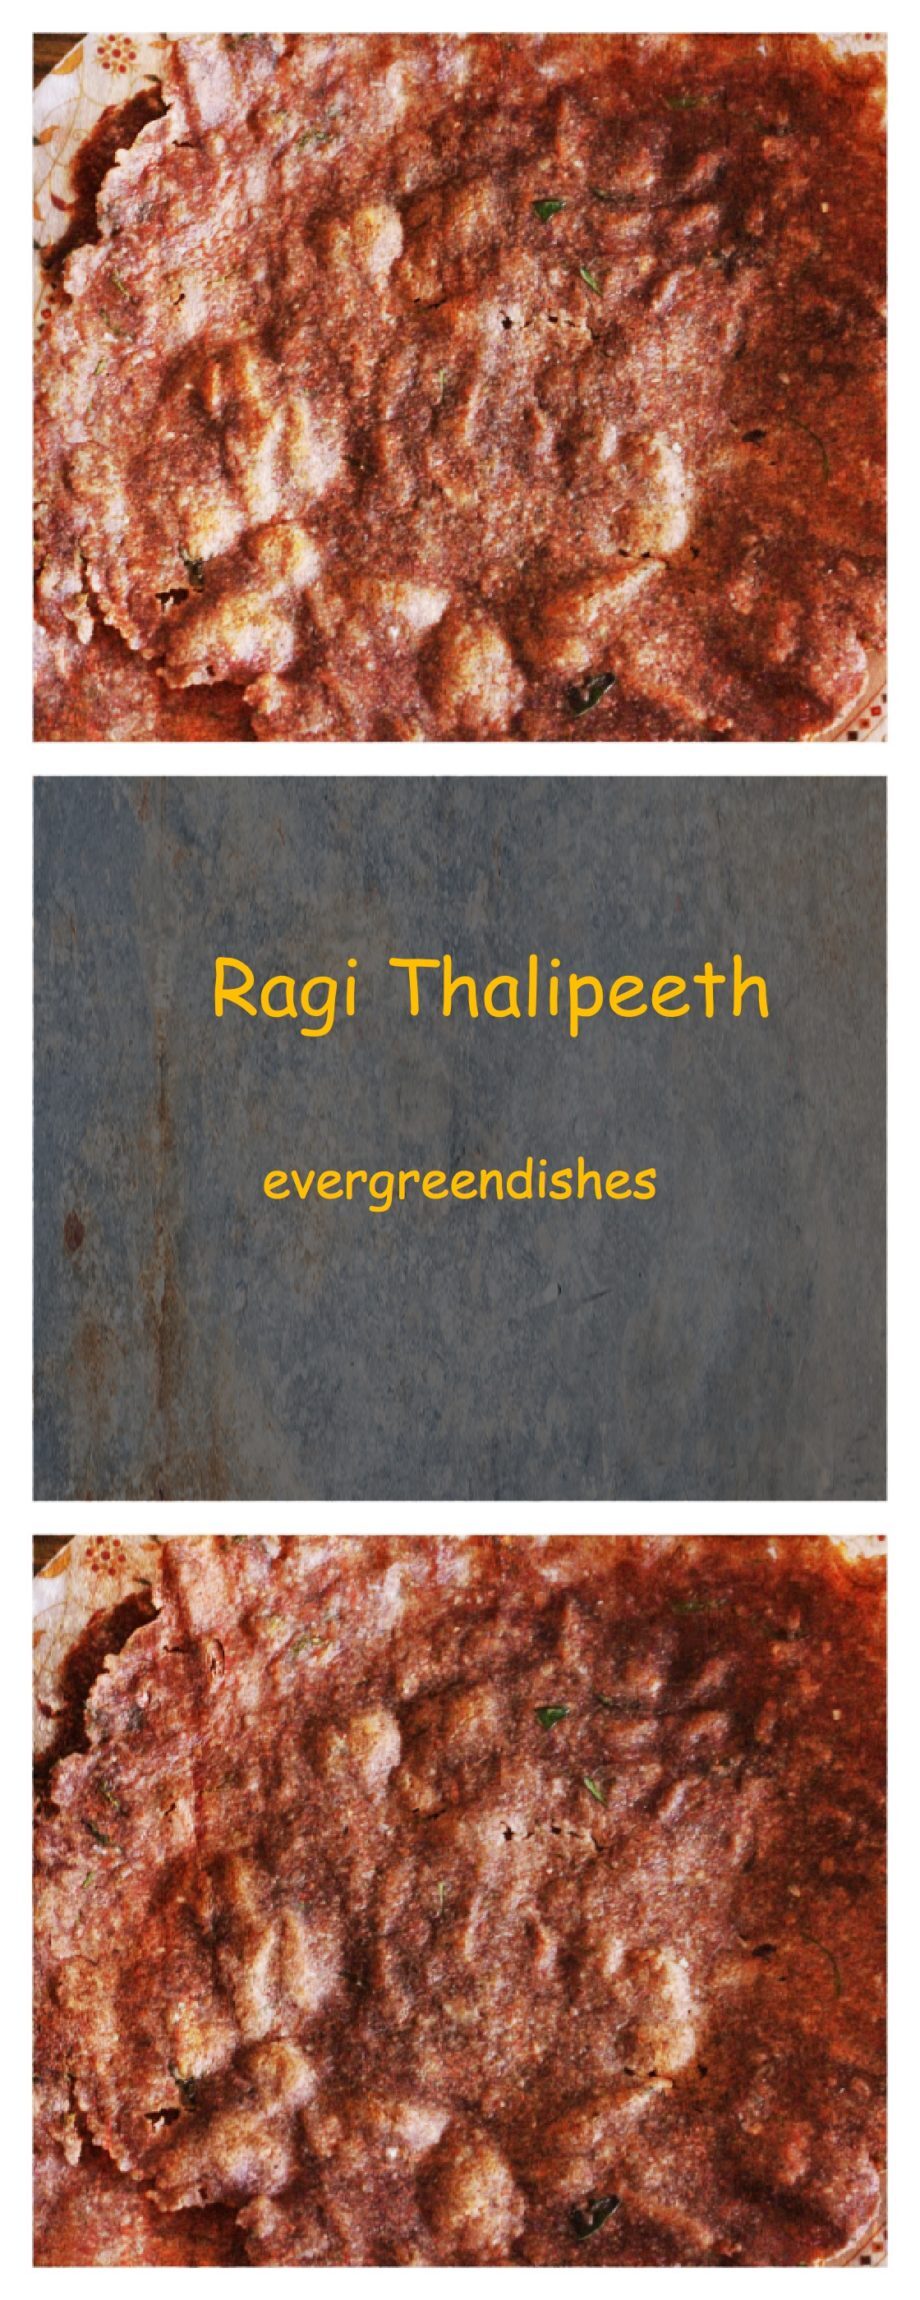
A few other Ragi recipes on the blog : Ragi Thalipeeth, Ragi Idli
Ingredients
Method
- In a non- stick pan, add the curd, water, salt, jeera, chilli powder, baking powder (if using ) and green chillies.
- Mix all the ingredients and bring to a rolling boil.
- Once the mixture boils, add the ragi flour and stir well as you add the flour.
- Stir continuously and get rid of all the lumps. The easier way is to get the pot off the flame to add the flour gradually and mix well breaking the lumps, only be quick. Maybe next time I will take kiddos suggestion and use the immersion mixer.
- Cook covered on low flame for about 5-10 until the mixture leaves the side of the pan.
- Add coriander leaves, drizzle the oil if using and dish up immediately.
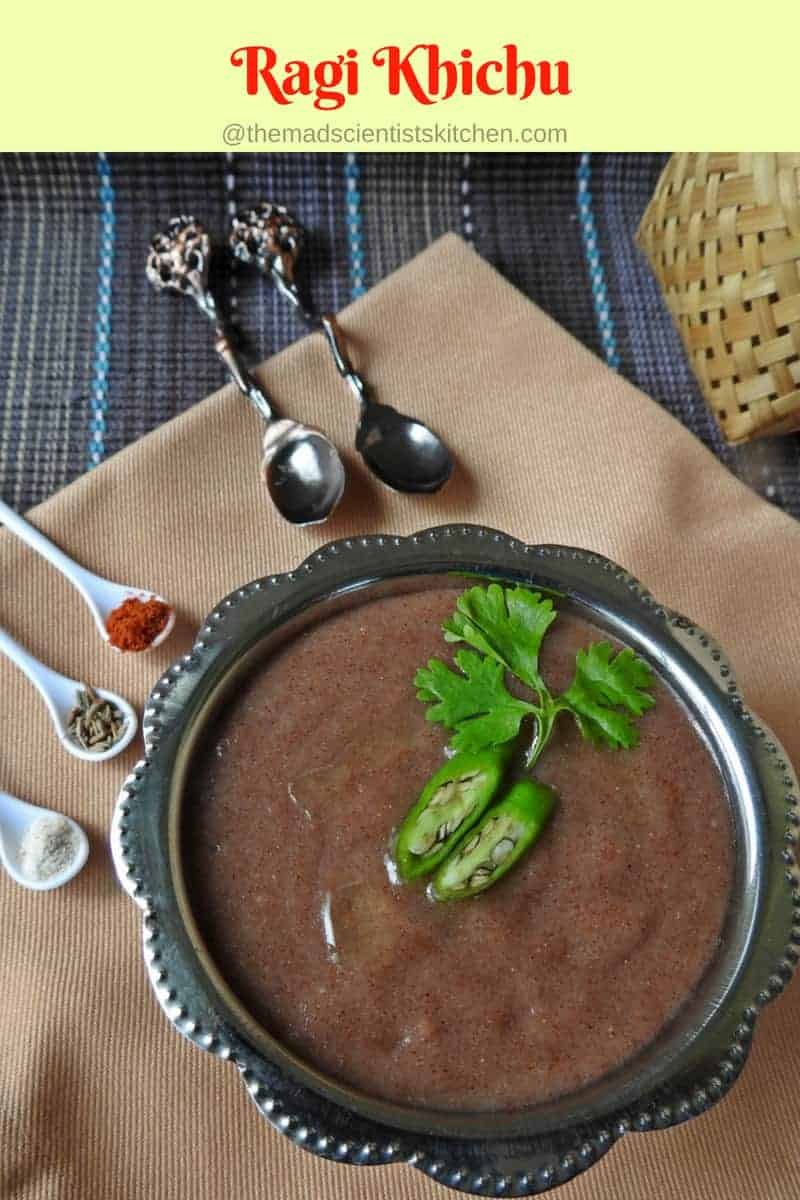
Pin it for later:
About the author:
Archana Potdar is a working mother, happily married with two daughters. She started food blogging as a tribute to two greatest influencers of her life, her mom and mother in law who were great cooks. But now, she gives a healthy touch to all her recipes. She loves to travel, trek and listen to old Hindi songs. Her dreams are to trek the Himalayas ( and hope she does it very soon) Do visit her blog www.themadscientistkitchen.com
Follow Archana on Twitter, Facebook
If you have liked this post do share it further.
If you ever recreate this dish do tag us on Instagram @foodiejayashree
If you have not subscribed yet, do sign up. More tasty recipes coming on blog, stay tuned.