Its the season of strawberries, the red luscious fruit is loved by all. Mostly consumed as a fruit, it is also used in desserts, cakes and toppings. It gives a wonderful taste to cold beverages. Strawberry milkshake is a favourite drink to enjoy in this season.
Here is a healthy twist to the usual milkshake. There is no added sugar and the milk used is low fat. I usually blend my milkshakes with a scoop or two of ice cream but avoided it here. Thus, this low fat milkshake is ideal to be consumed by all weight watchers.
Strawberry is nutritional packed, it is rich in anti oxidants and polyphenols. It also has nutrients, vitamins and minerals as manganese, Vitamin C,folate, potassium , dietary fibre and magnesium.
Benefits of Strawberries
Strawberries boosts immunity, reduces hyper tension and improves heart function. They boosts brain function and improves eye sight. They help prevent arthritis and gout. It reduces inflammation caused by injuries. It helps in weight loss.
Other Milkshake Recipes from my blog:

Ingredients for Low Calorie Strawberry Milkshake
- 250 ml low fat milk
- 6 strawberries
- 1/2 teaspoon natura (sweetener)
- ice cubes for dressing
Method to make low calorie strawberry milkshake:
Wash the strawberry, pat dry and cut into small pieces. Freeze them for some time. Grind all ingredients, pour it in a glass, add ice cube and serve immediately.
Take a tip:
- Natura is a sugar free sweetener added to enhance the taste of the beverage. It can be prepared without it also.
- It is ideal to freeze strawberry pieces ahead of time.
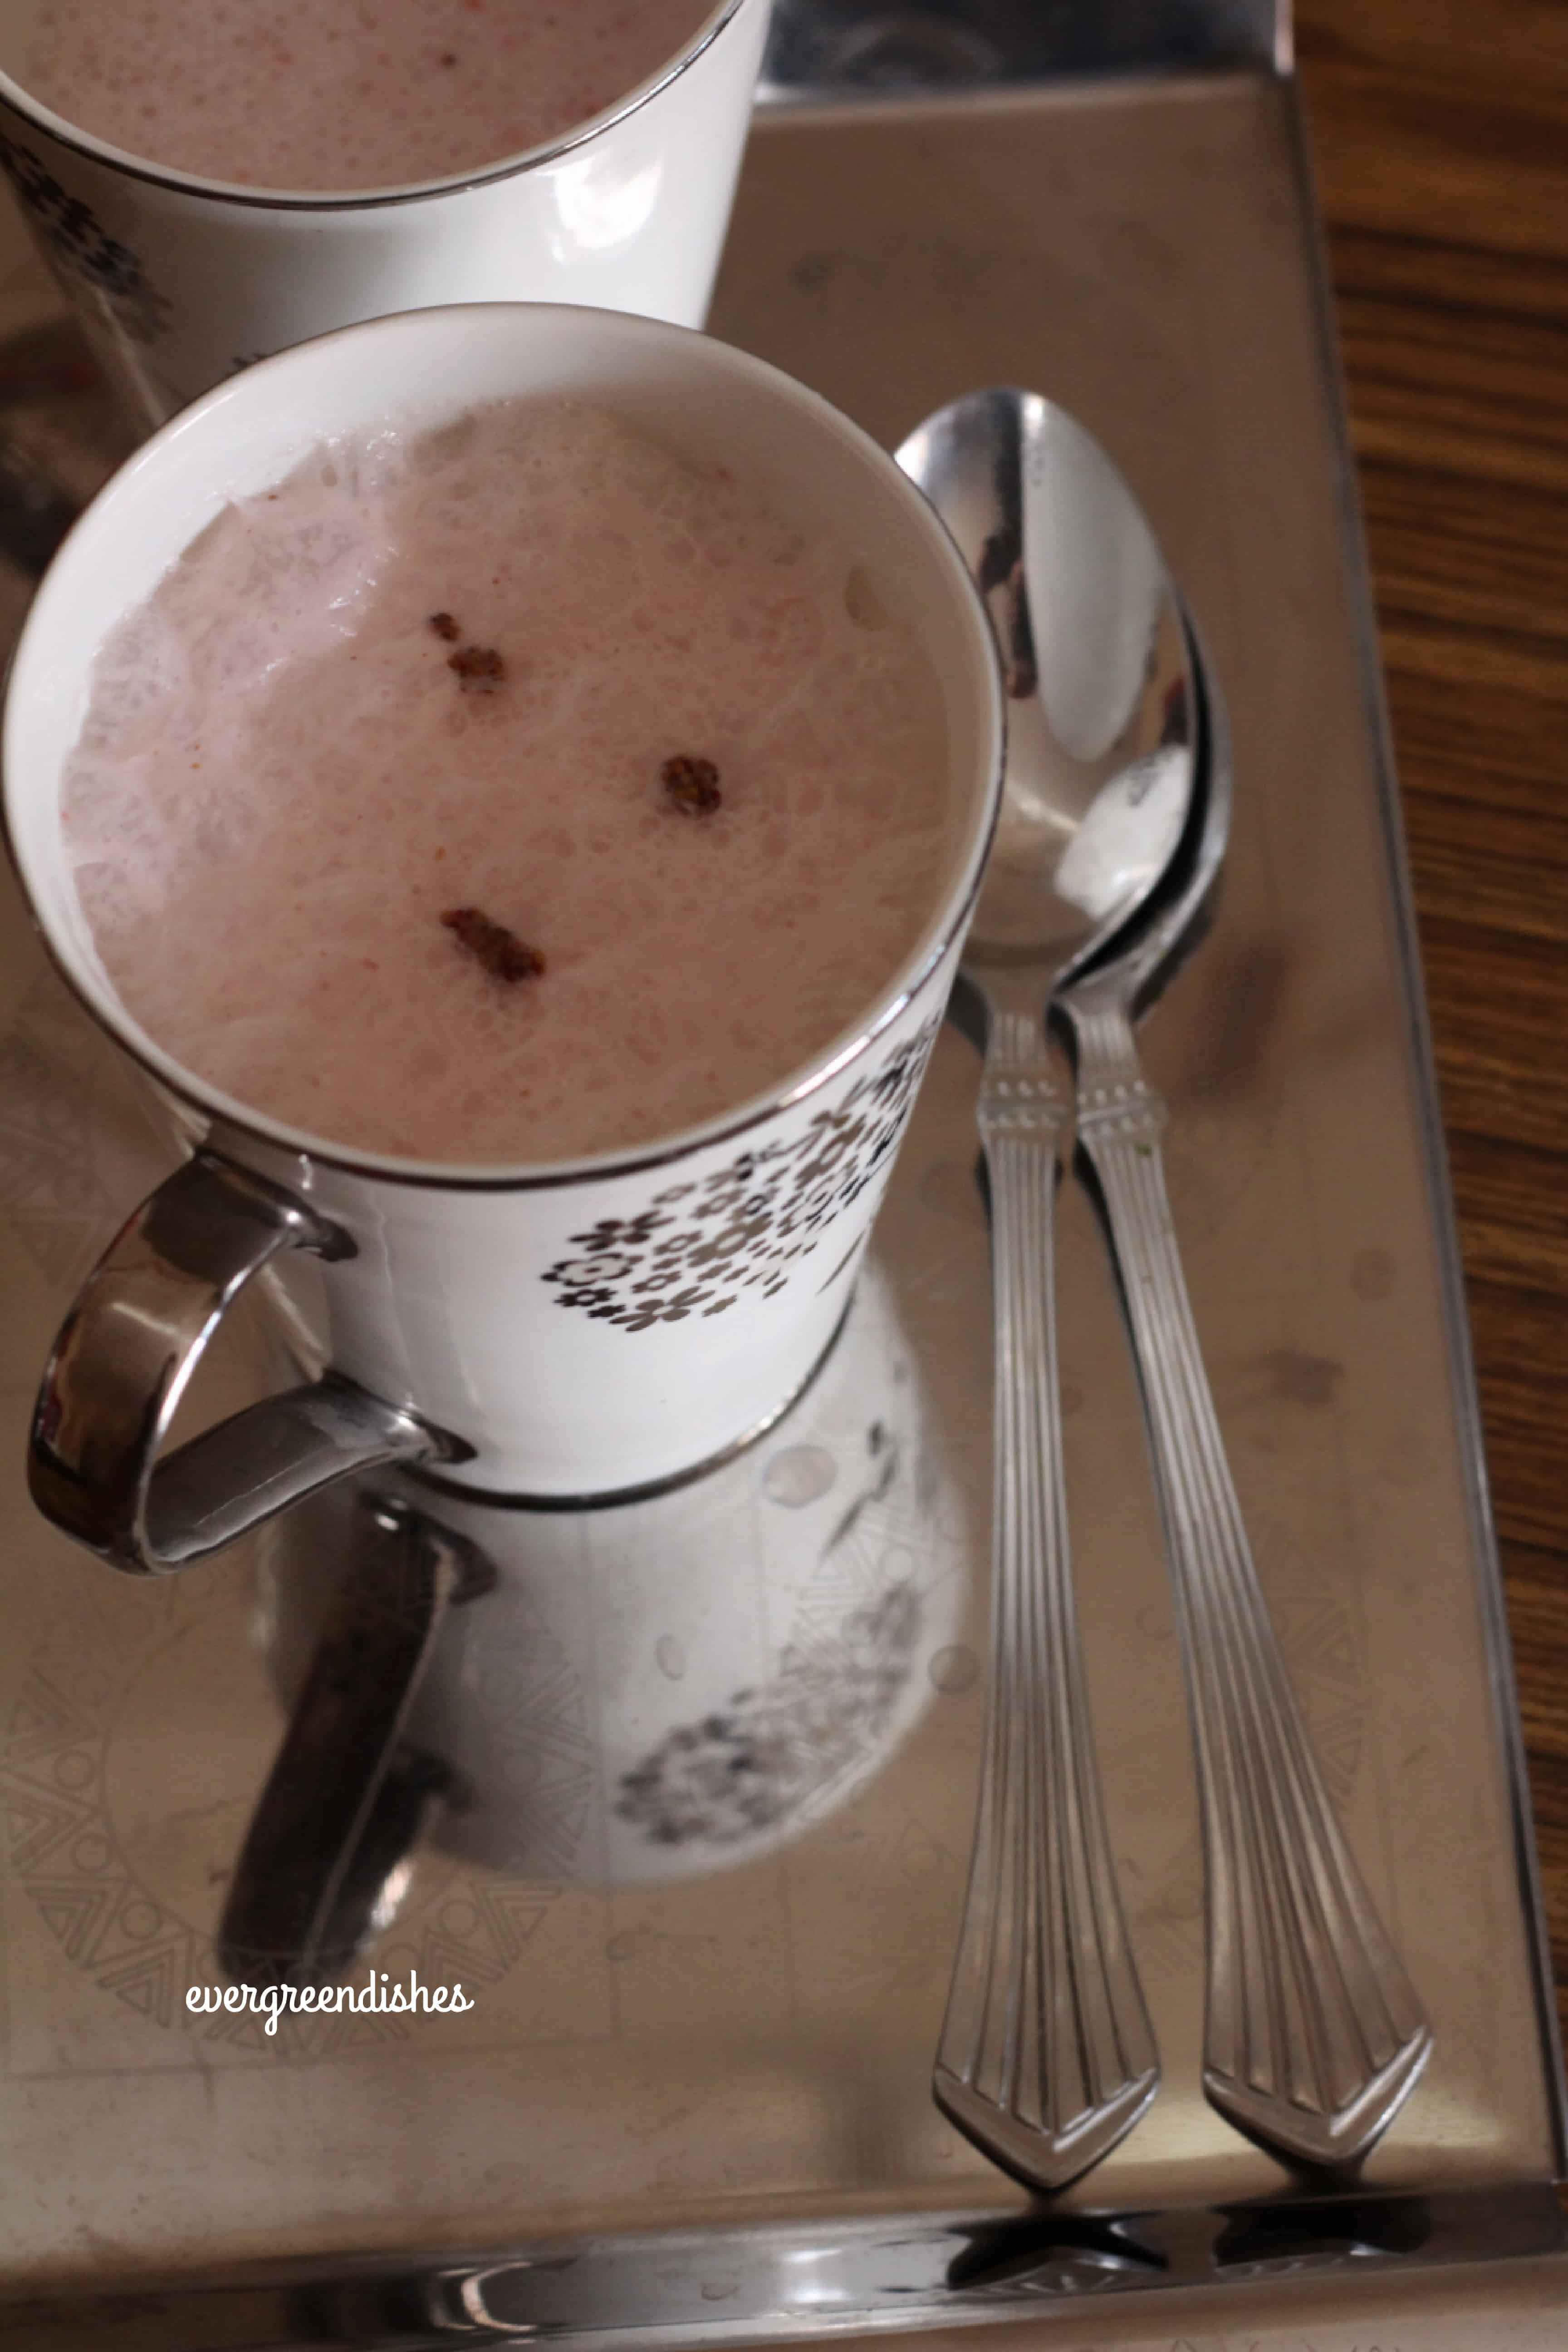
Low calorie strawberry milkshake
Ingredients
Method
- Wash the strawberries, pat dry, cut into chunks and freeze them for sometime.
- Blend all ingredients together except ice cubes.
- Serve in glasses, top with ice cubes.
Notes
- Natura is a sugar free sweetner that enhances the taste. You may avoid it if you wish.
- Strawberries can be washed, dried and frozen ahead of time.
My Philips Hand Blender is a useful gadget to blend milkshakes. You can check my article
A few milkshake recipes from my co-bloggers
If you have liked this post, do leave a comment. It really means a lot to me. Glad if you share it further. Recently, I wrote an article on how to feed fussy children Do check it out on Blasting News.
Follow Evergreendishes on other social media, happy to connect with you all.
Subscribe to get a book of Handyhints for free!
Sending this recipe to the Kids Delight Event hosted by Spice Your Life and Mayuri Patel.