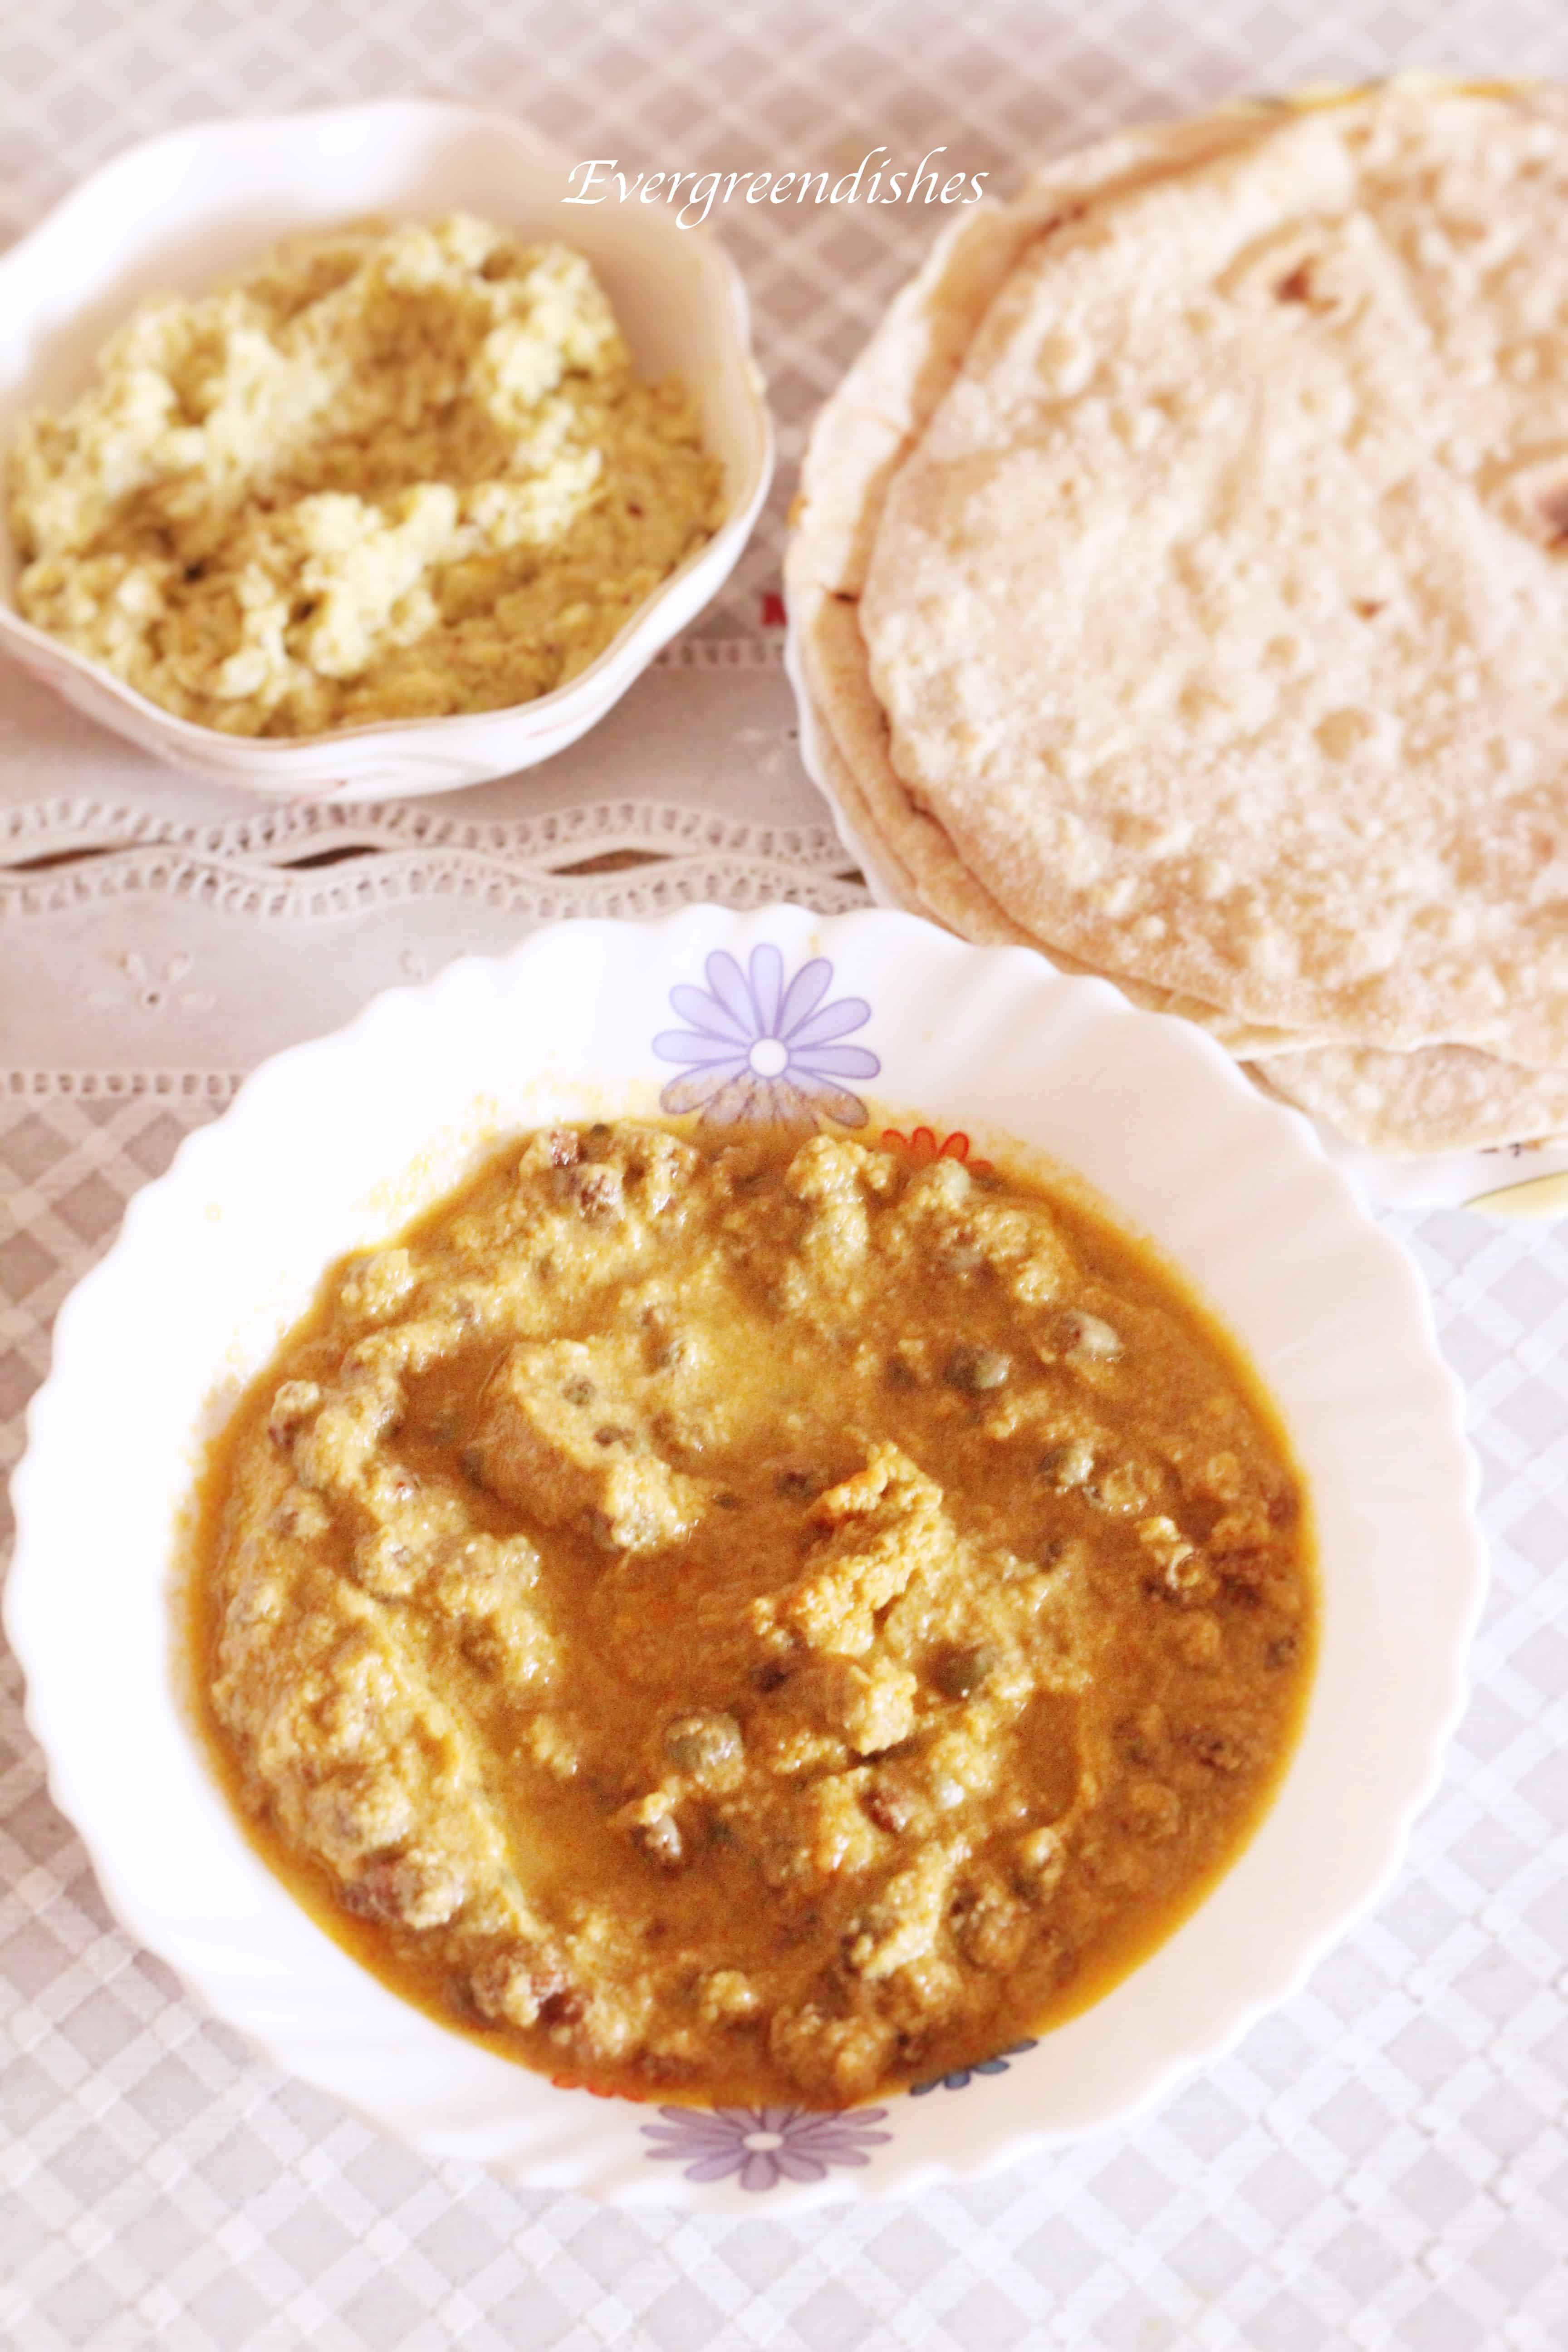
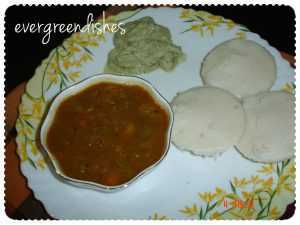
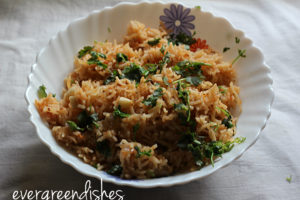
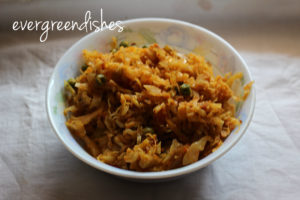
Winter brings its own blessings, fresh vegetables are available. There is no dearth for greens. Green pigeon peas are the fresh form of tuvar dal and is available in winter. Tuvar lilva masala curry is a tasty and easy to make accompaniment that can be paired with chapati or phulka.
The other names for Tuvar lilva are green pigeon peas and togare kalu
Tuvar lilva masala curry
The green pigeon peas can be shelled and stored in refrigerator for a few days.
You can have easy access to our recipes. We are now available on mobile app, you can download it here from the playstore
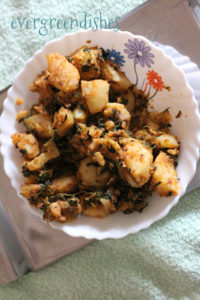
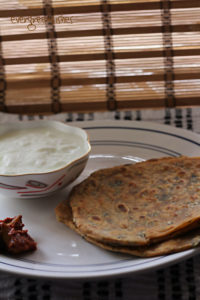
Spring Onion Stir Fry makes a good accompaniment with chapthi and jowar roti. It is an easy dish which you can make in fifteen minutes
Two years back, it was after some thought I decided to make a spring onion stir fry. It’s a sort of compulsive buying for me, I simply end up buying some things. The firm, unblemished and bright green leaves are a lovely sight and make good dishes. Well, that’s one of the reasons I buy these beauties. The spring onion stir fry was a hit and since then, it’s become a routine every now and then.
Spring onions are used along with other veggies in fried rice and other Indo-Chinese dishes. It enhances the taste of the dish.
Stir fry is made using spring onion and gram flour as the main ingredient. It tastes good with chapathi and jowar roti.
Take the cluster of spring onion, remove the onion bulbs and cut the greens into small pieces.
Remove the skin of the onions and cut it into small pieces.
Put the chopped veggie into water and wash it well. Then, put it in a colander.
Take oil in a pan, add the mustard seeds, as it crackles, put turmeric powder and asafoetida to it. Put the chopped greens to it. Add salt and allow to cook.
Add chilly powder and mix it well.
Now, add gram flour to it, mix and allow to cook for sometime.
Spring onion stir fry is ready to serve.
About the event :
This is an old post which I have redone with better pictures. Sending it to Foodies _Redoing Old Posts 92. It is a group where we work on old posts once in a fortnight. Sometimes, we just change the picture, text or at times both of them. The post Spring Onion Stir Fry | Tasty Accompaniment was first published on 06’12/2017. It was redone on 14/1/23
Gongura leaves are widely used in cooking, the tangy flavour does makes the dishes delicious. Gongura chutney or pundi chutney is commonly prepared in South India.It makes a good accompaniment with jowar roti.
Varied names of Sorrel
Different regions call it by different names.The English name is Sorrel or Kenaf. It is popular as Gongura in Andhra Pradesh, Pundi palya in Karnataka, Pulich keerai in Tamil, Ambaadi In Marathi, Pitwa in Hindi, Kotrum in Jharkhand, Amaari in Chattisgarh, Kotrum in Jharkhand and Mestapat in Bengali.
Health Benefits of Sorrel leaves
The sorrel leaves are rich source of iron, vitaminB6, folic acid and anti-oxidants essential for human nutrition. The iron and vitamins present in it help in preventing conditions such as osteoporosis.
Different culinary uses of Sorrel leaves in India
Sorrel leaves are used along with lentils to give a flavoursome accompaniment with rice. The chutney is a popular dish churned out of it. It is one of the daily essentials in Andhra cuisine. A variety of pickle is also made using these leaves.
Ingredients:
For the gongura/ sorrel leaves chutney
2 clusters of sorrel leaves
6 green chilly
1 teaspoon methi seeds
2 teaspoon oil
a liitle asafoetida
salt to taste
For the seasoning:
2 teaspoon oil
1/4 teaspoon mustard
1/4 teaspoon asafoetida
1/4 teaspoon turmeric powder
Method:
Separate the leaves from the stalk, wash and put them to dry on a cloth.
Cut the leaves.
Take oil in a pan, roast the methi seeds and the green chilli, put them aside.
In the same oil, add asafoetida and the sorrel leaves along with salt.
Let cook for sometime.
Remove from flame.
When it cools, grind it.
Take a pan and make the seasoning. Add mustard seeds, as it crackles, put asafoetida and turmeric powder. Turn of the gas. Put the chutney in it and mix well.
Gongura chutney is ready to serve.
Take a tip:
Garlic may be added along with green chilly while sautéing.
Raw onions are added to the chutney by some people.
Chutney stays good for a couple of days if kept in refrigerator.
Tastes good with jowar roti along with stuffed brinjal as an accompaniment.
It can be mixed with hot steamed rice along with ghee.
The leaves are slimy, thus do not chop and wash them.
Evergreendishesdev
Gongura/ Pundi/ Sorrel leaves chutney
Gongura chutney is a popular accompaniment from South India. It makes a good accompaniment with jowar roti.
Remove the stalk of the sorrel leaves, wash and put it to dry on a cloth. Cut the leaves.
Take oil in a pan, add fenugreek seeds and green chilly. Roast them, put them aside.
In the same pan, add asafoetida and the sorrel leaves along with salt.
Let cook until tender. Remove and keep it aside.
When cool, grind the fenugreek and green chilly together. Then add the sorrel leaves to it and blend altogether.
Make seasoning in another pan. Add mustard seeds to the oil, as it splutters, put asafoetida and turmeric powder. Put chutney to it and mix it well. Gongura chutney is ready to serve.
Notes
You may add garlic along with green chillies while roasting.
Finely cut onion pieces can be put in the seasoning and sauted for sometime.
This chutney tastes good with jowar roti.
It can also be served with hot steamed rice along with a dollop of ghee.
This chutney can be stored in refrigerator. Put seasoning and use it.
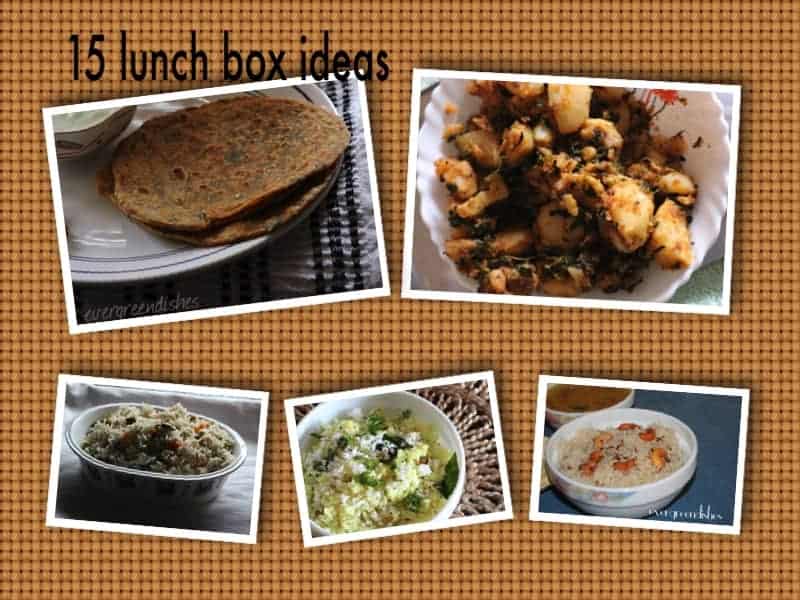
Preparing the lunch for the office or school is one of the prominent work that we have on daily basis. Oh! It is a dilemma to decide the dish daily. This “X” dish does not taste good in the box, “Y” dish is liked by one child, while the other detests, are some of the cribbings we often hear. Somehow, we have learnt to balance things. Here are 15 lunch box ideas that you can use on a daily basis. I usually packed chapati and sabzi. Rice had to be some kind of prepared dish, not the usual dal or rasam. Do take a peep below.
Providing a good food to the family is our duty. They trust and eat whatever we provide. Make the right choices of what you give commonly to your children. Inculcate the habit to eat fruits on a daily basis, children need to be told many times.
15 lunch box ideas
Here are a few recipes that you can pack for the lunch box.
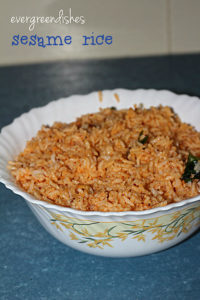
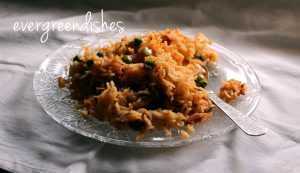
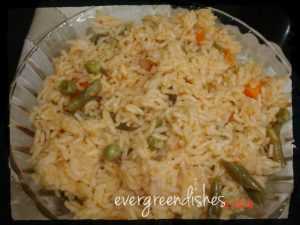
Sesame rice : Grind the paste and keep it in the refrigerator. Saute it and then mix along with prepared rice. It can be done in thirty minutes.
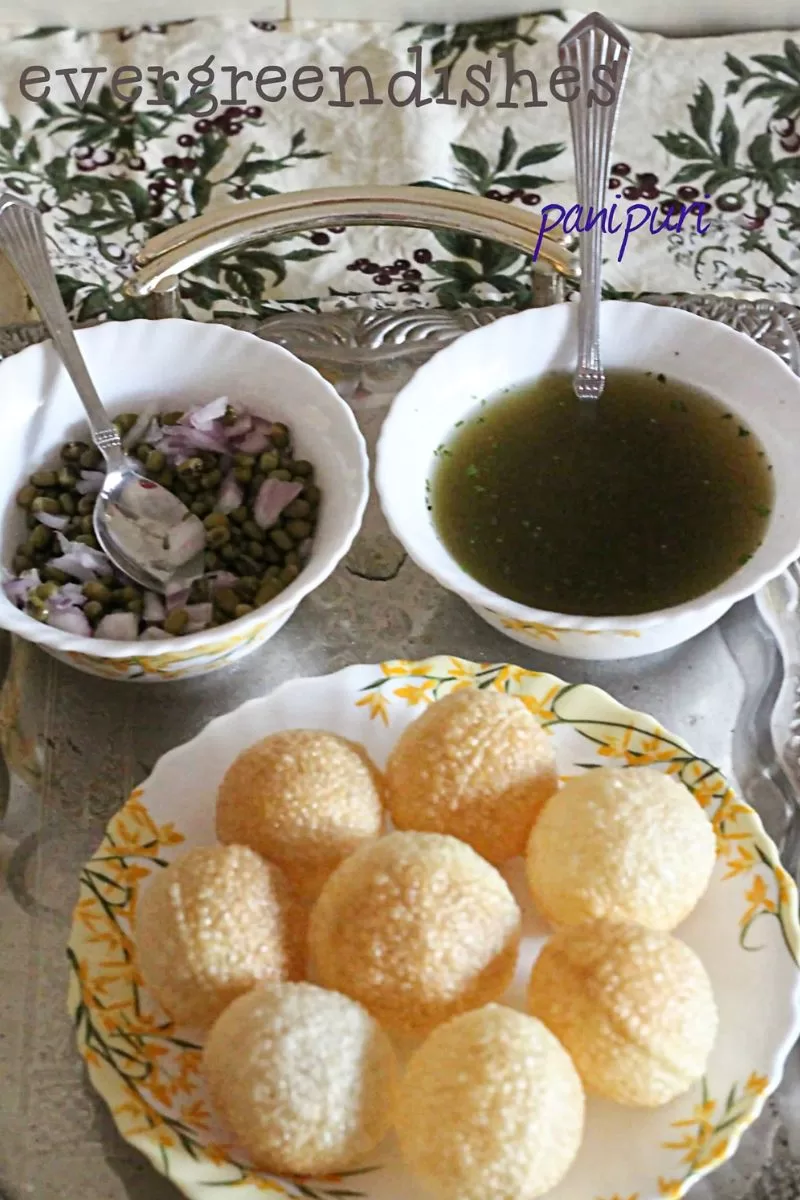
Panipuri is a popular street food that needs no introduction. The fun of eating panipuri is not limited to youngsters alone. The street vendor has a roaring business by selling this daily.
Panipuri, the small puffed puris are filled with a filling and eaten with a spicy, sweet and tangy water in it. Simple pleasures of life, isn’t it? It is called as Panipuri in north india, Golgappa in Uttarpradesh, Puchka in Bengal and Gujarat, and as Gupchup in Jharkhad and Chattisgarh.
Different fillings can be used to fill the puri. The water is spicy, tangy and tasty. It has the tanginess of tamarind, along with chat masala, mint and a few other ingredients.
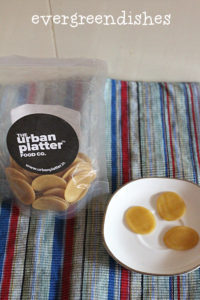
panipuri
Recently, I found puris on Urban Platter in Amazon and thought of trying them. Thus, I ordered a pack to see how it was. The puris are like fryums, you need to fry them and serve, isn’t that awesome? Once I put them in the oil, it puffed up, and I was wondering, such small ones, soon it enlarged and was perforated with patches. It was bigger than my usual ones! Taste wise, yes, did like it.
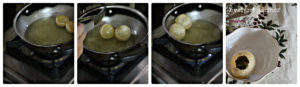
panipuri onlinefrying of puri
This is a semi- made version as the puris are outsourced or the ready ones are brought and fried at home. One can make the puris ahead at home but it needs more time. Earlier, I used to get from my local vendor. He makes a pack of these and keeps them ready whenever I need.
For the filling, I love using moong. I soaked the moong overnight, I replaced the water and boiled it with a little salt. One can also use a mixture of potatoes and chickpeas along with spices in it.
I am too scared to eat panipuri outside as we are never sure of the kind of water used. A little precaution go a long way. It’s been many years since I have been regularly making at home whenever the children demand.
Recipe for Pani Puri
Ingredients:
30 puris
For the stuffing:
1 cup moong
salt to taste
2 onion finely chopped
For the water:
1/2 bunch coriander leaves
a few mint leaves (20 -30 leaves)
1 green chilly
1 inch ginger
1/2 teaspoon cumin powder
1 teaspoon chaat masala
salt to taste
2 tablespoon tamarind pulp
1 tablespoon jaggery
1 litre water
Method:
To make the stuffing:
Soak the moong over night. The next day, drain the water, wash in running, put some water and boil with a little salt. As they are soaked, they cook fast.
Once they cool down, remove the water and put the cooked moong in a bowl.
Add onions to it. Mix well and keep it aside.
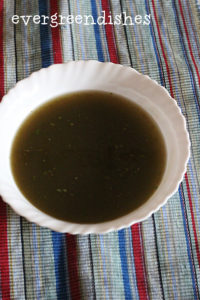
To make the pani :
Wash coriander and mint leaves.
Grind them along with tamarind pulp, green chilly, ginger, salt to a fine paste.
Take water in a bowl. Add the ground paste, jaggery, cumin powder and chaat masala to it.
Keep it aside for an hour. Allow the flavours to imbibe.
pani
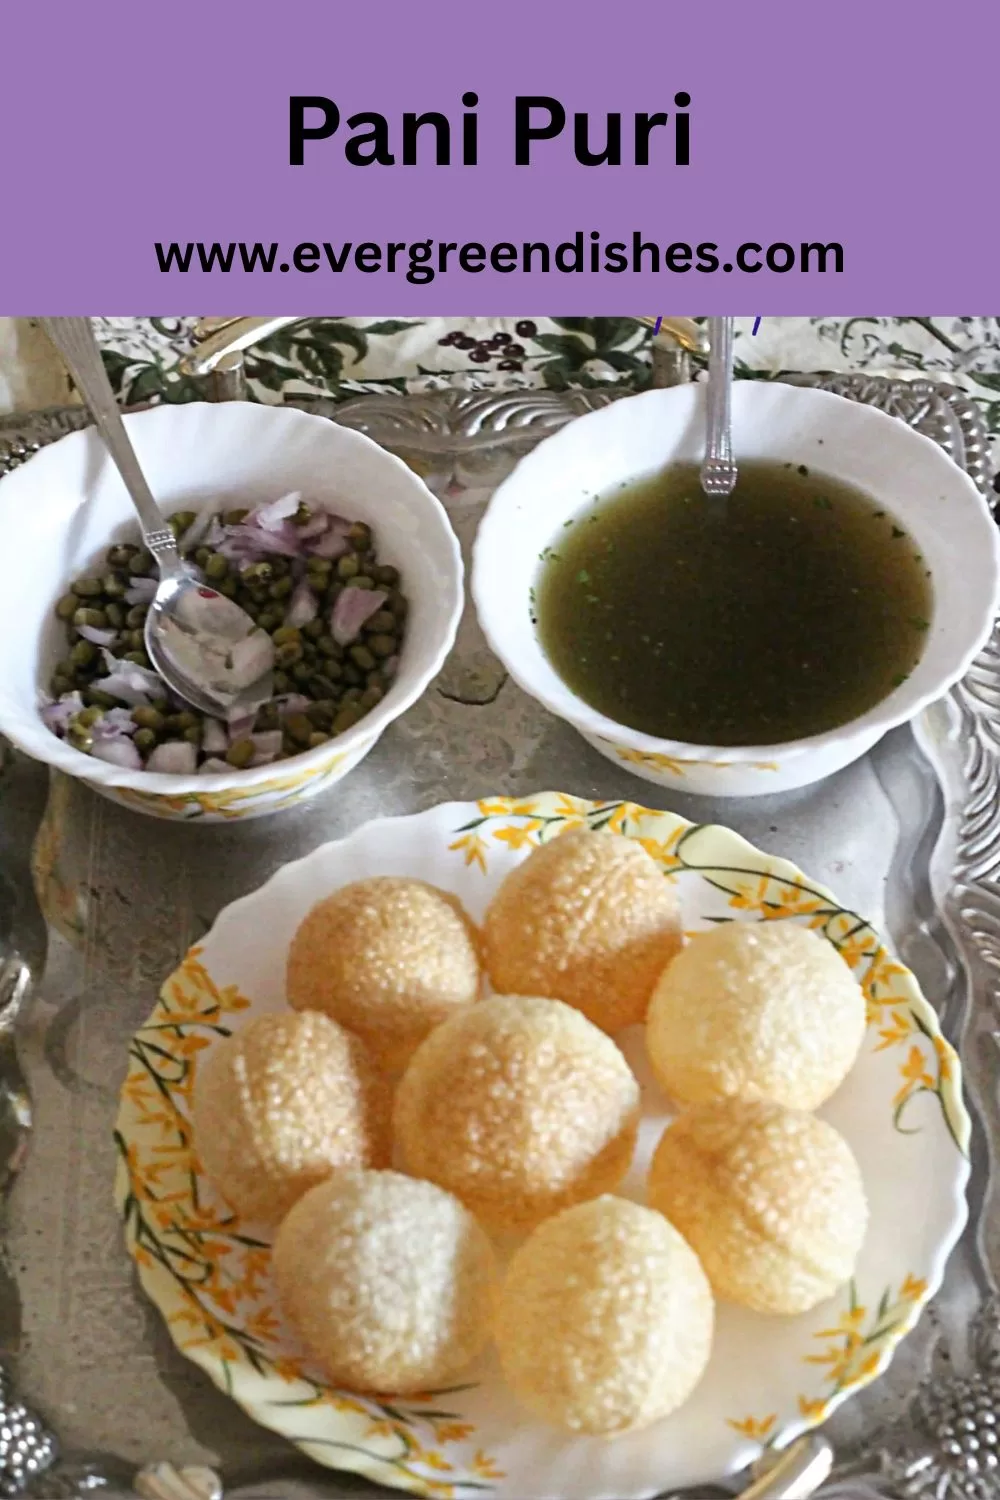
To serve:
Place six puris in a plate ( any number as you wish!), put some filling in a small bowl and the pani in another bowl.
How to eat it:
The puri is lightly broken at the top. A spoonful of filling is put into it. Some pani is put into it and immediately put into the mouth.
Different kind of fillings :
Potato filling – Use boiled potato mixed with chilli powder, salt, onion and coriander leaves to stuff in it.
Green peas – Green peas can be boiled with a little salt and used as a filling along with boiled moong.
Corn filling – Make a filling of boiled corn along with onion, salt and chat masala.
Chana filling : Boiled chana mixed with spices can be used as a filling. Mash them a little bit and fill for that extra goodness and taste.
Pani puri
5 from 8 votes
Pani puri is a popular chaat and street food that is cherished by all. Small puris stuffed with a filling are eaten by dunking it with a spicy, tangy and tasty water.
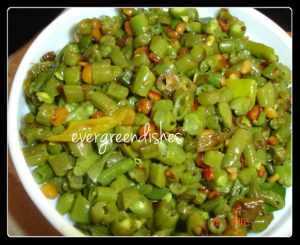
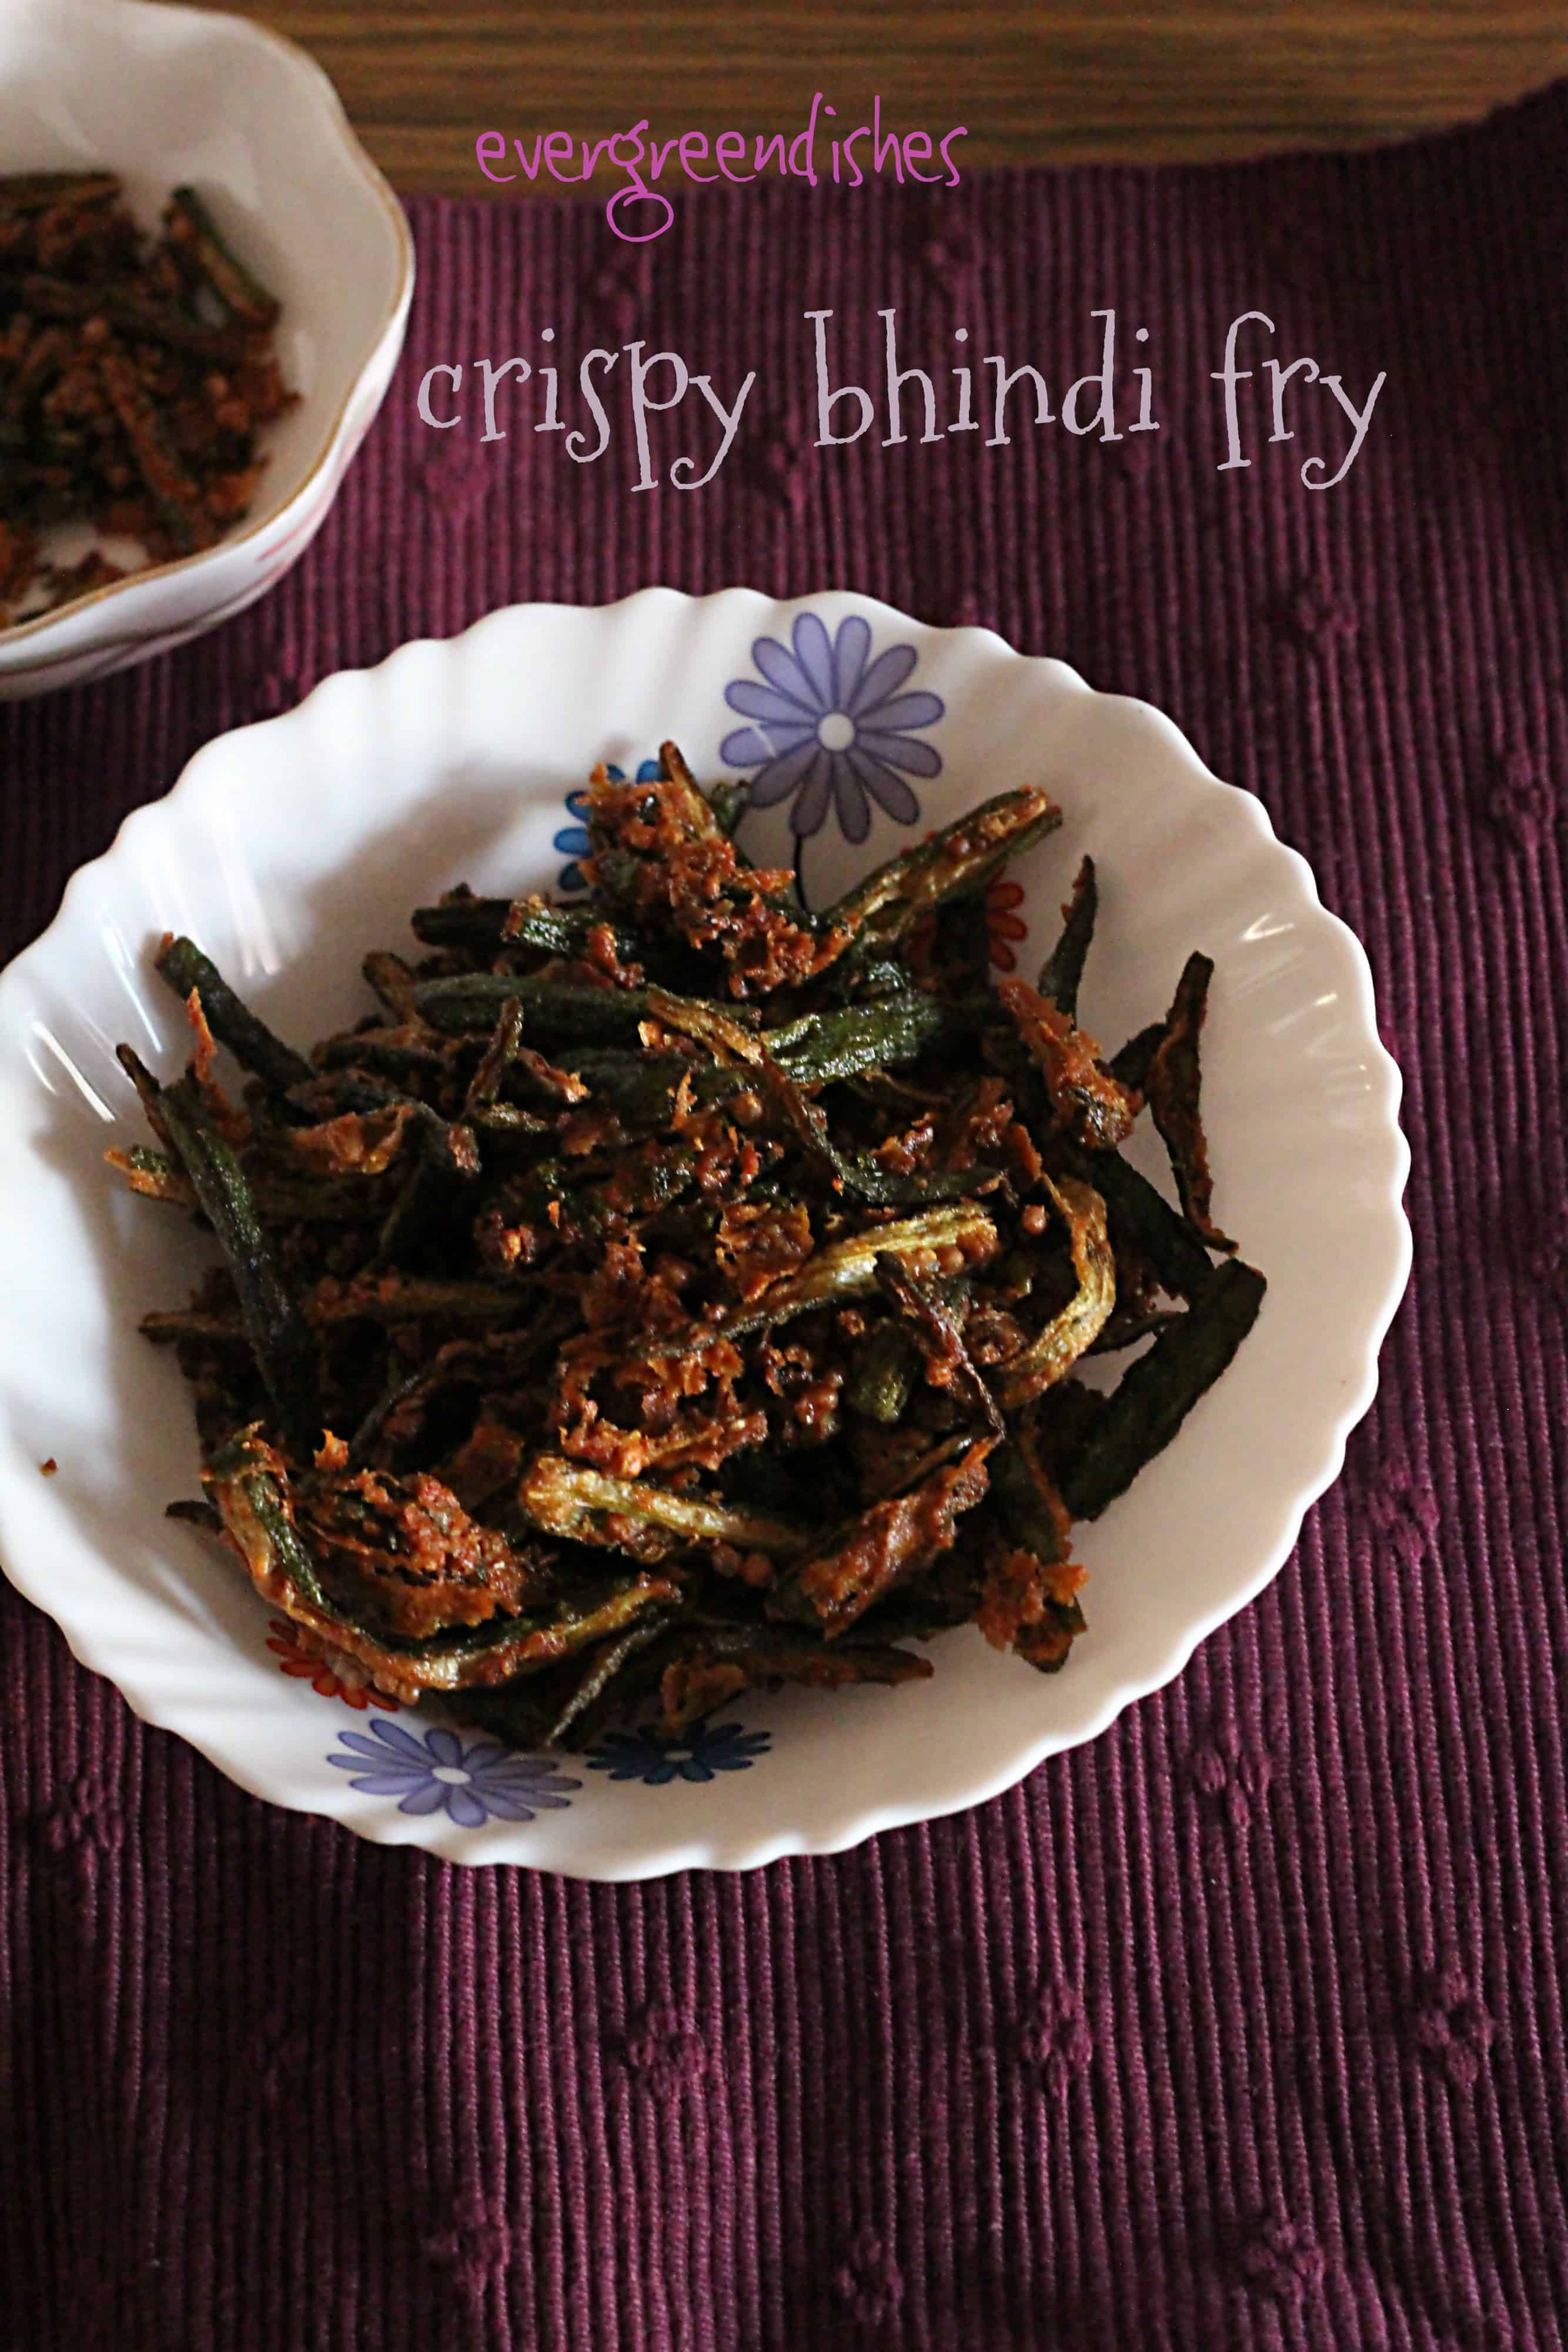
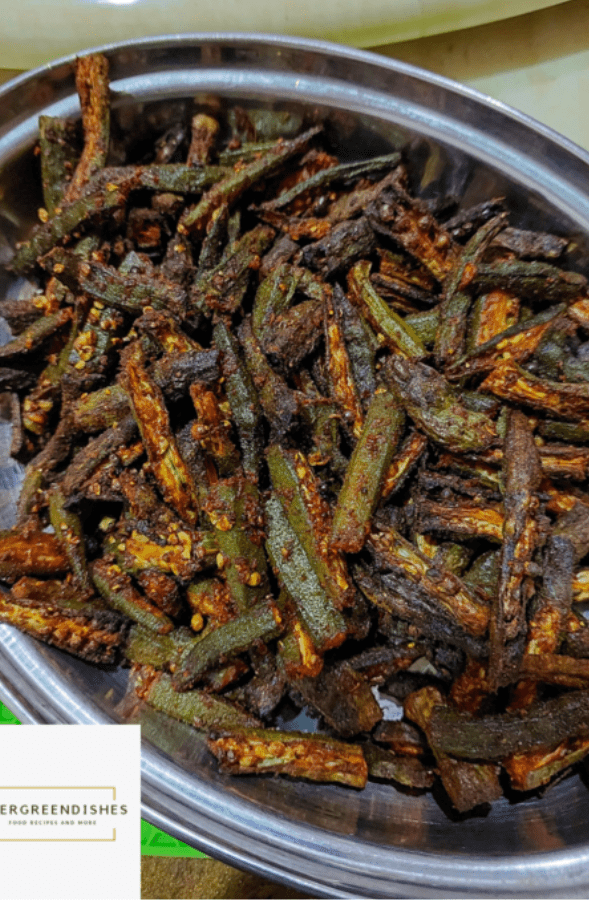
Kurkuri Bhindi Fry or crispy bhindi fry is a tasty accompaniment with any meal. Serve it with any meal as an accompaniment, it is loved and relished by all.
It is assured that I need okra at least once in a week, usually sabzi but sometimes I do fry. Here is another kind of fry that is tasty and crispy.
Kurkuri Bhindi Crispy Bhindi Fry
Ingredients:
1/2 kilogram bhindi
salt to taste
1/2 teaspoon turmeric powder
pinch of asafoetida
1/2 teaspoon pepper powder
1/2 teaspoon chat masala
2 teaspoon chilly powder
1 teaspoon cumin powder
1 teaspoon coriander powder
2 tablespoon fresh coriander chopped
2 tablespoon gram flour
oil for frying
Method:
Wash the bhindi and pat dry.
Cut it vertically into four strips. If the bhindi are large in size, cut them into two.
Add salt, asafoetida, turmeric powder, chilly powder, amachur powder, coriander powder, cumin powder, chopped coriander and mix it.
Sprinkle gram flour and mix it. Keep the mixture to marinate for twenty minutes.
Heat oil in a pan. Put a few pieces of the marinated mixture into oil.
Deep fry on medium heat for sometime.
Turn them with a ladle. Once they are crisp and brown, remove them on a tissue paper.
Repeat for the rest of the mixture.
Serve with rice as an accompaniment.
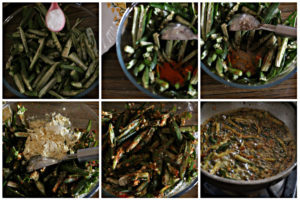
kurkuri bhindibhindi piecesmaking of kurkuri bhindi in steps
Evergreendishesdev
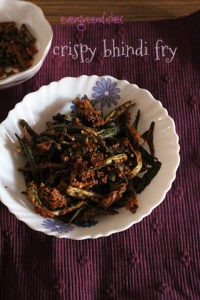
Kurkure Bhindi
Kurkure bhindi is a okra deep fried by coating it with a mixture of spices. It makes a good accompaniment with any meal.
Wash the bhindi and pat dry. Cut them vertically into thin strips. If the bhindi are big in size, divide them into two.
Add salt, turmeric powder, asafoetida, chilly powder, coriander powder, cumin powder, pepper powder, chat masala and coriander leaves to it. Mix it well.
Sprinkle gram flour to it and mix. Allow the mixture to marinate for 15-20 minutes
Heat oil in a frying pan. Add a few pieces of the marinated pieces.
Deep fry on medium heat. Turn it to the other side with a ladle. It should be crisp and light brown in colour.
Remove it on a tissue paper. Repeat for the rest of the mixture.
Take oil in a bowl, add all the spice powders into it and mix it.
Put the cut okra slices into it, toss it well and keep it aside for sometime.
Pre-heat the air fryer.
Put the parchment butter and place the okra slices on it. Cook at 300 degree Fahrenheit for five minutes initially. Toss in between. Again put it for another five minutes.
Now, check and cook for two more minutes, Crispy okra is ready to use.
About the event :
This is an old post which I have edited now. Earlier, I had written only the stove top method, now I have included the air fryer recipe in it. Sending it to Foodies_Redoing Old Post 105, a fortnightly event. Through this group, I have redone many of posts with better pictures now.
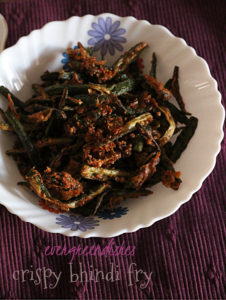
Pin it for later :
kurkuri bhindi
If you have liked this post, do share it further. Subscribe to get a book of handy hints for free!
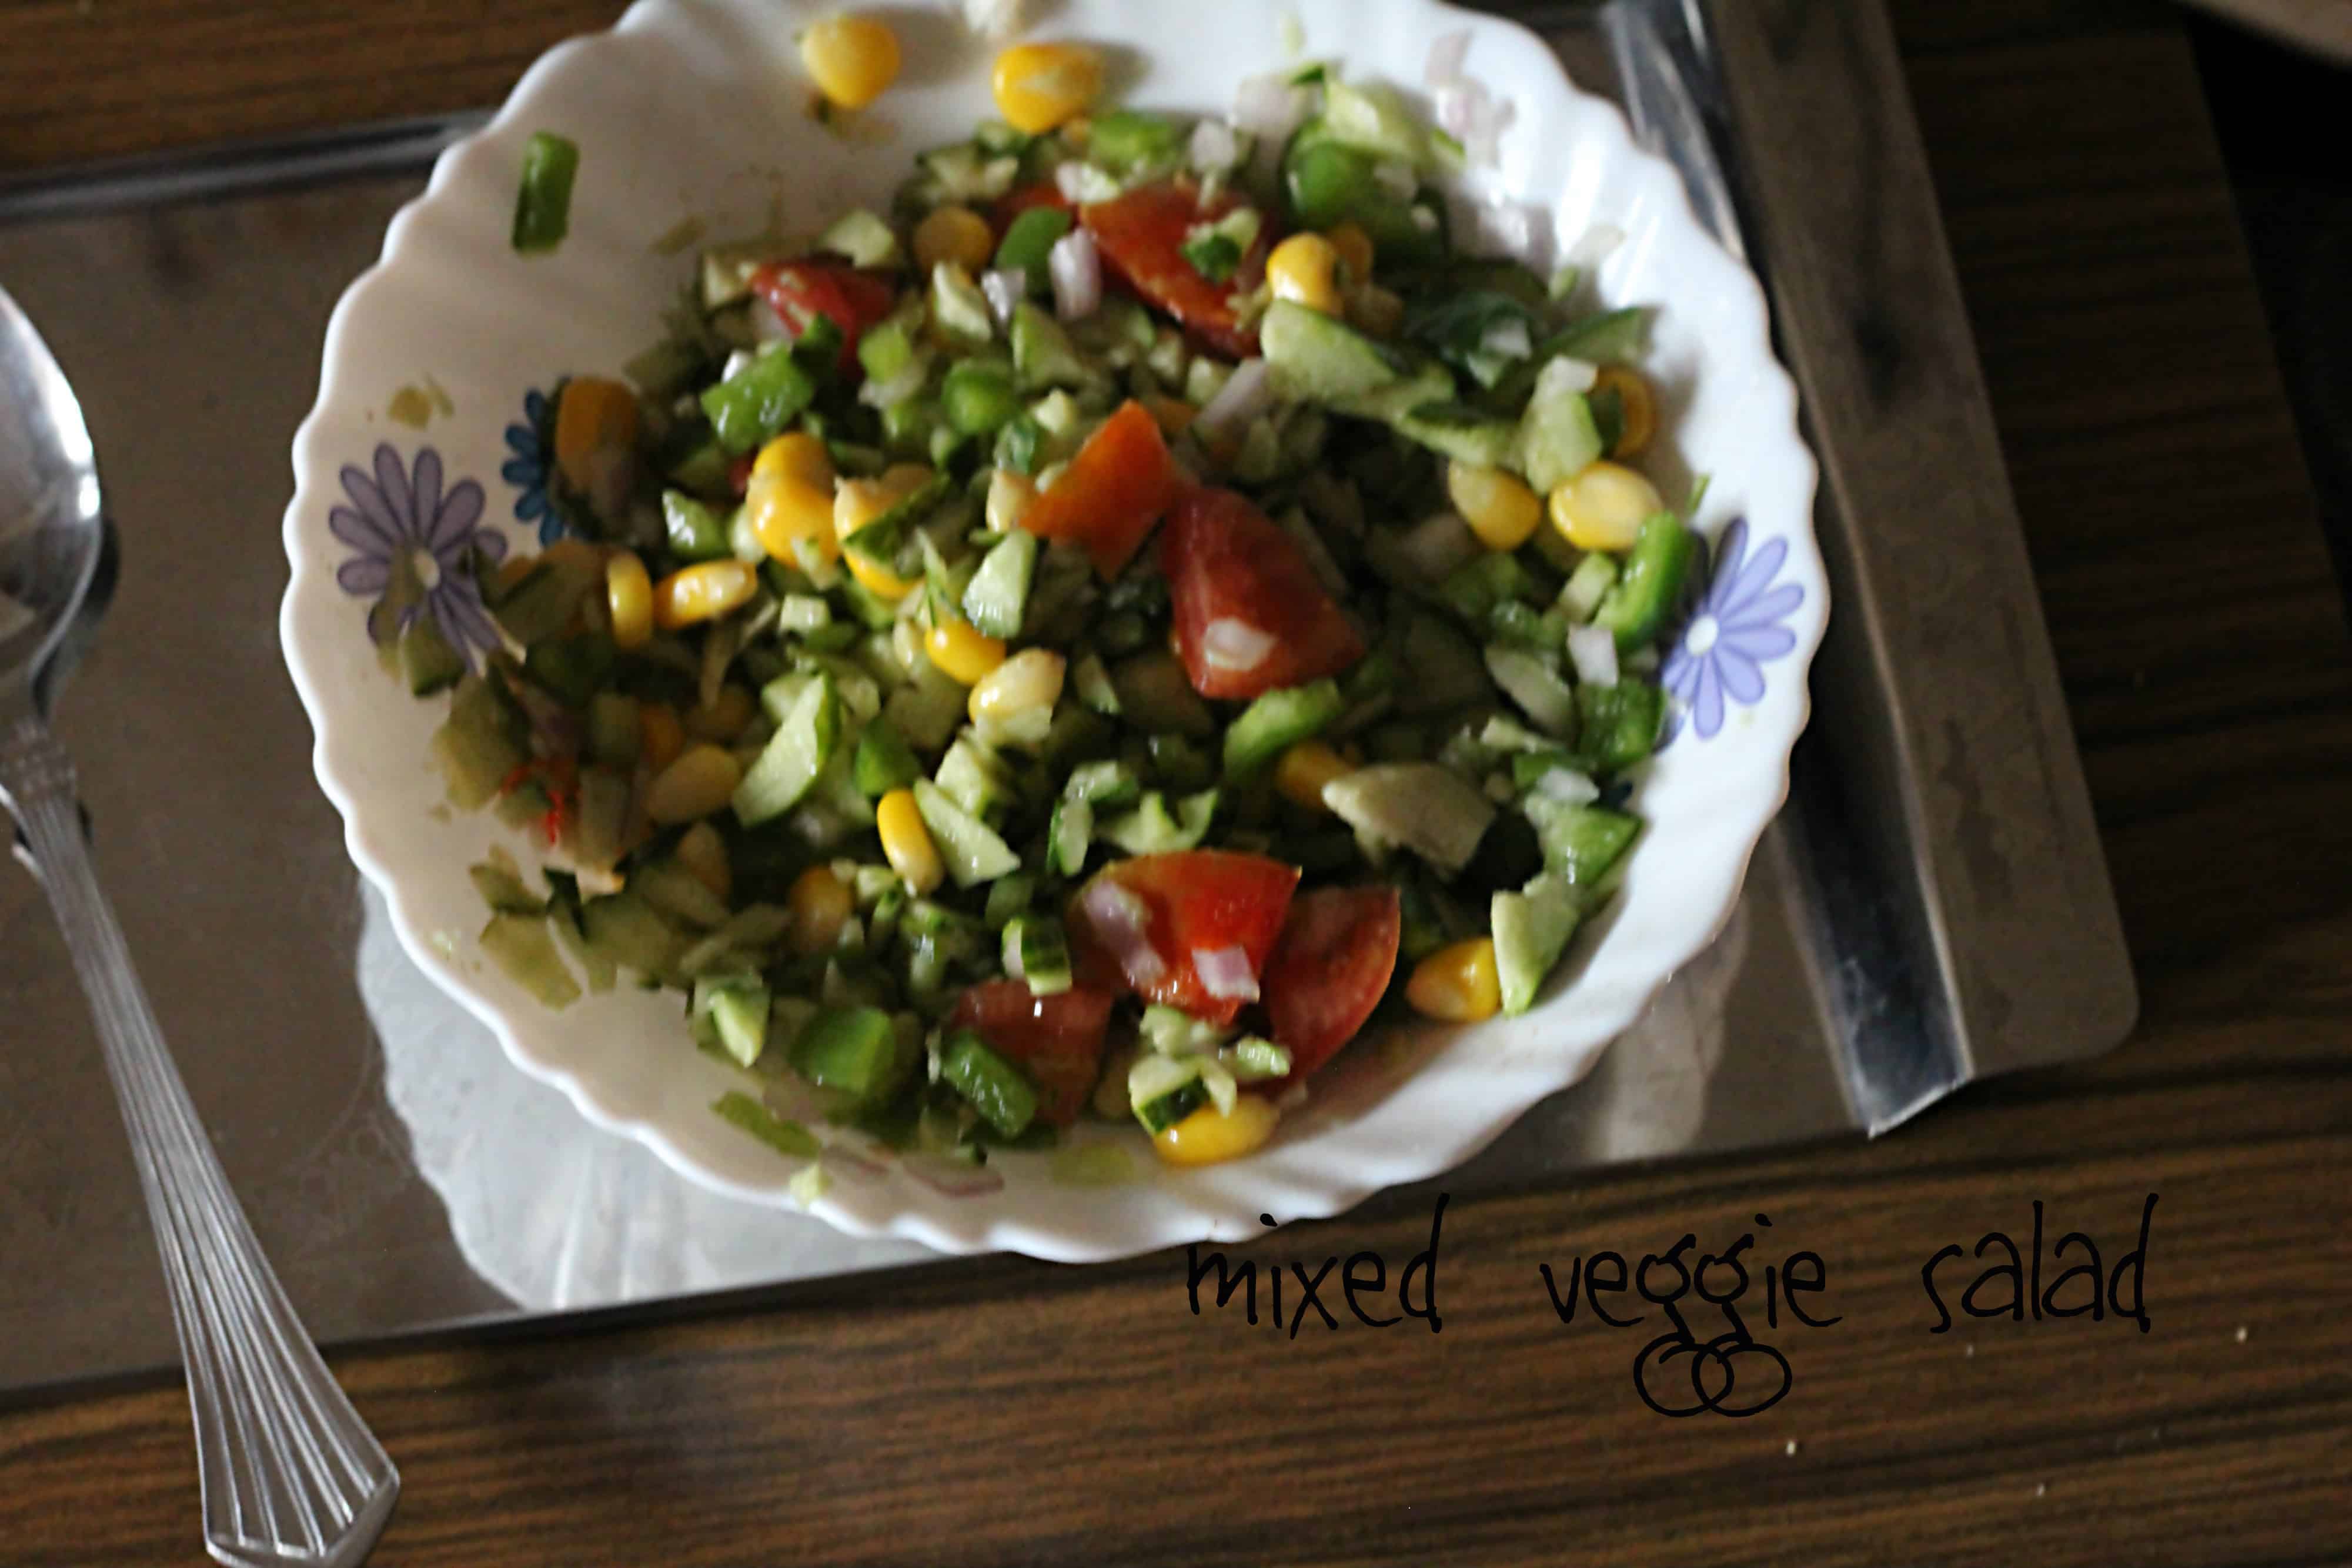
Mixed Vegetable salad is a tasty and refreshing salad. It is ideal as a snack or as an accompaniment with any meal.
Today, salads form an important part of our diet more so than ever. We are more mindful of what we eat, though cannot cut down at all times. The alarming rise of death rates, obesity and risk to life style diseases are some of the factors that have made us to change for good.
Salads are highly nutritious and less in calories. They are filling and tasty. Here is one such salad that I love to binge on.
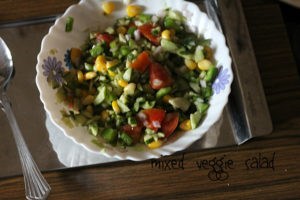
mixed vegetable salad
Mixed Vegetable salad
Ingredients:
4 cucumber
1 onion
1 tomato
1 capsicum
1 cup sweet corn kernels
For the seasoning:
2 teaspoon olive oil
1/2 teaspoon pepper powder
1 teaspoon lemon juice
salt to taste
Method:
Wash all the vegetables (except the onions).
Cut the cucumber into small pieces.
Dice the tomato and capsicum into small cubes.
Cut the onion finely.
Put the corn kernels in hot water for sometime, drain the water and put in a colander after sometime.
Mix all the veggies in a bowl.
Mix the pepper powder and salt in lemon juice. Add olive oil to it. Mix and pour it over the salad.
Chill and serve.
Take a tip:
You can add carrots, I have not added here.
Add walnuts and raisins if you are giving it to children.
If you have liked this post, do share it further. Appreciate all your comments, it really motivates me to write more. Follow evergreendishes on all other social media.
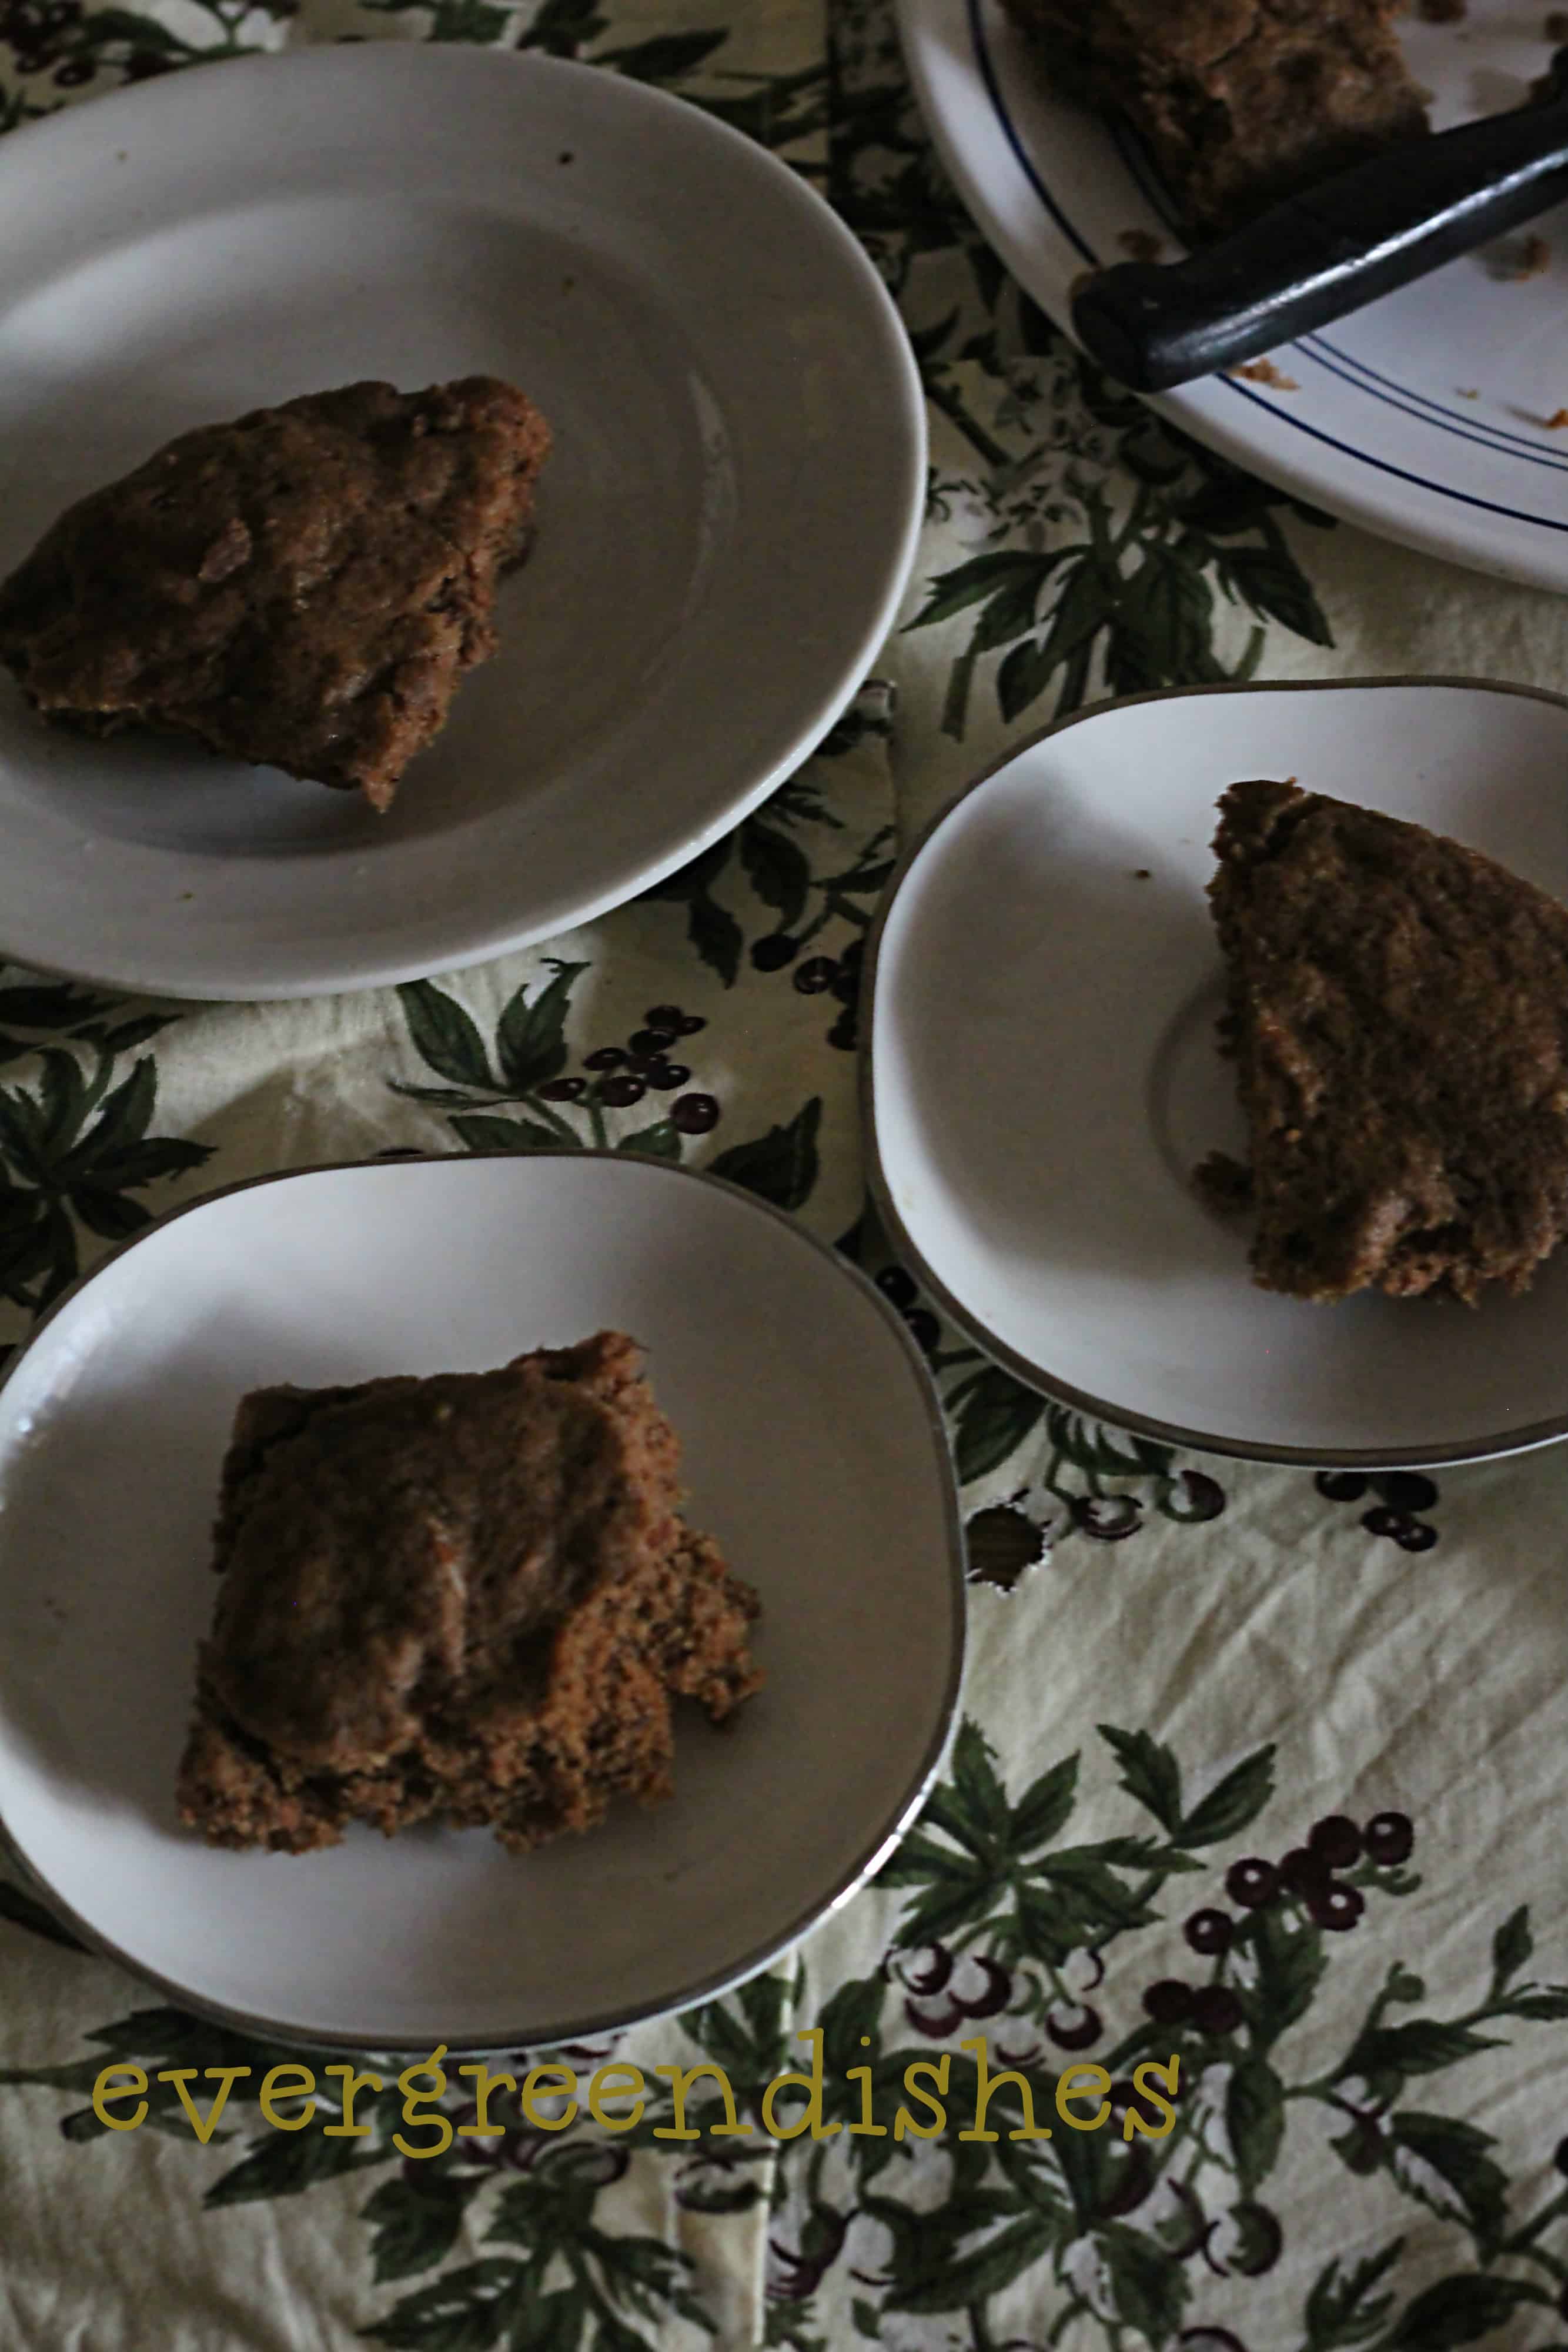
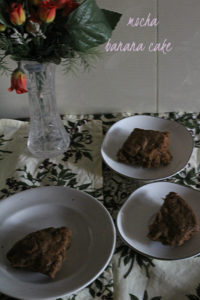
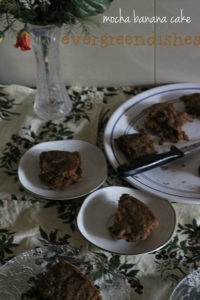
Mocha Banana Cake sounds good isn’t it? This is such a good one, I am just loving it, it’s made of wheat flour, sugarless, butterless and eggless ! This recipe is part of brand partnership with PlaceofOrigin.in and Plattershare for the Belly Nirvana Campaign.
Children should always be given healthy snacks. It provides nutrition and good taste. Mocha Powder is one such kind. It is good to serve as a frothy milkshake. You can even serve it in warm milk. Do check out the product in the online store.
Let’s get baking the cake. I just love these guilt free indulgences.
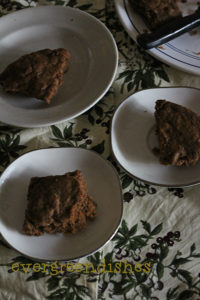
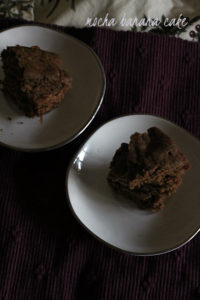
mocha banana cakemocha banana cake
Ingredients: (measurement used: 1 cup = 200grams)
1 cup wheat flour
2 teaspoon mocha powder
1 teaspoon baking soda
1/2 cup milk
1/2 cup honey
2 ripe bananas
1/4 cup oil
1/2 teaspoon ghee
1/2 teaspoon wheat flour
8 almond broken into pieces
Method:
Sieve the flour, baking soda and mocha powder together.
Mash the bananas, beat it well.
Add milk, honey and oil to it. Mix it.
Now, add the wheat flour and gently mix it.
Add the dry fruits to it.
Pre-heat the microwave.
Grease the tray with a little ghee and flour over it.
Pour the batter over the greased plate.
Microwave it for seven to eight minutes. The inserted toothpick should come out clean.
Allow to cool on the rack.
mocha banana cake
Evergreendishesdev
Mocha Banana Cake
Mocha Banana Cake is a tasty and healthy cake. It has no refined flour, sugar and butter. Addition of mocha chocolate powder gives a nice flavour to it.
Sieve wheat flour, baking soda and mocha powder together.
Mash the bananas. Add honey, oil and milk to it. Beat it well.
Add the flour to it. Slowly mix the batter. Add chopped almonds to it.
Pre-heat the microwave. Grease the baking tray with clarified butter, dust with flour. Pour the batter over it and bake it for eight minutes in two intervals.
The inserted toothpick should come out clean. Once it is done, cool it on the rack.
Notes
The timings may change for different microwave oven.
You can use an OTG.
mocha banana cake
This is the second post in brand association with Place of Origin Indian Taste Delivered for the Belly Nirvana Campaign by Plattershare. The earlier post was Mocha Coffee Cookies.
Cocosutra mocha powder is a mix of coffee and chocolate together. It is a rich blend of dark cacao and fine coffee powder, a taste so unique and sinful. It comes in a pack of two, each weighing 100 grams. This product is one of the many products that they have for global Indians. Do take a look at their online store
Plattershare is a popular social media platform for food lovers, food professionals and food businesses. It is a wonderful platform to showcase our culinary skills and participate in contests. It is run by Kirti Yadav and Ankush Dhiman.
Disclaimer: This post is part of brand collaboration. I have received the product to create and write recipe and review. All views expressed are my own and not influenced by anybody.
Subscribe to get a book of handyhints for free! If you have liked this post, do leave a comment and share it further. Follow and connect with evergreendishes on other social media.
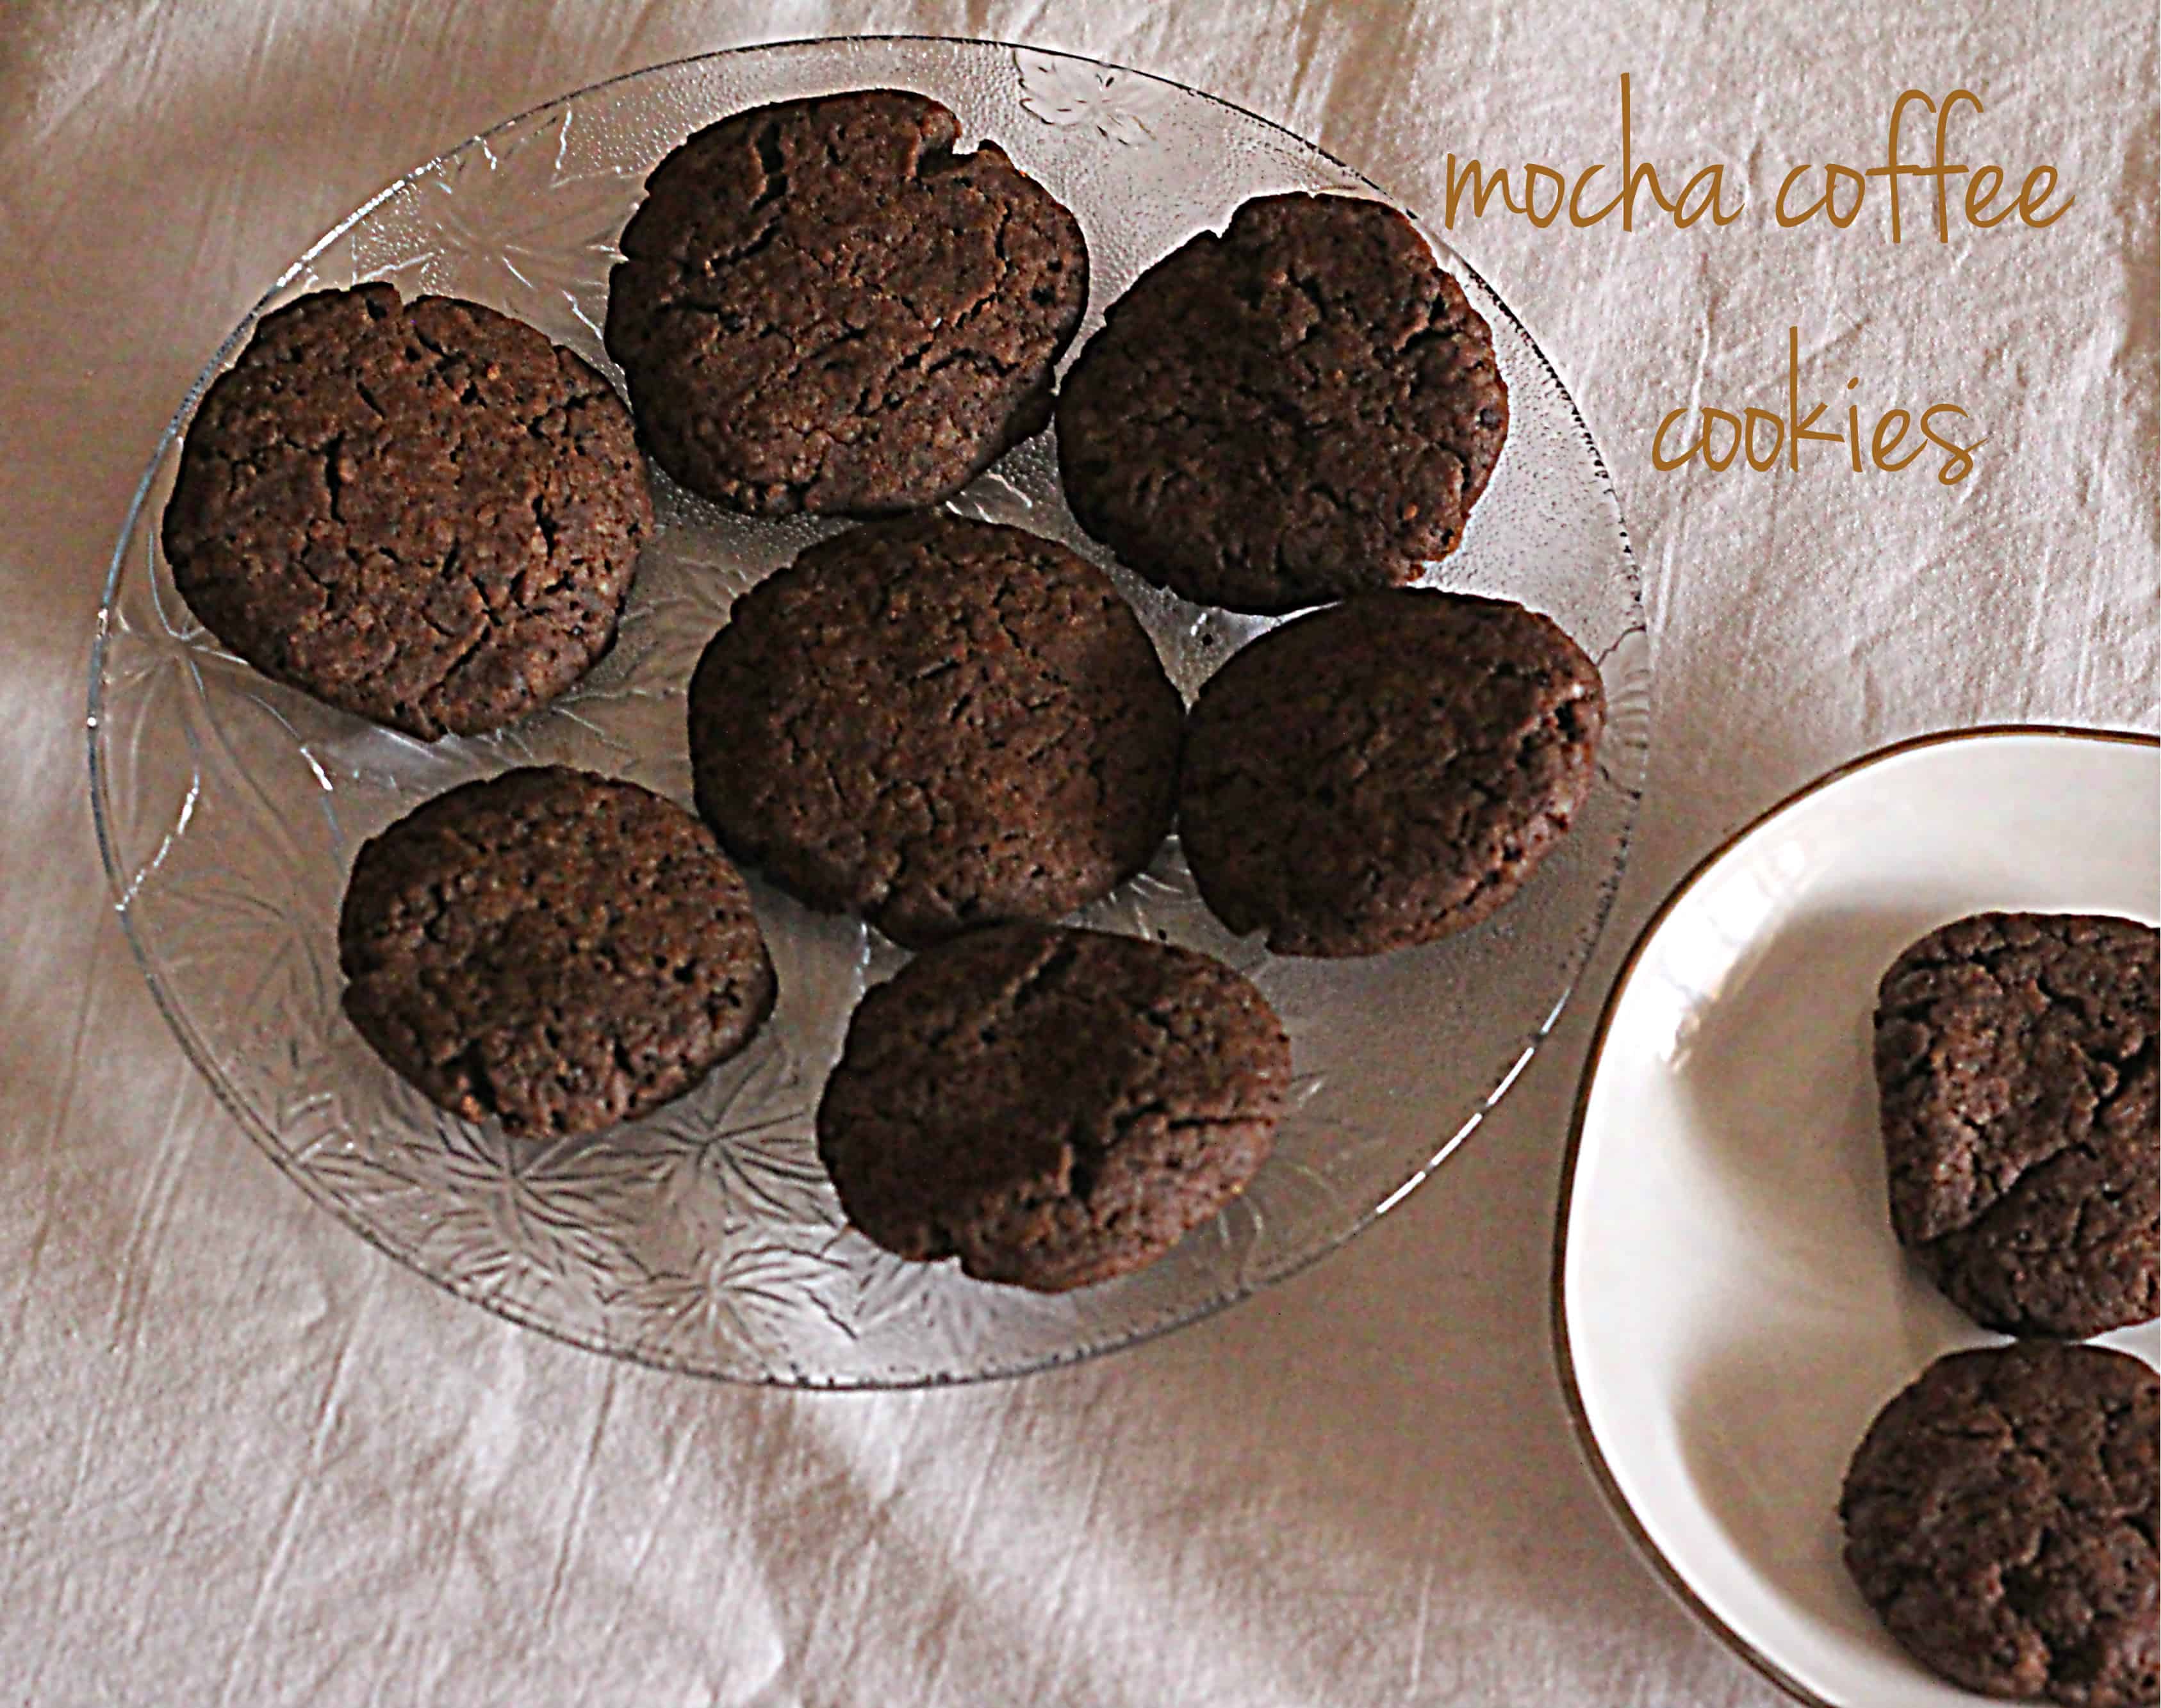
Mocha Coffee Cookies are exquisite and melt in the mouth cookies. Serve it as a snack or with milk in the mornings. Recently, I was selected for the Belly Nirvana Campaign by Plattershare in association with Place of Origin Indian Tastes Delivered. I received a Leo Breakfast Blend Coffee Powder and Mocha Chocolate drink powder.
Leo Breakfast Blend Coffee Powder is in 60: 40 ratio, i.e it is 60% coffee powder and 40% chicory. The aroma is exhilarating and the strength of the coffee is strong. It is made with the finest beans of coffee. The chicory unlocks the flavour giving it a rich flavour. We liked the coffee and I highly recommend it.
The Mocha chocolate powder can be used for various purposes. It is ideal to use it in milk. I made a milk shake for my hubby and daughter and they did like it. It was tasty and flavoursome. Mocha Chocolate powder can be used in baking cakes and cookies. The Mocha powder is unique and has freshness in its taste. I shall definitely order the same brand again.
Mocha flavour blends well with coffee and makes a good and unique recipe. The coffee and chocolate medley is simply aweome and I am loving it. I will be making a few more in the next few days.
I made coffee cookies using these two products and it was awesome. The cookies were soft and melt in the mouth.
mocha coffee cookies
Mocha Coffee Cookies Recipe
Ingredients: (Measurement used: 1 cup =200 grams)
1 cup all purpose flour
1/4 cup almond flour
1/8 teaspoon baking soda
1/4 teaspoon baking powder
2 teaspoon leo breakfast blend coffee powder
2 teaspoon mocha chocolate powder
1/3 cup butter
1/2 cup brown sugar
a little ghee for greasing
Method:
Sieve all purpose flour, almond flour, baking powder and baking soda together .
The butter should be at room temperature. Mix butter and sugar till it is soft.
Mix coffee powder and mocha powder to it.
Now, mix the flour slowly into the mocha coffee mix.
Do not knead it hard.
Keep it aside for ten minutes.
Grease the plate with a little ghee.
Take a small lemon sized ball, flatten it and place it on the tray. Keep them at an inch apart.
Pre- heat the oven at 200 degree celsius.
Bake it for ten minutes at 200 degree celsius.
Let them cool on rack.
Repeat for the rest of the dough.
Store in an airtight container.
mocha coffee cookies
Evergreendishesdev
Mocha Coffee Cookies
Mocha Coffee Cookies made with finest ingredients does taste good. It is tasty and melt in the mouth.
1cup all purpose flour1 cup =200 ml used in recipe
1/4cupalmond flour
1/4teaspoonbaking soda
1/8teaspoon baking powder
1/2cupbrown sugar
1/3cupbutter
2teaspoonleo coffee powder
2teaspoonmocha hot chocolate powder
Method
The butter should be at room temperature while using.
Sieve the flour along with baking soda and baking powder.
Mix butter and brown sugar together. Beat it well. Add mocha hot chocolate powder and coffee powder to it. Mix it .
Now, mix the flour into the mocha coffee mixture. Do not knead it hard. Keep it aside for ten minutes.
Pre-heat oven at 200 degree centigrade.
Grease a tray. Take small lemon sized balls, flatten and arrange on the tray at a distance.
Bake for ten to twelve at 200 degree centigrade.
Once it done, let cool on the rack.
Keep it in an airtight container.
mocha coffee cookies
Plattershare is a popular social media for food lovers, food professionals and food businesses. It is good place for food enthusiasts to connect.
Places of Origin is a online portal to get sweets and snacks of various parts of India. They have a wide range of sweets as burfi, ladoo, snacks, biscuits, dry powders pickles and more. The quality of the products is good and it is reasonable. No shipping cost is charged. The Mocha Chocolate Powder is a must try.
The Coffee powder is a treat for the coffee lovers. It has a nice aroma and strong taste of coffee. It has a bittersweet richness that is given by the blend of coffee and chicory. Do savour these by checking the links.
Disclaimer: This post is in brand collaboration with Places of Origin and Plattershare. I have received the products to recreate my own recipe and post it here and on plattershare. All views written here are my own and not supported by anyone else. No monetary benefits are given for the same.
Subscribe to get a book of handyhints for free! If you have liked this post, do leave a comment and share it further.
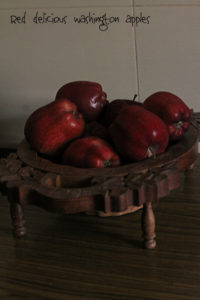
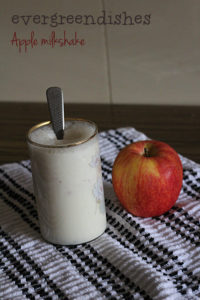
Apple milkshake has been the recent addition to my list. It is one of the tastiest and healthiest drinks that one can slurp in the mornings. I don’t know why I had not tried earlier.
Apples are available all round the year and one can easily manage with it. It is thick, foamy and filling. Do not peel the skin of apples, just cut it into small pieces and pulse it, it blends well with the pulp and milk.
Wash and cut the apple into small pieces. Pulse it, add milk and honey to it. Again pulse it for thirty seconds. Pour it in a glass and serve chilled. Otherwise, add ice cubes to it.
Take a tip:
Add sugar if serving for children.
Evergreendishesdev
Apple Milkshake
Apple milkshake is a tasty and healthy drink to kickstart the day.
Those reading me regularly know that I am ardent fan of milkshakes. What are the other variety of milkshakes that you prepare? Do let me know in the comment section below
Subscribe to get a book of handy hints for free ! Follow evergreendishes on other social media.