![]() December is the month of holidays and celebrations. I love everything about this month, splendid weather, good food and many holidays. It’s been sometime I have put any cake recipe on the blog. On the occasion of Christmas, I present to you a splendid “Zebra Cake”. It is soft, supple and delicious.
December is the month of holidays and celebrations. I love everything about this month, splendid weather, good food and many holidays. It’s been sometime I have put any cake recipe on the blog. On the occasion of Christmas, I present to you a splendid “Zebra Cake”. It is soft, supple and delicious.
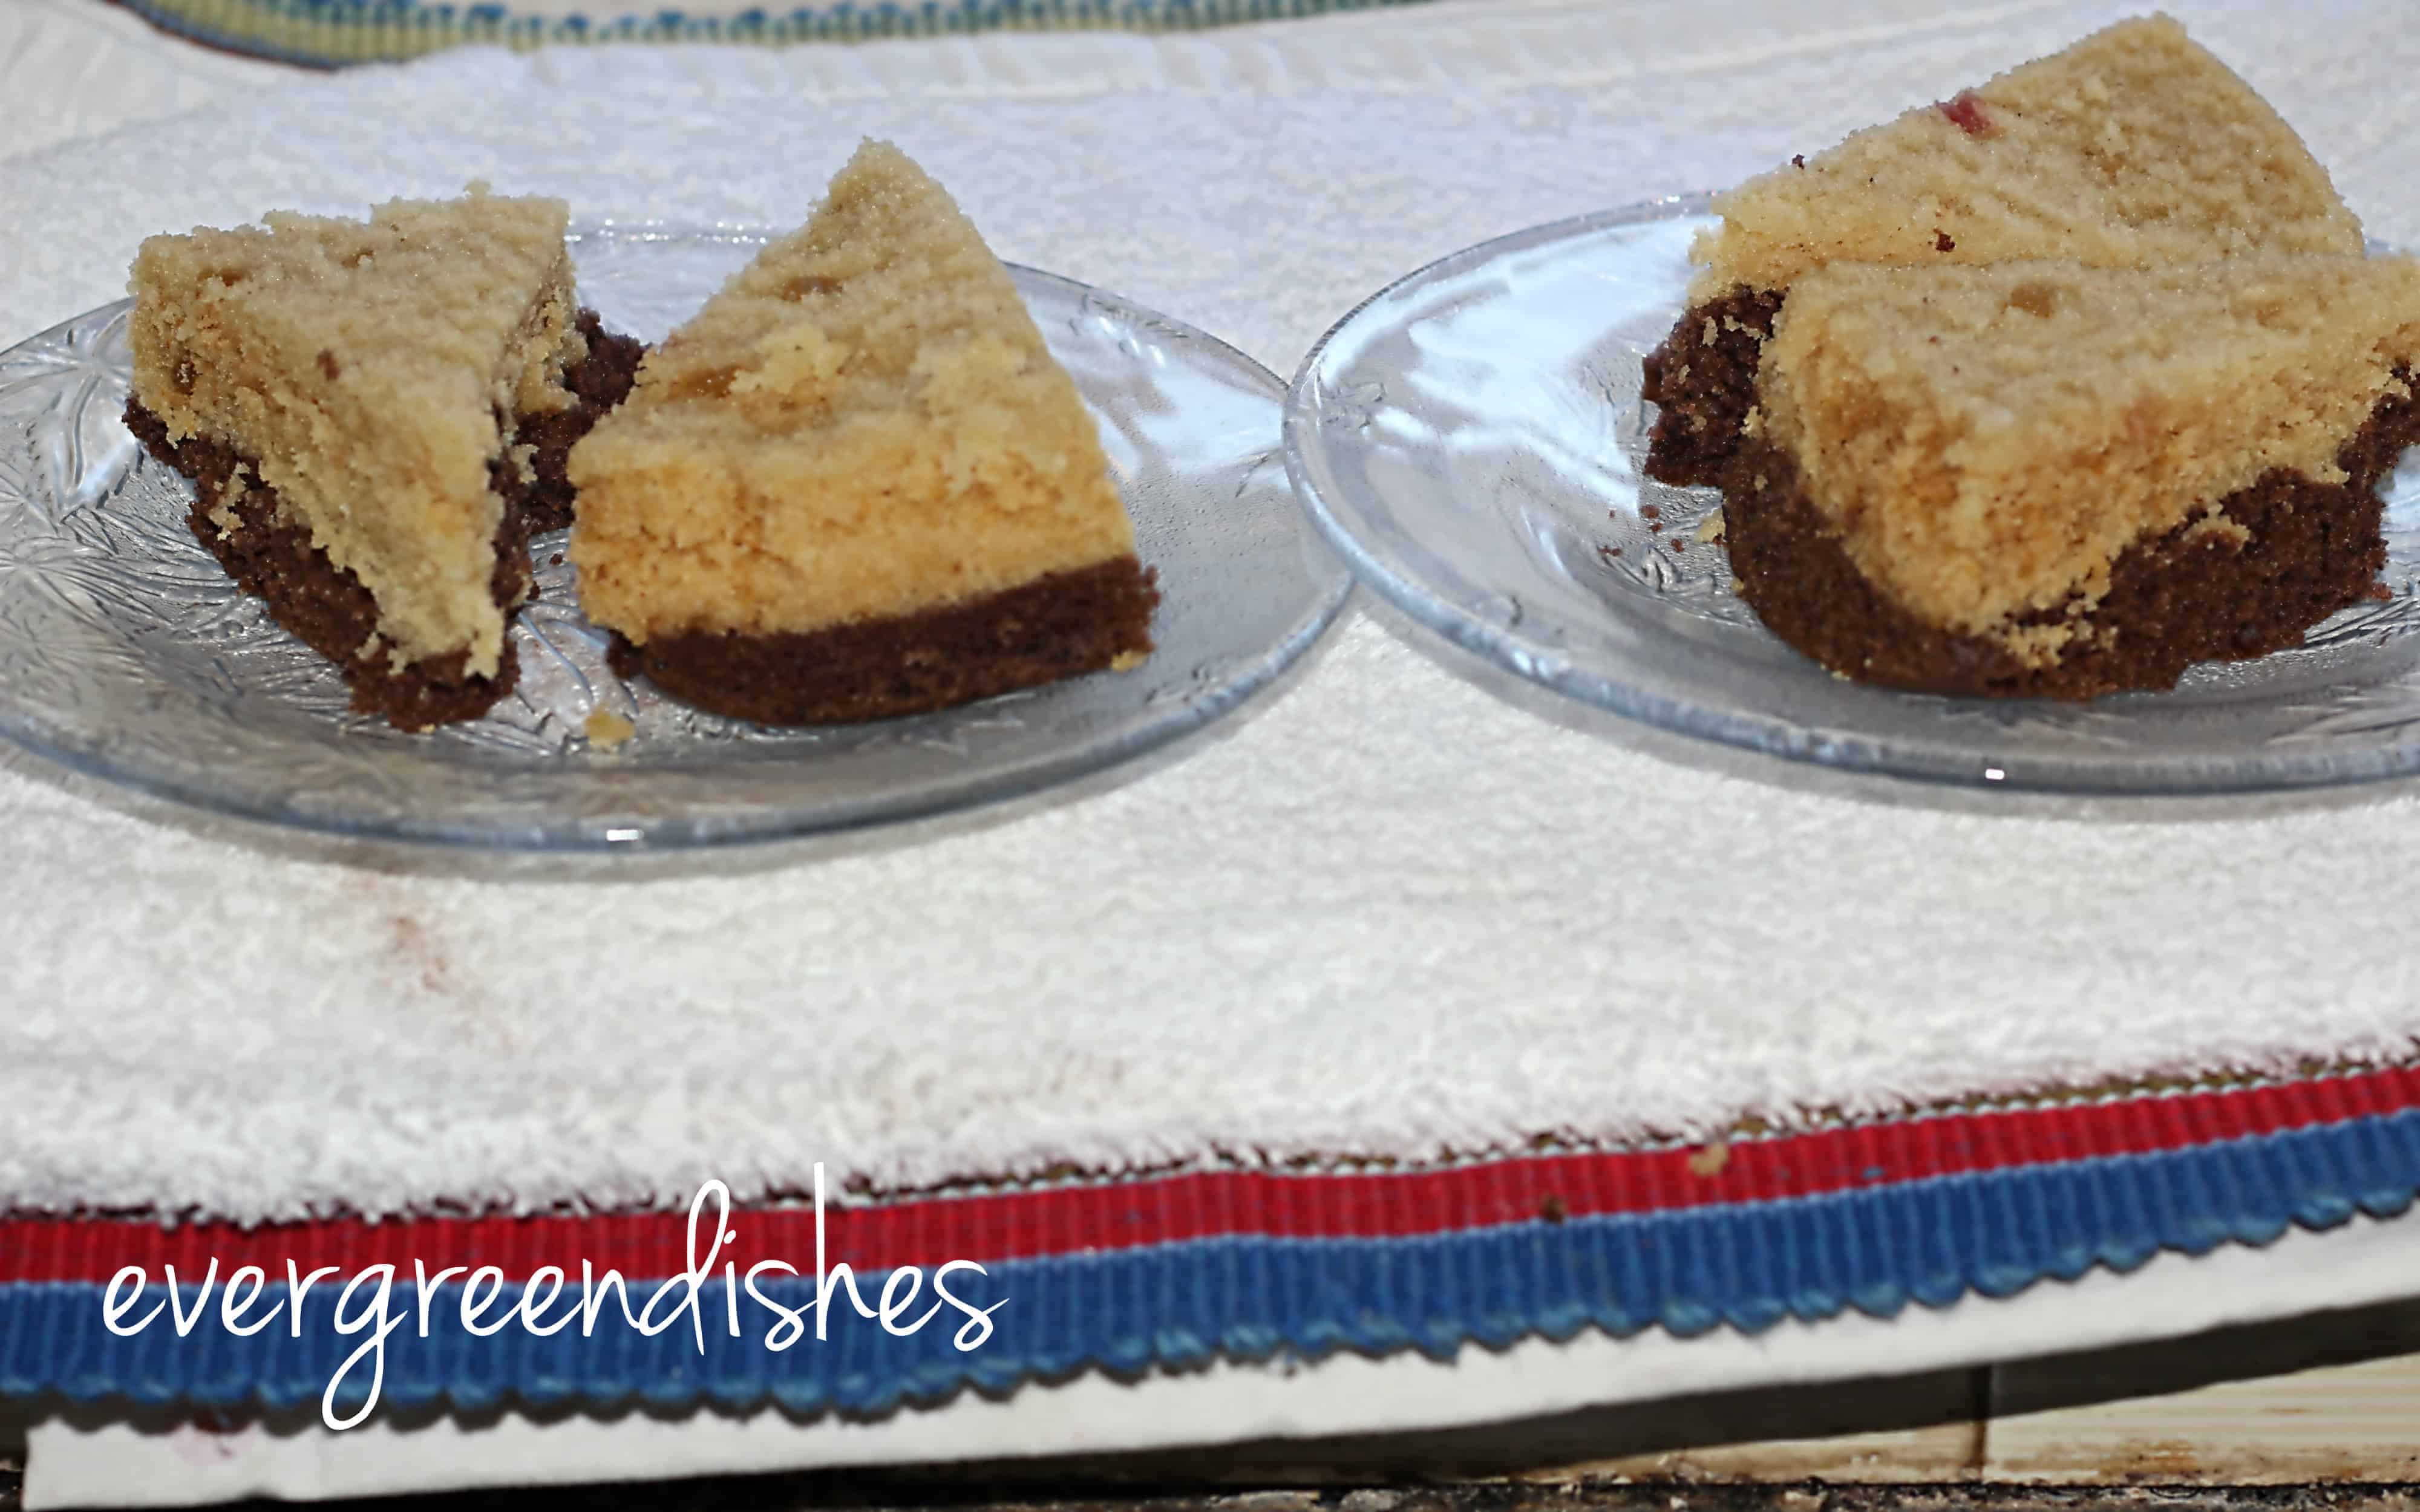
Zebra Cake has stripped layer like zebra, thus the name. They are of vanilla and chocolate.
![]()
![]()
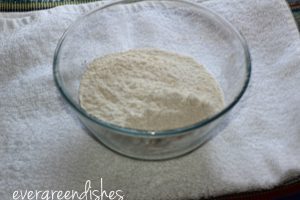
Ingredients:
-
All purpose flour 1 1/2 cup
-
Baking powder 1/2 teaspoon
-
Baking soda 1/2 teaspoon
-
Castor sugar 1 cup
-
Yoghurt (curd) 1/2 cup
-
Oil 1/2 cup
-
Milk 1/2 cup
-
Vanilla essence 1/2 teaspoon
-
Cocoa powder 2 teaspoon
-
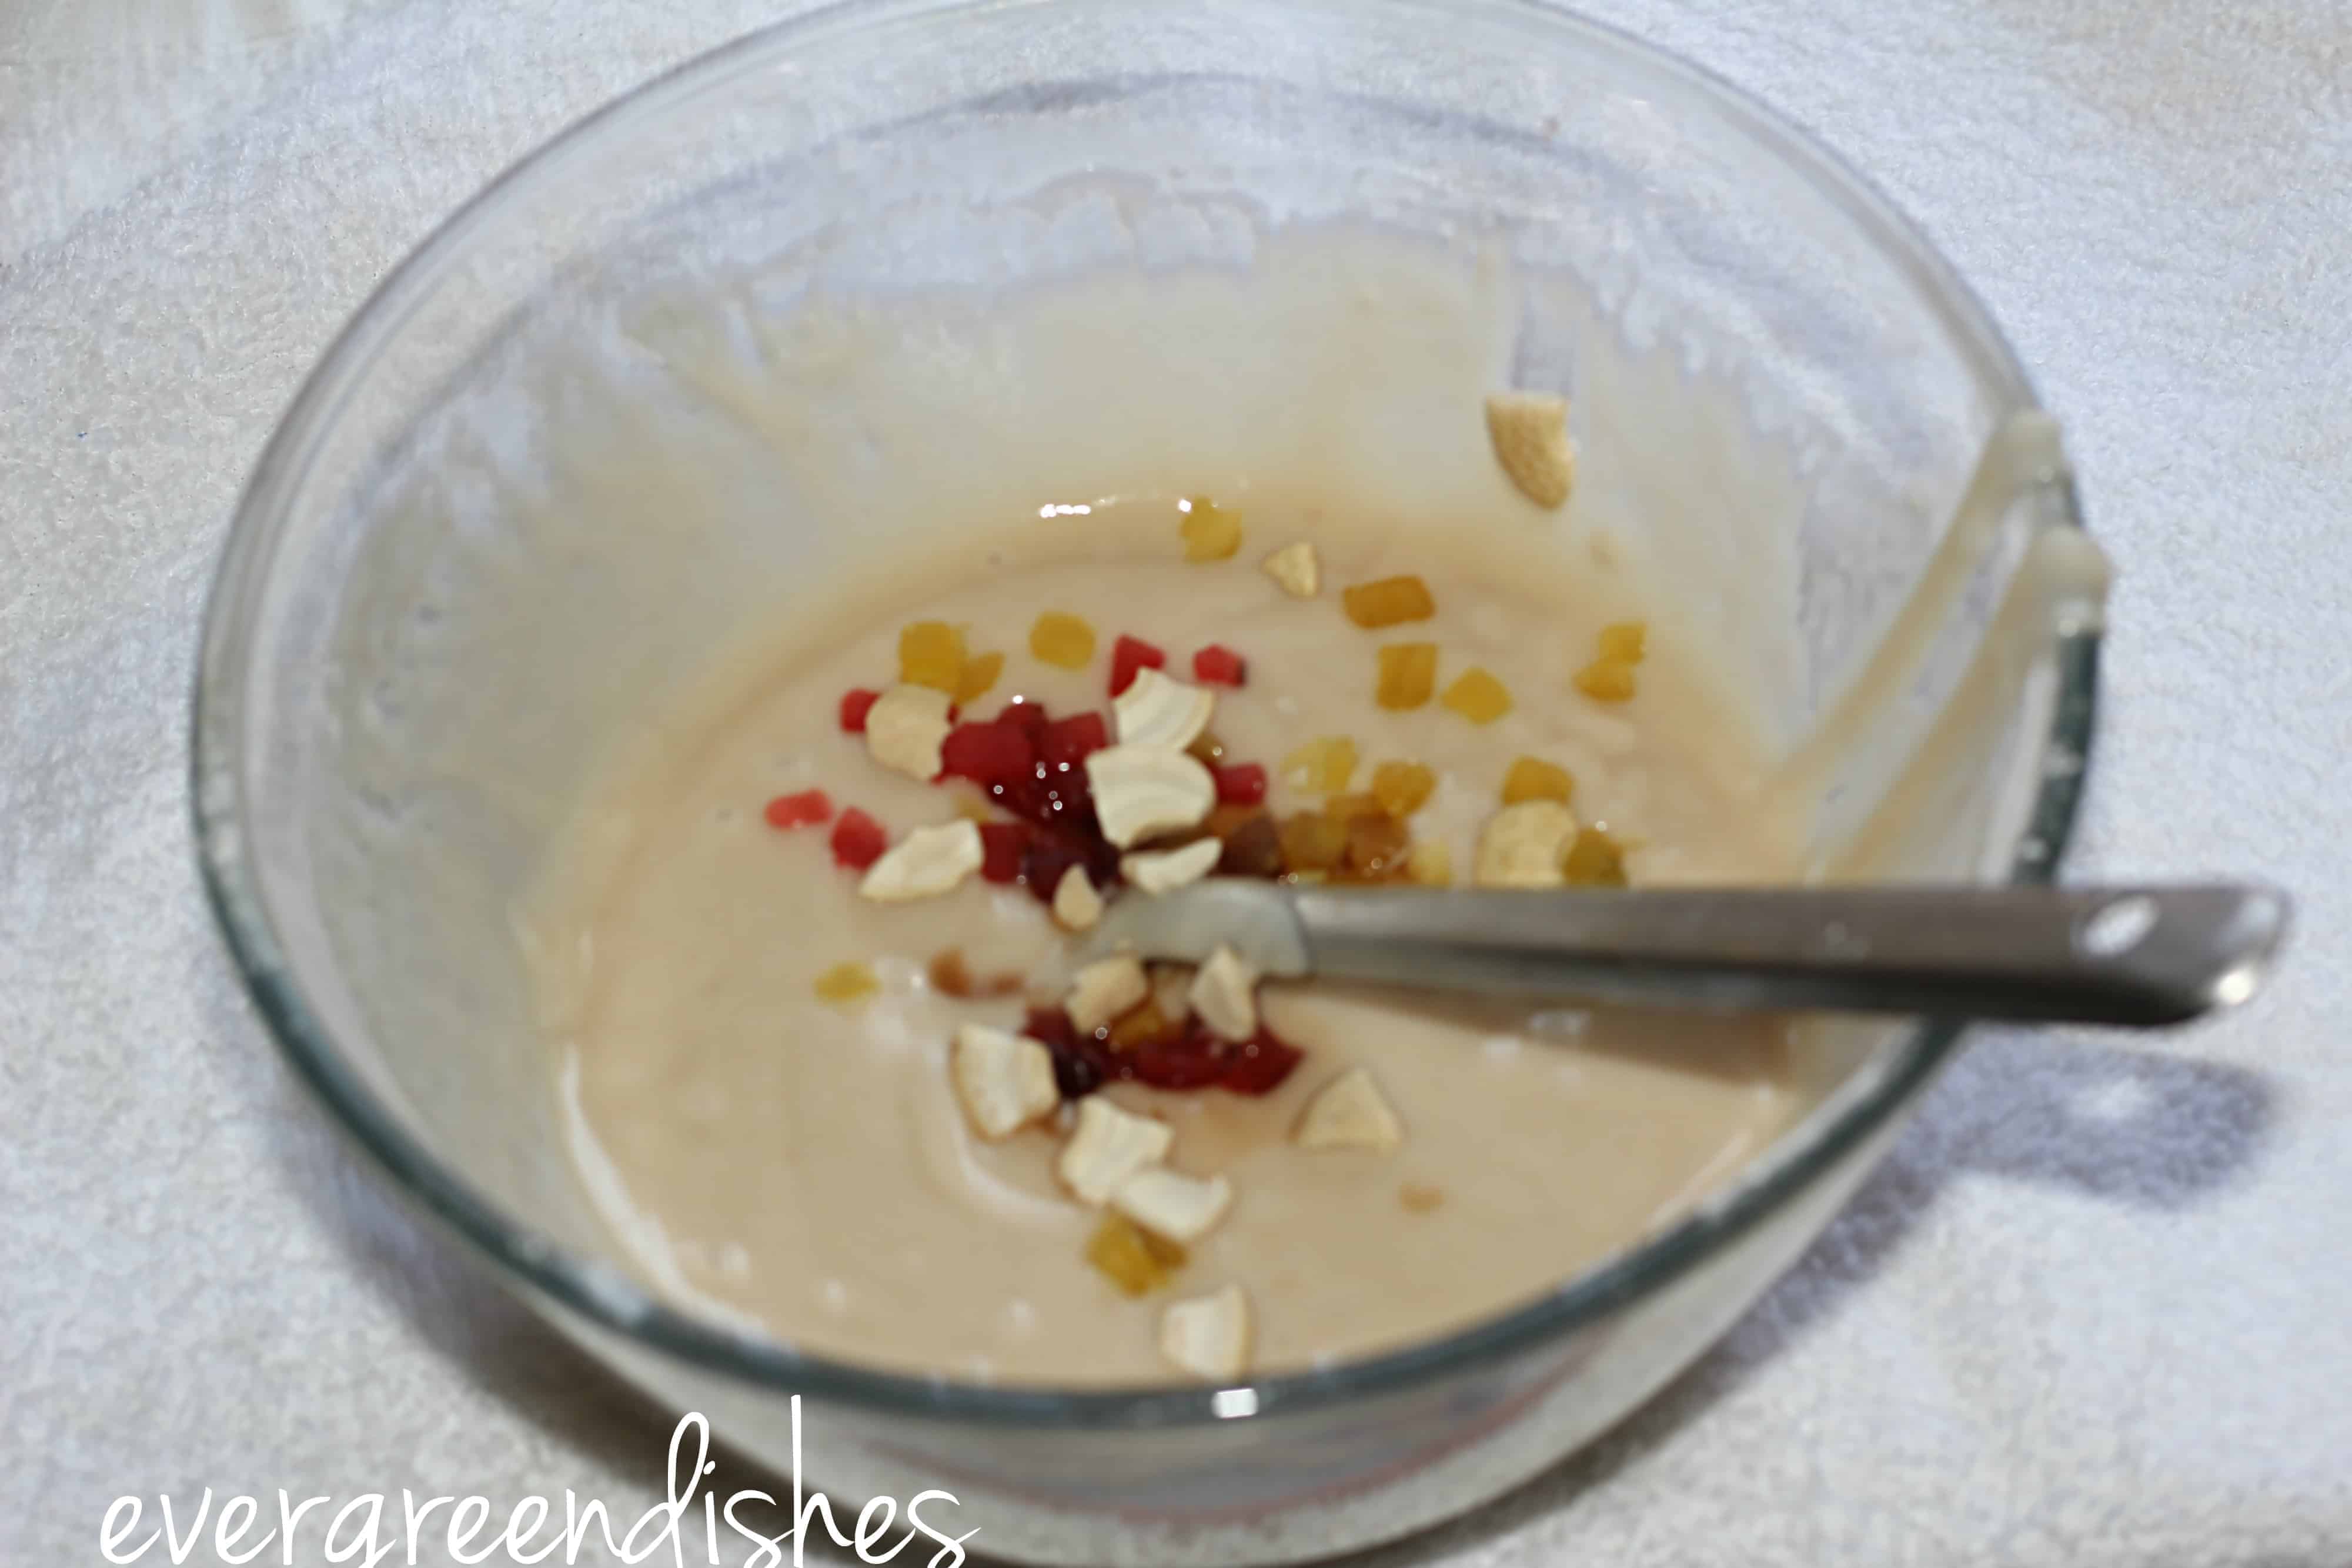
Dry fruits 2 tablespoon
-
Tuty fruity 1 tablespoon
![]()
Method :
-
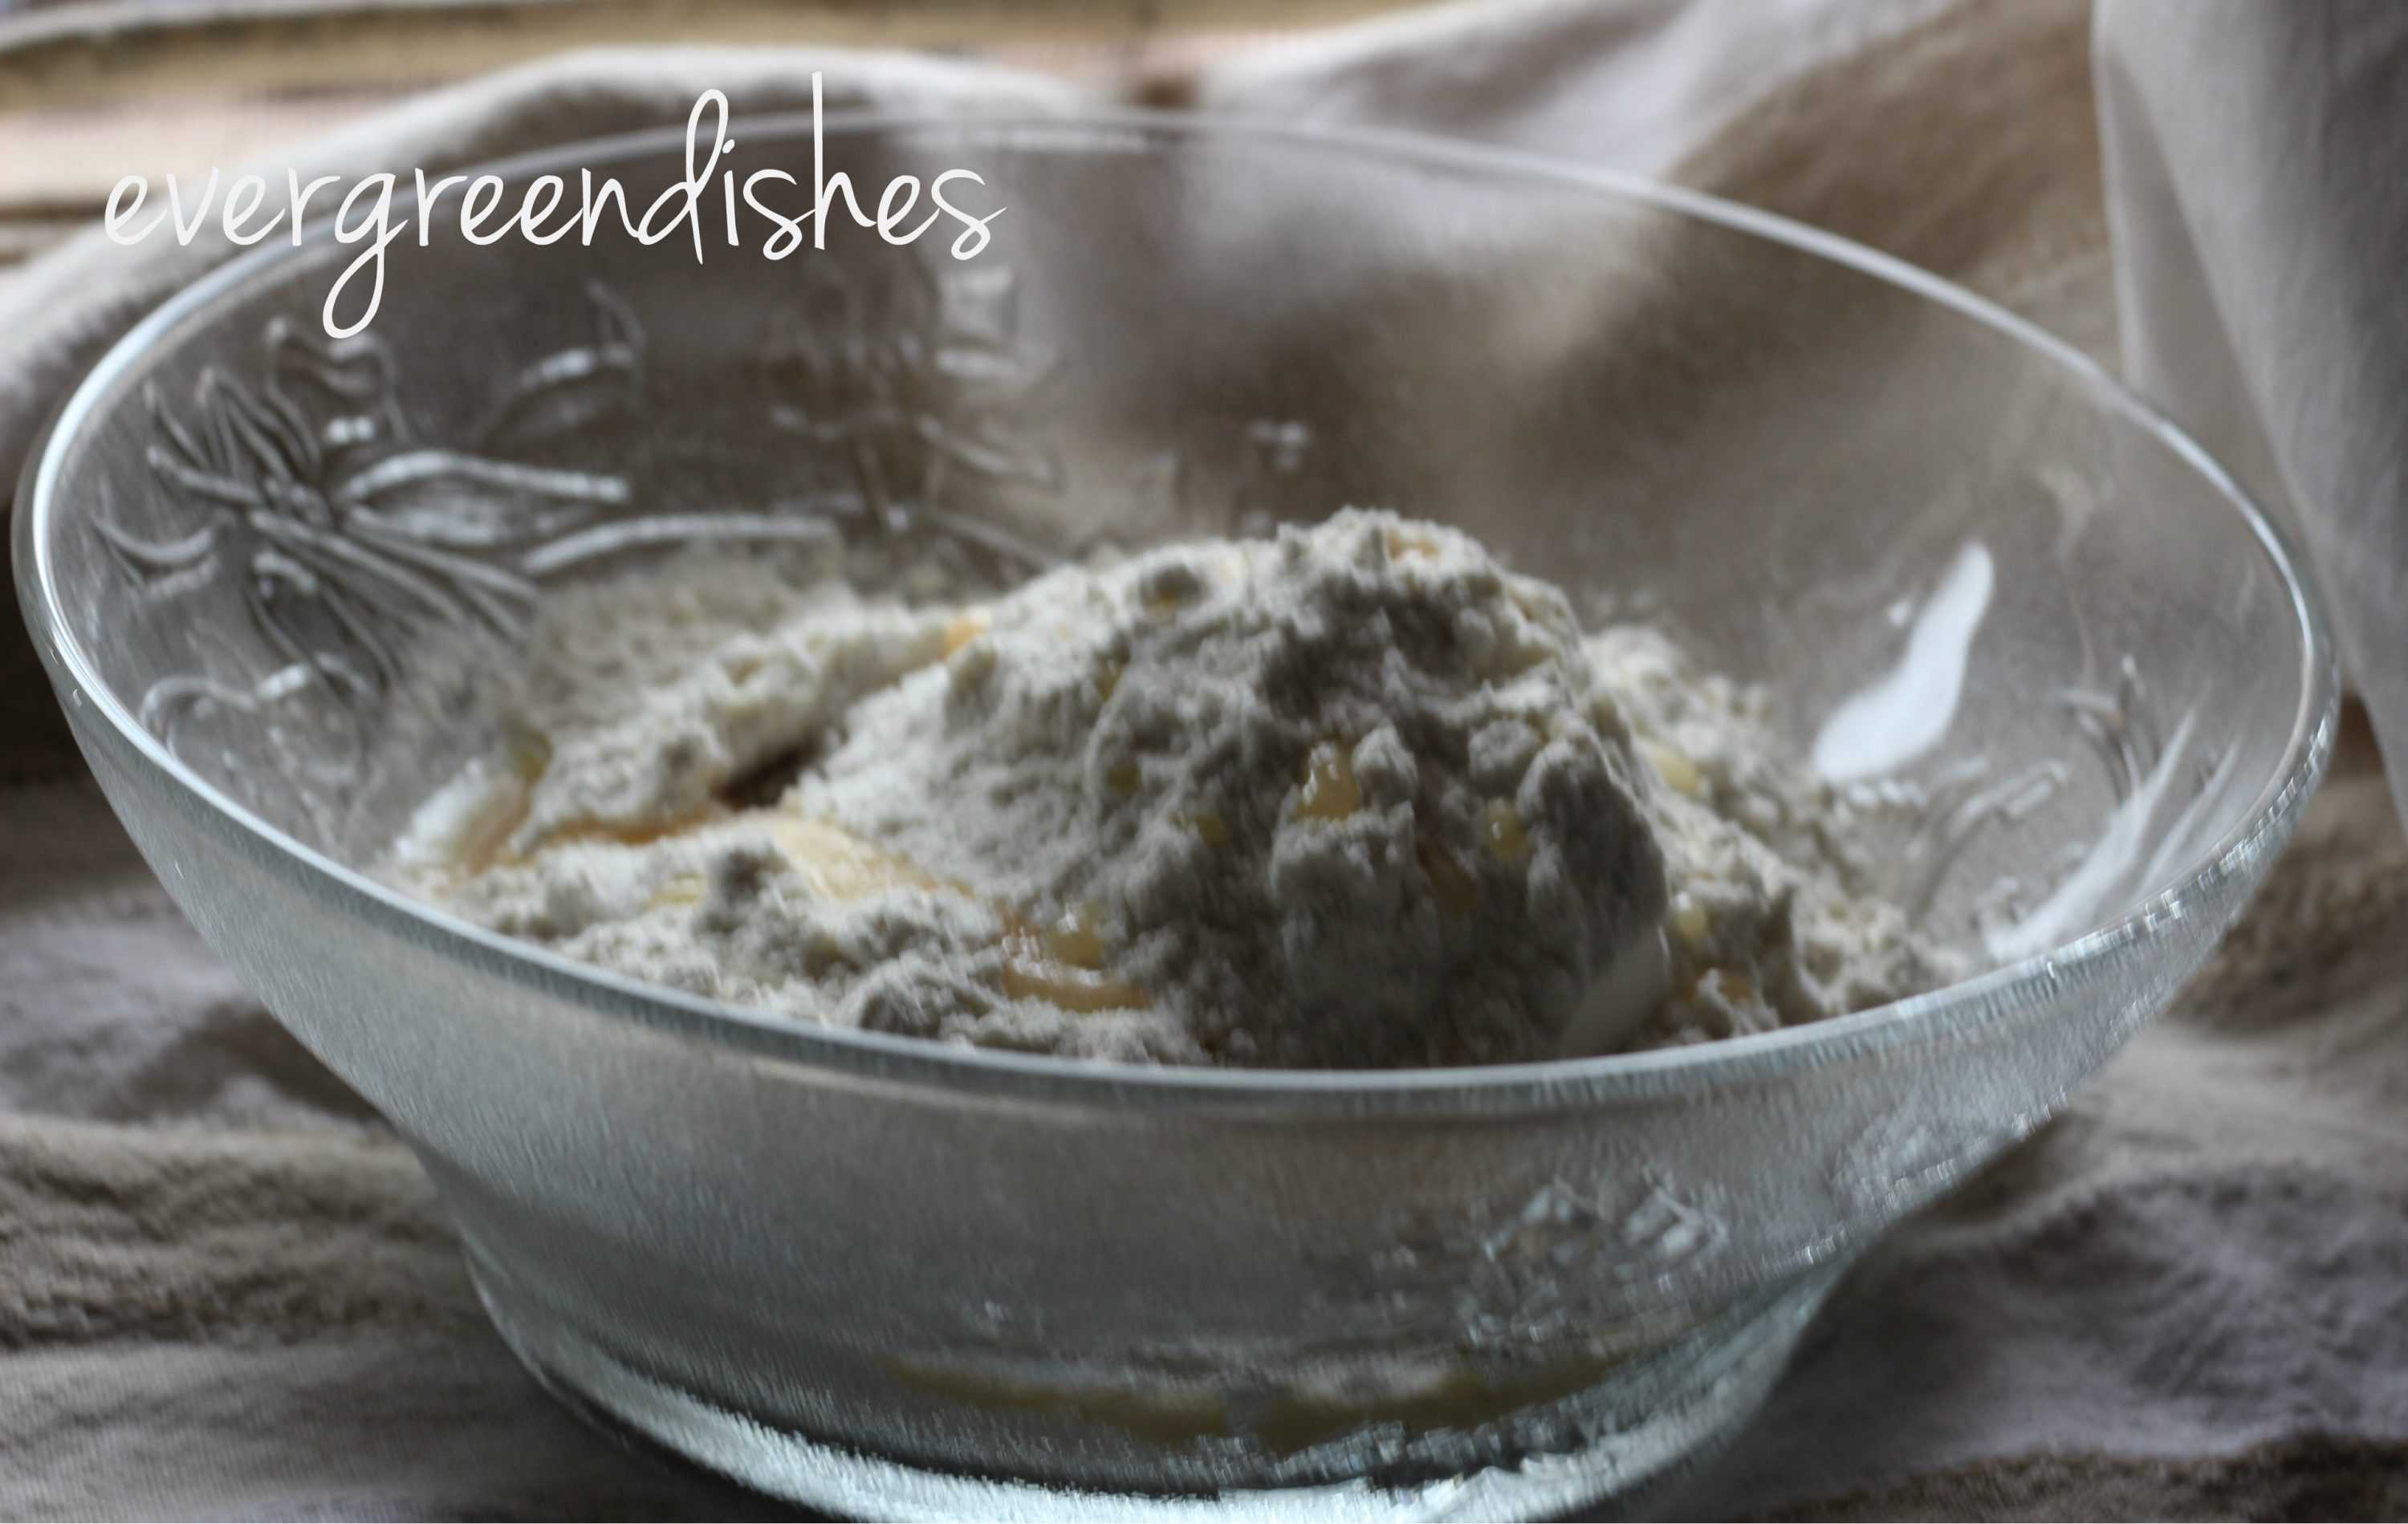
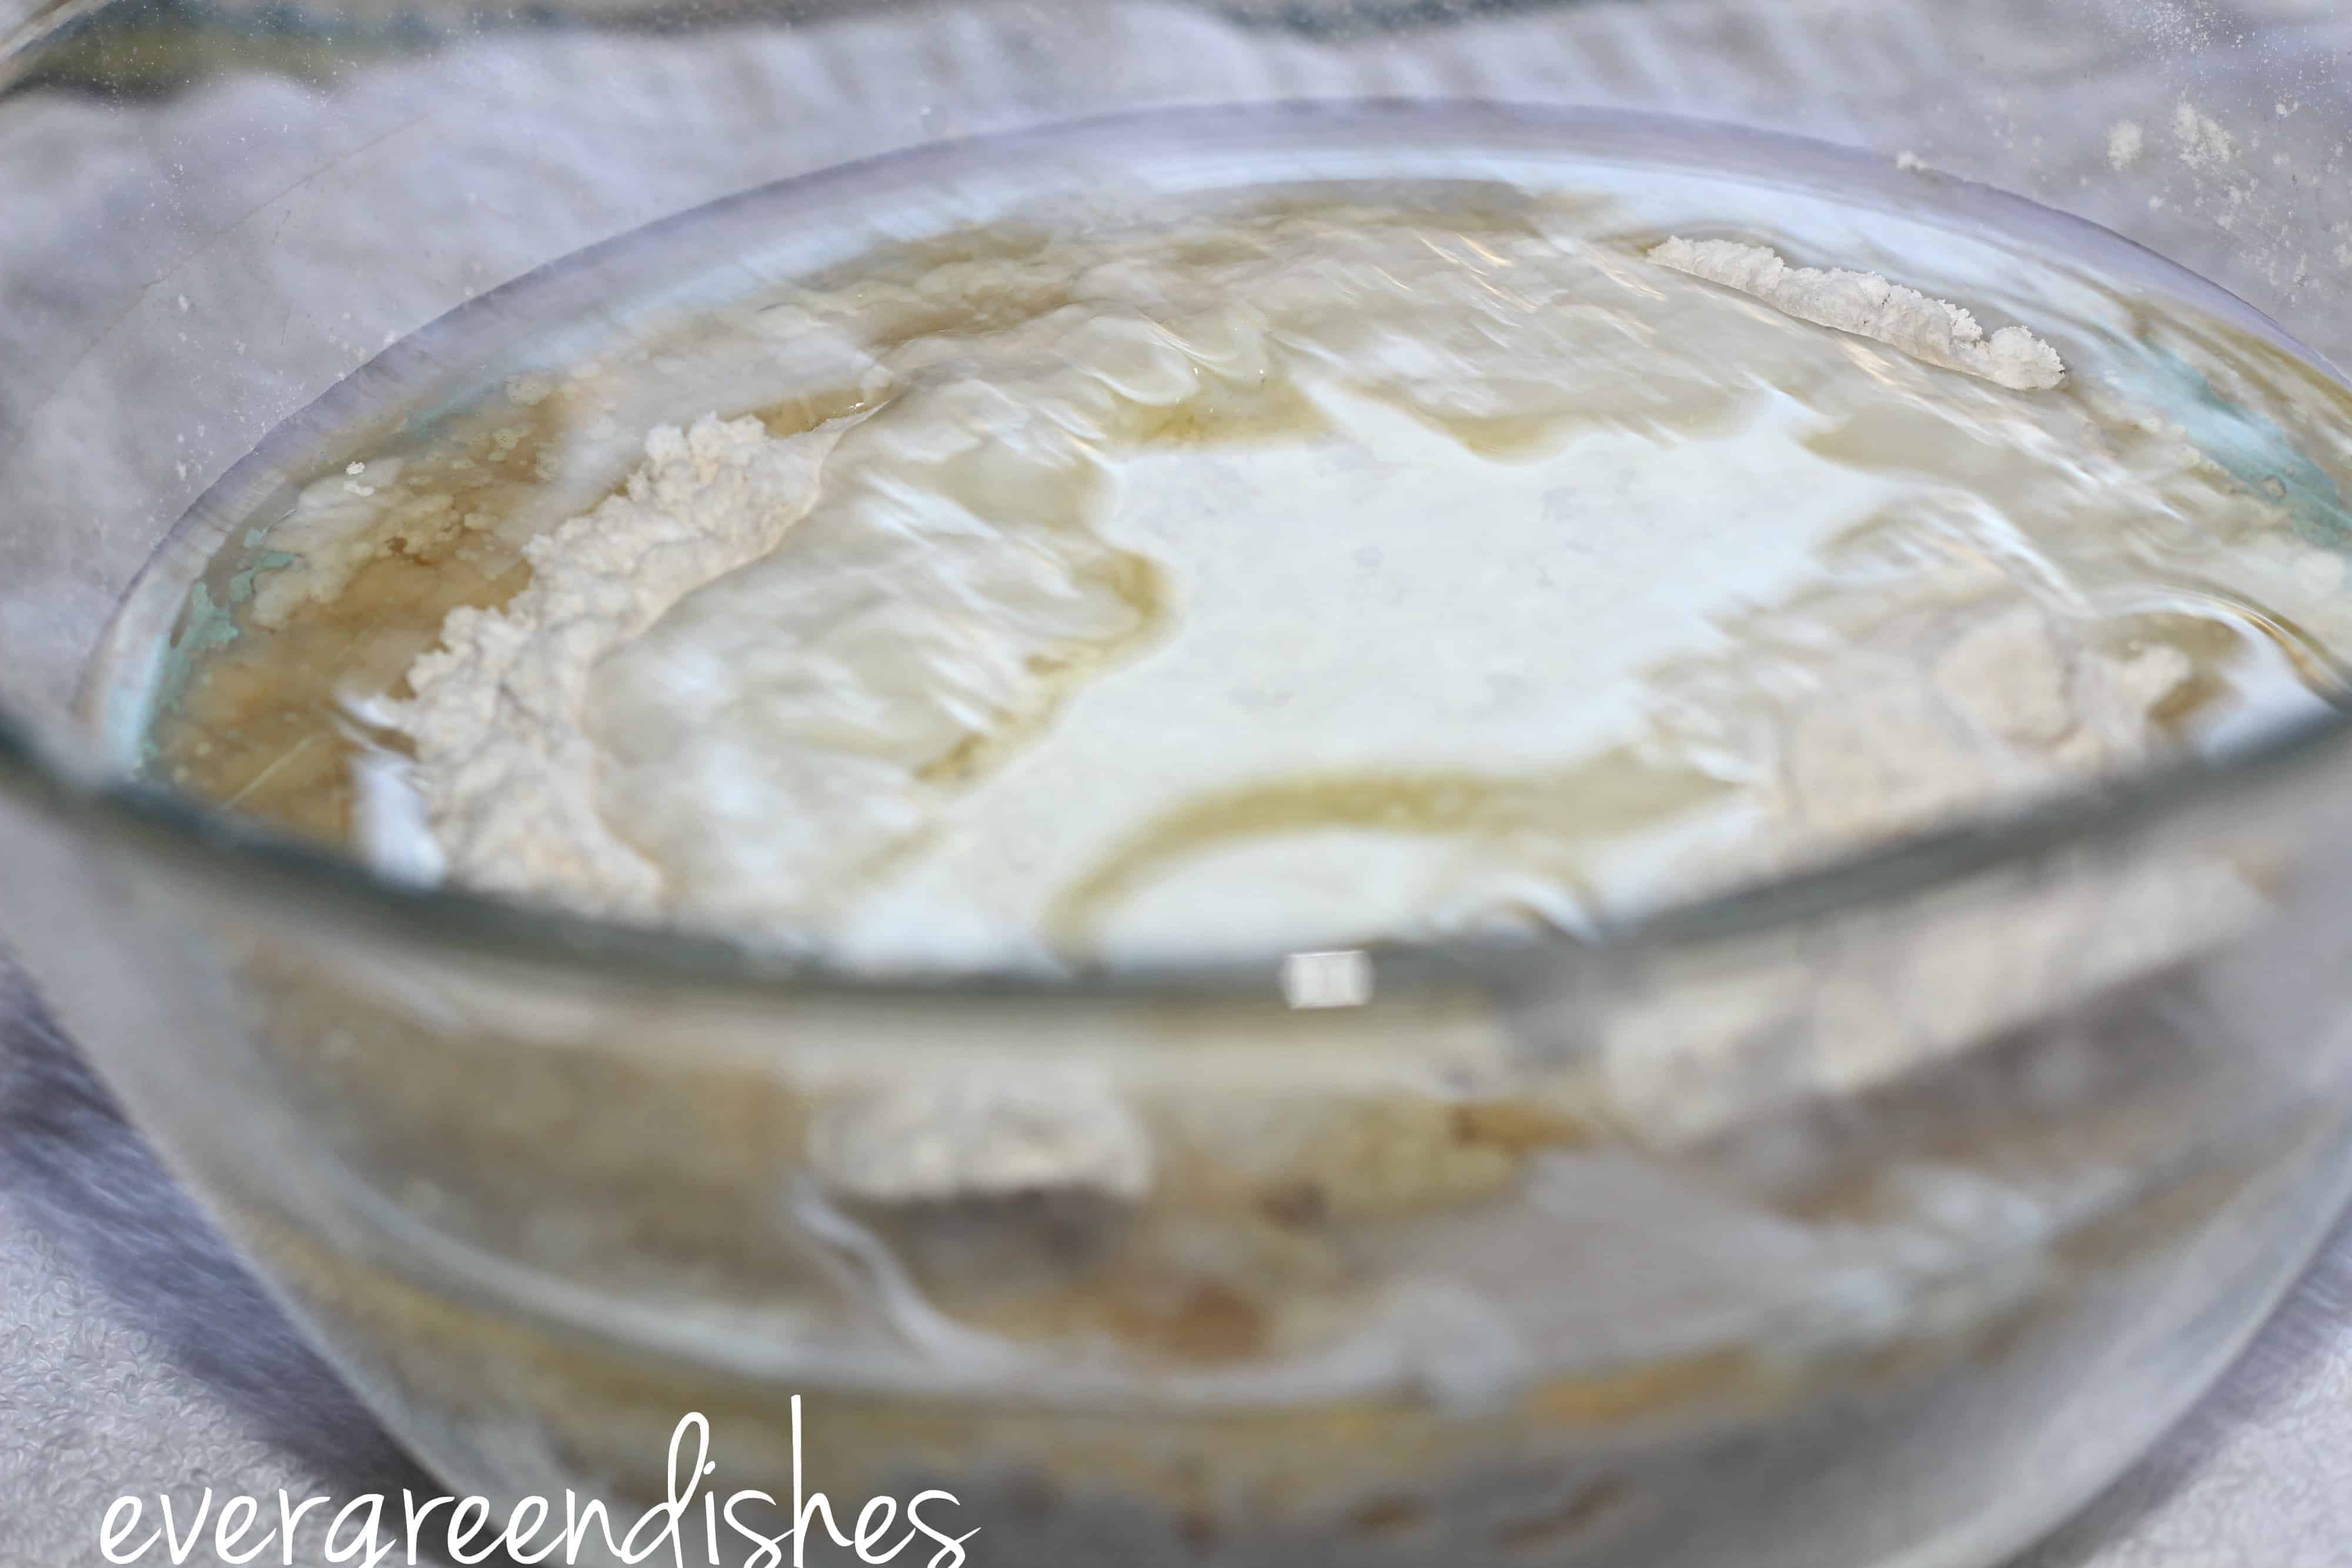
Take flour, sugar, baking powder and soda and sieve them together.
-
Put them in a bowl. Add curd, oil and milk, slowly mix them together to form a smooth batter. No lumps should be formed.
-
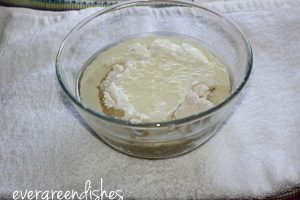
Divide the batter into parts.
-
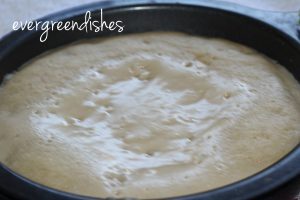
To one part, add vanilla essence and dry fruits.
-
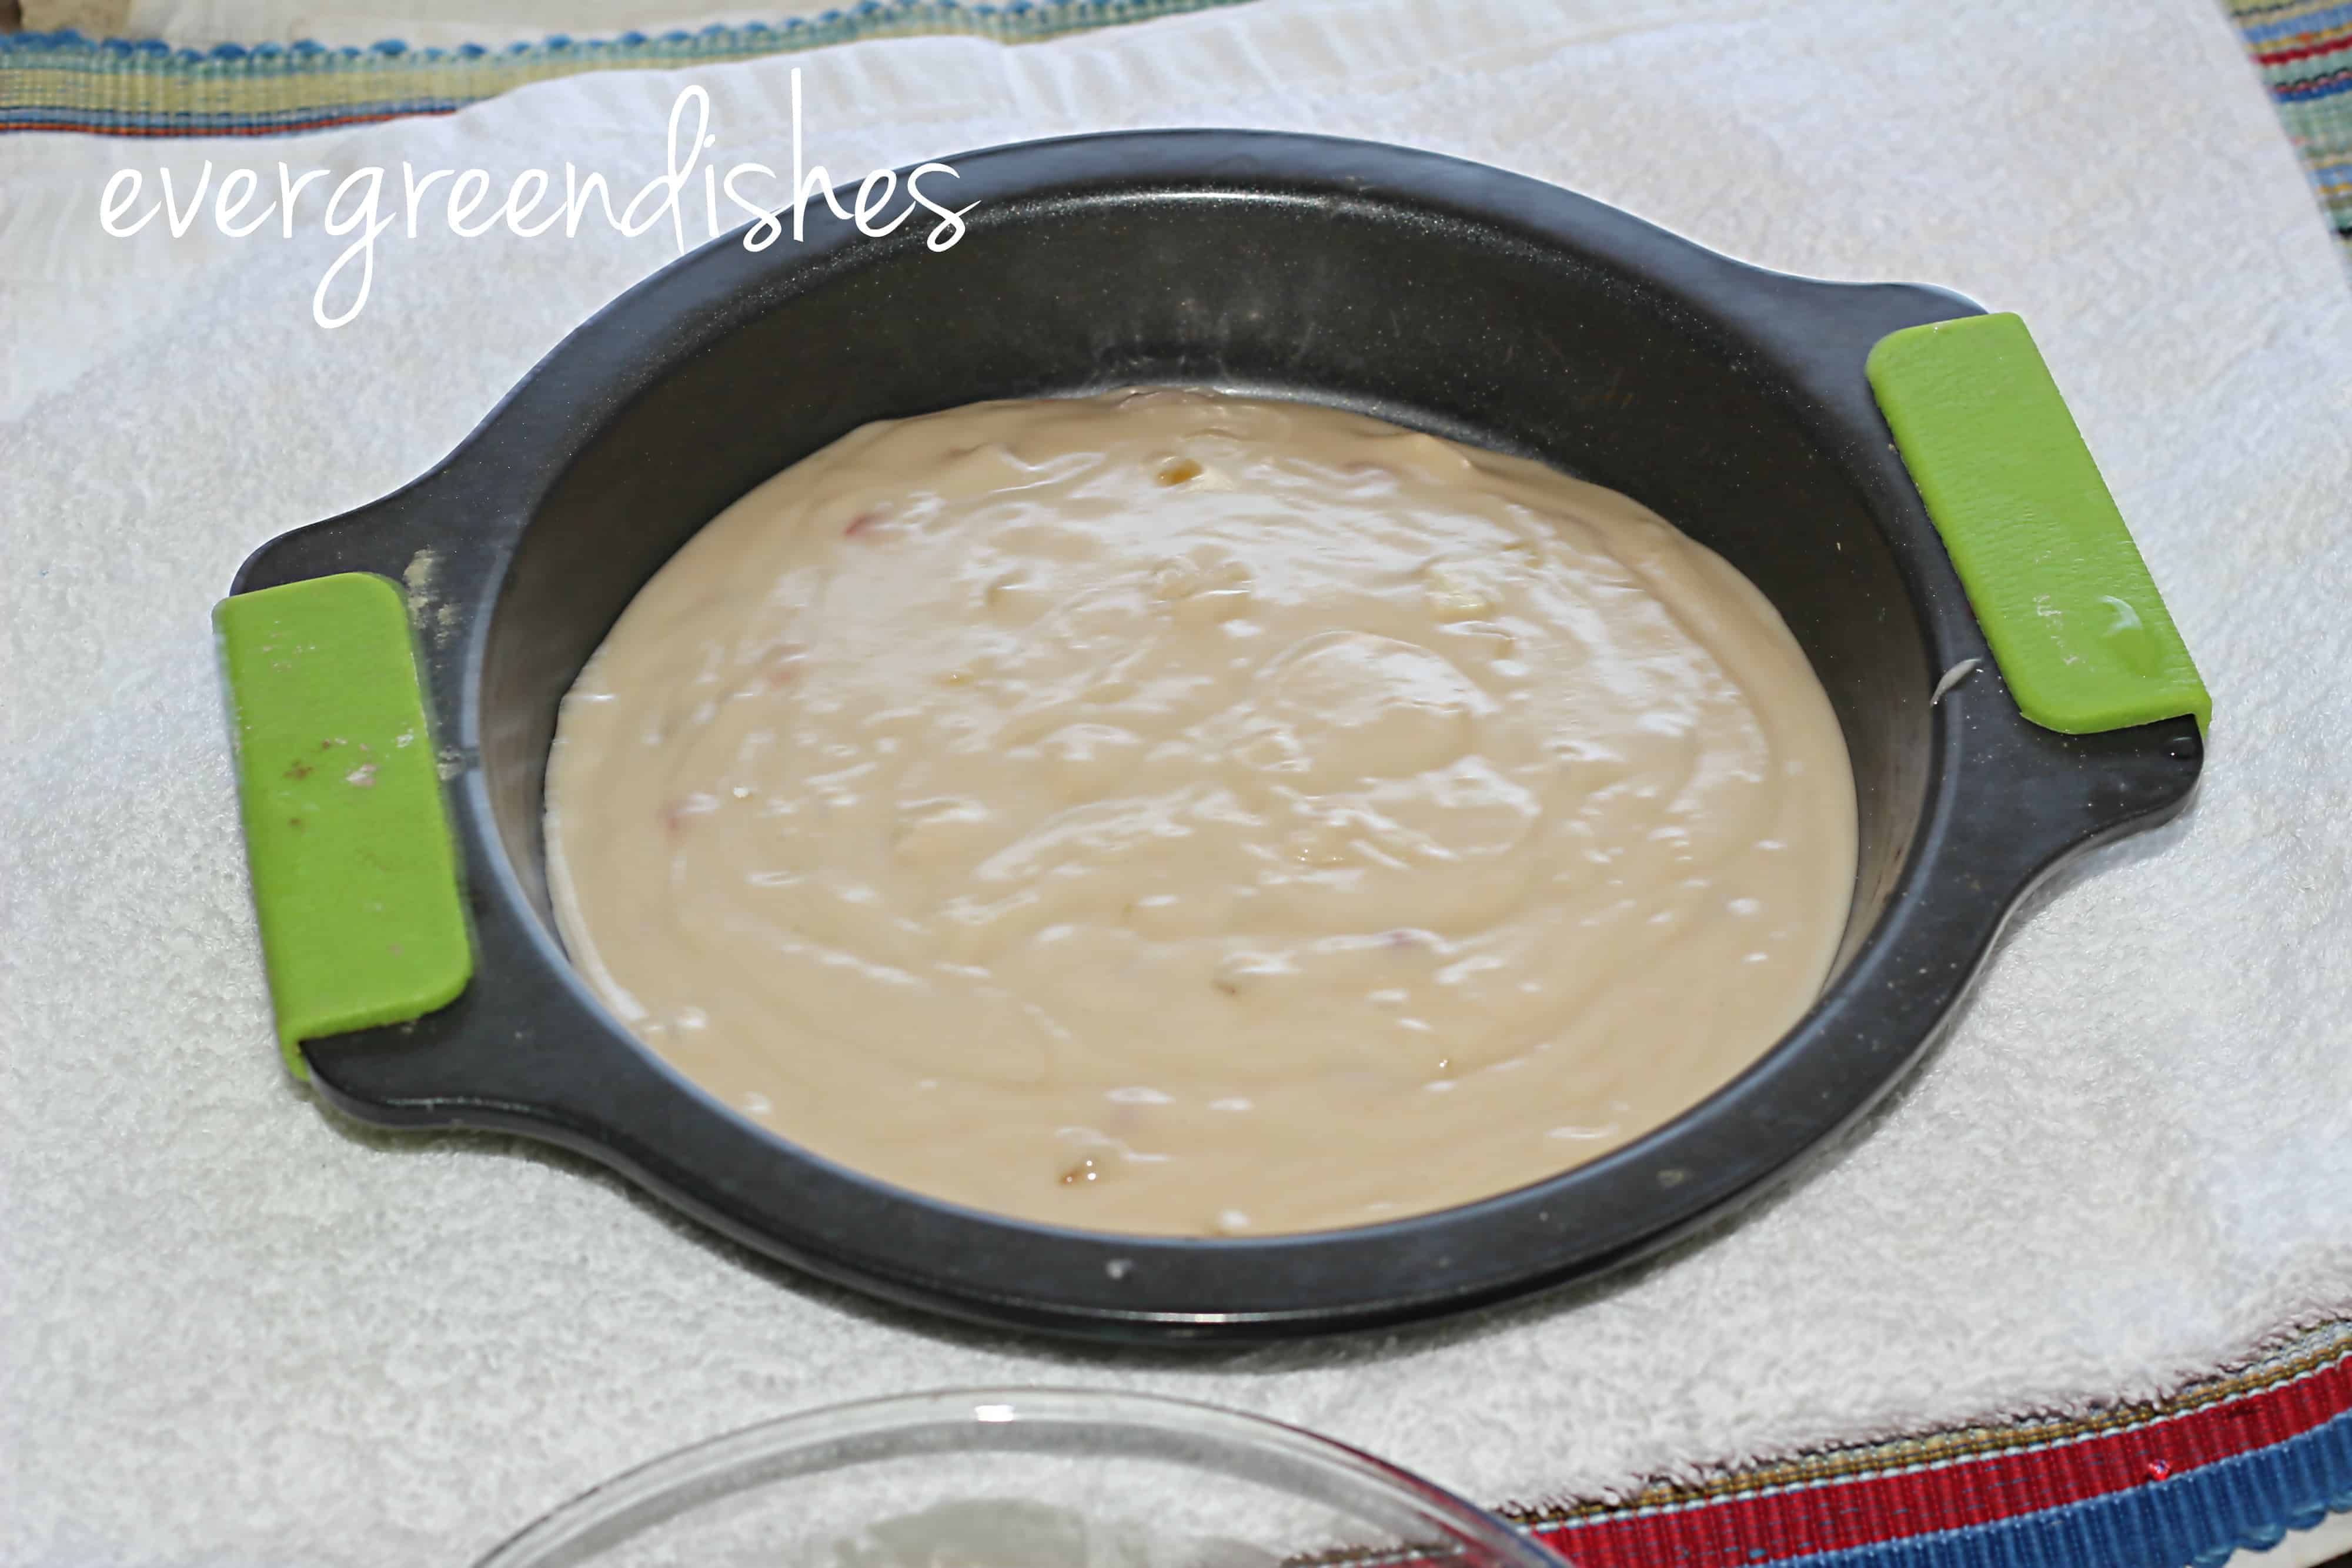
Pre-heat the micro wave.
-
Grease the tin and pour the batter.
-
Microwave it for two minutes.
-
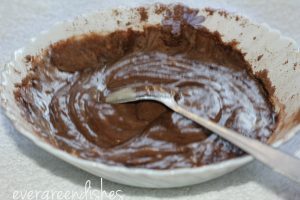
Add cocoa powder to the other part that you had kept aside.
-
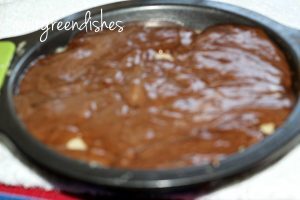
Pour this batter over the half set cake and bake further for three to four minutes.
-
The fork pricked should come out clean and you get a good aroma also.
-
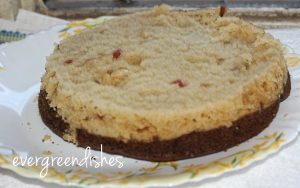
Once done, keep it in the micro wave for ten minutes.
-
Later, remove it and cut into required shapes.
Ingredients
Method
- Take dry ingredients and sieve them together.
- Add yoghurt.

- Add oil
- Add milk, mix them to a smooth batter. Divide it into parts.
- Take one part and put vanilla essence and dry fruits to it. In the meanwhile, pre-heat the microwave.
- Grease the tin with a little ghee or oil and put the vanilla batter into it.
- Bake it for two minutes.
- To the other part, sieve the cocoa powder and mix with it.
- Pour it over the half baked cake.
- Again bake it for four to five minutes. To check if it is done, insert a knife and see, it should come out clean. Keep it on the rack for sometime
- Later, slowly remove from sides and tilt it to a wide plate.
- Cut it to desired shape and serve.
Notes
- I have used the microwave + convection mode for baking.
- Sieving of dry ingredients is essential.
- Even the cocoa powder has to be sieved.
- Standing time is important while baking.
If you have liked this post, do share it with your family and friends. If you ever make this recipe, do take a picture and share it by tagging @foodiejayashree on Instagram or @evergreendishes on Facebook.
Subscribe to get a book of handyhints for free!