Tag: Gluten free

  • Homemade Granola on Stovetop

    Homemade Granola on Stovetop

    Jump to Recipe Print Recipe

    Granola on stovetop is an easy to make recipe with ingredients easily available at home. It is vegan, gluten-free, soy free snack you can enjoy anytime,  Eat it with milk or yoghurt topped with fruits. 

    Granola can be customised as per one’s  need, use different variety of nuts and dates. I have used almonds, raisins and melon seeds. If you want to make it nut free avoid nuts and substitute with any other ingredient as choco chips, coconut pieces or seeds.  Different sweeteners  may be used as  maple or brown sugar. 

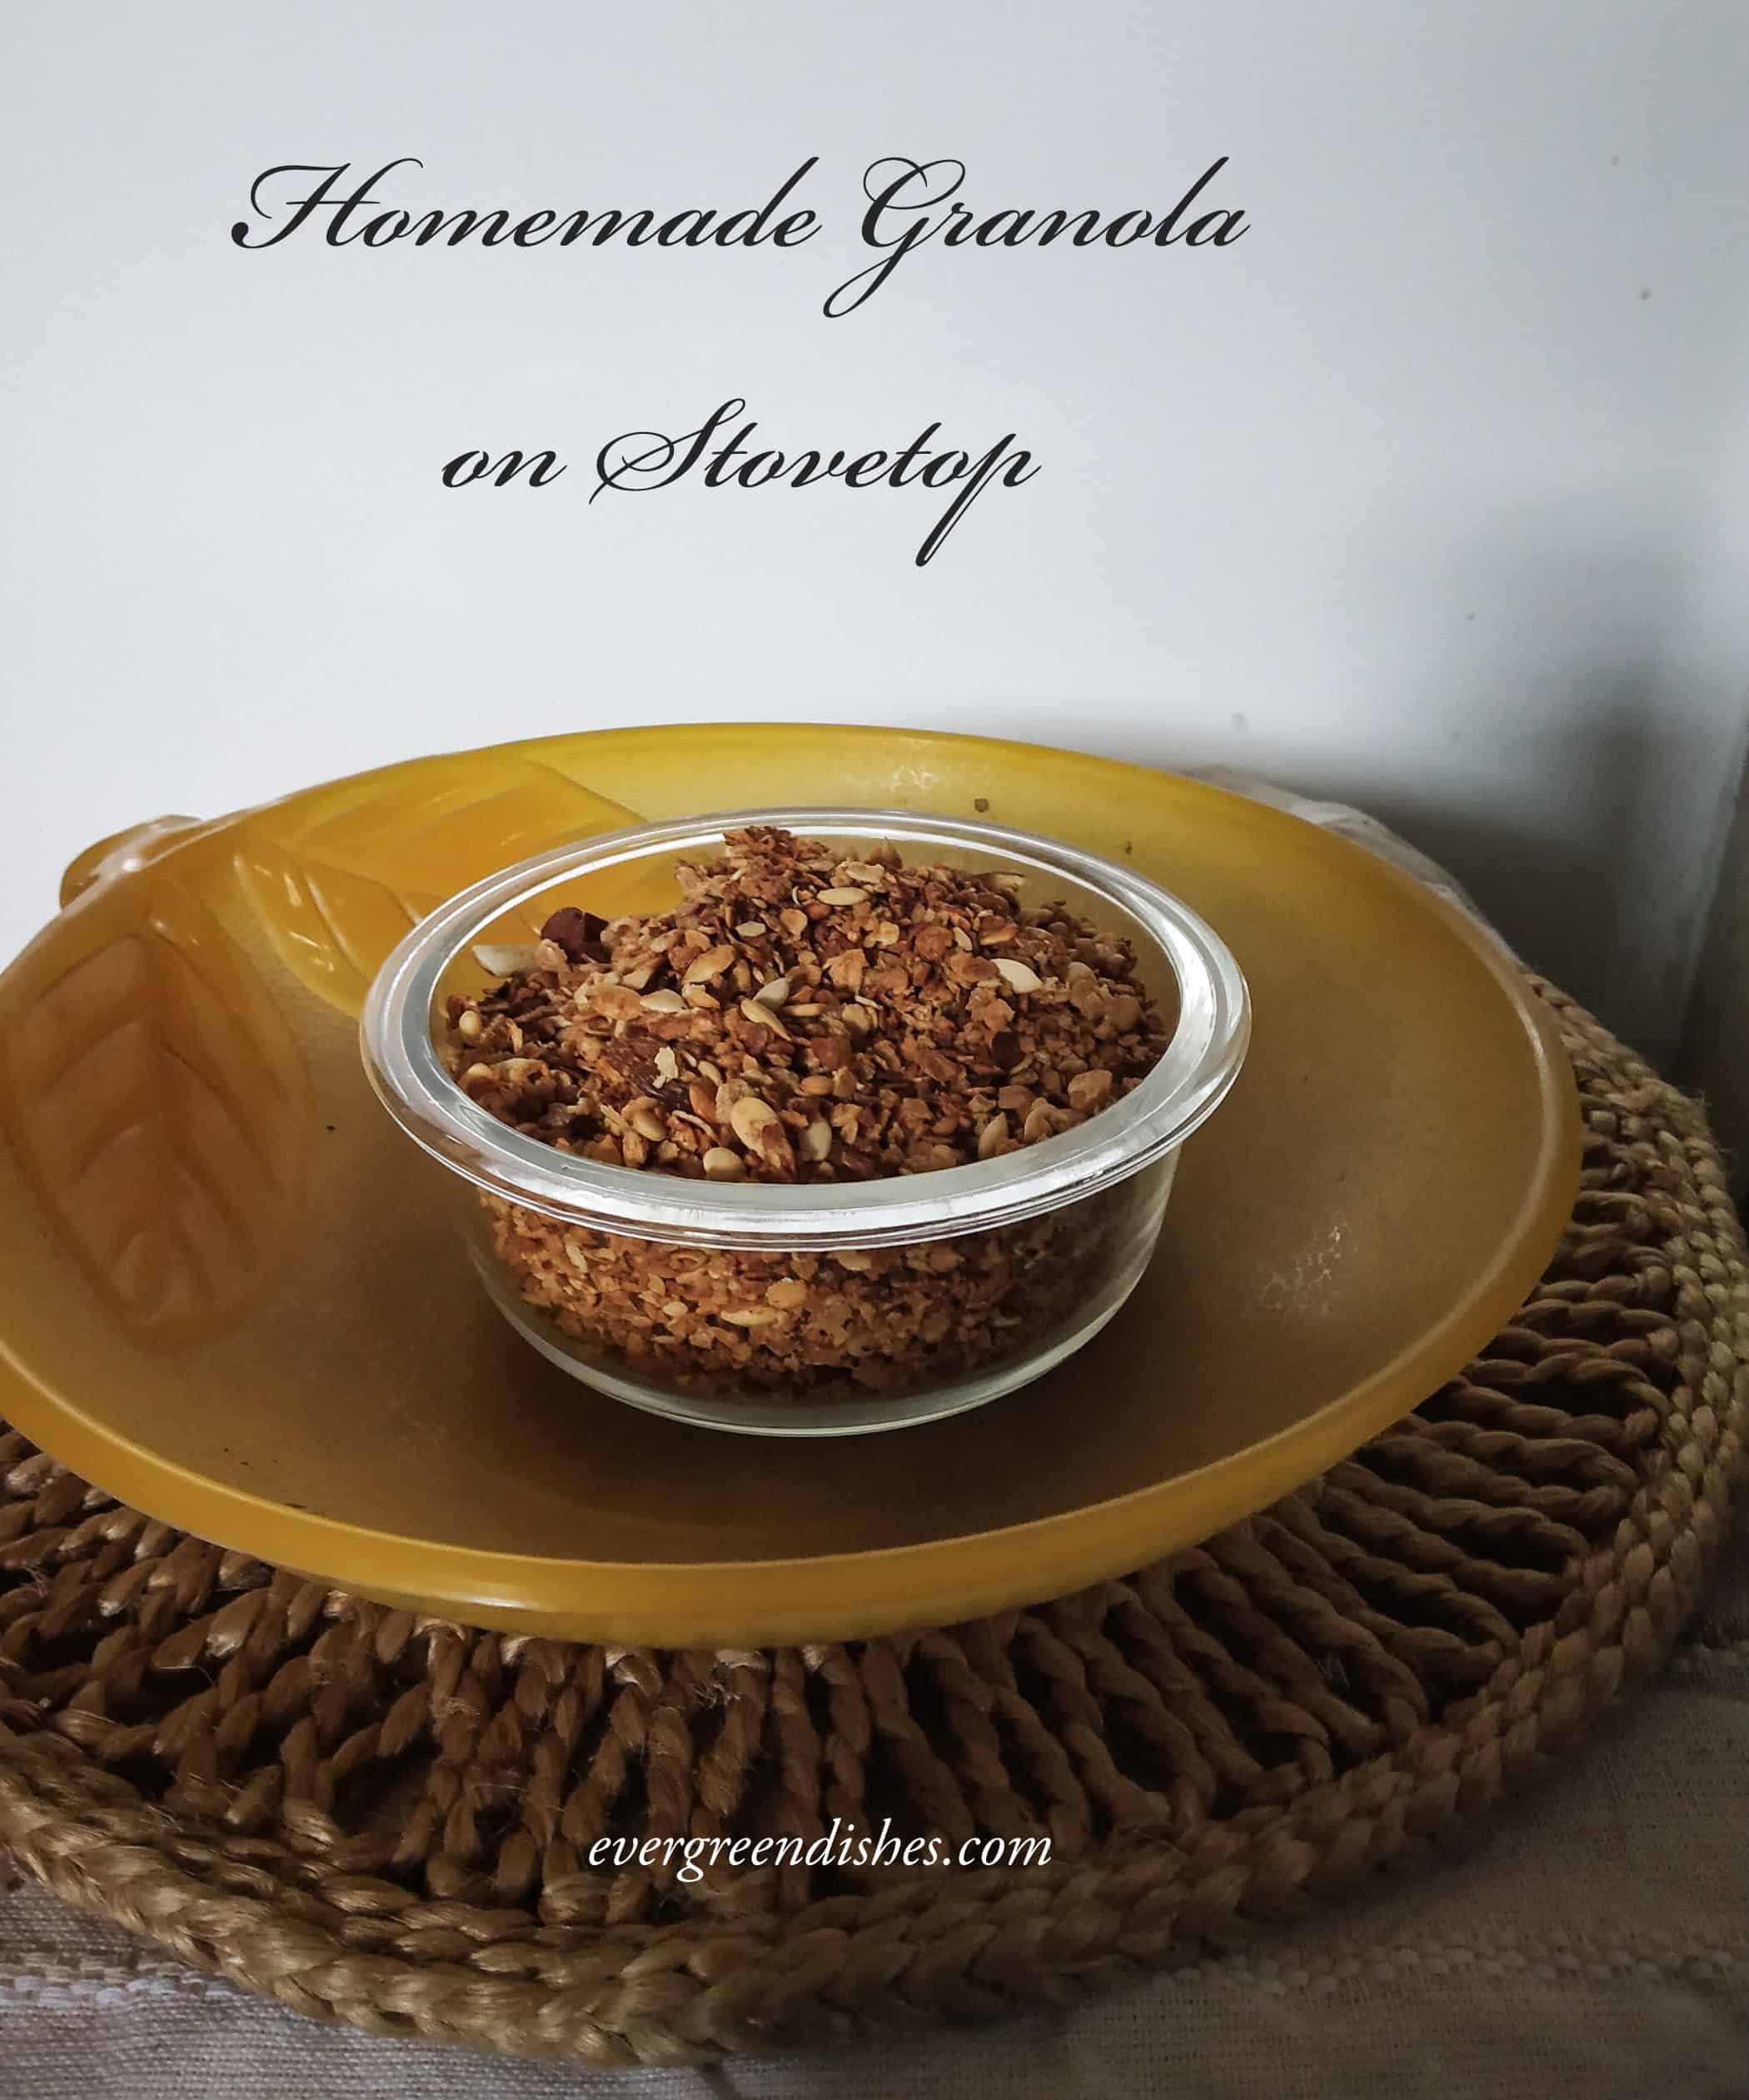
    This homemade granola can be had as it is or with milk or yoghurt and fruit pieces too. It is healthy and filling. Moreover, you are in control of the ingredients that you use.

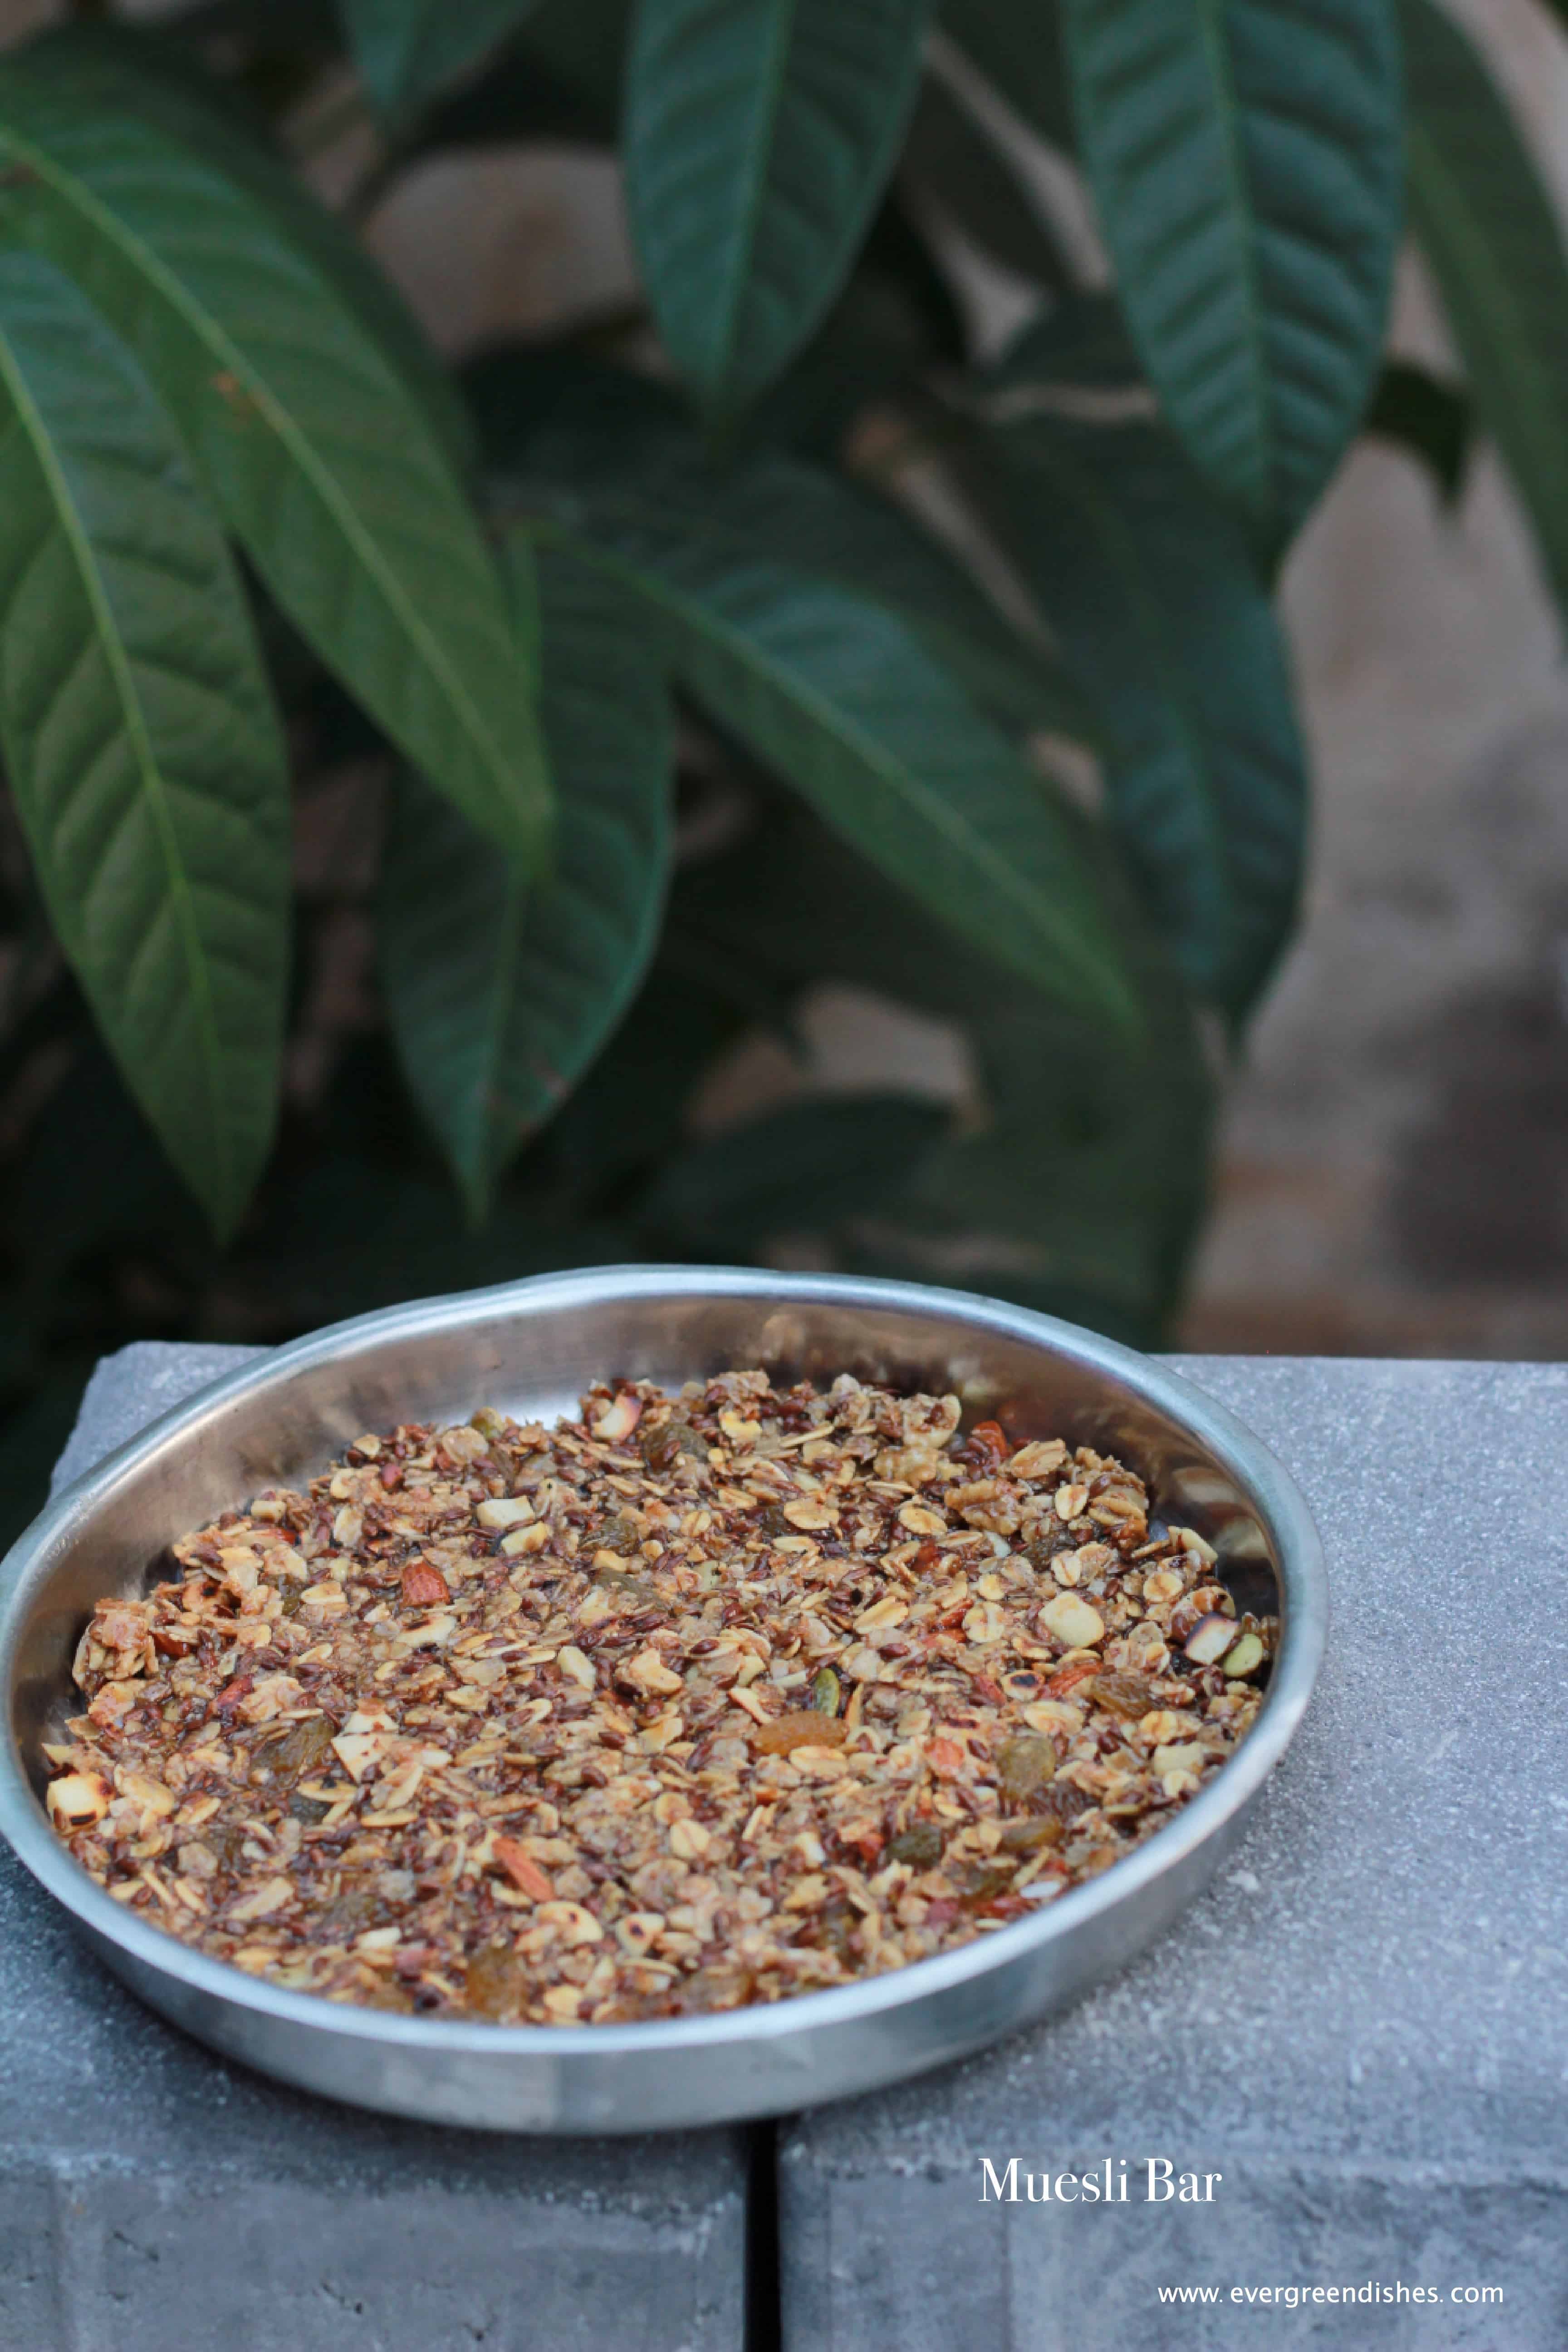
    This recipe is ideal for those who wish to make on stovetop instead of the oven. You may like to check a few other healthy recipes as muesli bar, oats ladoo, dry fruit ladoo


    homemade granola on stovetop
    homemade granola on stovetop

    Ingredients:

    • 2.5 cup oats ( I prefer using the quick oats)
    • 1/4 cup almonds
    • 1/2 cup melon seeds
    • 4 teaspoon honey
    • 2 teaspoon coconut oil
    • 1/4 cup raisins


    Method: 

    • Cut the almond into slivers.
    • Take a pan, add all the ingredients and roast on a low flame for five minutes.
    • Add the raisins, continue to toss for sometime.
    • Keep tossing in between as it gets burnt easily.
    • Once it is crisp, remove from flame. Keep it aside.
    • Store in an air-tight container.

    Take a tip:

    • I prefer using quick oats.
    • Pecans, walnuts, cashew may be used.
    • You can add dried berries also.
    • Maple syrup or brown sugar may be used. 
    • Keep roasting on a low flame. If you do not toss in between, it will get burnt easily. 
    homemade granola on stovetop
    Evergreendishesdev

    Homemade Granola on Stovetop

    Granola makes a good and easy to serve breakfast or snack option. It can be served with milk or as a topping with fruits or desserts.
    Prep Time 10 minutes
    Cook Time 10 minutes
    Total Time 20 minutes
    Course: Breakfast
    Cuisine: international

    Ingredients
      

    • 2.5 cup oats
    • 1/4 cup almonds
    • 1/2 cup melon seeds
    • 4 teaspoon honey
    • 2 teaspoon coconut oil
    • 1/4 cup raisins

    Method
     

    1. Cut the almond into slivers.
    2. Take a pan, add all the ingredients and roast on a low flame for five minutes.
    3. Add the raisins, continue to toss for sometime.
    4. Keep tossing in between as it gets burnt easily.
    5. Once it is crisp, remove from flame. Keep it aside.
    6. Store in an air-tight container.

    Notes

    • I prefer using quick oats.
    • Pecans, walnuts, cashew may be used.
    • You can add dried berries also.
    • Maple syrup or brown sugar may be used. 
    • Keep roasting on a low flame. If you do not toss in between, it will get burnt easily. 
    Homemade Granola is tasty and healthy.It is easy to make and has no added sugar in it. Give a ty to this version of granola made on stove top.
    homemade granola on stovetop


    If you ever make these  Homemade Granola on Stovetop,  do take a picture and tag @foodiejayashree on Instagram or @evergreendishes on Facebook or Twitter. I will be glad to see your creation and share it further. Let’s be connected, do follow on social media platforms. Until next time, let’s stay connected.  Subscribe to get all updates and an e-book for free. Check out my e-books on Amazon.  Happy Cooking !

  • Kadai Paneer | Easy Kadai Paneer Recipe

    Kadai Paneer | Easy Kadai Paneer Recipe

    Jump to Recipe Print Recipe

    Kadai Paneer is a delicious side dish from North Indian cuisine. It is ideal to pair with Indian flatbreads as tandoori roti, naan, chapati or phulka. 

    Kadai Paneer is a popular side dish made with cubes of paneer and capsicum, served in a small, beautiful metal pot (known as kadai in Hindi) with two handles in most restaurants. The kadai masala is prepared  using a few spices but here I have a quick, semi-dry version with the addition of whole spices.  I have lightly roasted the coriander and ground them coarsely.  This tasty North Indian sabzi is ready in 30 minutes from scratch. You can serve it with kulcha or roomali roti too. 

    Paneer, commonly called as cottage cheese, is loved by most people and finds a place in many dishes. It is a rich source of milk protein . It is commonly used in gravies. snacks  and many kind of sweets. It is made by curdling milk.  Today, many brands have ready to eat which you can just simmer and eat with hot rotis or phulka. We recently had these paneer indie bowl and they were tasty. 

    Kadai Paneer
    Kadai Paneer

    Why should you make this Kadai Paneer recipe ?

    • easy to prepare
    • tasty
    • ideal to serve for lunch
    • loved by both kids and adults
    • goodness of paneer

    Kadai Paneer Recipe 

    Ingredients:

    200 grams paneer
    2 tablespoon oil
    2 sticks of one inch cinnamon
    2 cloves
    2 bay leaf
    2 red chillies broken into half
    2 tablespoon coriander seed 
    1 large onion
    10 cloves garlic
    2 pieces of ginger
    1 teaspoon coriander powder
    1/2 teaspoon turmeric powder
    1 teaspoon red chilli powder
    2 capsicum
    5 tomato
    salt to taste


    Method: 

    1. Dry roast the coriander seed and grind it coarsely. 
    2. Grind ginger and garlic to a paste.
    3. Cut onion and tomato finely.
    4. Heat oil in a pan, add cinnamon, cloves, red chillies and half the quantity of coriander seed powder. Saute for sometime.
    5. Add onion pieces and saute for a minute. Put ginger garlic paste and  saute it for sometime.  Put the capsicum pieces into it and let them cook for a while
    6. Put coriander powder, chilli powder, turmeric powder and mix them well. 
    7. Add tomato and salt. Mix and let them cook until they are mushy and the oil separates. 
    8. Keep the paneer ready to use by thawing them in warm water and cutting into small pieces.
    9. Put the paneer pieces and half a cup of water to it.
    10. Let cook for sometime. Garnish with coriander leaves. 
    11. Kadai Paneer is ready to serve.

    Take a tip: 

    • You may add a few fried cashew pieces.
    • It is best to consume paneer dishes soon after preparation. 
    Kadai Paneer
    Evergreendishesdev

    Kadai Paneer

    Kadai Paneer is a popular side dish from North Indian cuisine. It pairs well with roti, naan, phulka or chapati.
    Prep Time 15 minutes
    Cook Time 15 minutes
    Total Time 30 minutes
    Servings: 6 people
    Course: Main Course, Side Dish
    Cuisine: Indian, north indian

    Ingredients
      

    • 200 grams paneer
    • 2 tablespoon oil
    • 2 sticks of one inch cinnamon
    • 2 cloves
    • 2 bay leaf
    • 2 red chillies broken into half
    • 2 tablespoon coriander seed
    • 1 large onion
    • 10 cloves garlic
    • 2 pieces of ginger
    • 1 teaspoon coriander powder
    • 1/2 teaspoon turmeric powder
    • 1 teaspoon red chilli powder
    • 2 capsicum
    • 5 to mato
    • salt to taste

    Method
     

    1. Dry roast the coriander seed and grind it coarsely.
    2. Grind ginger and garlic to a paste.
    3. Cut onion and tomato finely.
    4. Heat oil in a pan, add cinnamon, cloves, red chillies and half the quantity of coriander seed powder. Saute for sometime.
    5. Add onion pieces and saute for a minute. Put ginger garlic paste and  saute it for sometime.  Put the capsicum pieces into it and let them cook for a while
    6. Put coriander powder, chilli powder, turmeric powder and mix them well.
    7. Add tomato and salt. Mix and let them cook until they are mushy and the oil separates.
    8. Keep the paneer ready to use by thawing them in warm water and cutting into small pieces.
    9. Put the paneer pieces and half a cup of water to it.
    10. Let cook for sometime. Garnish with coriander powder.
    11. Kadai Paneer is ready to serve.

    Notes

    • You may add a few fried cashew pieces.
    • Paneer dishes should be consumed soon after preparation.

    If you ever make this Kadai Paneer recipe, do take a picture and tag @foodiejayashree on Instagram or @evergreendishes on Facebook or Twitter. I will be glad to see your creation and share it further. Let’s be connected, do follow on social media platforms. Until next time, let’s stay connected.  Subscribe to get all updates and an e-book for free. Check out my e-books on Amazon.  Happy Cooking!

    Pin it for later : 


    Kadai Paneer
    Kadai Paneer


  • Watermelon Rind Dosa | Watermelon Rind Recipes

    Watermelon Rind Dosa | Watermelon Rind Recipes

    Jump to RecipePrint Recipe


    Watermelon Rind Dosa is a delicious and unique breakfast option. It is soft, spongy and porous.  It is vegan and gluten free  and as the name suggests watermelon rind is used in it.

    Considering the fact, watermelon rind is healthier, I don’t like to waste it. The rind is the white part of the watermelon. It is rich in fibre and aids in digestion.  Usually, I use it in a smoothie or a salad.  Of late, I have another recipe and I make this dosa also. The dosa is made slightly thick and cooked only on one side. Like the regular dosa, this needs to be fermented. This  recipe is adopted from Vinaya Prasad’s blog  Vegetarian Culinary Delights. I am active in a couple of groups on Facebook and this group is one of them. I like the enthusiasm and patience with which she runs the group. Recently, the group reached the 15000 milestone mark. 

    Watermelon Rind Dosa Recipe 

    Ingredients: 

     1. 25 cup  rice
    1/2 cup  urad dal
    1/4 cup flattened rice (poha) 
    1/2 cup   watermelon rind
    1/2 cup  fresh coconut
    1/2 teaspoon methi seeds
    oil for roasting
    water for soaking and grinding
    salt to taste


    Method:

    1. Soak rice, urad dal and methi for 4 hours.
    2. Soak flattened rice (poha) for half an hour.
    3. Cut the rind into small pieces. 
    4. Grind the soaked rice and lentil mixture to a fine batter, remove it in a bowl. Now, grind the rind pieces, soaked poha and  coconut, mix it into the batter. Add salt to it, cover and keep it in a warm place to ferment overnight or 5-6 hours.
    5. Next day, mix the batter, heat a skillet. Smear a little oil if using the cast iron. pour a ladleful of batter, spread a little oil, cover with a lid   and allow to cook. There is no need to cook the other side for this dosa. Once it is cooked, remove and serve hot with coconut chutney. Repeat for the rest of the batter. 


    Take a tip: 

    1. The dosa is made as a set dosa.  The consistency of the batter should be moderately thick.
    2. Use any kind of skillet, iron or non-stick, cover with a lid and cook. There is no need to flip  to the other side. 


    watermelon rind dosa
    watermelon rind dosa


    My family enjoys dosa any day.  Rava dosa is usually prepared during weekends. A dosa batter is handy and used in different ways. You can make masala dosa, uttapam or gundapongal. The other kind of dosa are ragi dosa, jowar dosa, set dosa, neer dosa and mixed flour dosa. 

    watermelon rind dosa

    Watermelon Rind Dosa

    Watermelon rind dosa is soft, spongy dosa. It is ideal to prepare it for breakfast.
    Prep Time 4 hours
    Cook Time 30 minutes
    Fermentation time 6 hours
    Total Time 10 hours 30 minutes
    Course: Breakfast
    Cuisine: Indian, South Indian

    Ingredients
      

    • 25 cup rice
    • 1/2 cup urad dal
    • 1/4 cup flattened rice poha
    • 1/2 cup watermelon rind
    • 1/2 cup fresh coconut
    • 1/2 teaspoon methi seeds
    • oil for roasting
    • water for soaking and grinding
    • salt to taste

    Method
     

    1. Soak rice, urad dal and methi for 4 hours.
    2. Soak flattened rice (poha) for half an hour.
    3. Cut the rind into small pieces.
    4. Grind the soaked rice and lentil mixture to a fine batter, remove it in a bowl. Now, grind the rind pieces, soaked poha and  coconut, mix it into the batter. Add salt to it, cover and keep it in a warm place to ferment overnight or 5-6 hours.
    5. Next day, mix the batter, heat a skillet. Smear a little oil if using the cast iron. pour a ladleful of batter, spread a little oil, cover with a lid   and allow to cook. There is no need to cook the other side for this dosa. Once it is cooked, remove and serve hot with coconut chutney. Repeat for the rest of the batter.

    Notes

    The dosa is made as a set dosa.  The consistency of the batter should be moderately thick.
    Use any kind of skillet, iron or non-stick, cover with a lid and cook. There is no need to flip  to the other side. 

    Pin it for later:

    Watermelon rind dosa is soft, supple and porous. It is a good way to use the rind  of the fruit which is usually discarded. Watermelon rind is rich in fibre and minerals. Give a try to this variation of dosa.
    watermelon rind dosa

    If you ever make this dosa recipe or any of my dishes,  do take a picture and tag @foodiejayashree on Instagram or @evergreendishes on Facebook or Twitter. I will be glad to see your creation and share it further. Let’s be connected, do follow on social media platforms. Until next time, let’s stay connected.  Subscribe to get all updates in your inbox. Happy Cooking ! 


  • Kashmiri Tomato Chutney | Spicy Tomato Chutney Recipe

    Kashmiri Tomato Chutney | Spicy Tomato Chutney Recipe

    Jump to Recipe Print Recipe

    Kashmiri Tomato Chutney is flavoursome with a hint of spices, it is versatile to use with chapati, idli or dosa.

    I was browsing through my diary and I found this recipe scribbled in the middle of the book. Recently, we visited Kashmir and it was a wonderful trip. We witnessed snow fall in Gulmarg and it was amazingly beautiful experience. The drastic climate change  one has to bear if we are visiting different parts of the world.

    Seeing the recipe, I thought I must try it now. It was tasty. I served with thalipeeth. It is ideal to serve with chapati or phulka. I liked the way the flavours complemented so well, taste of the spices was minimal without harming the tanginess of tomato. I will be making it again. Give a try to the spicy tomato chutney and let me know how it was.

    Why should you make this chutney ?

    • it is vegan
    • it is gluten-free
    • it is made with easy to make ingredients in the kitchen
    • it is ready in a few minutes
    • it makes a good accompaniment with many dishes as chapathi, idli and dosa.

    kashmiri tomato chutney
    kashmiri tomato chutney

    Ingredients:

    • Spices  as clove, cardamom, fennel and cinnamon are dry roasted and ground to a powder.
    • Onion : Cut it into small bits
    • Tomato : Cut it into small bits
    • Oil : Any neutral cooking oil is needed.
    • Mustard seed: A little bit in the seasoning
    • Cumin: For the taste it delivers
    • Turmeric powder: Dash of haldi helps in not only giving  colour but also has anti-bacterial properties
    • Curry leaves : a few
    • Green chilli
    • Salt

    Method:

    Print Recipe

    kashmiri tomato chutney
    Evergreendishesdev

    Kashmiri Tomato Chutney

    Kashmiri tomato chutney is flavoursome with a hint of spices. It is ideal to pair with chapati, idli, dosa or even paratha.
    Prep Time 10 minutes
    Cook Time 10 minutes
    Total Time 20 minutes
    Course: Breakfast, lunch ideas
    Cuisine: Indian, Kashmiri

    Ingredients
      

    • 2 clove
    • 1 cardamom
    • 1 teaspoon fennel
    • 1 inch cinnamon
    • 2 teaspoon oil
    • 1/2 teaspoon mustard
    • 1 teaspoon cumin
    • 1/4 teaspoon turmeric powder
    • a few curry leaves
    • 3 green chilli
    • 1 onion
    • 8 to mato
    • salt
    • chilli powder

    Method
     

    1. Cut the onion and tomato into small pieces.
    2. Dry roast cinnamon, cardamom, clove and fennel on a low flame until you get a good aroma. Keep them aside, grind to a powder when cool.
    3. Take oil in a pan, add mustard seed, once it splutter throw in cumin, turmeric powder and the curry leaves. Put the chilli pieces, saute and add the onion.
    4. Once it is golden in colour, put the ground spice powder. Add chilli powder, mix and now put the tomatoes. Put salt and allow to cook. Let it be mushy.
    5. Spicy tomato chutney is ready. One can grind it if needed.


    Pin it for later:

    Kashmiri tomato chutney is tasty and full of flavours. It makes a good accompaniment with chapati, idli or dosa.
    Kashmiri Tomato Chutney

    More chutney varieties:

    If you love using sorrel leaves in your cooking, give a try to this sorrel leaf chutney. Have you tried using peels in making a chutney? Are you avoiding kitchen wastes ? Some peels make tasty side dishes. Check out the orange peel chutney and ridge gourd chutney. If you are making a sandwich, this green chutney is all that you need.

    If you ever make this recipe, take a picture and share it by tagging @foodiejayashree on Instagram or @evergreendishes on Facebook. I will be glad to see and share your creation further.
    Check out my e-books on Amazon. Do not miss any post, subscribe to get all updates and an e-book for free !

  • Custard Apple Kheer | Delicious Sitaphal Kheer

    Custard Apple Kheer | Delicious Sitaphal Kheer

    Jump to Recipe Print Recipe

    Custard Apple Kheer is an exotic dessert. It is creamy and tasty, ideal to prepare on festive days.

    Custard Apple or Cherimoya is a tropical fruit. Commonly known as Sitaphal, it is  green, round or conical with scaly skin. The pulp is creamy and sweet, thus it is also called as Sweet Apple.  It is rich in fibre, vitamins and minerals.

    The fruit is best eaten chilled, the pulp is eaten and both the seed and the skin are discarded. Keep the unripe fruit at room temperature, once it ripens, put it in the refrigerator and consume within 3-4 days.

    Nutrients in Custard Apple:

    It has significant quantities of Vitamin C, thiamine, potassium, magnesium and dietary fibre. Despite its high sweetness, it has low glycemic index.

    Benefits of Custard Apple:

    • It is rich in anti-oxidants, such as Vitamin C and carotenoids.
    • The Vitamin B6 present in it helps to prevent depression.
    • Custard Apple is rich in anti-oxidant lutein, this will help to maintain good vision.
    • It is rich in flavonoid anti-oxidants that hep prevent the growth of cancer cells.

    Custard Apple Kheer
    Custard Apple Kheer

    What is Kheer?

    Kheer is a milk based  sweet pudding from Indian sub-continent. It is usually prepared during festivals. Earlier, Kheer referred to the rice kheer, prominently prepared in most households. But today, different versions of Kheer are made.

    Festive Season: Navratri

    Navratri, festival of nine nights begins from tomorrow. Goddess Durga is worshipped with utmost faith and reverence. Many people fast during these nine days while others celebrate the festival. The tenth day is Dasara.

    Related Recipes : Gasgase Payasa, Dates Payasam, Sabudana Kheer,

    About the event:

    This post is part of the Navratri Fasting Recipes at Healthy Wellthy Cuisines. It is a fortnightly event we cherish joining together. Here are the other recipes

    Custard Apple Kheer Recipe

    Ingredients:                     Measurement used: 1 cup = 250 ml

    • 3 cup full fat milk
    • 2 custard apple
    • 10 almonds
    • a few strands of saffron
    • 3 tablespoon sugar
    • 1/4 teaspoon cardamom powder

    Method:

    1. Remove the pulp of the custard apple. Discard the seeds and the skin.
    2. Boil milk in a thick bottom pan. Put saffron to it.
    3. Grind almonds and put the powder to it. Stir it.
    4. Once the milk has reduced, put the fruit pulp to it. Stir and cook for sometime.
    5. Put sugar and allow to cook for a minute.
    6. Finally, add cardamom powder and turn off the stove.
    7. Serve chilled.

    Take a tip:

    • To remove the seeds, take the pulp in a bowl and gently squeeze the pulp out from each seed.
    • No need to soak the almonds, grind them to a coarse powder and put in the milk to boil. It imparts a good flavour to the dessert.
    • The quantity of sugar depends on the sweetness of the fruit. Reduce the quantity if the fruit is very sweet.

    Custard Apple Kheer

    Custard Apple Kheer

    Custard Apple Kheer is creamy and tasty. It is ideal to serve for any occasion.
    Prep Time 15 minutes
    Cook Time 20 minutes
    Chilling time 30 minutes
    Total Time 1 hour 5 minutes
    Course: Dessert
    Cuisine: Indian

    Ingredients
      

    • 3 cup full fat milk
    • 2 custard apple
    • 10 almonds
    • a few strands of saffron
    • 3 tablespoon sugar
    • 1/4 teaspoon cardamom powder

    Method
     

    1. Remove the pulp of the custard apple. Remove the seeds and mash it.
    2. Boil milk in a thick bottom pan. Put saffron to it.
    3. Grind almonds and put the powder to it. Stir it.
    4. Once the milk has reduced, put the fruit pulp to it. Stir and cook for sometime.
    5. Put sugar and allow to cook for a minute.
    6. Finally, add cardamom powder and turn off the stove.
    7. Serve chilled.

    Notes

    • To remove the seeds, take the pulp in a bowl and gently squeeze the pulp out from each seed.
    • No need to soak the almonds, grind them to a coarse powder and put in the milk to boil. It imparts a good flavour to the dessert.
    • The quantity of sugar depends on the sweetness of the fruit. Reduce the quantity if the fruit is very sweet. 

    Pin it for later:

    Custard Apple Kheer is an exotic dessert to serve anytime. It is creamy and tasty, ideal to serve for celebrations.
    custard apple kheer

    If you ever make this custard apple kheer recipe, take a picture and share it by tagging @foodiejayashree on Instagram or @evergreendishes on Facebook. I will be glad to see and share your creation further.
    Check out my e-books on Amazon. Do not miss any post. Subscribe to get all updates and an e-book for free !

  • Easy Poha Idli

    Easy Poha Idli

    Jump to Recipe Print Recipe

    Poha Idli is another easy breakfast recipe to prepare for the busy mornings. They are soft, bright smiling white and  delicious. Serve with coconut chutney. Poha Idli is easy to prepare as no soaking, grinding and fermentation is required.

    Idli is the ideal breakfast for busy mornings. But, grinding the batter needs time and patience. Instant idlis as Rawa Idli and Ragi Idli always come to my rescue. But, when you want to make something different, give a try to this Poha Idli. Poha is flattened rice commonly used in South Indian households. This is easy poha idli recipe is ideal for all.

    Poha and South Indians:

    South Indians love using poha in their daily routine. It is so commonly used,  chiwda is usually present in the kitchen shelves. Tangy  beaten rice is tasty and  usually served for breakfast. And not to mention, on the fasting days, it is a no cook food eaten by most people.

    About the event:


    Poha Idli

    Poha Idli Recipe

    Ingredients:

    • 1 cup poha
    • 1.5 cup idli rawa
    • 2 cup sour yoghurt
    • salt to taste
    • 1/4 teaspoon soda

    Method:

    1. Wash the flattened rice. Soak it for ten minutes.
    2. Mash it with a ladle.
    3. Add curd and idli rawa to it. Put salt and mix it. Keep it aside for twenty minutes.
    4. Heat a idli cooker. Add soda to the batter, mix it and immediately put it in the moulds.
    5. Cook it on moderate heat for twenty to twenty-five minutes.
    6. Once they are done, turn off and keep it aside for sometime. Remove and serve with coconut chutney.

    Take a note:

    • Poha Idli  requires time as the flattened rice needs to be cooked. It is not ready in a jiffy as 1-2-3. Once they are cooked, leave them for sometime. They are too soft.
    • I used the thin variety of flattened rice. You can use any variety.

    idli
    Evergreendishesdev

    Poha Idli

    Poha Idli is another kind of instant idli. They are soft and delicious.
    Prep Time 30 minutes
    Cook Time 30 minutes
    Resting time 10 minutes
    Total Time 1 hour 10 minutes
    Servings: 25 idlis
    Course: Breakfast
    Cuisine: Indian, South Indian

    Ingredients
      

    • 1 cup poha
    • 1.5 cup idli rawa
    • 2 cup sour yoghurt
    • salt to taste
    • 1/4 teaspoon soda
    • water

    Equipment

    • Idli cooker
    • idli plates
    • ladle
    • bowl

    Method
     

    1. Wash the flattened rice. Soak it for ten minutes.
    2. Mash it with a ladle.
    3. Add curd and idli rawa to it. Put salt and mix it. Keep it aside for twenty minutes.
    4. Heat a idli cooker. Add soda to the batter, mix it and immediately put it in the moulds. Adjust the consistency, by adding water.
    5. Cook it on moderate heat for twenty to twenty-five minutes.
    6. Once they are done, turn off and keep it aside for sometime. Remove and serve with coconut chutney.

    Notes

    It requires time as the flattened rice needs to be cooked. It is not ready in a jiffy as 1-2-3. Once they are cooked, leave them for sometime and later remove and serve.

    Pin it for later:

     Poha Idli is soft and delicious, ideal to serve as breakfast menu. It is easy to prepare as no grinding or fermentation of batter is needed. Site title Title Primary category Separator
    Poha idli

    If you have liked this post, do share it with your family and friends. If you ever make this, take a picture and share it by tagging @foodiejayashree on Instagram or @evergreendishes on Facebook or Twitter.

  • Veg Jadoh | Meghalaya cuisine

    Veg Jadoh | Meghalaya cuisine

    Veg Jadoh is a delicious rice dish from Meghalaya cuisine. Rice is usually cooked with pork or meat with a few spices, but here is a vegetarian version of the same. I have used potato cubes, it makes a good brunch or a weekend meal. (more…)

  • Homemade Muesli Bars with Zerobeli

    Homemade Muesli Bars with Zerobeli

    Muesli is a healthy snack for breakfast. It is easy to serve and a good option for busy days. Zerobeli Mueseli is tasty, crunchy and filled with nuts in it. I made muesli bars that were tasty and just awesome.  (more…)

  • Sauteed Green apple

    Sauted Green Apple is tasty and a quick one to make. You can eat it just like that or serve it over a dessert.

    Green apples are yet another kind of apples that we love binging on. The Granny Smith variety are the usual ones that we find here.They are crisp and tart , ideal to be used in cooking. These sauted green apples are just too good, beleive me !

    Green apples are highly nutritious. They are rich in anti oxidants and help lower blood sugar. They  steady the heart beat and are an excellent source of potassium.

    Green apples are ideal to be used in salads. They can be cooked and used with oats or a topping. Here is another kind, Sauteed Green Apple, do give a try, you can eat it anytime, either for breakfast or lunch. Put it over a pancake or a bowl of oats with a few nuts.  This dish is healthy eating, vegetarian,  paleo and gluten free.


    sauted green apple
    sauted green apple


    Sauteed Green apple

    Recipe Type: Side dish
    Cuisine: Continental
    Author: Jayashree
    Prep time:
    Cook time:
    Total time:
    Serves: 4
    Sweet and spice,all things fine, this is a perfect combo for a lunch or dinner.
    Ingredients
    • Green apples 2
    • butter 1tbsp
    • demerera sugar 2tbsp
    • cinnamon powder 1/4tsp
    Instructions
    1. Wash and cut the apples into slices.
    2. Put butter in the pan and melt it. Add the apple slices and toss them.
    3. Allow to cook for a few minutes until they are tender.
    4. Add the demerera sugar and cinnamon powder. Give a stir. After a minute or two, remove from flame.
    Notes
    You can use it for pancake or top it with vanilla ice cream.


    Ingredients :

    Green apples 2
    butter 1tbsp
    demeretra sugar 2tbsp
    cinnamon powder 1/4tsp

    Method:

    Wash and cut the apples into slices.
    Put butter in the pan and melt it. Add the apple slices and toss them.
    Allow to cook for a few minutes until they are tender.
    Add the demerera sugar and cinnamon powder. Give a stir. After a minute or two, remove from flame.


    Evergreendishesdev

    Sautéed Green Apple

    Sautéed Green Apple is a quick and tasty dish to whip.Serve it anytime and as you like it.
    Course: Breakfast, Dessert
    Cuisine: international

    Ingredients
      

    • 2 Green apples
    • 1 tablespoon butter
    • 2 tablespoon demerara sugar
    • 1/4 teaspoon cinnamon powder

    Method
     

    1. Wash and cut the apples into slices.
    2. Put butter in the pan and melt it. Add the apple slices and toss them.
    3. Allow to cook for a few minutes until they are tender.
    4. Add the demerara sugar and cinnamon powder. Give a stir. After a minute or two, remove from flame.

    If you ever make this recipe,  do take a picture and tag @foodiejayashree on Instagram or @evergreendishes on Facebook or Twitter. I will be glad to see your creation and share it further.   

    Subscribe to get all updates and an e-book for free. Check out my e-books on Amazon.  Happy Cooking !


  • Healthy kidney bean salad

    Healthy kidney bean salad

    Kidney bean salad is a tasty, healthy and easy to make snack. It is packed with nutrition and ideal protein supplement for vegetarians. 

    Kidney bean aka rajma is a wonderful source of nutrition. It is one of the essentials in North India.They are widely used in gravy based dishes. But today, I have an interesting recipe here, Kidney bean salad, easy to make and healthy too.

    The kidney beans are dark red coloured and shaped like kidney. They are rich in molybdneun, folate,fiber, potassium, manganese, phosphorous, protein and vitamin B.

    They help prevent cholestrol. They provide fat free protein. They help in reducing the level of blood sugar, thus it is highly recommended for these patients. Being heart friendly, these also , give  folate to the body.  Like all legumes, it is rich in both kinds of fiber.It is considered to help in improving memory.

    Salads of legumes are packed with nutrition. They should be used more often in our daily diet. The first time I came across this kidney bean salad was  in the  book by cooking magnet, Tarla Dalal, loved the idea of making a salad of these. But the recipe here, is slightly different from the original and mine.

    Looking for more salad ideas ? Try this watermelon rind salad or sprouted moong salad  

    A similar salad can be read here.

    Over to the Kidney Bean Salad Recipe

    Kidney bean salad
    Recipe Type: Salad
    Author: Jayashree
    Prep time:
    Cook time:
    Total time:
    Serves: 3
    A healthy salad to brunch on.
    Ingredients
    • Kidney beans cooked 1cup, 100grams
    • onion 1 chopped finely
    • tomato 2 chopped finely
    • cilantro


    For the dressing :

    • olive oil 1tsp
    • salt to taste
    • chilli powder 1/4tsp
    • pepper powder 1/2tsp
    • chat masala 1/4tsp
    • lime juice 1tsp
    Instructions
    1. Take a wide bowl and add the boiled kidney beans. Add the onion and tomatoes.
    2. Mix the ingredients “for The dressing” in a bowl.
    3. Pour it over the veggies and chill in refrigerator.
    4. Serve with a garnishing of cilantro.
    Notes
    To cook the kidney beans, soak them overnight in water. Next day, discard the water, wash and put fresh water to it. Put in the pressure cooker and cook for at least eight whistles. Allow the pressure to release by itself.The kidney beans should be tender when touched with fingers.Otherwise, cook them again.

    healthy kidney bean salad

    Healthy Kidney Bean Salad

    Kidney bean salad makes a good snack to binge on. It should be consumed regularly by vegetarians. 
    Prep Time 10 minutes
    Course: healthy snacks, Salad
    Cuisine: international

    Ingredients
      

    • 1 cup kidney beans cooked
    • 1 onion finely chopped
    • 2 tomato finely chopped
    • cilantro
    For the dressing:
    • 1 teaspoon olive oil
    • 1/4 teaspoon chilli powder
    • 1/2 teaspoon pepper powder
    • 1/4 teaspoon chat masala
    • 1 teaspoon lime juice
    • salt to taste

    Method
     

    1. Take a wide bowl. Add the boiled kidney beans. Put the onion and tomato pieces to it.
    2. Mix the ingredients, “For the dressing” in a bowl.
    3. Pour it over the beans, chill and serve.

    Notes

    Soak the kidney bean in water for eight hours. Drain the water, wash under running water and cook in the pressure cooker for a couple of whistles. They should be soft to eat. Do not remove until the pressure is released by itself. 

    About the event :

    This is an old post which I have redone with better pictures and text. Sending this Foodies_Redoing Oldpost29, which is a fortnightly event. Our old posts which were written long back are getting a fresh touch now, thanks to Renu Agarwal Dongre.


    Pin it for later:

    healthy kidney beans salad

    If you have liked this post, do share it with your family and friends. If you ever make this, take a picture and share it by tagging @foodiejayashree on Instagram or @evergreendishes on Facebook or Twitter.

    Let’s be connected, the follow buttons are on the side bar. Subscribe to get all updates and an e-book for free!