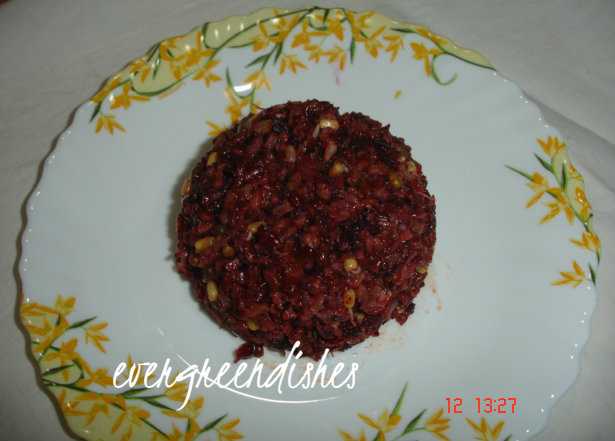
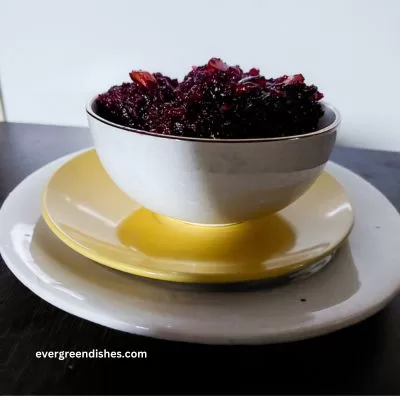
My advent with brown rice landed me to this recipe. The first time I made it I was sceptical and knew it was a disaster, but alas ! it was awesome and since then have made it couple of times. Brown rice with beet and sprouts, tasty one pot meal , serve it with any yoghurt based salad.
To make sprouts : Soak the green moong for eight hours. Drain them into a colander. After some time, tie them in a thin muslin cloth and keep it in a warm place overnight.
Sprouts are packed with nutrition. You can use them in various ways. Toss them into a salad to make a tasty snack or make a stir fry.
And now for today’s post,Brown rice with beet and sprouts, do check the recipe below.
Take oil in a pressure cooker and add the onions. Saute for sometime. Add ginger garlic paste and continue to saute. Add the beet paste and saute. Throw in the sprouts and mix well. Drain the water and add the rice, stir for some time. Add the garam masala powder and chilly powder to it. Gently mix, add three cups of water and salt to it. Give a stir, close the lid and pressure cook to one whistle. Serve hot with cucumber and onion salad.
3.5.3208
Ingredients ;
Brown rice 150 grams
Beet root 1
Moong sprouts 1 cup
Onion 1
Ginger garlic paste 1tsp
Garam masala powder ½ tsp
Chilly powder 1tsp
Salt to taste
Oil 1tbsp
Water 500 ml
Method:
Soak the brown rice in water for an hour.
Peel the beet and make a paste of it.
Take oil in a pressure cooker and add the onions. Saute for sometime. Add ginger garlic paste and continue to saute. Add the beet paste and saute. Throw in the sprouts and mix well. Drain the water and add the rice, stir for some time. Add the garam masala powder and chilly powder to it. Gently mix, add three cups of water and salt to it. Give a stir, close the lid and pressure cook to one whistle. Serve hot with cucumber and onion salad.
Beetroot are another supernatural food that we need to include in our diet. There are many dishes that we can do with this magical vegetable. From salads to desserts,it can be incorporated in various ways. Here is beetroot halwa which is a sweet delicacy that can be served as a dessert . (more…)
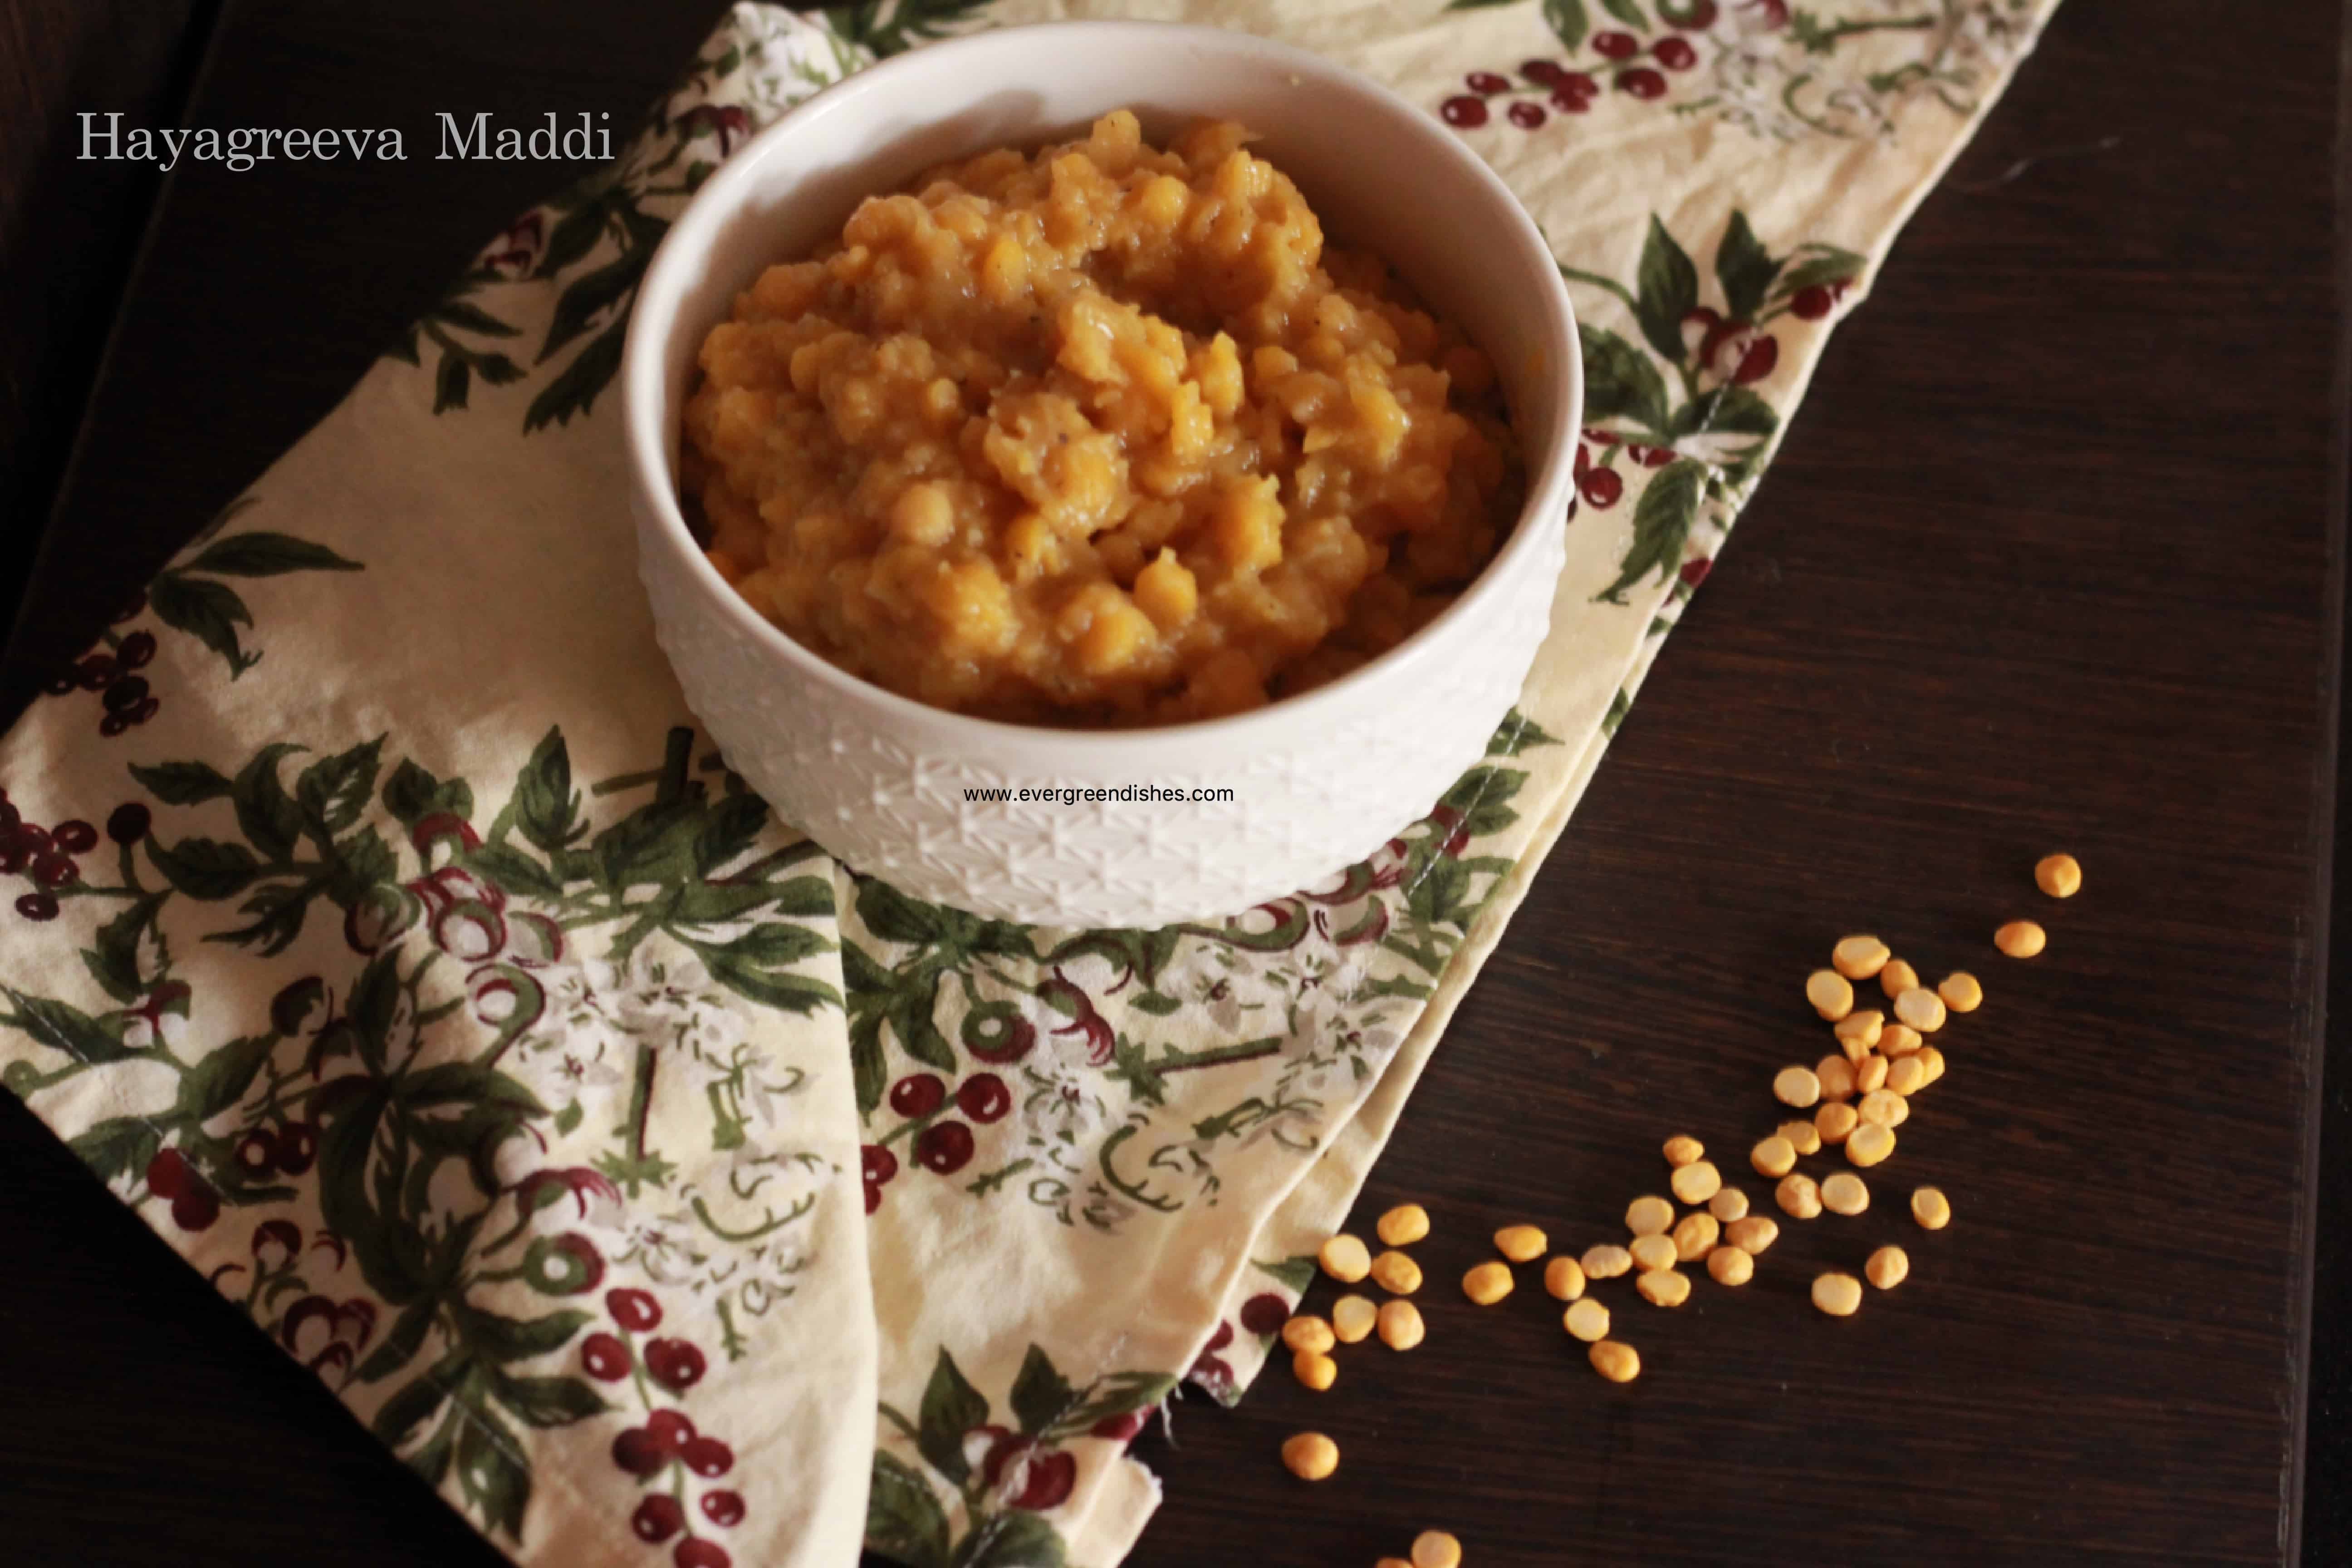
Hayagreeva Maddi is a traditional sweet dish from Karnataka. Bengal gram is perfectly cooked and simmered in jaggery along with desiccated coconut and nuts. It makes a delectable sweet.
As we enter the new year 2016, I start my posts here on a sweet note. Here is a traditional sweet dish from the state of Karnataka. This is widely prepared during festivals in Mysore, Hayagreeva maddi, popularly known as hayagreeva, is made of boiled chana dal in syrup of jaggery, garnished with grated coconut, cardamom and nuts.
Sweets are usually made during festivities. Some sweets like Hayagreeva maddi are ideal to serve for lunch. This is an easy to prepare dish, which does not need elaborate preparation and all ingredients are easily available at home.
Chana dal or bengal gram needs longer time to quickthan other lentils. Hence, I prefer to soak it for half an hour, before cooking in the pressure cooker. It is necessary that the lentil is well cooked before proceeding further to step 3 in the recipe.
Before I proceed to the recipe, I wish you all a very Happy New Year again !
Wash and soak chana dal in water for half an hour.
Pressure cook the chana dal with three glass of water. Add a little ghee to it.
Drain the water of the dal. It can be used in other dishes. Put the cooked dal in a pan and heat it on a low flame.
Ensure that the cooked lentil is extremly soft. It will not get cooked after the addition of jaggery.
Add the jaggery and ghee.and simmer on a low flame for five to ten minutes.
Add dessicated coconut.
Finally, garnish with roasted nuts and cardamom powder.
Hayagreeva maddi is ready to serve.
Take a tip:
The consistency should neither be too thick or thin.
It is essential for the lentil to be well cooked. Otherwise, you children may suffer stomach disorders.
The quantity of jaggery may be increased or decreased.
Check the cooked lentil by pressing between fingers.
Evergreendishesdev
Hayagreeva Maddi
5 from 2 votes
Hayagreeva Maddi is a traditional sweet dish from Karnataka. Bengal gram is perfectly cooked and simmered with desiccated coconut and jaggery to make a delectable sweet.
Wash and soak chana dal in water for half an hour.
Pressure cook the chana dal with three glass of water. Add a little ghee to it.
Drain the water present in the dal. It can be used in other dishes. Put the cooked dal in a pan and heat it on a low flame.
Ensure that the cooked lentil is extremely soft. It will not get cooked after the addition of jaggery.
Add the jaggery and ghee.and simmer on a low flame for five to ten minutes.
Add desiccated coconut.
Finally, garnish with roasted nuts and cardamom powder.
Hayagreeva Maddi is ready to serve.
Notes
The consistency should neither be too thick or thin.
It is essential for the lentil to be well cooked. Check by pressing between fingers. If it is undercooked, put it again itn the pressure cooker.
The quantity of jaggery may be increased or decreased.
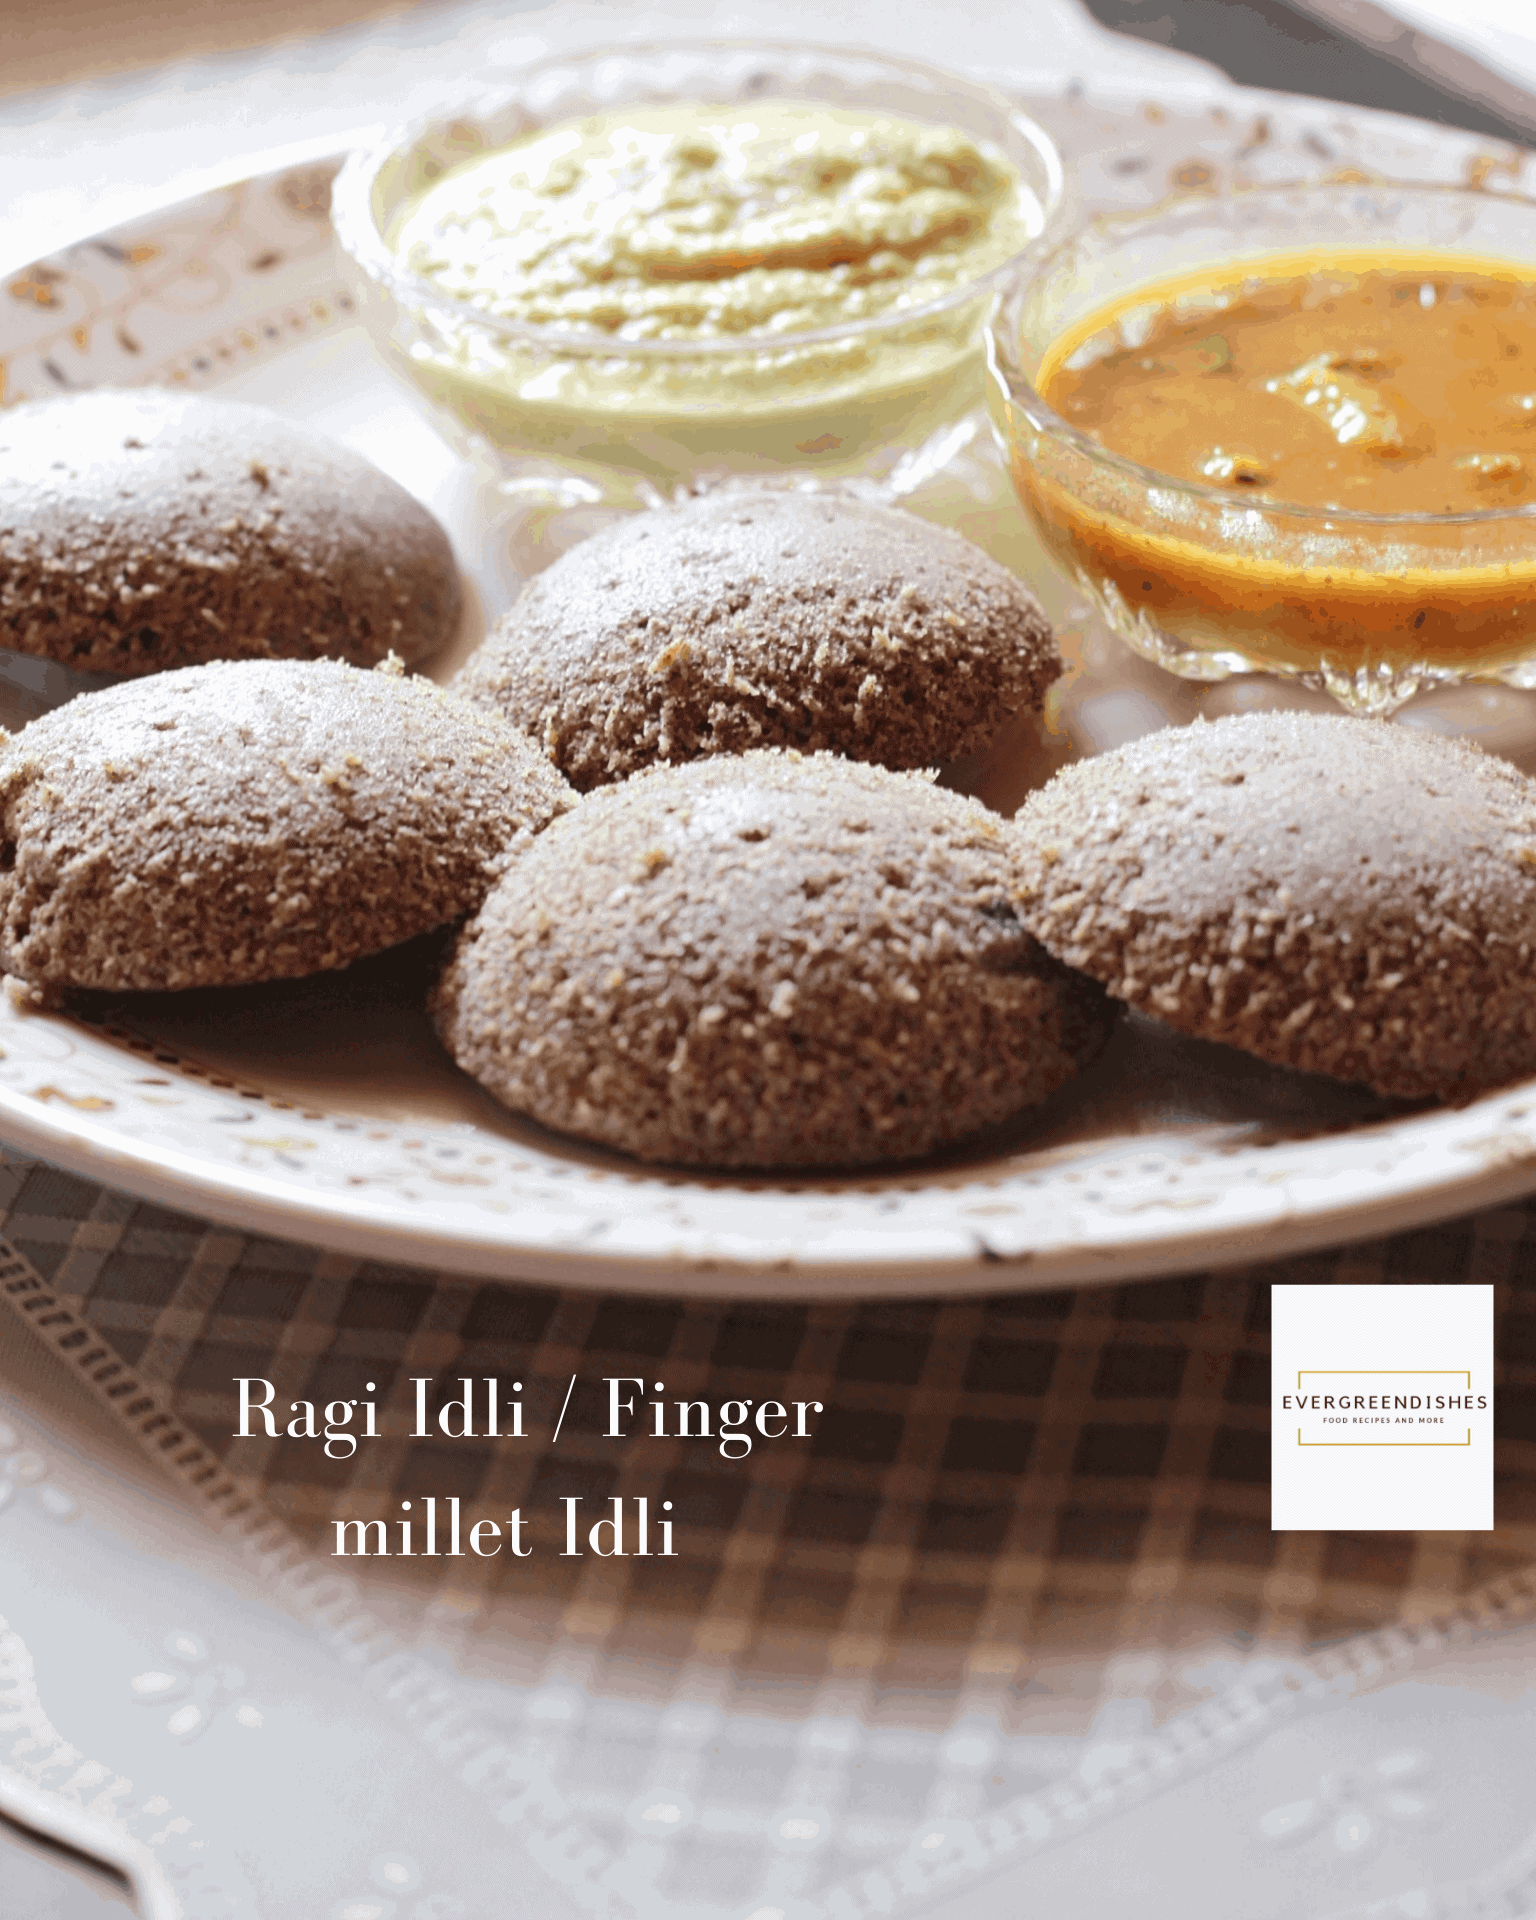
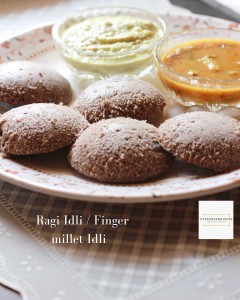
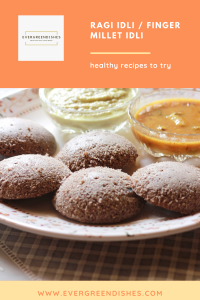
Ragi Idli / Finger Millet Idli is a healthy twist to the usual variety that is made. It is ideal for breakfast. This is a fermented idli.
Everyday, it is a dilemma to choose a menu that is liked by all at home. More so, in the days when we are thinking of healthy eating. As we ring into the new year, I plan to bring in more healthy recipes for you. .Today on the eve of new year, I bring to you all,Ragi idli or finger millet idli , a twist to the usual stuff.
Ragi is a multi grain which is highly nutritive in value.It consists of amino acids such as iso leucene, leucene, methionine and phenylanine. It is rich in calcium and potassium.
It is a super food which is found to help to reduce diabetes mellitus. With many people suffering from this disease, this diet is highly recommended. It helps in maintaining the insulin level..
It helps in reducing cholestrol. It helps in weight loss and controlling obesity. The food takes longer time to digest, hence the calories consumed are much lesser.
It has a cooling effect on the body. Thus, it is an ideal food during summer. Ragi malt is usually taken in the mornings during these months. Ragi halbai is a sweet that is not to to be missed. Ragi Thalipeeth is ideal for weekend lunch or breakfast.
Now, with so many benefits, let us take a look at the recipe of making Ragi Idli or Finger millet Idli. It is vegan and gluten free. It is ideal for breakfast. It can be served for dinner too.
What goes in the Ragi Idli / Finger Millet Idli ?
Urad dal : We need two ingredients to make it and one of them is urad dal. It is the primary ingredient to make idli, isn’t it ? I prefer to use the split urad dal. It is soaked for three hours
Ragi flour: Use good quality ragi flour. I prefer to bring in small quantity and buy fresh ones again. Sieve the flour before using it.
Water: It is needed for soaking and grinding the batter. Add water in small quantities.
Salt to taste
Ragi Idli / Finger Millet Idli
Idli Cooker:
Idli Cooker is essential to make idli. It comes with a steamer and a set of plates in which idlis are cooked. Wash the plates. Water is put in the steamer. The batter is poured in the pockets and it is allowed to cook for ten to fifteen minutes. Alternatively, you can use the pressure cooker without the whistle to steam.
Making idli is common in most household and along with it are the variations one can try. Why not invest in a good idli maker ?
About the event:
Sending this to Foodies_Redoing Old Post 27. This is an old post which I have updated with better pictures. Every fortnight, we edit an old post with better pictures and text.
Ragi Idli
Ragi idli is tasty and a healthy twist to the usual one.
Wash and soak urad dal in water for three hours. Grind it to a smooth batter by adding little amount of water.
Renove the batter in a bowl. Mix the ragi flour and salt to it. Keep it in a warm place for eight hours to ferment. Ideally, it is good to keep overnight.
Next day, take the idli stand and wash the plates. Add a spoonful of batter in each mould. Heat the pressure cooker or the idli cooker and keep them to steam on a medium flame for fifteen to twenty minutes. Once done, remove from heat and serve with coconut chutney.
Notes
Add water in small quantities.
Sieve the ragi flour before using it.
Thank you for being a reader of this blog . Wishing You A Very Happy New Year ! May the days ahead be filled with immense joy and prosperity!
Pin it for later:
If you have liked this recipe, do share it with your family members and friends. All comments motivate me to write more. If you ever make this dish, take a picture and tag @foodiejayashree on Instagram or @evergreendishes on Facebook. It is always good to see your creations.
Let’s be connected. Subscribe to get all updates and an e-book for free !
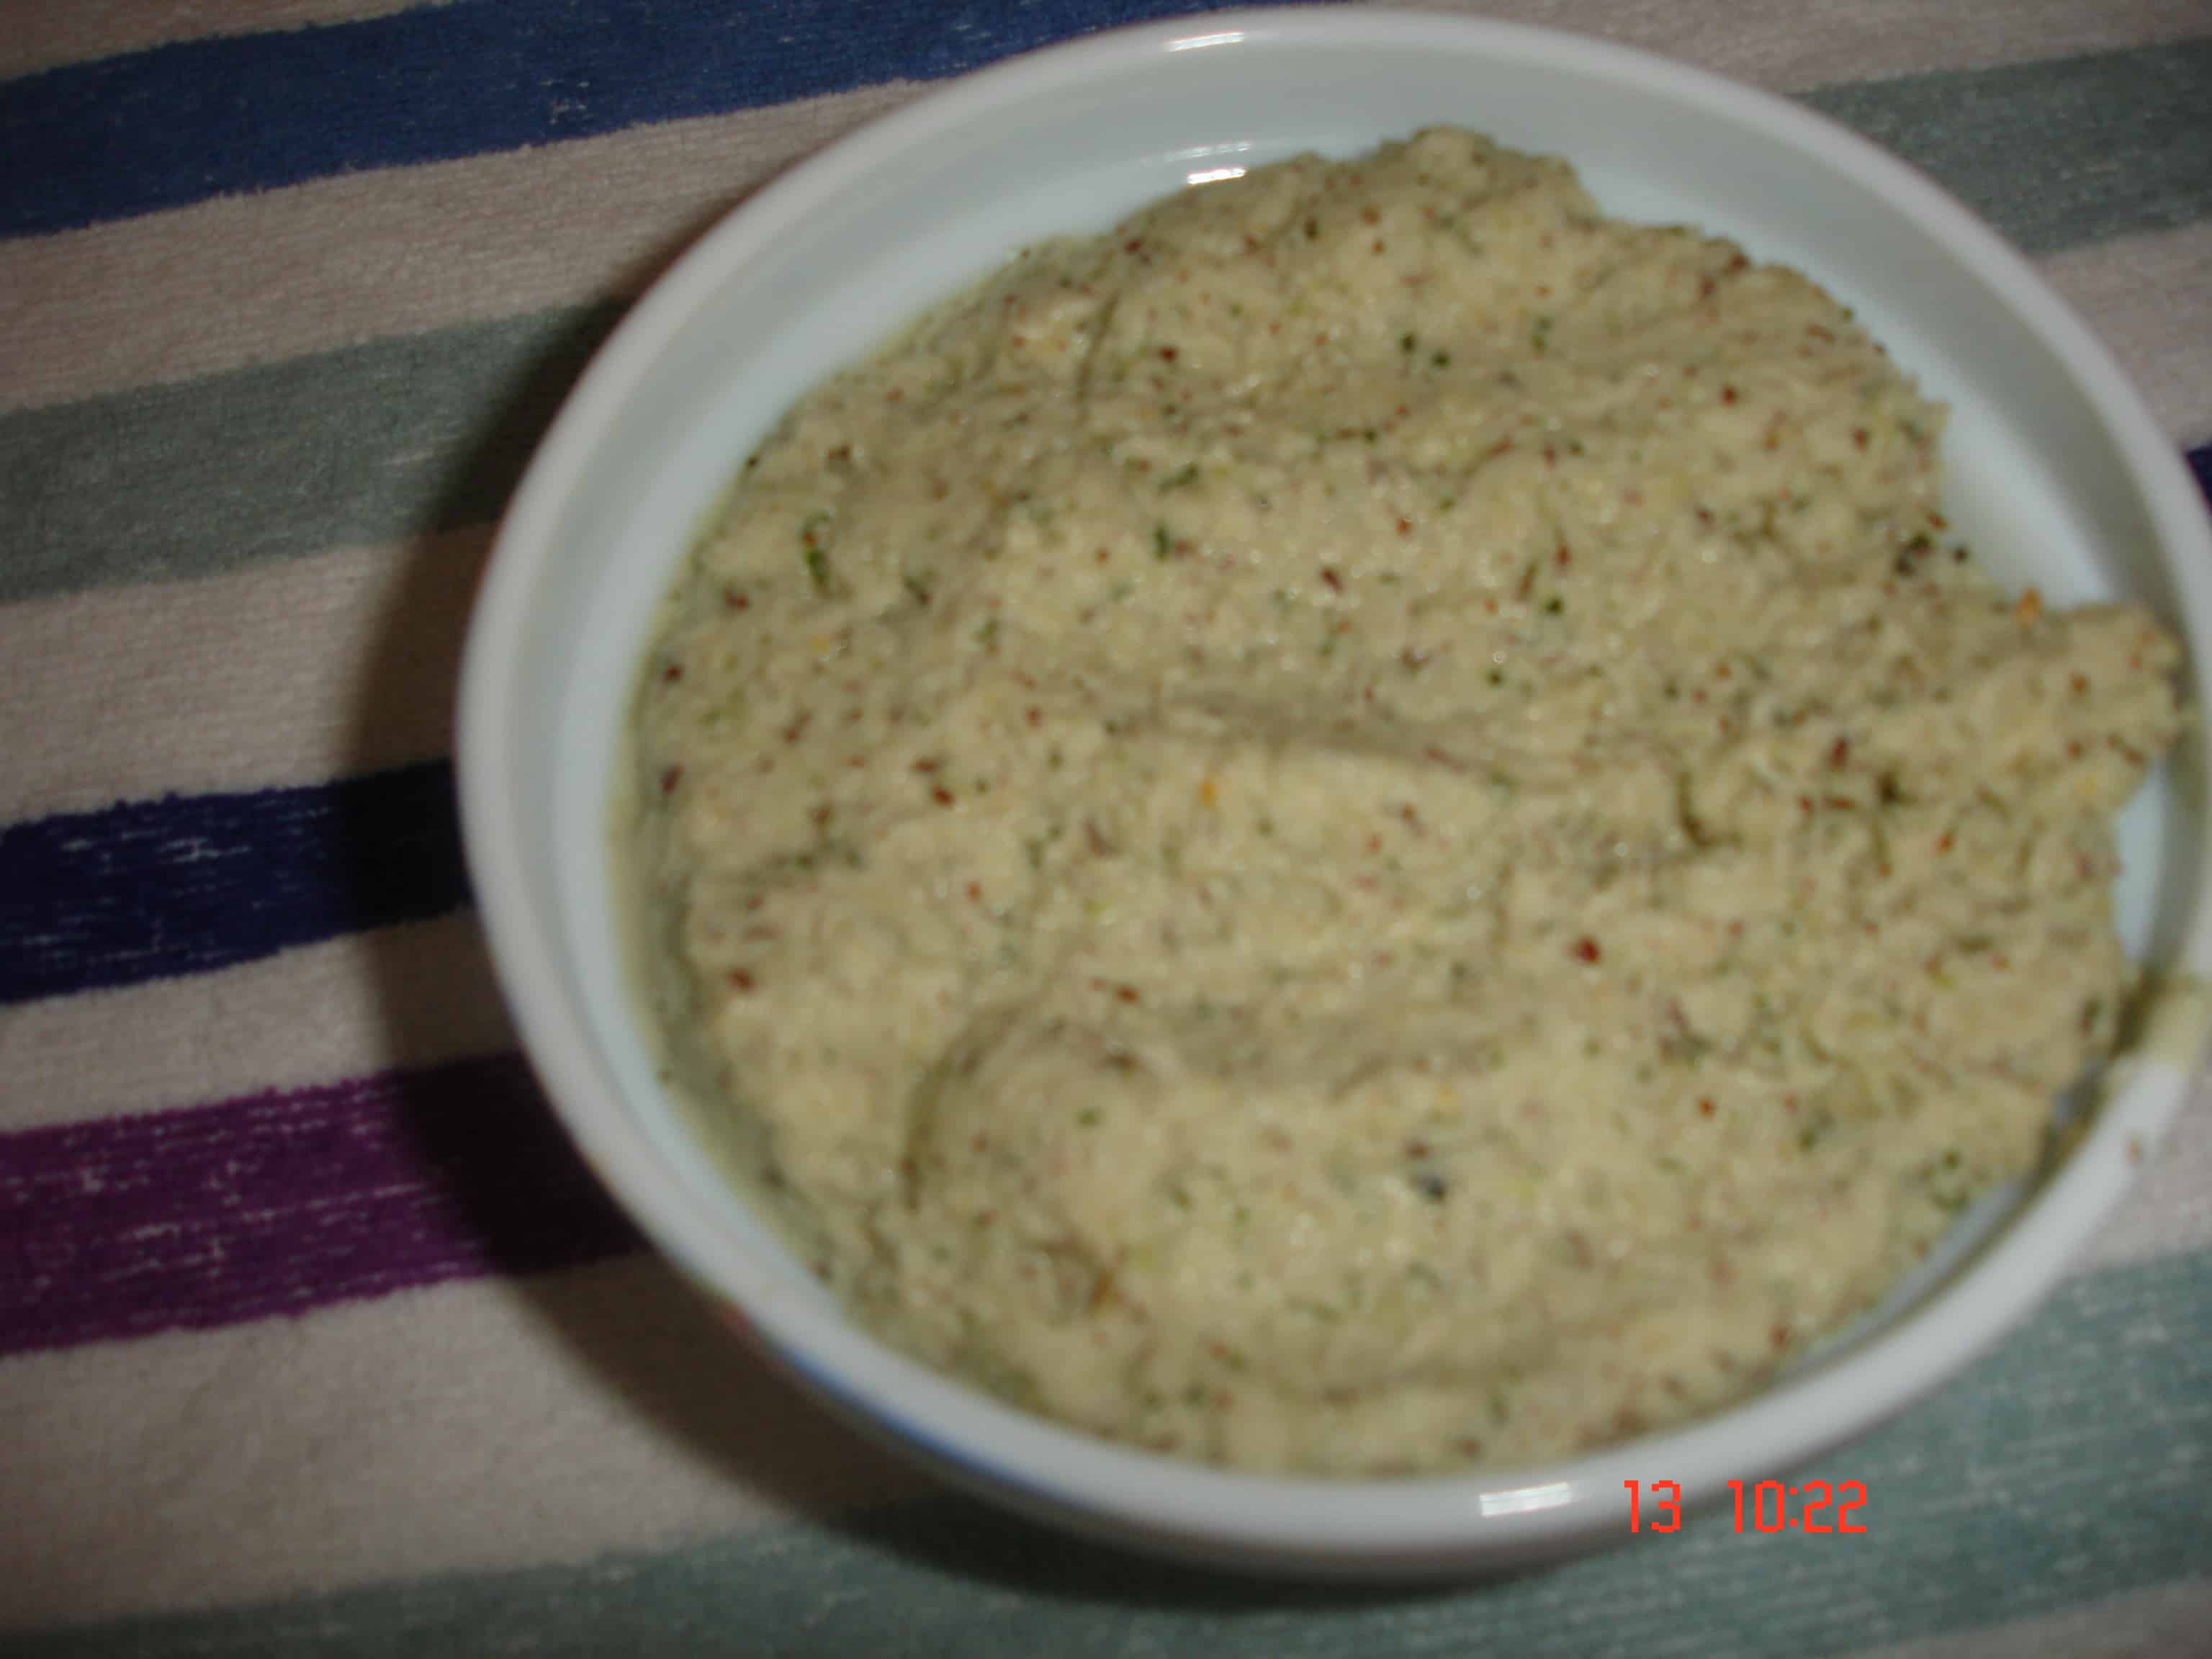
Groundnut chutney is a very tasty accompaniment that can be served with idli or dosa. It was during last winter that I first made it, and since then , it has become a routine.
Usually, roasted groundnuts are grinded with green chillies and salt along with a little tamarind pulp. But, I have made a slight variation here. The consistency was dense, adding a little coconut was appropriate and a dash of ginger gave more taste to it..
Ingredients:
Roasted groundnuts 1/2 cup
coconut 1tsp
green chilly 2
curry leaves a few
ginger 1/2 inch
tamarind pulp 1tsp
salt to taste
water very little
oil 1/2tsp
groundnut chutney
Method :
Take oil in a kadai, roast the green chillies. curry leaves and ginger. Grind all ingredients together with a little water. Serve with idli or dosa. Seasoning may be added.
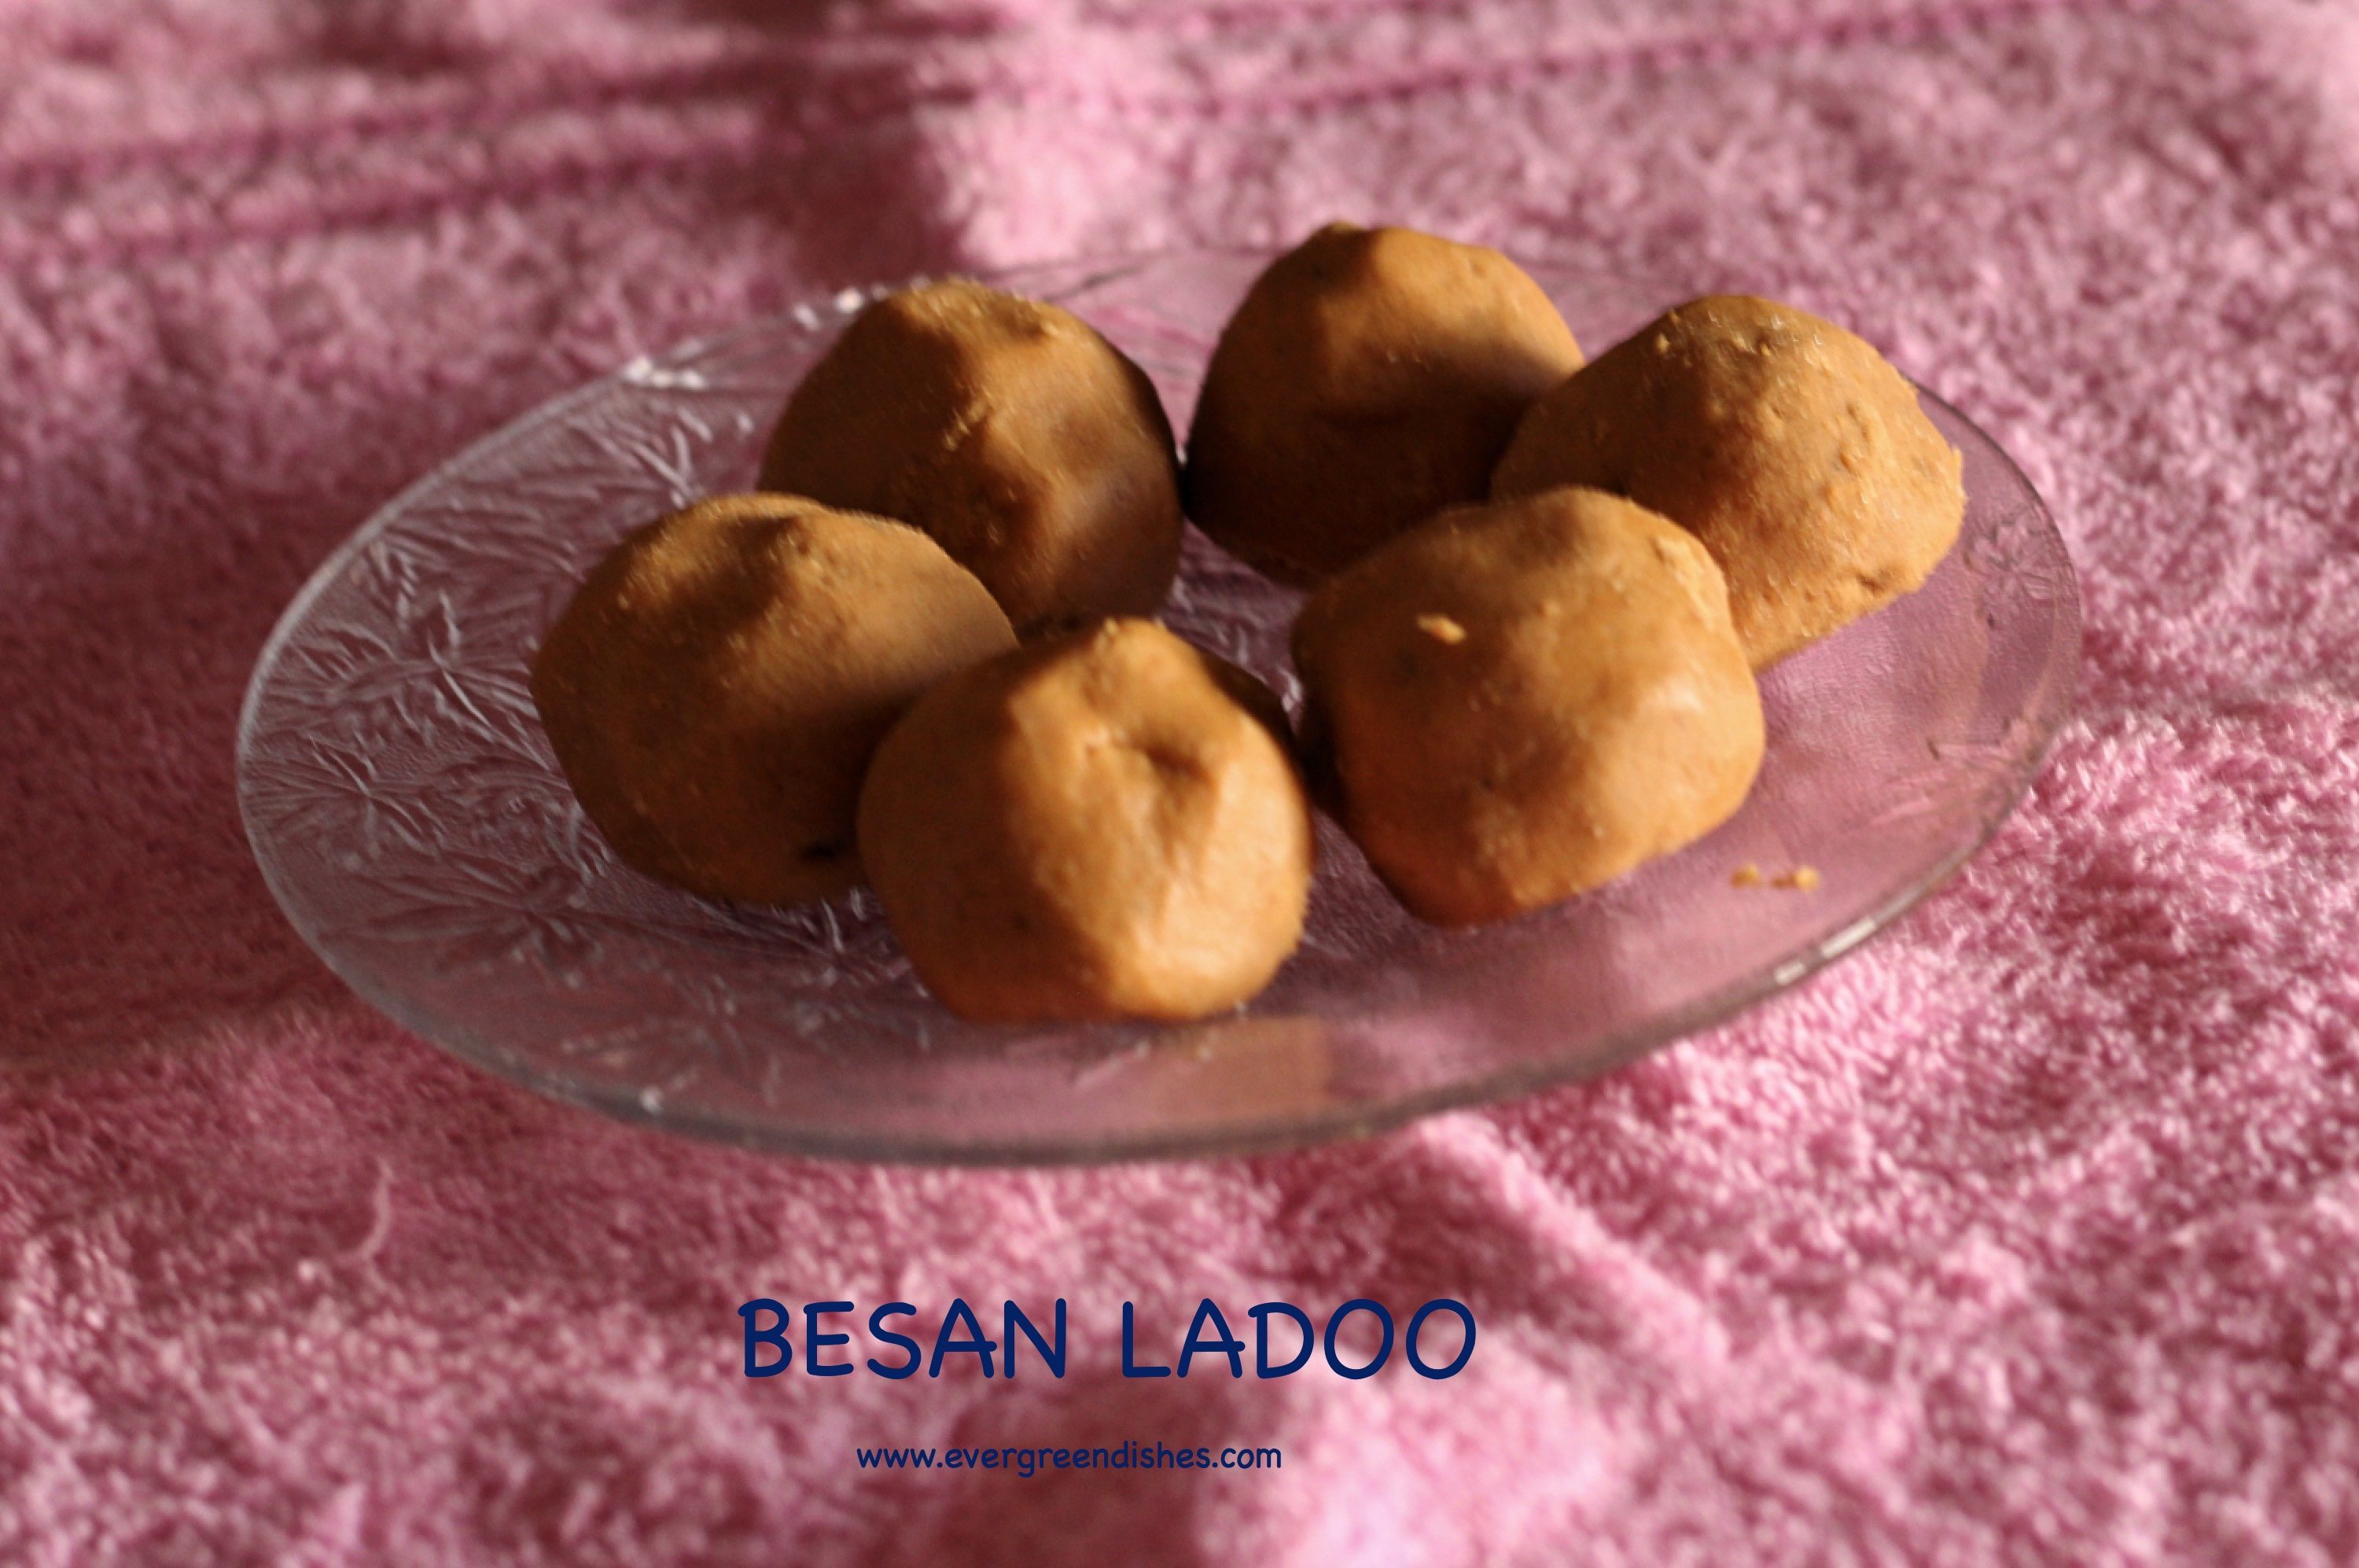
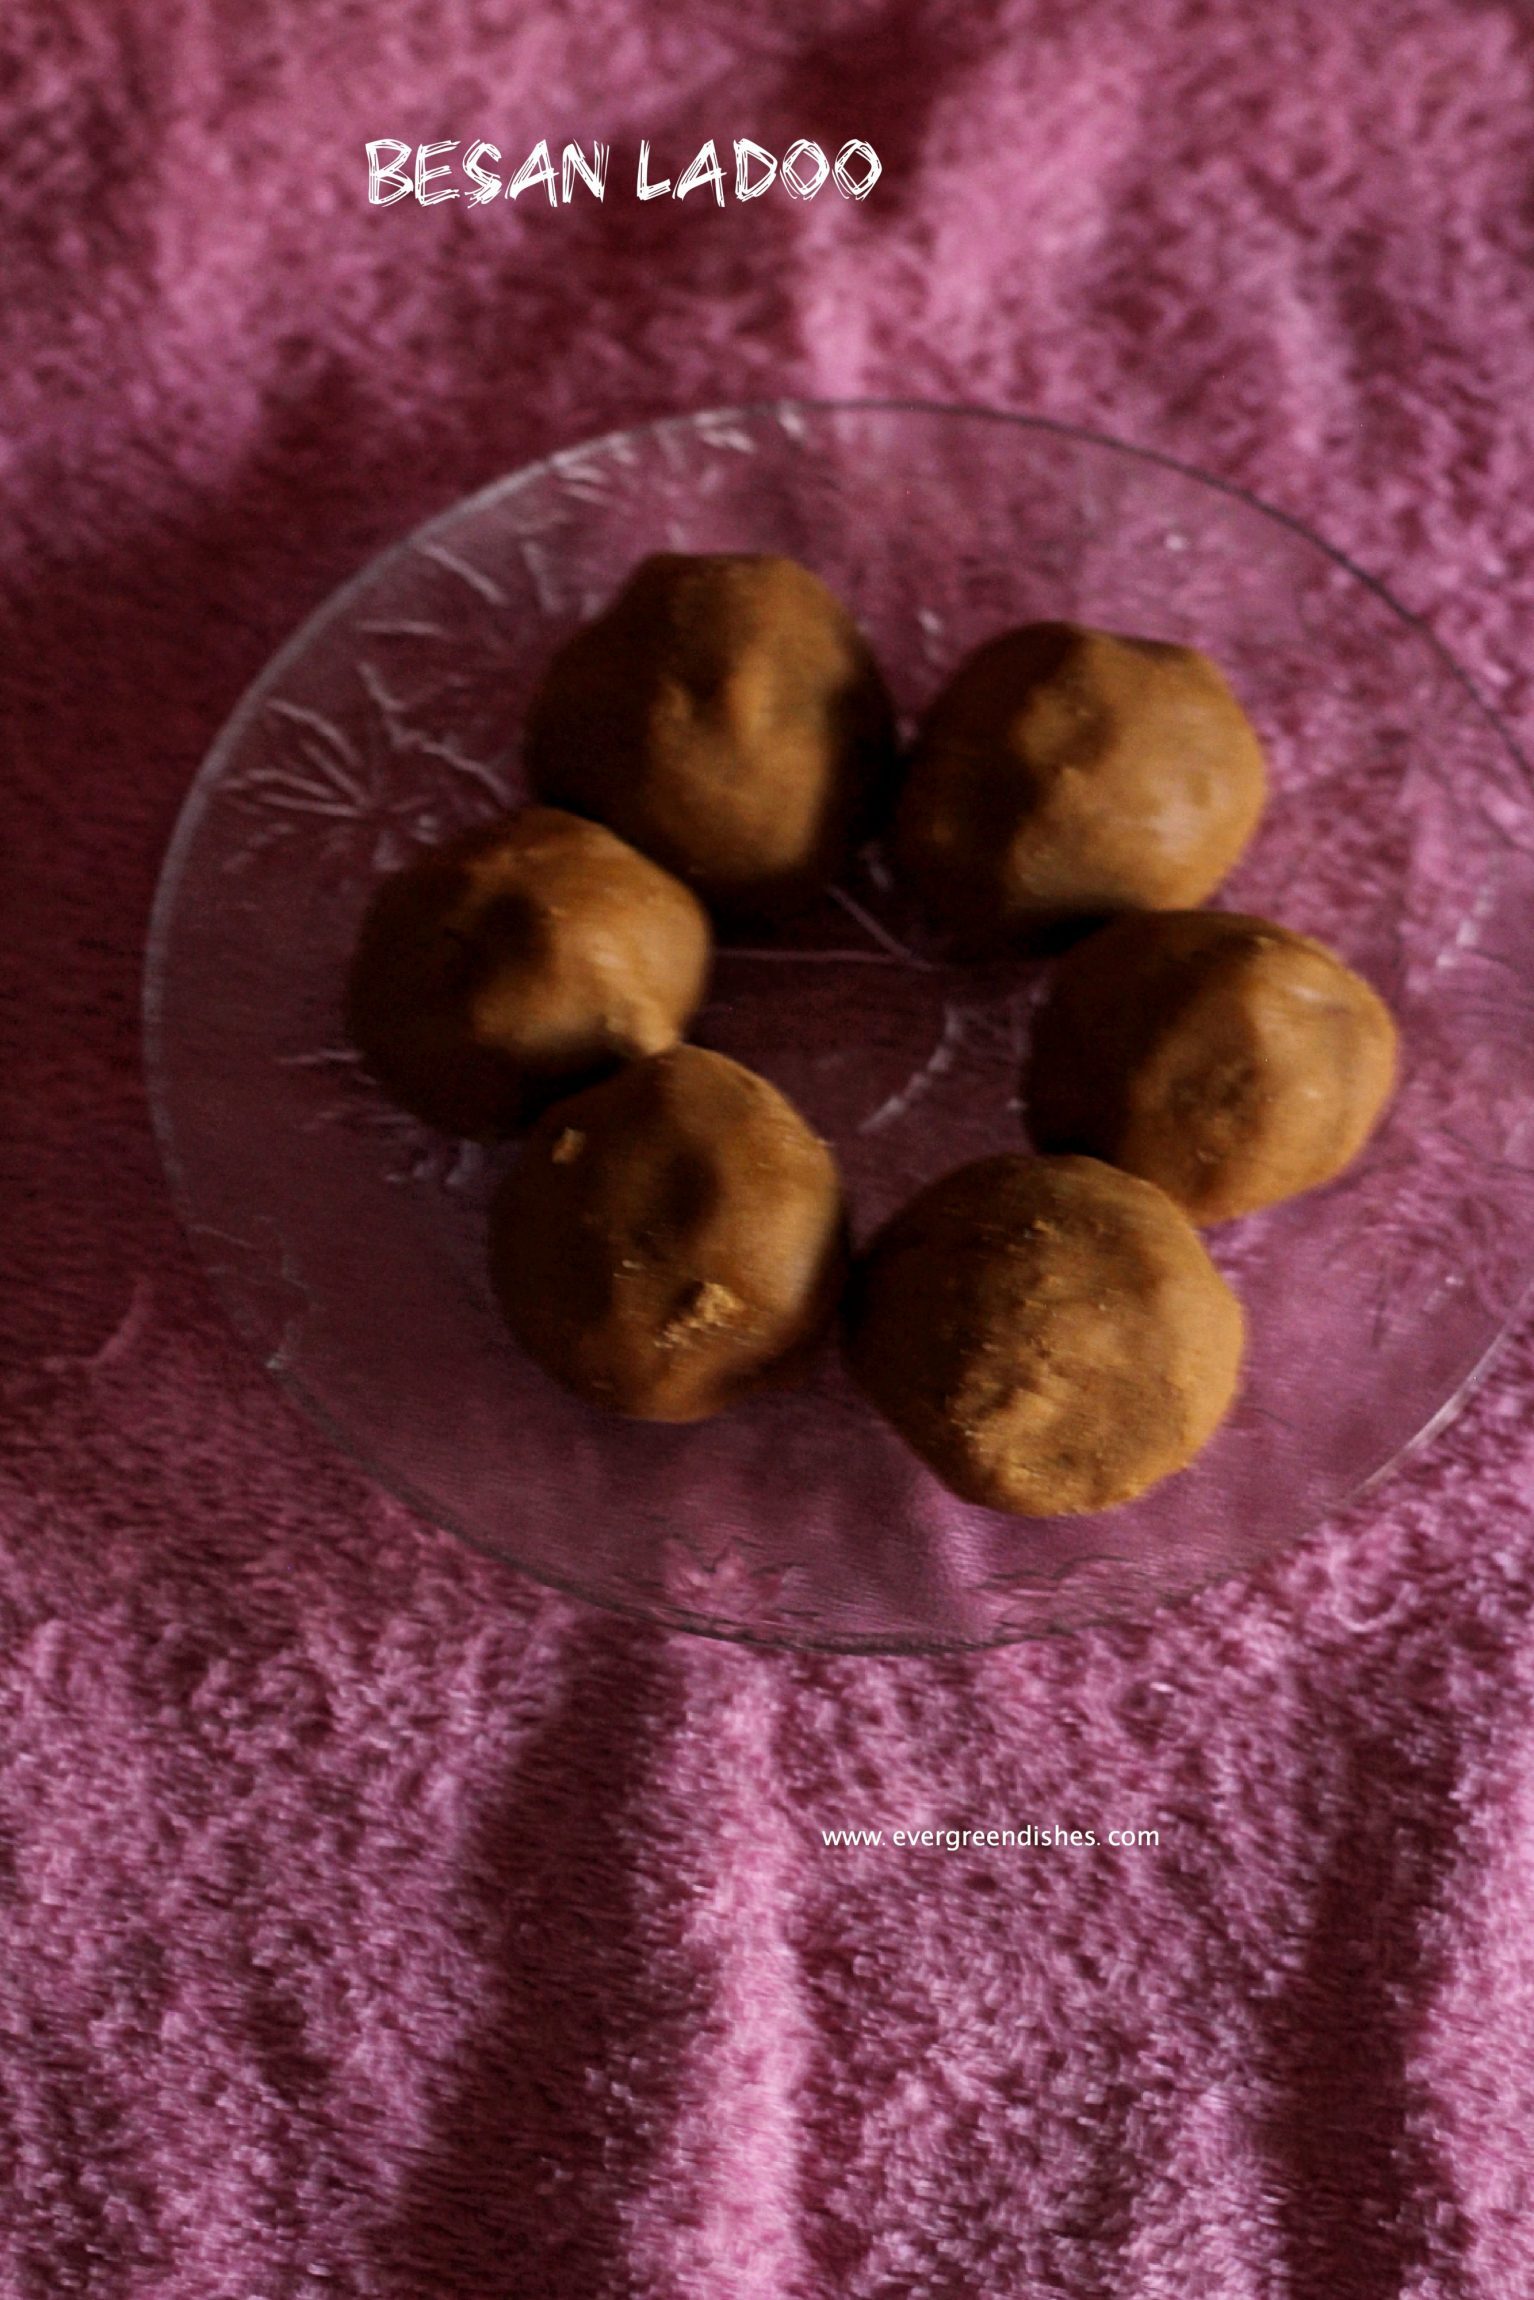
Besan ladoo is a popular dry snack prepared during festivals and ceremonies in South India. It is delicious and melt in the mouth.
During ceremonies, it is customary to make it along with chakli, they are stored in large containers to serve the guests and other invitees. Besan ladoo has long shelf life. It is ideal to serve along with upma or a snack which can be binged anytime of the day.
Take a thick bottom pan and add some ghee to it. Add besan to it and saute it on a low flame. The colour should change to brown. After sauting for a while, add more ghee and cashews to it. Do not add cashews in the beginning, they will get burnt. Once it is done, put it in a wide plate and let cool.
Add sugar and cardamom powder to it. Mix well. Rub it with palm to make a smooth pliable dough. This is the essence of the recipe. Shape them into ladoos and store them in a container. Besan ladoos can be kept for a month. This is gluten free snack.
Take a tip: The castor sugar should be fine powder. Otherwise, you will feel the pinch of it while eating.
Evergreendishesdev
Besan Ladoo
Besan ladoo is a popular dry snack made during ceremonies in South India.
Take some ghee in a pan, add the besan and roast it well. Keep roasting, after some time, add the cashew pieces. A little later, put the raisins. Keep roasting, add a little more ghee, you should get a good aroma and the colour of the gram flour should be dark brown.
Mix sugar and cardamom powder to it and keep it aside.
Once it cools, knead the mixture well. Make balls of it and store in an airtight container.
Notes
Use fine castor sugar.
Roasting of the besan must be done properly to get perfect ladoos.
besan ladoo
This recipe was first published in 2015, now I have redone it with better pictures and more fresh content. Old posts are lost as so many new blog posts are published each day. I have joined a group and we are Foodies_ Redoing Old Post giving a new look to our old posts.
If you have liked this post, do leave a comment. Do try this recipe during the weekend, take a picture and share it with us by tagging @evergreendishes on Facebook or @foodiejayashree on Instagram. I will share it further.
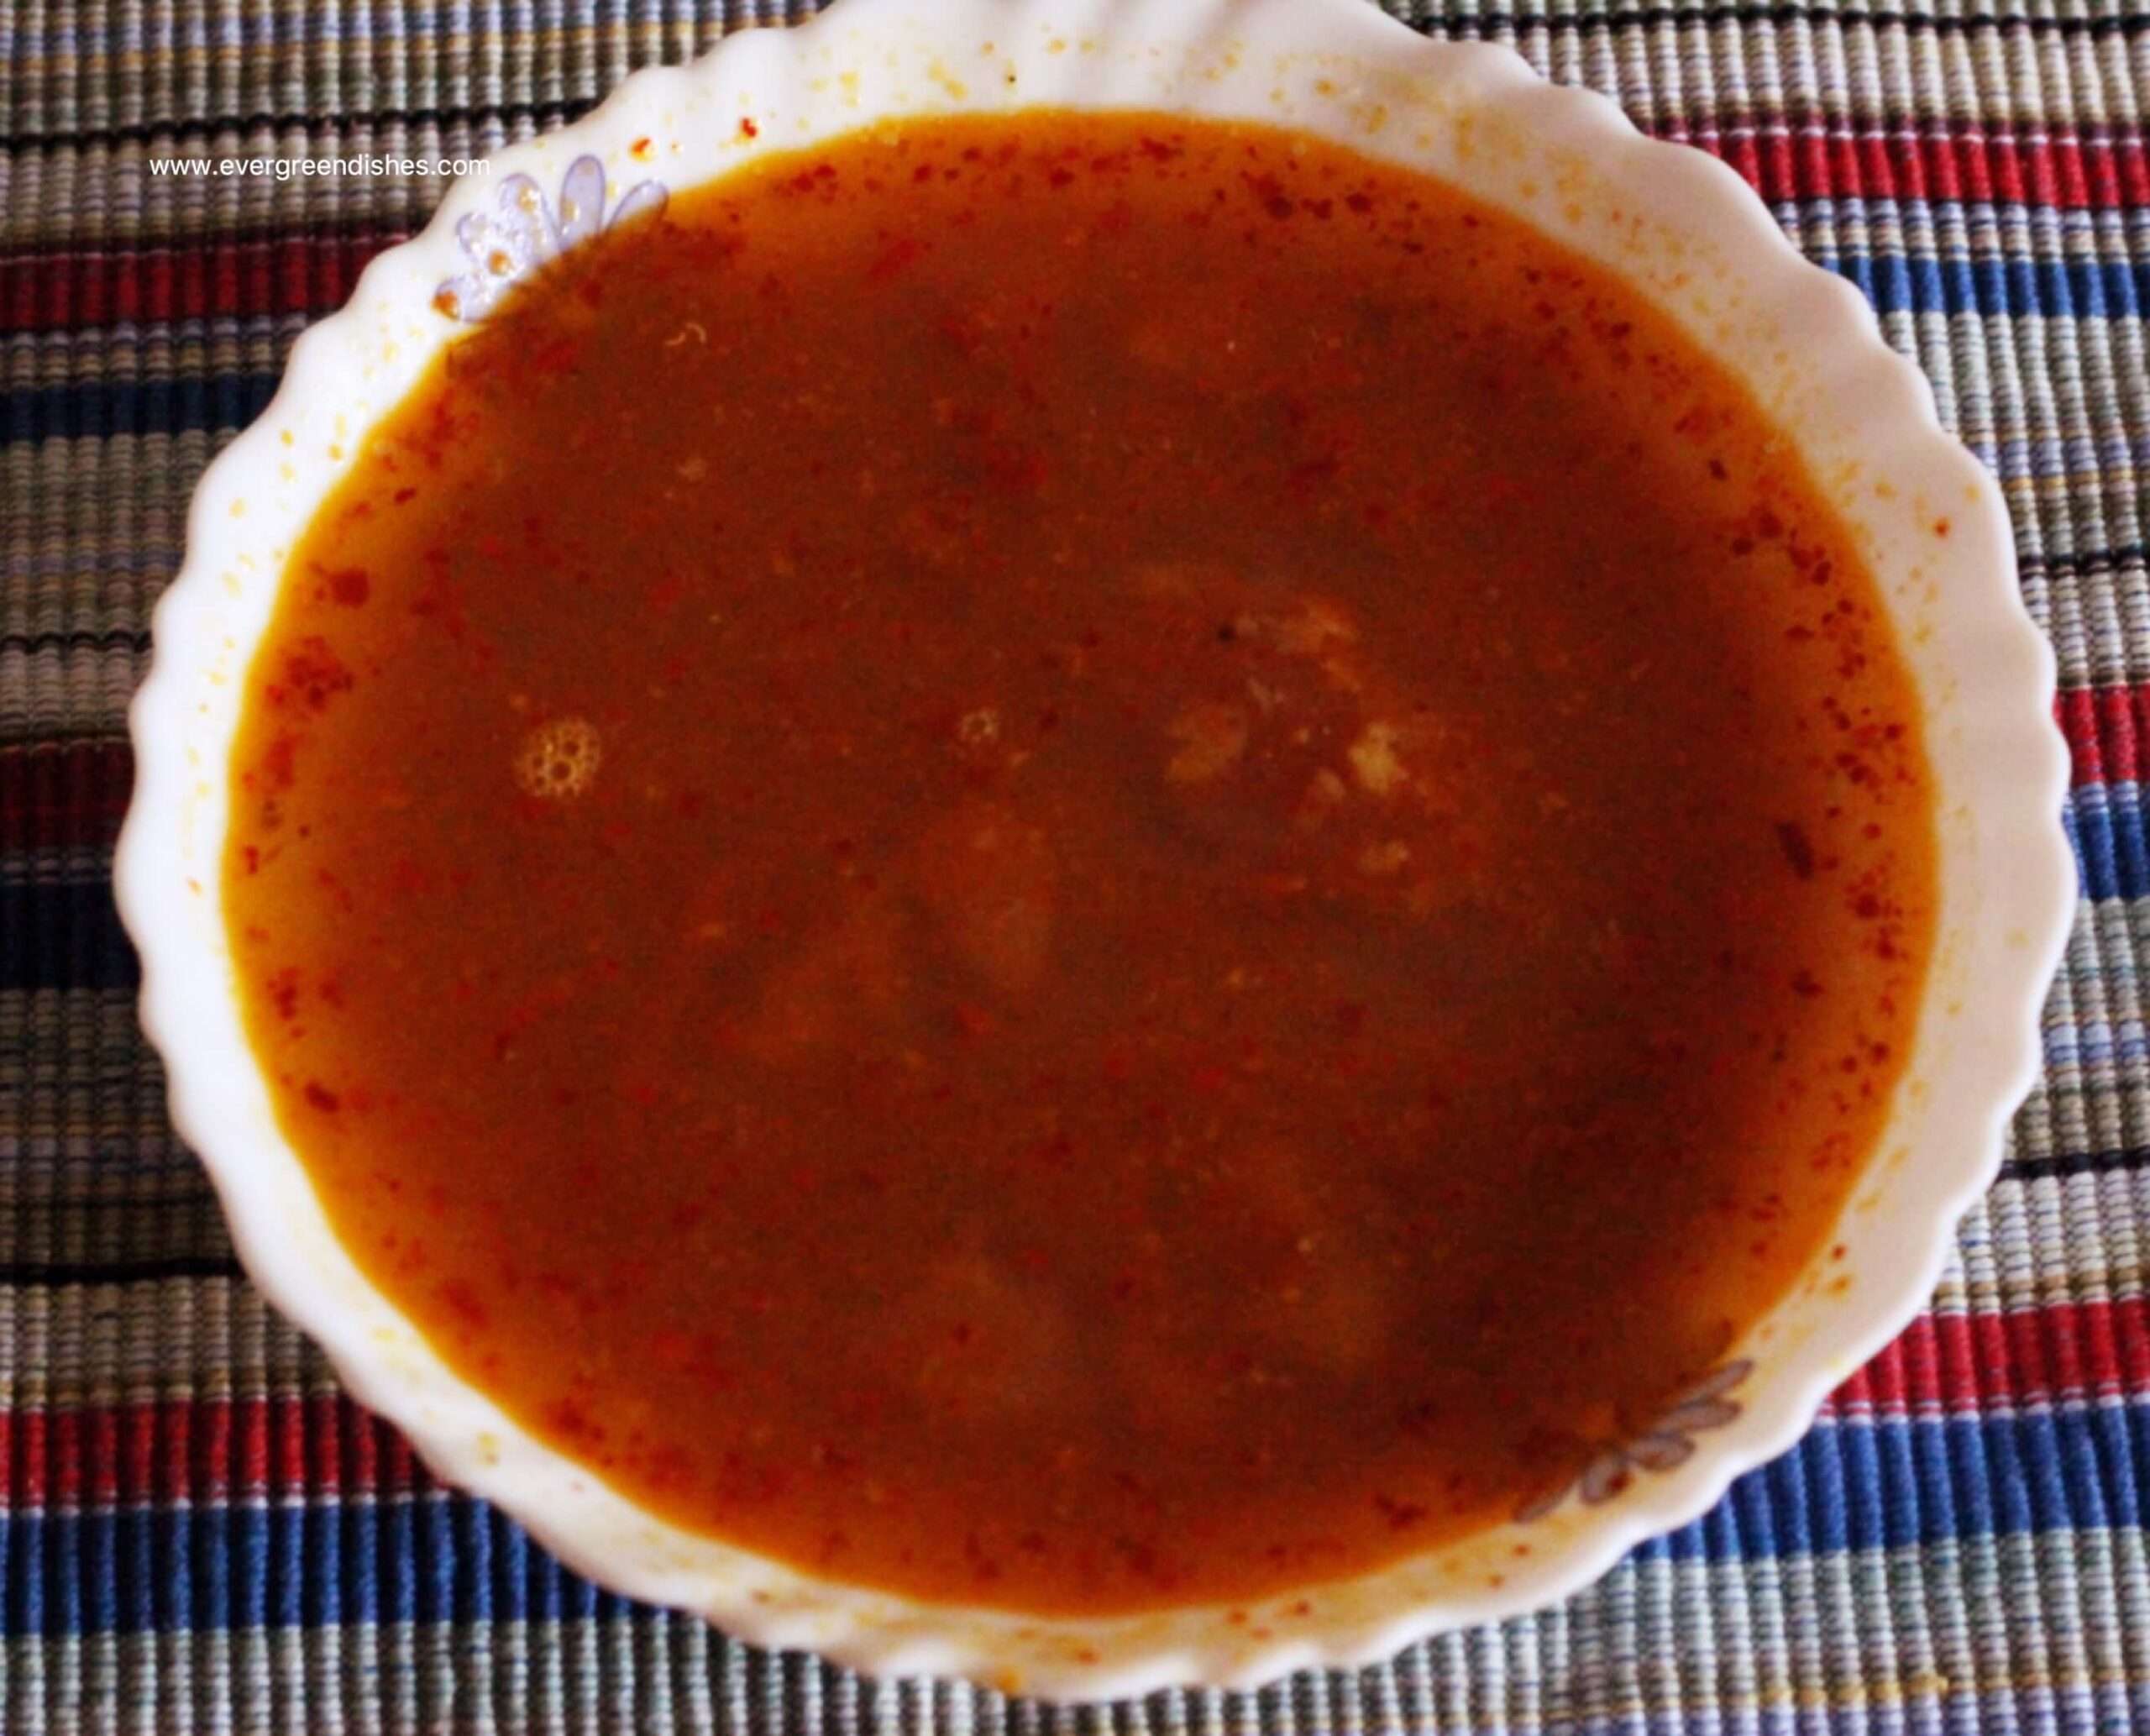
Andhra rasam is popular for its exotic taste, the blend of pure spices with garlic makes all the difference. It is a comfort food with a few papad and pickle.
Among the various kind of rasam I prepare, this is the favourite of my son. Well, frankly, I do not know, how long he shall relish it, for all things should change. Here, the whole spices are ground with garlic and used as the basic rasam powder. Tamarind pulp is boiled and later, the cooked dal is mixed to it with adequate amount of water. This post is part of blog hop team Culinary Hoppers with the theme “Regional Cuisine”. My earlier post is here.
andhra rasam
Ingredients :
Tomato 1
Tuvar dal 1 small cup
oil 1 tsp
mustard seeds 1/2 tsp
turmeric powder 1/2 tsp
asafoetida a pinch
curry leaves a few
tamarind a small ball
coriander seeds 2 tsp
pepper 1 tsp
garlic 6 cloves
red chilli 2
salt to taste
water
Method :
Pre requisites :
Chop the tomato to small pieces.
Extract the pulp of tamarind.
Dry grind coriander seeds, pepper and garlic in the mixer.
Cook the tuvar dal in pressure with adequate amount of water.
Take a tip :
If you want more spicy, grind one red chilly along with the spices.
To make it gluten free , avoid using asafoetida.
Preparation :
Take a small pan and add oil to it. Make the seasoning and add the tomato pieces to it along with salt and some water. Let cook. Add tamarind pulp to it. Let boil. Then,add the pounded mixture to it. Let the smell of the spices infuse into it. Mash the cooked dal well with the ladle. Put it into the boiling mixture. Add water to the required consistency. Let boil on a slow flame. Andhra rasam is ready to serve. Ideal with hot rice.
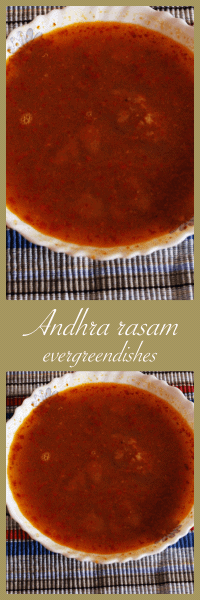
Pin it for later:
andhra rasam
Evergreendishesdev
Andhra Rasam
Andhra rasam is another variety of rasam made with a few spices and garlic. It is tasty and can be easily prepared.
Dry grind coriander seeds, pepper and garlic in the mixer.
Cook the tuvar dal in pressure with adequate amount of water.
Preparation :
Take a small pan and add oil to it. Make the seasoning and add the tomato pieces to it along with salt and some water. Let cook. Add tamarind pulp to it. Let boil. Then,add the pounded mixture to it. Let the smell of the spices infuse into it. Mash the cooked dal well with the ladle. Put it into the boiling mixture. Add water to the required consistency. Let boil on a slow flame. Andhra rasam is ready to serve. Ideal with hot rice.
Subscribe to get a book of handy hints and recipes in your inbox. Do share this recipe if you have liked it. Your comments are much appreciated. If you ever make this recipe, take a picture and tag @foodiejayashree on Instagram or @evergreendishes on Facebook or Twitter. I will be glad to see your creation and share it further.
After a few days of eating outside food, there is no bigger delight than having a simple meal of rice and rasam at home. It is the daily requirement of many people in South India. Rasam, is the accompaniment used with plain rice. It is of thinner consistency when compared to sambar.
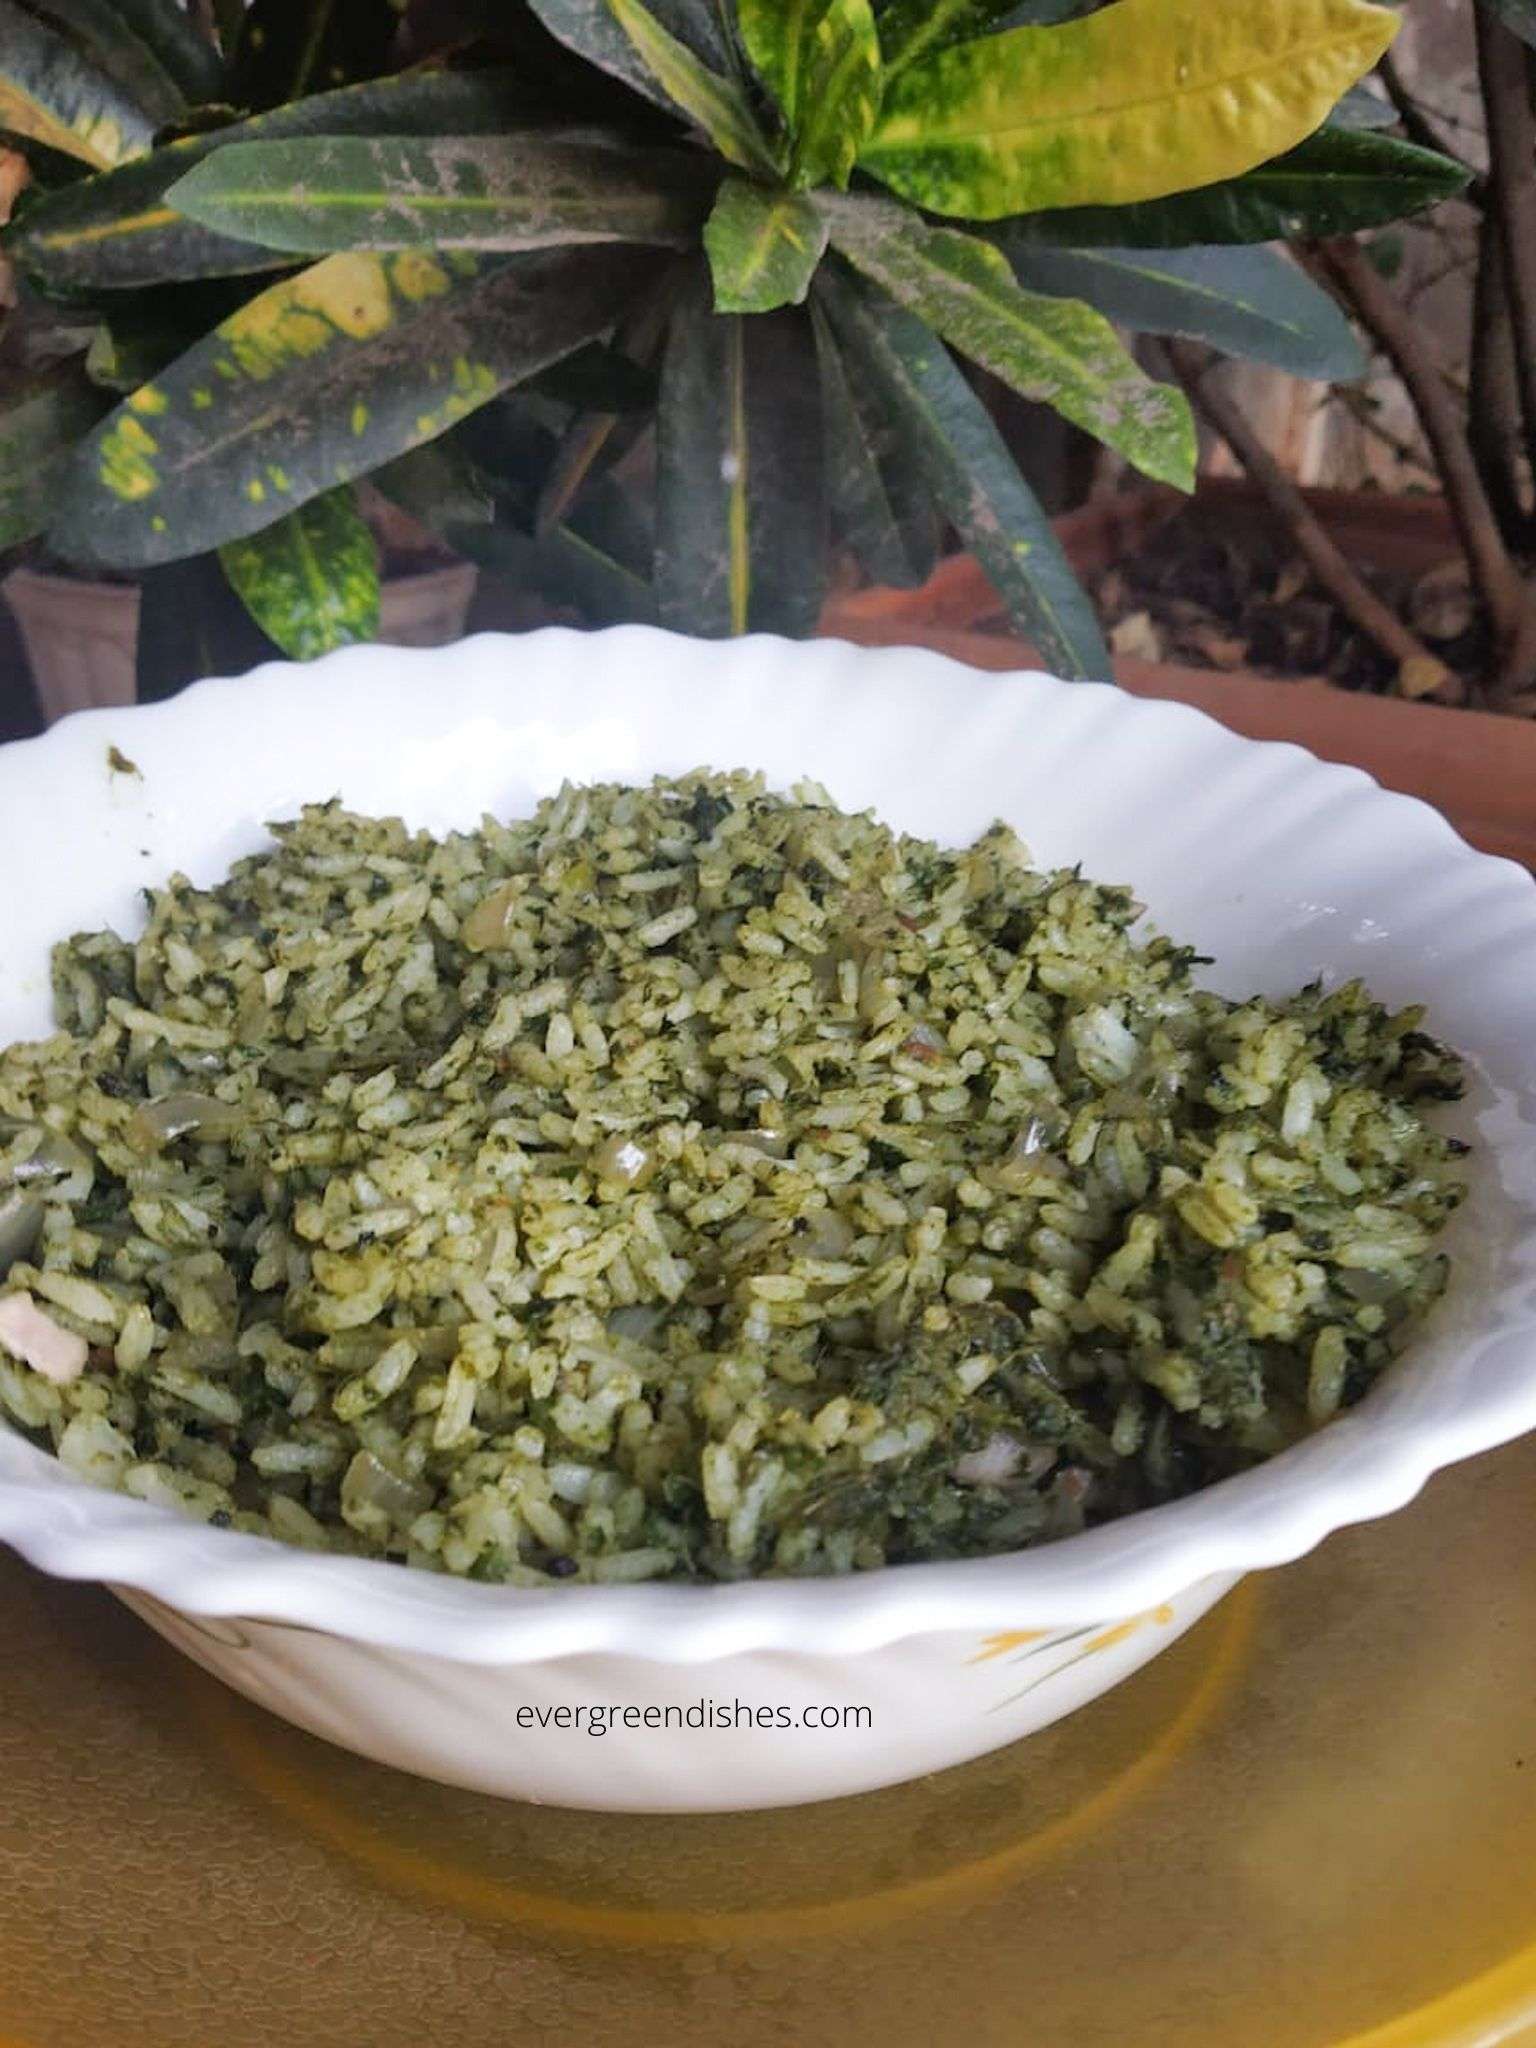
Spinach rice is a delicious rice dish ideal for lunch, brunch or dinner. It is a good way to include iron riich spinach in our diet.
God could not be everywhere and hence he made mothers. It’s so true, mothers person plays a vital role in shaping our lives. The efforts they have put in is unmeasurable and the value is realised only when we are in their position. Today, on this wonderful day, I attribute this post to my dear mom. She is one of the strongest woman I have seen.
Spinach rice is a tasty dish which I have picked it from my mom. My mother is a good cook, she can create many kind of dishes. I like her enthusiasm to cook for us even now.
What is Spinach Rice / Palak rice
Spinach rice is another kind of rice dish from Indian cuisine which you can prepare for your family. The recipe is simple and does not need any fancy ingredients. It is ideal to pack for lunch box. You can also make it as a weekend menu and serve with a few papad and raita.
Let us get to the recipe of spinach rice / palak rice
Ingredients :
1 cup Rice
1 cluster Spinach
handful of coriander
2 green chilli
1 inch ginger
2 cloves garlic
2 onion
2 tbsp oil
1 teaspoon cumin
1 stick cinnamon
3 cloves
1/2 teaspoon chilli powder
1/2 teaspoon garam masala
Method:
Wash the rice and cook it with adequate quantity of water in a pressure cooker..The rice cooked should be separate grains.
Let the pressure release by itself. Keep the cooked rice in a wide pan.
Clean the spinach and coriander. Wash them properly in water and chop them roughly. Blanch them for two minutes. Immerse in cold water.
Grind spinach and coriander along with green chilli, ginger, garlic to a smooth paste.
Cut onion finely.
Take oil in a pan, add cumin to it. Thrown in cloves and cinnamon, put onion and saute for sometime.
Now, add the paste to it and continue to saute, the raw smell of the spinach should not be present.
Add salt, chilli powder and garam masala. Mix well, switch off the flame.
Add half the quantity of rice and mix it gently. Put rice accordingly as per the taste.
Spinach Rice / Palak rice is ready to serve.
Take a tip :
Adding of garlic is optional.
About the event :
This is an old post which I have redone with better pictures and optimised the text. Sending this Foodies_Redoing Old Post 77, a fortnightly event where we work on our old posts regularly.
Related posts:
Spinach is commonly used at home. I have shared many spinach recipes. You may like to check out Dal Palak, Palak with potato or Corn Palak as accompaniments with chapathi or phulka. A few snack recipes in which I used spinach was palak sev. South indian recipes using spinach are palak tambli and palak chutney both of them are tasty and make a good accompaniment with steamed rice.
Spinach Rice | Palak Rice
Spinach rice / Palak rice is a flavoursome rice dish ideal to serve for lunch or dinner.
Wash the rice and cook it with adequate quantity of water in a pressure cooker..The rice cooked should be separate grains.
Let the pressure release by itself. Keep the cooked rice in a wide pan.
Clean the spinach and coriander. Wash them properly in water and chop them roughly. Blanch them for two minutes. Immerse in cold water.
Grind spinach and coriander along with green chilli, ginger, garlic to a smooth paste.
Cut onion finely.
Take oil in a pan, add cumin to it. Thrown in cloves and cinnamon, put onion and saute for sometime.
Now, add the paste to it and continue to saute, the raw smell of the spinach should not be present.
Add salt, chilli powder and garam masala. Mix well, switch off the flame.
Add half the quantity of rice and mix it gently. Further, put rice accordingly as per your taste. The plain steamed rice can be eaten with dal.
Spinach Rice / Palak rice is ready to serve.
Notes
Adding of garlic is optional.
Pin it for later:
HAPPY MOTHER’S DAY TO ALL MOMS OF THE WORLD.
The heart of a mother is a deep abyss at the bottom of which you will find forgiveness
If you ever make spinach rice recipe in your kitchen, take a picture and tag @foodiejayashree on Instagram or @evergreendishes on Facebook. Subscribe to get all updates in your inbox and an e-book for free.
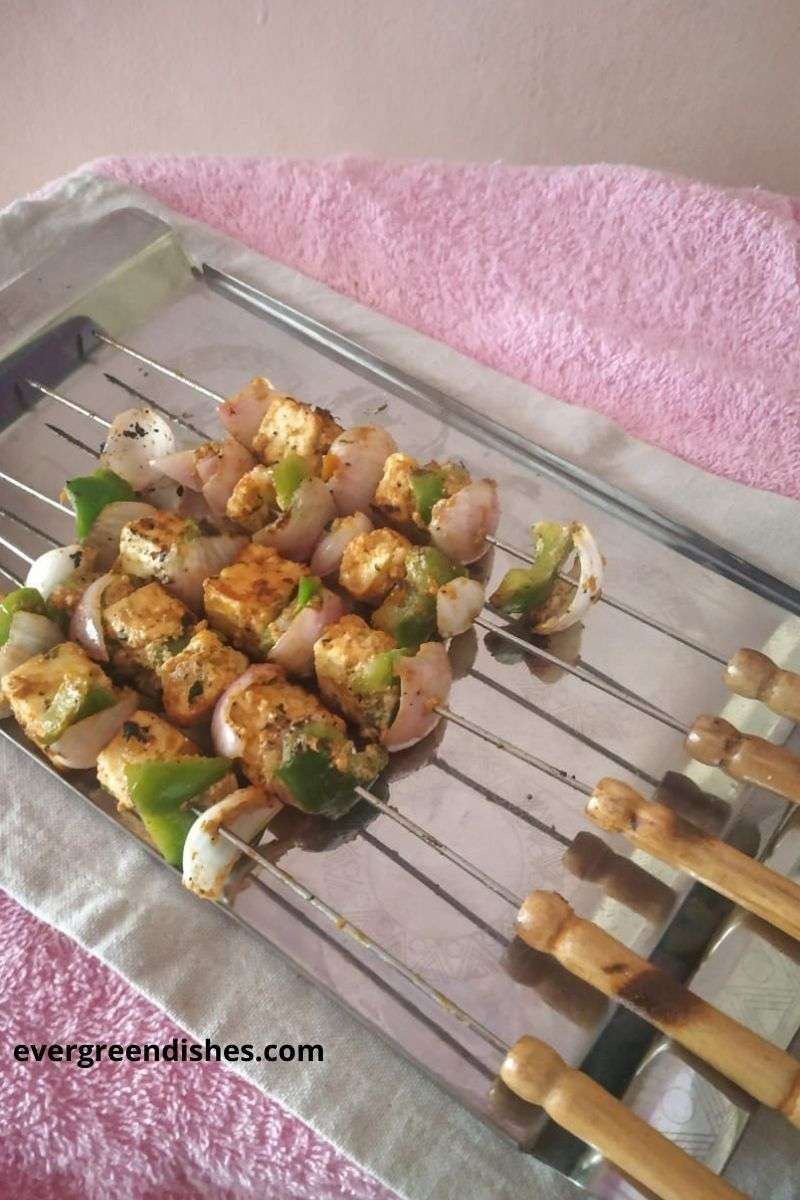
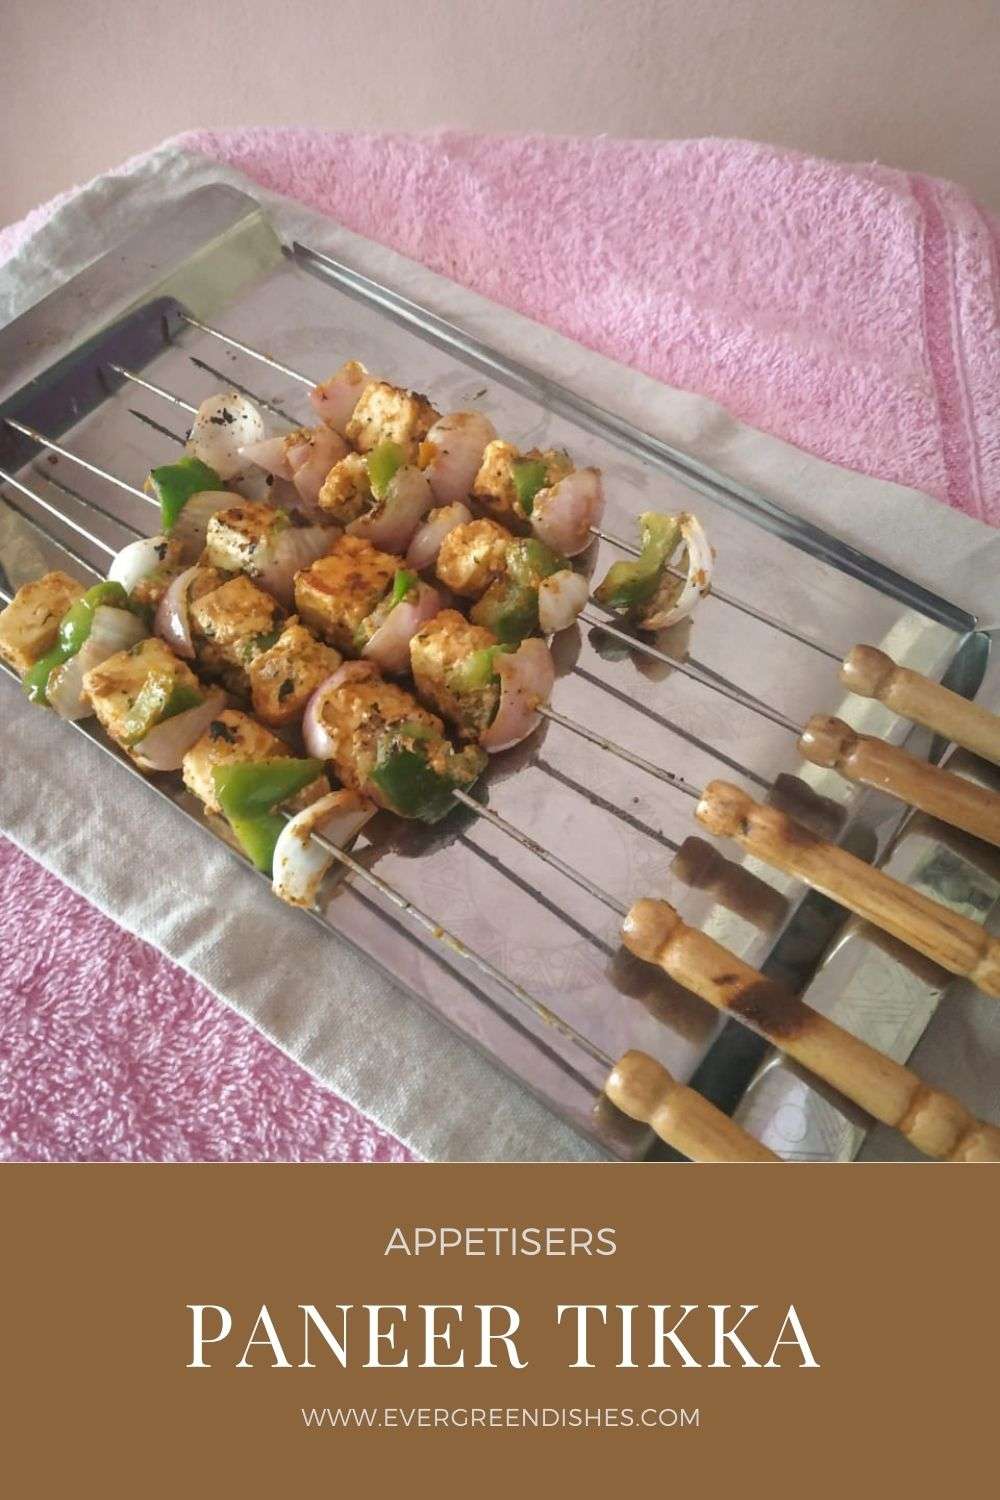
Paneer Tikka is a popular snack known to India and its neighbouring countries. It is often served as an appetiser. Paneer pieces are marinated in spices and grilled to make a perfect snack.
Paneer or cottage cheese is extensively used in Indian cooking . It is used in gravies, sabzies and snacks. Paneer Tikka is a popular North Indian snack, often served as an appetiser. These tasty bits are ideal to binge on a holiday or at a party. It is made by marinating the cottage cheese in a blend of spices along with a few veggies and grilled or roasted.. This post is also a part of blog hop with the theme “appetisers”
The paneer should be kept in boiling water for at least fifteen minutes before using it.
Mix all the ingredients under the section ” For the marinade”
Put the pieces into them and marinade them for an hour. Keep it covered in the refrigerator.
Take a skewer, pass on a capsicum, onion and paneer piece on it. Repeat with a couple more.
Take another skewer and put the in the same order.
Heat a skillet. Roast them with a little oil. After a minute, change thee direction of the skewers. they should be well cooked.
Serve them hot.
Take a tip :
Tomato slices may be used along with other vegetables.
To make ginger garlic paste, I have used an inch of ginger and eight cloves of garlic.
About the event:
This is an old post which I have edited with better pictures. With time, there is a change in the way we write and our pictures are better. Sending this to Foodies_Redoing Old Post 75, a fortnightly event. I have missed a few in between but joined back again.
Evergreendishesdev
Paneer Tikka
Cottage cheese or paneer cubes marinated in spices and deep fried makes a tasty snack.
If you ever make Paneer Tikka recipe, take a picture and tag @foodiejayashree on Instagram or @evergreendishes on Facebook. Subscribe to get all updates in your inbox and an e-book for free!