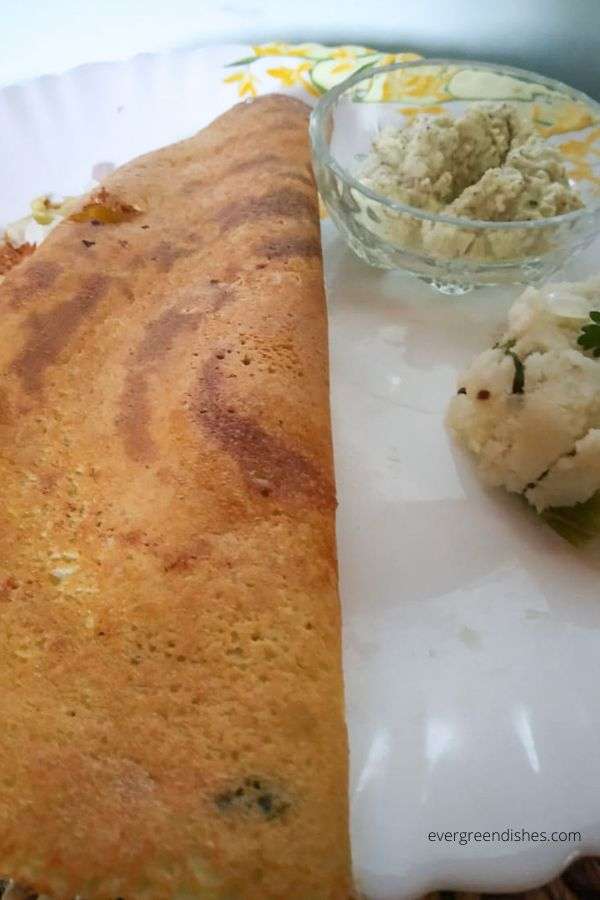
Pesarattu is a popular breakfast from Andhra Pradesh. It is a lacy crepe made with moong dal. It is usually served with upma and chutney.
Pesarattu is a moong crepe from Andhra Pradesh. The green moong or the yellow lentil can be used in the preparation. It needs no fermentation.
The beauty of India is the varied culture and traditions we see in each part of the country. Every state has its own set of recipes. Andhra cuisine is known for its spicy food. Pickles and chutneys are quite common in the menu. Earlier, I have shared gongura chutney recipe. I have also shared Andhra pappu and Andhra rasam. My son is fond of these dishes.
Today, I am sharing a breakfast recipe from Andhra Pradesh. When we are bored of the usual dosa, moong dal dosa or pesarattu comes to the rescue.
Pesarttu Recipe | Moong Dal Dosa
Ingredients:
For Pesarattu:
1 cup moong dal
2 green chillli
1 inch ginger
150 ml water
salt
1 onion
coriander leaves
For upma:
1 cup semolina
2 teaspoon ghee
1 tablespoon oil
1/2 teaspoon mustard
1/2 teaspoon cumin
1 teaspoon bengal gram
1 teaspoon urad dal
4 green chilli
2.5 cup water
salt
coriander for garnishing
For chutney :
1 cup coconut
1 teaspoon oil
2 green chili
1/4 cup gram dal
small piece of tamarind
water
salt
Method:
To make pesarattu batter :
- Soak moong dal for two hours.
- Later, put the dal in a mixie. Add ginger, grreen chilli, water and grind it to a smooth paste with little water. Remove it in a bowl. Mix a teaspoon of rice flour and salt to it. The batter of pesarattu is ready.
To make upma :
- In a thick pan, add a teaspoon of ghee and roast the semolina to a golden colour.
- Put the roasted semolina in a bowl. Add oil. Make the seasoning, add mustard seeds, as it crackles, put cumin, asafoetida, bengal gram,urad dal and gren chilli. Now, put the onion and saute it for sometime.
- Put water and salt to it. I have used Bombay Rawa and the semolina and water proportion is 1: 2.5.
- Once the water boils, slowly add the semolina to it and mix thoroughly. Let cook for sometime. Put lemon juice and garnish with coriander leaves.
To make chutney:
- In a small pan, take a little oil and roast the green chillies.
- Grind coconut, roasted chillies, salt and water. Put a little tamarind extract to it and give a swirl.
- Coconut chutney is ready to serve.
To make pesarattu:
- Heat a skillet.
- Check the consistency of the batter. Put a small quantity of water if needed.
- Now, take a spoonnful of batter, pour it on the skillet and make it into a thin crepe. Take the batter and roll it inside out in concentric circles.Smear a little oil.
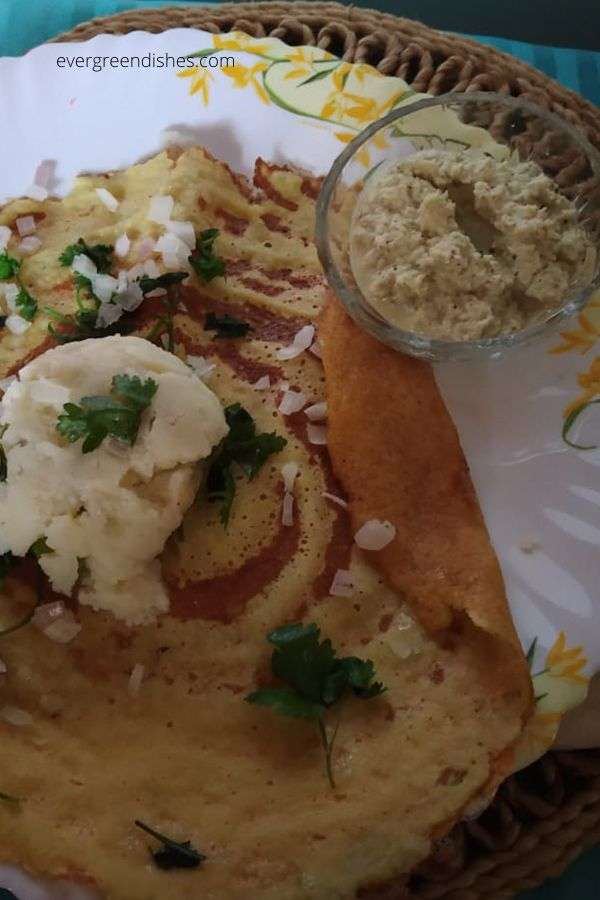
- Sprinkle onion pieces and coriander over it.
- Once it is cooked, put a little upma and fold it. Serve with coconut chutney.
Take a tip:
- Moong dal can be soaked for one to three hours.
- The consistency of the batter should be thick.
- It can be spread into thin crepes.
- The dosa is best made with fresh batter. Soak the required quantity and use the batter.
- The batter kept in the refrigerator does not taste good. Moreover, the crepes fall apart while preparing.
- Green moong is usually used to make this crepe. Soak it overnight, next day, grind it with a little water and other spices the next day. Make crepes in the usual way.

Pesarattu | Moong Dal Dosa
Ingredients
Method
- Soak moong dal for two hours.
- Later, put the dal in a mixie. Add ginger, grreen chilli, water and grind it to a smooth paste with little water. Remove it in a bowl. Mix a teaspoon of rice flour and salt to it. The batter of pesarattu is ready.
- In a thick pan, add a teaspoon of ghee and roast the semolina to a golden colour.
- Put the roasted semolina in a bowl. Add oil. Make the seasoning, add mustard seeds, as it crackles, put cumin, asafoetida, bengal gram,urad dal and gren chilli. Now, put the onion and saute it for sometime.
- Put water and salt to it. I have used Bombay Rawa and the semolina and water proportion is 1: 2.5.
- Once the water boils, slowly add the semolina to it and mix thoroughly. Let cook for sometime. Put lemon juice and garnish with coriander leaves.
- In a small pan, take a little oil and roast the green chillies.
- Grind coconut, roasted chillies, salt and water. Put a little tamarind extract to it and give a swirl.
- Coconut chutney is ready to serve.
- Heat a skillet.
- Check the consistency of the batter. Put a small quantity of water if needed.
- Now, take a spoonnful of batter, pour it on the skillet and make it into a thin crepe. Take the batter and roll it inside out in concentric circles.Smear a little oil.
- Sprinkle onion pieces and coriander over it.
- Once it is cooked, put a little upma and fold it. Serve with coconut chutney.
Notes
The consistency of the batter should be thick.
It can be spread into thin crepes.
The dosa is best made with fresh batter. Soak the required quantity and use the batter.
The batter kept in the refrigerator does not taste good. Moreover, the crepes fall apart while preparing.
Green moong is usually used to make this crepe. Soak it overnight and grind it with a little water and other spices the next day. Make crepes in the usual way.
Pin it for later:

If you ever make Pesarattu recipe, take a picture and tag @foodiejayashree on Instagram or @evergreendishes on Facebook. Subscribe to get all updates in your inbox and an e-book for free!