Sago idli is an easy to make recipe, ideal to serve for a quick breakfast. It is another kind of breakfast dish that can be made with a little prior preparation.
I am always in search of good and easy recipes and this one is my recent addition. The first time I had Sago Idli was during a function at my cousins place. Since then, I have made it a couple of times. It needs no grinding; thus a boon for us, to prepare something different on daily basis.
Sago pearls is called as sabudaana in Hindi, Bengali, Gujarati, Punjabi and Marathi. It is Sabakki in Kannada, Javvarisi in Tamil, Chavvari in malayalam and Sagubeeyam in Telugu. It is used during fasting in parts of South India and Maharashtra.
My other idli recipes on the blog are Ragi Idli Chennai Idli Kanchipuram Idli
Let’s get cooking Sago Idli. The ingredients are mixed and kept to ferment. The next day or after five hours, one needs to make a seasoning and then put it in the idli stand to steam.
Ingredients:
- 3/4 cup sago pearls
- 1 cup semolina (idli rawa)
- 1.5 cup curd
- 1 cup water
- salt to taste
- 1/4 teaspoon soda
- 1 teaspoon oil
- 1/4 teaspoon mustard seeds
- asafoetida a pinch
- 1 teaspoon bengal gram
- 4 cashew broken
- a few curry leaves
Method:
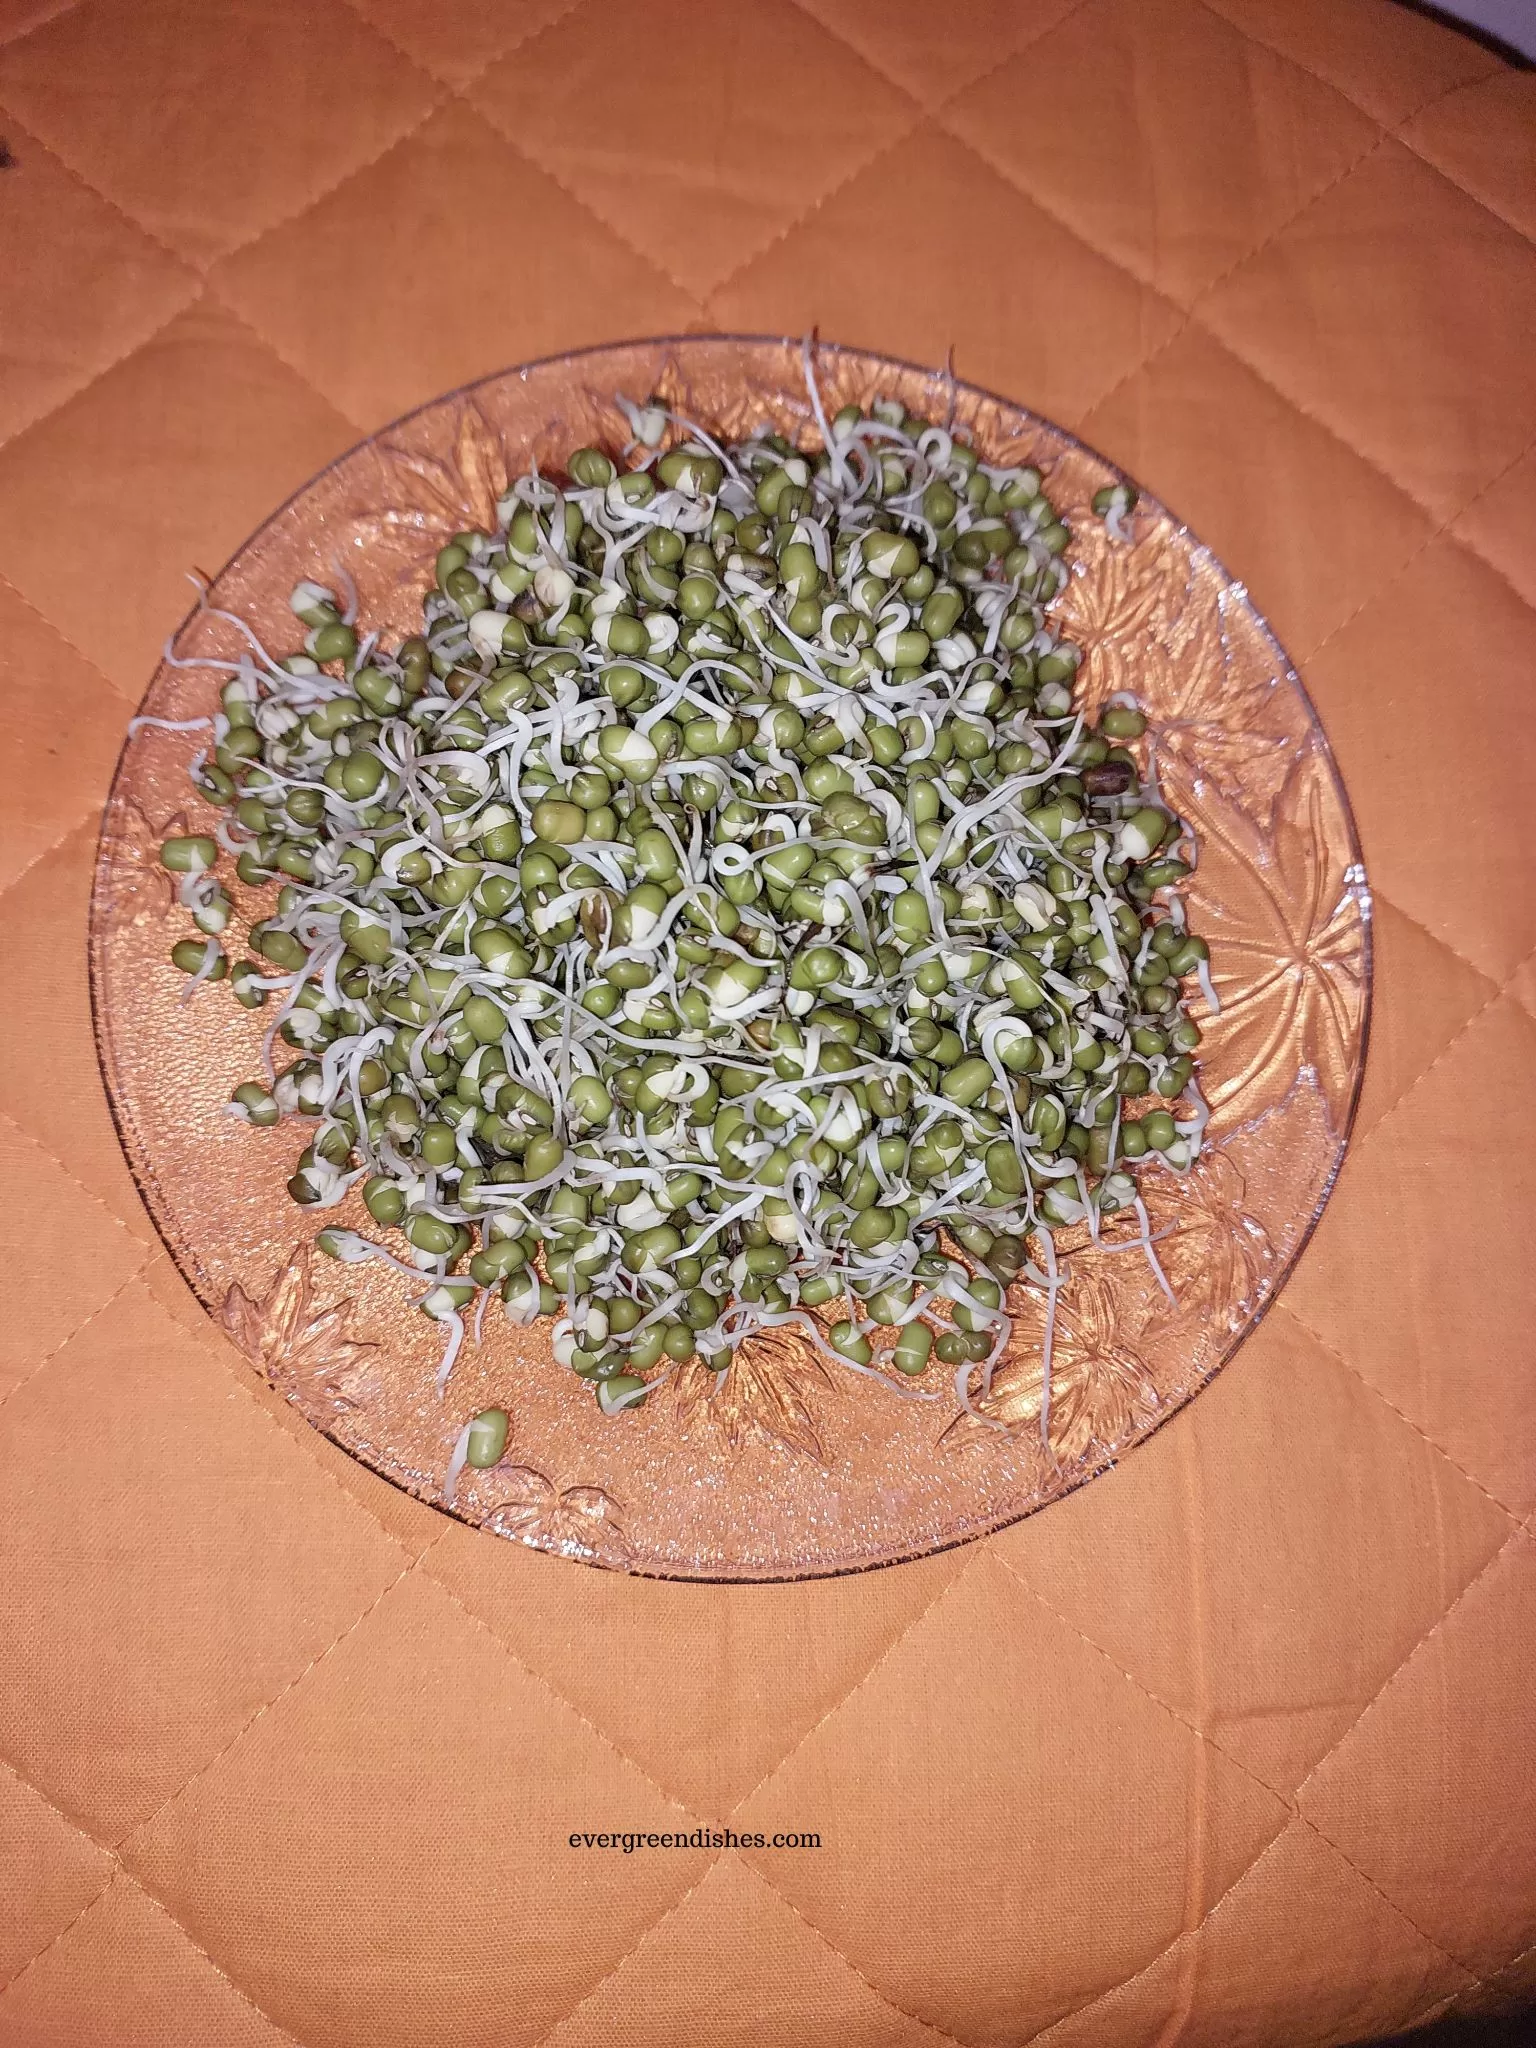
- Take sago and semolina in a bowl. Wash it well and drain the water. Put curd and water to it. Mix it well. The consistency should be moderate. Close a lid and keep it in a warm place to ferment overnight or for five hours.
- Add salt to the batter.
- To make the seasoning: take the oil in a small pan. Add the mustard seeds, as it crackles, put cumin, bengal gram, green chilly pieces, cashew pieces and curry leaves.
- Pour it over the batter.
- Heat the idli steamer. You may grease the plates, I just wash them and use it.
- Add soda to the batter, mix well and put a ladle full in each cavity.
- Put it in the steamer and allow to cook on medium flame for fifteen minutes.
- Idlis should be well cooked.
- Remove the idlis with round edged spoon after sometime.
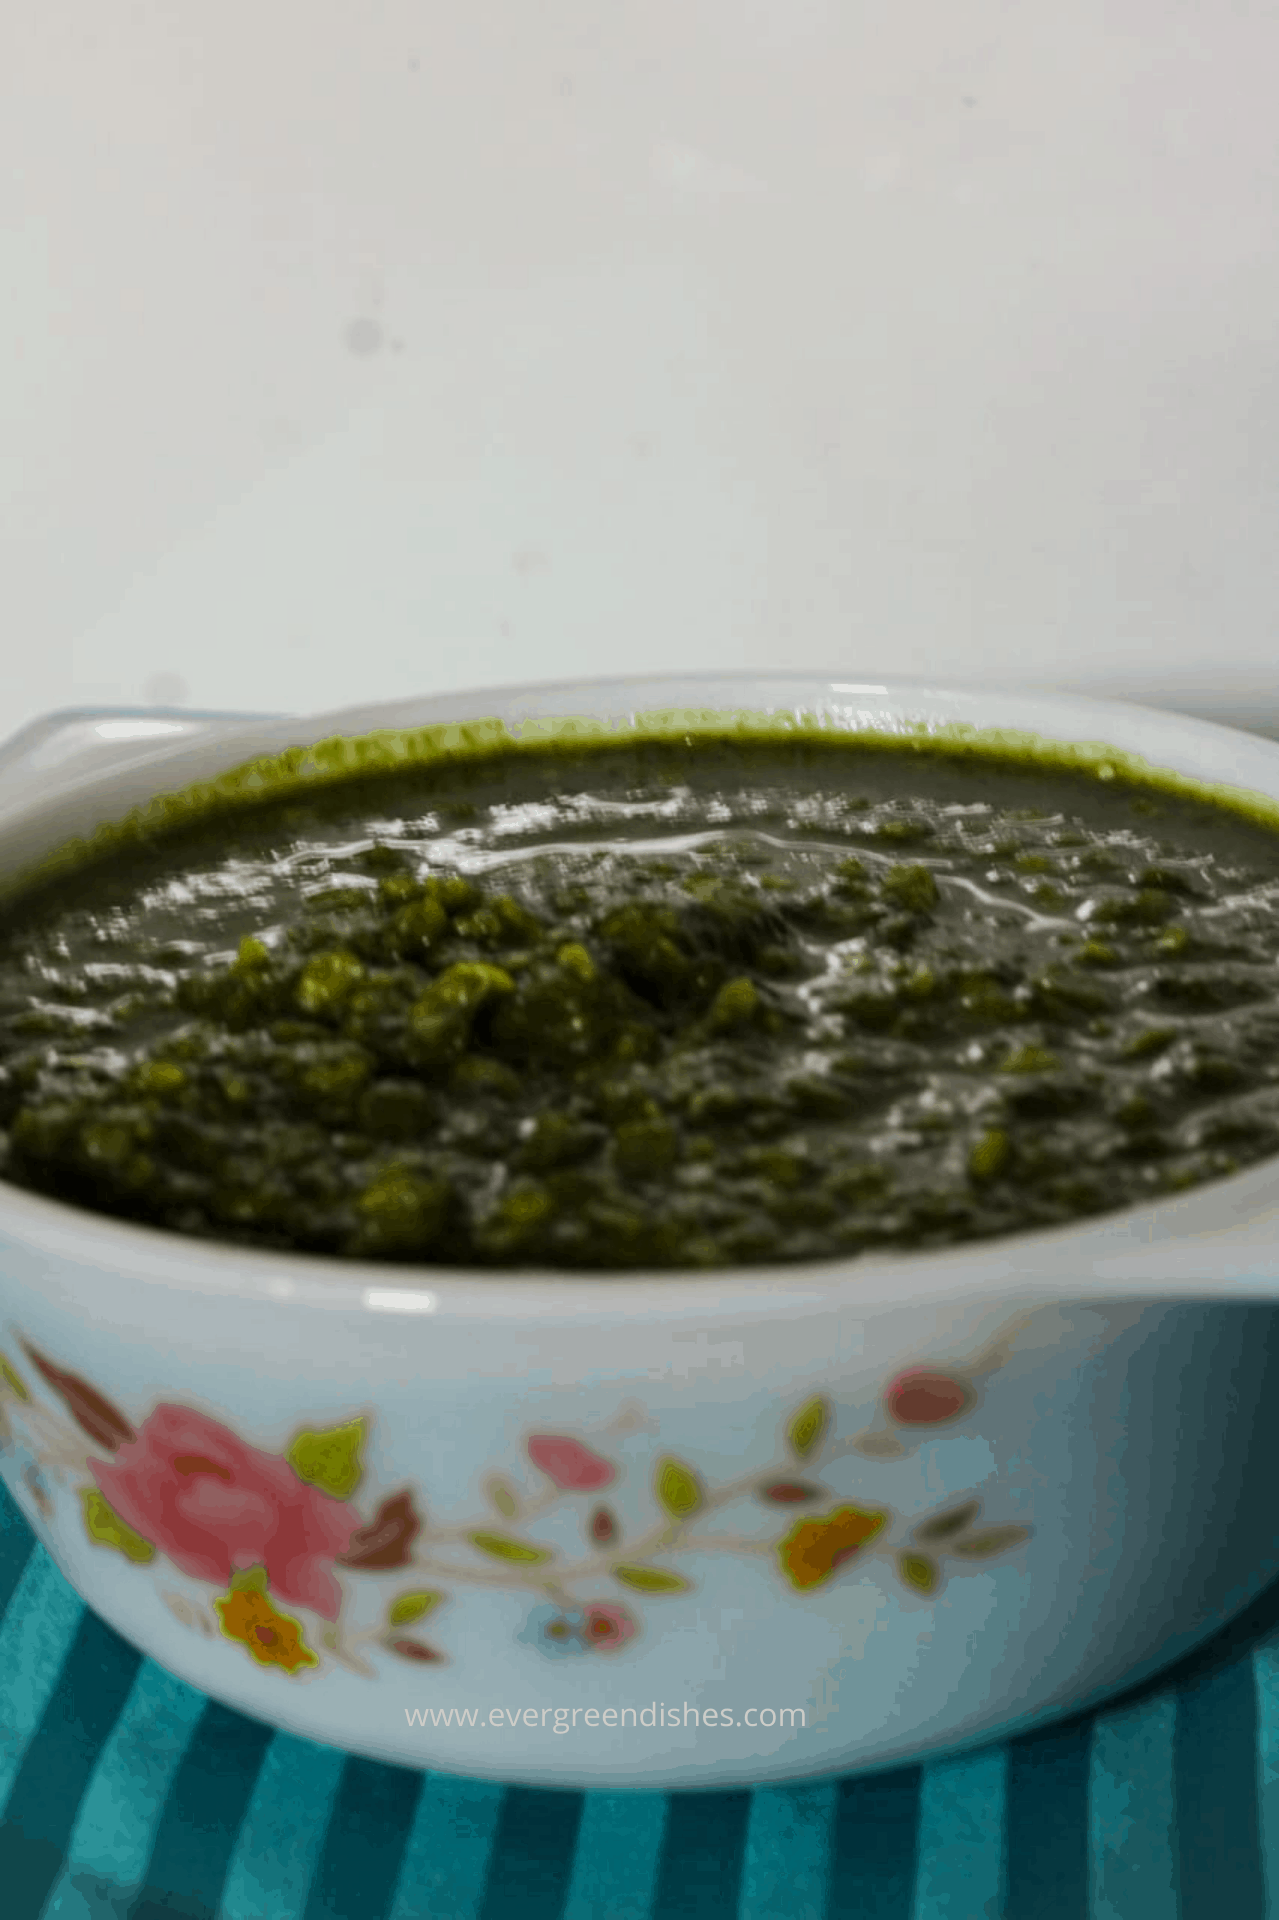
- Serve with chutney, sambar or sago.
Take a tip:
- The curds used must be sour.
- Small sago pearls are usually used for this. But, I have used the regular ones itself.
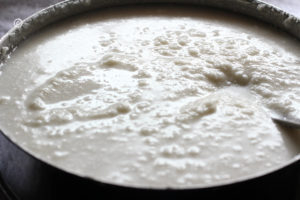
Mix sago pearls and semolina in curd. Add a little water to get the medium consistency. Set it aside to ferment for a few hours.
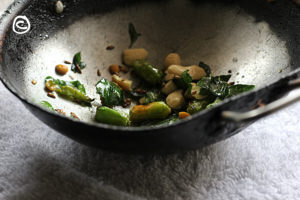
Heat oil in a small pan. Add mustard seeds, as it crackles put cumin, bengal gram, green chilly, cashew and curry leaves.
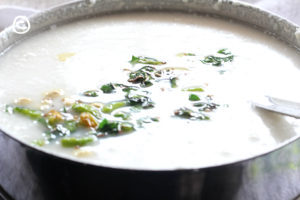
Put salt to the batter and add the prepared seasoning.
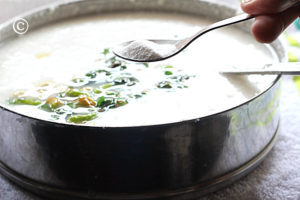
Lastly, add a little soda and mix it.
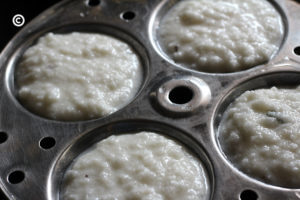
Put the batter in the cavity of the idli moulds.
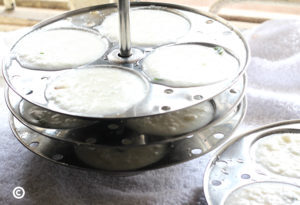
It is ready to be put in the idli maker. Cook it on medium heat for 15 to 20 minutes. The idli should be well cooked from inside also.
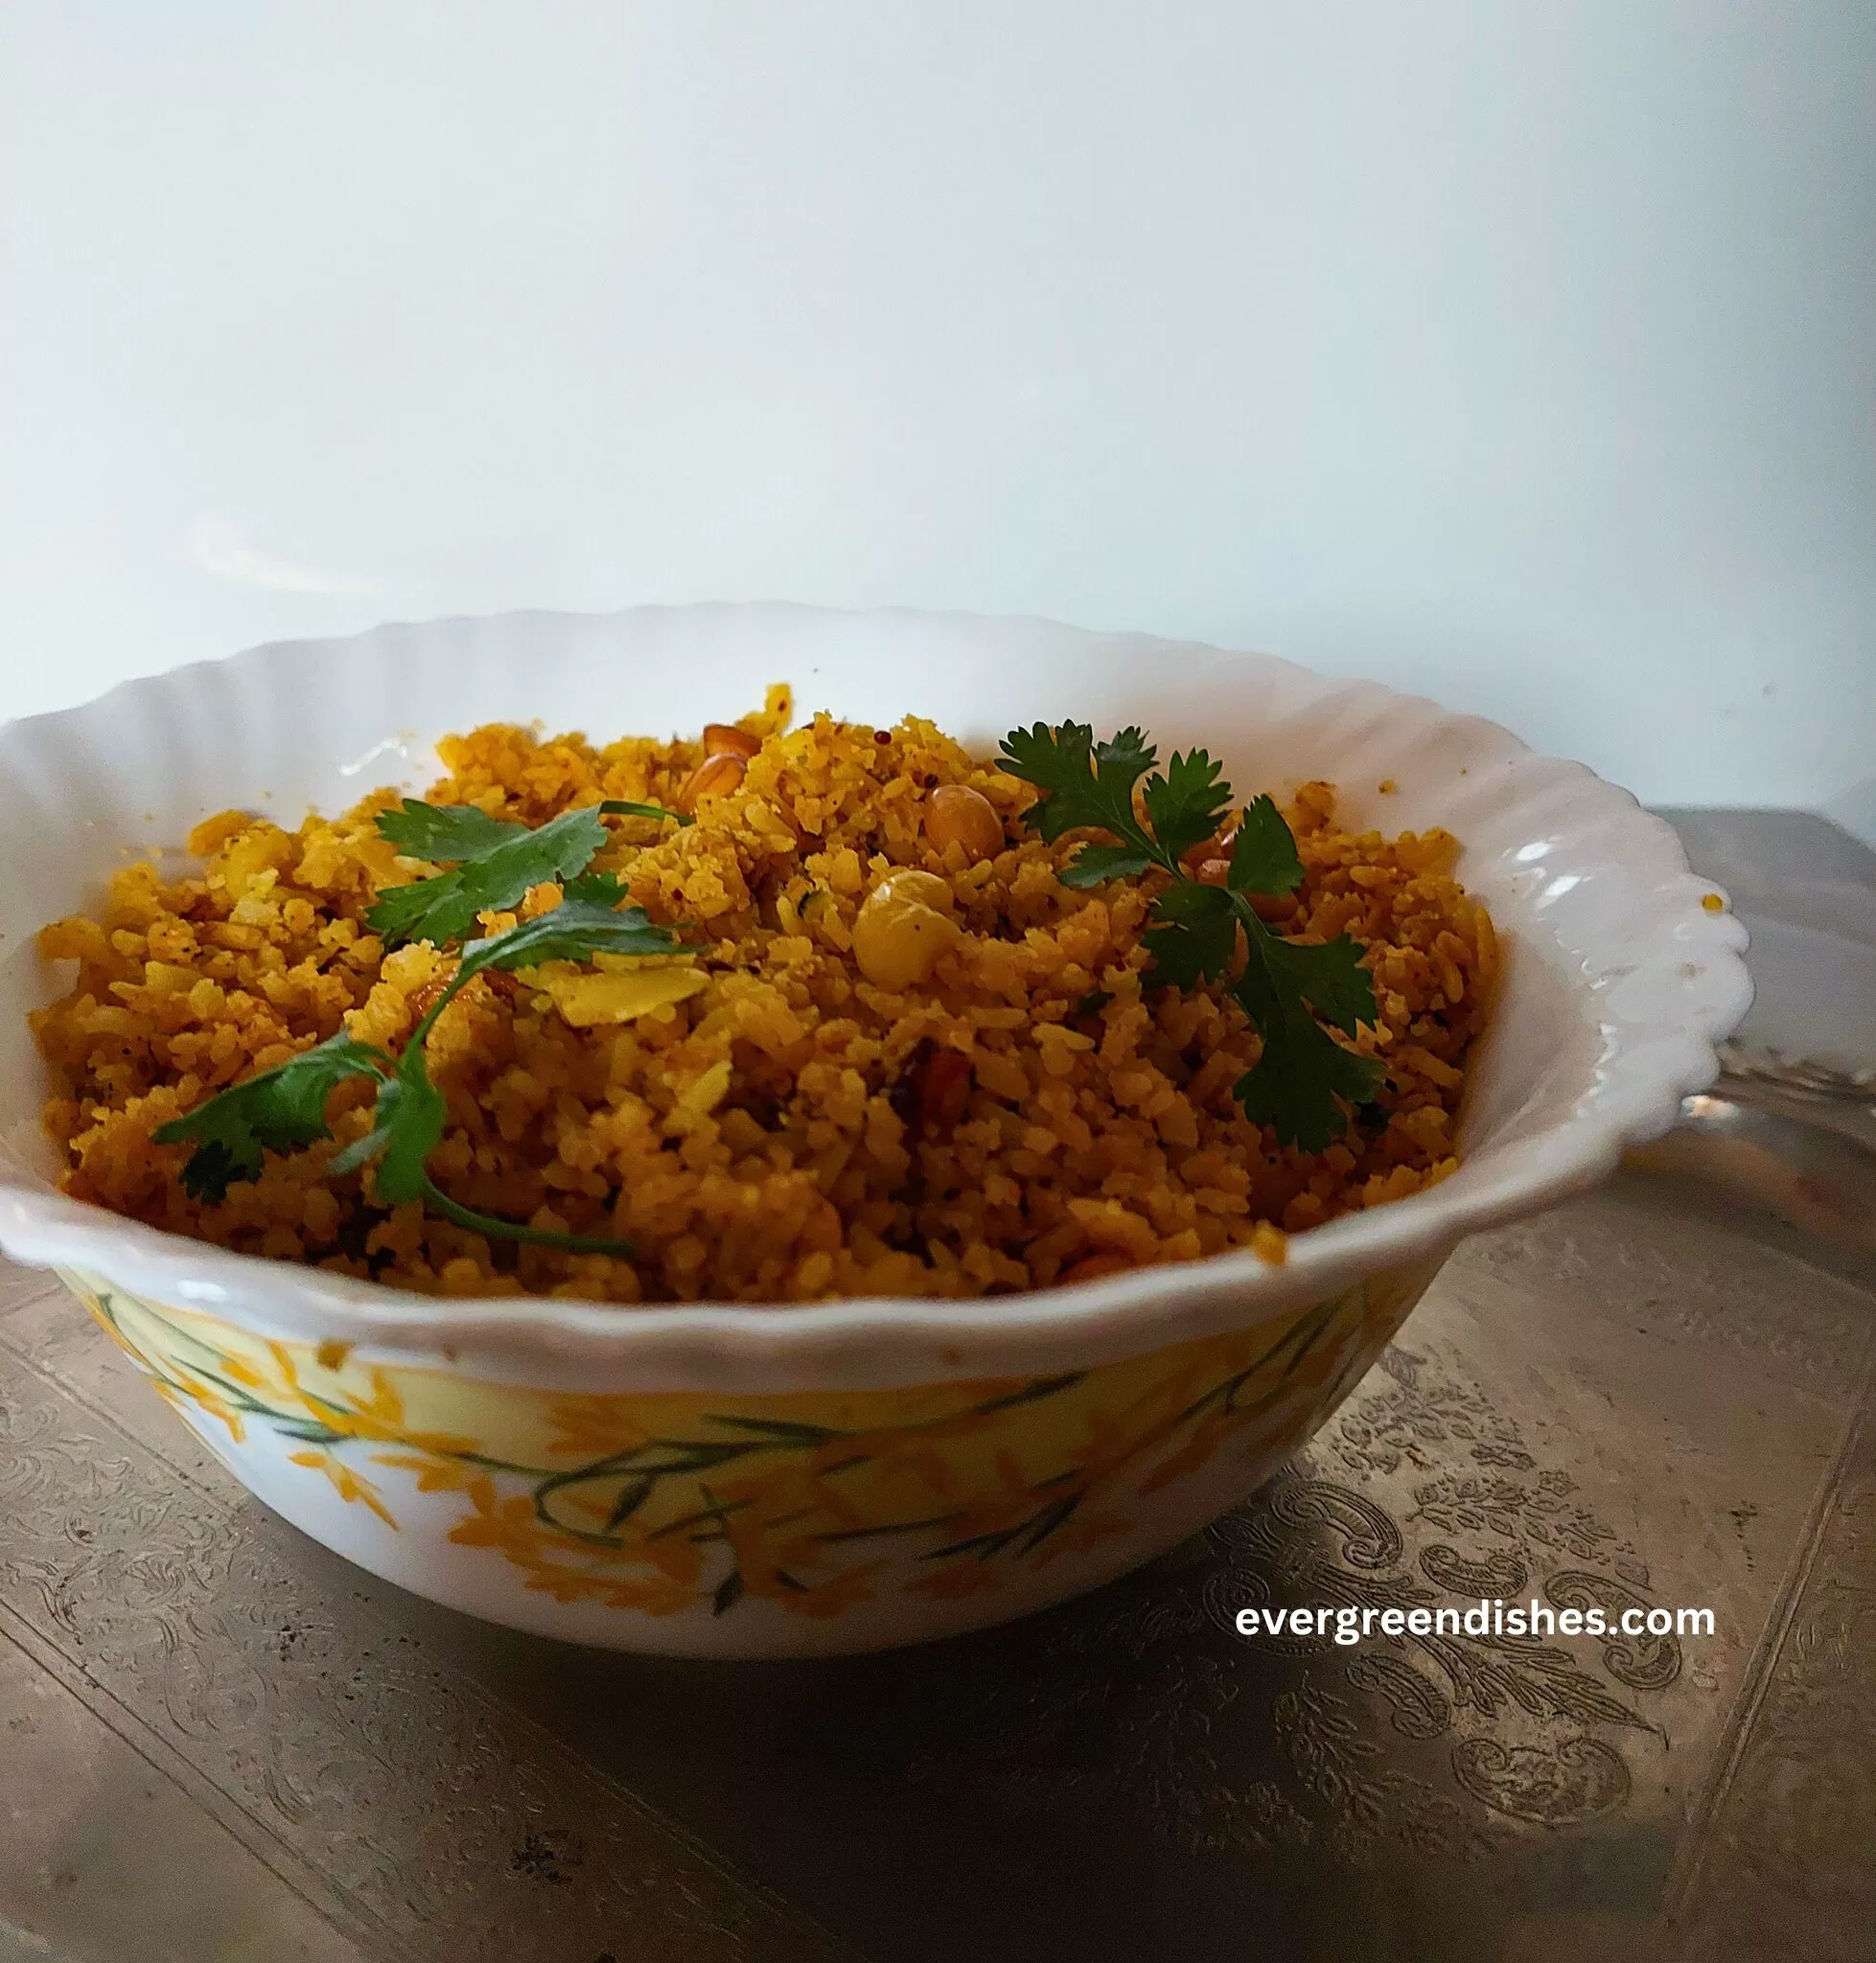
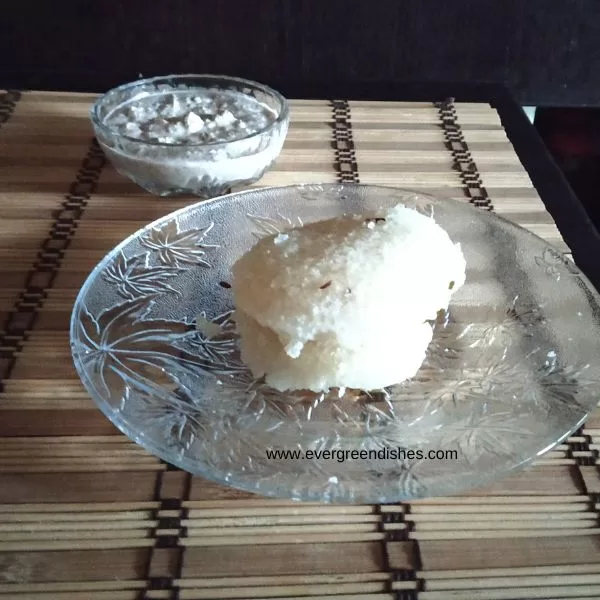
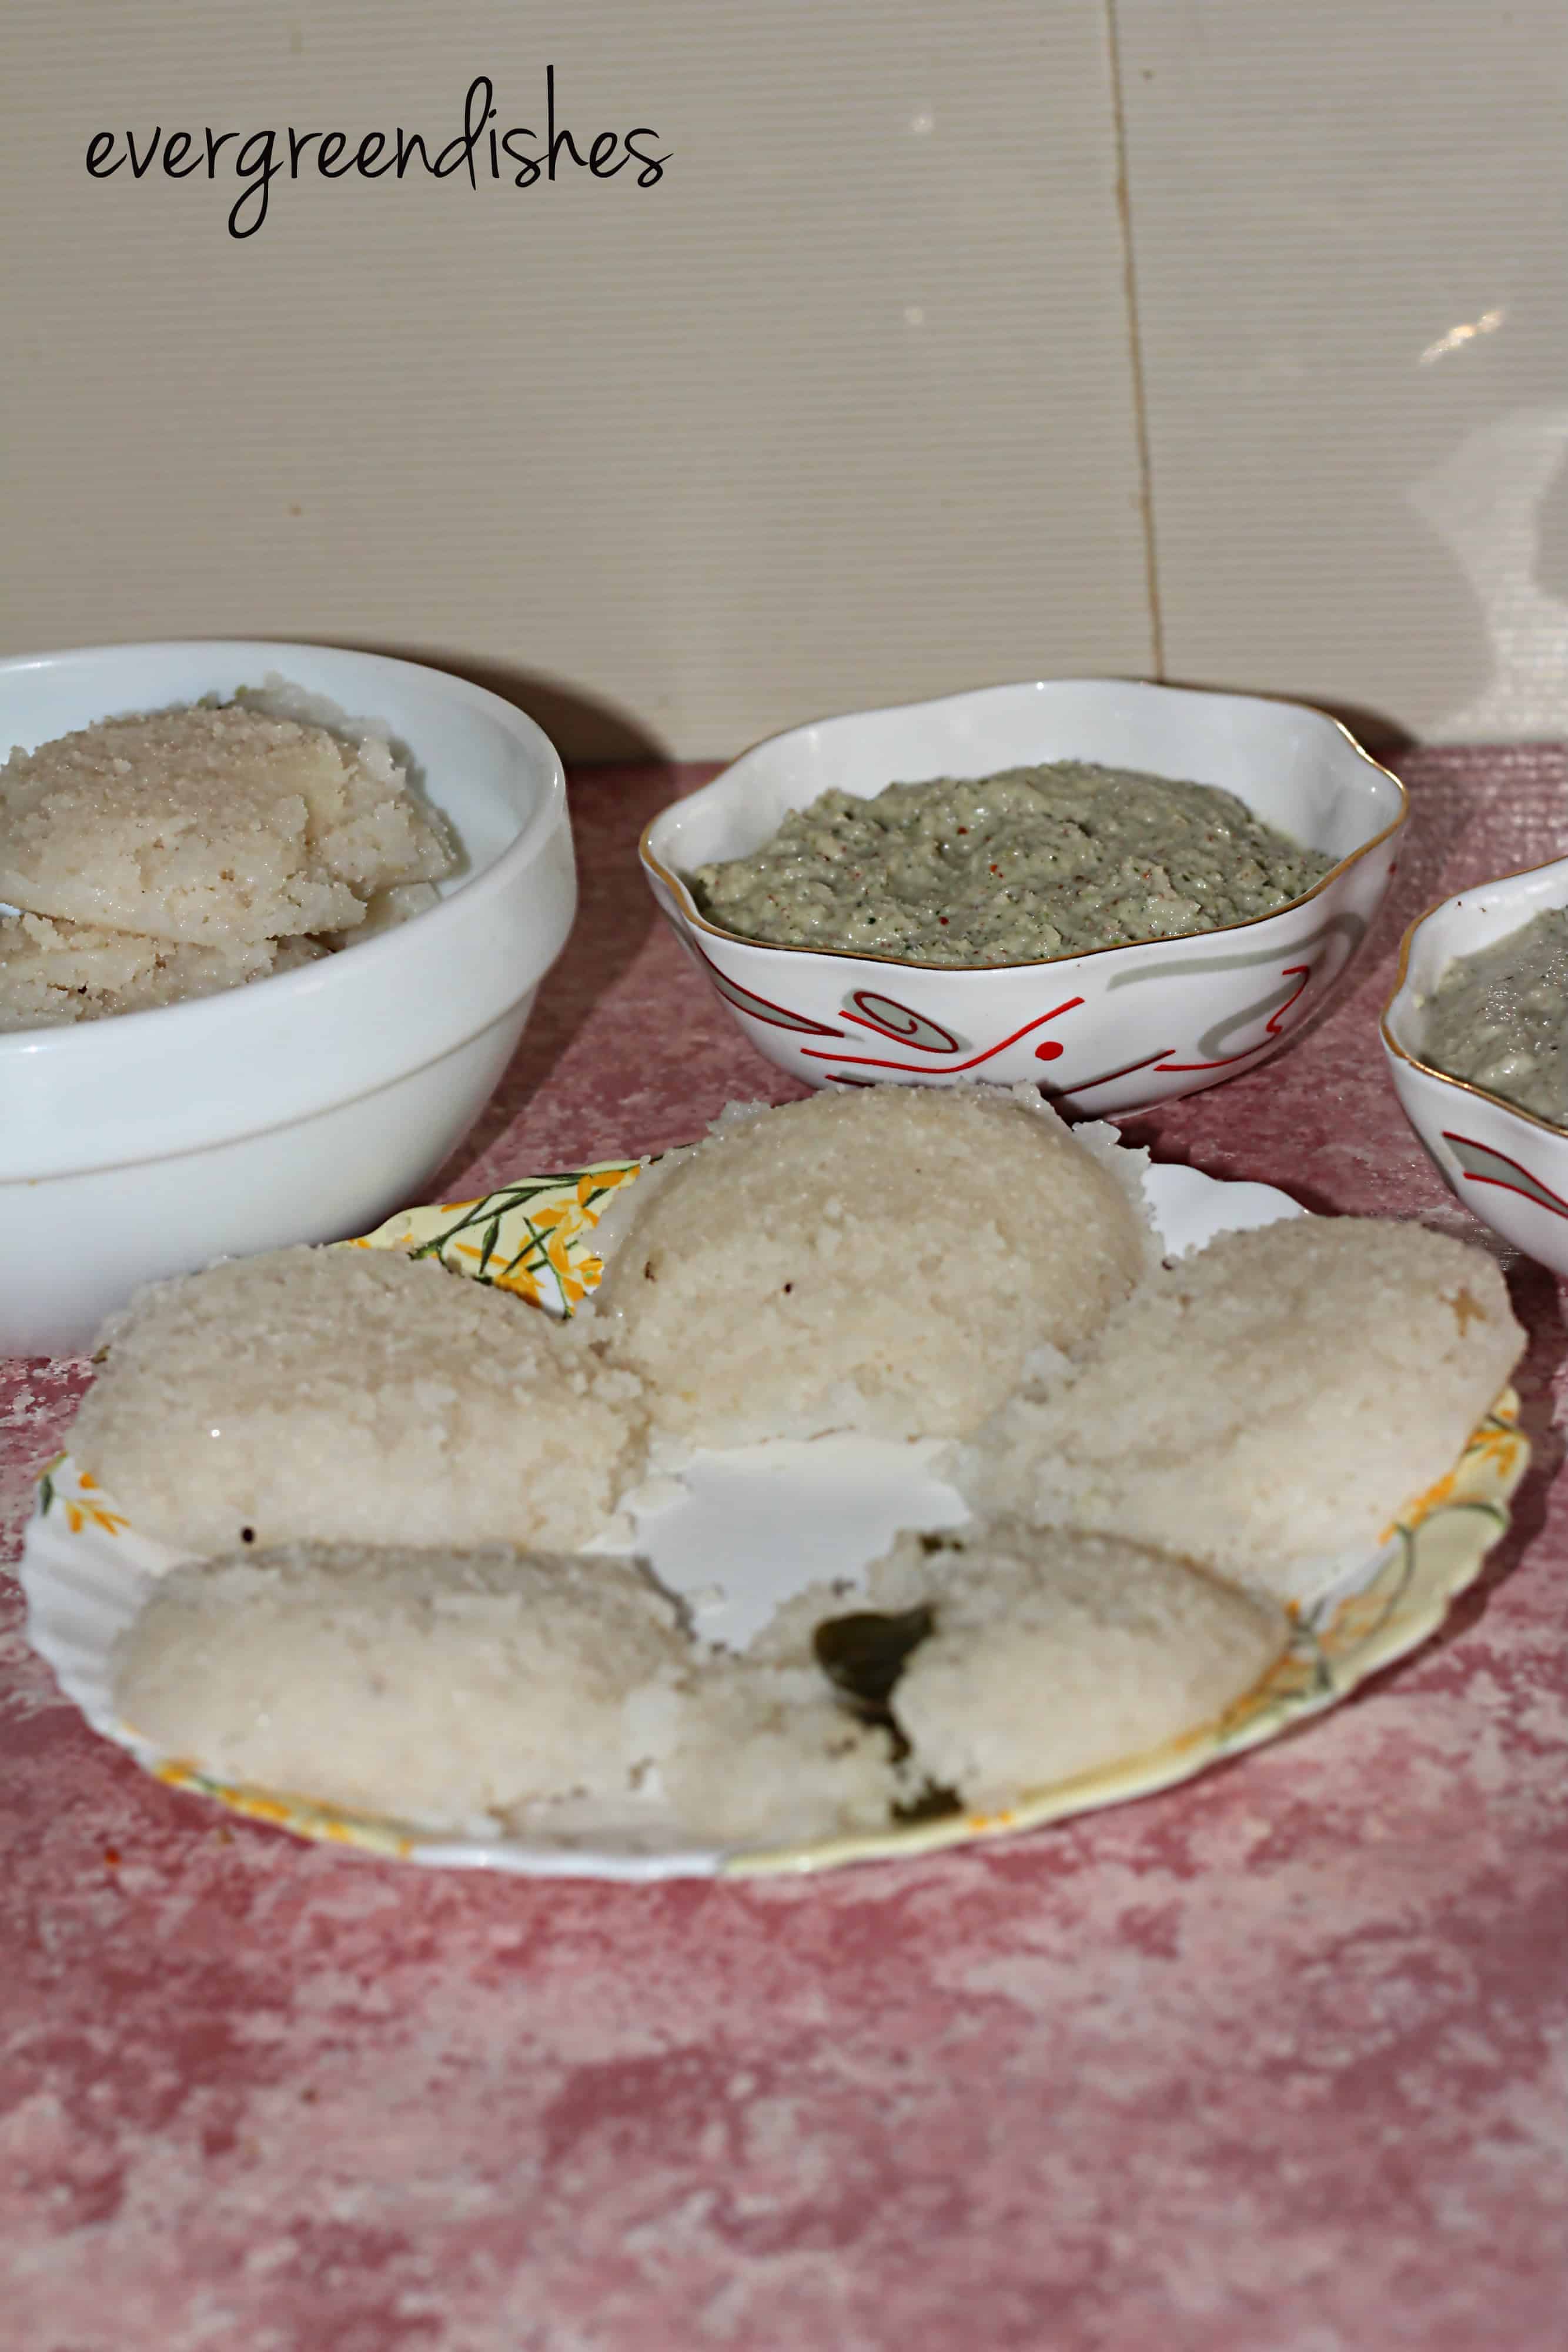
Sago idli are ready to serve.
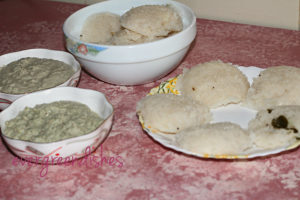
You can serve with chutney, sambar or sago.
Sago Idli
Ingredients
Method
- Put sago and semolina in a bowl. Wash it and drain the water.
- Put yoghurtand water to it. Mix them together. The consistency should be moderate.
- Cover it with a lid and keep it to ferment overnight (atleast five hours)
- The next day, add salt to it.
- Make seasoning. Take oil, put the mustard seeds, as it crackles, put cumin, bengal gram, green chilly, curry leaves, cashew pieces and asafoetida.
- Pour it over the batter.
- Heat the idly steamer.
- Grease the plates if you wish. I usually wash them and use right away.
- Add soda to the batter.Give a stir. Adjust the consistency of batter by adding a little water.
- Put a ladle full of batter in each cavity.
- Keep it in the idly cooker and steam for twenty minutes on medium flame.
- The idly should be well cooked.
- Remove them after sometime. Serve with chutney, sambar or sago.
Notes
- The sago pearls used for this are the smaller ones, but I did use the regular ones.
- Yoghurt should be sour.
If you ever make this recipe, take a picture and share it by tagging @foodiejayashree on Instagram or @evergreendishes on Facebook. I will be glad to see and share your creation further.
Check out my e-books on Amazon. Do not miss any post, subscribe to get all updates and an e-book for free !
About the event :
Sending this to Foodies_Redoing Old Post111, a fortnightly event. Here, I have changed the main picture and put pinterest image too. The post was written six years back and it has been edited with a few better pictures.