Raw mango rice / mavina kayi chitranna is a delicious rice preparation from South India. It is known by different names as mavin kayi chitranna in karnataka , mamidkayi pulihora in Andhra pradesh or mangai sadam in Tamil nadu. (more…)
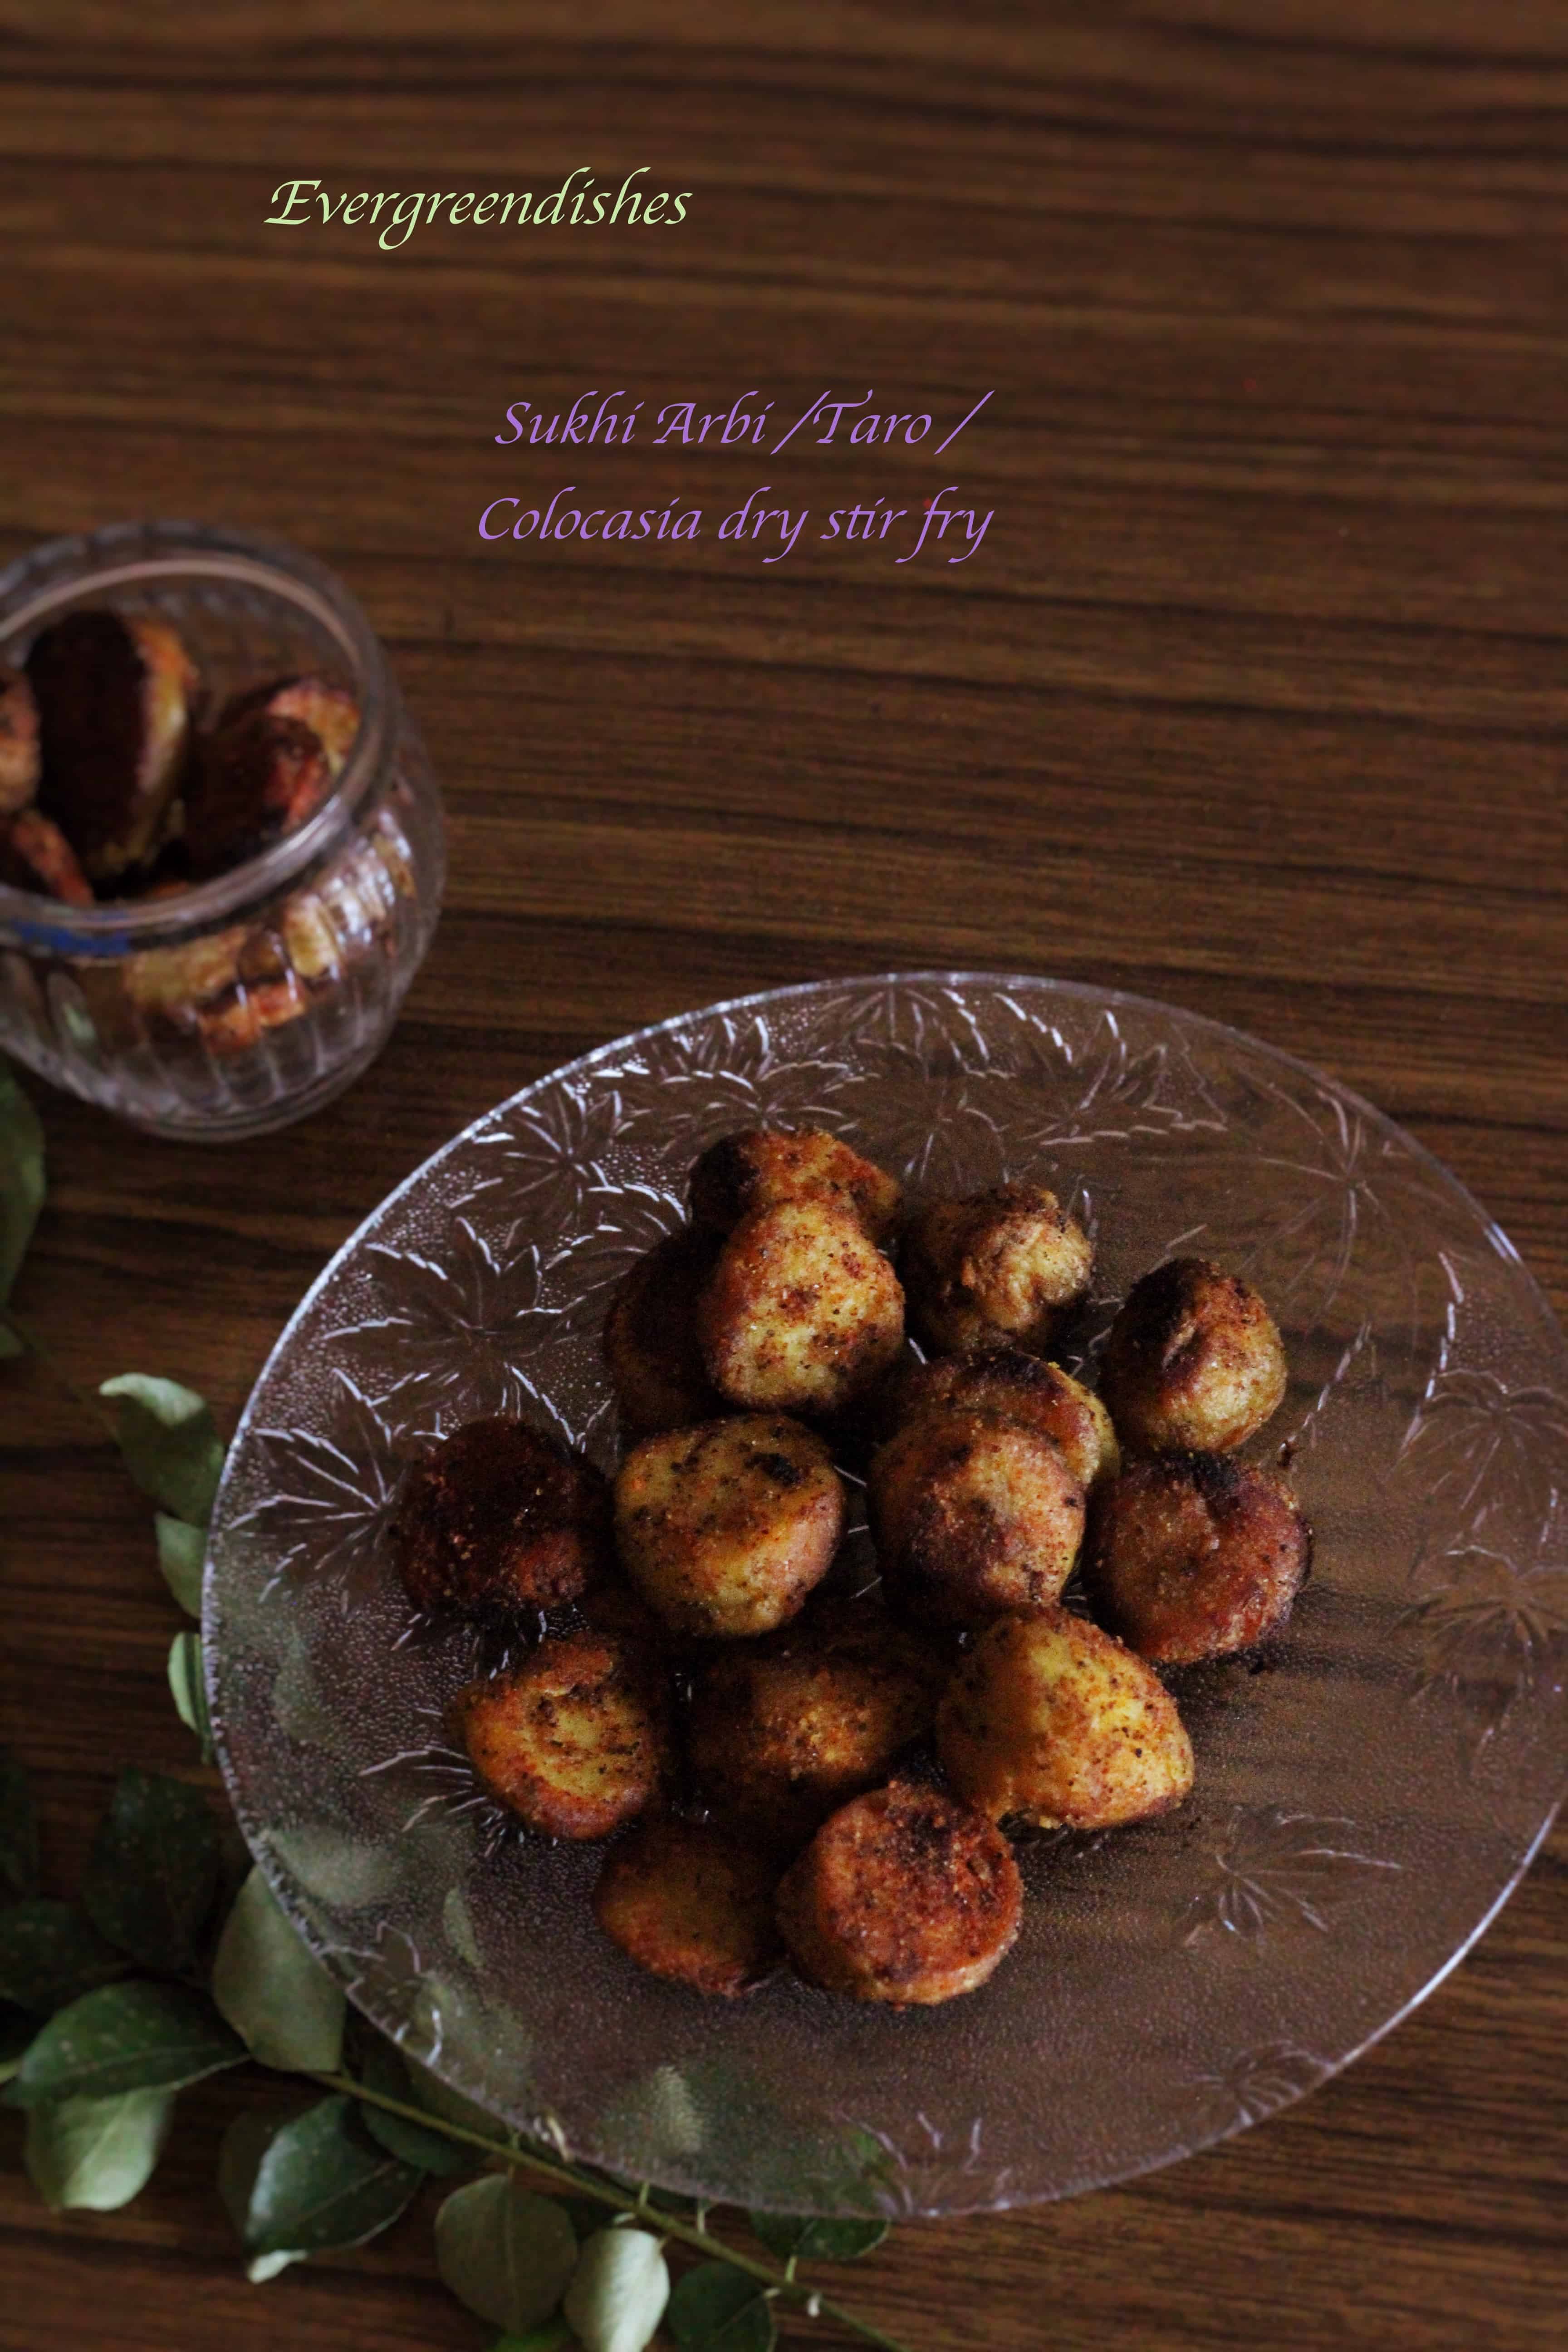
Arbi is a root vegetable that is usually available in winter. The other names that that one can resonate with are colocasia, arvi, taro root, shyavi gadde. Sukhi arbi/colocasia makes a tasty accompaniment with any meal.
It is a powerhouse of nutrients. It is rich in dietary fibre and nutrition. It has other minerals as zinc, potassium ands magnesium.The leaves too are used in making a different kind of fritter, patrode, that is very tasty.
Today, is the beginning of another new year. Stepping into 2018 with a lot of good thoughts and positivity. Wishing one and all a Happy New Year. May the year be filled with peace and happiness.
Here is a sukhi arbi/ colocasia recipe for you. It can be eaten as a snack also.
sukhi arbi
Sukhi Arbi/ Colocasia
Ingredients:
1/2 kilogram arbi/ colocasia / arvi/ taro root
2 tablespoon oil
1/2 teaspoon mustard
1/4 teaspoon turmeric
a pinch of asafoetida
2 teaspoon chilly powder
salt to taste
Method:
Wash the arbi well by changing water.
Steam it in a pressure cooker or in a pan. It should be moderately cooked.
Peel the skin and cut into small circles.
Heat oil in a thick bottom pan. Add mustard seeds, as it splutters, put asafoetida and turmeric powder, then add the cut pieces.
Cook on a slow flame until it is done and crispy.
Add salt and chilly powder, heat for a few more minutes, remove and serve.
Take a tip: The cooked arbi tends to give an itch to the hands on peeling the skin. Apply oil to the palms.
arbi
sukhi arbi
Sukhi arbi/ colocasia is ready to serve.
Take a tip:
Apply oil to the hands before peeling, it does give a itching sensation sometimes.
Add a little more oil if needed while cooking, this tends to use more oil.
Do not pressure cook with whistle. Mushy ones cannot be cooked here.
Arbi needs to be well roasted, it gives irritation to the throat if not cooked well.
Evergreendishesdev
Sukhi arbi/ colocasia/ taro
Sukhi arbi or dry colocasia stir fry makes a good accompaniment with any meal. Kids love to binge it as a snack
Sago idli is an easy to make recipe, ideal to serve for a quick breakfast. It is another kind of breakfast dish that can be made with a little prior preparation.
I am always in search of good and easy recipes and this one is my recent addition. The first time I had Sago Idli was during a function at my cousins place. Since then, I have made it a couple of times. It needs no grinding; thus a boon for us, to prepare something different on daily basis.
Sago pearls is called as sabudaana in Hindi, Bengali, Gujarati, Punjabi and Marathi. It is Sabakki in Kannada, Javvarisi in Tamil, Chavvari in malayalam and Sagubeeyam in Telugu. It is used during fasting in parts of South India and Maharashtra.
Let’s get cooking Sago Idli. The ingredients are mixed and kept to ferment. The next day or after five hours, one needs to make a seasoning and then put it in the idli stand to steam.
Ingredients:
3/4 cup sago pearls
1 cup semolina (idli rawa)
1.5 cup curd
1 cup water
salt to taste
1/4 teaspoon soda
1 teaspoon oil
1/4 teaspoon mustard seeds
asafoetida a pinch
1 teaspoon bengal gram
4 cashew broken
a few curry leaves
Method:
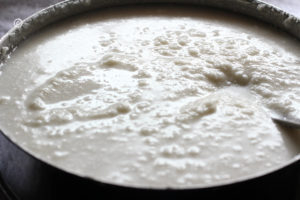
Take sago and semolina in a bowl. Wash it well and drain the water. Put curd and water to it. Mix it well. The consistency should be moderate. Close a lid and keep it in a warm place to ferment overnight or for five hours.
Add salt to the batter.
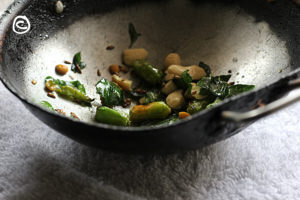
To make the seasoning: take the oil in a small pan. Add the mustard seeds, as it crackles, put cumin, bengal gram, green chilly pieces, cashew pieces and curry leaves.
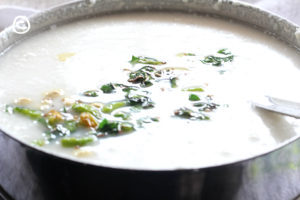
Pour it over the batter.
Heat the idli steamer. You may grease the plates, I just wash them and use it.
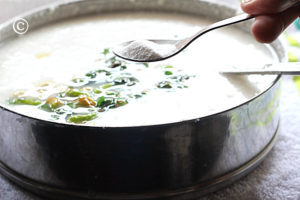
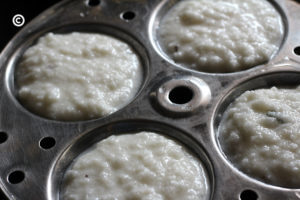
Add soda to the batter, mix well and put a ladle full in each cavity.
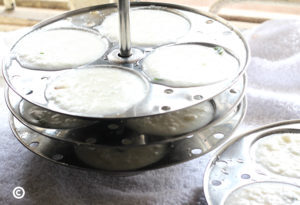
Put it in the steamer and allow to cook on medium flame for fifteen minutes.
Idlis should be well cooked.
Remove the idlis with round edged spoon after sometime.
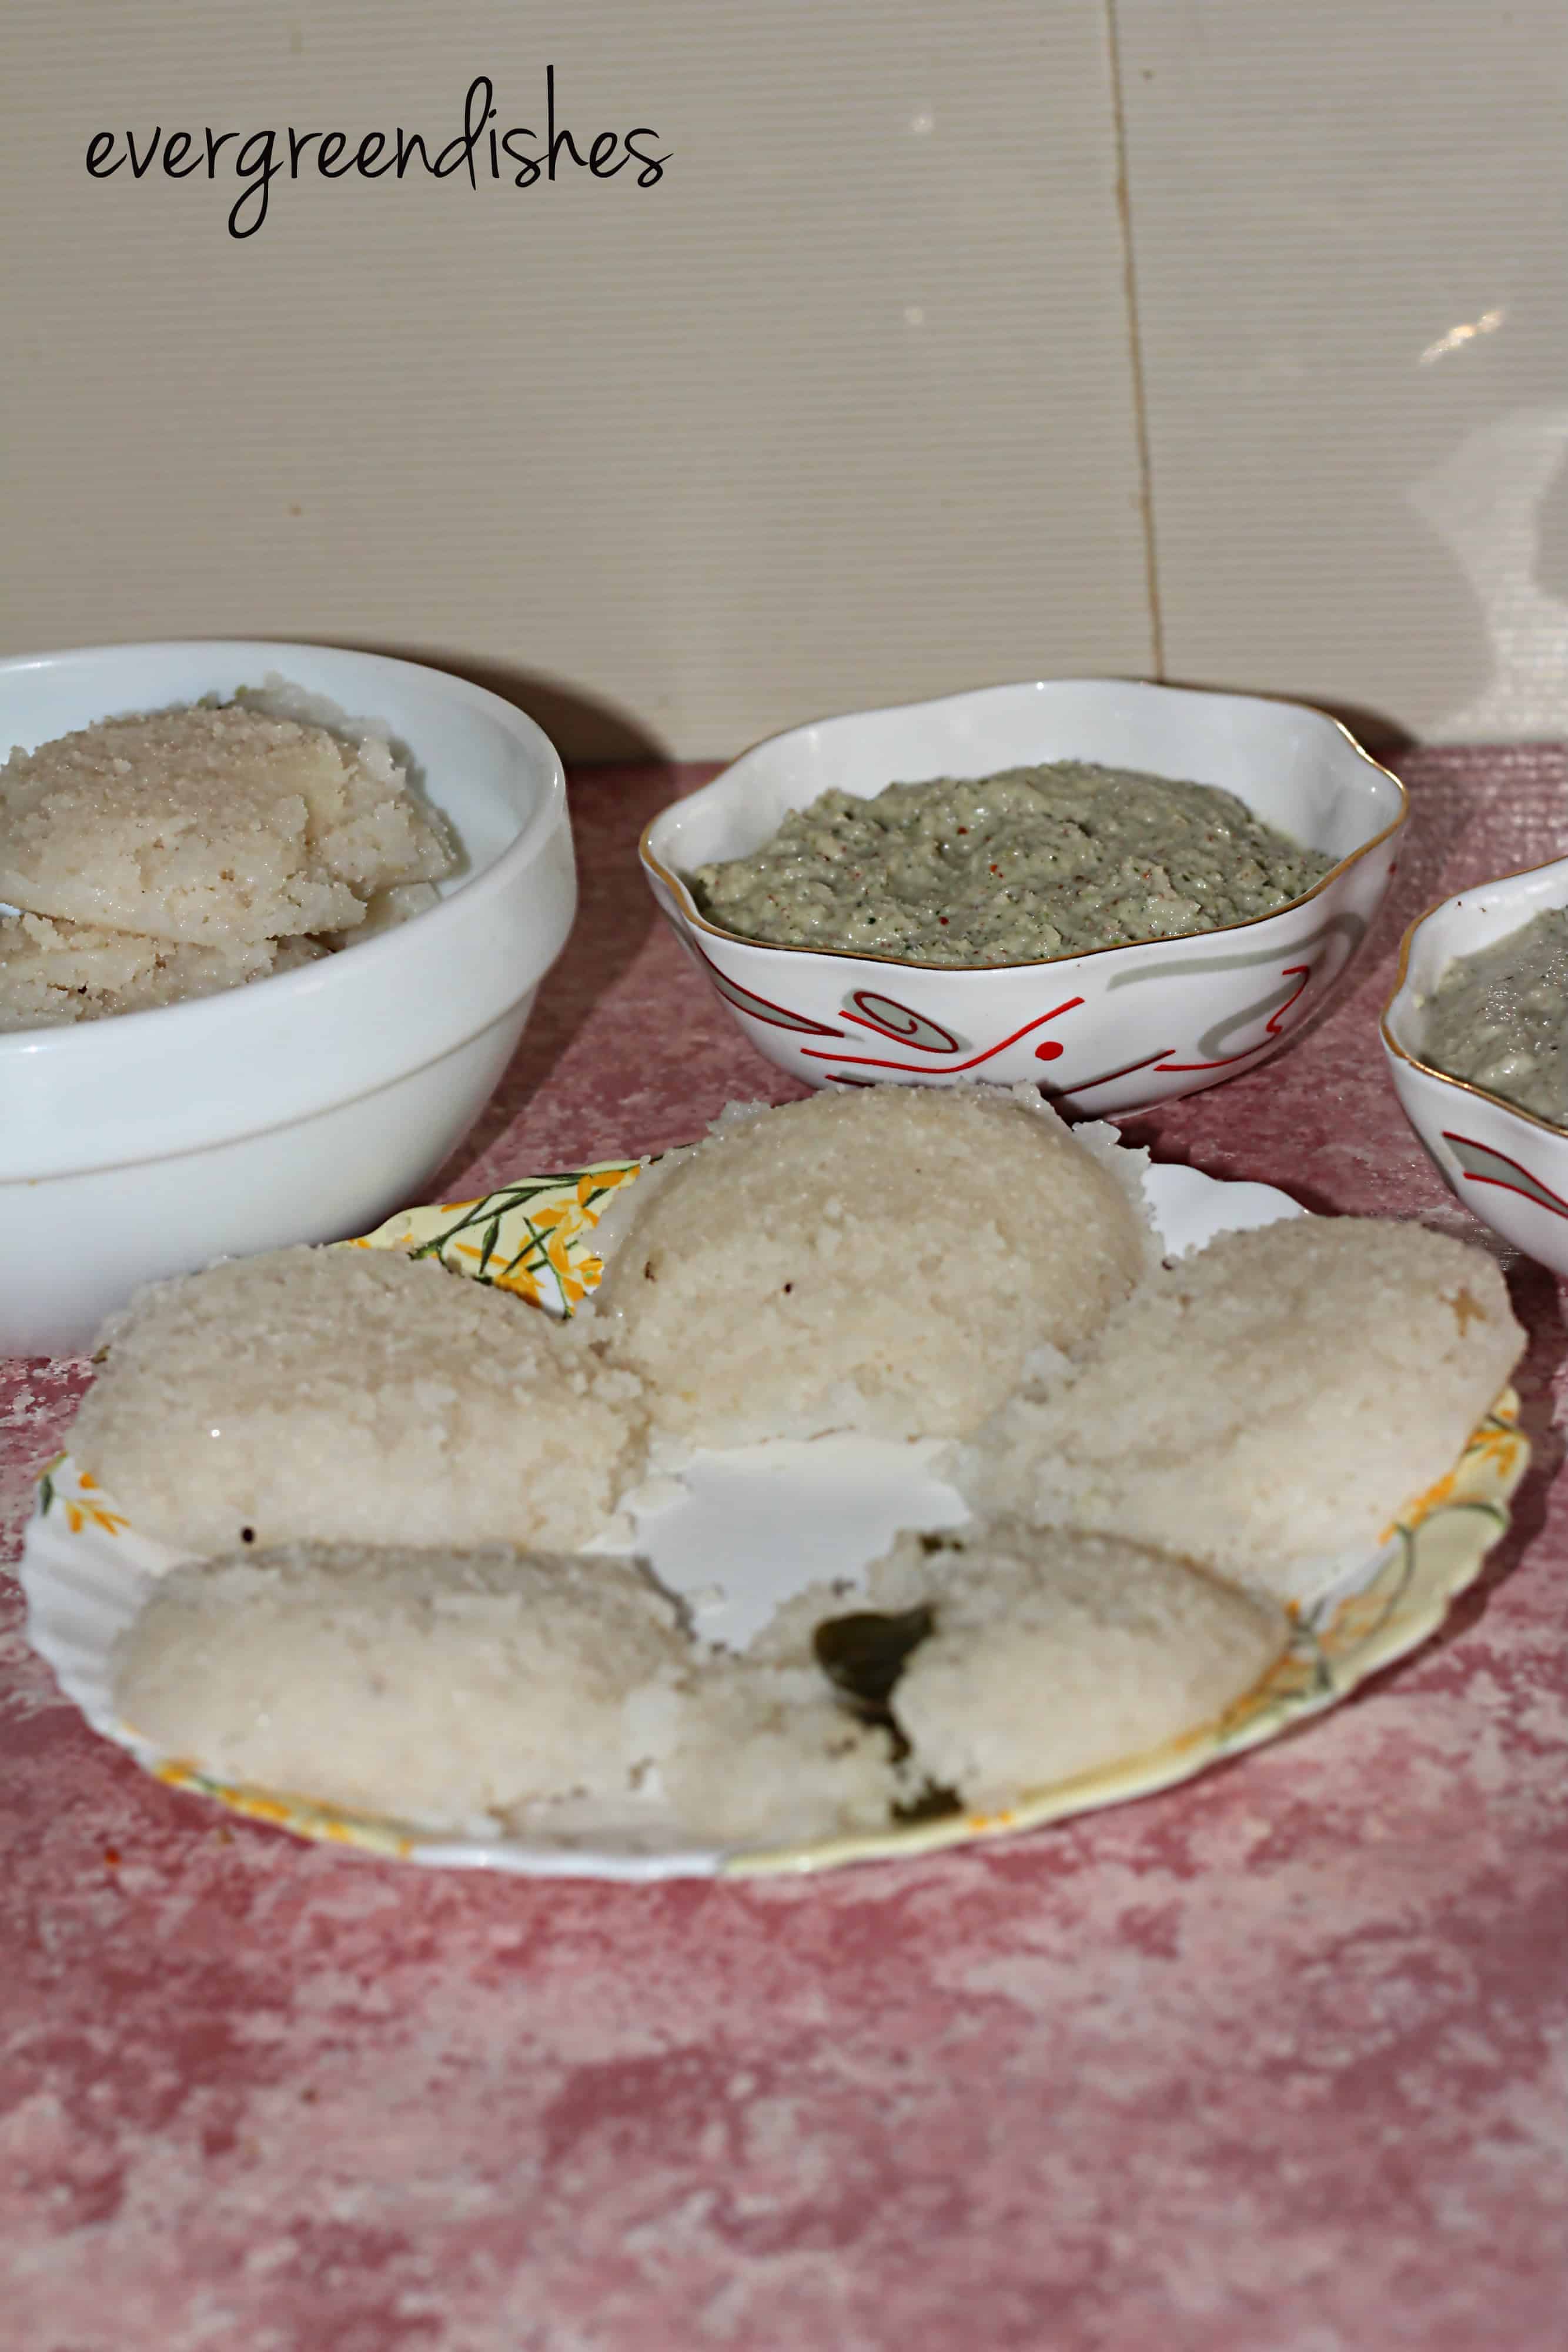
Serve with chutney, sambar or sago.
Take a tip:
The curds used must be sour.
Small sago pearls are usually used for this. But, I have used the regular ones itself.
idli batter
Mix sago pearls and semolina in curd. Add a little water to get the medium consistency. Set it aside to ferment for a few hours.
seasoning
Heat oil in a small pan. Add mustard seeds, as it crackles put cumin, bengal gram, green chilly, cashew and curry leaves.
put the seasoning
Put salt to the batter and add the prepared seasoning.
and the soda
Lastly, add a little soda and mix it.
batter into the idli moulds
Put the batter in the cavity of the idli moulds.
ready to be steamed
It is ready to be put in the idli maker. Cook it on medium heat for 15 to 20 minutes. The idli should be well cooked from inside also.
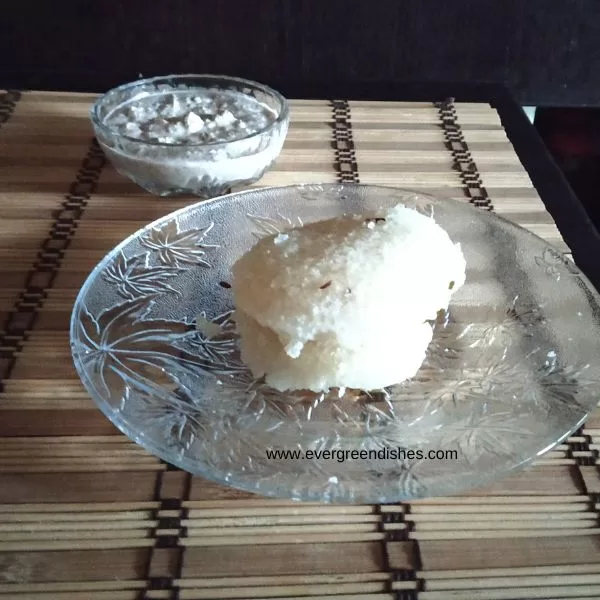
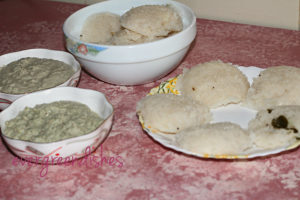
Sago idli are ready to serve.
Sago Idli
You can serve with chutney, sambar or sago.
Evergreendishesdev
Sago Idli
Sago idli is another variety of idli that needs no grinding. It is a boon for ladies to prepare idlis easily.
Put sago and semolina in a bowl. Wash it and drain the water.
Put yoghurtand water to it. Mix them together. The consistency should be moderate.
Cover it with a lid and keep it to ferment overnight (atleast five hours)
The next day, add salt to it.
Make seasoning. Take oil, put the mustard seeds, as it crackles, put cumin, bengal gram, green chilly, curry leaves, cashew pieces and asafoetida.
Pour it over the batter.
Heat the idly steamer.
Grease the plates if you wish. I usually wash them and use right away.
Add soda to the batter.Give a stir. Adjust the consistency of batter by adding a little water.
Put a ladle full of batter in each cavity.
Keep it in the idly cooker and steam for twenty minutes on medium flame.
The idly should be well cooked.
Remove them after sometime. Serve with chutney, sambar or sago.
Notes
The sago pearls used for this are the smaller ones, but I did use the regular ones.
Yoghurt should be sour.
If you ever make this recipe, take a picture and share it by tagging @foodiejayashree on Instagram or @evergreendishes on Facebook. I will be glad to see and share your creation further.
Check out my e-books on Amazon. Do not miss any post, subscribe to get all updates and an e-book for free !
About the event :
Sending this to Foodies_Redoing Old Post111, a fortnightly event. Here, I have changed the main picture and put pinterest image too. The post was written six years back and it has been edited with a few better pictures.
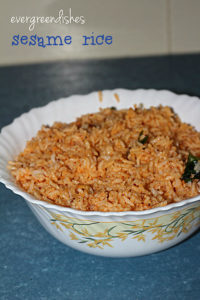
Sesame rice is a flavourful dish which can be prepared during weekends or for a quick lunch. It is ideal during festivities since it has no onion or garlic in it.
The ingredients needed to prepare sesame rice are few and mostly found in all kitchen shelves. Roasting and grinding of ingredients are the only other tasks involved here.
Wash and cook the rice in pressure cooker. The grains of the rice should be separate, add water accordingly.
Once the pressure is released, put the rice in a wide plate.
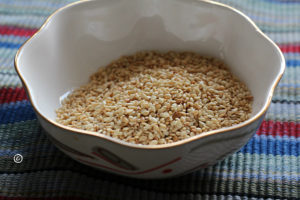
Roast sesame seeds until light brown in colour. Put it aside.
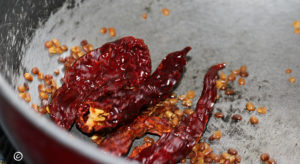
Put a little oil and roast the urad dal and dry red chillies.
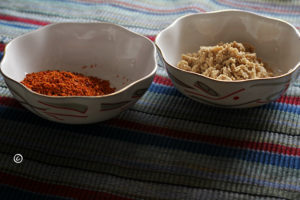
Make separate powder of these.
Take the remaining oil and put mustard seeds, as it crackles throw in the curry leaves and asafoetida. Turn of the flame. Put the rice, powdered spices and salt. Mix them together.
Take ghee in a small pan and roast the cashew nuts. Garnish the rice with it. Sesame rice is ready to serve.
30 Tasty Dal Recipes e-book is now available on Amazon
If you have liked this recipe, do share it with your family and friends.
If you ever make this recipe, do take a picture and tag @foodiejayashree on Instagram or @evergreendishes on Facebook
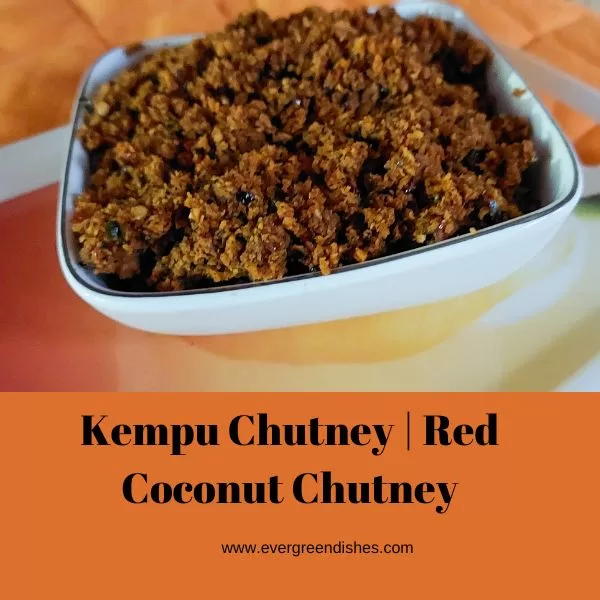
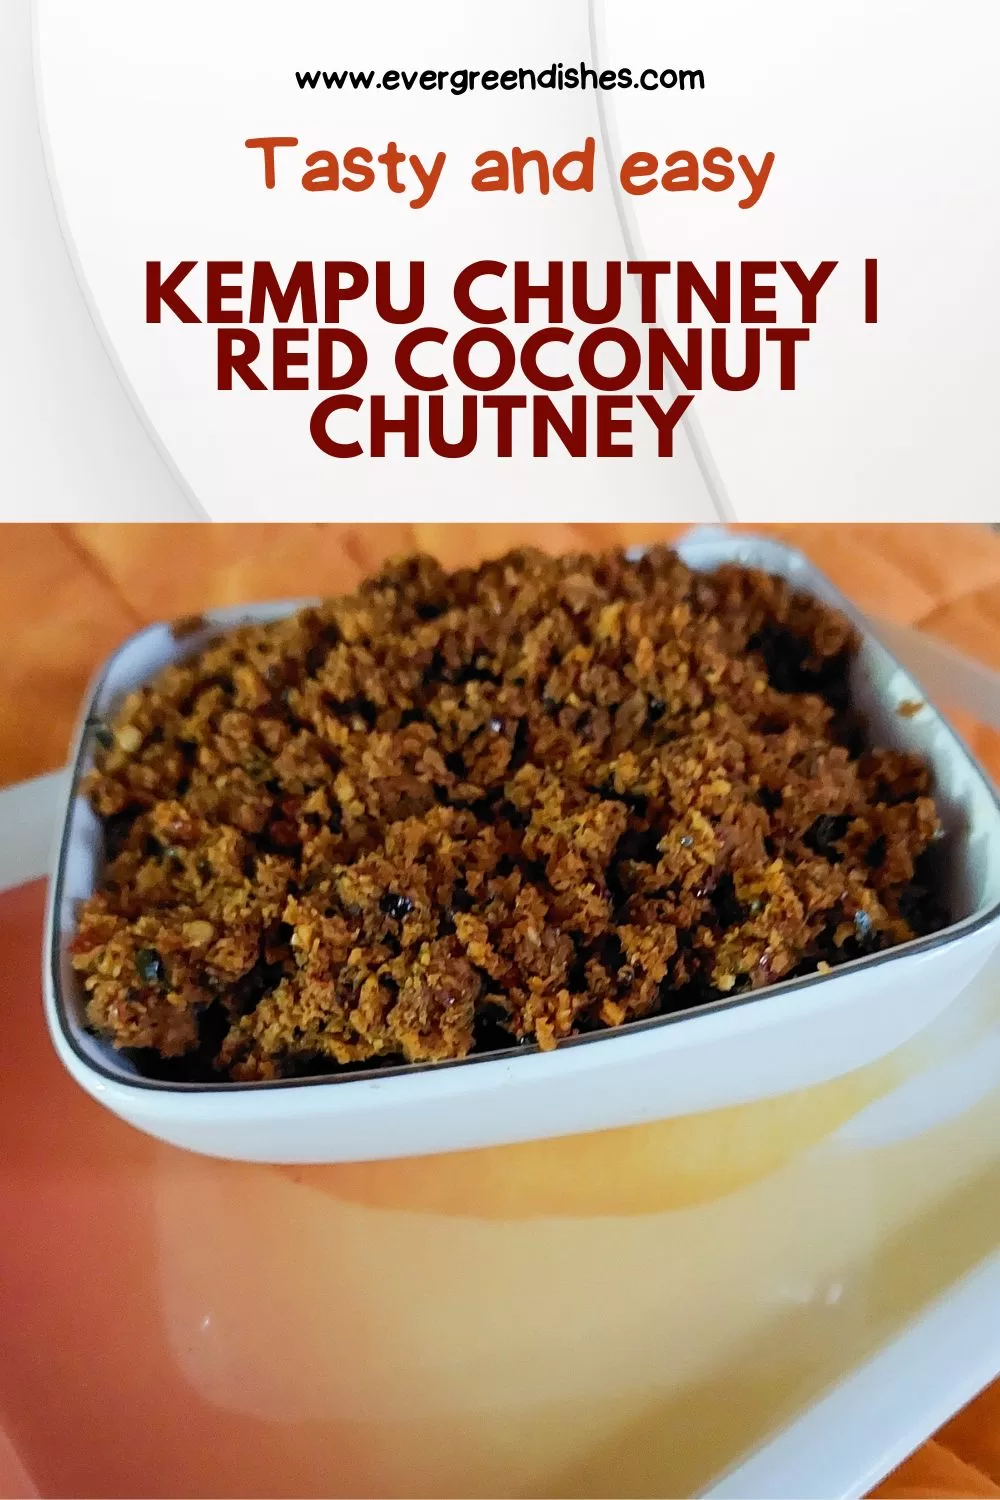
Red coconut chutney makes a good accompaniment with hot steamed rice topped with a dollop of ghee. It pairs well with idli and dosa too. This chutney is often made in South Canara region.
Today, I am presenting to you a tasty chutney which is ideal accompaniment with rice. This is also from mangalore cuisine. This, coconut chutney using dry red chilly is simply divine, one of the simple pleasures of life I can say. Use it with steaming hot rice with a dollop of ghee, rasam and papads for a satisfying meal.
Here, coconut is roasted and then used, thus it stays good for sometime. The best part of red coconut chutney recipe is you can use slightly odd smelling coconuts, which tend to remain in the refrigerator for some time. I think many women can relate to this fact. During the festive days, we offer coconut and they get accomodated.
Take a pan and roast the methi seeds till light brown in colour. Put it aside on a plate.
Add a little oil and roast the dry chillies. Put them beside the methi seeds.
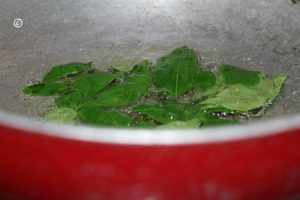
In the same pan put the coconut gratings . You can add a few curry leaves, it gives a good aroma. Roast it on a low flame for sometime. You need to keep stirring with a long handle, otherwise it will get burnt. Let cool.
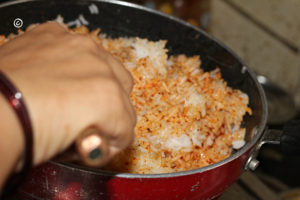
Grind all these ingredients together along with a little jaggery, tamarind pulp and salt.
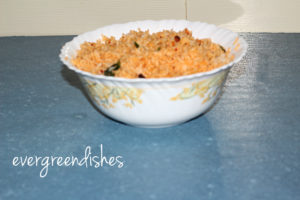
Remove the chutney and put it in a bowl.
Make seasoning in a small pan. Take oil and heat it, add mustard seeds, as they crackle add asafoetida and turmeric powder. Add to the chutney and mix well. Serve with rice.
Notes
This chutney can also be used with chapati, idli or dosa.
Coconut oil may be used for the authentic taste.
3.5.3208
Evergreendishesdev
Coconut chutney with dry red chilly
A tasty accompaniment with hot steamed rice and a dollop of ghee.
Take a pan and roast the methi seeds till light brown in colour. Put it aside on a plate.
Add a little oil and roast the dry chillies. Put them beside the methi seeds.
In the same pan put the coconut gratings . You can add a few curry leaves, it gives a good aroma. Roast it on a low flame for sometime. You need to keep stirring with a long handle, otherwise it will get burnt. Let cool.
Grind all these ingredients together along with a little jaggery, tamarind pulp and salt.
Remove the chutney and put it in a bowl.
Make seasoning in a small pan. Take oil and heat it, add mustard seeds, as they crackle add asafoetida and turmeric powder. Add to the chutney and mix well. Serve with rice.
Notes
This chutney can also be used with chapati, idli or dosa.
About the event :
This is one of the first posts I wrote. Today, on 10/9/23 I have changed the pictures and also added the pin it image. Sending this to the fortnightly event, Foodies Redoing Old Post _109. The next time you have excess coconut at home, do not forget to try this one.
If you ever make kempu chutney or any of my other dishes, do take a picture and tag @foodiejayashree on Instagram or @evergreendishes on Facebook or Twitter. I will be glad to see your creation and share it further. Let’s be connected, do follow on social media platforms. Until next time, let’s stay connected. Subscribe to get all updates and an e-book for free. Check out my e-books on Amazon. Happy Cooking !
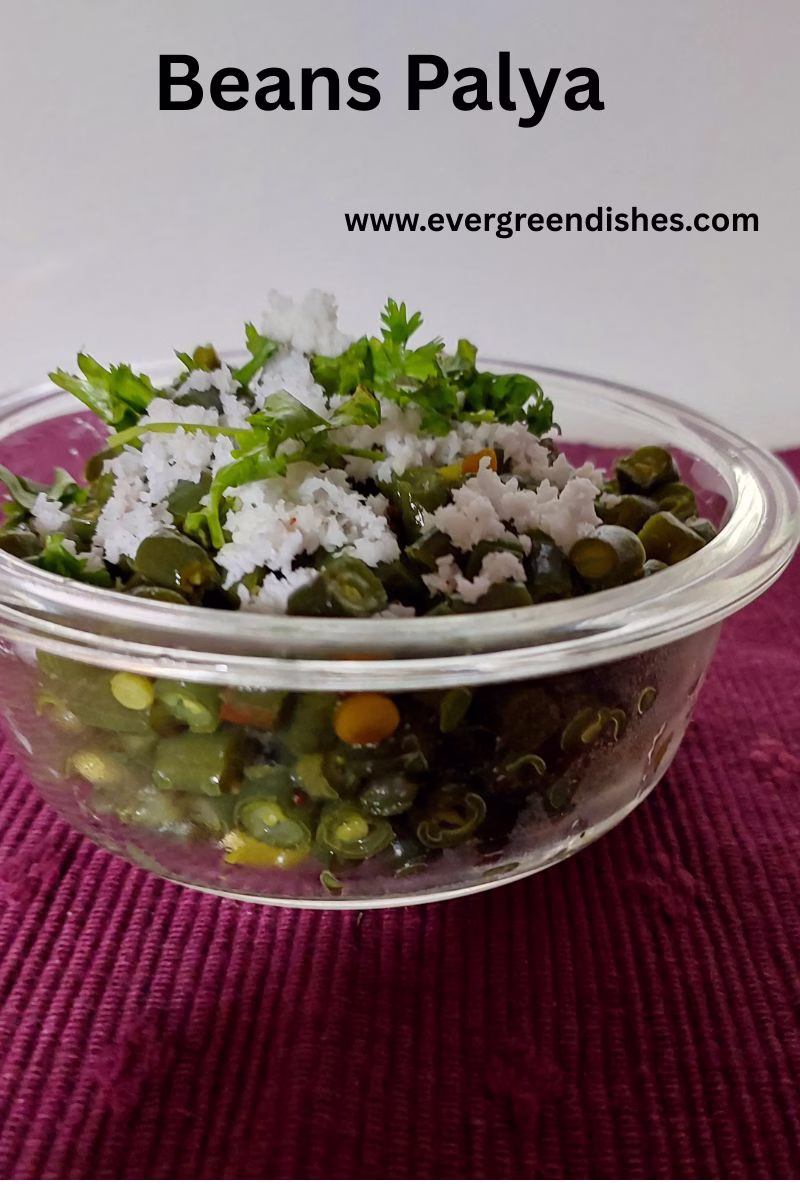
Beans, popularly known as French beans or just by the name of ring beans is a key ingredient in South Indian cooking. It makes a good combo with other veggies such as carrot, peas, capsicum and potato and can be used in various dishes as gravies, pulav or snacks. But, have you tried this simple g bean stir fry? I am sure, many are not aware of this , do give a try. Bean stir fry is a healthy and easy alternative to quick cooking. It can be used as an accompaniment with chapati or rice. Beans palya makes a good accompaniment in South Indian cooking.
Beans Stir Fry / Beans Palya Recipe
Ingredients:
1/2 kg beans
1/2 teaspoon mustard seeds
1/4 teaspoon asafoetida
1 teaspoon bengal gram
1 teaspoon urad dal
4 green chilly
curry leaves a few
coriander for garnishing
fresh coconut
2 teaspoon oil
salt to taste
fresh coconut
coriander leaves
Equipments : chopping board,knife, wok, spatula
Method:
Remove the ends and the strings of the beans Chop them finely.
Wash it in tap water and keep aside.
Take a wok, add the oil and heat on a low flame. Add mustard seeds, as it crackles add the bengal gram and urad dal, leave it for a while, then add the green chilly ,turmeric powder, asafoetida and curry leaves.
Add the chopped green beans along with salt and sprinkle a little water. Allow to cook till tender.
Add grated coconut and fresh coriander leaves to it. Green bean stir fry is ready to serve.
Take a tip:
Addition of coconut enhances the taste. During summer, keep it in the refrigerator.
A few dry red chilly may be added in the seasoning instead of green chilli. Alternatively, you can add red chilli powder after the beans is tenderly cooked.
You may use onion along with it. The traditional recipe does not use it.
In one kind of recipe, coconut and chilli powder are ground and added.
Beans Stir Fry
Beans stir fry is a tasty side dish from South India.
Chop the beans finely . Wash it in cold water and keep aside.
Take a wok, add the oil and heat on a low flame. Add mustard seeds, as it crackles add the bengal gram and urad dal, leave it for a while, then add the green chilly ,turmeric powder, asafoetida and curry leaves. Add the chopped green beans along with salt and sprinkle a little water.
Allow to cook till tender. Add grated coconut and fresh coriander leaves to it. Green bean stir fry is ready to serve.
About the event :
Sending this to Foodies_Redoing Old Post_166. It is a fortnightly event, an old post is worked by editing the post with better pictures or more relevant content. Here, I have changed the picture on this day Dec 7th, 2025.
If you ever make Beans Stir Fry in your kitchen, take a picture and tag @foodiejayashree on Instagram or @evergreendishes on Facebook. Subscribe to get all updates in your inbox and an e-book for free!
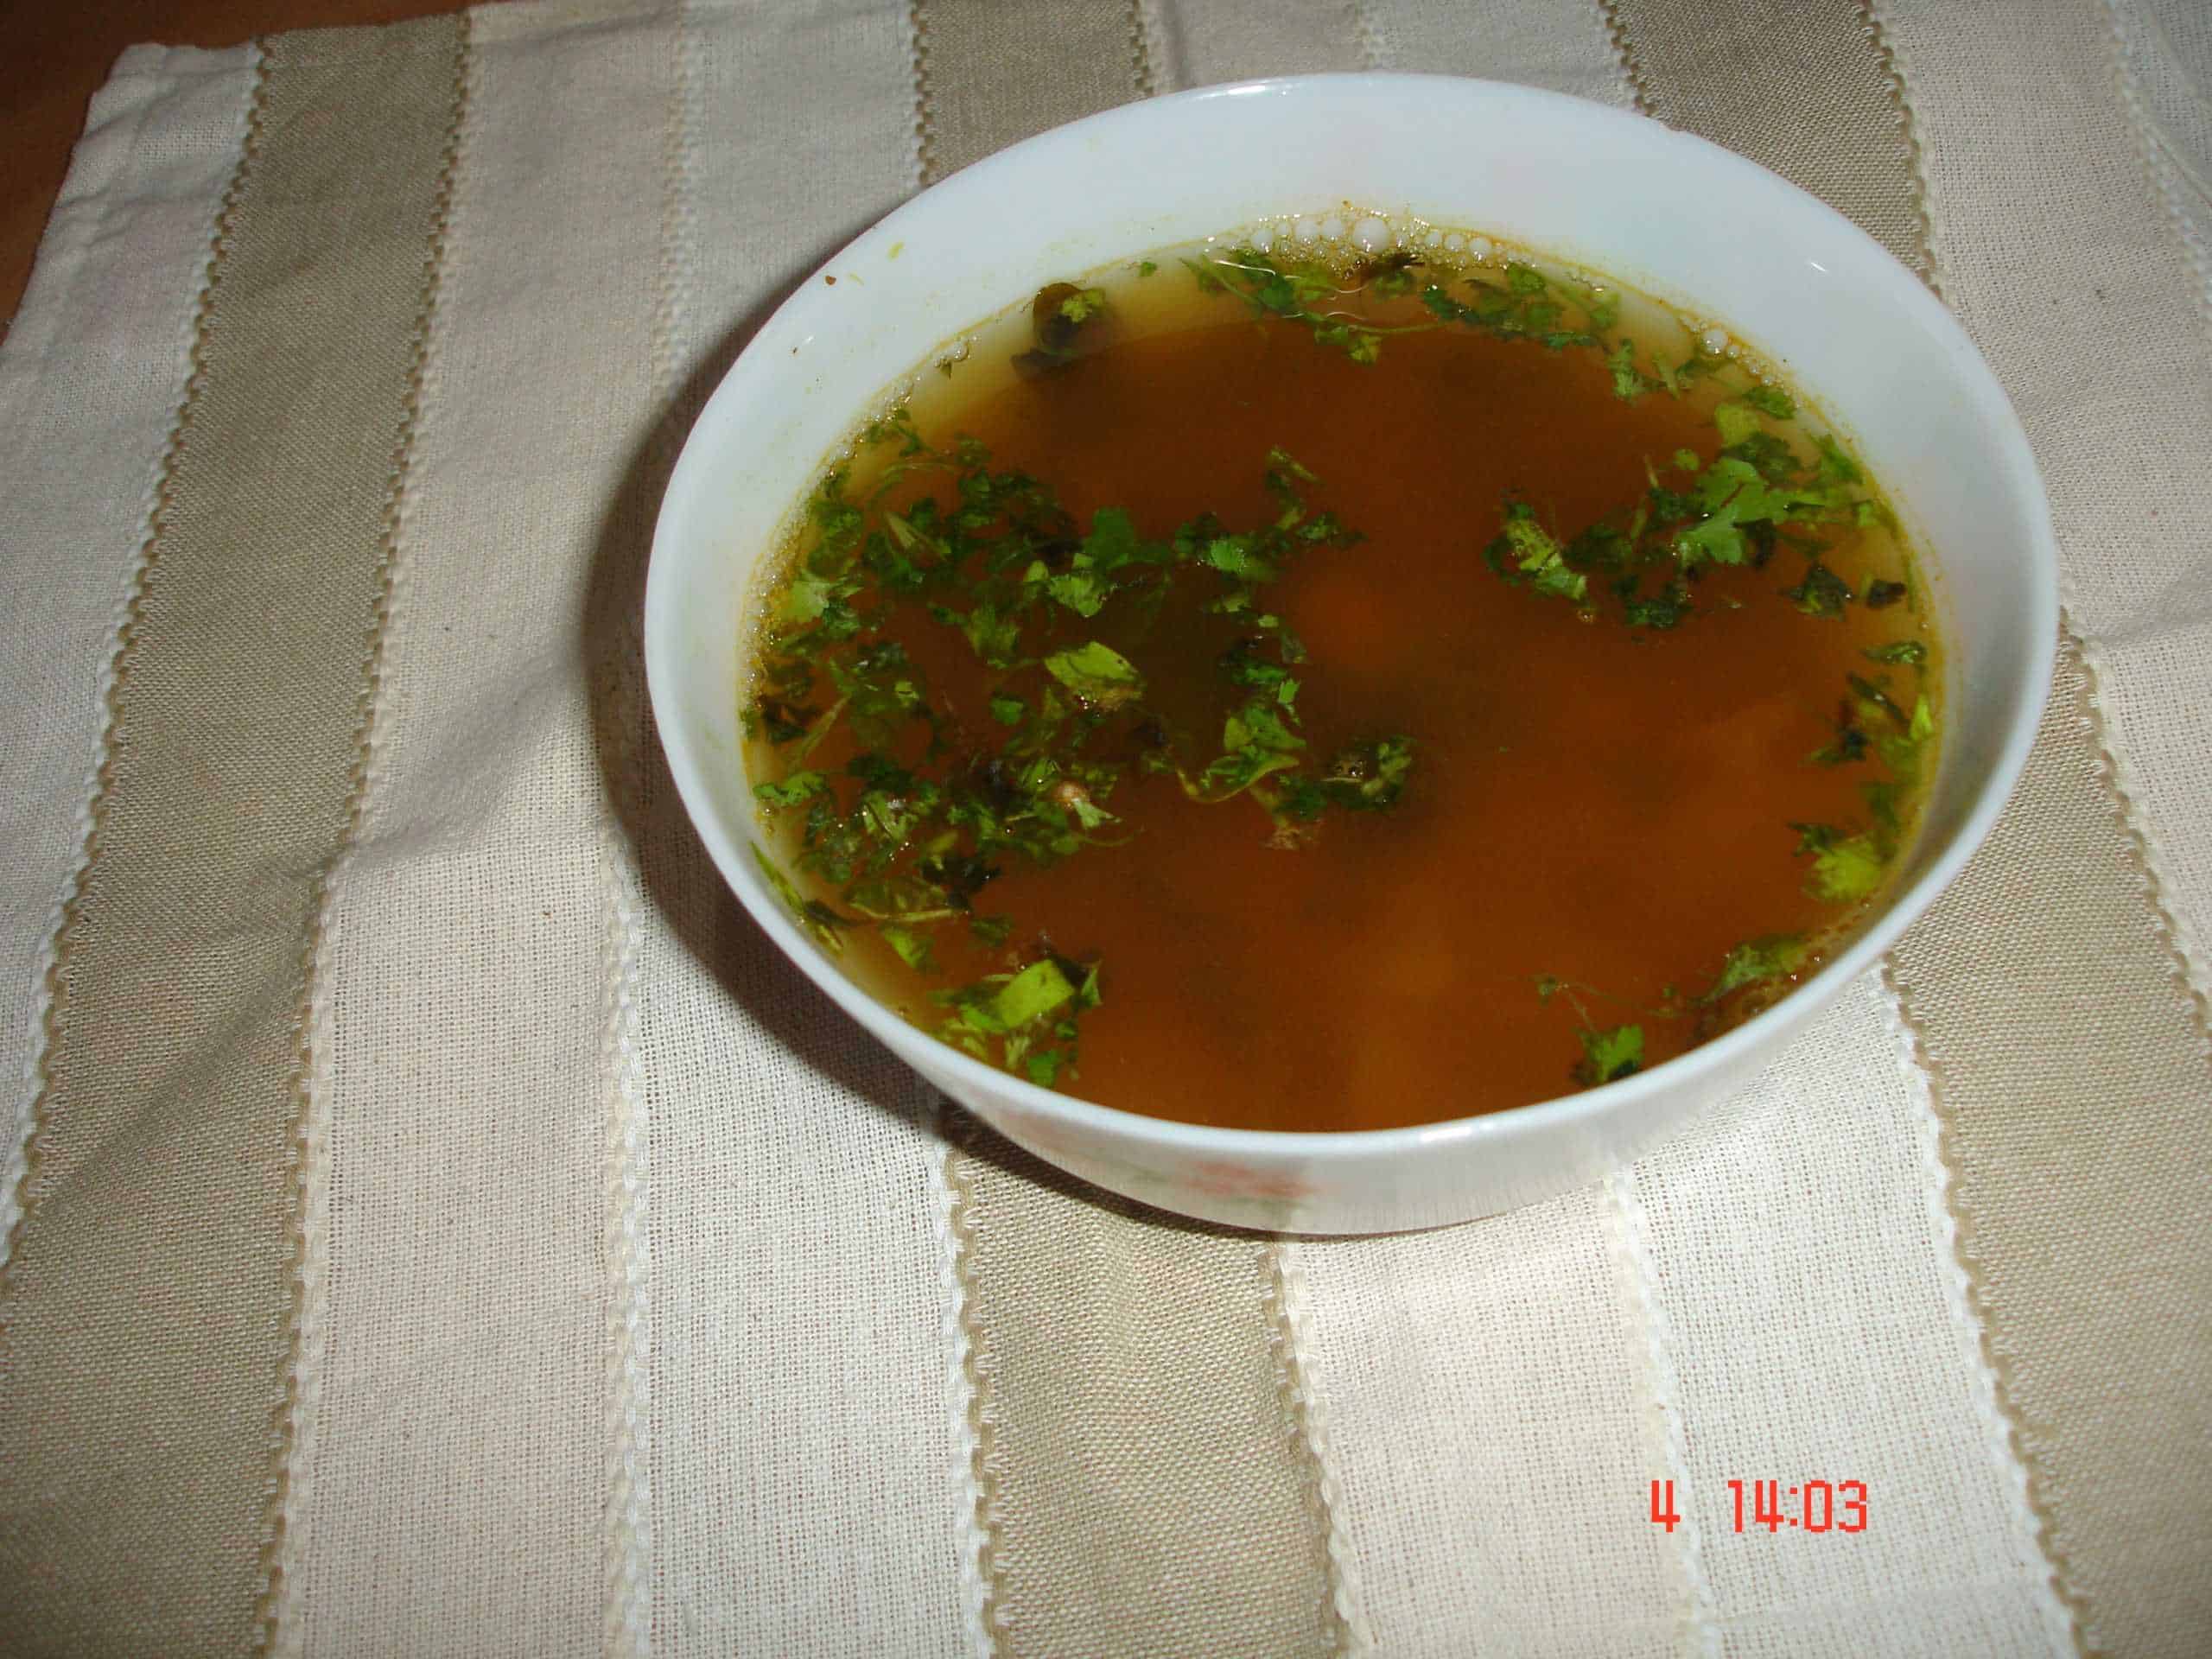
Kattina Saaru is another kind of rasam. The name “Kattina Saaru” comes from Kannada language meaning filterate and “saaru ” is rasam. Here, the water that is used in cooking the tuvar dal, is used for the rasam and the cooked dal, that is the residue, is used to make a special kind of sweet, stuffed pancakes (holige) or alternatively can be used to make dal fry.
Ingredients :
Tur dal 250 grams
Tamarind lemon sized ball
Tomato 2
Rasam powder 3tsp
Jaggery marble sized ball
salt to taste
ghee 2tsp
mustard 1/2 tsp
asafoetida 1/4tsp
turmeric powder 1/4 tsp
curry leaves a few
coriander leaves for garnishing
rasam special
Method :
Pre requisites :
Cook dal with sufficient quantity in the pressure cooker. If water is less, add some more and allow to stand for sometime before using.
Soak tamarind for half an hour in water,
Chop tomato into small pieces,
To make :
Take a pan and add the ghee to it. Make seasoning by adding the mustard seeds, when they crackle, add the asafoetida and turmeric powder. To it , add the chopped tomato and salt along with sufficient quantity of water. Adding of water, will prevent the tomatoes from getting burnt. When cooked, add the tamarind pulp, rasam powder, chilly powder, jaggery along with a few curry leaves. Let boil for sometime. Now, add the dal water to it. If you find it less, add some more water to the cooked dal, let stand for awhile before pouring it. Allow to boil on a low flame. Kattina Saru or Special rasam is ready to serve.
Note : This needs a slightly more of tamarind pulp and jaggery than the previous make.
Hope you liked these two rasams of mine. Would love to have your feedback. If you ever make this recipe, take a picture and tag @foodiejayashree on Instagram or @evergreendishes on Facebook.
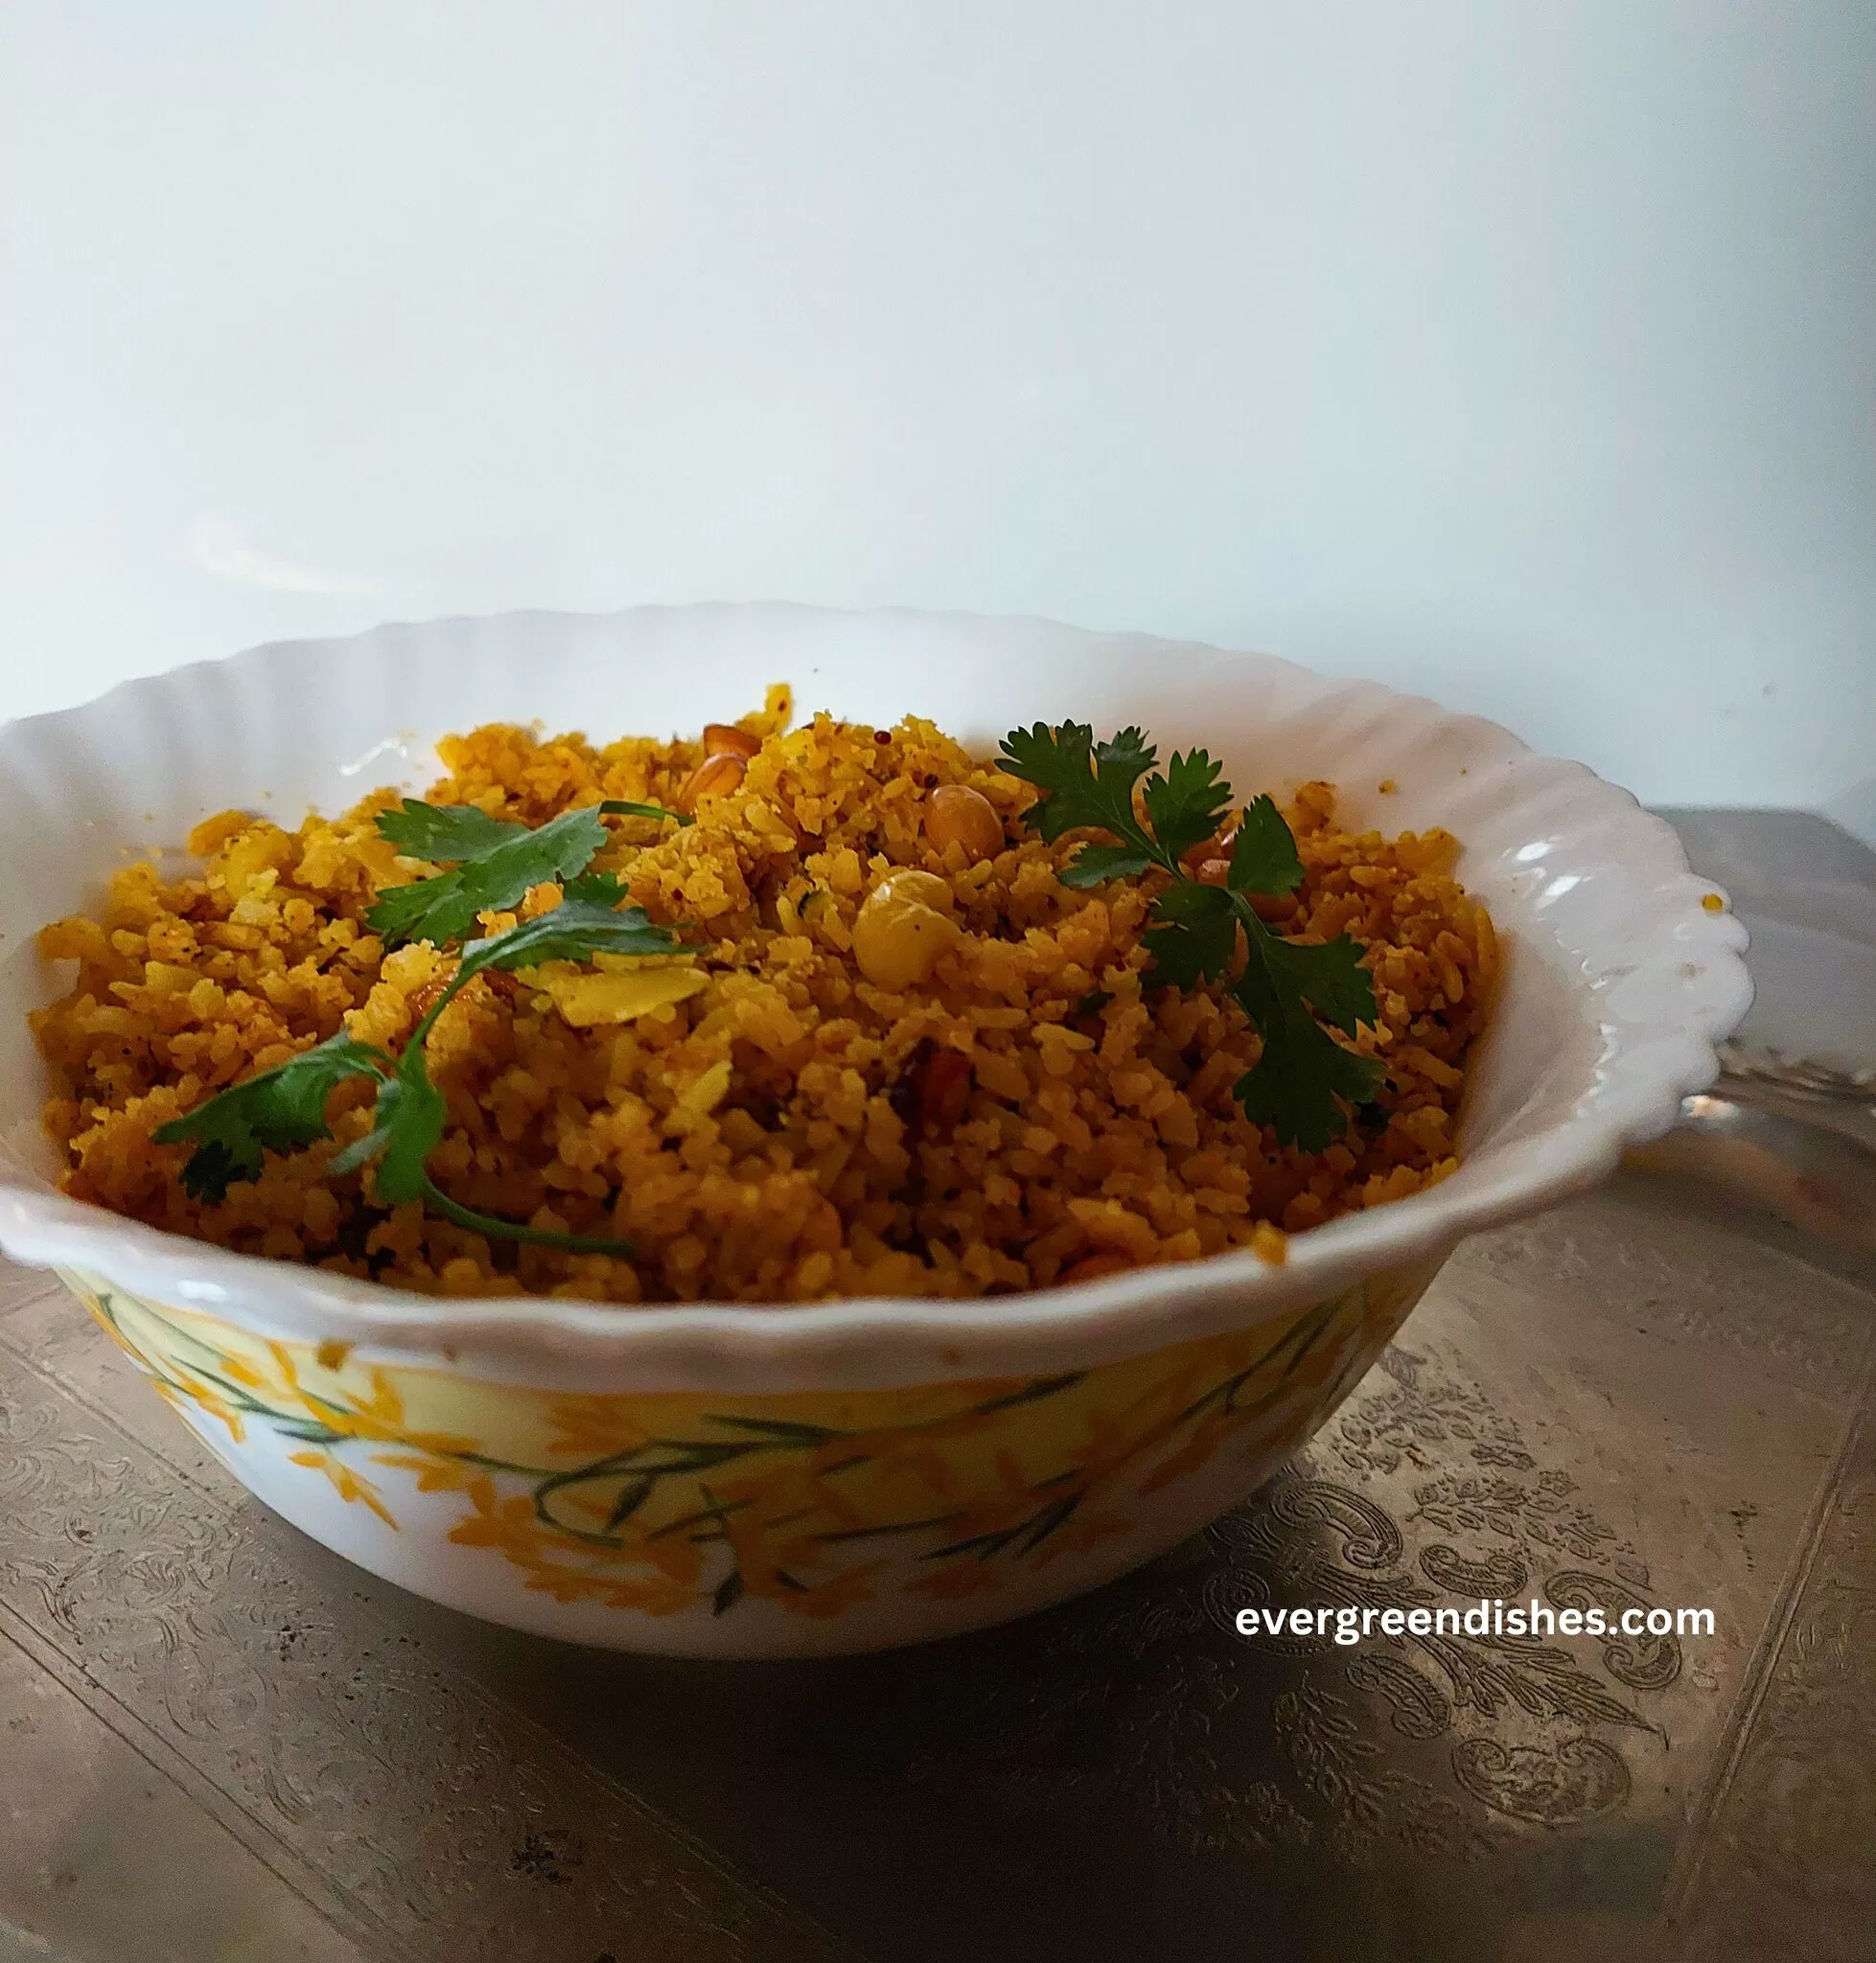
Gojjuavalakki or Gojju Avalakki is a staple food in South India. It is tangy and also called as Huli Avalakki. Huli is the regional word meaning sour. It is not only sour, but I can say tangy.
Beaten rice popularly known as “avalakki ” in karnataka and “poha ” in maharashtra is one of the staple food of the Kannadigas. They relish eating in any form, just as a chivda with tea or for breakfast. Here is one such recipe which many of you can relate.
gojjavalakki
The ingredients needed are :
4 cup beaten rice
300 ml tamarind pulp
a lemon size ball of jaggery
2 tablespoon oil
1/2 teaspoon mustard seeds
a pinch of asafoetida
1/4 teaspoon turmeric powder
2 tablespoon groundnuts
1/2 teaspoon bengal gram
1/2 teaspoon urad dal
6 cashew nuts broken into pieces
a few curry leaves
salt to taste
1 teaspoon chilli powder
2 teaspoon rasam powder
coriander for garnishing
Method :
Take the beaten rice , immerse in water for a second and drain the water.
Take the tamarind pulp, jaggery, salt, chilli powder and rasam powder and boil in a pan. It should be of a moderately thick consistency.
Take oil in a large pan and make the seasoning. Add the mustard seeds, and as they crackle add asafoetida, turmeric powder, bengal gram urad dal, groundnuts, cashew nut pieces and curry leaves . Leave aside for a minute.
As the colour changes, add the pulp to it and mix well. Now add the washed beaten rice to it and mix well. Keep on a low flame for sometime. Garnish with coriander.
Take a tip :
The taste of gojju avalakki is a blend of sour, sweet and spicy, hence it can be described as khatta meetha.
One needs to let the ground nuts cook for some time in the oil. Otherwise, it does not taste good.
One can add onions to it, when the seasoning is done, saute and prepare in the same way. But, this is also equally good.
Take the poha or avalakki and wash it in water. Let the impurities be drained. Then, immerse in water for a second and drain the water.
Take the tamarind pulp, jaggery, salt, chilli powder and rasam powder and boil in a pan. It should be of a moderately thick consistency.
Take oil in a large pan and make the seasoning. Add the mustard seeds, and as they crackle add asafoetida, turmeric powder, bengal gram urad dal, groundnuts, cashew nut pieces and curry leaves . Leave aside for a minute.
As the colour changes, add the pulp to it and mix well. Now add the washed beaten rice to it and mix well. Keep on a low flame for sometime. Garnish with coriander.
Notes
Tamarind pulp can be extracted by soaking the tamarind in water for fifteen minutes. It is squeezed well and then extracted. It is moderately thick in consistency.
The taste of gojju avalakki is a blend of sour, sweet and spicy, hence it can be described as khatta meetha.
One needs to let the ground nuts cook for some time in the oil. Otherwise, it does not taste good.
One can add onions to it, when the seasoning is done, saute and prepare in the same way. But, this is also equally good.
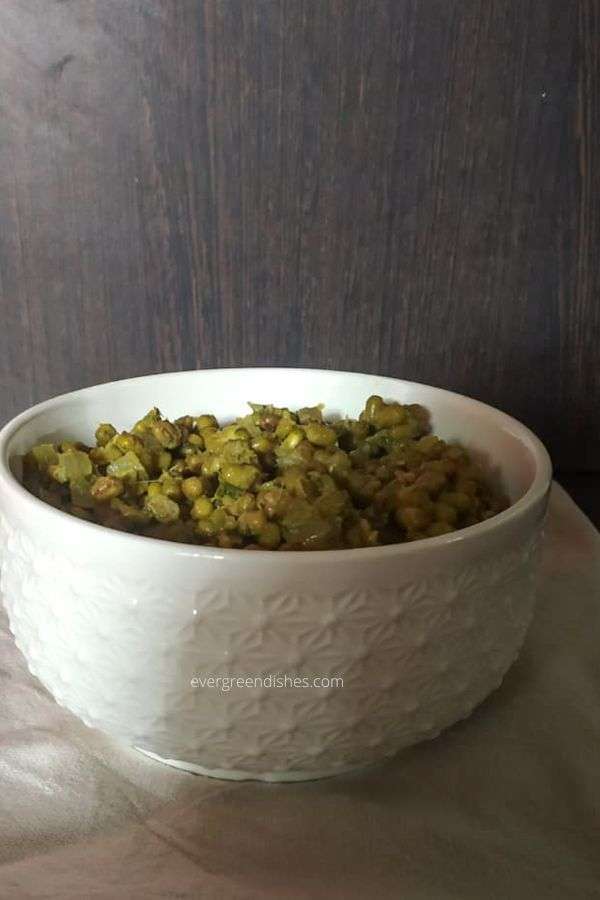
Green gram stir fry is a popular side dish from Karnataka. It is commonly known as Hesaru kalu palya. It makes a good accompaniment with chapathi or jowar roti.
Ask any South Indian, they will be happy to mention about green moong. It is one of the essentials in the kitchen. It is widely used to make an array of dishes as stir fry, curries and dosa. Sprouted green gram is mostly used in salads.
Green gram is widely used in South India to make as an accompaniment with jowar roti or chapati. It is mixed with a few spices and cooked well. It is often made as it is healthy and makes a good substitute for the regular veggies.
For unplanned cooking, you can cook them directly in the pressure cooker. But, it is good to soak green moong for half an hour at least. It eases the cooking process. Pressure cook it for two whistles. Allow the pressure to release it by itself. Do not cook for a longer time, it becomes smudgy.
Green moong can be soaked overnight and used in cooking. It can be cooked directly in a pan with some seasoning.
Sprouted green moong can also be used in cooking stir fry.
Moong Dal Bada is a crunchy snack made using green moong, ideal to serve as a snack.
Let’s get to the recipe of Green Moong Stir Fry
The ingredients that you need are :
1 cup green gram
1 onion
3 green chilli
ginger 1inch
handful of coriander leaves
1 tablespoon oil
1/4 cumin
1/4 teaspoon muustard
1/8 teaspoon asafoetida
1/8 teaspoon turmeric powder
salt to taste
Method :
Cook the green gram in a pressure cooker.
Grind coriander leaves, cumin, ginger and green chillies to a fine paste with a tablespoon of water.
Cut onions into small pieces.
Heat oil in a kadai, add the mustard seeds. When they crackle add asafoetida , turmeric powder and the onions. Saute till light pink. Add the paste and salt and mix well. Now ,add the cooked green gram to it and mix well. Simmer for five minutes.
Serve with chapati or jowar roti.It is ideal to soak for green moong for half an hour.
Take a tip:
The cooking time depends on the kind of gram you have used and the mode of cooking.
If soaked for a longer, you can cook them directly in a pan. Otherwise, you need to pressure cook them.
Adjust the level of spiciness as per your taste.
Evergreendishesdev
Green Moong Stir Fry
5 from 4 votes
Green Moong Stir Fry is a simple and tasty stir fry from North Karnataka. It makes a good accompaniment with jowar roti or chapathi.
Grind coriander leaves, cumin, ginger and green chillies to a fine paste with a tablespoon of water.
Cut onions into small pieces.
Heat oil in a kadai, add the mustard seeds. When they crackle add asafoetida , turmeric powder and the onions. Saute till light pink. Add the paste and salt and mix well. Now ,add the cooked green gram to it and mix well. Simmer for five minutes.
Serve with chapati or jowar roti.
Notes
It is ideal to soak for green moong for half an hour.
The cooking time depends on the kind of gram you have used and the mode of cooking. If soaked for a longer, you can cook them directly in a pan. Otherwise, you need to pressure cook them.
Adjust the level of spiciness as per your taste.
About the event :
This is an old post which I have updated with more information and better pictures. The recipe remains the same. Sending this to Foodies_Redoing Old Post 83, a fortnightly event. Here, we work on the old posts either by editing or by changing the pictures.
The post was first published on 13/07/2014. Edited on 21/7/2022
green gram stir fry
If you ever make Green Moong Stir Fry recipe, take a piicture and tag @foodiejayashree on Instagram or @evergreendishes on Facebook. I will be glad to share your creation. Subscribe to get an e-book and all updates in your inbox!
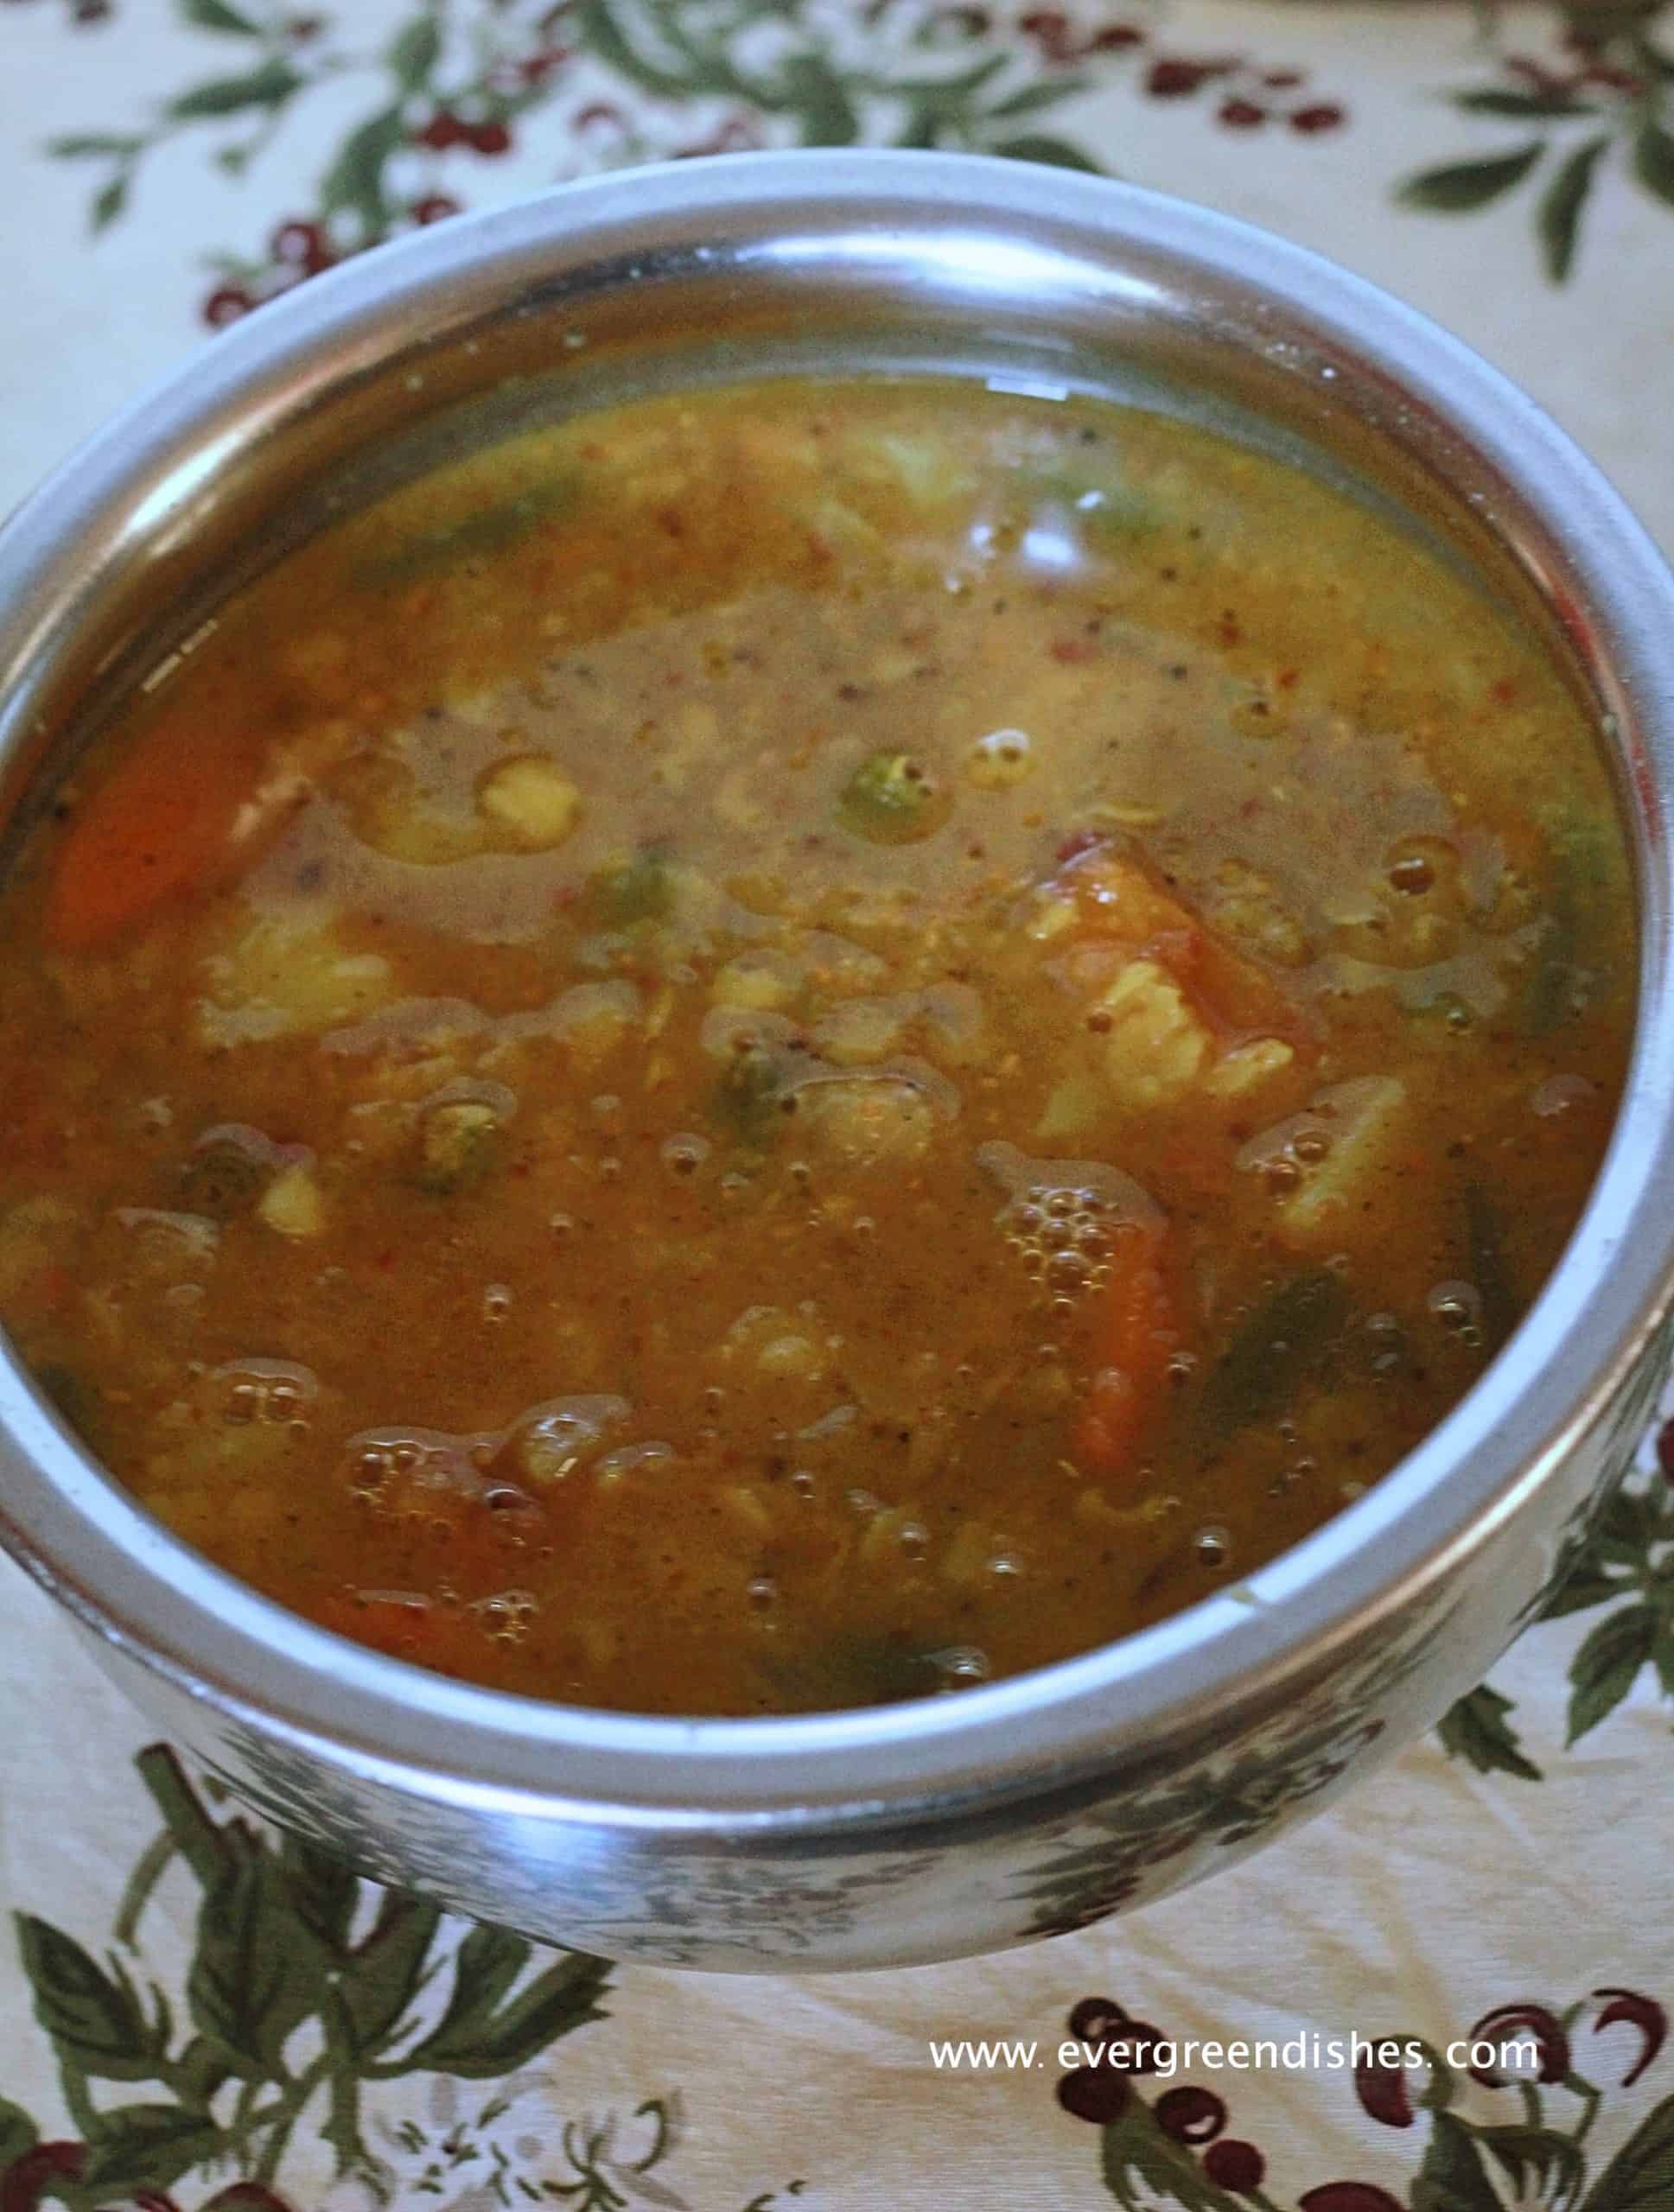
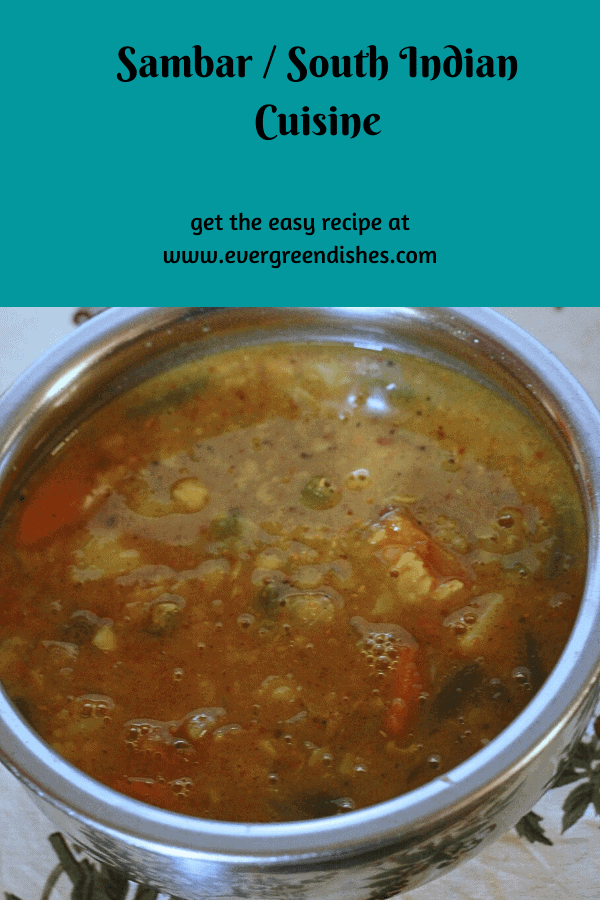
Sambar is a thick lentil based, thick soup like dish made with the addition of vegetables and spice mix, usually served with steamed rice. It is commonly made in every household in South India, though the spice mix varies.
Sambar is thicker than rasam and usually, some kind of vegetables or green leaves are added to it. It is also served with idly and wada. Onion may or may not be added to it. This is a vegan food.
Here is one kind of sambar that you can make on a regular basis.
The ingredients that you need are:
1 cup tur dal
1.5 cup beans,carrot and potato
1 onion cut into small pieces
1 tomato finely cut
2 tsp of sambar powder
1 tsp of chilly powder
a lemon size ball of tamarind
salt to taste
2 tbsp of ghee and oil mixed together for seasoning
1/2 tsp of cumin seeds
a few curry leaves
coriander for garnishing
Method:
Wash the tur dal and cook it in the pressure cooker with the veggies. Keep aside.
Soak tamarind in water for fifteen minutes.
Take oil in a kadai and make the seasoning. Add cumin seeds,curry leaves and onions. Saute till light pink in colour.
Add tomatoes and allow to cook till tender.
Extract the pulp from the tamarind. Strain it and measure a small glass of it. Pour it into the kadai.
Add sambar powder, chilli powder and salt.
Allow to boil for sometime.
Now add the cooked vegetables in dal .
Add sufficient quantity of water.
Allow to boil on slow flame,Garnish with fresh finely cut coriander leaves.
Take a tip:
Sambar powder is easily available in market.
sambar
Pin it for later:
This is an old post which I have redone with better pictures and text. Every fortnightly, a group of bloggers visit our old posts and edit one of them. Sending this to Foodies_ Redoing_Old Post19
If you have liked this recipe, do share it with your family and friends. If you ever recreate it, take a picture and tag @foodiejayashree on Instagram, or @evergreendishes on Facebook and Twitter.
Let’s be connected !
Subscribe to get all updates and a book of handy hints for free !