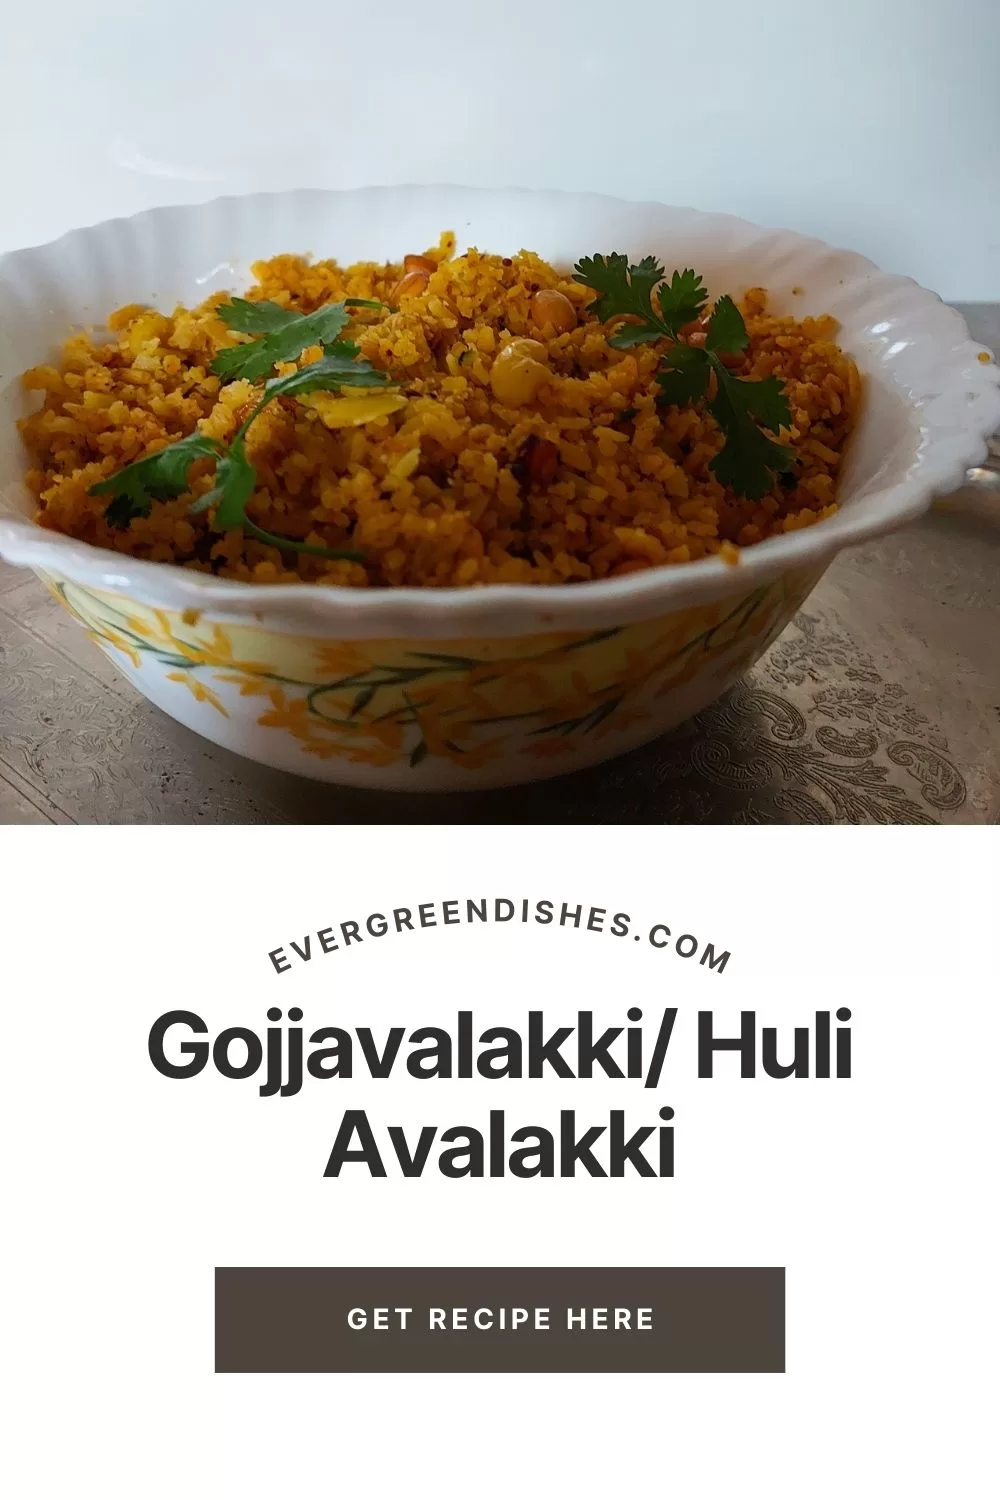
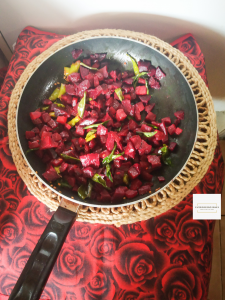
Beetroot stir fry is a simple, healthy and tasty side dish from South Indian cuisine. It pairs well with chapati or phulka.
Beetroot is a wonderful vegetable .The vibrant purple colour is very pleasing. I really love that colour. Dark coloured vegetables are all rich in nutrients and so is this one. It is rich in calcium, iron, Viamin A and C and packed with anti oxidants.
It is good for the heart and lowers the blood pressure. It is said to prevent some types of cancer. It helps in the functioning of the brain and thus helps in preventing dementia. It is rich in fibre and thus helps in keeping the body clean.
One can find many ways to include this vegetable.Many people drink juice of it. It can be used in vegetables, soups and varied snacks as cutlets and burgers. Today, I am presenting to you a simple vegetable which is healthy and can be quickly prepared.
This vegetable is liked by my children sans fresh coconut, but do feel free to include it for a better taste.
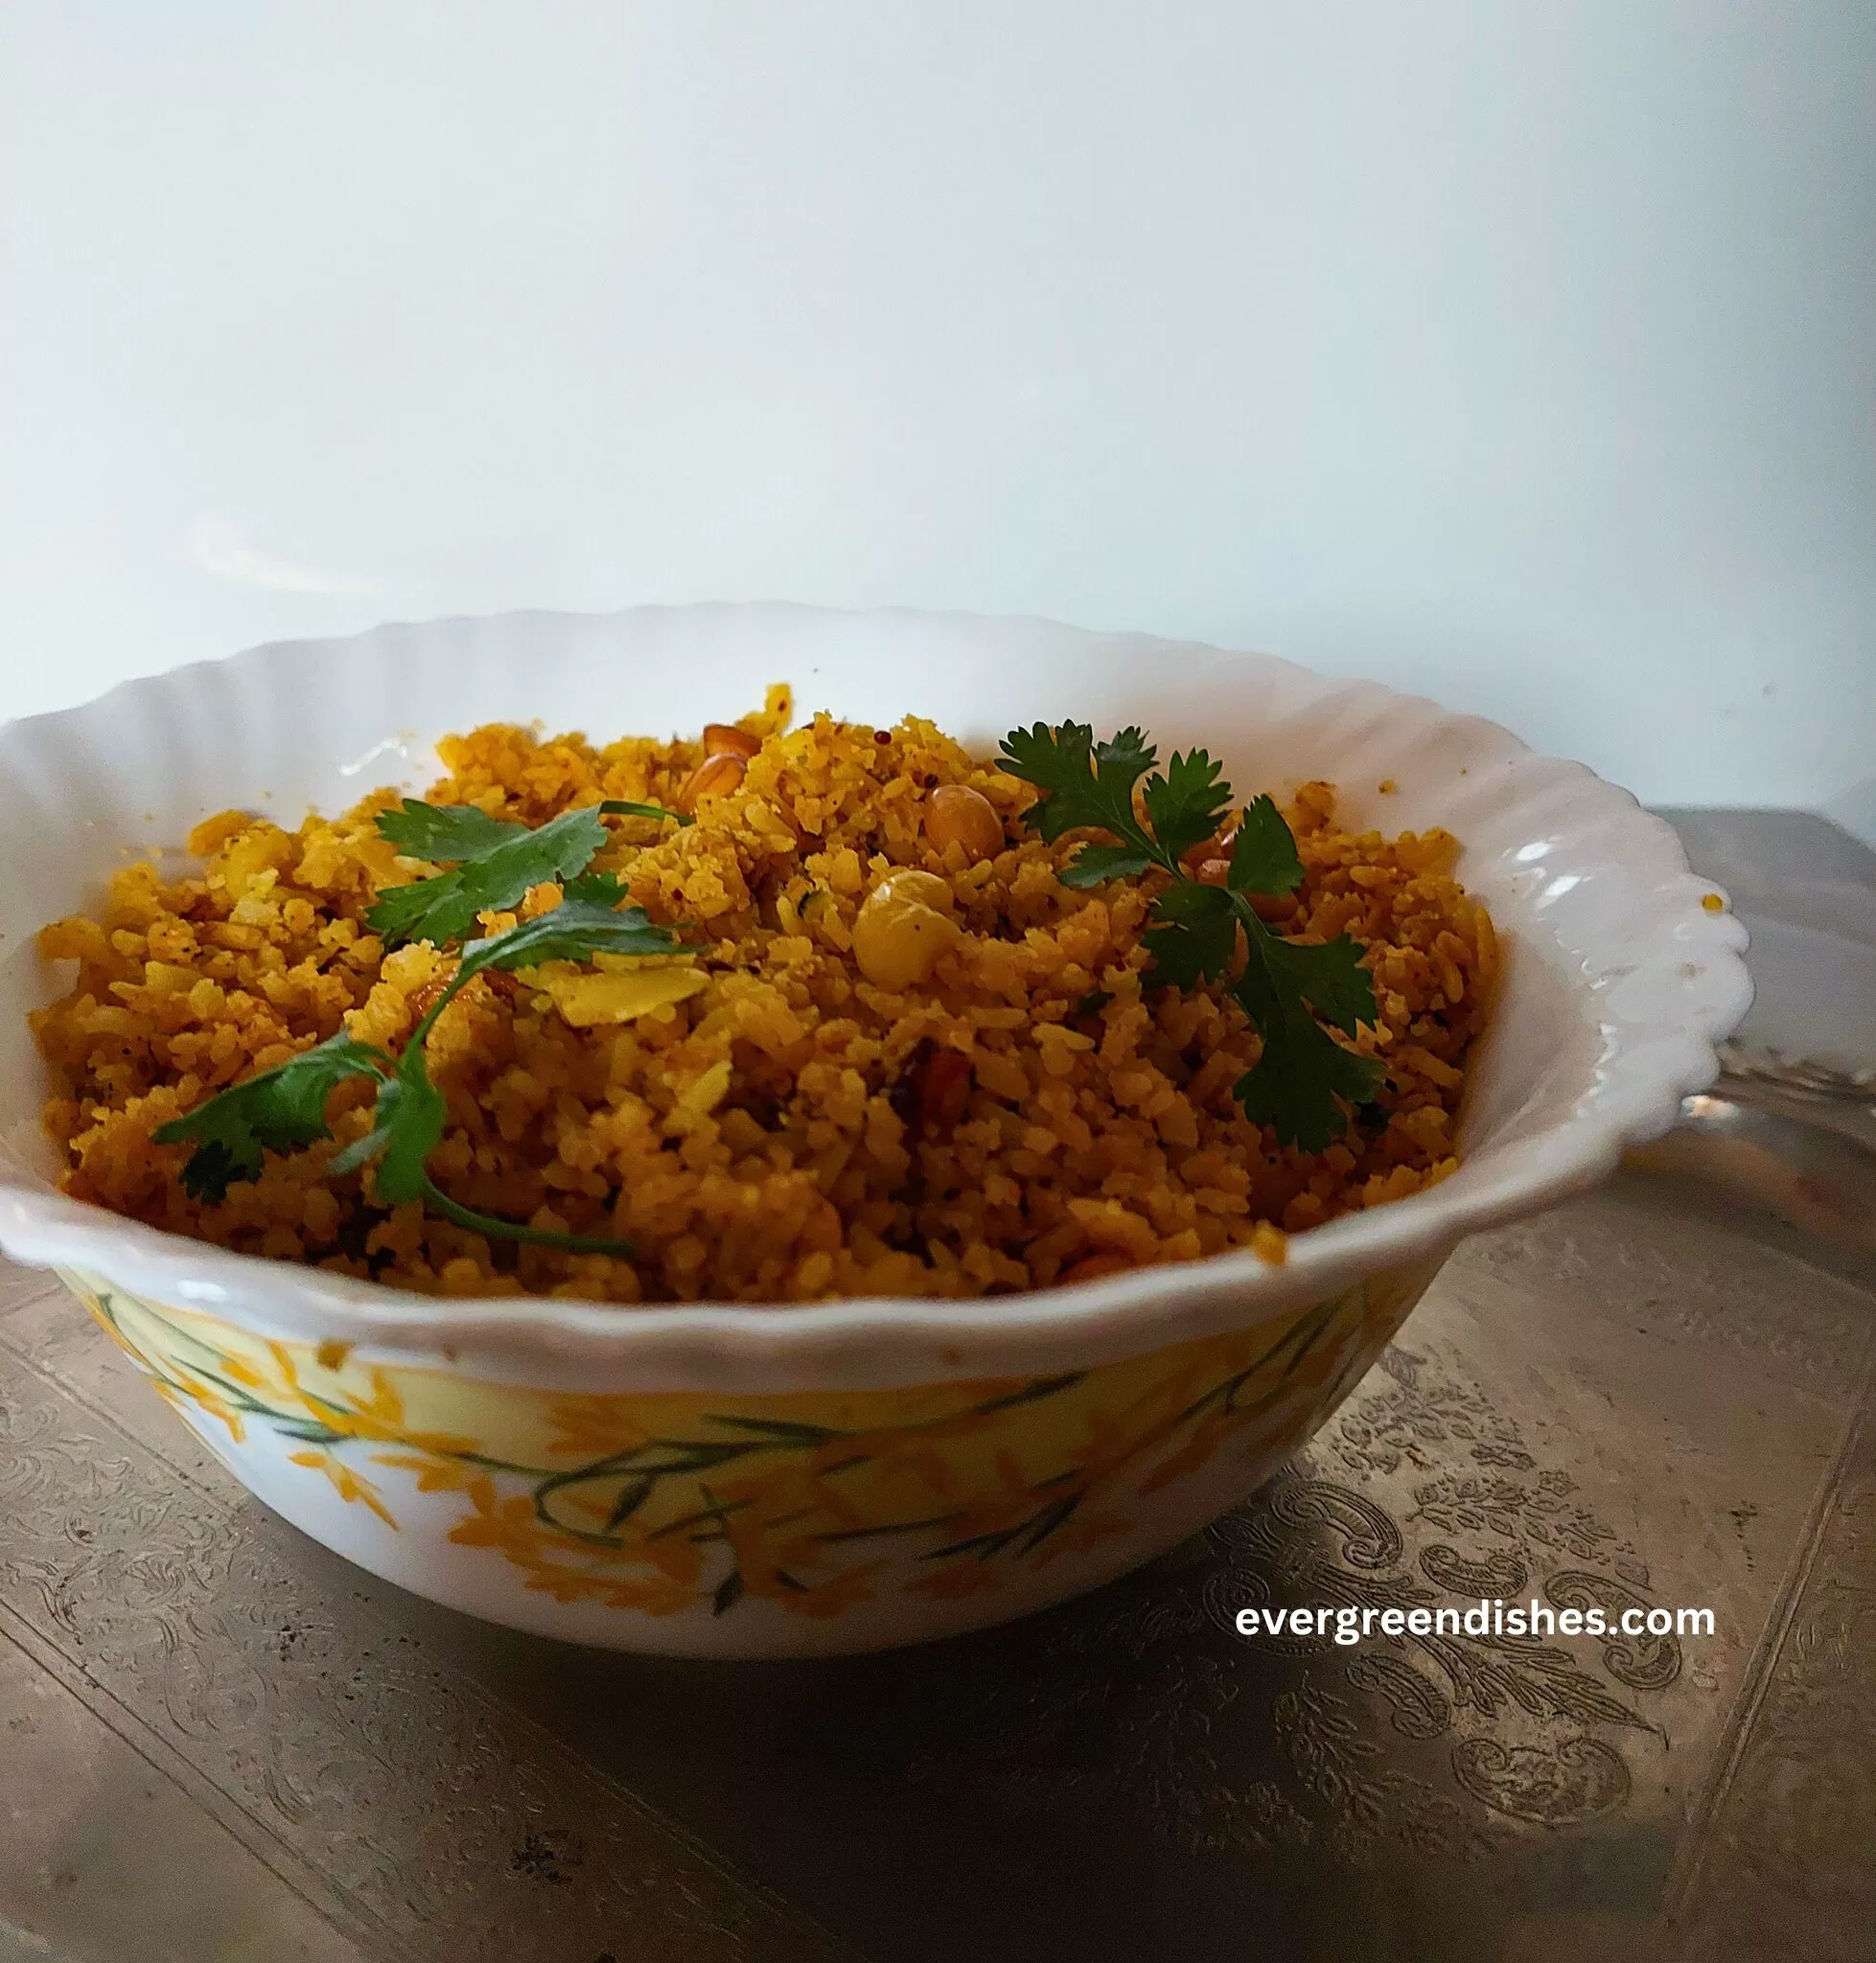
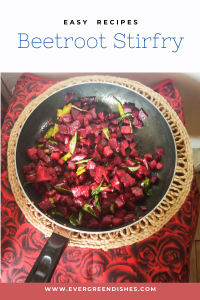
Beetroot Stir Fry
Ingredients:
- 1 beetroot
- 2 teaspoon oil
- 1/2 teaspoon mustard seed
- 1/4 teaspoon asafoetida
- 1/4 teaspoon turmeric powder
- 2 green chilly
- salt
- 1/4cup fresh grated coconut
Method:
- Cut the beetroot in half and pressure cook it along with rice or dal.
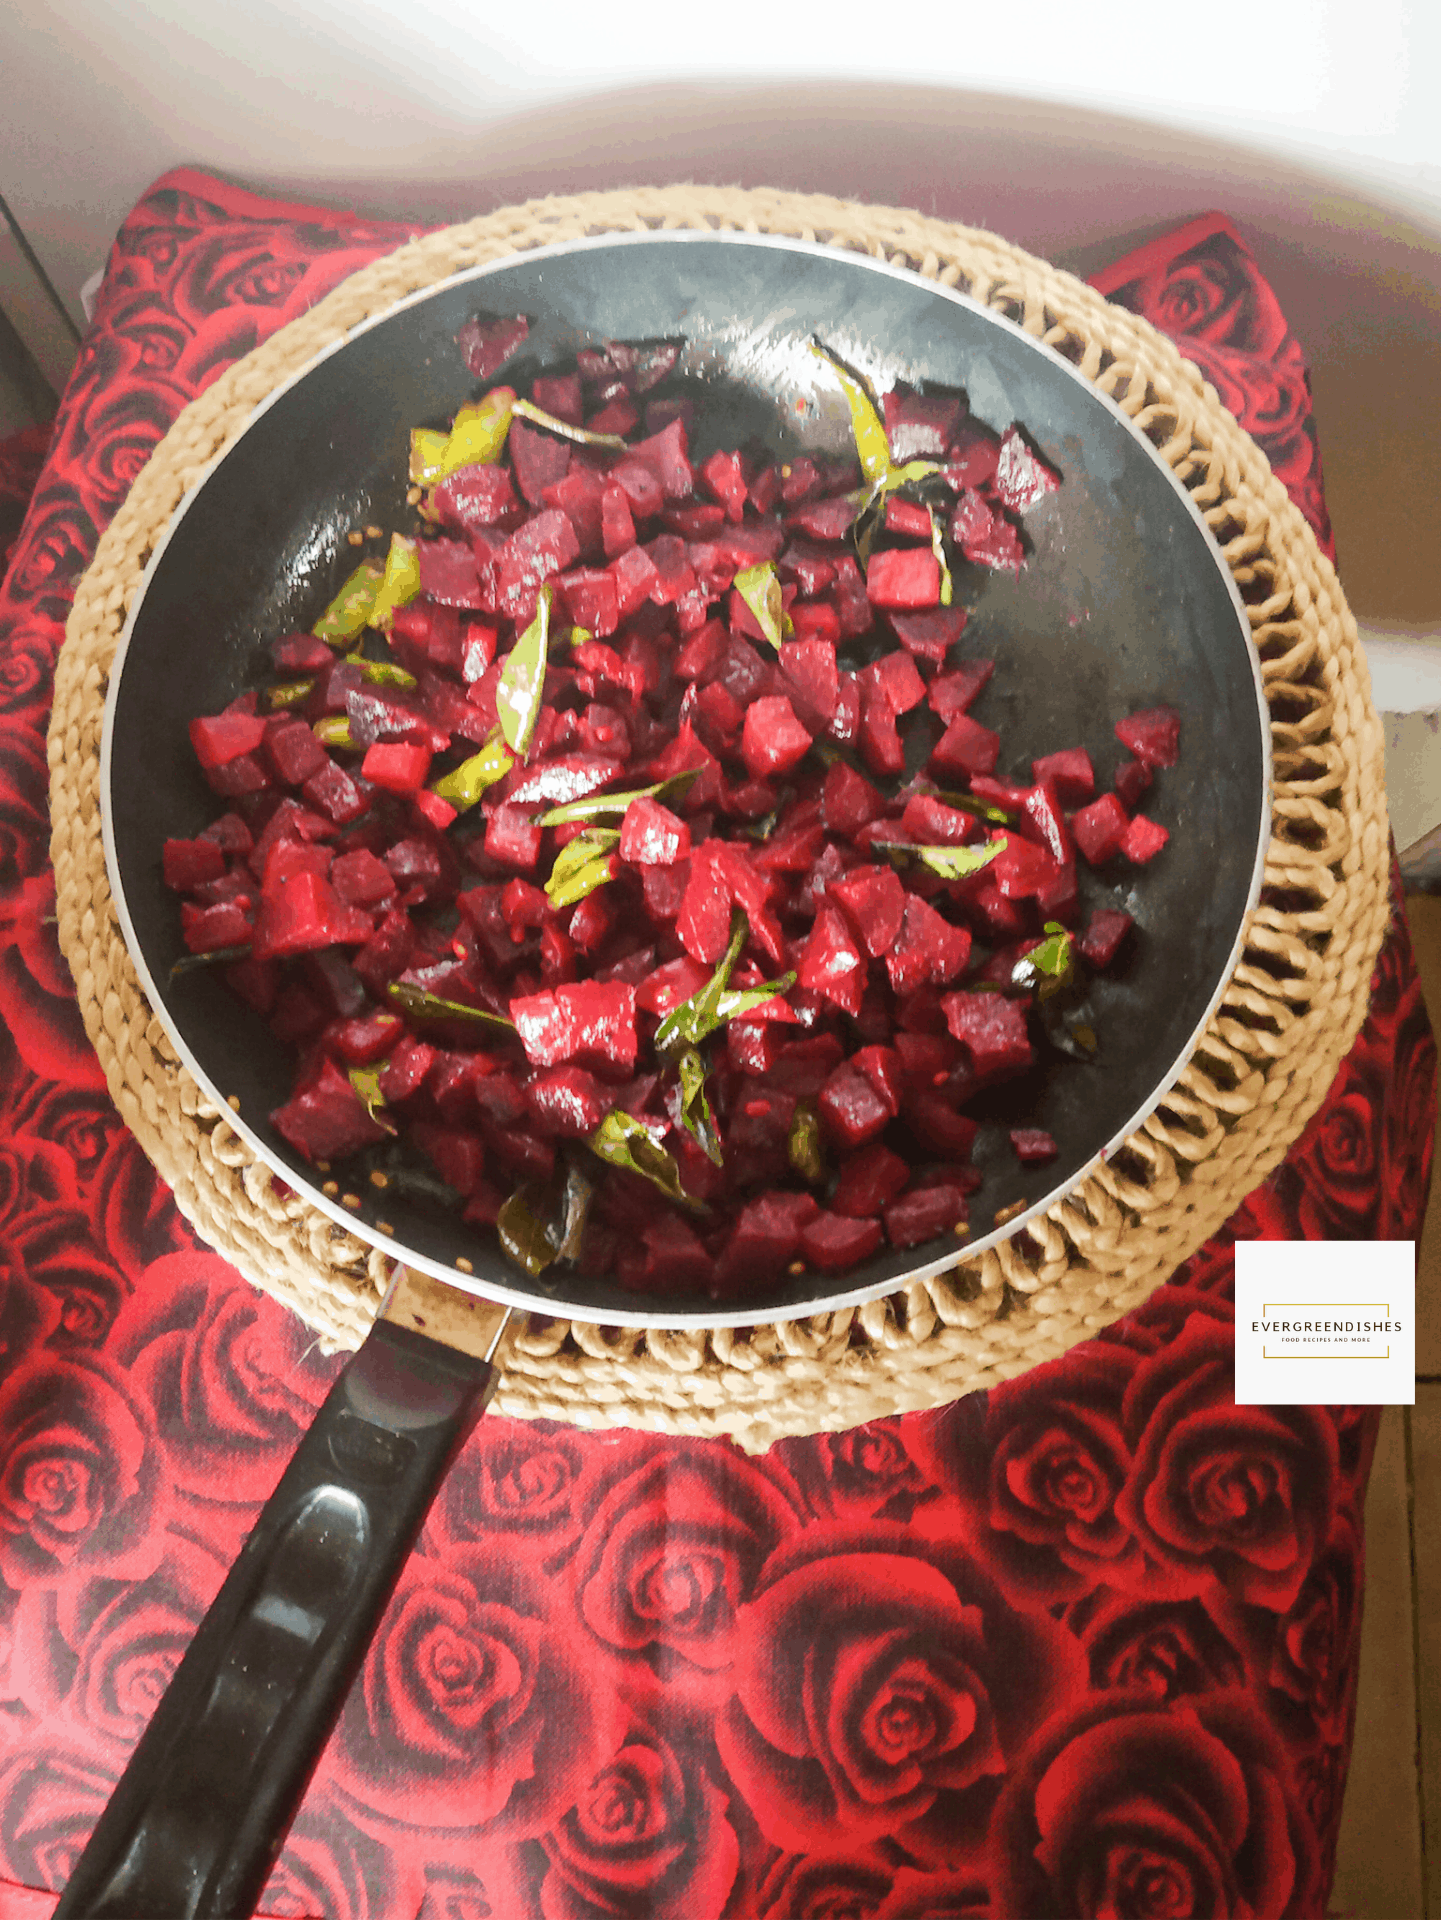
- Peel the skin and cut into small cubes.
- Make a seasoning by adding the mustard seeds, urad dal, bengal gram , asafoetida and turmeric powder. Add the green chilli and after a second , put the beetroot pieces and stir. Add salt and coconut and heat on a low flame for sometime.
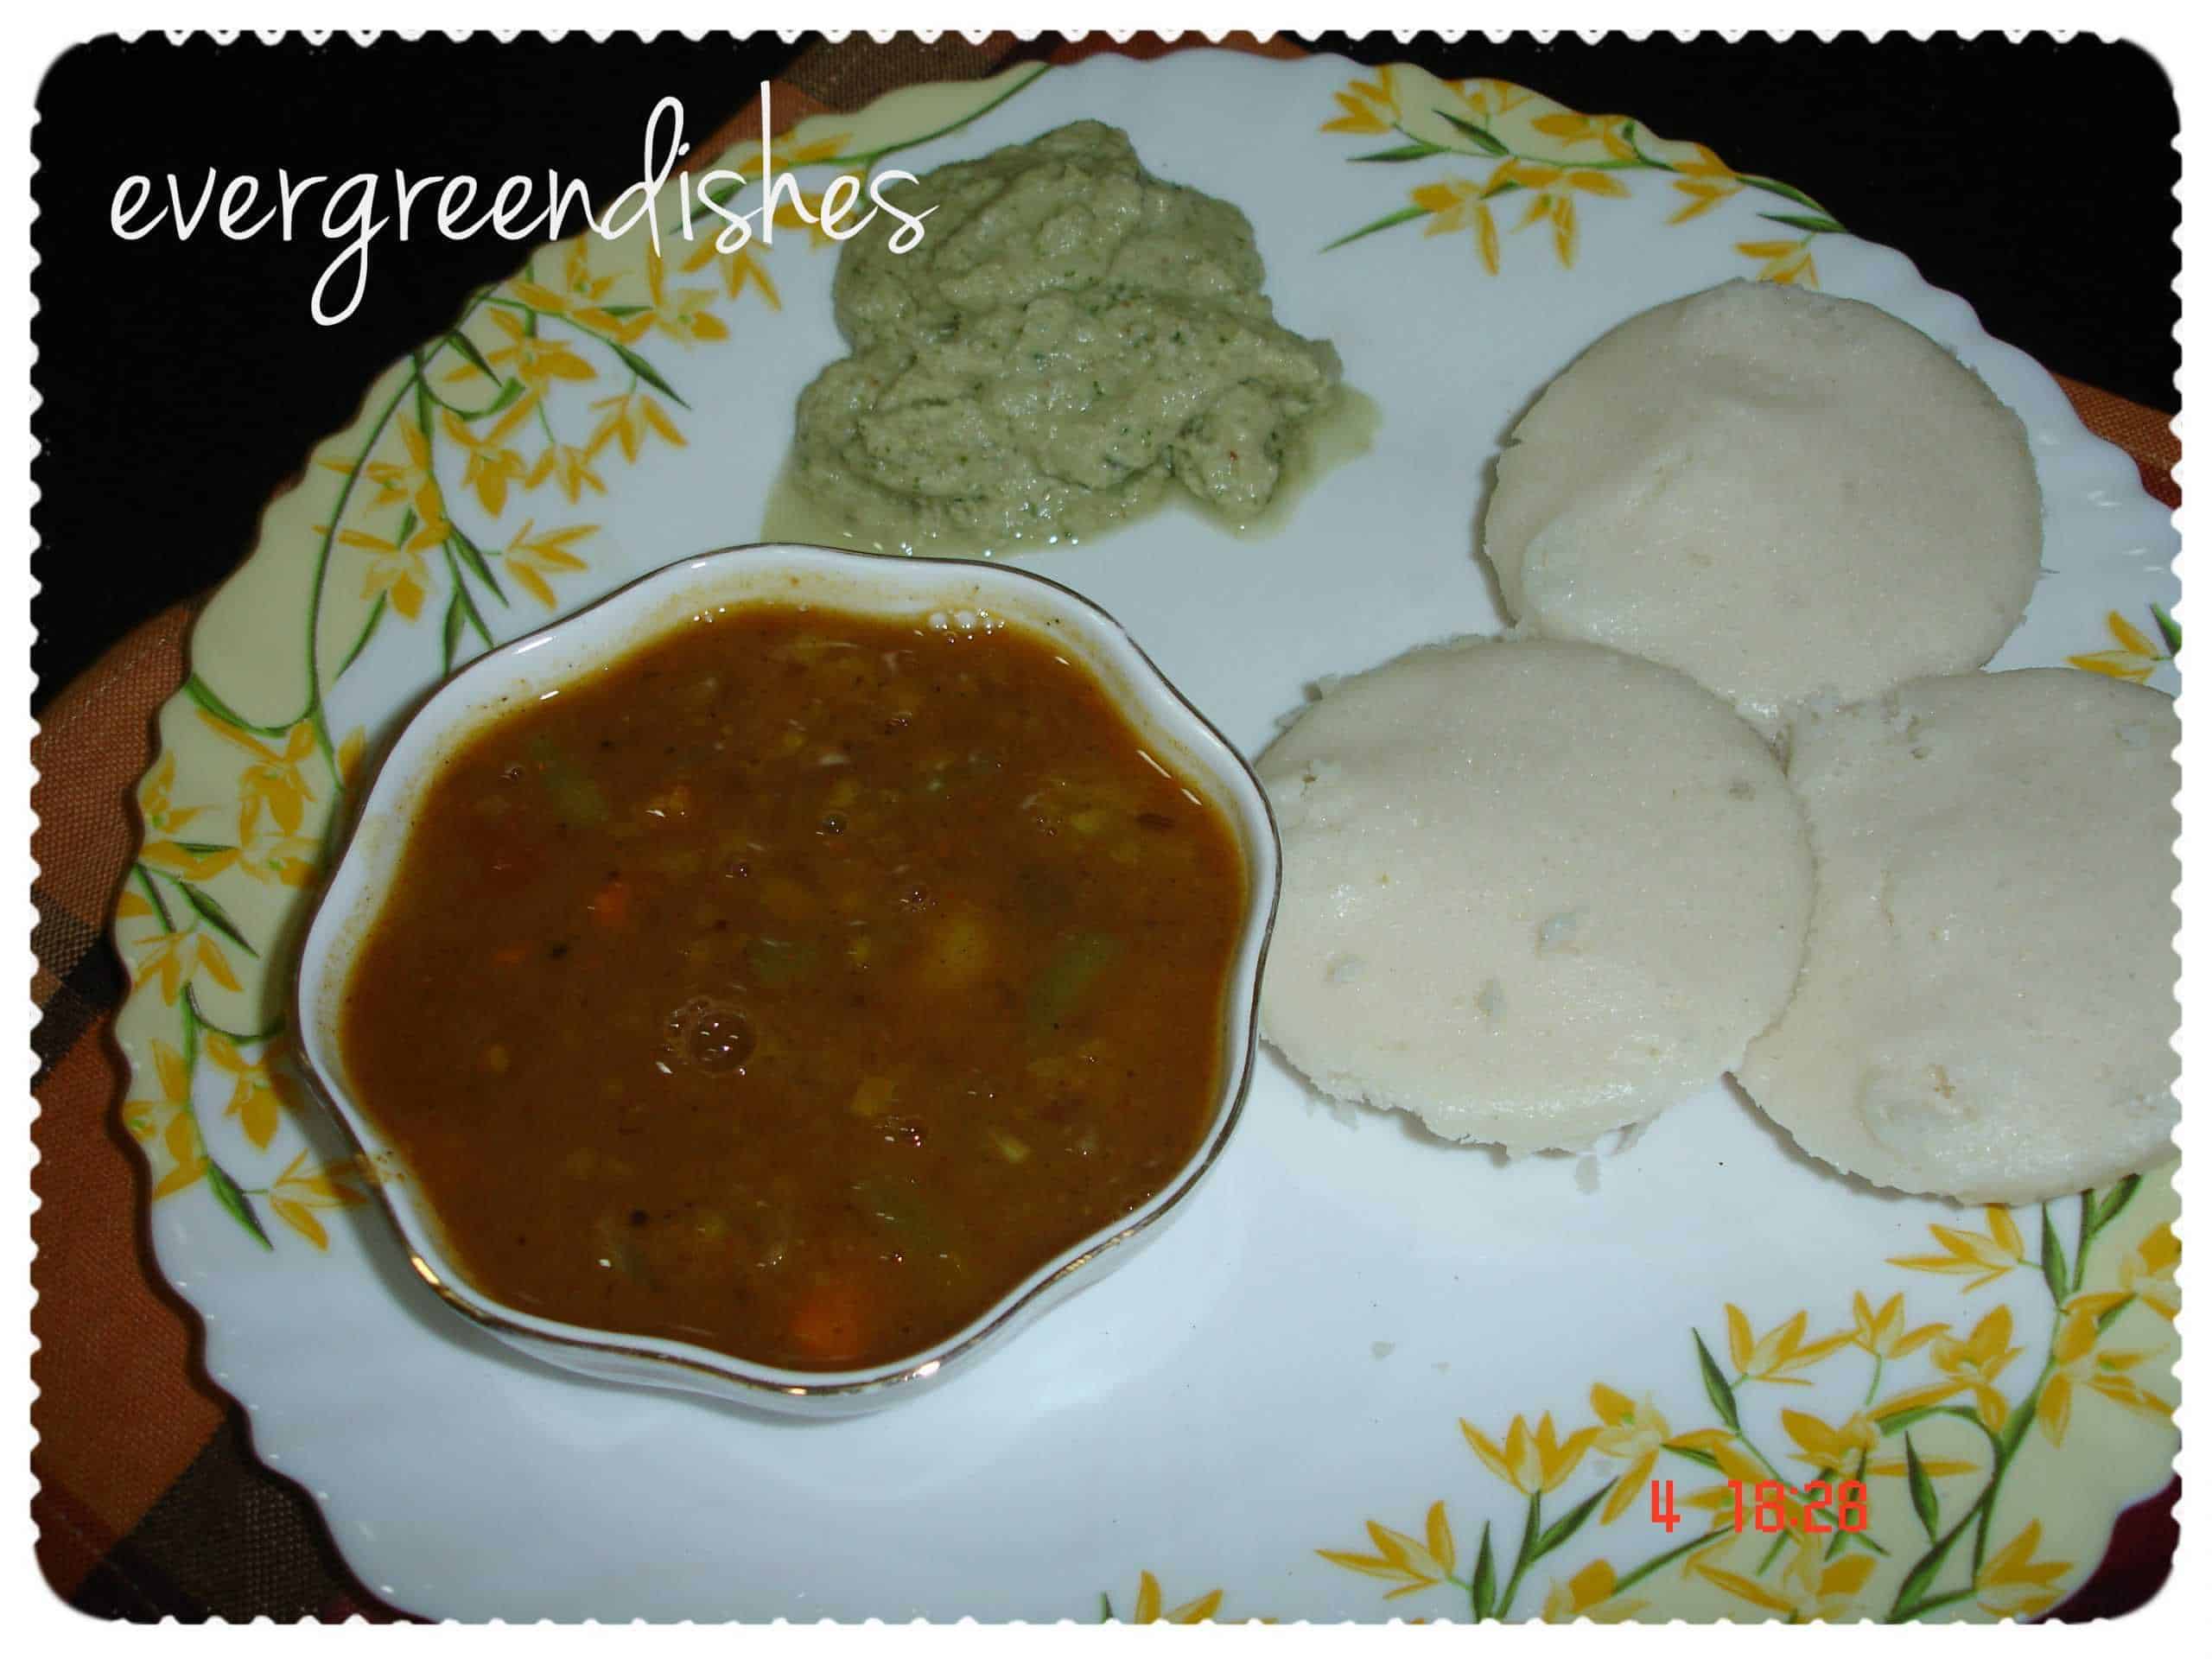
- Serve with chapati or phulka or as an accompaniment with rice.
Take a tip:
- The purple crimson colour tends to cover our hands while cooking. Use lime juice to get rid of it.
- Keep the beetroot in a separator or on a steel lid over the separator.
Beetroot Stir Fry
Ingredients
Method
- Cut the beetroot in half and pressure cook it along with rice or dal.
- Peel the skin and cut into small cubes.
- Make a seasoning by adding the mustard seeds, urad dal, bengal gram , asafoetida and turmeric powder. Add the green chilli and after a second , put the beetroot pieces and stir. Add salt and coconut and heat on a low flame for sometime.
- Serve with chapati or phulka or as an accompaniment with rice.
Notes
Keep the beetroot in a seperator or on a steel lid over the seperator.
About the event:
Sending this to our fortnightly event, Foodies_Redoing Old Post 37, where we work on an old post by editing the picture, text or both. Here, I have created new pictures.

Pin it for later:
If you ever make this recipe, take a picture and share it by tagging @foodiejayashree on Instagram or @evergreendishes on Facebook. I will be glad to see and share your creation further.
Check out my e-books on Amazon. Do not miss any post. Subscribe to get all updates and an e-book for free !