For the rice lovers, gojju and chutney of various kinds make good accompaniments. This is popular in southern region and is made using ladies finger,cucumber ,pineapple and even mango. Here ,is the one made of cucumber.(more…)
Dal Fry is a popular accompaniment in our daily menu. The recipe shared makes a good accompaniment with steamed rice as well as chapathi.. It is a no onion garlic dal fry recipe.
A new year and its a new post. Thank you one and all for the support in 2014. I want to share many more recipes here, will soon do it.
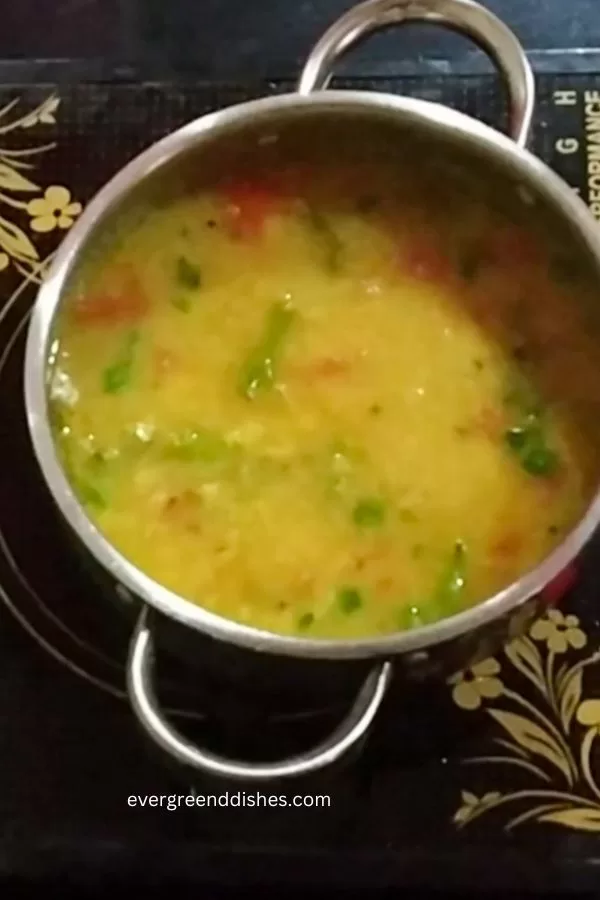
Dal fry is one of the essentials in Indian cooking. It makes a complete meal. Tur dal, commonly called as split pigeon pea is the main ingredient in dal. It is also known as arhar dal. It makes a good accompaniment with steamed rice as well as with chapathi. Today, I am sharing a simple dal recipe which is ideal for daily cooking. It is a no onion garlic recipe, ideal for the festive days too. It is vegan too.
Incase, you use ghee, it tastes good but it is not vegan.
How is the dal cooked ?
Proper cooking of the lentil is utmost important. Uncooked lentil does not taste good and may cause indigestion. To cook the dal, take a cup of split pigeon pea, rinse it in water and soak it in four cups of water for half an hour. Put it in the pressure cooker with a quarter teaspoon of turmeric powder. Cook it for three whistles. Allow the pressure to release by itself. Take the dal and mash it well with a ladle or a wired mesh The cooked dal is now ready for further use. You may add a little oil also while cooking.
Can we keep the cooked dal in the refrigerator?
Yes, you can keep it in the refrigerator for four days. Take the required quantity needed for cooking and put the remaining back.
Dal Fry
Today, I present to you dal fry cooked the restaurant style.This simple dish is an all time favourite of everyone. Serve it with plain white rice or chapati and you really relish it.
The ingredients that you need are :
1 cup tur dal or split pigeon cooked
1 tablespoon oil
1/2 teaspoon mustard
1/4 teaspoon asafoetida
1/4 teaspoon turmeric powder
1/2 teaspoon cumin
1 teaspoon grated ginger
4 green chilli cut into pieces
3 tomatoes finely cut
salt to taste
coriander leaves finely cut
1/2 lemon juice
Method :
Take oil in a pan. Add mustard seeds, as it crackles put cumin, asafoetida and turmeric powder. After a few seconds, put the ginger followed by the green chilli.
Now, add the tomatoes and put salt to it. Sprinkle a little water.
Once the tomatoes are tender, mix it thoroughly. Put the cooked dal to it and mix it well.
Adjust the consistency of the dal, it is neither thick or thin.
Allow it to cook for sometime.
Garnish with chopped coriander. Switch off. Add lime juice to it.
Take a tip:
To cook dal, check the post in the beginning.
Do not skip on ginger, it lends a good flavour.
About the event :
Sending this to Foodies _Redoing Old Post 94. It is a fortnightly event started by Renu of Cook With Renu. Since then we have come a long way.
Dal Fry was first published in 2015, edited on 11/2/23 . The post has been modified in all aspects, better pictures, text, video.
Check the video here :
Dal Fry Recipe
Dal Fry is a simple, tasty and easy to make recipe. It is a no onion garlic and ideal for the festive days.
Take oil in a pan. Add mustard seeds, as it crackles put cumin, asafoetida and turmeric powder. After a few seconds, put the ginger followed by the green chilli.
Now, add the tomatoes and put salt to it. Sprinkle a little water.
Once the tomatoes are tender, mix it thoroughly. Put the cooked dal to it and mix it well.
Adjust the consistency of the dal, it is neither thick or thin.
Allow it to cook for sometime.
Garnish with chopped coriander. Switch off. Add lime juice to it.
tasty dal fry
f you make Dal Fry recipe, take a picture and share it by tagging @foodiejayashree on Instagram and @evergreendishes on Facebook. Subscribe to get all updates and an e-book for free. Until next time, happy cooking !
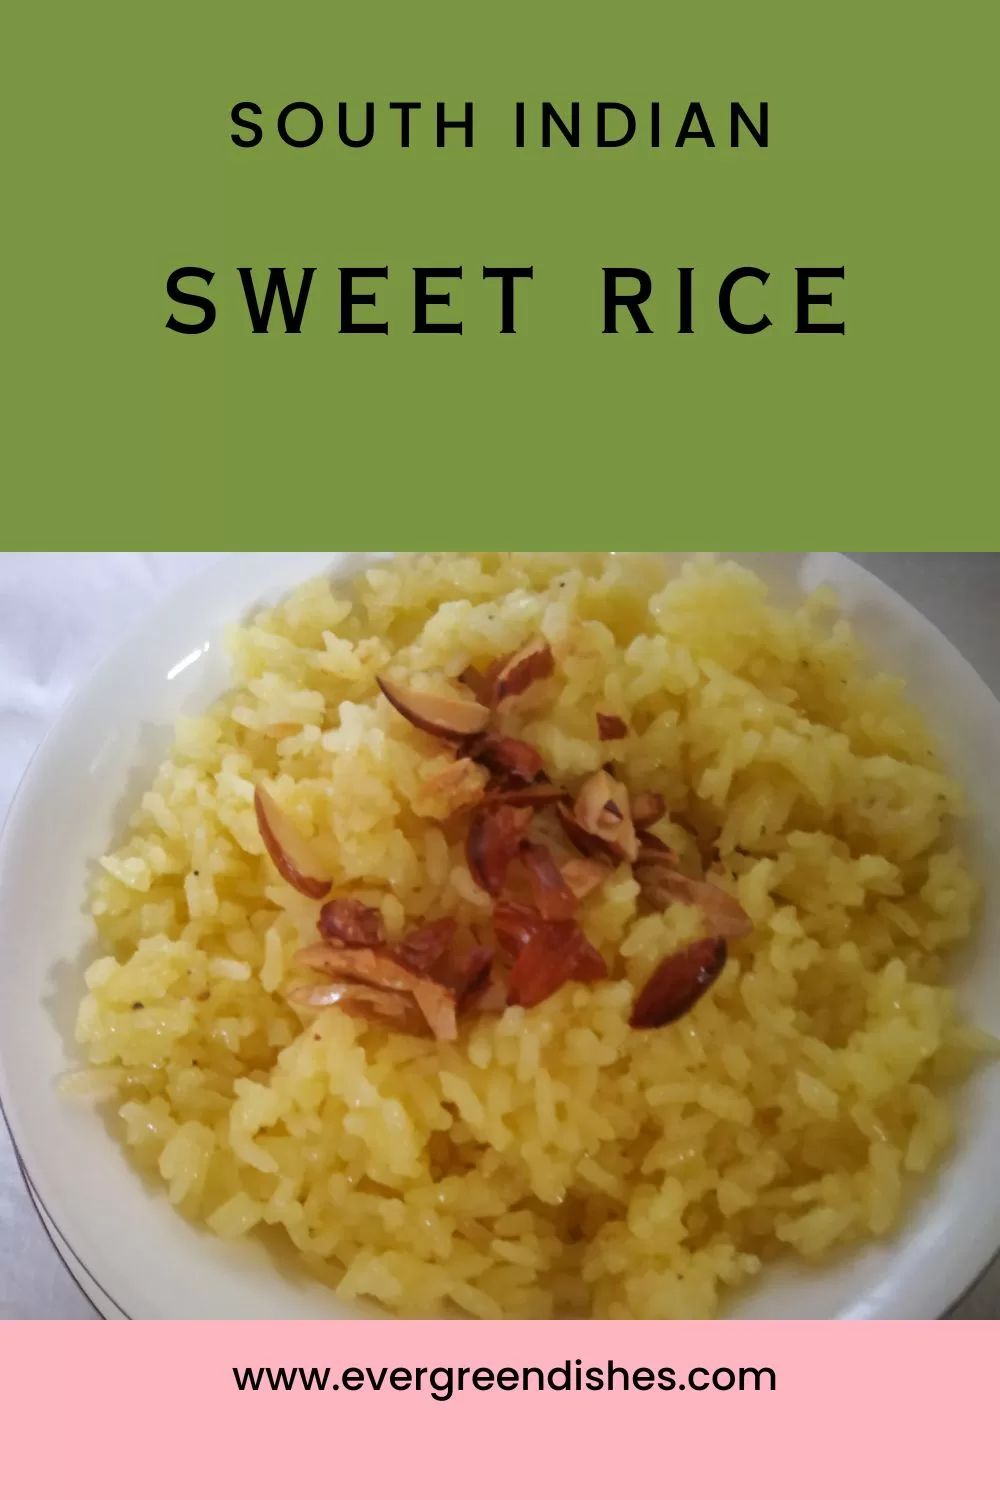
Sweet rice is a traditional festive dish from India. Aromatic and delicious, it makes a good treat for many festivals. Celebrations and sweets go hand in hand. As this year comes to an end ,here is a sweet dish for you all. May the year ahead be filled with immense joy and prosperity. Wishing all my readers a joyous 2015!
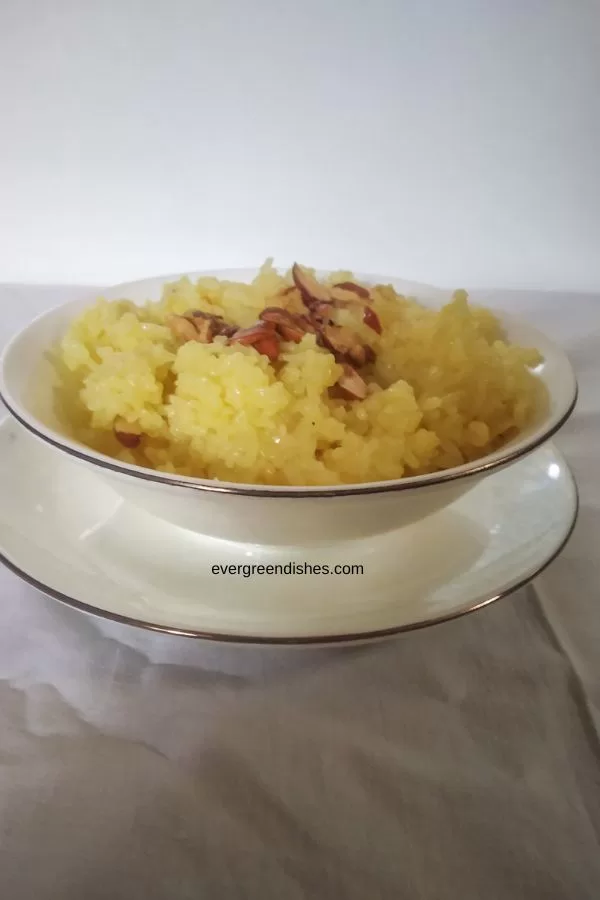
Sweet rice, a colourful, aromatic dish is commonly made in South India during festivals. It is a delicious treat and an easy to prepare.
Ingredients:
1 cup rice
1 cup sugar
1 pinch saffron
2 cloves
1/2 teaspoon cardamom powder
1 tablespoon milk
1/2 cup ghee or clarified butter
Method:
Add warm milk to saffron strands and keep aside.
Roast the cashew nuts along with cloves in a little ghee and keep aside.
Take a thick bottomed vessel ,wash the rice ,add adequate quantity of water and allow to cook on a low flame. Put the saffron into it.
When the rice is cooked, add sugar and ghee to it , stir and allow to cook on low heat.
Later, add cardamom powder and garnish with dry fruits.
Take a tip:
You can use cashew, almond and raisins.
Aromatic rice is not used in the preparation.
Use good quality saffron. To check if saffron is a good quality, soak it in milk and observe. A genuine saffron has a tail and filament. and a small quantity of it gives a good colour to the dish.
Alternatively, the dish can be made with a sugar syrup. Cook the rice, prepare a single thread consistency sugar syrup and mix it.
Sweet rice
5 from 7 votes
Sweet rice is a traditional rice dish from India. Aromatic and festive, it makes a good treat for any occasion.
Roast the cashewnuts along with cloves in a little ghee and keep aside.
Take a thick bottomed vessel ,wash the rice ,add adequate quantity of water and allow to cook on a low flame. Put the saffron into it.
When the rice is cooked,add sugar and ghee to it , stir and allow to cook on low heat.
Later, add cardamom powder and garnish with dry fruits.
About the event :
Sending this to Foodies Redoing Old Posts_100. I am part of this wonderful group by Renu Agarwal. It has helped to edit many posts which I had written earlier. Here, I have put better pictures and more information also. The recipe remains the same.
If you ever make Sweet Rice in your kitchen, take a picture and tag @foodiejayashree on Instagram or @evergreendishes on Facebook. Subscribe to get all updates in your inbox and an e-book for free! Until next time, happy cooking.
Ridge gourd chutney is a popular side dish in Karnataka. It pairs well with both steamed rice and chapathi.
Ridge gourd is often used to make vegetable after scraping the skin. It is called as herekayi in kannada and torai in hindi for your information.
The peel is often discarded. It can be used to make this chutney which is very tasty. Take care to wash the ridge gourd well. This dish can be used with rice as well as chapatis. Steaming hot rice with ghee and chutney is the usual beginning of a south indian food.
Ridge gourd Chutney
INGREDIENTS :
ridge gourd peel of 5 veggies
ridge gourd pieces 3 ( remaining two can be used in dal)
fresh coconut 1 bowl
urad dal 2 tbsp
green chilly 4
tamarind pulp 2 tsp
salt to taste
For tempering :
oil 2 tsp
mustard seeds 1/2 tsp
asafoetida 1/8 tsp
turmeric powder 1/8 tsp
METHOD :
Wash the ridge gourd, and scrape the skin. Keep it aside.
Cut a few chunks and keep in another bowl.
Dry roast the urad dal.
Take a little oil and roast the green chillies.
Now , put them aside and some more oil. Add asafoetida and the peel of ridge gourd , later add the chunks too.
When soft, remove from flame and let cool for sometime.
Grind all the ingredients together.
Make a tempering and serve the ridge gourd chutney.
Subscribe to get a book of handy hints for free
[inbound_forms id=”default_1″ name=”First, Last, Email Form”]
I love this month, pleasant climate, many celebrations and holidays. It’s that time of the year where we bake goodies and make new resolutions. We look forward to new beginnings again. As usual, my favourite recipe for you with seasons greetings to all of you. May the year ahead be filled with immense joy and happiness. (more…)
(Disclosure : As an Amazon Associate, I will get a small commission for qualifying purchases without no addition cost to you.)
urad dal wada | uddina wade | wada recipe | uddina vade| south indian recipes |
Urad dal wada are tasty and loved by all. It is usually served along with idli in restaurants. It is one of the essentials of South Indian breakfast.
Urad dal is soaked and then made into a thick batter, seasoned with spices and then deep fried in oil. Shaped like doughnuts, these have always been my favourite. With or without chutney, I love these fried dumplings. Today, a sneak and peek at this one.
This is vegan and gluten free snack, ideal for breakfast along with idly or as an accompaniment with any meal. It is tasty and one cannot resist having a couple of them. It is usually served with coconut chutney but one can dunk them in sambar or thick curd, it tastes awesome.
This is an old post which I had written when I started my blog. Now, the post is redesigned with new picture and content, looking back there is a phenomenal change in the pictures and the way of writing. Well, that’s life, we try to get better each day isn’t it? And this post is part of the new group that I have joined Foodies_Redoing Old Posts started by Renu. The purpose is to give a new face to the old posts that we had written long back.
INGREDIENTS :
2 cup urad dal
5 green chilly
coriander leaves
a few fresh coconut pieced
curry leaves
salt
water
oil for frying
METHOD :
Soak urad dal in water for three hours.
Grind it to a fine batter with little water.
In another jar, grind green chilly and coriander and mix with it. Throw in a few roughly cut curry leaves, coconut pieces and salt.
Heat oil in a pan , when done, beat and take some batter, make a hole with the thumb, and slowly release it into the oil. Initially, one needs a little practice to make urad dal wada, but once you know the trick, you can do it.
In the beginning, one may not be able to make them and needs to be satisfied with the usual round balls.
Fry until brown on medium flame, remove and put them on a tissue paper.
The pan is made from cast iron and is ideal for sauting, deep frying or shallow frying. It is toxin free and teflon free. It is sturdy and is durable for a long time. The pan can be used on all kind of cook tops including induction stove.
Pin it for later:
urad dal wada
Evergreendishesdev
Urad Dal Wada
Urad dal wada is a popular fried snack from South India. It is usually served for breakfast along with idli, chutney and sambar.
In another jar, grind green chilly and coriander and mix with it. Throw in a few roughly cut curry leaves, coconut pieces and salt.
Heat oil in a pan , when done, beat and take some batter, make a hole with the thumb, and slowly release it into the oil. Initially, one needs a little practice to make urad dal wada, but once you know the trick, you can do it.
In the beginning, one may not be able to make them and needs to be satisfied with the usual round balls.
Fry until brown on medium flame, remove and put them on a tissue paper.
Serve with coconut chutney.
Notes
Add a little quantity of water while grinding, we need a batter of thick consistency.
If you have liked this post, do share it with your family and friends. If you ever recreate it, take a picture and share it by tagging @foodiejayashree on Instagram or @evergreendishes on Facebook. I will be glad to see your creation.
(Disclosure : As an Amazon Associate, I will get a small commission for qualifying purchases without no addition cost to you.)
I am pretty excited as I write this one. Eight like minded bloggers together have started a blog hop and this is our first one. So let me start right away. We will be working on a particular theme, twice a month and its ” Breakfast ” in the beginning. I am making our very own Upma here today.(more…)
It’s time for virtual party again. Thankyou Cherie Chalmers for bringing us together again . As Christmas is fast approaching, it is the Tree Trimming Party.
Cutlets have been a popular snack since ages. As kids, we often went to one of the restaurants that prepared the delicious ones. Today ,cutlets are made of various kinds.
Here is one kind which I often make and loved by all at home. This is made using different veggies, hence healthy and ideal to serve for children and adults alike. The advantage of making these cutlets is they are shallow fried. Hence guilt free of the calories that you will be adding.
INGREDIENTS :
beans 15
carrot 2
potatoes 3
peas 1 bowl
onions 2
green chilly 3
ginger 1 inch
coriander leaves 1/2 bunch
garam masala powder 1/2 tsp
chilli powder 1tsp
cumin powder 1/2tsp
salt
corn flour 2tbsp
bread crumbs
oil for frying
mouth watering
PROCEDURE :
Chop vegetables finely into small pieces.
Boil potatoes and keep aside.
Cut onions into fine bits.
Grind green chillies and ginger to a paste.
Take a spoon of oil in a pan and saute the onions. As they turn pink in colour, add the other veggies and let cook on a low flame.
When done, add the ginger- chilli paste and mix well.
Add garam masala powder,cumin powder and chilli powder.
Mash the potatoes and mix along with the other ingredients.
Add finely cut coriander leaves.
Mash all the veggies with a masher.
Shape them into cutlets and keep aside on a plate.
Mix cornflour with water to a thin paste in a wide bowl.
Take one of them and dip it iin the cornflour paste and then roll in the bread crumbs.
Heat a skillet and smear some oil on it. Shallow fry the cutlets on both the sides. You can make four or five at a time.
Serve with tomato ketchup.
HAVE A GREAT TIME WITH OUR PARTY. WE ARE GLAD TO HAVE YOU HERE. DO VISIT OUR FRIENDS TOO !!
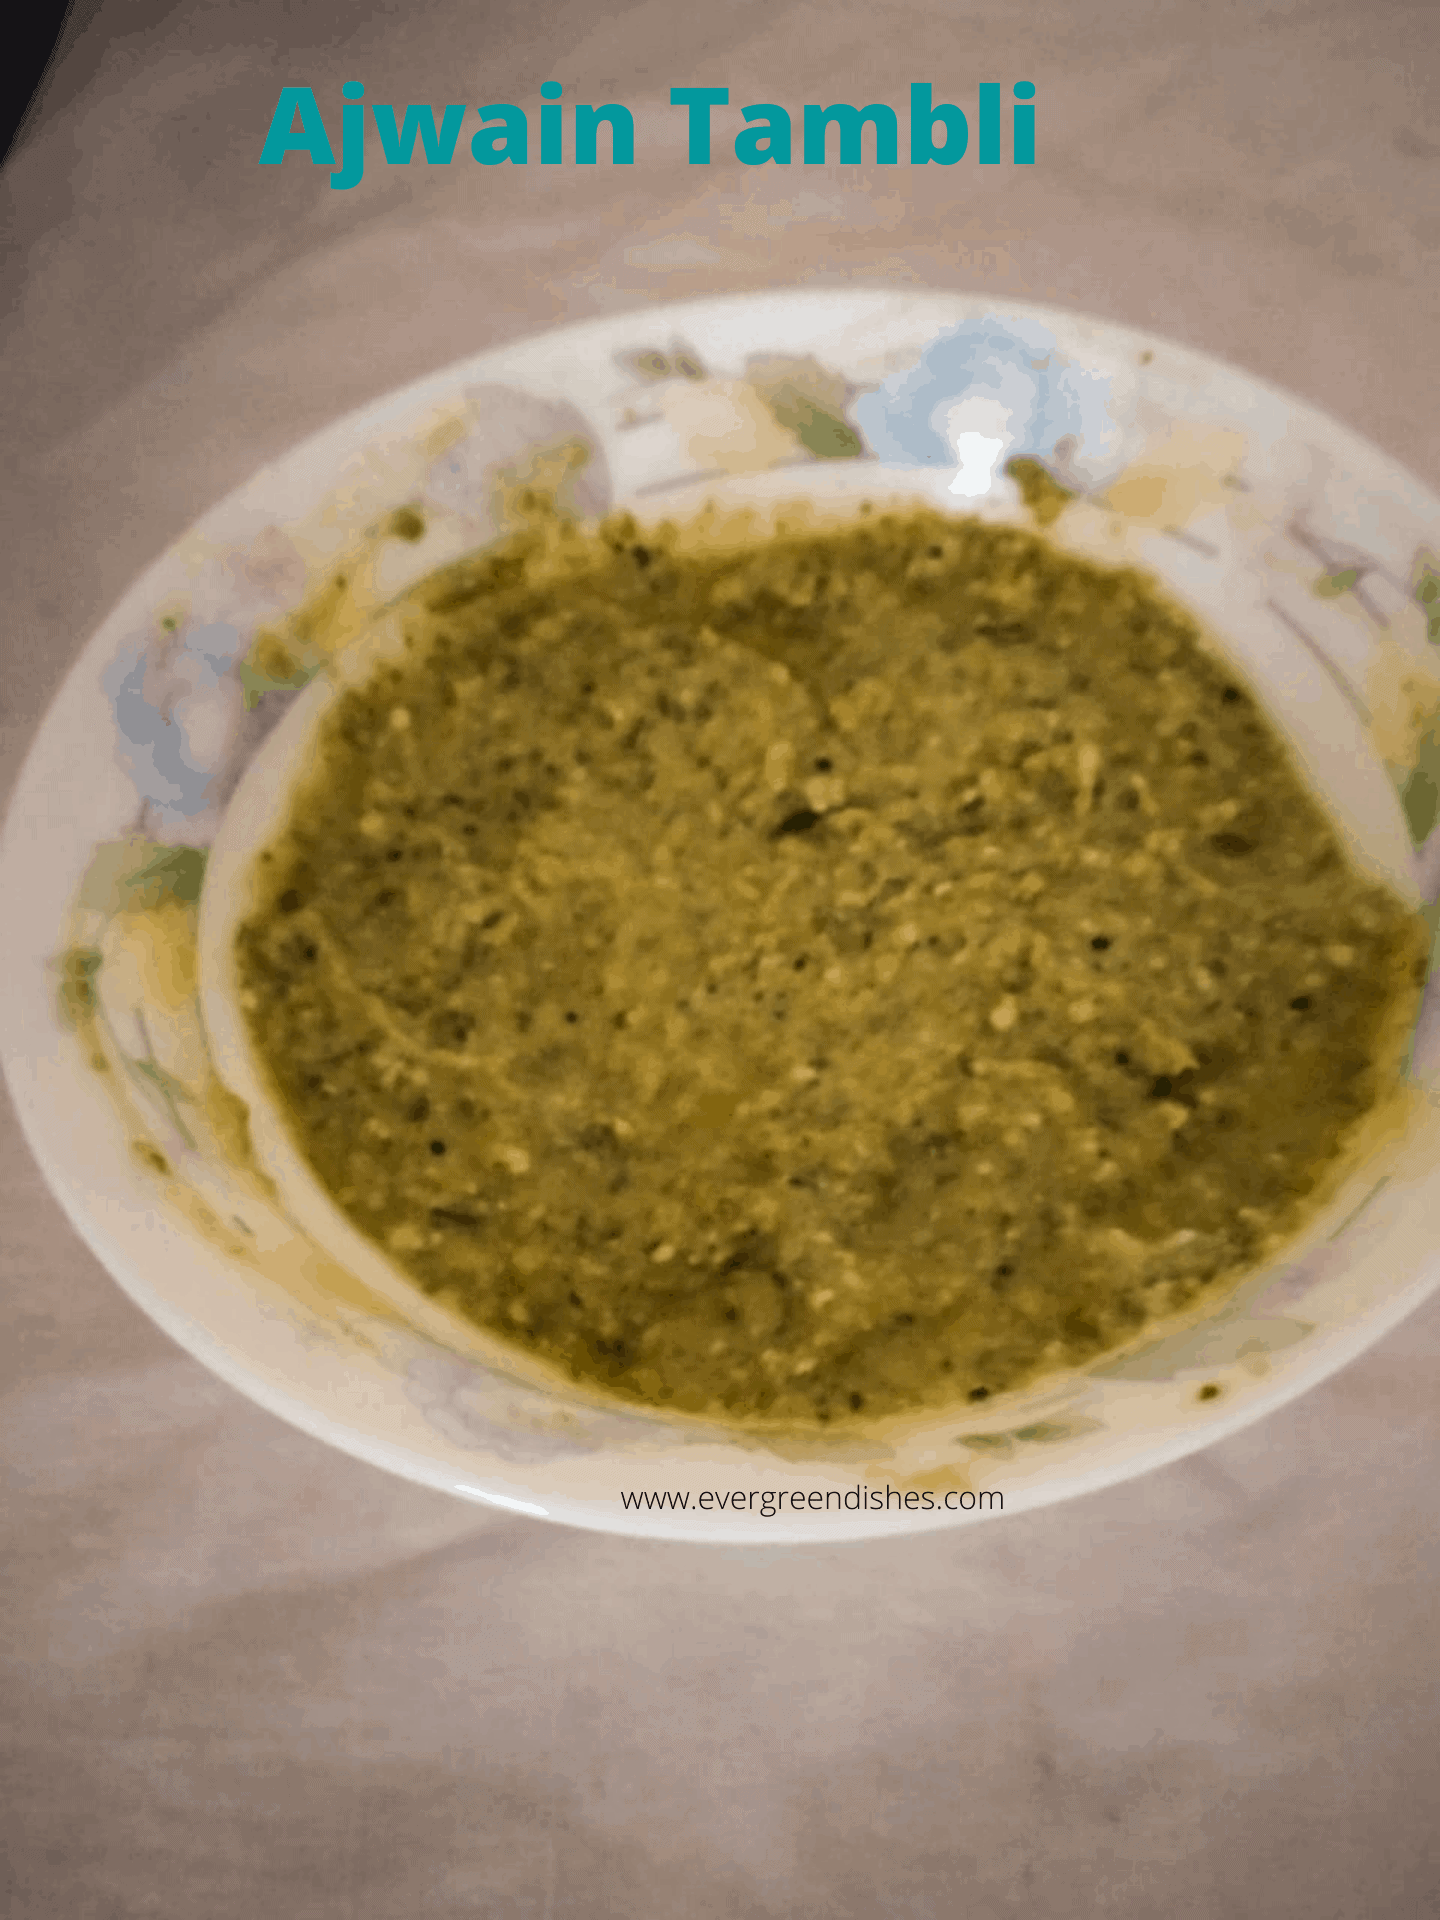
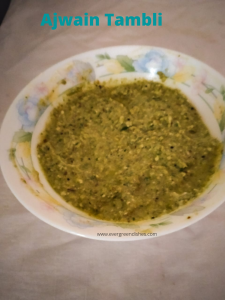
Ajwain Tambli is tasty and healthy accompaniment from coastal cuisine. It tatses good with hot steamed rice.
In the coastal region as rice is the staple food, many varieties of accompaniments are served with it. A wide range of tasty chutneys, tangy gojjus, healthy tamblis of various kinds and not to mention their sambar and rasams which are made with fresh coconut are just too good. Ajwain tambli is not only tasty but also good for health. More information about the plant is here.
ajwain tambli
Today’s recipe is a simple yet tasty dish known as tambli. I have used the ajwain leaf here, which is good for health. It aids in digestion. Ajwain leaf plant is called as Doddapatre in Kannada.
INGREDIENTS;
ajwain leaf 10
fresh coconut 2tbsp
cumin 1tsp
green chilly 1
oil 1tsp
ghee 1tsp
mustard seeds
asafoetida
turmeric powder
fresh curds 1 cup
METHOD :
In a small pan add a little quantity of ghee and roast the cumin seeds till golden in colour. Keep aside
In the same pan , roast the green chilly .
Wash and pat dry the ajwain leaves. Add ghee and the ajwain leaves. In a minute they will be done.
When cold grind all the ingredients together with grated coconut.
Remove it in a bowl , add salt and curds to it.
Make seasoning and add to it.
Serve with hot rice.
Pin it for later :
If you have liked this post, do share it with your family and friends. If you ever make this, take a picture and share it by tagging @foodiejayashree on Instagram or @evergreendishes on Facebook or Twitter.
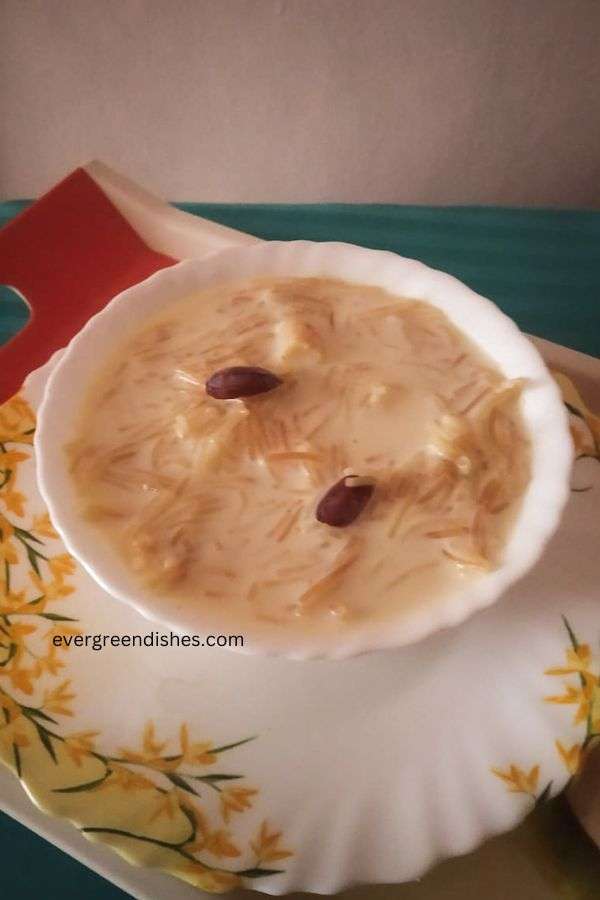
Vermicelli Kheer / Shavige payasa is a traditional sweet dish from South India. Thin vermicelli of wheat is used in the preparation of the dish. It is one of the popular dessert / sweets made in all parts of India. In South India, it is often prepared during all major festivals.
The festive season is incomplete without a kheer. In South India, shavige payasa is often prepared in most households. A big vessel of payasam with dry fruits is offered along with other sweets and savoury as offering.
What goes into the vermicelli kheer ?
1) Milk – It is one of the essential ingredients. The milk is boiled for sometime and later made into kheer.
2) Vermicelli – Vermicelli is available in all superstores. You can use it or if you prefer the local variety, go ahead with it. Most household have their own version of vermicelli available for festive days.
3) Sugar- The sweetener best suited foor shavige payasa is sugar. Again, the use of sugar will depend upon the sweetness that you prefer.
4) Nuts- I prefer using almonds, cashew nut and raisiin for vermicelli kheer.
5) Ghee – Vermicelli is roasted in a little ghee and later cooked iinn milk.
6) Saffron – It lends a good aroma and taste to the dish.
7) Cardamom powder- Indian sweets are incomplete without a dash of cardamom powder.
shavige payasa /vermicelli kheer
Shavige Payasa / Vermicelli Kheer recipe
Ingredients :
1 litre milk
1 cup vermicelli
1 cup sugar (200 grams)
1/4 teaspoon cardamom powder
a few saffron strands
dry fruits as cashew, almonds and raisins
2 teaspoon ghee
Method:
Take a teaspoon of ghee and roast the vermicelli along with dry fruits on a slow flame. Keep stirring with a ladle, until brown in colour. Take care not to burn them.
Boil milk with saffron until it reduces to three-fourth of the quantity.
Now, add the milk to the vermicelli and let cook on a slow flame.
Once the vermicelli is done, it floats on top. Put the sugar. Mix well and again let boil for two minutes This infuses taste and consistency to the sweet dish.
Later, remove from flame and add cardamom powder
Take a tip :
If you are adding raisins, its better to add at the end while roasting as they bloat up and get burnt easily.
Boiling of milk is an essential step to get good results.
Do not mix water while cooking the vermicelli.
Every household has their own version of making vermicelli kheer. This is the heirloom recipe which I follow at home.
You can use condensed milk, use it in the end and reduce the amount of sugar.
Shavige Payasa / Vermicelli Kheer
5 from 5 votes
Shavige payasa / vermicelli kheer is a traditional sweet from South India.
Take a teaspoon of ghee and roast the vermicelli along with dry fruits on a slow flame. Keep stirring with two ladle, until brown in colour. Take care not to burn them.
Boil milk with saffron until it reduces to three-fourth of the quantity.
Now,add the milk to the vermicelli and let cook on a slow flame.
Once the vermicelli is done,it floats on top. The sugar can now be added. Mix well and again let boil. This infuses taste and consistency to the sweet dish.
Later, remove from flame and add cardamom powder
Take a tip :
If you are adding raisins, its better to add at the end while roasting as they bloat up and get burnt easily.
Boiling of milk is an essential step to get good results.
Notes
Do not mix water while cooking the vermicelli.Every household has it’s own version of making vermicelli kheer. This is the heirloom recipe which I follow at home.
You can use condensed milk, use it in the end and reduce the amount of sugar.
About the event :
Sending this to Foodies_Redoing Oldpost 91, a fortnightly event. A group of bloggers work on an old post, either by changing the picture, text or both. Here, I have changed both the text and the picture but the recipe remains the same.
shavige payasa / vermicelli kheer If you ever make Shavige Payasa recipe, take a picture and share it by tagging @foodiejayashree or @evergreendishes on Instagram or Facebook respectively. Subscribe to get an e-book and all updates for free.