(Disclosure : As an Amazon Associate, I will get a small commission for qualifying purchases without no addition cost to you.)
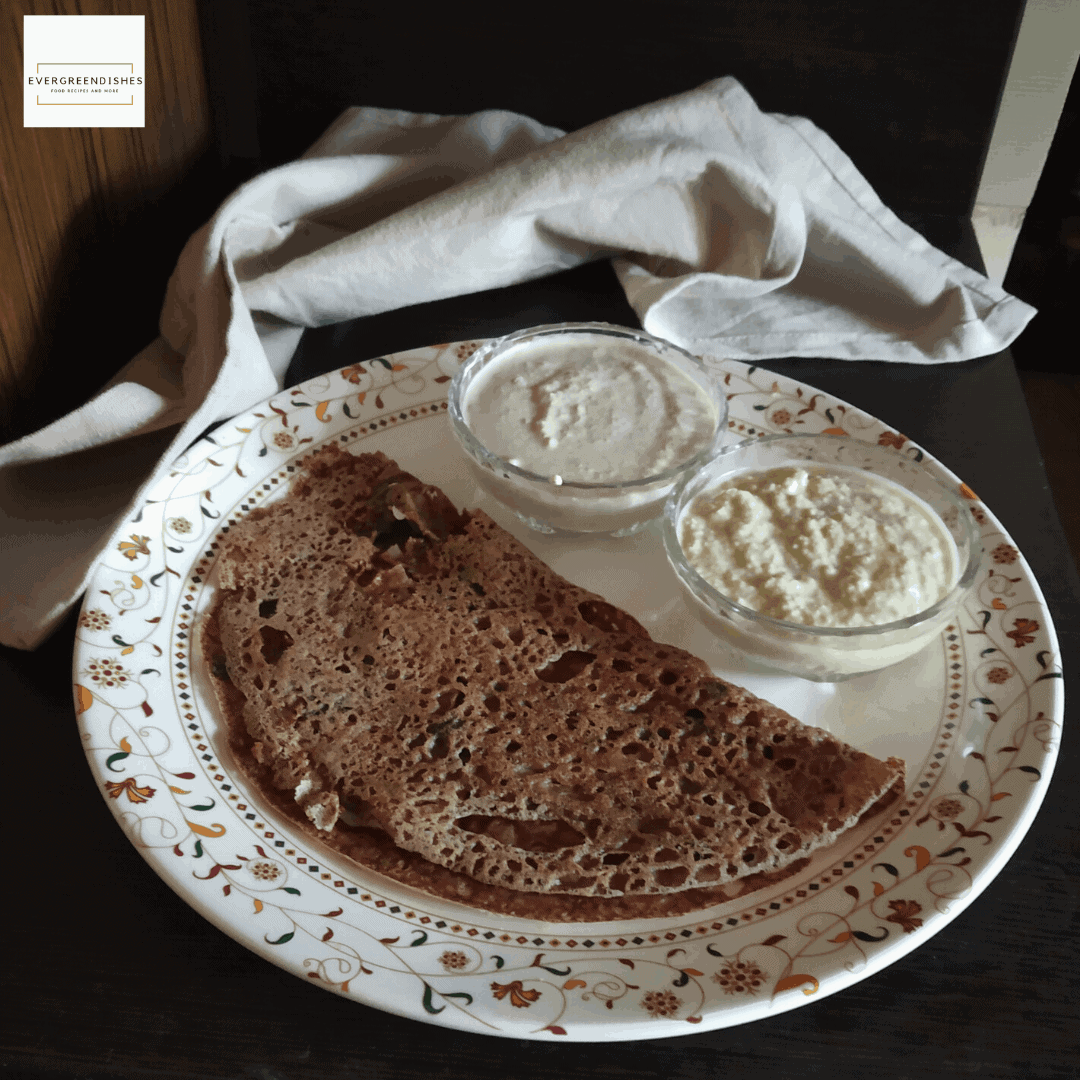
Instant ragi dosa is tasty, healthy, easy to make and ideal to serve either for breakfast or as a snack. It is vegan and gluten-free.
Millets are the new age food. Many people are now aware of the benefits and including them regularly in their diet.
What is a millet ?
Millet is a small cereal that belongs to the grass family, Poaceae. It was first grown in Africa, soon spread to Asia. Different varieties of millets are grown in the world.
What are the benefits of millet?
Millet is rich in nutrients. It is rich in dietary fibre and contains minerals as calcium, magnesium, phosphorous, selenium as well as vitamins like folate, pantothenic acid, riboflavin, Vitamin B6, C, E and K. The high fibre content found in it helps to reduce bad cholesterol (LDL) while boosting good cholesterol(HDL). The phosphorous content helps the body to repair itself and also in the formation of cells. The iron and folate helps prevent anaemia by maintaining adequate hemoglobin levels. The millets are usually prepared from the whole meal, the nutrients are retained in the food that is consumed.
What are the different kind of millet ?
The different type of millets are jowar, foxtail millet, finger millet, pearl millet, barnyard millet, kodo millet, little millet, proso millet.
What is finger millet ?
Finger millet or Ragi as it is commonly known as, is an important cop grown and consumed in India. It is rich in minerals, calcium, dietary fibre and anti-oxidants. Ragi mudde is the staple food of many people. It is also used in making sweets and other dishes. I regularly make Ragi Idli and Ragi Thalipeeth.

What goes in the instant Ragi Dosa?
- Ragi flour : Ragi flour is the main ingredient to make ragi dosa. Use good and fresh ragi flour. A flour which does not smell good is not worth wasting any time.
- salt to taste
- Onion: Chop it finely. I love to use vegetable cutter, it is so handy and useful to chop onion. No tears, no mess.
- Coriander : Use fresh coriander
- Water as needed to make the batter. Once you mix the batter, keep it aside for ten minutes.
- oil to drizzle
- Green chillies may be added.
- Cumin may be added.
Are there any variation to this ragi dosa ?
Add half a cup of rice flour and mix it to a dosa batter consistency. Make it like the usual dosa.
About the event:
In the month of April, the theme at Shhhhh Secretly Cooking Challenge is Millets, it was suggested by Aruna Saras Chandra, a wonderful blogger at Vasus Veg Kitchen. I liked her bread gulab jamun, it is a quick-fix sweet that you can make. I love cooking with millets and jumped the bandwagon. My partner was Narmadha from Nams Corner, she gave me oil and coriander as the secret ingredients and I decided to make this Instant Ragi Dosa. I gave her salt and sugar and the outcome is the delicious Foxtail Millet Sweet Pongal,
Instant Ragi Dosa comes as a rescue, you can make it easily and it is a straight forward recipe.
Instant Ragi Dosa / Finger Millet Dosa
Ingredients
Equipment
Method
- Chop the onion finely.
- Wash and cut the coriander.
- Take ragi flour in a bowl.
- Add salt, chopped onion, coriander to it. Mix them.
- Add water and mix the batter without any lumps. Let the consistency be thin as rawa dosa batter.
- Keep it aside for ten minutes.
- Heat a skillet. Take a ladleful of batter and pour it from outside to inside like a rawa dosa.
- Drizzle oil, let it cook for sometime.
- Once the dosa is done, you can easily remove it, the edges come off.
- Fold it and serve immediately.
Notes
Cumin may be added.
Adding of onion is optional.
Keep the batter aside for ten minutes.

If you have liked this post, do share it with your family and friends. If you ever make this, take a picture and share it by tagging @foodiejayashree on Instagram or @evergreendishes on Facebook or Twitter.
Let’s be connected, the follow buttons are on the side bar. Subscribe to get all updates and an e-book for free.
(Disclosure : As an Amazon Associate, I will get a small commission for qualifying purchases without no addition cost to you.)