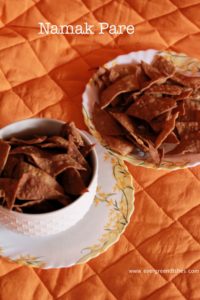
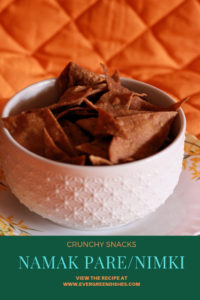
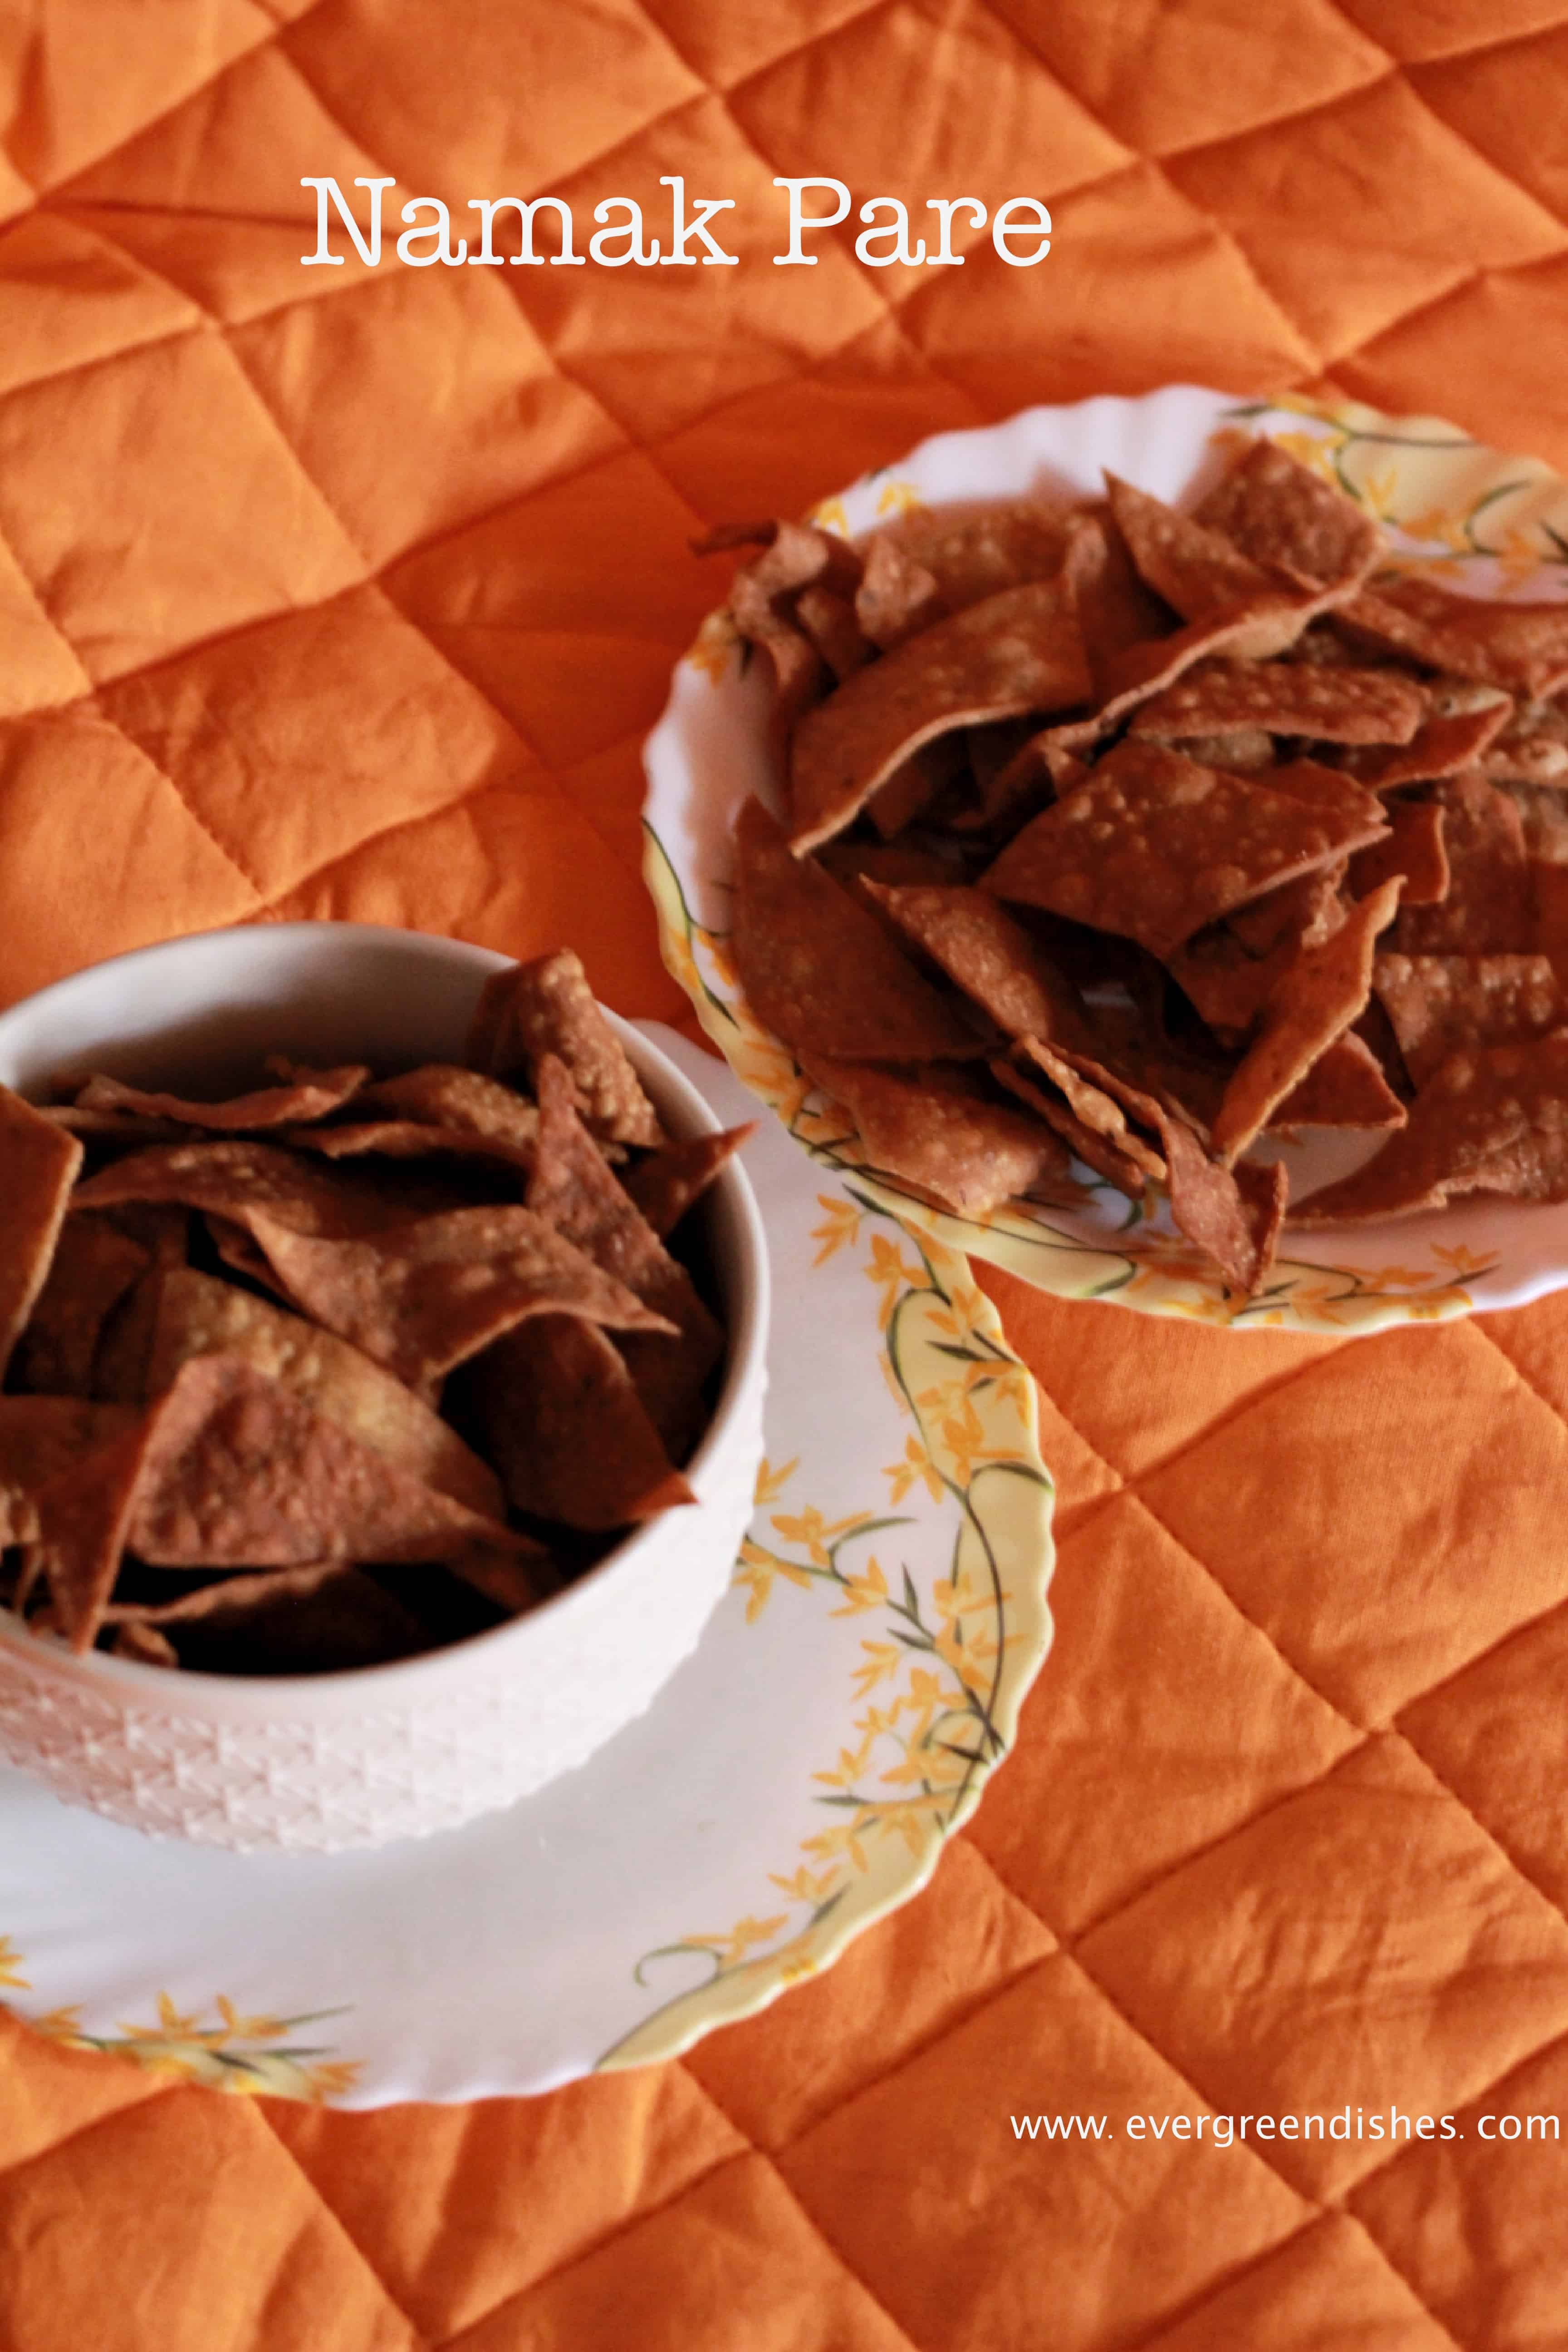
Namak Pare is a deep fried savoury snack usually made during festivals as Holi and Deepavali. It is crispy and tasty and make a good snack for children. It is ideal to carry while travelling.
Usually namak pare is made with self raising flour or a mix of self raising flour and wheat flour in the same ratio. But, I use only wheat flour along with semolina and they turn out equally good. Deep fried snacks are always welcome at home, children love to binge on this.
It is that time of the month when I work on my themed post, and I have chosen travel food for kids. So stay tuned for tasty snacks in the next three days.
The other snack recipes on blog : Masala Mathri, ring murukku, split gram murukku, nipattu
Let’s get to the recipe of Namak Pare
Ingredients:
- 2 cup wheat flour
- 2 tablespoon semolina
- 1 teaspoon ajwain
- 1/2 teaspoon pepper powder
- salt to taste
- 3 tablespoon oil
- water
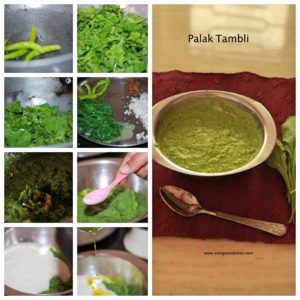
Method:
- Take wheat flour in a pan, add semolina to it.
- Heat oil in a pan, we need it to mix the dough.
- Add ajwain, salt, pepper powder and oil to the flour. Mix it well. It should form a crumbly mixture.
- Add little water and mix to a stiff dough.
- Divide the dough into two parts, take a ball of the dough, dust with flour and roll into a circle which is nether too thick or thin.
- Make diagonal incisions on it. We need to make them in a rhombus shape.
- Heat oil, once the oil is put the cut pieces into it. Fry on a low flame. Keep stirring in between. Once they are cooked, remove them and repeat for the other ball of dough.
- Once they are cool, store in a air tight container.
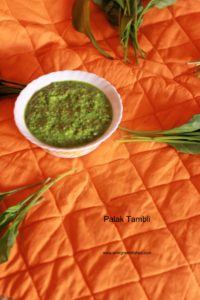
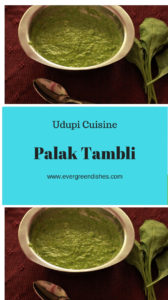
Namak Pare
Ingredients
Method
- Take wheat flour in a wide bowl, add semolina to it.
- Heat oil in a pan, we need it to mix the dough.
- Add ajwain, salt, pepper powder and oil to the flour. Mix it well. It should form a crumbly mixture.
- Add little water and mix to a stiff dough.
- Divide the dough into two parts, take a ball of the dough, dust with flour and roll into a circle which is nether too thick or thin.
- Make diagonal incisions on it. We need to make them in a rhombus shape.
- Heat oil, once the oil is put the cut pieces into it. Fry on a low flame. Keep stirring in between. Once they are cooked, remove them and repeat for the other ball of dough.
- Once they are cool, store in a air tight container.
This post goes to #BM97 with the theme Kids Delight with the theme Travel Food guest hosted by Renu.
If you have liked this post, do share it further.
If you ever make this, do take a picture and tag me on @foodiejayashree on Instagram
Let’s be connected Facebook, Twitter, Pinterest and Instagram

Check out the Blogging Marathon page for the other Blogging Marathoners doing this BM#97
Subscribe to get all updates and a book of handy hints for free!