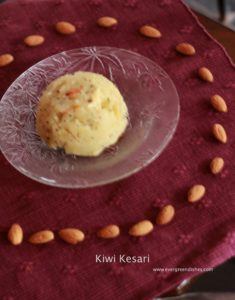
Rawa kesari or Sheera as we often call in South India makes a good winter treat. Today, I have a fusion sweet, sheera with kiwi in it. A bowl of piping hot kiwi kesari was one of the favourites of my daughter a few years back.
This is the 3rd post of BM#96 with the theme “Winter Warmers” The other two posts were Badam Milk and Hot Chocolate Milk
Now, here’s the recipe for Kiwi Kesari
Ingredients: Measurement used:1 cup =250 ml
1 cup semolina
1/2 cup ghee
2 kiwi
1 cup sugar
6 almonds
6 cashew
1/2 teaspoon cardamom powder
2 cup water
Method:
1 Peel the skin of kiwi, cut into big chunks and make pulp of it. Keep it aside.
2 Take a pan, add a spoon of ghee and roast the semolina along with the dry fruits. It should be golden in colour.
3 Remove the semolina in a bowl.
4 Add water in the pan. Put sugar and ghee to it. Once the water boils, slowly add the roasted semolina to it. Keep stirring otherwise lumps will be formed.
5 Once it slightly thickens, add puree to it. Let cook for sometime. Finally, add cardamom powder and remove from flame.
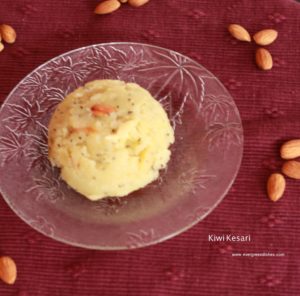
Kiwi Kesari
Evergreendishesdev
Kiwi Kesari
Kiwi Kesari is a twist to the usual kesari that we make. It is ideal to serve for breakfast, lunch or dinner.
Peel the skin of kiwi, cut into big chunks and make a puree of it. Keep it aside.
Take a pan, add a spoon of ghee and roast the semolina along with the dry fruits. Let it be golden in colour. Put it in a bowl.
Add water in the pan. Put sugar and ghee to it. Once the water boils, slowly add the roasted semolina to it, keep stirring, otherwise lumps will be formed.
Once it slightly thickens, add the puree to it. Let cook for sometime. Finally, add cardamom powder and remove from flame.
Notes
Dry fruits may be roasted in ghee and added later to the dish.
Ghee quantity may be reduced to 1/3 cup if desired.
If you have liked this post, do share it further. If you ever recreate this dish, take a picture and share on instagram by tagging @foodiejayashree with the #evergreendishes. I will be glad to see and share it.
Hot Chocolate Milk is a comfort drink on a cold winter morning. It is ideal to serve children who are fussy to drink milk in any form. It is a good to have hot chocolate milk after breakfast.
Waking up to a nail biting chilly morning, I really hate that alarm sound which alerts me to start my day. Nothing is more comforting than a cup of hot beverage. Winter calls for hot and warm soothing drinks, hot chocolate drink is ideal for children, it is one of the drinks my children relish and is easy to prepare.
This is the second post of the 2nd Week of Blogging Marathon #96 with the “Kids Favourite” with the theme “Winter Warmers” The first one was Badam Milk.
When should you give hot chocolate milk?
tired of the usual tea and coffee
fussy children
on cold winter mornings
when you are feeling bored
when you have close friends at home
Hot Chocolate Milk
Ingredients:
500 ml milk
1 tablespoon sugar
1 tablespoon cocoa powder
2 teaspoon fresh cream (optional)
a pinch of salt
1/4 teaspoon vanilla extract (optional)
Method:
Mix together cocoa powder, sugar, salt and a quarter glass of milk in a sauce pan over medium heat until they dissolve. Put the remaining milk into it and heat it for sometime, keep stirring it in between.
Pour in glass, top with cream and serve.
hot chocolate milk
Evergreendishesdev
Hot Chocolate Milk
Hot chocolate milk is a tasty drink for a cold winter morning. A sure delight for fussy kids.
Mix together cocoa powder, sugar, salt and a quarter glass of milk in a sauce pan over medium heat until they dissolve.
Put the remaining milk into it and heat it for sometime, keep stirring in between. Do not boil.
Pour in glass, top with cream and serve when warm for children.
Notes
Usually cocoa powder used in chocolate drink is double the quantity of what I have used, we do not like that way. Feel free to use more sugar and cocoa powder.
Pin it for later:
hot chocolate milk
I am sending this post to BM#96 hosted by Srivalli along with PJ for the Kids Delight Event with the theme “Winter Warmers”
If you have liked this post, do leave a comment, motivates me to write more. If you ever try making this one, take a pic and share it on Instagram tagging @foodiejayashree or @evergreendishes on Twitter and Facebook.
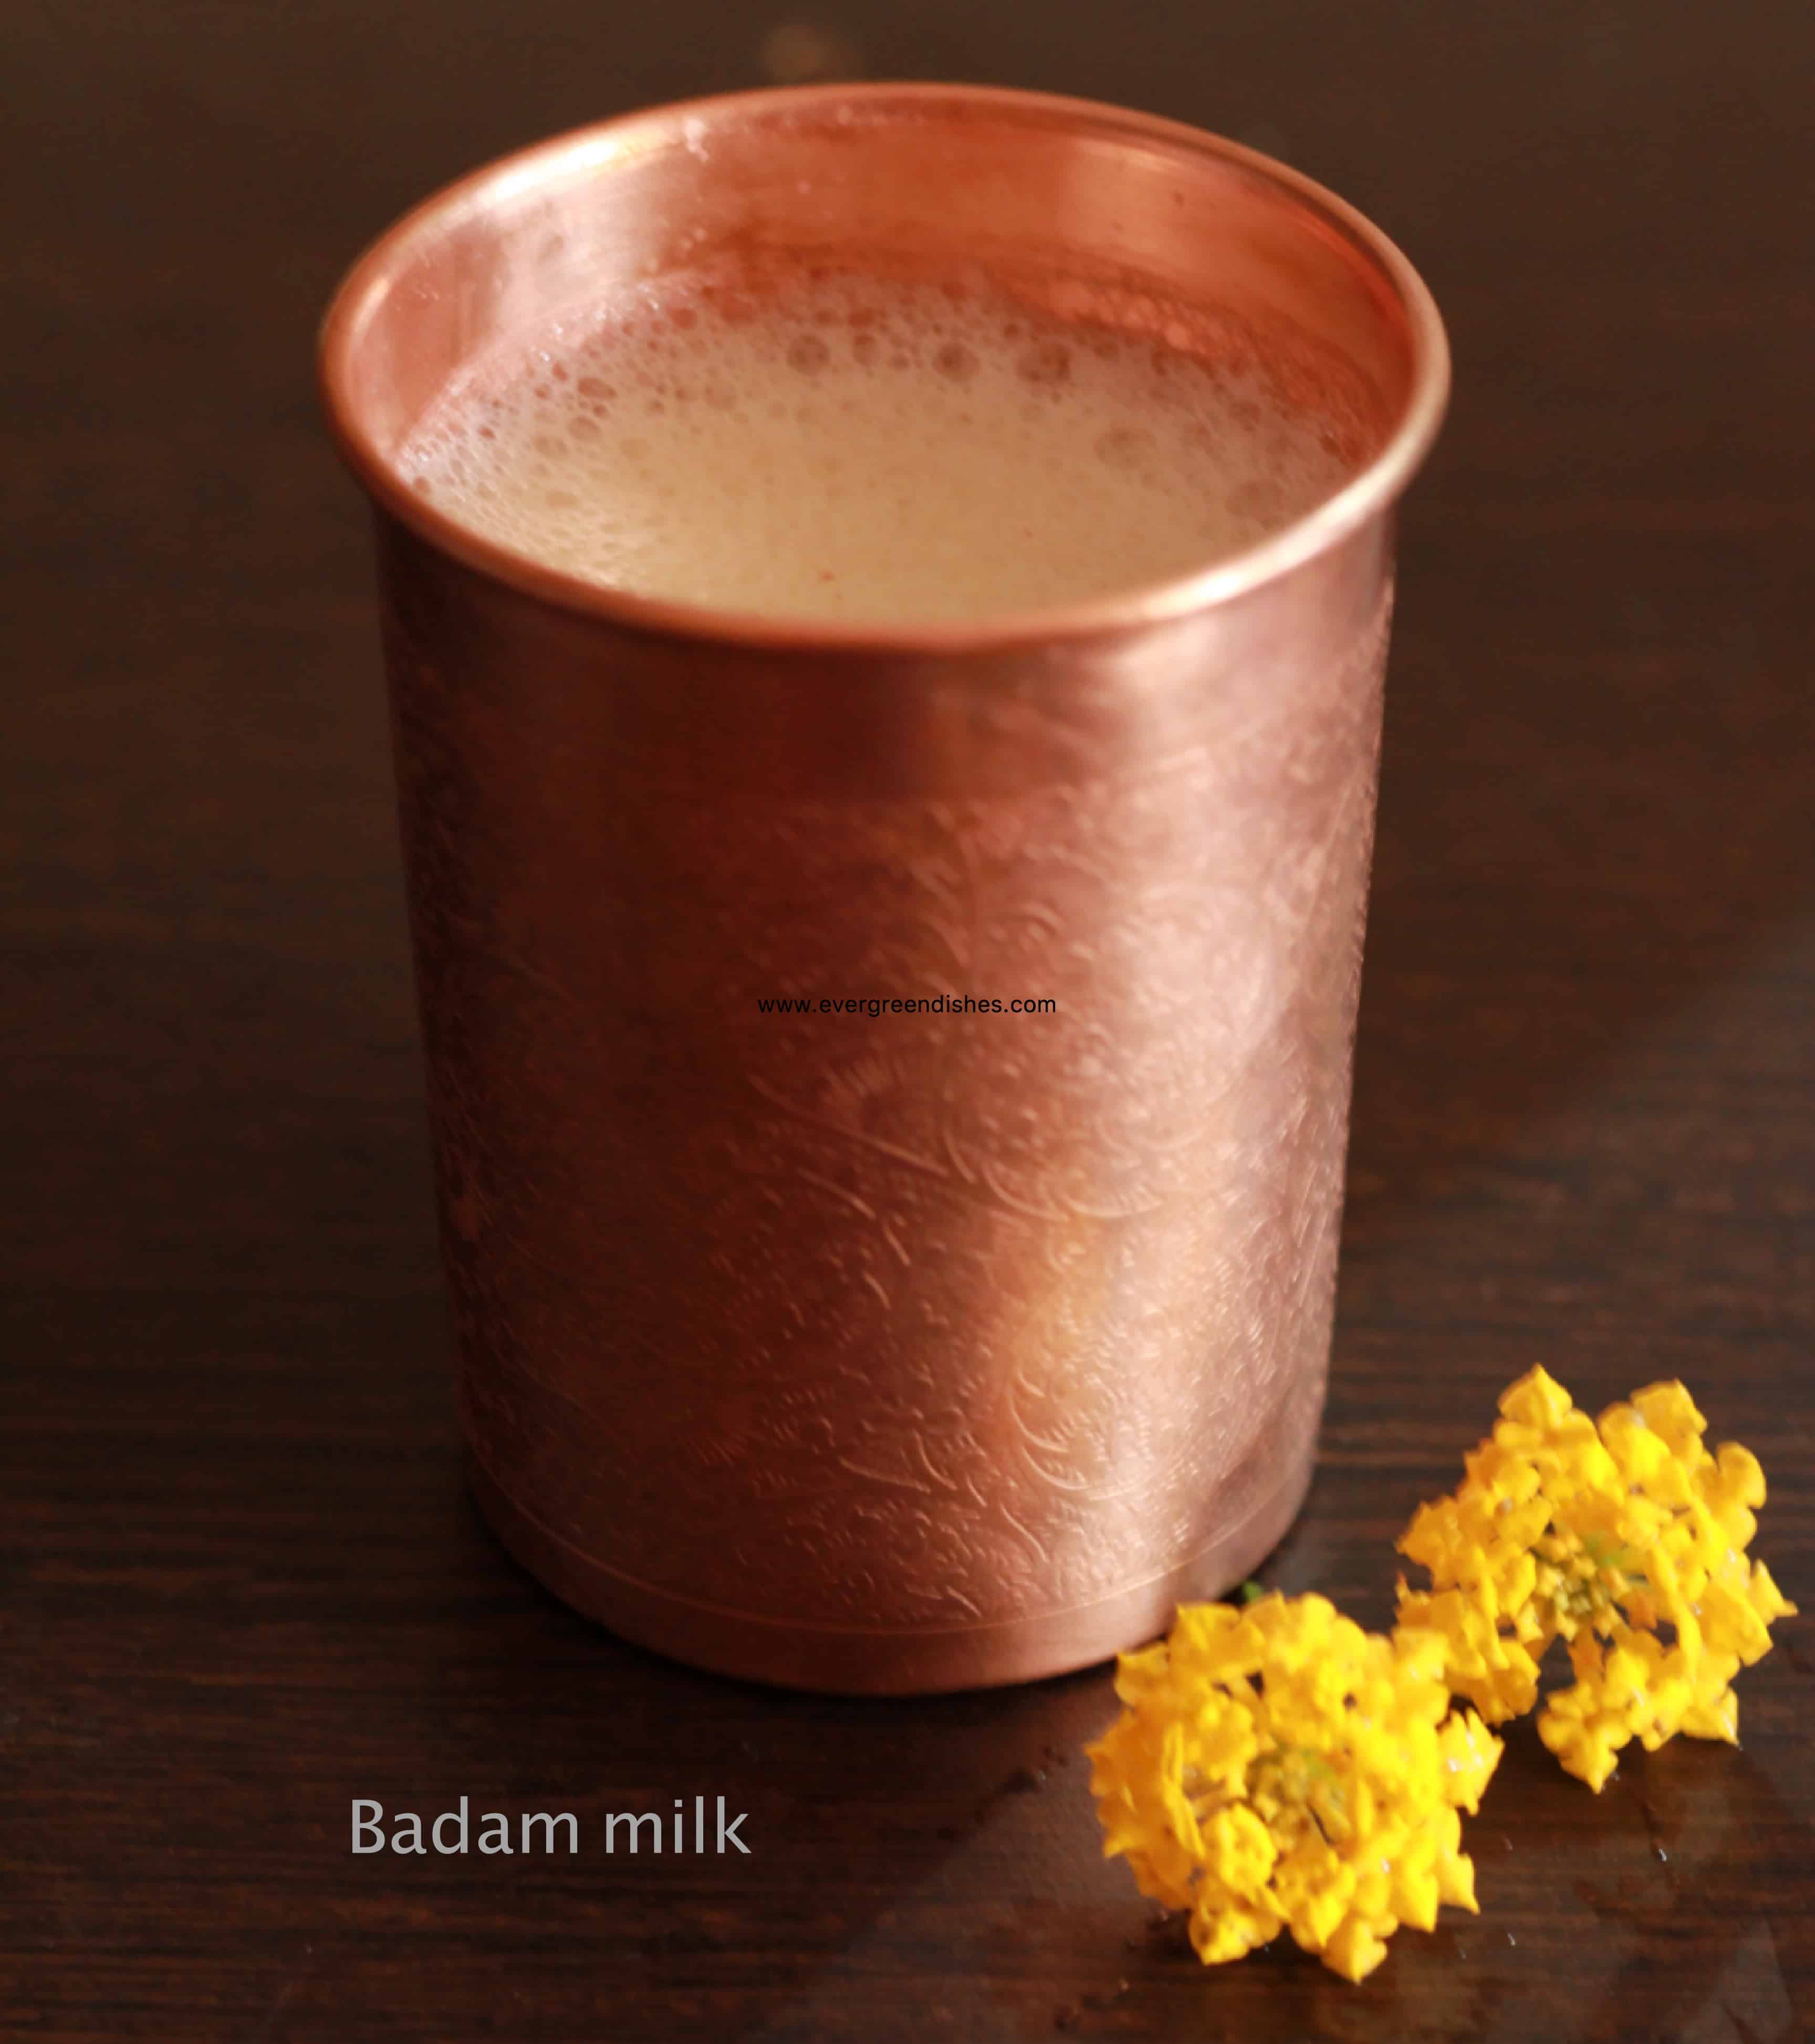
Badam Milk is a tasty and healthy drink, ideal as a winter warmer for children. Waking up children during winter is really a task, they do not want to get out of the bed, they just snuggle and sleep for hours. This drink will surely elate their senses. (more…)
Parle G biscuit cake is easy to make, soft and different from the usual one. It makes a good tea time snack.
Cakes are an all time hit at home, though I am less a baker. It’s my daughter who provokes me to bake each time, with holidays, she is all set to bake if I agree to help her. Today I have a simple cake which is easy to make, soft and different. Our good old Parle G biscuit is the primary ingredient here. Check the recipe below:
Ingredients: Measurement used: 1 cup=150ml
35 Parle G biscuits
4 teaspoon castor sugar
2 teaspoon baking powder
2 teaspoon cocoa powder
1 cup milk
Method:
Grind the biscuits to a powder.
Add sugar, baking powder and cocoa powder to it. Mix them well.
Add milk to it and mix again.
Grease a cake tin or put a baking paper to it.
Pour the batter into it, microwave for five minutes.
Insert a tooth pick to check if it’s done, if it comes clean, it’s done.
Let stand for ten minutes.
Parle G biscuit cake is ready to eat.
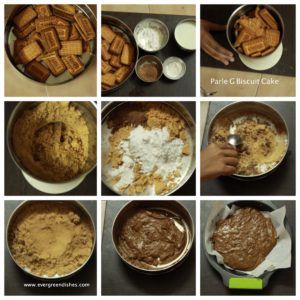
making of parle g biscuit cake
From the left to the right in the collage you will find
Add sugar, baking powder and cocoa powder to it. Mix them well.
Add milk to it and mix again.
Grease a cake tin or put a baking paper to it.
Pour the batter into it and microwave for five minutes
Insert a tooth pock to check if it’s done, if the tooth pick comes clean, it’s done.
Let stand for ten minutes.
Parle G biscuit cake is ready to serve.
parle g biscuit cake
Did you like the recipe? Do let me know, will be glad to hear from you. If you recreate, do take a picture and tag @evergreendishes on Twitter and Facebook and @foodiejayashree on Instagram, shall be glad to see and share further.
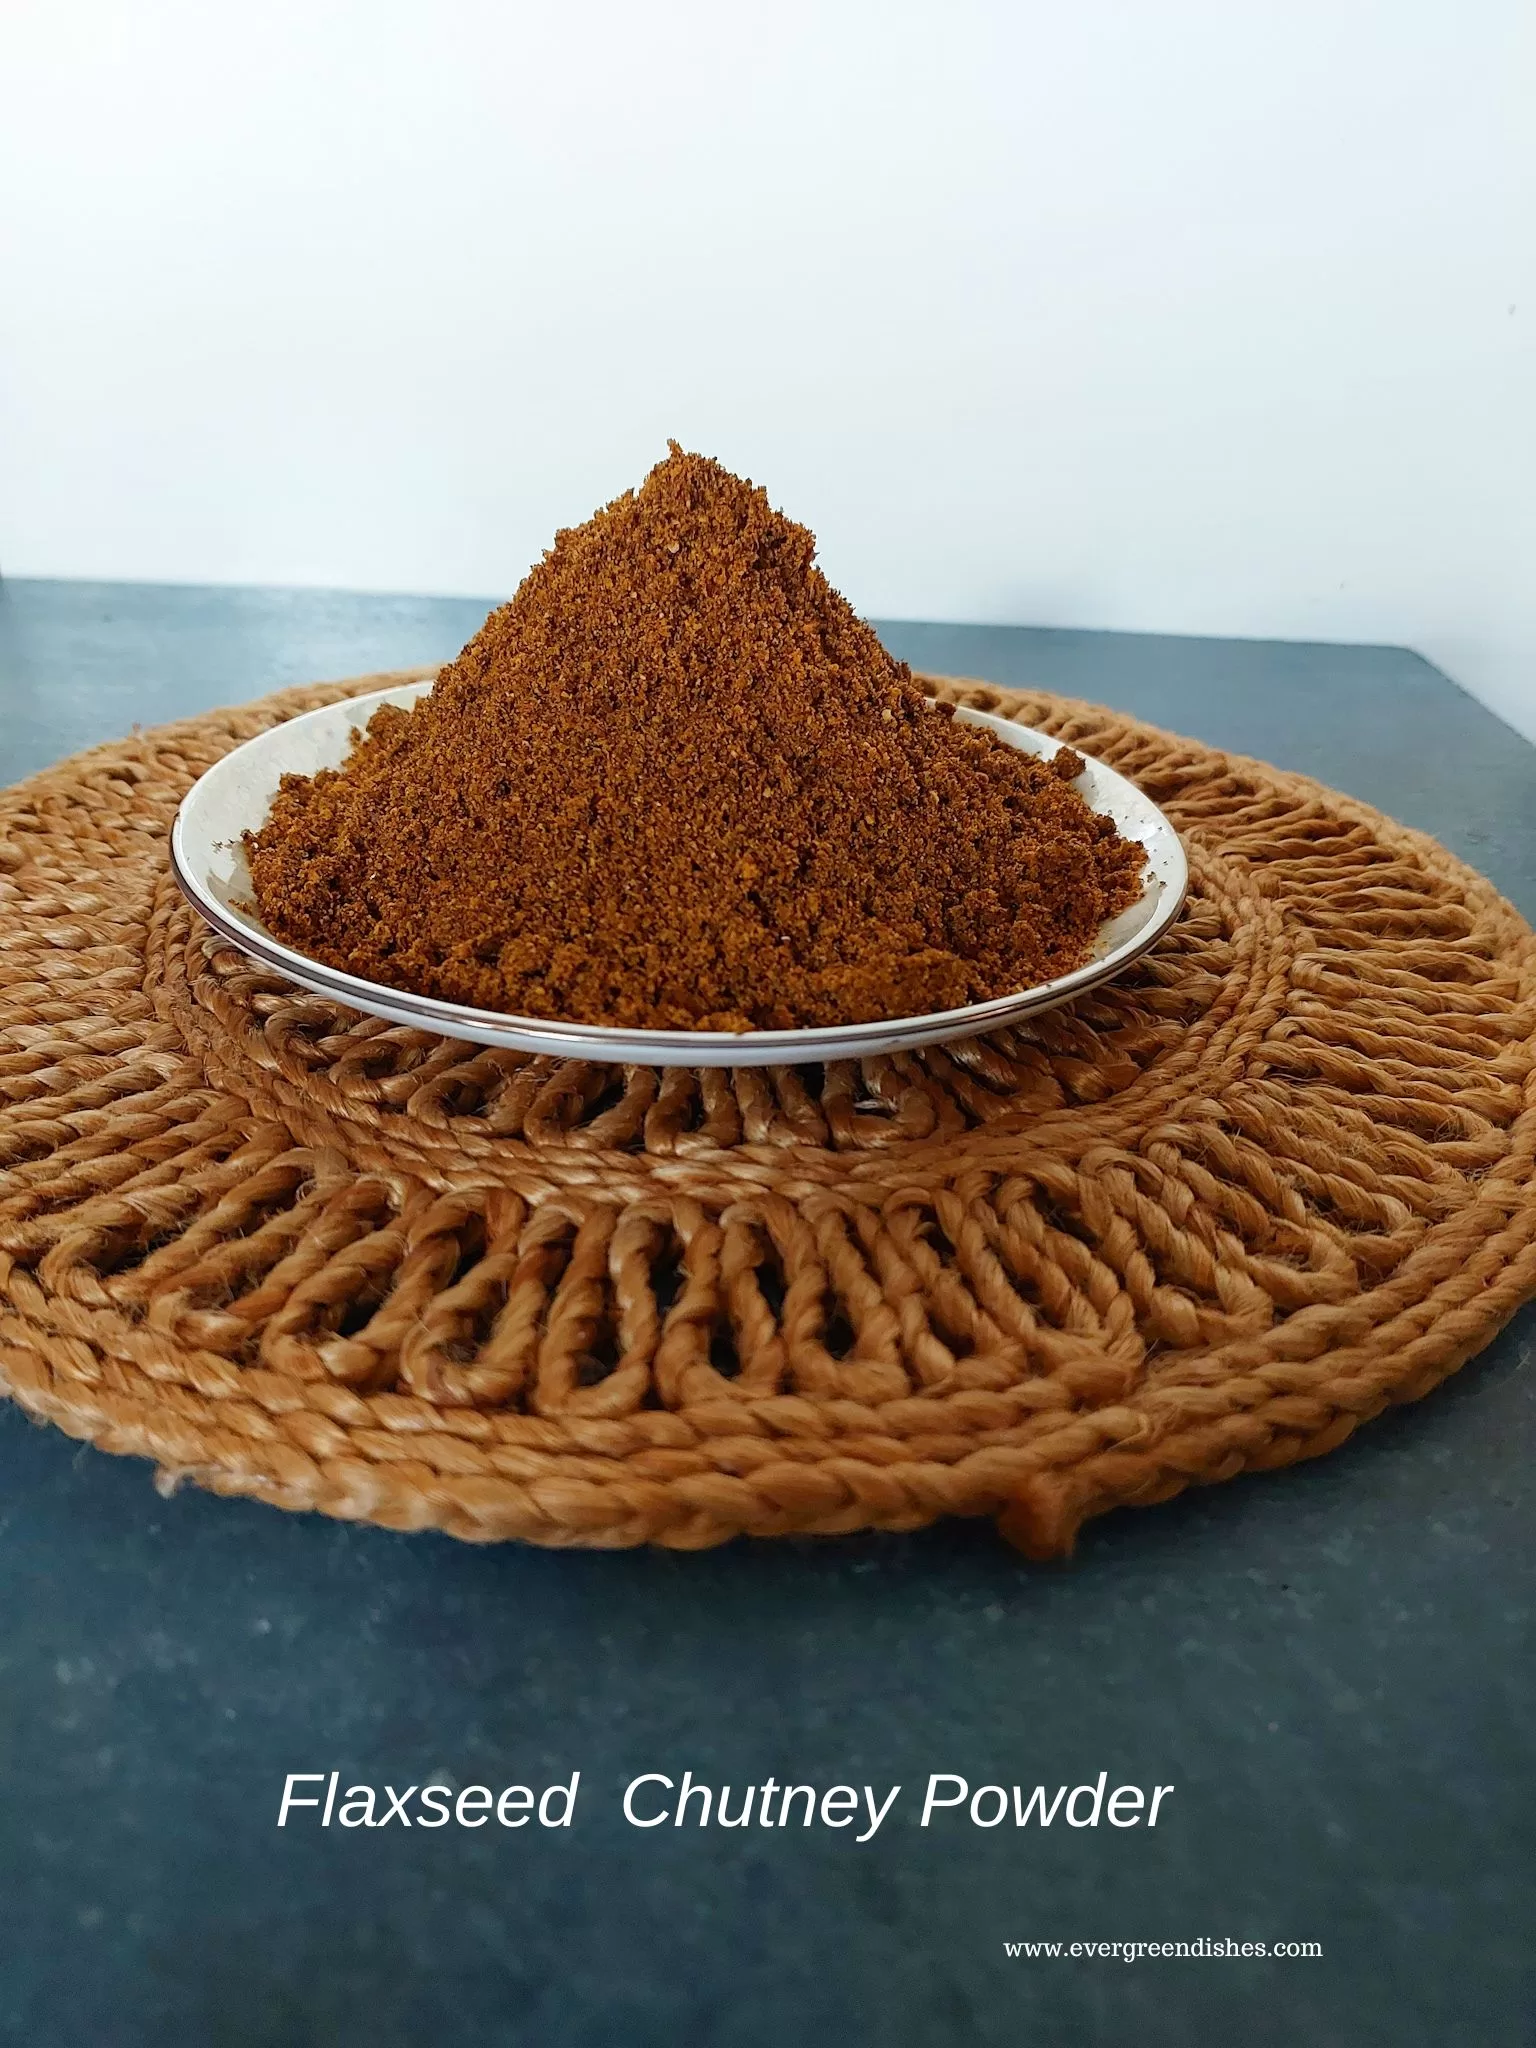
Flaxseed chutney powder is a tasty and ideal condiment to make and store at home. It stays good for a long period and makes a good accompaniment with any meal. It is usually served with jowar roti or chapati along with other dishes.
A hearty new year greetings to one and all. May the year be filled with joy, peace and happiness. The first post of 2019 and as is the custom to begin with good things, I thought of kick starting with a healthy recipe on the blog. Flaxseed is the new age food that has gained a lot of importance because of its immense benefits. Presenting, flaxseed chutney powder that is not only tasty but healthy, easy to make and pairs well with many dishes. It is a life saviour during busy days.
What is flaxseed?
Flax also known as common flax or linseed is a member of the genus Linumin the family Linaceae. It is a food and fiber crop cultivated in cooler regions of the world. The textiles made from flax is known as linen in the western countries and traditionally used for bedsheets and other kind of clothing.
How is it helpful?
Flaxseed is considered to be a super food as it is a good source of many nutrients. The main nutrients of flaxseed are Omega 3 essential fatty acids, lignans and fiber. It is high in Omega 3 Fatty Acids and consists of alpha linolenic acid (ALA), which is mostly found in plants. It lowers the risk of stroke and is heart friendly. The other rich source is the lignans which may reduce the risk of cancer. They are rich in dietary fibre and can be consumed easily. It helps digestive conditions including chronic constipation, diarrehea, irritable bowel syndrome.
How can one eat flaxseeds?
Flaxseed is available as whole seeds, meal powder, liquid oil and oil in a pill form. It can be easily added to cereal, baked goods and garnished in other dishes in its powder form. Add a few roasted flaxseed to salad, it tastes good. You can also also add a spoon of roasted flaxseed while making thalipeeth along with other spices.
How can this chutney powder be used?
Flaxseed chutney powder makes a good accompaniment with chapati, idli, dosa, rice or curd rice. It is a life saviour on busy days or when you are bored to cook an elaborate meal.
How long can it be stored?
Agase pudi stays good for more than two months, make sure the container is dry.
flaxseed chutney powder
Let’s get to the recipe of Flax Seed Chutney Powder
Ingredients: Measurement used : 1cup =250 ml
1 cup flax seed
2 tablespoon bengal gram
2 tablespoon urad dal
1 teaspoon coriander seed
1/2 teaspoon cumin
1/2 cup desiccated coconut
15- 20 dry red chilli
a few curry leaves
a small piece of tamarind
a small piece jaggery
salt
1 + 2 teaspoon oil
a pinch of turmeric powder
asafoetida
Method:
Dry roast the flax seeds until they splutter and you get a nutty aroma.
Dry roast the desiccated coconut and curry leaves.
Dry roast the lentils ,coriander seed and cumin separately.
Put a spoon of oil in the pan and roast the red chilly.
Once the ingredients are cool, grind them in a mixer jar. Add salt, jaggery and tamarind to it.
Heat oil in a pan and make the seasoning. Add turmeric powder and asafoetida to it, put the ground powder and turn off the stove. Mix well. Store in a dry jar.
About the event :
Sending this to Fooodies_Redoing Old Post No128 a fortnightly event. We are a group of bloggers, work on an old post either by changing the picture, text or both.Here, I have put better pictures.
Pin it for later :
flaxseed chutney powder
If you have liked this post, do leave a comment and share it further.
If you ever recreate this recipe, take a picture and tag @foodiejayashree on Instagram or @evergreendishes on Facebook. I will be happy to share your dish with my network.
Follow evergreendishes on other social media, let’s be connected.
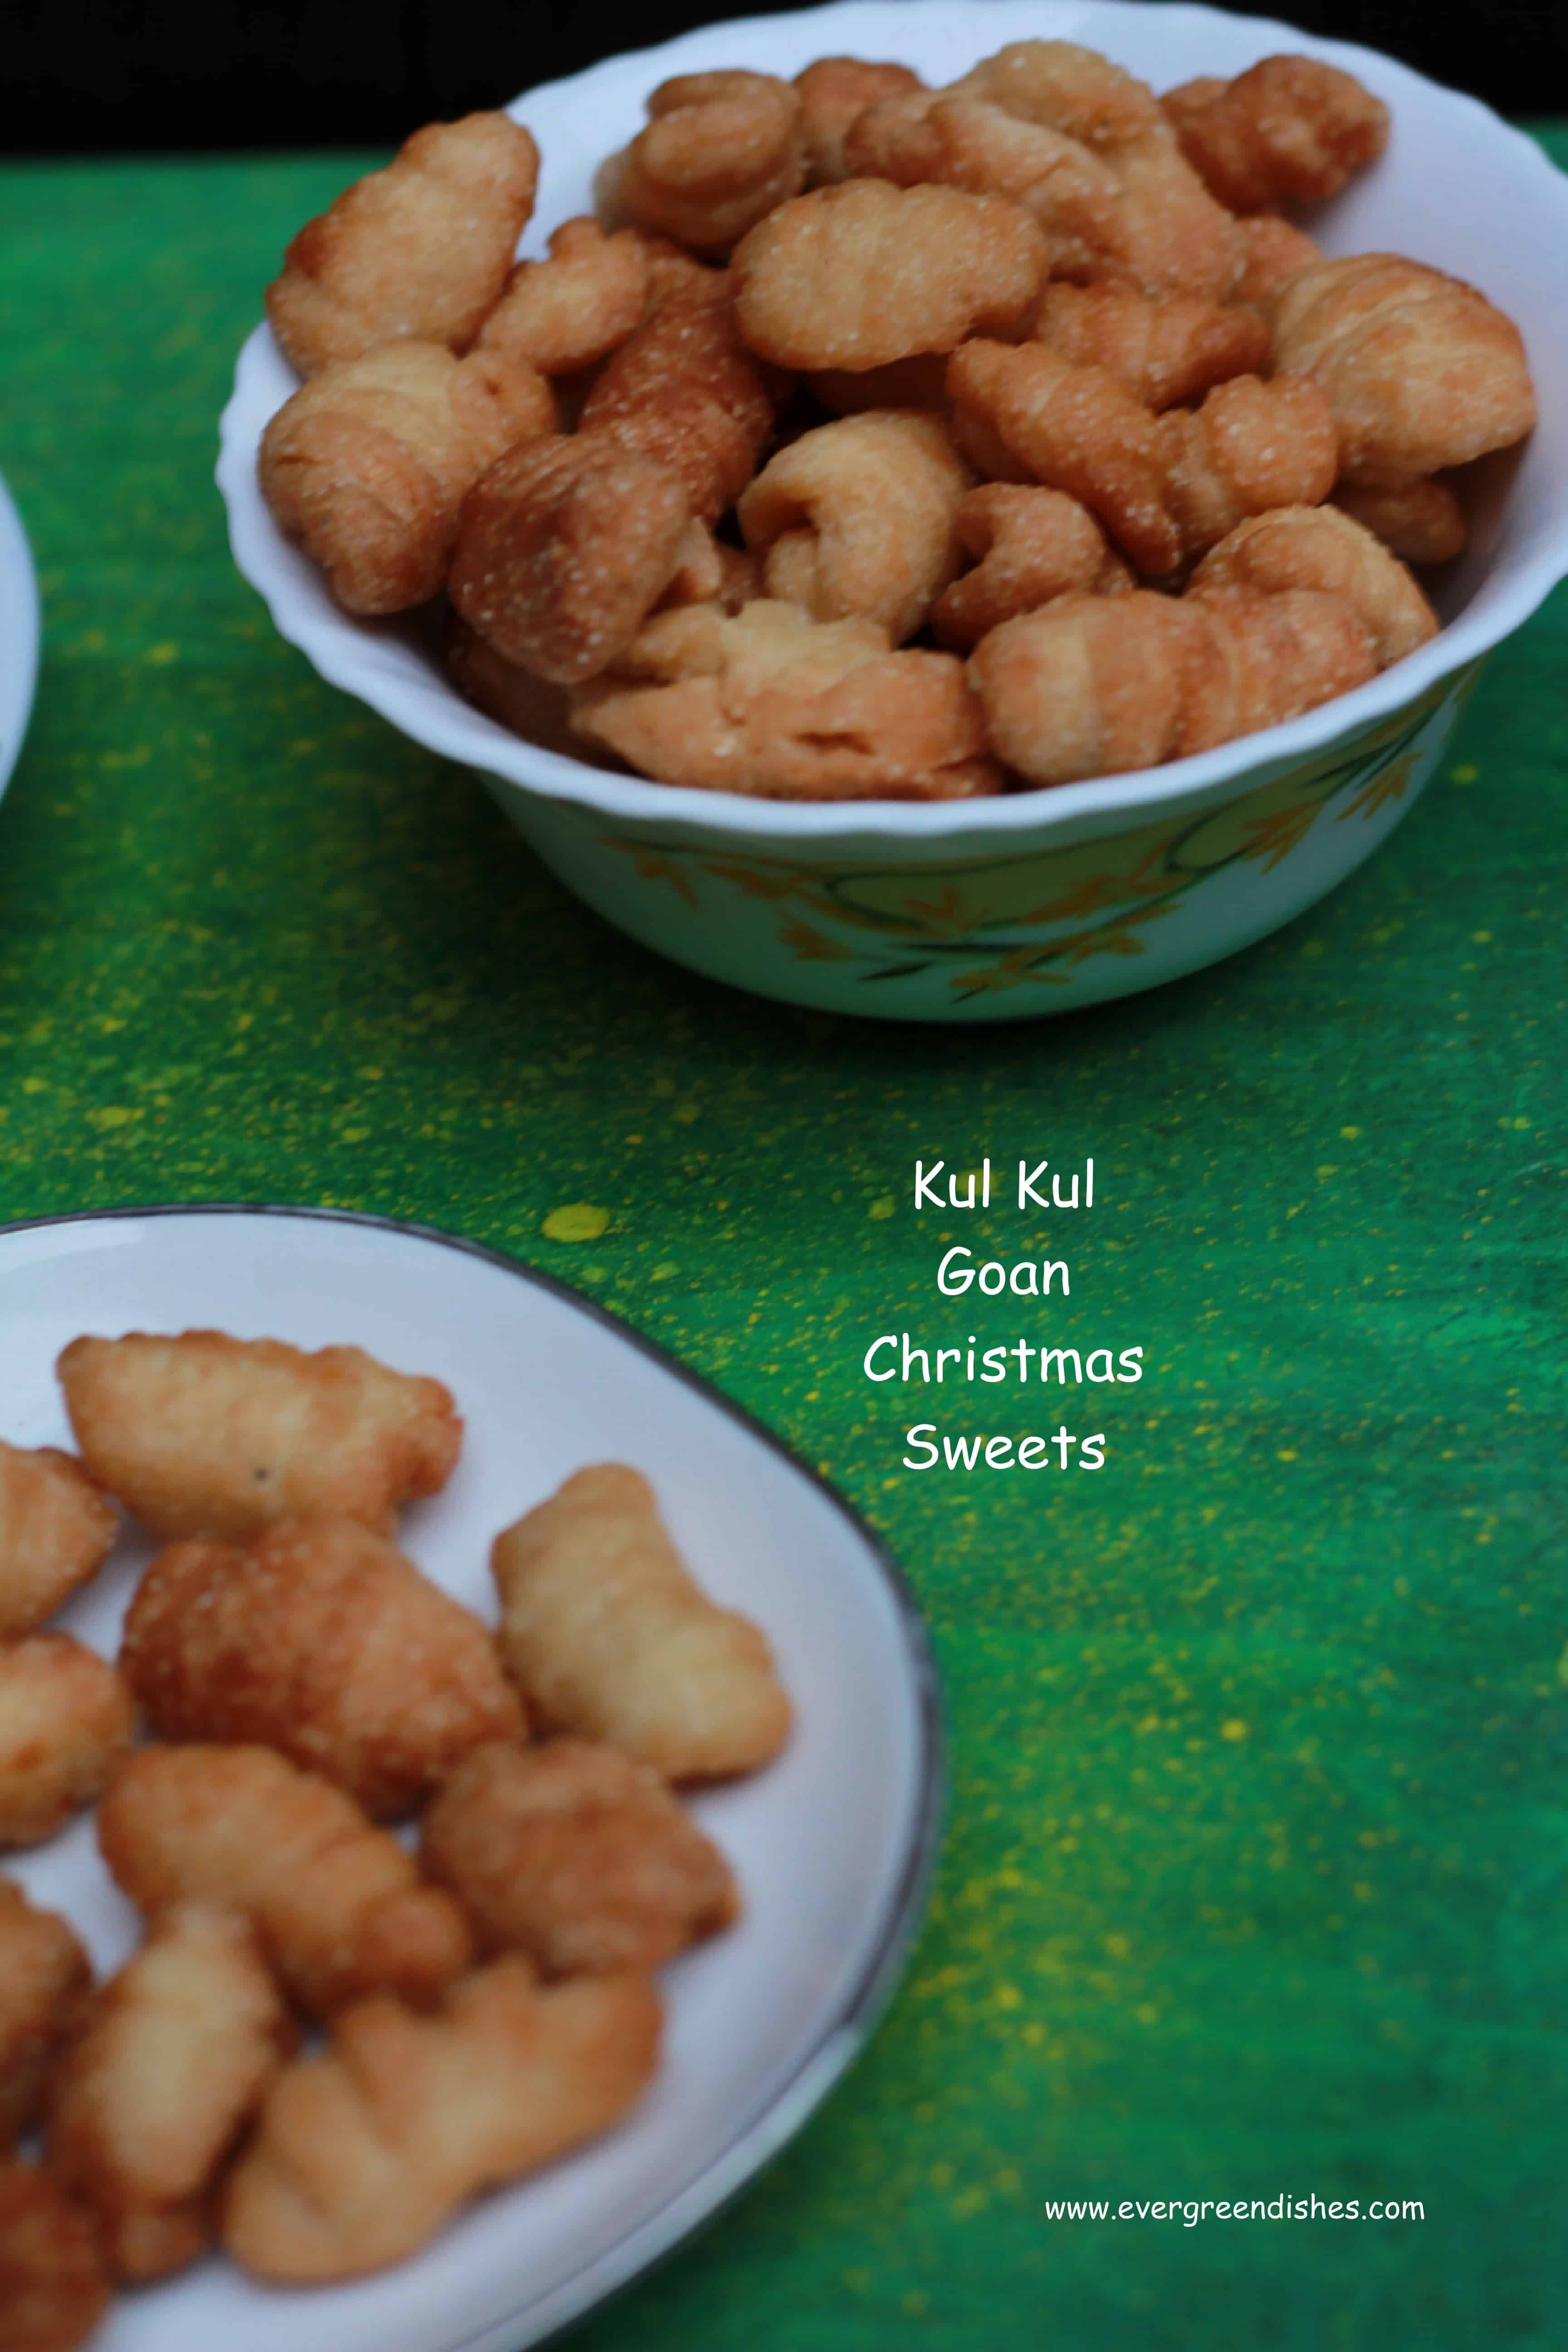
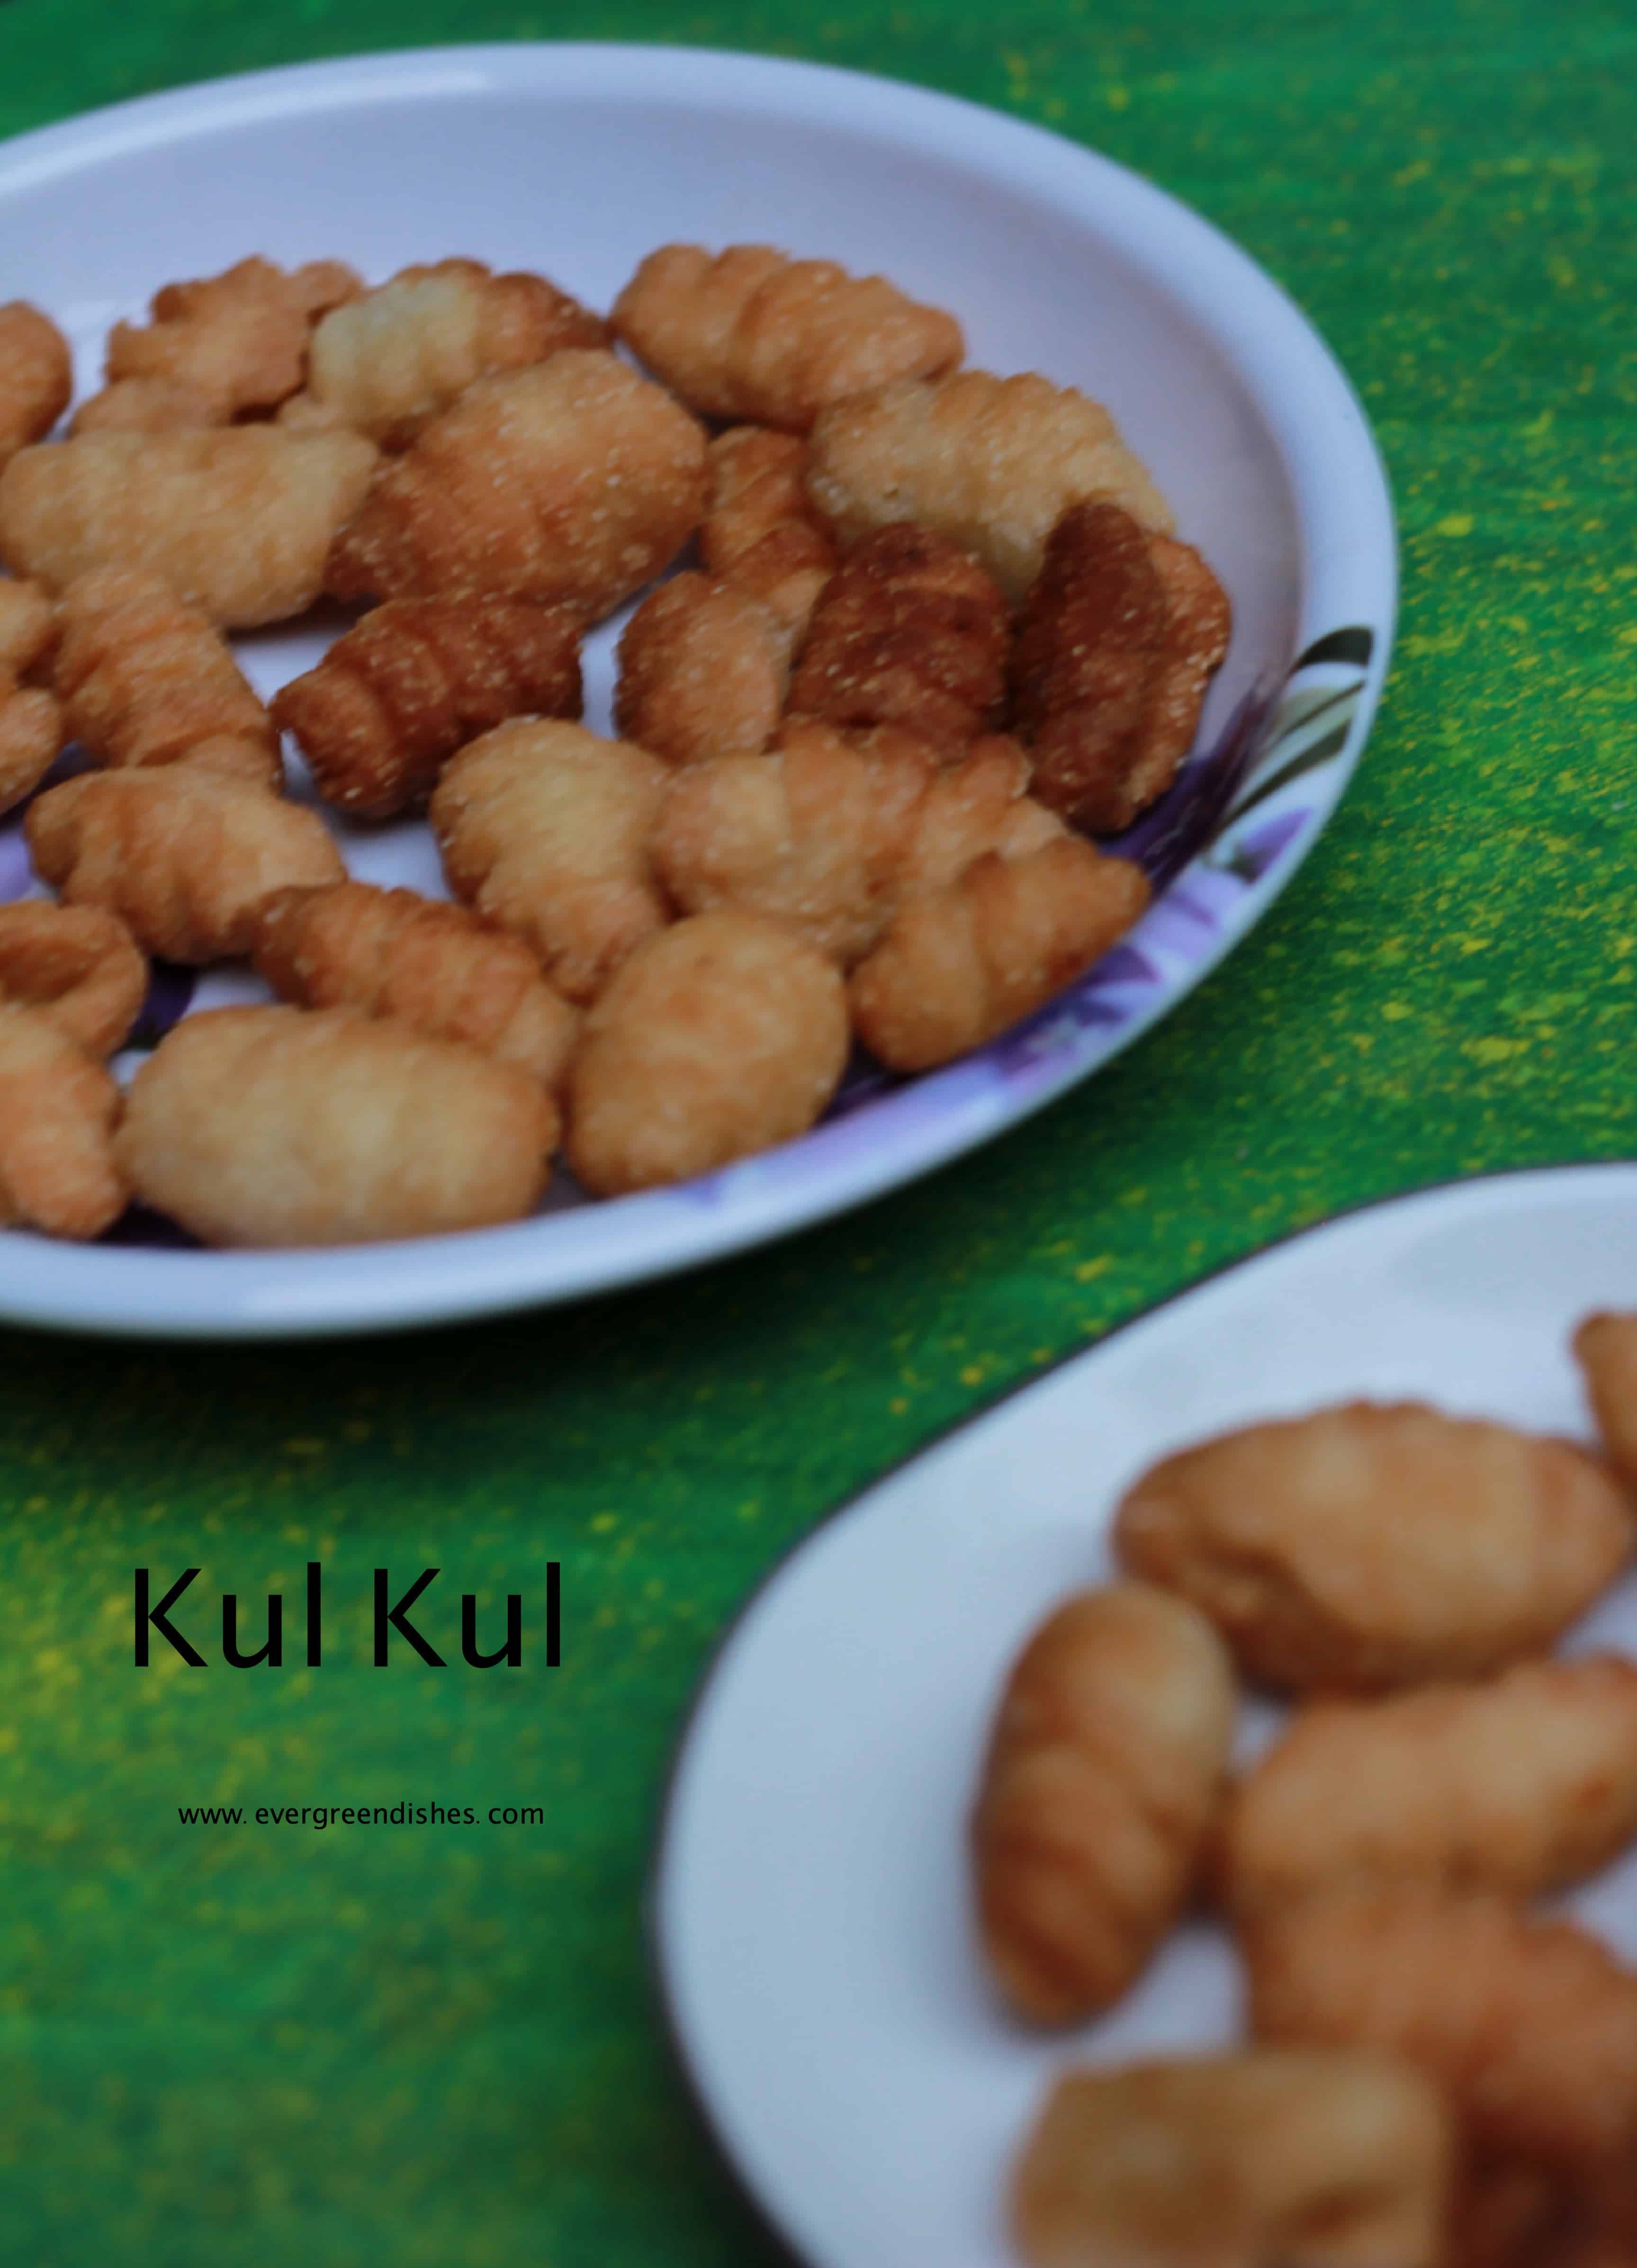
Kul Kul is a traditional Indian sweet prepared during Christmas. It is crunchy and makes a good snack to store at home.
Christmas is here and time to rejoice. There’s a song and joy everywhere, elaborate preparations are being made and the internet is flooded with cake recipes. Oh! so many I am seeing each day, there is really no dearth for tasty dishes isn’t it? It’s been sometime I posted anything related to Christmas after the cookie recipe, so here I am with a tasty Goan sweet
I have seen many of friends make elaborate dishes, such beautiful flower shaped sweets, cakes and cookies. Today, I have Kul Kul or Kal Kal as it is called.
Kul kul is a sweet from Goan cuisine. It is an Indian sweet made during Christmas. Coconut milk or milk is often used to mix the dough. But, I have used water here. A few tips, before I proceed to the recipe.
Mix the ghee well with the flour. Rub it well numerous times before you add other ingredients.
Add water little at a time, you need a stiff dough.
A little oil may be applied on the dough and then kept covered aside.
Making of kul kul needs time and patience.
Lets start making Kul Kul
Ingredients: Measurement used: 1 cup =250 ml
1.25 cup All Purpose Flour
4 tablespoon ghee
1/4 cup semolina
1/4 cup castor sugar
1/2 teaspoon baking powder
1/2 teaspoon salt
water
oil for frying
Method:
kulkul
Take all purpose flour in a bowl, add ghee to it and mix it well with fingers, for three to four minutes.
Add sugar, salt and semolina to it. Again mix it.
Add a little water and knead to a stiff dough.
Cover and keep it aside for ten minutes.
You need a fork to give shape to kul kul. Take a marble size ball, press it on the fork and roll it into the shape of a cone. Seal the back end. Keep it on a plate and cover with a thin cloth, repeat for the rest of the dough.
Heat oil in a pan, add a batch of kul kul to deep fry, once they are golden in colour remove on an absorbent paper.
Repeat for the rest of the dough.
Store in an air tight container.
kul / kal kal is a traditional Indian sweet prepared during Christmas.kul kul
Take the flour in a bowl, add ghee and mix it well.
Add sugar, semolina, baking powder and salt. Mix again.
Add little water at a time and knead to a stiff dough.
Cover with a thin cloth and keep it aside for 10 minutes.
Take a small ball of the dough, press it on the back of the fork and then roll it into a curl. Seal the edges. Keep it aside on a plate. Make a few more kul kul.
Heat oil in a pan, add the shaped kul kul and deep fry until golden in colour.
Repeat the same steps for the rest of the dough.
Store kul kul in an air tight container.
kul kul / kal kal
May the festive season bring immense joy and happiness. Wishing one and all a MERRY CHRISTMAS AND A VERY HAPPY NEW YEAR !
May 2019 be a year of fun, enjoyment and most of all a hard working year for you all ! Be tuned for more recipes in the new year.
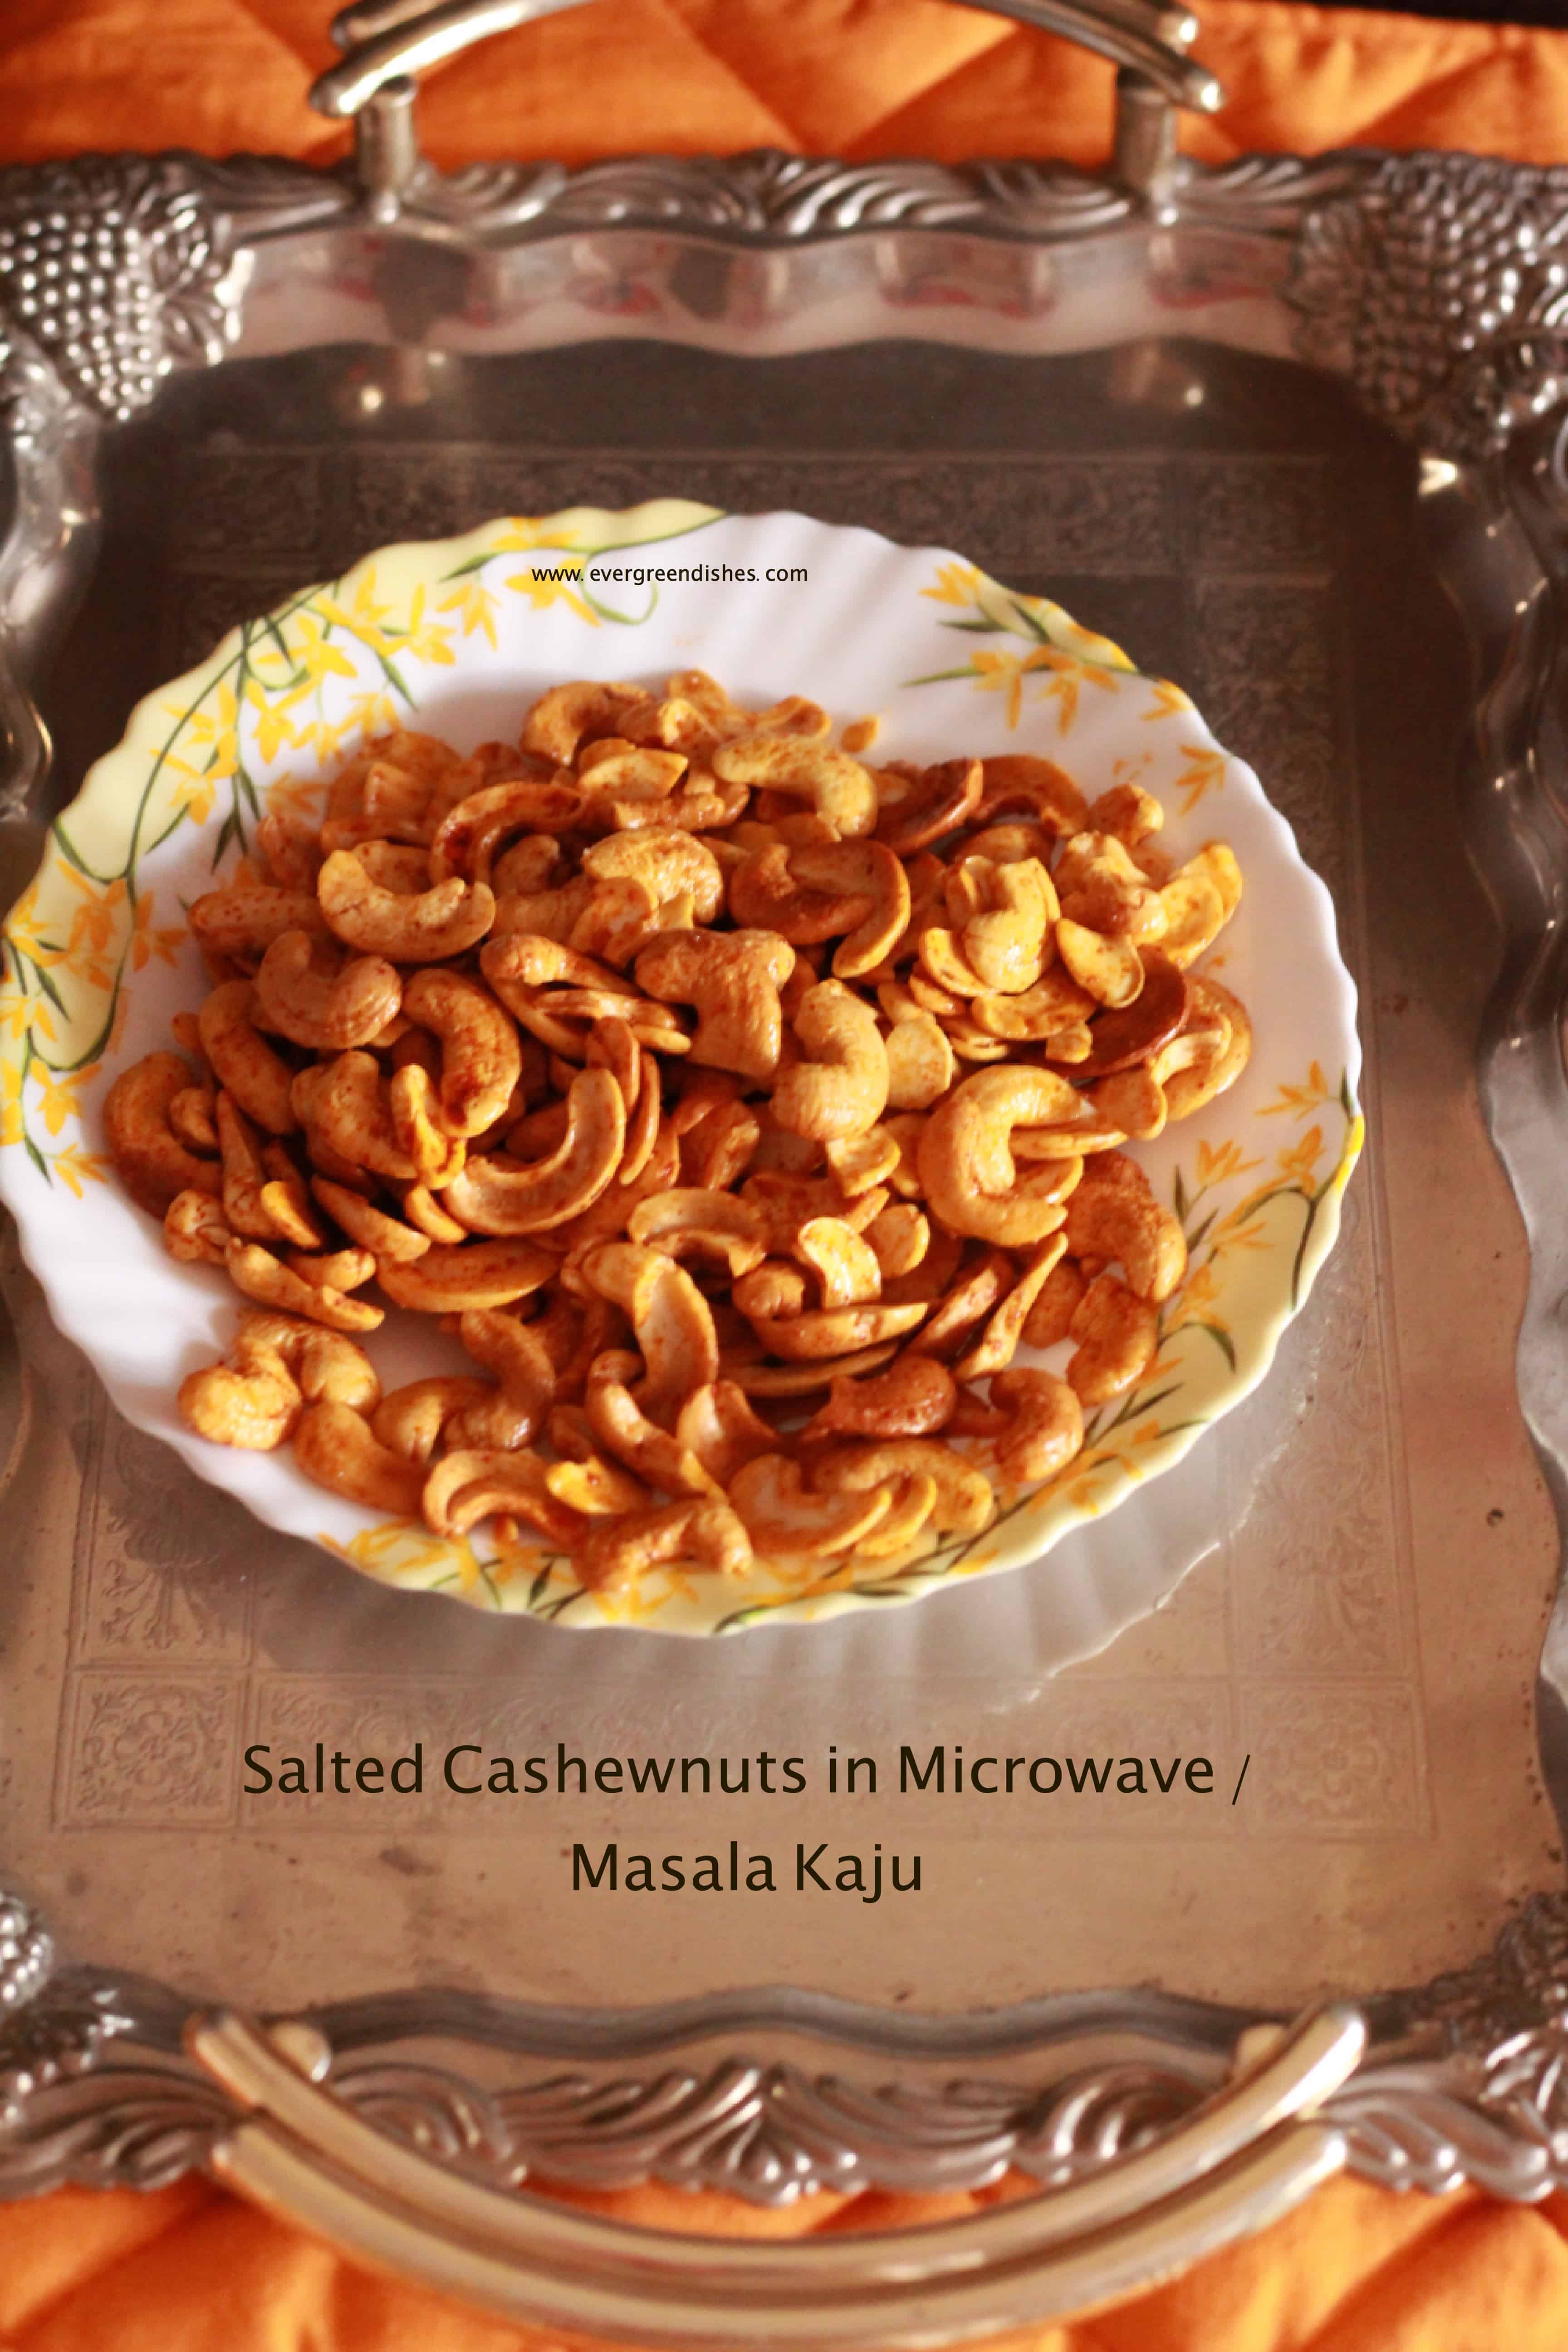
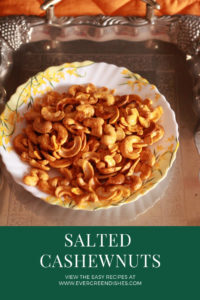
Salted cashew nuts / Masala Kaju as we Indians commonly name it, make a great appetiser. It is ideal to binge during mid-day or serve as a snack to guests with tea. These are made in microwave and are ready in fifteen minutes.
Microwave oven is ideal to toss the nuts, they are evenly made, lesser time is needed, little oil is used. Most of all I find it a good experience in using it.
Recently, I tried making stuffed tomato and it came out good. Other microwave recipes that I have on blog is Stuffed Capsicum
Let’s get making Salted Cashew nuts in Microwave / Masala Kaju
Ingredients:
1 cup cashew nut (Measurement : 1 cup = 250 ml)
1 teaspoon ghee
1/2 teaspoon chilli powder
1/4 teaspoon chaat masala
salt to taste
Method:
Take a microwave safe bowl, a flat bowl is preferred as it helps in even heating. Put the cashew nuts in it and microwave on medium power for 5 minutes. Check and if it needs to be roasted, reduce the temperature and keep again for 3 minutes. Initially, I kept at 600 power and then at 300 power.
Once, they are golden in colour, remove in a plate, add ghee and put the roasted cashew, microwave for 30 seconds, add salt, chilli powder and chaat masala, mix and again microwave for 30 seconds. Salted Cashew nuts aka Masala Kaju is ready to serve !
Different options :
use only salt
use salt and pepper
use salt, cumin powder, chilly powder and chaat masala
To make Salted Cashew nuts / Masala Kaju in Pan:
Ingredients:
1 cup cashew nuts
3 tablespoon ghee
1 teaspoon chilly powder
1/2 teaspoon chaat masala
a few curry leaves
a pinch of asafoetida
salt to taste
Method:
Take ghee in a pan, fry the curry leaves until crisp and put them aside.
In the same ghee, roast the cashew nuts until golden in colour. Put them in a plate.
In a bowl, mix the roasted cashew along with curry leaves and all spice powders.
Isn’t this an easy one? If you ever try this recipe, take a picture and tag me @foodiejayashree on Instagram
I love using Catch spice powders, they come in handy sprinklers and are good in taste.
Evergreendishesdev
Salted Cashew Nut in Microwave / Masala Kaju
Salted cashew nut make a good snack to binge in the evenings. They are roasted in the microwave and can be made quickly.
Take a flat microwave safe bowl, put the cashew nuts in it. Spread them evenly and microwave on medium power for five minutes. Check, toss, reduce the temperature and microwave for three more minutes. I put them at 600 power for five minutes, checking every minute and again put at 300 power for 3 minutes.
Once they are golden in colour, remove in a plate, add ghee, put the cashew nuts and switch on the power for 30 seconds. Sprinkle salt, chilly powder and chaat masala, mix and heat it for 30 seconds again.
Notes
Use microwave safe glass bowls for cooking.
Time may vary for each model, check when they are done, you get a good aroma and they are golden in colour.
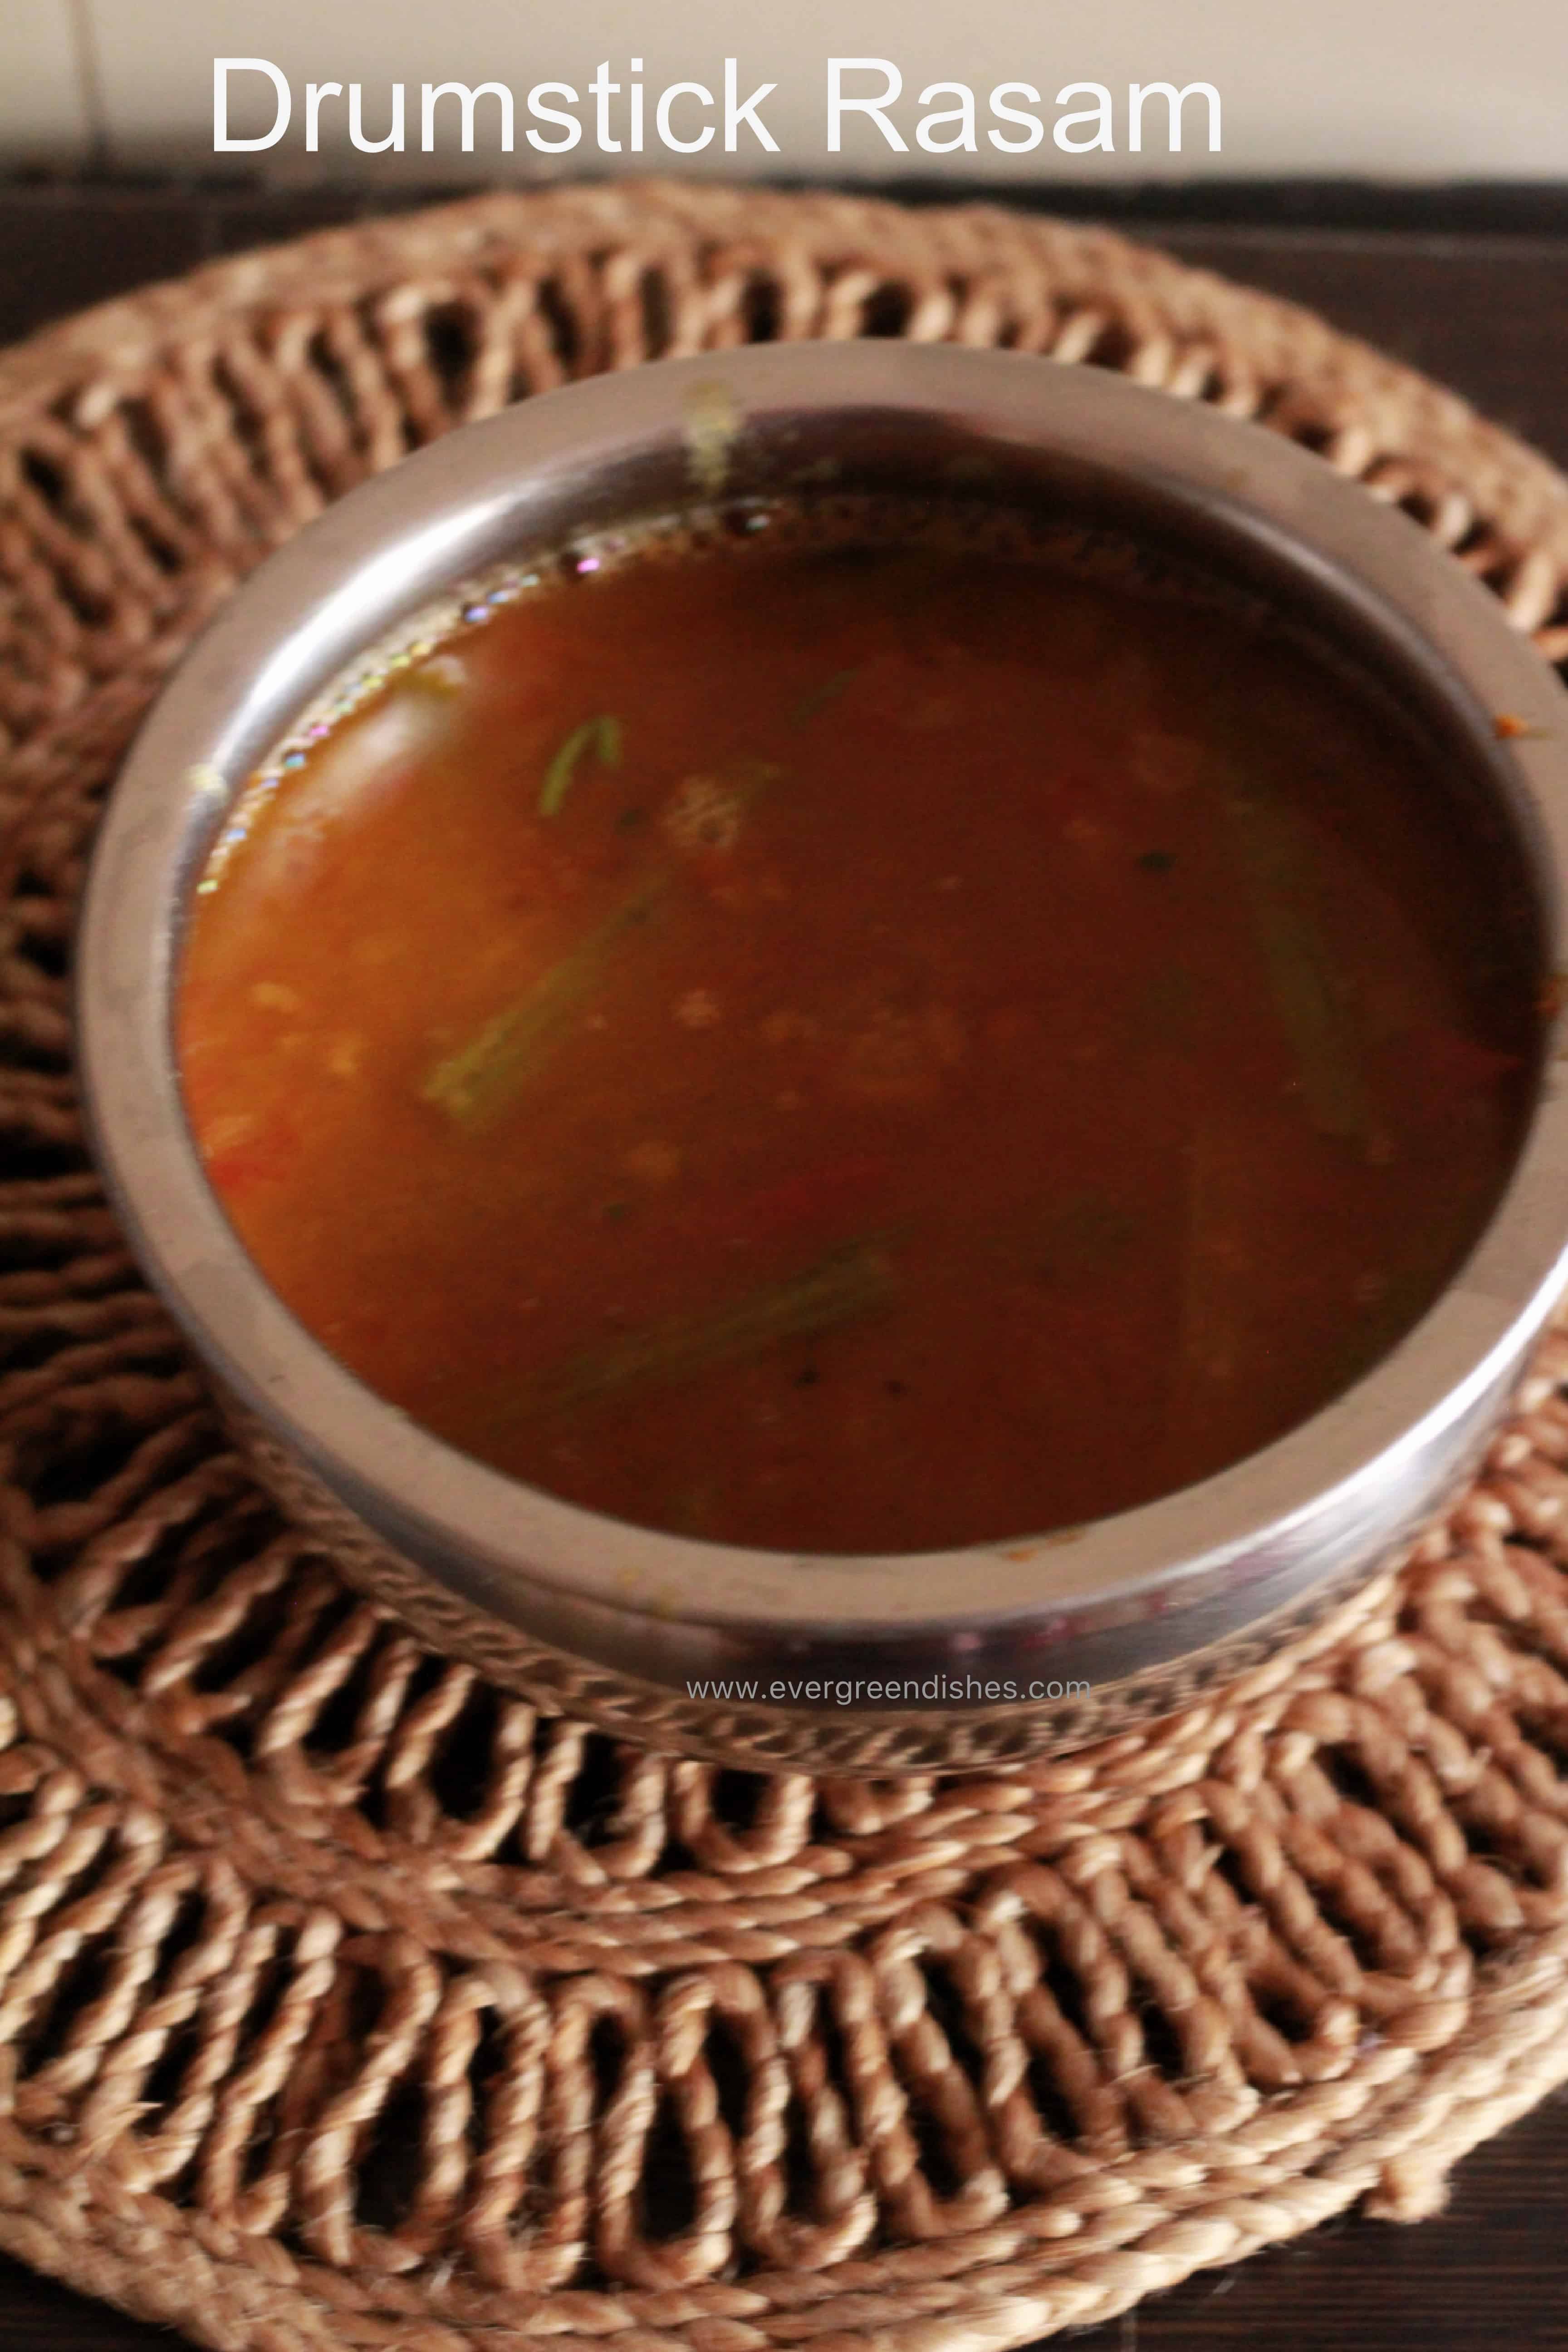
Drum stick rasam is a tasty and lesser known accompaniment served with steamed rice in South India. The taste and smell of drum stick is good and it is spicy, sour and sweet in taste.
Benefits of using drum stick:
I have seen that drumstick is not used in many households, some do not use as per tradition while a few detest it. But drumstick can be used in various ways, it is usually used in sambar. A stir fry made along with tomatoes tastes good. The leaves of drumstick are used in dal and considered healthy.
Did you know using drumstick has numerous benefits? It regulates blood sugar level and boosts immunity. They are excellent source of Vitamin B. It helps in purifying blood. It also helps in boosying the overall immunity of the system. Thus, regular usage has many benefits.
drumstick rasam
Rasam is called as Saaru in Karnataka and Chaaru in Andhra Pradesh. Drumstick rasam is more popular as Murungakai Rasam in Tamilnadu and Mulakkada Charu in Andhra Pradesh. It is a comfort food for South Indians. The scientific name for drumstick is Moringa Oleifera. It is slender, cylindrical pods popular as moringa, nuggekayi, murungakkai.
Are you a rasam lover ? Here are a few rasam recipes which will tantalize your taste buds.
lemon rasam
How to make Drumstick Rasam
Ingredients:
4 drumsticks
1 small cup tur dal (1 cup= 50 ml)
2 tomato
2 teaspoon ghee
1/4 teaspoon mustard seeds
1/4 teaspoon asafoetida
1/4 teaspoon turmeric powder
lemon size ball of tamarind
2 teaspoon rasam powder
a small piece jaggery
water
Method:
Soak tamarind in water.
Wash tur dal, add water and and some turmeric powder to it. Cook it in the pressure cooker.
Cut the drumstick in five or six pieces, two inch in length. Cook them in a pan with some water.
Cut the tomato into small pieces.
Take ghee in a pan, add mustard seed, as it splutters, put asafoetida and turmeric powder, throw in the tomato pieces. Add salt and some water. Let cook.
Extract pulp from the soaked tamarind.
Stir the tomatoes, add tamarind pulp, jaggery, curry leaves and rasam powder. Let boil.
Take the cooked tur dal, mix it well. It should be well cooked. Put the tur dal to it, cooked drum stick and water. Let it cook on a low flame.
Once it boils, garnish with fresh coriander. It is ready to serve.
Wash the tur dal and cook it in the pressure cooker with a little turmeric powder.
Cut the drum stick into two inch pieces. Cook them in a pan with some water.
Cut the tomato into small pieces.
In a pan, add ghee and make the seasoning. Add mustard seeds, as it splutters, put asafoetida and turmeric powder, throw in the tomato with salt and some water. Let cook.
Extract the pulp from the tamarind.
Once the tomato are cooked, add tamarind pulp, rasam powder and curry leaves to it. Let boil.
Add cooked tur da and boiled drumstick to it. Put water, letcook on a low flame.
Once it boils, garnish with coriander leaves. Drumstick rasam is ready to serve.
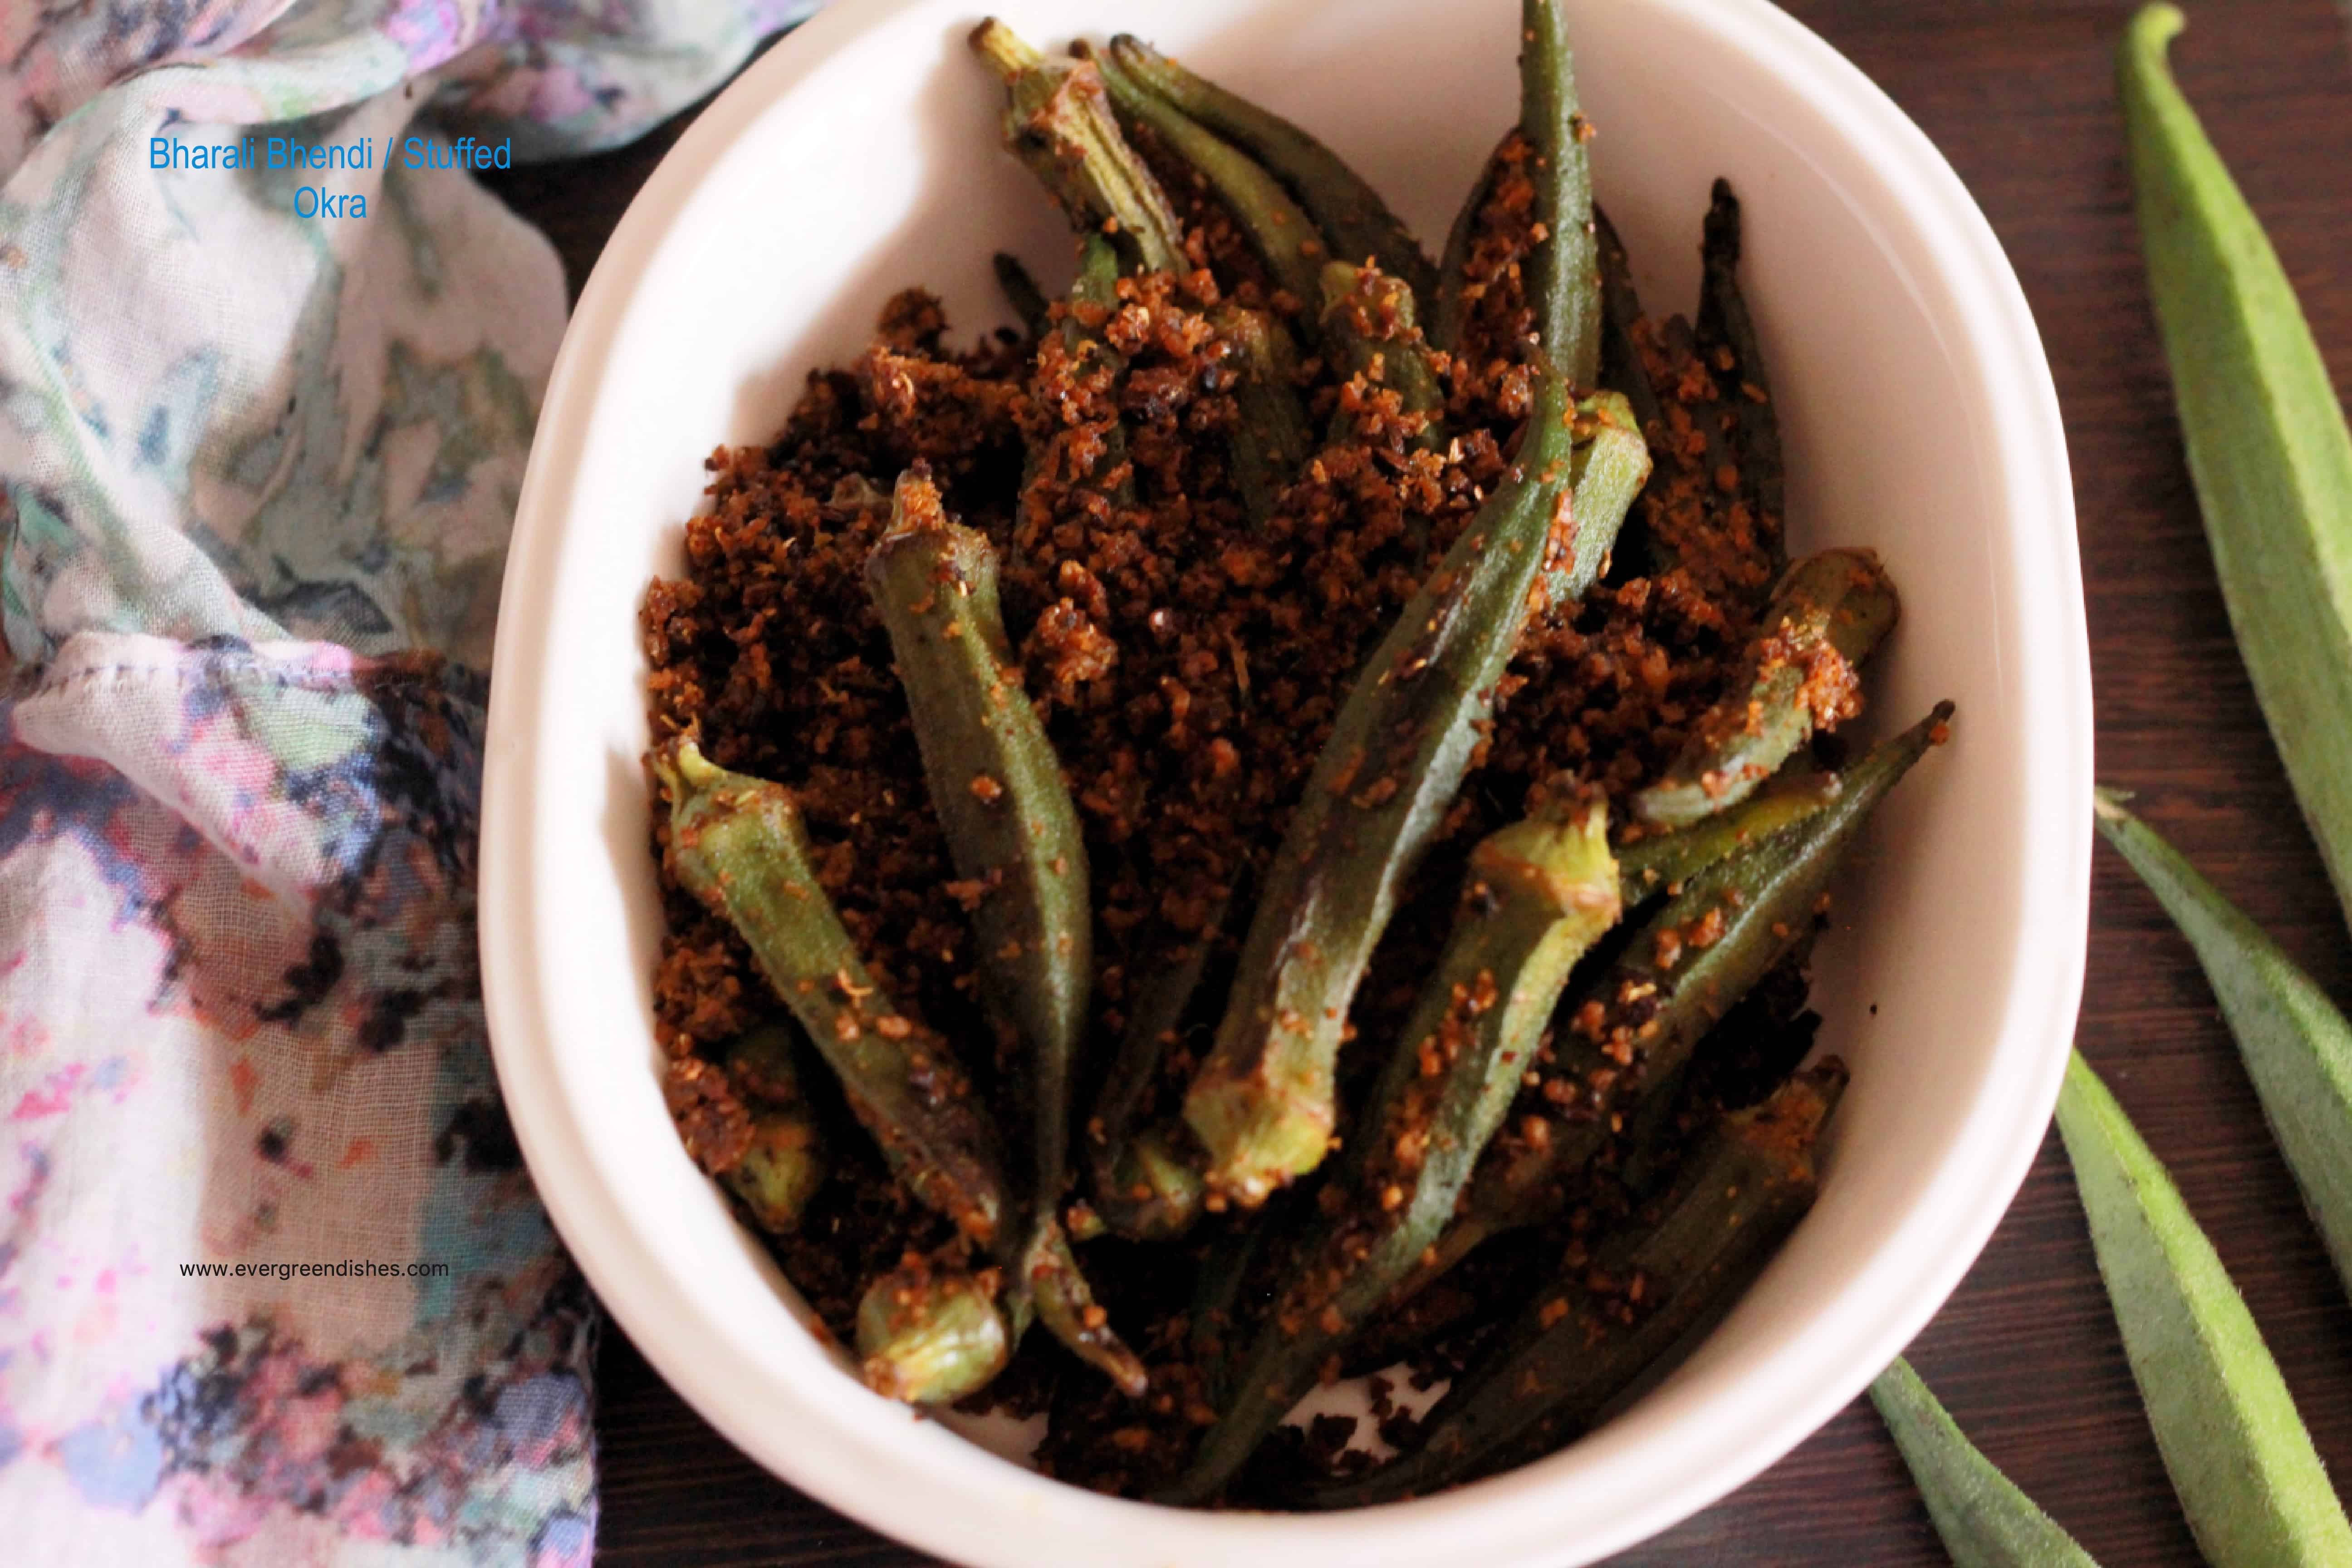
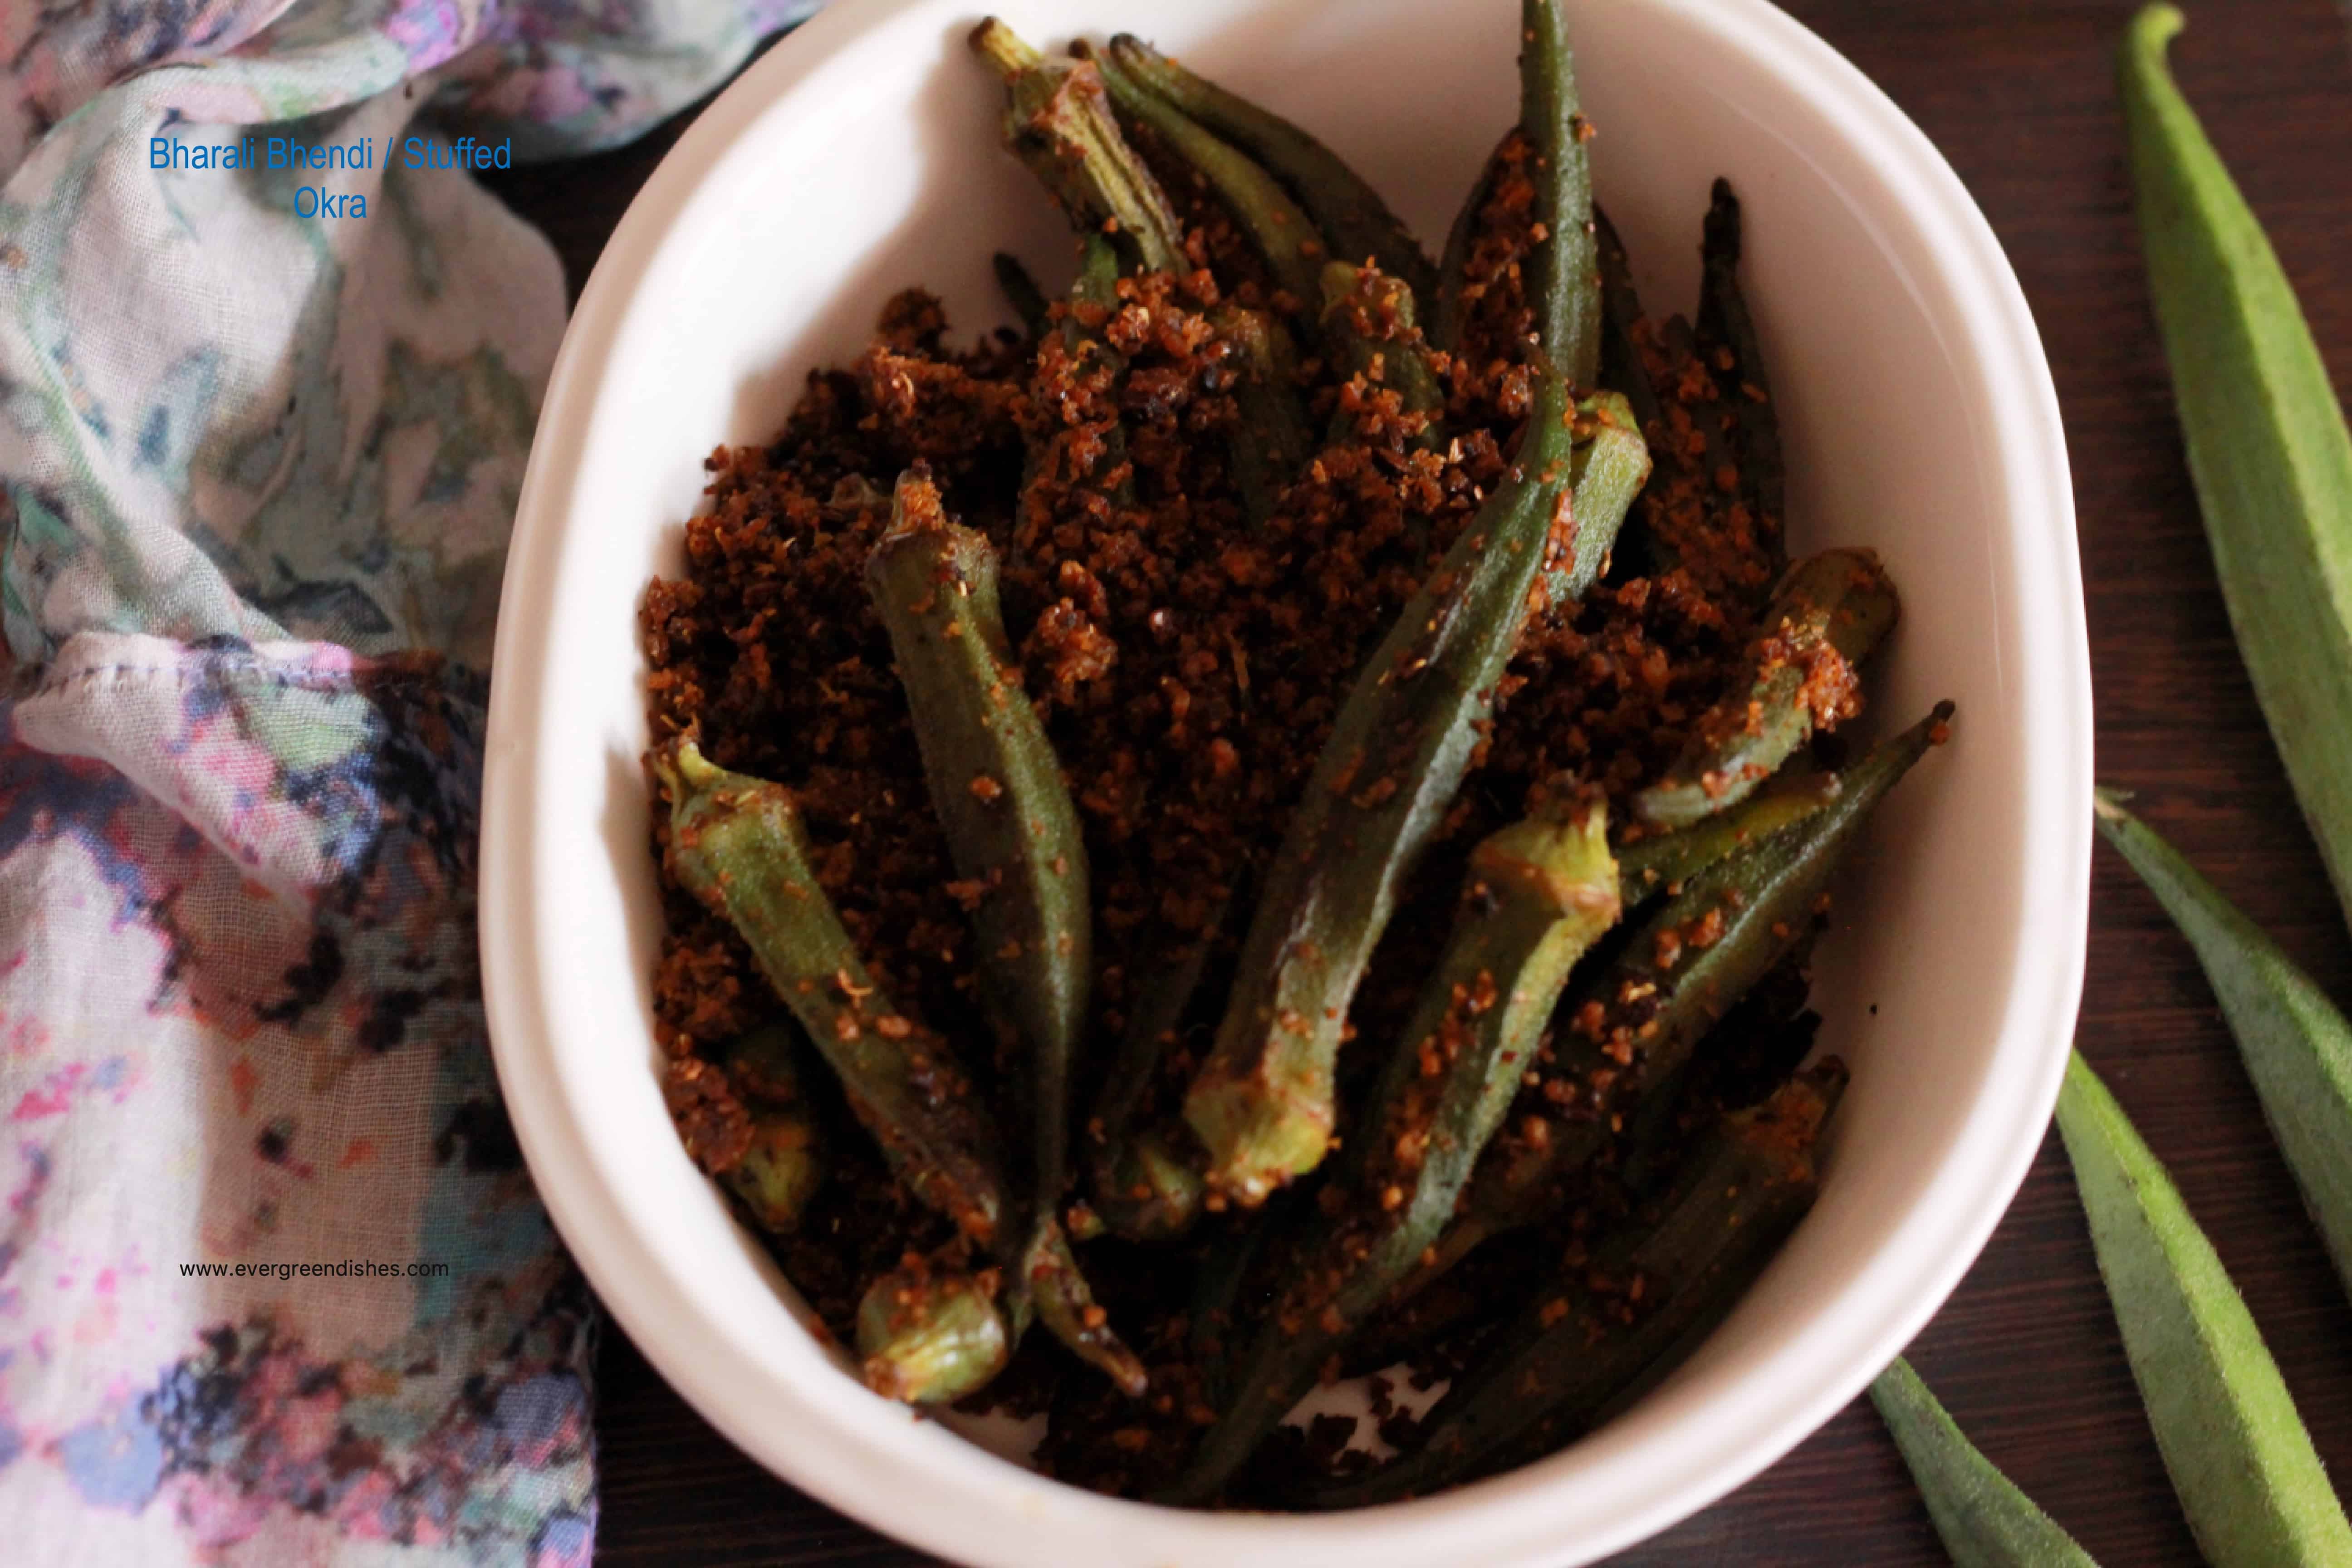
Maharashtrian Bharli Bhendi is okra stuffed with spices and cooked. It is tasty and pairs well with chapati or as a side dish with rice and amti..
Maharashtrian cuisine is spicy, tasty, has a distinctive taste and makes a good meal anytime. It is mostly vegetarian though not restricted, the jowar roti and the chapati are essentials in daily meals. A few dishes which one can resonate with Maharashtrian cuisine are junka, patal bhaji, bharli baingan and amti. Snacks such as wada pav, surlicha wadi, pav bhaji, kothimbircha wadi, dahi puri, bhel puri to name a few, so tempting isn’t it ?
The Shhhhh Cooking Secretly Challenge group is now all set to explore the beautiful state of Maharashtra, a cuisine which a foodie cherishes and a blogger love to create the myriad dishes from that state. I was paired with Poonam and she gave me groundnut and jaggery, I prepared Bharli Bhendi, it was tasty and we enjoyed it. Bharli Bhendi is a Marathi word which means stuffed okra. Poonam writes at www.poonambachhav.com. Do check her blog for a wide range of dishes. She has many dishes from Maharashtrian cuisine. I had given wheat flour and milk and she had prepared the tasty Goad Dashmi.
Increase the quantity of ingredients proportionately if you are using varied measurements.
Bharli Bhindi Recipe :
Ingredients:
1/2 kilogram okra
2 tablespoon roasted peanuts
1/2 cup coriander
4 cloves garlic
1 green chilly
1/2 cup fresh coconut
4 teaspoon goda masala
1/2 teaspoon chilli powder
1/2 teaspoon turmeric
1 teaspoon cumin
a little jaggery
salt
Method:
Wash the bhendi and pat dry.
Make an incision in the centre with a sharp knife.
For the stuffing, grind these together : peanuts, coriander, garlic, green chilly, fresh coconut, goda masala, turmeric powder, jaggery and lemon juice.
Put the stuffing into the slit vegetable, keep the remaining mixture, can be used later.
Heat oil in a pan, add mustard seeds, turmeric powder and asafoetida, once it splutters, put the stuffed bhendi into it.
Let cook for sometime.
Toss in between, it needs to be well cooked on all sides. Put the remaining mixture into it. Let cook for a few more minutes, remove and serve Bharli Bhendi with any flat bread.
Maharashtrian Bharli bhendi / stuffed okra
Evergreendishesdev
Maharashtrian Bharli Bhendi / Stuffed Okra
Maharashtrian Bharli Bhendi is stuffed okra stir fry from Maharashtrian cuisine. Fresh coconut is mixed with other ground ingredients and made into a filling.
Wash the bhendi and pat dry. Make an incision in the centre with a sharp knife.
For the stuffing, grind these together : peanuts, coriander, garlic, green chilly, fresh coconut, goda masala, turmeric powder, jaggery and lemon juice.
Put the stuffing into the slit vegetable, keep the remaining mixture, can be used later.
Heat oil in a pan, add mustard seeds, turmeric powder and asafoetida, once it splutters, put the stuffed bhendi into it. Let cook for sometime.
Toss in between, it needs to be well cooked on all sides. Put the remaining mixture into it. Let cook for a few more minutes, remove and serve Bharli Bhendi with any flat bread.
Notes
Use tender lady finger for filling.
The grated coconut can be directly mixed with the ground mixture and then filled. But, I did grind it.
Sugar can be used instead of jaggery.
If you have liked this post, do share it further. All comments motivate me to write more.
Grilled Vegetable Sandwich is tasty and filling. It can be packed in lunch box or served for breakfast. It makes a good choice with a cup of hot tea for evening snack.Sandwich are ideal for breakfast, evening snack or to pack in a lunch box.
We often have sandwich for dinner along with soup. Thus, a different filling is what I create. The Open Sandwich is the favourite at home. In the mornings I usually prefer to make a No Cook Sandwich as I usually have another dish ready. Today, I have Grilled Vegetable Sandwich.
grilled vegetable sandwich
Grilled Vegetable Sandwich Recipe
Ingredients:
8 slices bread
2 tablespoon butter
a little salt
1/4 teaspoon pepper powder
1/2 cup mint chutney (check tips below)
2 cucumber
1 onion
1 tomato
1 capsicum
chaat masala
cheese
Method:
Cut the cucumber and tomato into thin circles.
Cut the onion and capsicum finely.
Mix the butter with salt and pepper powder
Take four slices of bread, apply some butter over it.
Now generously put green chutney on two slices.
Keep a few cucumber pieces along with tomato.
Put some onion and capsicum pieces over it.
Sprinkle some chaat masala and put some cheese over it.
Keep the other two slices of bread (smeared only with buttter) over it.
Grill it in the toaster.
Once it is done, remove and serve hot.
Repeat for the other four slices.
Take a tip:
To make the mint chutney, I used fresh cooconut, mint leaves and green chilly. Saute the green chilly and mint leaves in a little oil. Then grind along with coconut and salt by adding little water. This chutney pairs well with chapati also.
Cheese may be avoided.
grilled vegetable sandwich
Evergreendishesdev
Grilled Vegetable Sandwich
Grilled Vegetable Sandwich is a quick and fuss free breakfast or evening snack. You can even pack it in the lunch box.
Cut the cucumber and tomato into thin circles. Cut the onion and capsicum finely.
Mix the butter with salt and pepper.
Take four slices of bread, apply some cheese over it.
Now, generously put green chutney over it.
Keep a few slices of cucumber and tomato.
Put some onion and capsicum pieces over it.
sprinkle some chat masal and put some grated cheese over it.
Cover them with the other two slices that were smeared with butter.
Grill it in the toaster.
Once it is done, remove and serve hot.
Notes
To make the green chutney, I have used mint leaves, fresh coconut, green chilly and salt. Roast the mint leaves and green chilly in little oil. Grind them along with coconut and salt by adding little water.
Avoid cheese if you are calorie conscious.
Grilled vegetable sandwich is tasty, filling and easy to prepare. It is ideal to serve for breakfast.
I am sending this post to Sandwich theme at Healthy Wellthy Cuisine. Here are more sandwich recipe from my team mates.
If you have liked this post, do share it further and leave a comment. Follow us on Facebook, Twitter, Pinterest and Instagram.If you ever make this recipe, take a picture and share it by tagging @foodiejayashree on Instagram or @evergreendishes on Facebook. I will be glad to see and share your creation further.
Check out my e-books on Amazon. Do not miss any post. Subscribe to get all updates and an e-book for free !