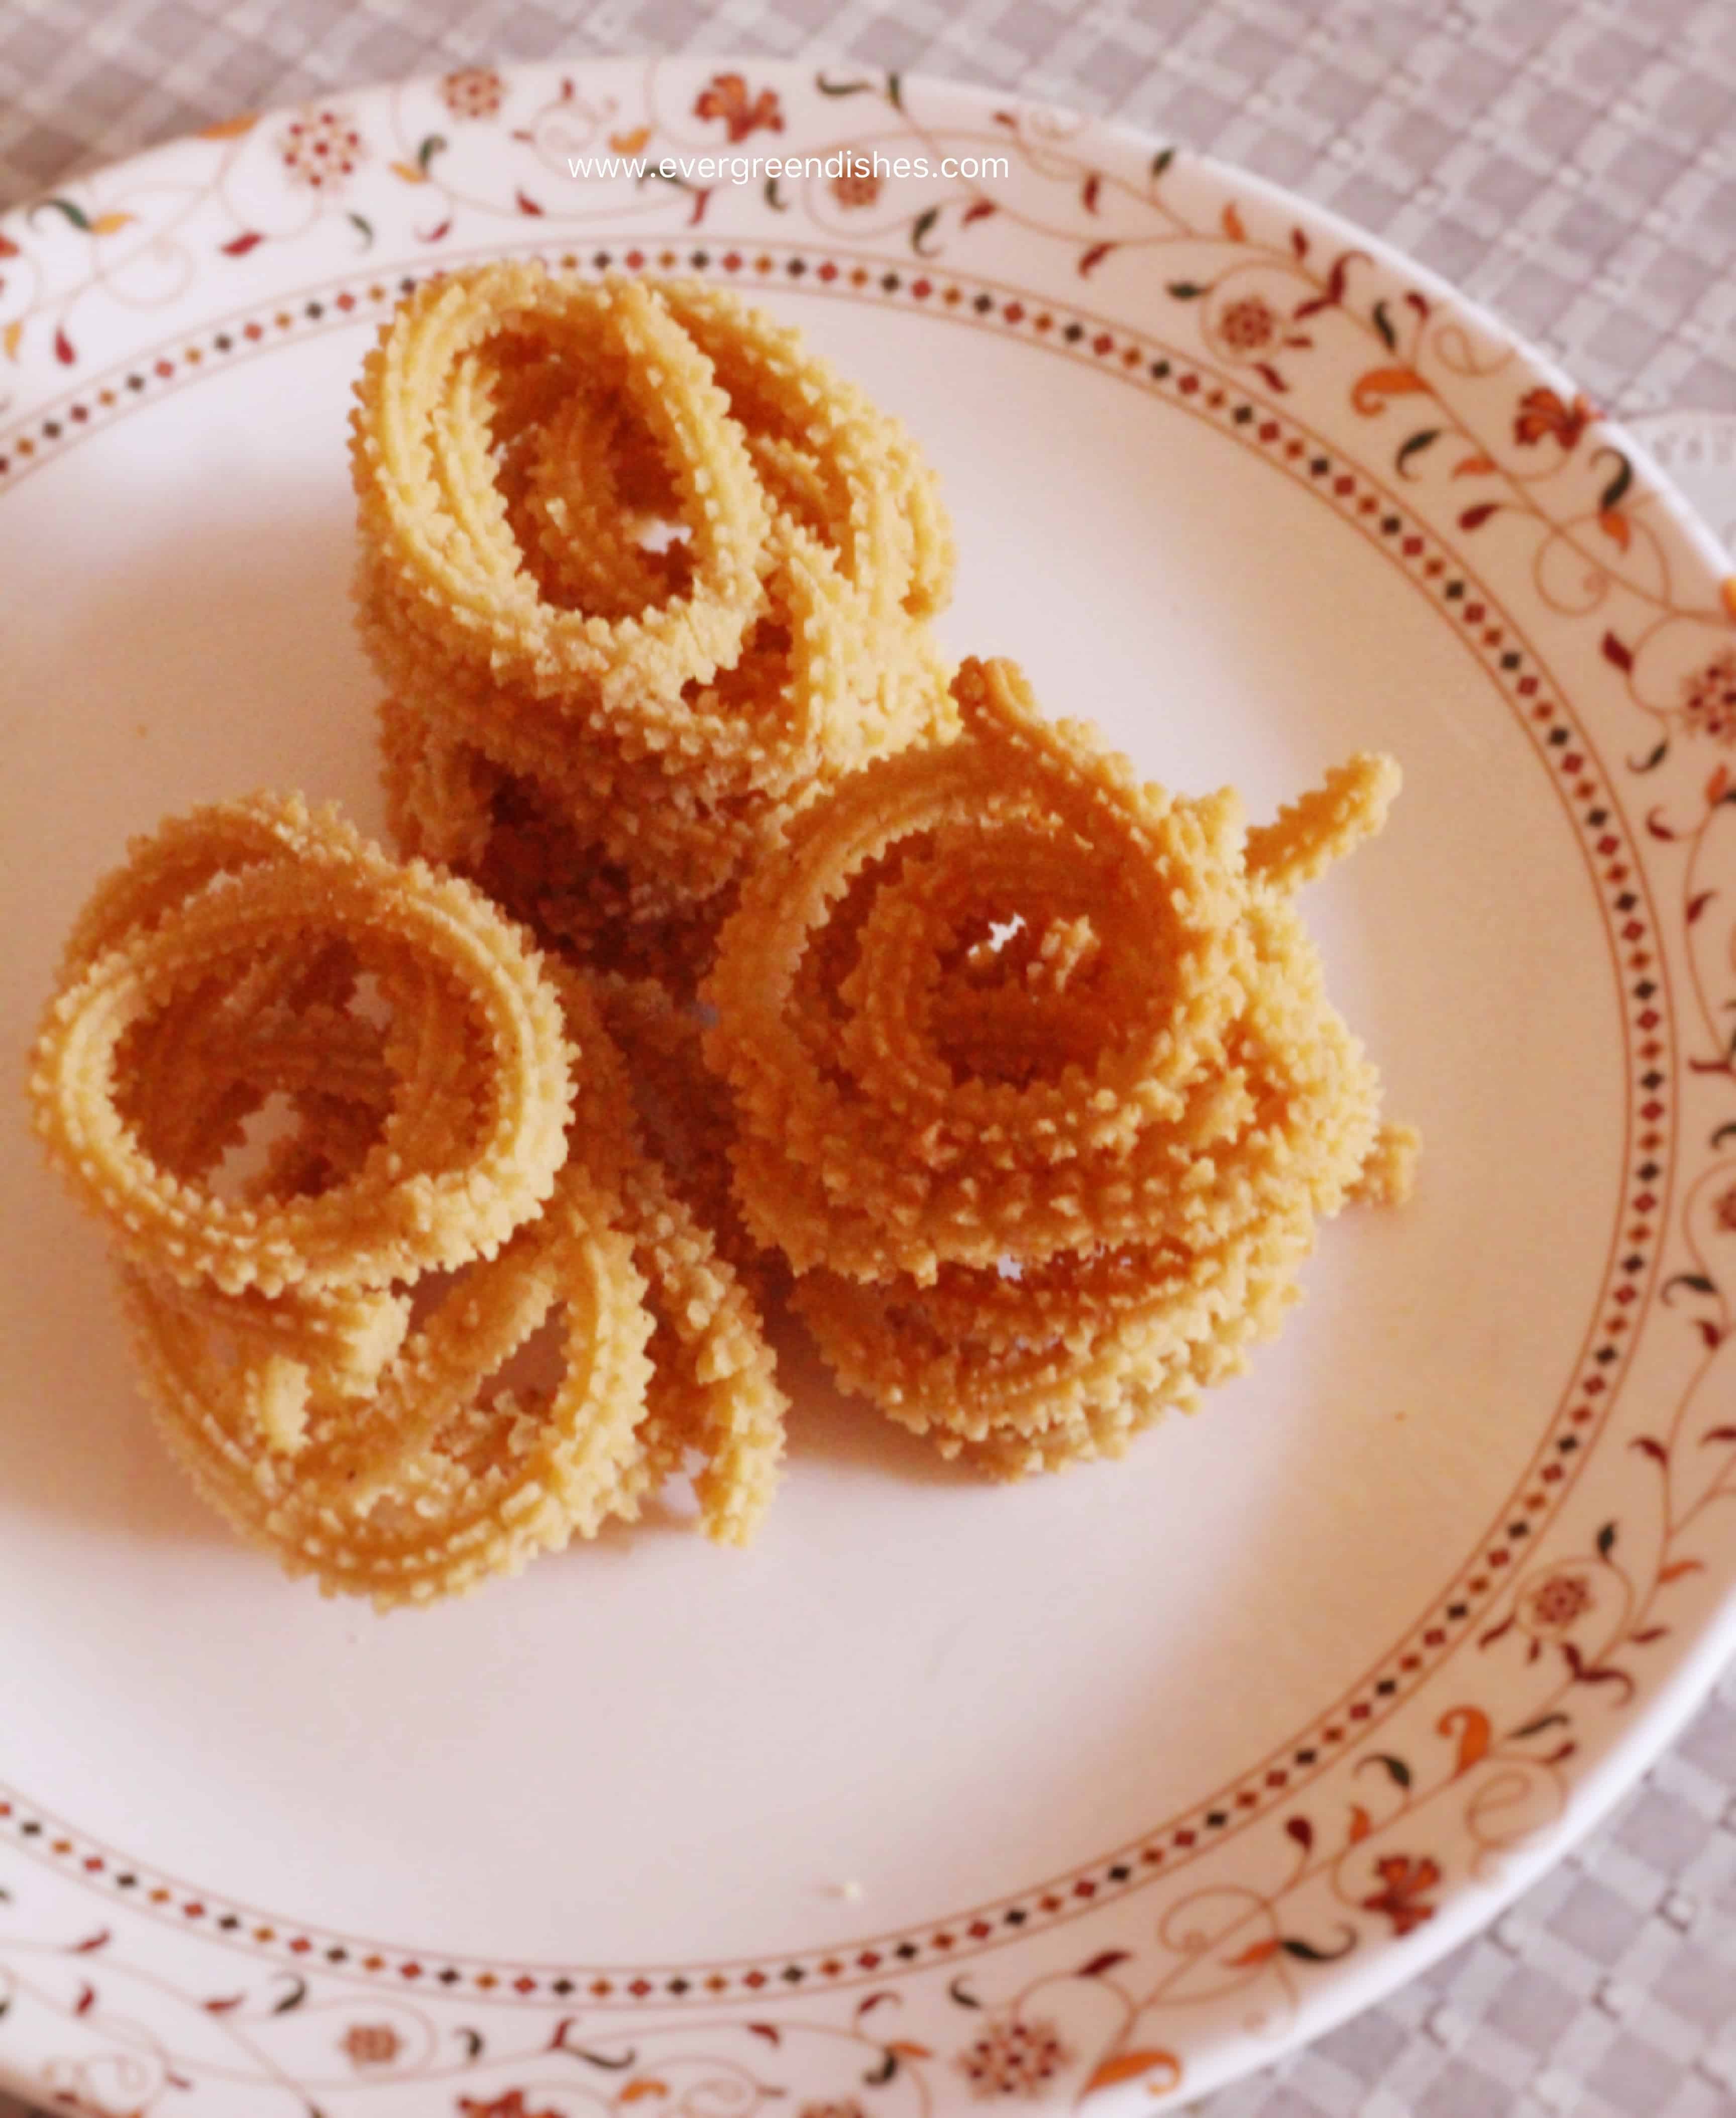
Indian snacks are so many that each time we can make a different variety, not to mention the various regions that we have. Nipaatu, Chakli, Tengalu and Murukku are popular South Indian snacks that one can find stored in jars.
Murukku is one such snack that resonates with everyone. Every house must be having their own version that has been passed through generations. Split gram murukku is a tasty and crunchy snack, one would love to have it over again and again. (more…)
Lemon and Coriander Soup is one of my favourite soup. The fragrance of coriander and the refreshing taste of lemon juice gives a refreshing taste to it.
This soup is simply delicious and ideal food for dinner in winters. It is light and can be made easily.
This soup is light on stomach. Ideal for weight watchers. It is rich in Vitamin C.
Lemon and Coriander Soup
Ingredients:
3 cups stock
1/2 onion cut into small pieces
1 small carrot cut into small pieces
2 tablespoon cabbage finely cut
1/2 inch ginger
4 cloves garlic
1 green chilly
2 tablespoon coriander chopped finely
1 tablespoon lemon juice
2 teaspoon oil
salt to taste
1 teaspoon cornflour
Method:
1)Grind ginger, garlic and green chilly together, keep it aside.
2) Tale oil, add onions to it and saute for some time.
3) Add cabbage and carrot to it, cook for sometime.
4) Add the ginger garlic paste and saute for sometime. Let the raw smell go.
5) Put coriander together and mix well.
6) Put the stock to it. Add salt.
7) Let boil for two minutes.
8) Make a paste of cornflour and mix it in the soup. Simmer for three minutes.
9) Remove from flame. Add lime juice. Lemon and Coriander Soup is ready to serve.
Take a tip:
1)Do not boil for a long time after adding lemon juice. It may be tart.
2) To make stock: Boil vegetables of different kind as beans, carrot, half an onion and any other veggies in a litre of water for twenty minutes. Drain the water. This is known as stock.
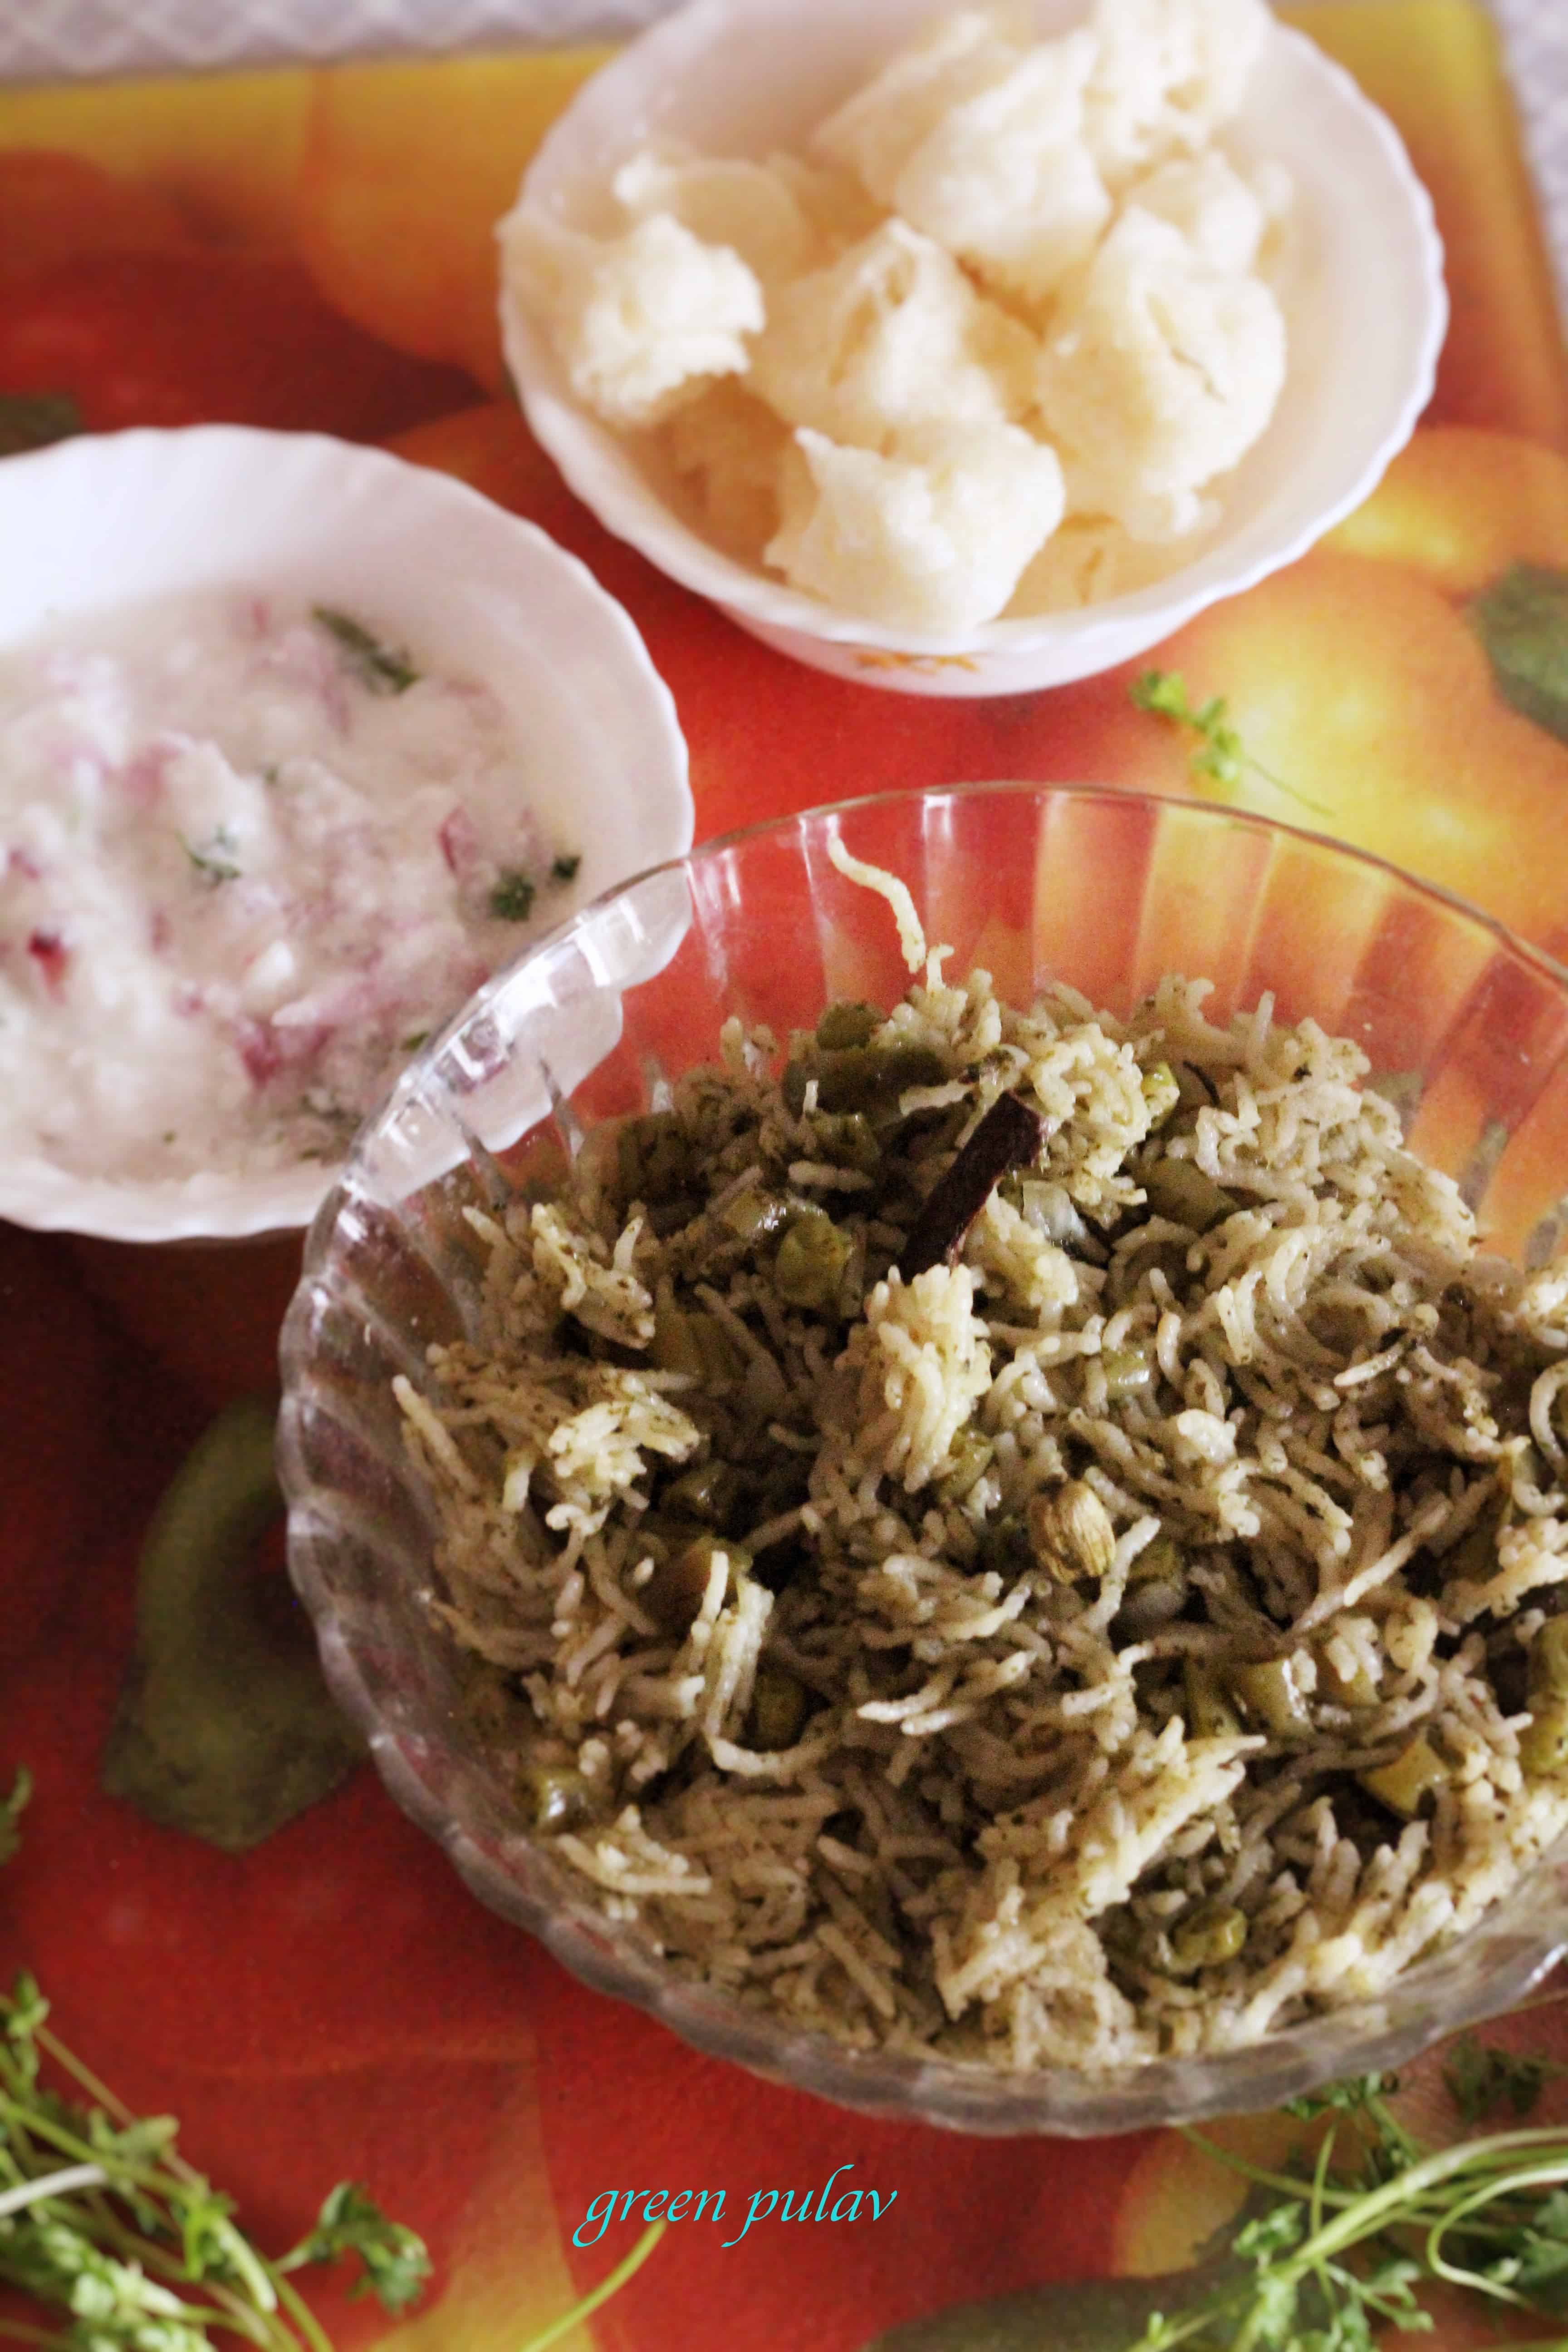
Rice variety are tasty and filling. They are ideal to use as a single dish or pair it with other variety of dishes. Pulao is one of the dishes that I make quite often, it’s loved by all and its easy for me to prepare. Green pulao, I have been making this since sometime, it make a good one pot meal.
Green pulao has the combination of mint and coriander along with other spices. I usually serve with onion raita (onion in yoghurt), but it can be paired with cucumber and onion raita too. A gravy based dish will also be ideal for a good meal.
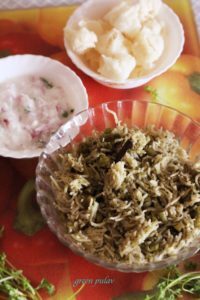
green pulao
Lets get cooking Green Pulao
Ingredients:
1 cup basmati rice
15 french beans
1 capsicum
1 cup green peas
To be ground to a paste:
2 green chilly
1/2 bunch coriander
15 mint leaves
3 cloves garlic
1 inch ginger
1 onion
Other ingredients:
2 tablespoon oil and ghee
1/2 inch cinnamon
2 cardamom
3 cloves
1 bay leaf
1/4 teaspoon shahjeera
salt to taste
Method:
Wash the vegetables and cut them.
Wash the rice and keep it aside for ten minutes.
Grind all the ingredients under the section “To be ground to a paste”
Heat oil and ghee mixture in a par, add spices, let splutter, then add the ground paste, saute for sometime.
Put beans to it. Then add peas and later add capsicum. Saute for two minutes.
Put the soaked rice to it. Saute it lightly for two minutes.
Now, add water and salt. Give a stir, close the lid and cook it for one whistle.
Allow the pressure to release by itself.
Gently mix the pulao with a ladle.
Serve hot with onion raita.
green pulao
Green Pulao
Green pulao is a tasty one pot meal that can be enjoyed for the weekend.
Grind the ingredients under the section,”To be ground to a paste”
Take oil and ghee mixture in a pressure pan, add caraway seeds, as it sizzles, put cinnamon stick, cardamom and cloves to it. Give a stir and after thirty seconds, put the ground paste. Saute for sometime.
Now, add beans to it. After two minutes, put peas and then capsicum to it. Saute for sometime, add the washed rice to it. Saute slowly for sometime.
Add water and salt to it. Give a stir, close the lid and let cook for one whistle.
Allow the pressure to release by itself. Gently mix with a ladle. Serve hot with onion raita.
Notes
Quantity of water depends on the rice. I usually add two cups of water for one cup of rice.
I do not soak the rice in water. I wash the rice, drain the water and keep it aside, this gives me good results.
You may soak the rice if you wish.
I prefer to use oil and ghee mixture. You may use only ghee or oil.
I am excited to announce that I have been nominated for the Blogger Recognition Award by Possess The World. This blog has been the best to happen to show my creativity. It is really a good feeling to be nominated. Thankyou for nominating me, Possess The World
Blogger recognition Award and nominees
What is the Bloggers Recognition Award?
The Bloggers Recognition Award is nominated by our peers and recognises those bloggers who are interested in blogging and investing their time and energy into it. It is a award to feel something good and worthy about.
What does the award mean?
It means that our peers consider Evergreendishes as a good blog and some people are really reading our work.
So what happens now?
The nominated blogger
Thank the blogger who nominated them and provide a link to their blog.
Write a post to show the award.
Give a brief story of how the blog started.
Give two pieces of advice to new bloggers.
Nominate 15 other bloggers for the Blogger Recognition Award
Comment on each blog and let them know that you have nominated them.
My blogging journey began three years back. I was writing on various platforms, I then decided to have my own blog and one niche. Since I loved cooking, I started writing about it. The journey has been a good experience. Meeting new friends, learning food photography, enriching blogging skills and much more.
Along with blogging have managed to write a couple of e-books. South Indian Breakfast, 30 Tasty Dal Recipes and Breadbasket, all these are available on Amazon. Recently I have got a mobile app also for my website, something I am so happy about. Do check it.
My advice to new bloggers:
Blogging is not really a over night success. You do need to spend a lot of time with it. Be passionate and have patience.
Write well, do not simply write for the sake of writing. Quality of the blog post is most important. It is always good to write on the topic that you know.
And here are the nominees for the Blogger Recognition Award. Passing on the baton further, Congratulations folks ! (sorry, Possesstheworld I took some time to come up with this)
Sesame Chikki is a crispy, tasty sweet bites made during Makar Sankranti.
Makar Sankranti is round the corner. It is one of the important festivals celebrated in our country. It follows the Solar cycle and is dedicated to the Sun God. All edibles related to sesame or til are prominent during this season. Til chikki, til laddoo, til pancakes and sankranti ellu are the major sweets along with pongal prepared in all households.
It is amazing how the beliefs told in our shastras are similar to the scientific evidences. Sesame keeps the body warm and also gives energy, thus it is consumed during this festival. This is practised since so many years, isn’t it?
Makar Sankranti falls on January 14, the festival is celebrated for three days. It is a harvest festival. Colourful rangolis are put in front of the house and ladies give bhogi( a kind of charity) of all new produce as sugarcane and vegetables. Here in South India, they prepare Bajra roti with a wide spread of delicacies along with pongal. The food is simply delicious. On the final day, it is Makar sankranti, Ellu and sweet pongal are the usual preparations.
sesame chikki
What goes into it?
Sesame seed is the main ingredient here. I have used the white sesame seed. You may add a few nuts if you want.
Til Chikki Recipe/ Sesame Chikki Recipe
Ingredients:
3/4 cup sesame (white)
1/2 cup jaggery (grated)
1 1/2 teaspoon ghee
a pinch of cardamom (optional)
Method:
Take a pan and dry roast the sesame on a slow flame for five minutes. It should turn light brown in colour and give a nice aroma. Put it aside.
Grease the back of a plate and keep it aside. You can also do on the platform.
In the same pan, add ghee. When it melts, add jaggery, mix it and keep stirring it on medium heat for three minutes.
Add the roasted sesame to it, mix it well and pour it over the greased plate.
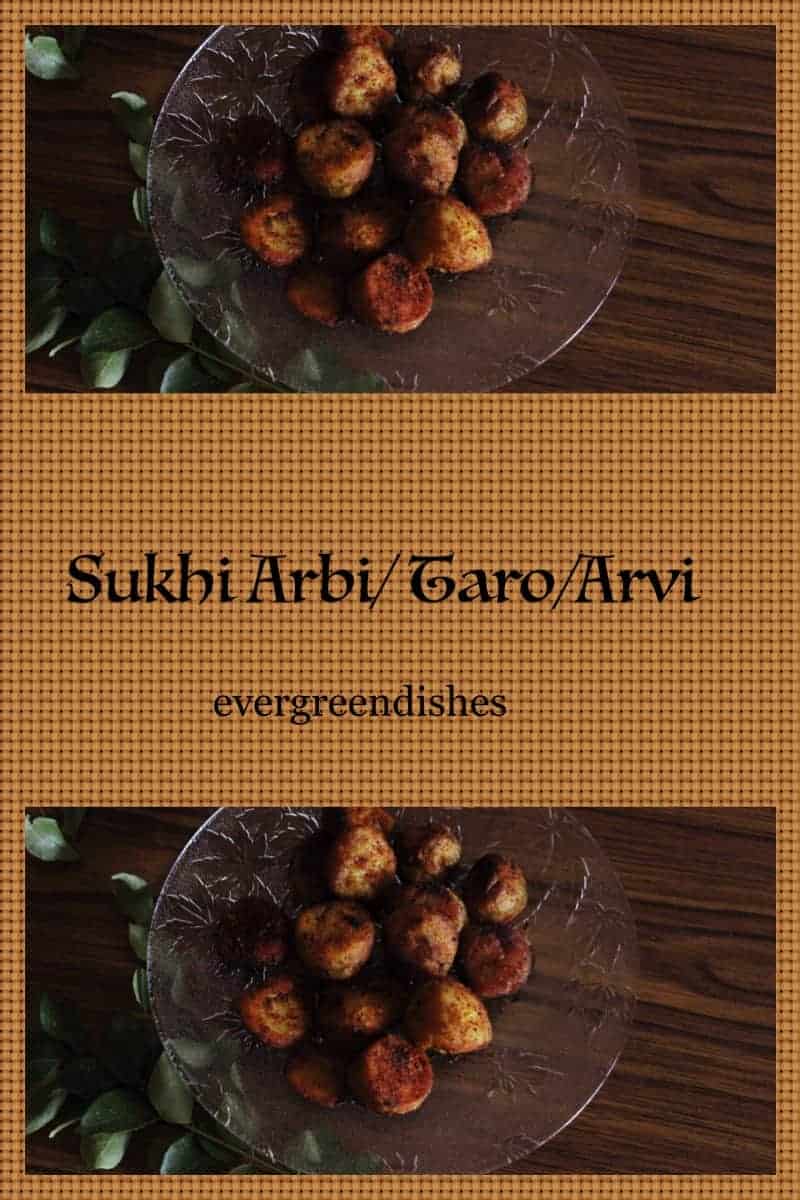
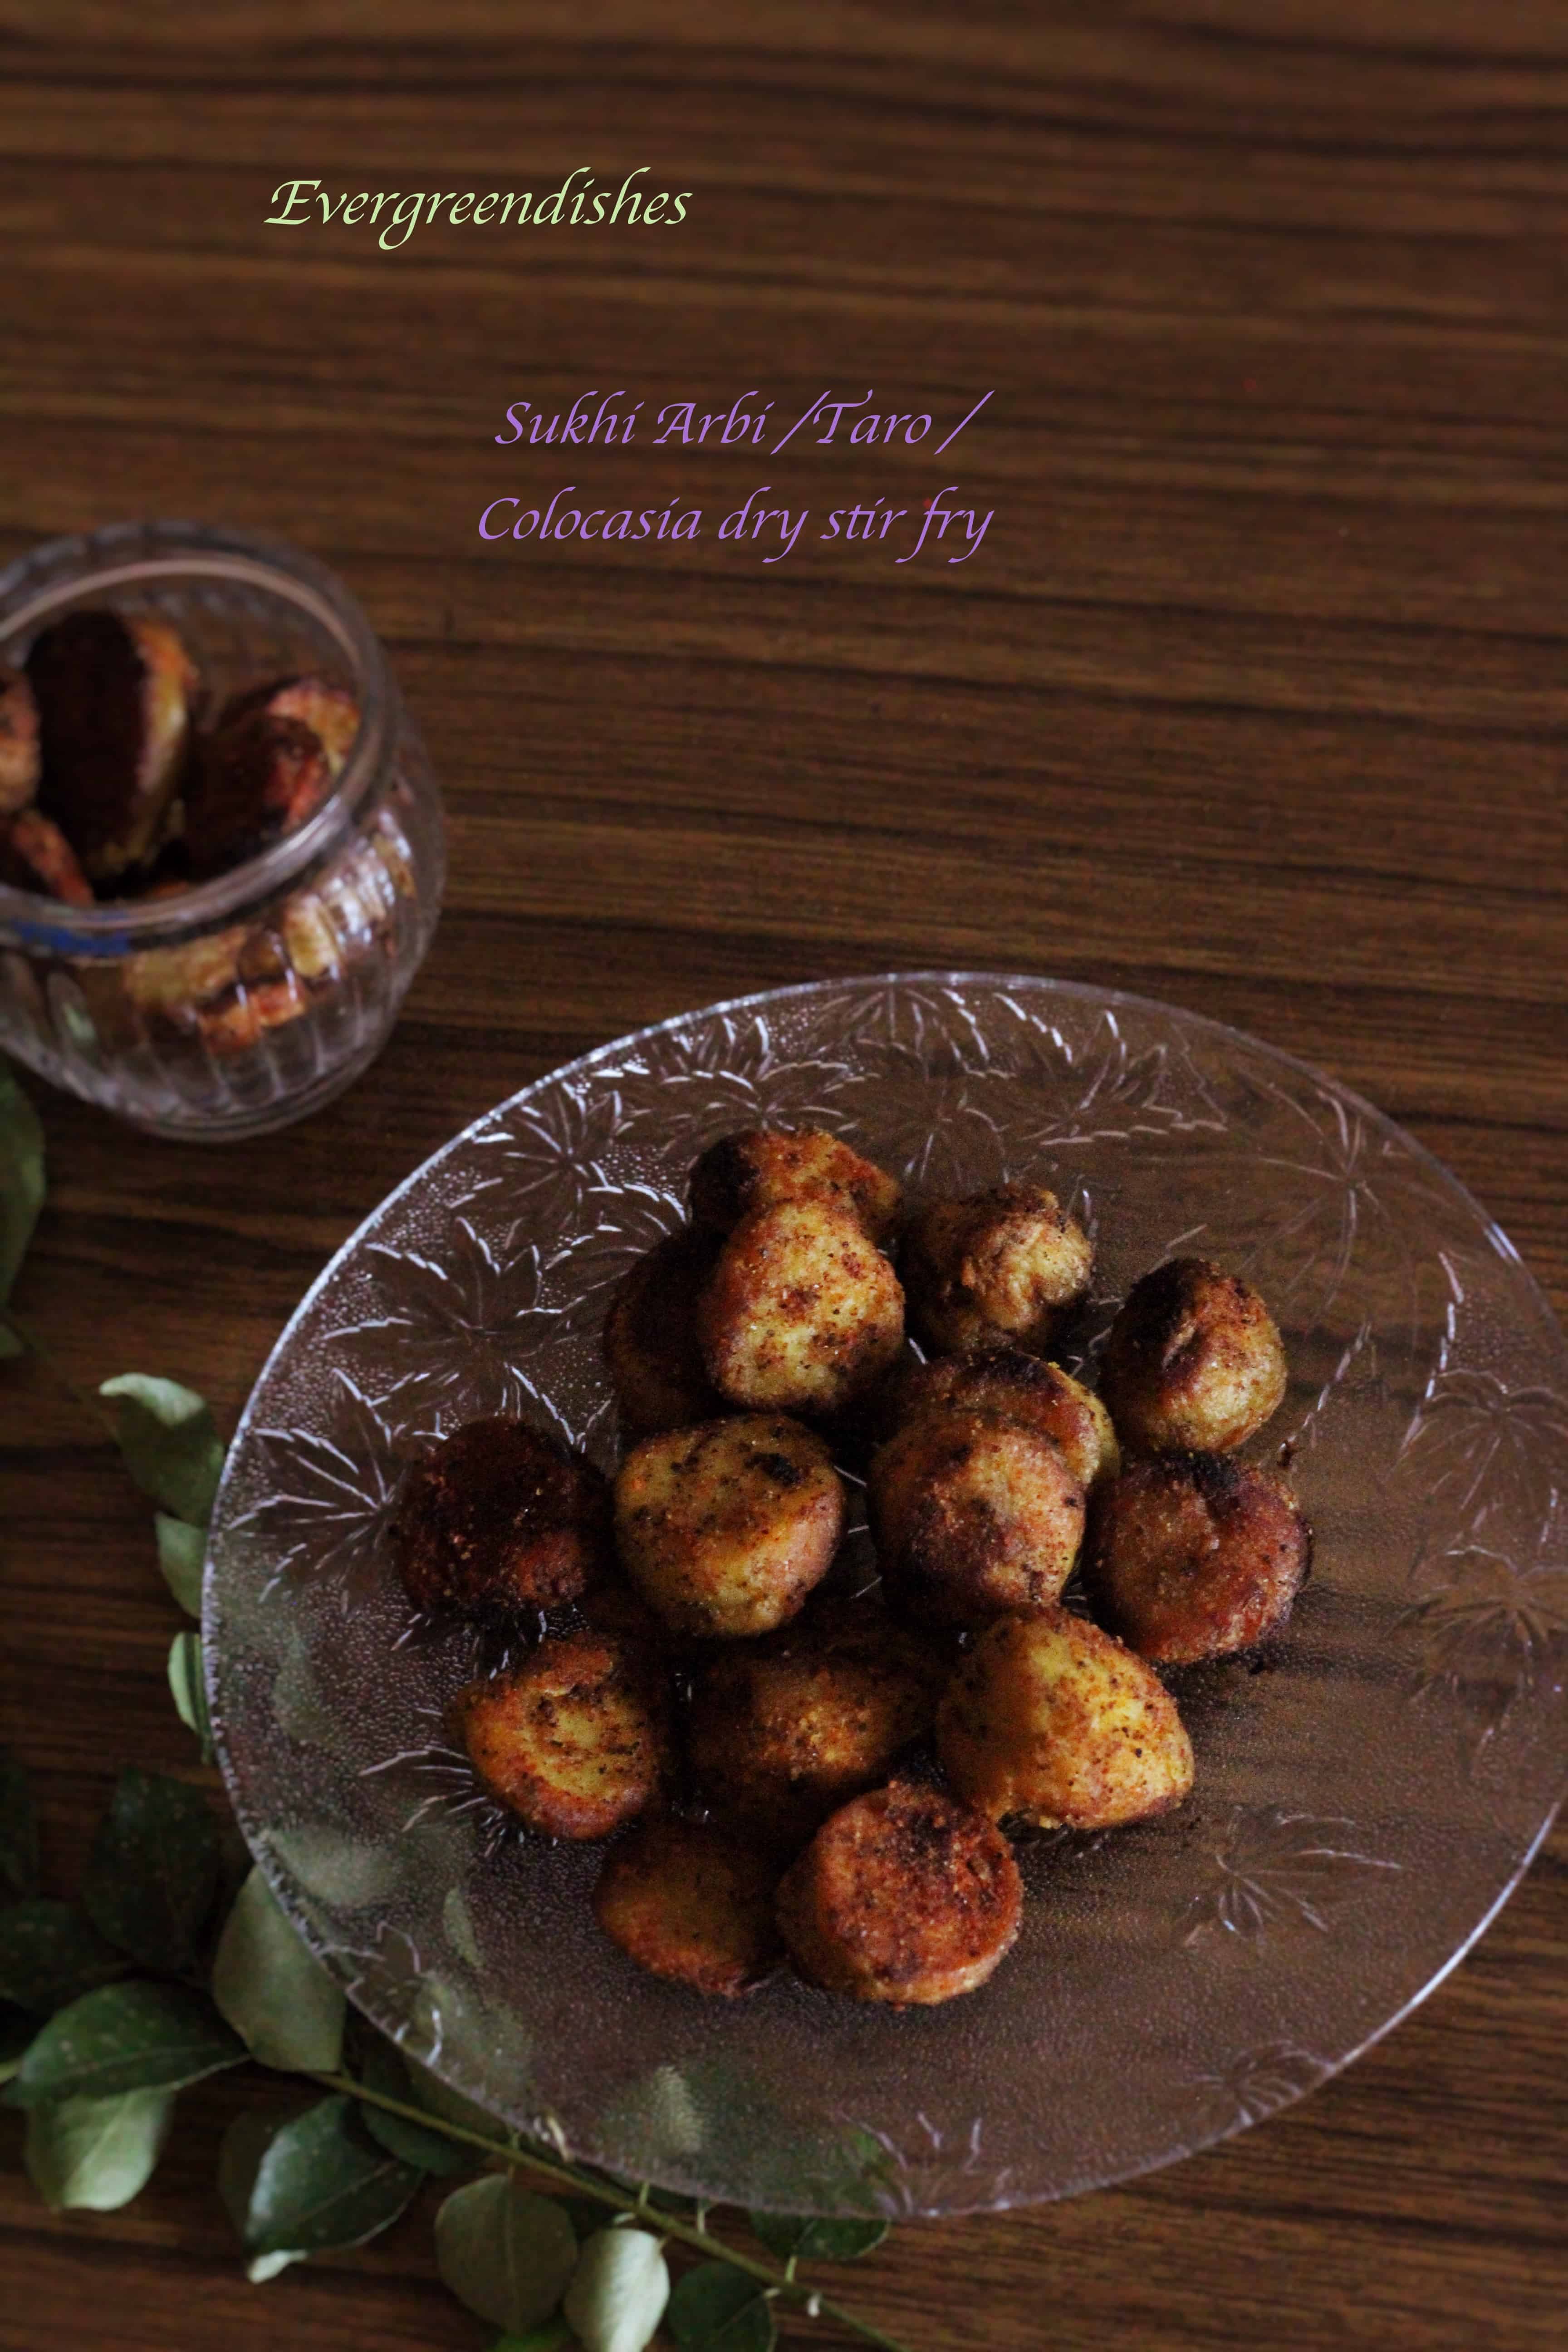
Arbi is a root vegetable that is usually available in winter. The other names that that one can resonate with are colocasia, arvi, taro root, shyavi gadde. Sukhi arbi/colocasia makes a tasty accompaniment with any meal.
It is a powerhouse of nutrients. It is rich in dietary fibre and nutrition. It has other minerals as zinc, potassium ands magnesium.The leaves too are used in making a different kind of fritter, patrode, that is very tasty.
Today, is the beginning of another new year. Stepping into 2018 with a lot of good thoughts and positivity. Wishing one and all a Happy New Year. May the year be filled with peace and happiness.
Here is a sukhi arbi/ colocasia recipe for you. It can be eaten as a snack also.
sukhi arbi
Sukhi Arbi/ Colocasia
Ingredients:
1/2 kilogram arbi/ colocasia / arvi/ taro root
2 tablespoon oil
1/2 teaspoon mustard
1/4 teaspoon turmeric
a pinch of asafoetida
2 teaspoon chilly powder
salt to taste
Method:
Wash the arbi well by changing water.
Steam it in a pressure cooker or in a pan. It should be moderately cooked.
Peel the skin and cut into small circles.
Heat oil in a thick bottom pan. Add mustard seeds, as it splutters, put asafoetida and turmeric powder, then add the cut pieces.
Cook on a slow flame until it is done and crispy.
Add salt and chilly powder, heat for a few more minutes, remove and serve.
Take a tip: The cooked arbi tends to give an itch to the hands on peeling the skin. Apply oil to the palms.
arbi
sukhi arbi
Sukhi arbi/ colocasia is ready to serve.
Take a tip:
Apply oil to the hands before peeling, it does give a itching sensation sometimes.
Add a little more oil if needed while cooking, this tends to use more oil.
Do not pressure cook with whistle. Mushy ones cannot be cooked here.
Arbi needs to be well roasted, it gives irritation to the throat if not cooked well.
Evergreendishesdev
Sukhi arbi/ colocasia/ taro
Sukhi arbi or dry colocasia stir fry makes a good accompaniment with any meal. Kids love to binge it as a snack
aHolidays are here again. Time to indulge in sumptuous food, cakes, pies, tarts and all that our heart wishes as Christmas is round the corner. Pizza and burger are the favourite of children, they can live on it the whole day, isn’t it? Let’s make pizzas at home and make them happy. Corn capsicum pizza is a tasty pizza that is finger lickingly good.
This is a time saver post, pizza base are outsourced.
corn capsicum pizza
Corn Capsicum Pizza
Ingredients:
4 pizza base
For the topping: (vegetable mix)
1 onion finely chopped
2 tomatoes finely cut
1 capsicum slit into small pieces
1/2 bowl sweet corn kernels
2 teaspoon oil
1/2 teaspoon pepper powder
salt to taste
For dressing:
tomato ketchup/ pizza ketchup
oregano
chilli flakes
pepper powder
cheese cubes/ mozrella/ pizza cheese
Method:
To prepare the vegetable mix, take oil in a pan, add the onions and saute for sometime. Then add capsicum and let cook for sometime. Once, it is slightly cooked, add the chopped tomato and allow to cook for sometime. Put the corn kernels and salt. Finally, add pepper powder, mix and remove from flame.
To assemble, heat a skillet, put the topping side beneath on it. Heat it for some time.
Smear some ketchup over it.
Take the prepared topping and spread some over it. You need three to four spoon of it.
Finally, top with cheese and put it on the skillet.
Put some ghee around it and cover it with a lid.
Allow to cook for sometime. The cheese should melt and the crust should be firm.
Remove and put a little of the toppings, chilli flakes, oregano and pepper powder over it. Serve it immediately.
corn capsicum pizzaCorn Capsicum Pizza
Evergreendishesdev
Corn capsicum pizza
Corn capsicum pizza is an easy to make dish for the holiday season. It is the favourite of children, they just love it.
To prepare the vegetable mix, take oil in a pan, add the onions and saute for sometime. Then add capsicum and let cook for sometime. Once, it is slightly cooked, add the chopped tomato and allow to cook for sometime. Put the corn kernels and salt. Finally, add pepper powder, mix and remove from flame.
To assemble:
Heat a skillet, take a pizza base, put the topping side beneath and warm it for sometime.
Spread tomato ketchup.
Then spread the prepared topping neatly over it.
Put cheese over it and put it over the skillet. Put a little ghee around it. Cover with a lid and allow to cook for sometime.
The cheese should melt and the crust should be firm. Put the topping over it and serve.
Cooking is all about the happy moments that you create with your loved ones. Kids will be happy to assemble the pizza toppings for you. Sometimes, life is better this way, isn’t it? If you have liked this post, do share it further. Appreciate all your likes and comments.
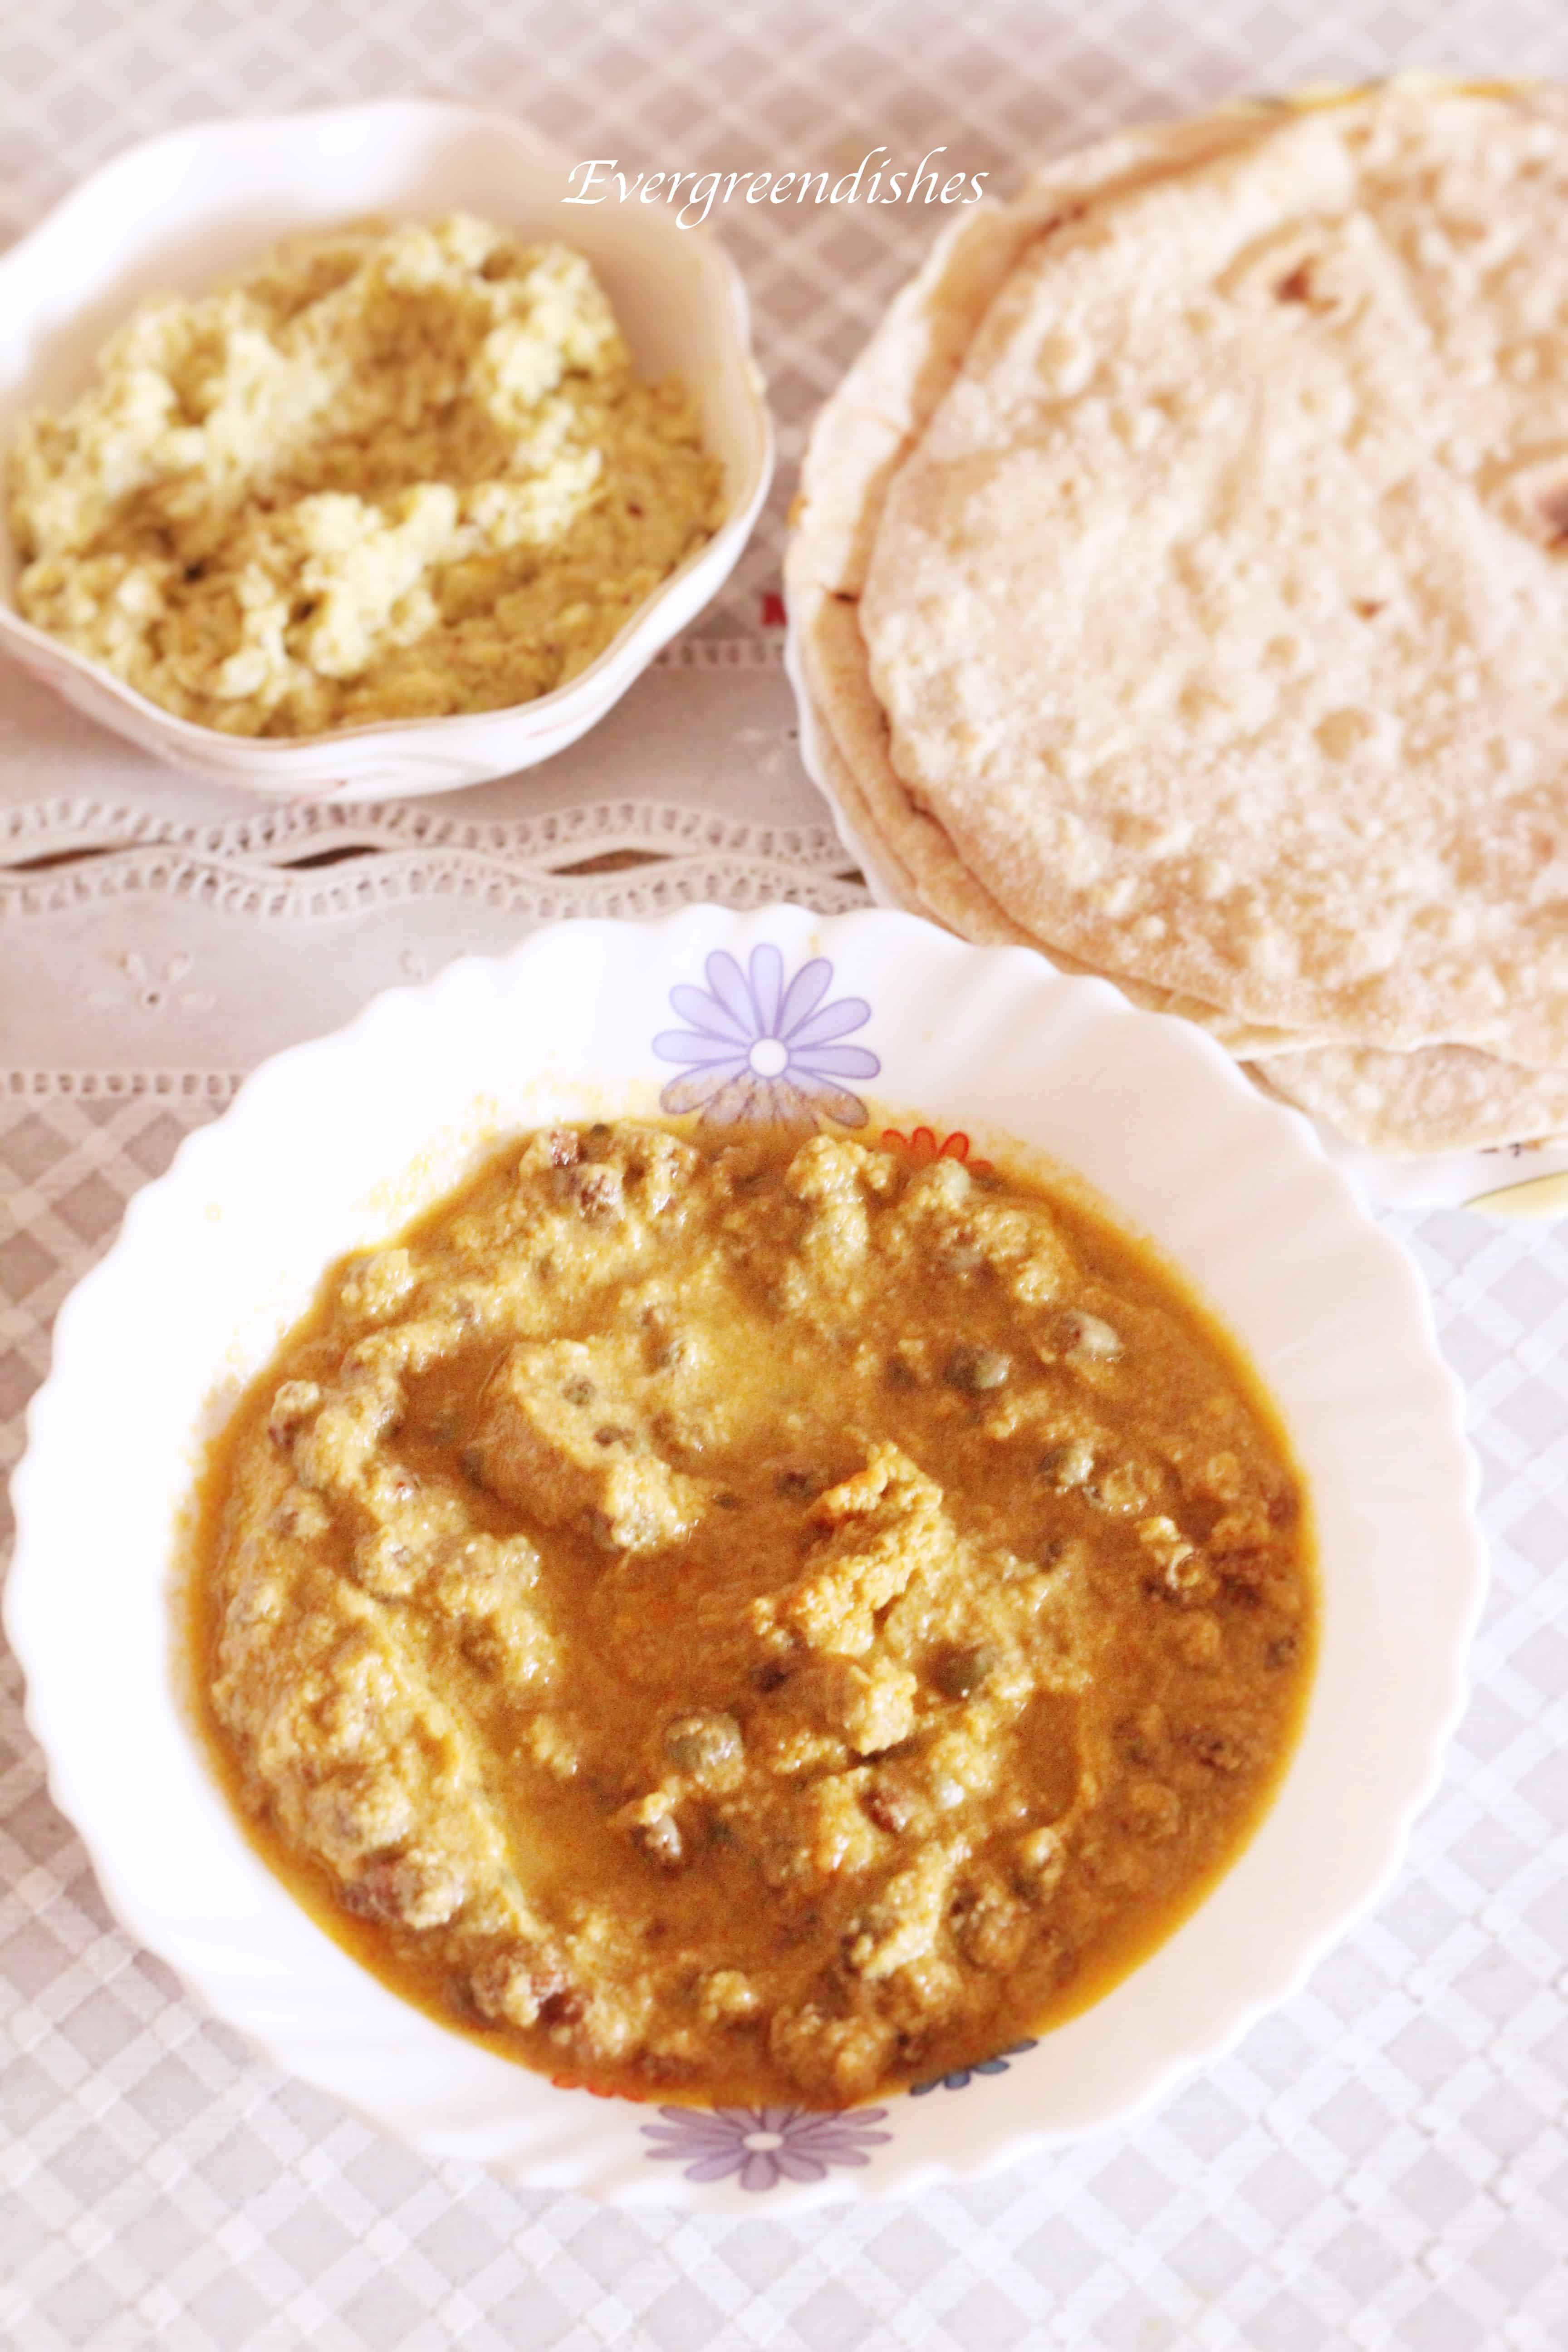
Winter brings its own blessings, fresh vegetables are available. There is no dearth for greens. Green pigeon peas are the fresh form of tuvar dal and is available in winter. Tuvar lilva masala curry is a tasty and easy to make accompaniment that can be paired with chapati or phulka.
The other names for Tuvar lilva are green pigeon peas and togare kalu
Tuvar lilva masala curry
The green pigeon peas can be shelled and stored in refrigerator for a few days.
You can have easy access to our recipes. We are now available on mobile app, you can download it here from the playstore
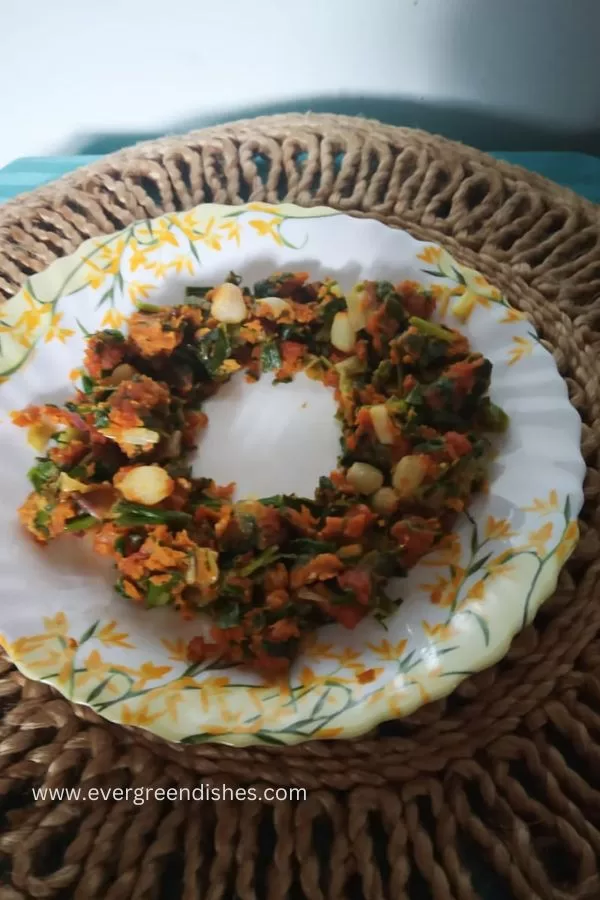
Spring Onion Stir Fry makes a good accompaniment with chapthi and jowar roti. It is an easy dish which you can make in fifteen minutes
Two years back, it was after some thought I decided to make a spring onion stir fry. It’s a sort of compulsive buying for me, I simply end up buying some things. The firm, unblemished and bright green leaves are a lovely sight and make good dishes. Well, that’s one of the reasons I buy these beauties. The spring onion stir fry was a hit and since then, it’s become a routine every now and then.
Spring onions are used along with other veggies in fried rice and other Indo-Chinese dishes. It enhances the taste of the dish.
Stir fry is made using spring onion and gram flour as the main ingredient. It tastes good with chapathi and jowar roti.
Take the cluster of spring onion, remove the onion bulbs and cut the greens into small pieces.
Remove the skin of the onions and cut it into small pieces.
Put the chopped veggie into water and wash it well. Then, put it in a colander.
Take oil in a pan, add the mustard seeds, as it crackles, put turmeric powder and asafoetida to it. Put the chopped greens to it. Add salt and allow to cook.
Add chilly powder and mix it well.
Now, add gram flour to it, mix and allow to cook for sometime.
Spring onion stir fry is ready to serve.
About the event :
This is an old post which I have redone with better pictures. Sending it to Foodies _Redoing Old Posts 92. It is a group where we work on old posts once in a fortnight. Sometimes, we just change the picture, text or at times both of them. The post Spring Onion Stir Fry | Tasty Accompaniment was first published on 06’12/2017. It was redone on 14/1/23
Gongura leaves are widely used in cooking, the tangy flavour does makes the dishes delicious. Gongura chutney or pundi chutney is commonly prepared in South India.It makes a good accompaniment with jowar roti.
Varied names of Sorrel
Different regions call it by different names.The English name is Sorrel or Kenaf. It is popular as Gongura in Andhra Pradesh, Pundi palya in Karnataka, Pulich keerai in Tamil, Ambaadi In Marathi, Pitwa in Hindi, Kotrum in Jharkhand, Amaari in Chattisgarh, Kotrum in Jharkhand and Mestapat in Bengali.
Health Benefits of Sorrel leaves
The sorrel leaves are rich source of iron, vitaminB6, folic acid and anti-oxidants essential for human nutrition. The iron and vitamins present in it help in preventing conditions such as osteoporosis.
Different culinary uses of Sorrel leaves in India
Sorrel leaves are used along with lentils to give a flavoursome accompaniment with rice. The chutney is a popular dish churned out of it. It is one of the daily essentials in Andhra cuisine. A variety of pickle is also made using these leaves.
Ingredients:
For the gongura/ sorrel leaves chutney
2 clusters of sorrel leaves
6 green chilly
1 teaspoon methi seeds
2 teaspoon oil
a liitle asafoetida
salt to taste
For the seasoning:
2 teaspoon oil
1/4 teaspoon mustard
1/4 teaspoon asafoetida
1/4 teaspoon turmeric powder
Method:
Separate the leaves from the stalk, wash and put them to dry on a cloth.
Cut the leaves.
Take oil in a pan, roast the methi seeds and the green chilli, put them aside.
In the same oil, add asafoetida and the sorrel leaves along with salt.
Let cook for sometime.
Remove from flame.
When it cools, grind it.
Take a pan and make the seasoning. Add mustard seeds, as it crackles, put asafoetida and turmeric powder. Turn of the gas. Put the chutney in it and mix well.
Gongura chutney is ready to serve.
Take a tip:
Garlic may be added along with green chilly while sautéing.
Raw onions are added to the chutney by some people.
Chutney stays good for a couple of days if kept in refrigerator.
Tastes good with jowar roti along with stuffed brinjal as an accompaniment.
It can be mixed with hot steamed rice along with ghee.
The leaves are slimy, thus do not chop and wash them.
Evergreendishesdev
Gongura/ Pundi/ Sorrel leaves chutney
Gongura chutney is a popular accompaniment from South India. It makes a good accompaniment with jowar roti.
Remove the stalk of the sorrel leaves, wash and put it to dry on a cloth. Cut the leaves.
Take oil in a pan, add fenugreek seeds and green chilly. Roast them, put them aside.
In the same pan, add asafoetida and the sorrel leaves along with salt.
Let cook until tender. Remove and keep it aside.
When cool, grind the fenugreek and green chilly together. Then add the sorrel leaves to it and blend altogether.
Make seasoning in another pan. Add mustard seeds to the oil, as it splutters, put asafoetida and turmeric powder. Put chutney to it and mix it well. Gongura chutney is ready to serve.
Notes
You may add garlic along with green chillies while roasting.
Finely cut onion pieces can be put in the seasoning and sauted for sometime.
This chutney tastes good with jowar roti.
It can also be served with hot steamed rice along with a dollop of ghee.
This chutney can be stored in refrigerator. Put seasoning and use it.