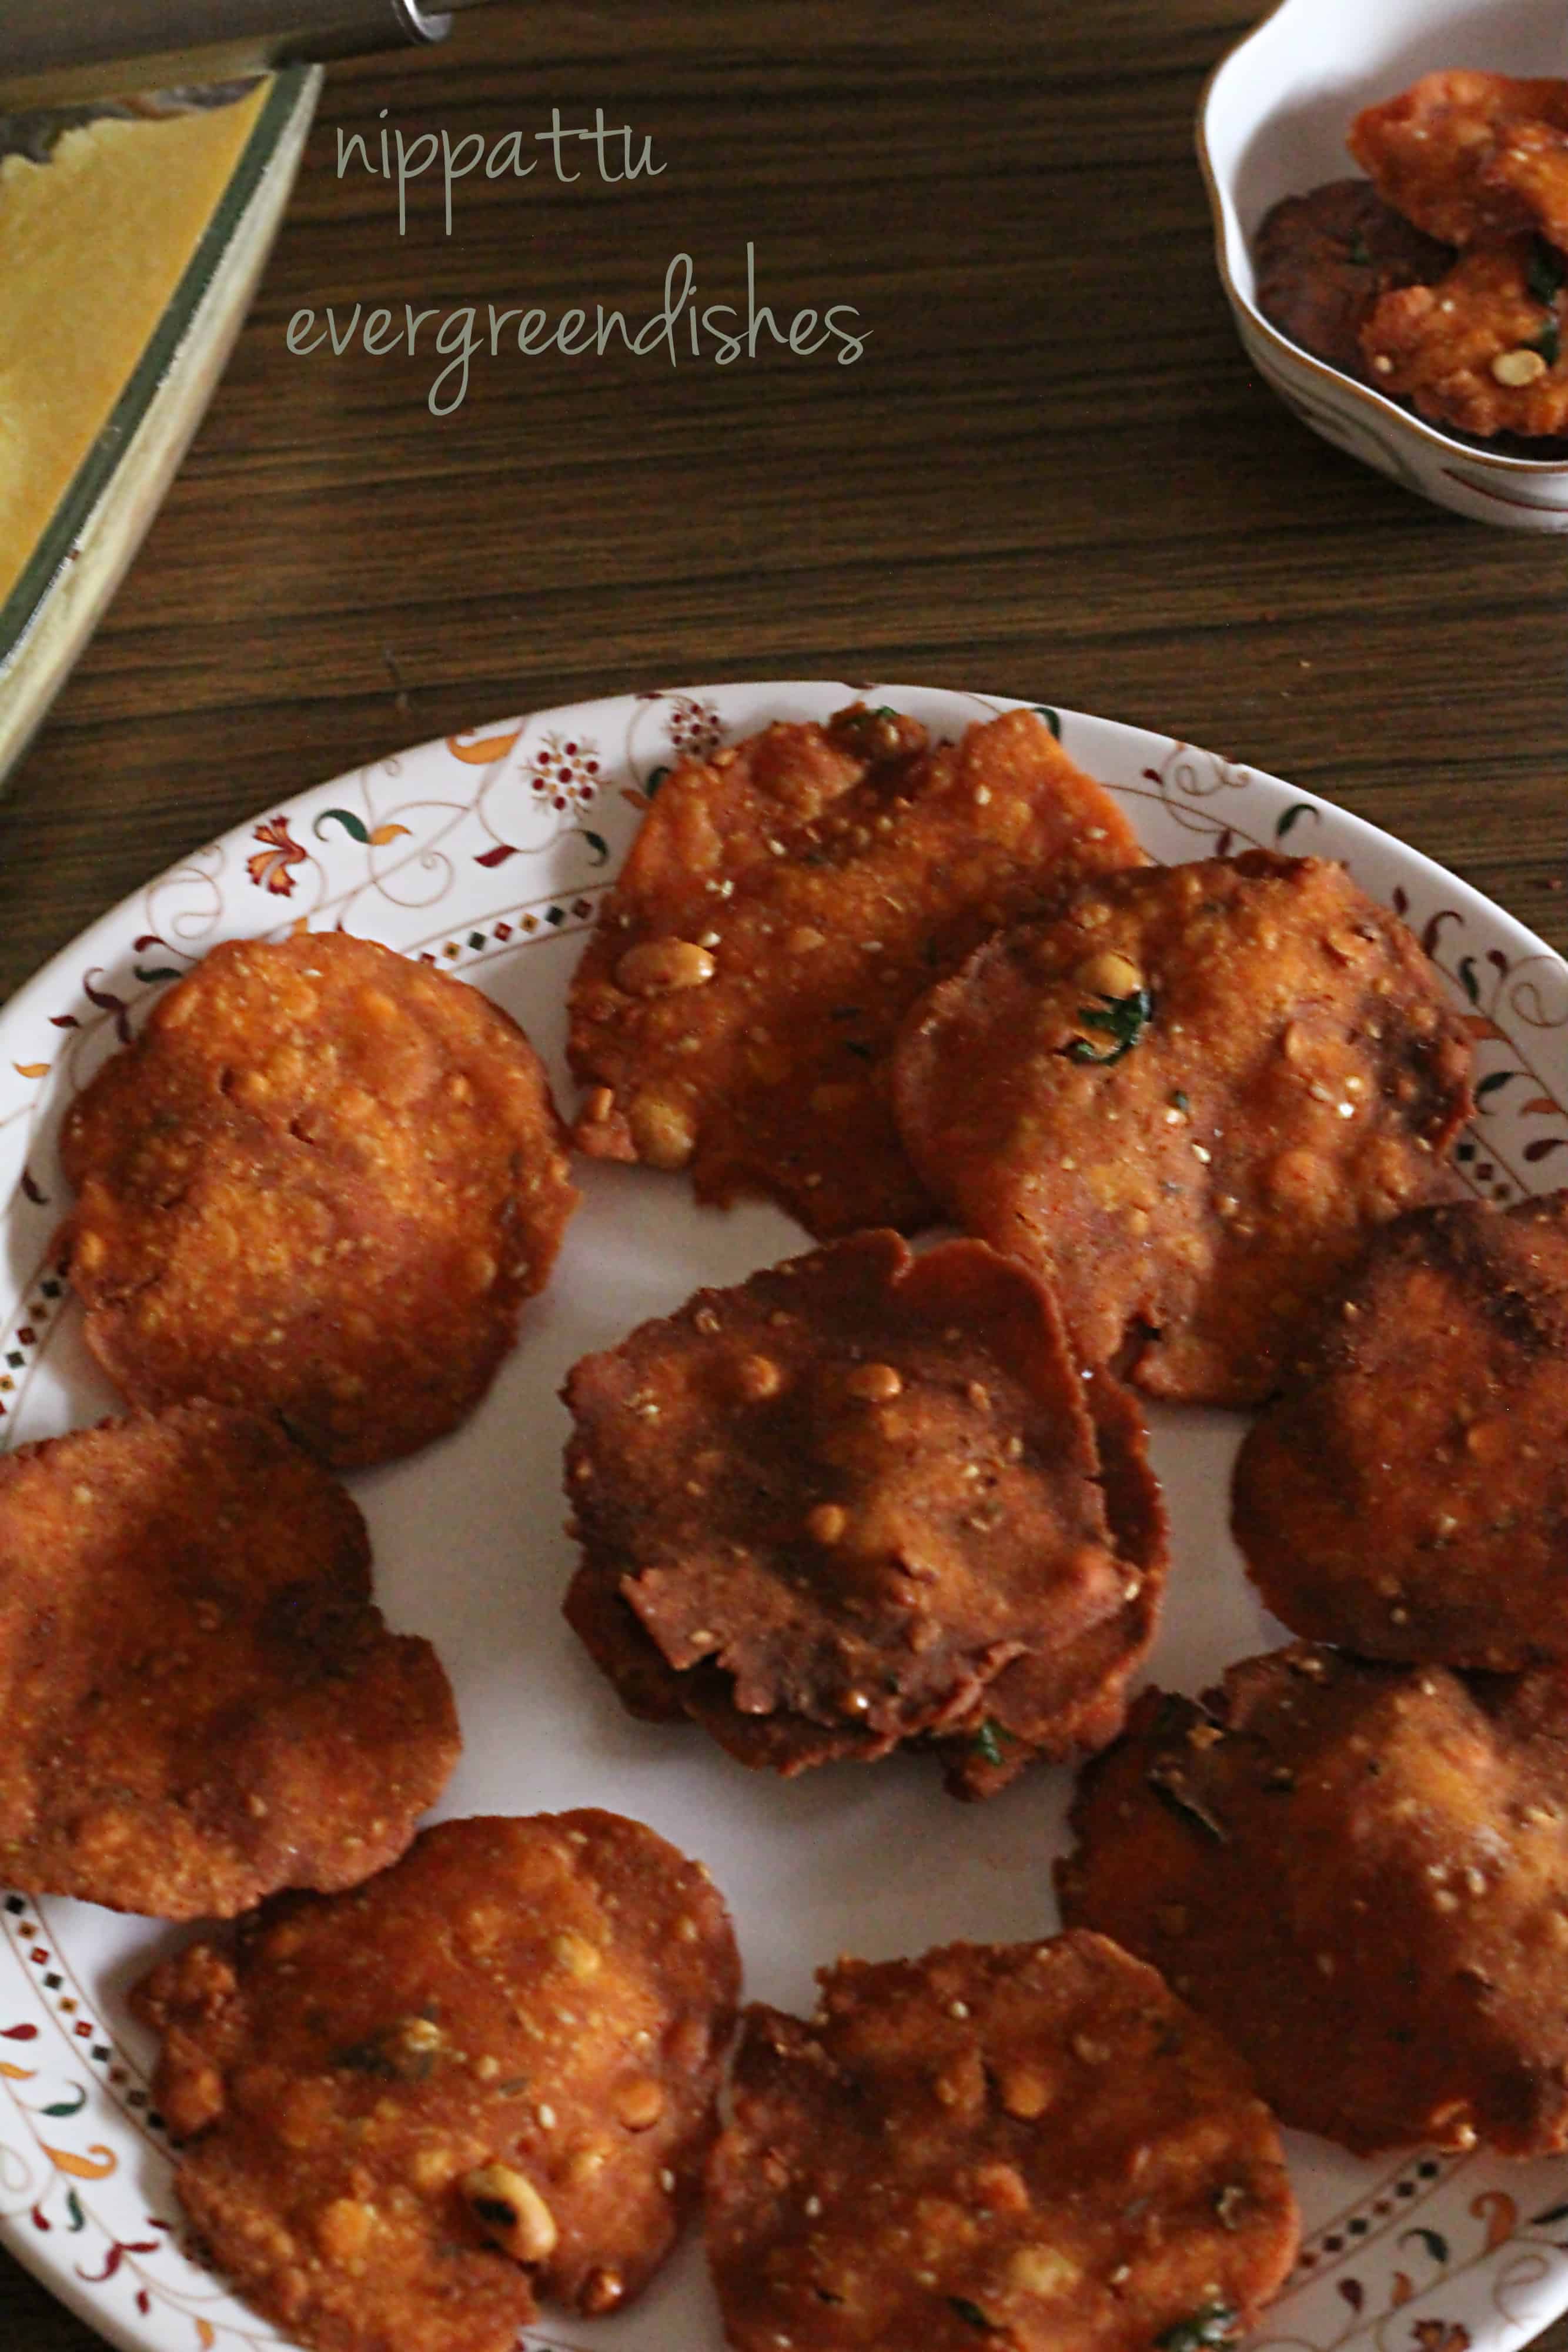
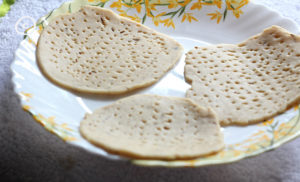
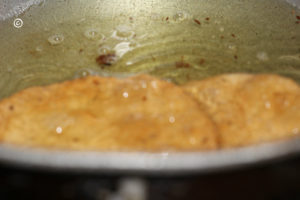
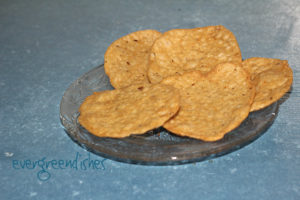
Nippatu or rice crackers as they may be called are popular snacks prepared during festivities. They can be stored for a long time and can be used with tea or as an evening snack. In Karnataka, nippattu is different from other states. Here is one such kind. (more…)
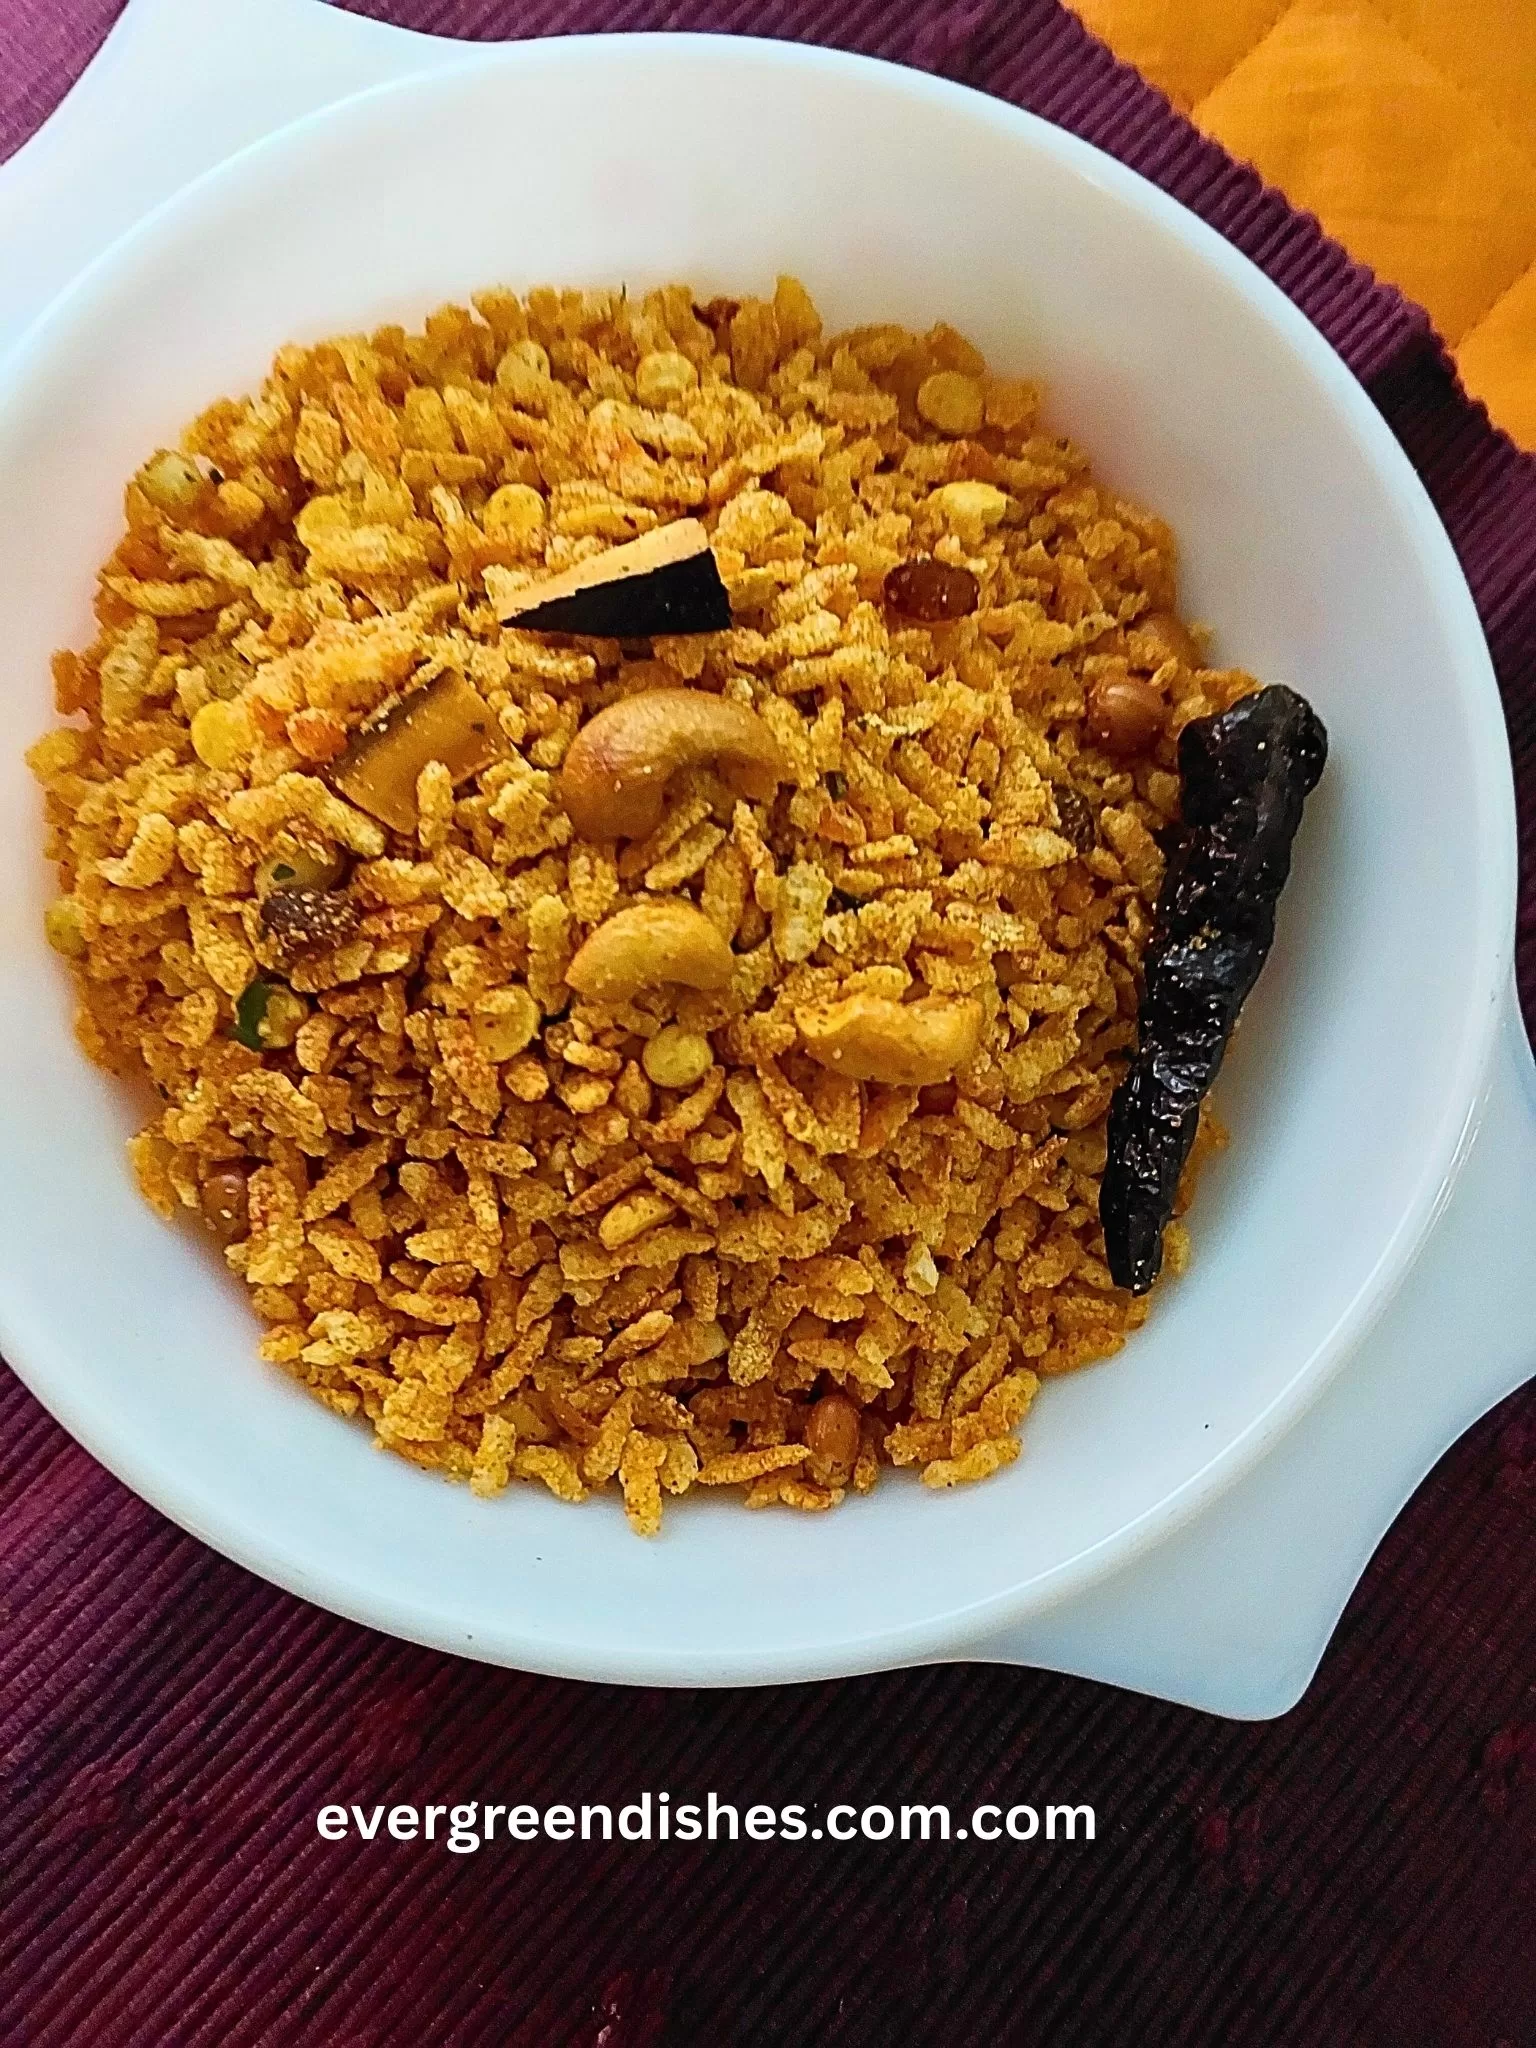
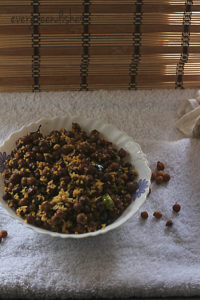
Chiwda is one of the snacks stored in the kitchen shelves. It is primarily made during Diwali, when a variety of snacks are prepared. Here is my version of Chiwda recipe. It is a tasty, guilt free snack.
Plain chiwda is usually made by frying flattened rice or poha. It is then mixed with spices and other condiments. But, here we are lucky enough to get the ready, roasted version of it. Thus, a guilt free snack is ready in no time.
Update : Plain chiwda is available in all outlets as half kilogram and one kilogram packets.
Snacks in the jar as avalakki, chiwda and murmura are always seen in the kitchen shelves. Along with it comes other snacks as chakli, nippattu and kodbole which are loved by all but not made often.
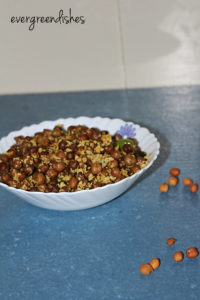
Chiwda makes a good snack with tea. It is ideal to serve with breakfast as an accompaniment. An easy to make, quick snack is more than welcome here. Check out the recipe.
Can we store chiwda ?
Yes, chiwda can be stored for a long time. Keep it in a clean, air-tight container.
Is it a festive snack ?
Yes, it is mostly made during Diwali.
What goes in the chiwda ?
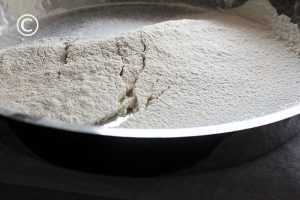
Chiwda : It is the star ingredient. You can use the store bought chiwda or fry the rice flakes in oil and use them. Using the store bought is easier and healthier. Just clean it once and use it.
Oil : Use good quality oil.
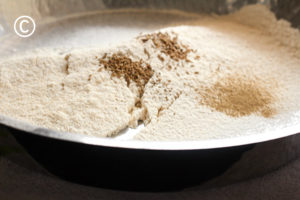
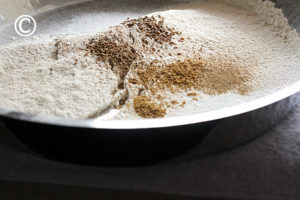
Sesame seed : Use the white sesame seed.
Cumin : A dash of cumin elevates the taste.
Turmeric powder : A dash of turmeric in the seasoning gives a good colour. It also has anti-bacterial properties.
Dry coconut : Cut them into thin and small pieces.
Curry leaves : Cooking seems to be incomplete without the humble curry leaves.
Red chillies : Throw in one or two in the seasoning.
Asafoetida: Sprinkle a little bit of asafoetida for that nice aroma.
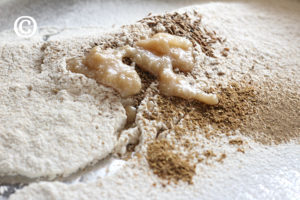
Dry fruits: Cashew pieces and raisins are usually dded. You may add almond pieces too.
Ground nut and dalia: For that crunchy taste in between.
Chilli powder : To give a spicy taste to the dish.
Evergreendishesdev
How to make chiwda
Chiwda is a delectable snack to binge on. It is usually made during festivals as Diwali and Holi.
Take oil in a pan. Deep fry the groundnuts. Remove them and keep aside.
Similarly, fry the split dahlia, cashew nuts, raisins and curry leaves seperately.
Take two tablespoon of that oil and make the seasoning. Add mustard seeds, as it splutters, put cumin and sesame. Add asafoetida and turmeric. A few seconds later, add chilly powder, salt and sugar.
Mix well. Put the fried ingredients into it. Add the plain chiwda and mix well.
Heat it for a few minutes. Tasty chiwda is ready to binge.
Notes
To make chiwda, take flattened rice (poha or aval) and deep fry in oil. Do not make it brown in colour.
About the event :
An old post was updated today31/8/2025 with better pictures. Sending this to Foodies_Redoing Old Post_159. Here, I have changed both the text and the pictures, a lot of changes has been made in the post. The recipe remains the same.
Subscribe to get updates of new posts and a book of handy hints for free! If you have liked this recipe, do like, comment and share.
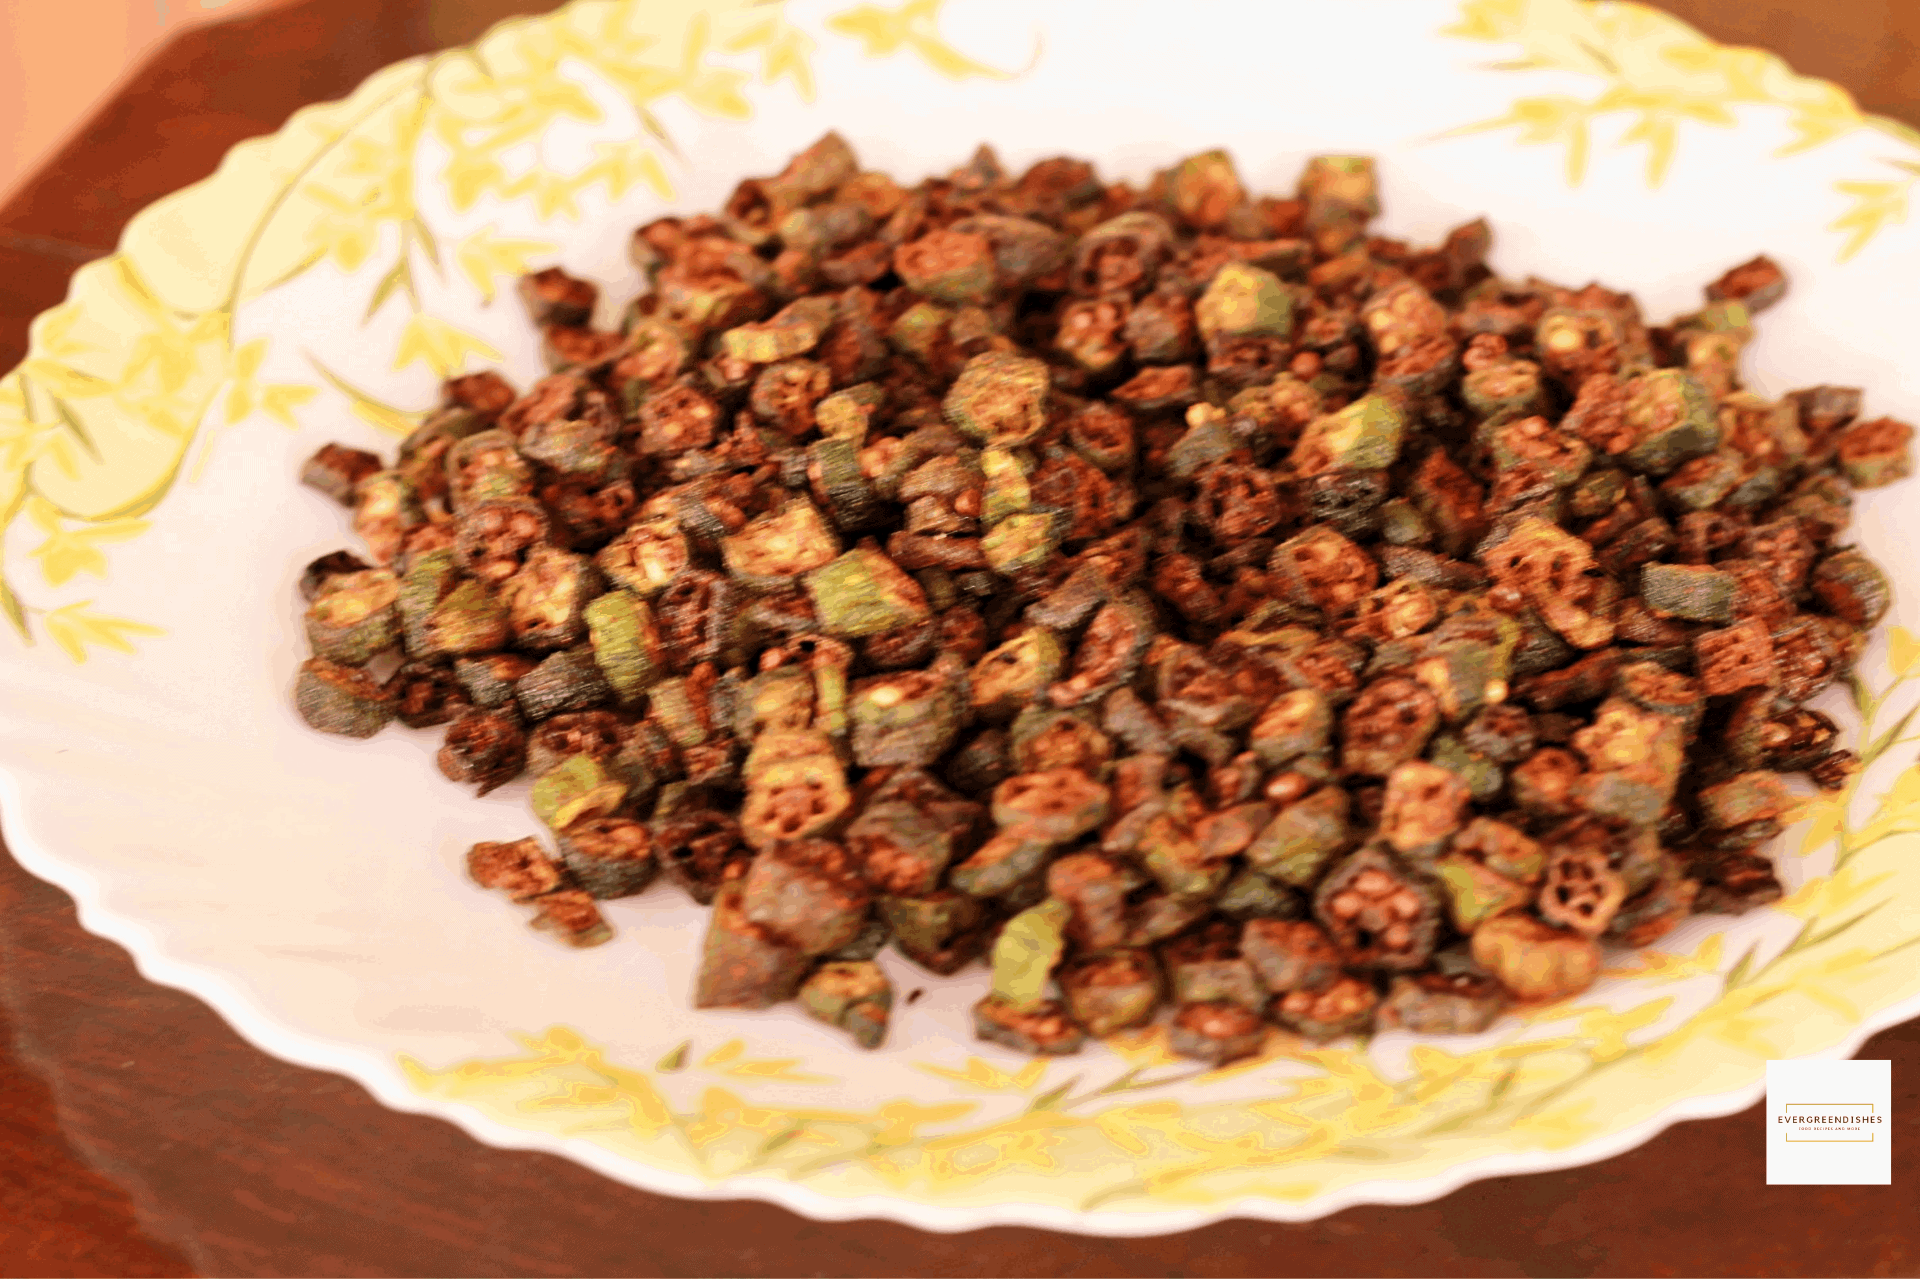
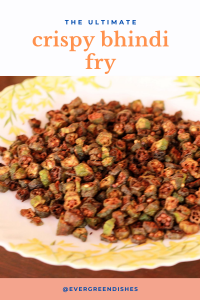
Crispy Bhindi Fry makes a tasty accompaniment with any meal. It is loved by one and all.
Bhindi is the common name for ladies finger or okra. It is a versatile vegetable which can be turned into crispy fried savouries or as a stir fry. The stuffed okra is simply irresistible. The weather calls for fried food and I ended up frying it, Tasty Bhindi Fry is on the blog today. I like this recipe for it’s simplicity, no extra dressings or garnishing; but yet, it is tasty and loved by all.
It makes a good accompaniment with hot steamed rice, a dollop of ghee elevates the taste. The best way is to eat it along with rice and sambar.
Wash and pat dry the okra. Cut them into thin pieces.
Heat oil in a pan.
Once it is heated, add handful of cut pieces slowly into the oil.
Deep fry on medium flame. After a few minutes, fry on high flame for one minute.
Once it is light brown in colour, reduce the flame and remove it on a tissue paper.
Put the next badge of okra pieces to fry.
Put the fried okra in a bowl. Add a little salt and chilly powder to it. Mix it. It is ready to serve.
Repeat for the rest of the cut pieces.
Notes
Cut okra into thin pieces.
Add salt and chilly powder accordingly.
About the event:
This is an old post which I have redone with better pictures. Sending it to Foodies_Redoing Old Post 30, a fortnightly event, where we work on a old post. Here I have changed the pictures.
If you have liked this post, do share it with your family and friends. If you ever make this, take a picture and share it by tagging @foodiejayashree on Instagram or @evergreendishes on Facebook or Twitter.
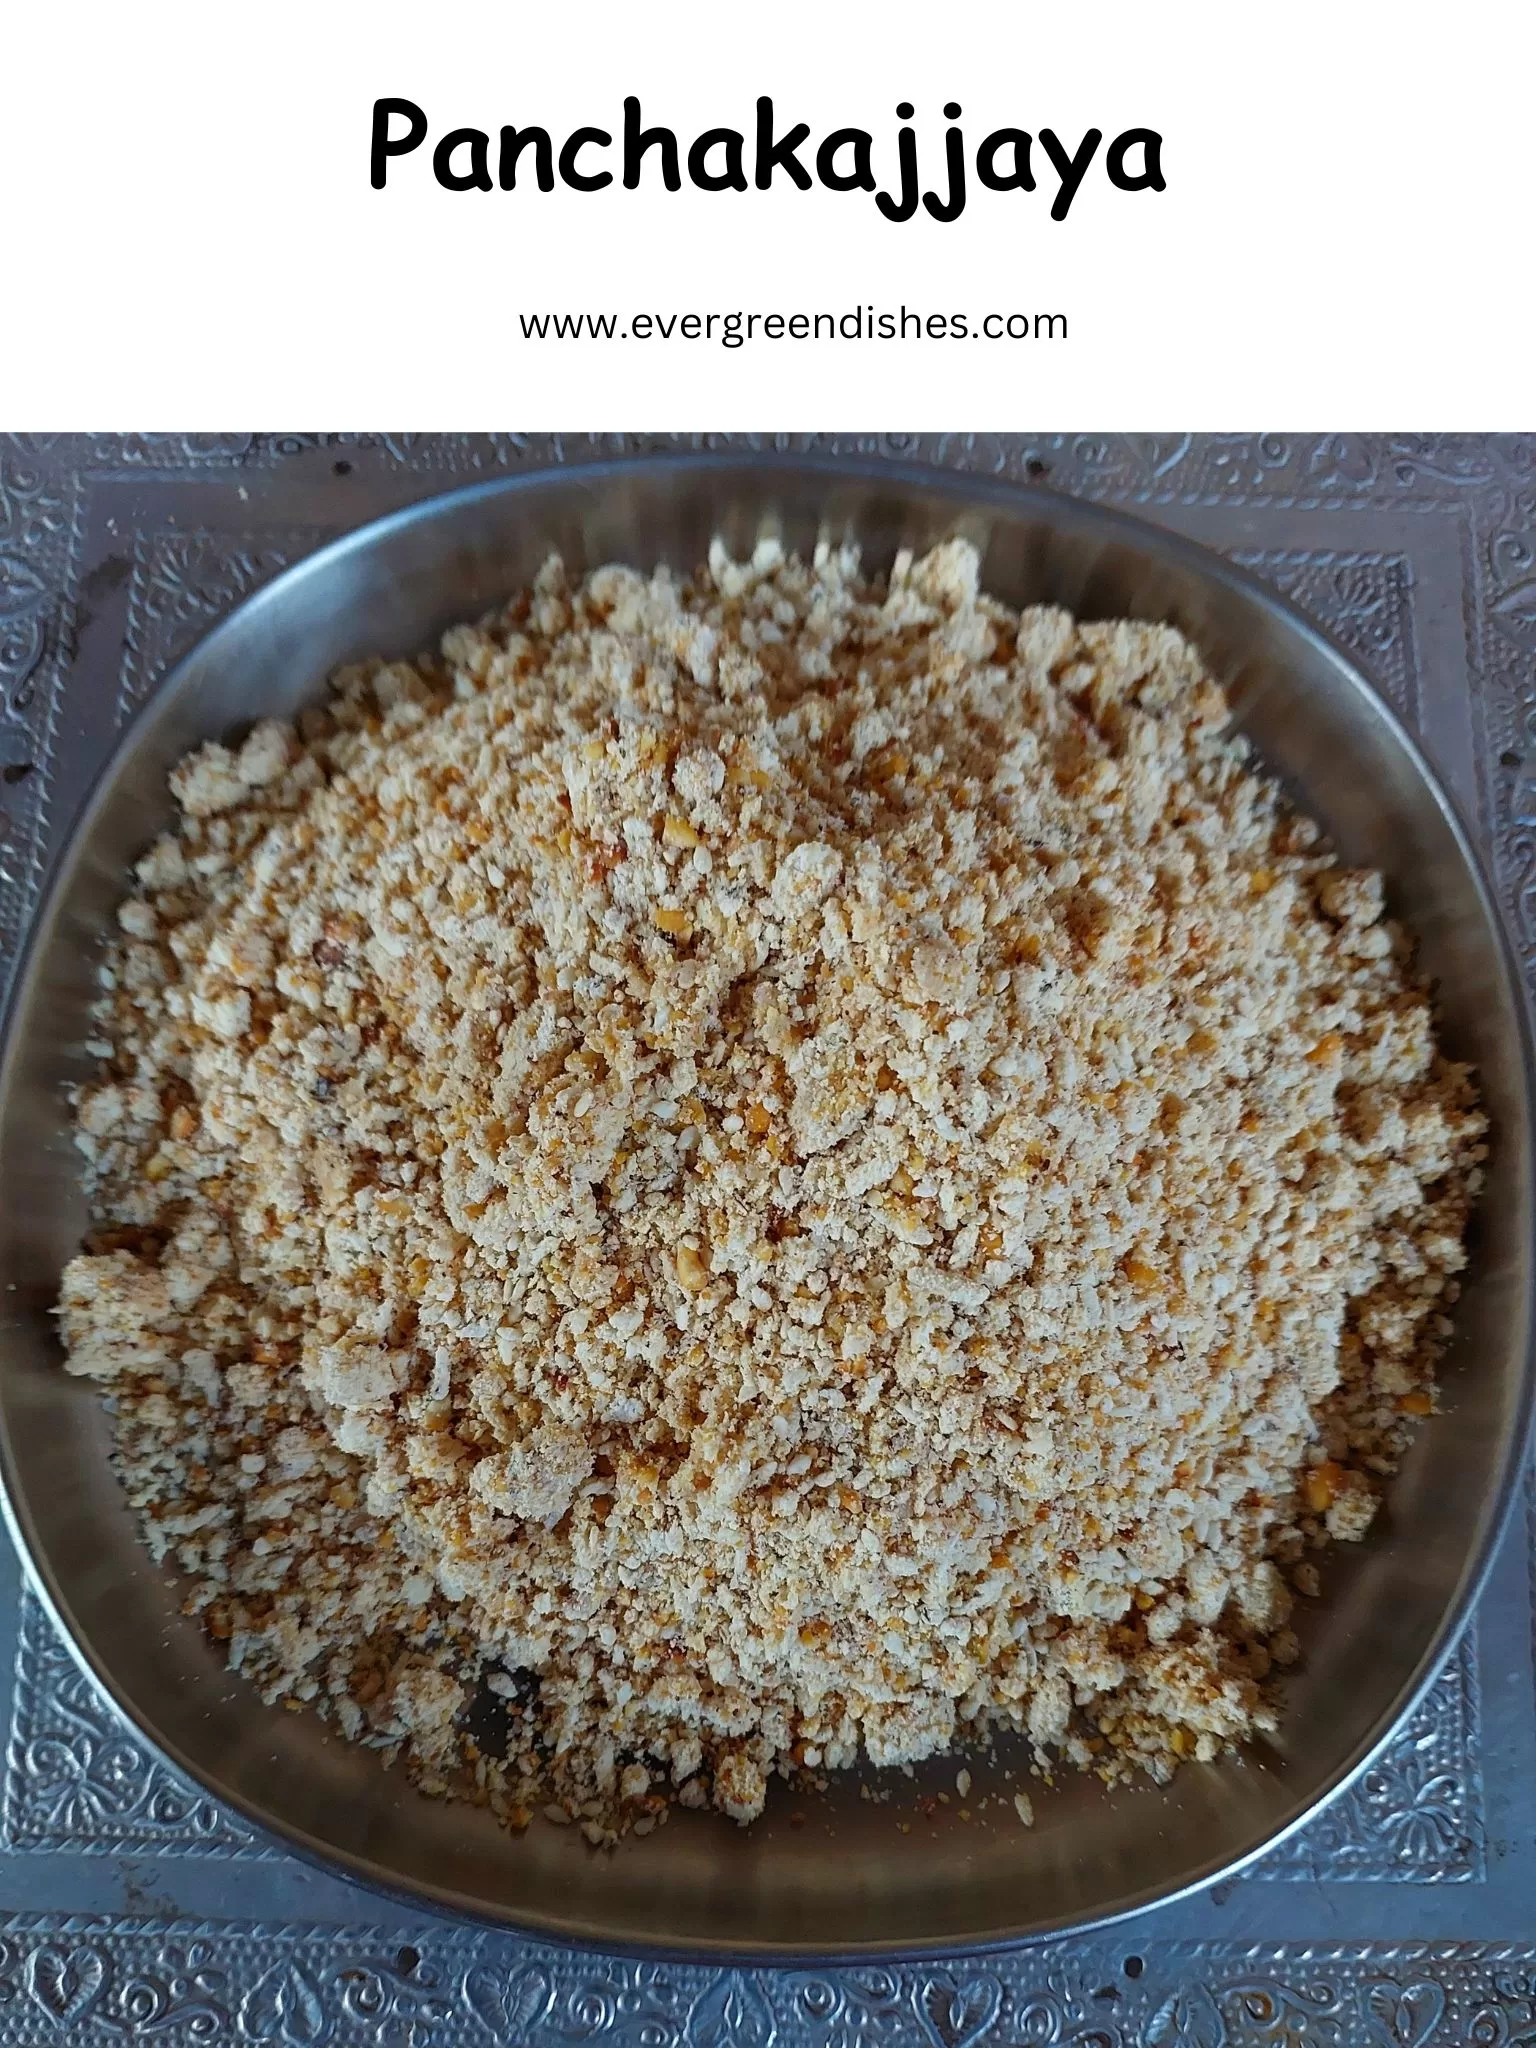
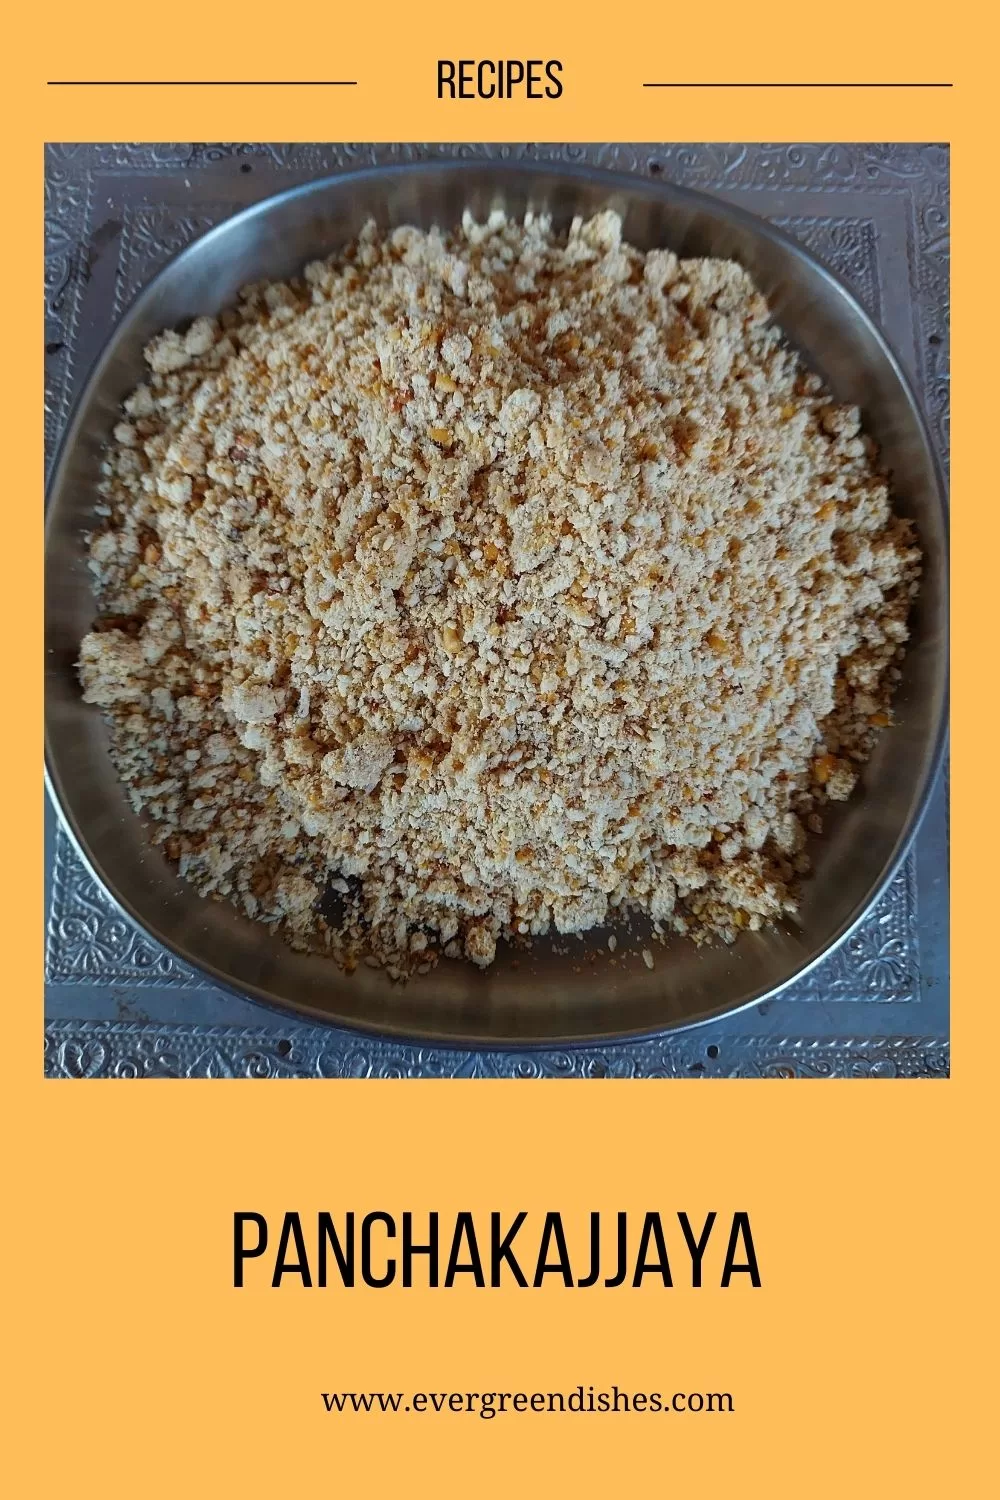
Panchakajjaya is a simple offering that is made during Ganesha Chaturthi.Various kind of panchakajjaya are made. Roasted chana dal, bengal gram, poha and even with green gram they do prepare this offering of panchakajjaya. Here is one kind from the state of Karnataka using bengal gram dal.
Ganesh Chaturthi or Vinayaka Chauti is round the corner and we see so many blogs with dishes for the same. It is a important festival which is celebrated for ten days in some places. Ganesha idols are bought and beautiful decorations are made around with flowers and crafted motifs. Lord Ganesha is the eliminator of obstacles and also the Lord of wisdom and learning. He is the God of beginnings in rites and ceremonies, precedings take place in good thought and note. Various offerings are made to the Lord. Modak, kadabu, chakli, panchakajjaya and sundal are some of the usual preparations made during this festivals. Panchakajjaya is a Ganesh Chauti offering made with a few easily available ingredients.
Various kind of panchakajjaya are made. Roasted chana dal, bengal gram, poha and even with green gram they do prepare this offering of panchakajjaya. Here is one kind from the state of Karnataka using bengal gram dal.
The good thing of Panchakajjaya is, it can be made a day earlier and kept aside for the festive day.
Modak is also made during Ganesh Chaturthi. Lord Ganesha loved modak and thus twenty-one modaks are offered as naivedyam. Another sweet, which we often do at home during Ganesha habba is kadabu. It is crescent shaped sweet prepared with a lentil filling. It is tasty and makes a good festive treat.
Roast bengal gram on a low flame, it should not get burnt. Let cool, grind it to a powder.
Roast the desiccated coconut lightly for a few seconds.
Dry roast the sesame seeds until they splutter and give a nice aroma.
Grind the sugar.
Take a wide bowl, add all the ingredients and mix well.
Panchakajaya offering is ready for Lord Ganesha.
About the event :
This is an old post, first published on 23rd August, 2017. Today, i.e, 8th Sept 2024, I have redone it with better pictures. The recipe remains the same. Sending this to Foodies_Redoing Old Post _135, a fortnightly event. Here, pictures have been changed along with a few edits.
Dry roast bengal gram on a low flame. It should not get burnt and evenly roasted to a golden colour.
Dry roast the coconut gratings for a few second.
Dry roast the sesame until it splutters and is golden in colour.
Grind sugar along with cardamom to a powder.
Grind roasted bengal gram to a powder.
Add all the ingredients in a wide bowl and mix well with hand.
Panchakajaya is ready to serve
Notes
You can reduce the quantity of desiccated coconut.
Pin it for later :
panchakajjaya
If you ever make Panchakajjaya prasadam, take a picture and share it by tagging @foodiejayashree on Instagram and @evergreendishes on Facebook. Subscribe to get all updates and an e-book for free. Happy Gowri Ganesha festival to one and all.
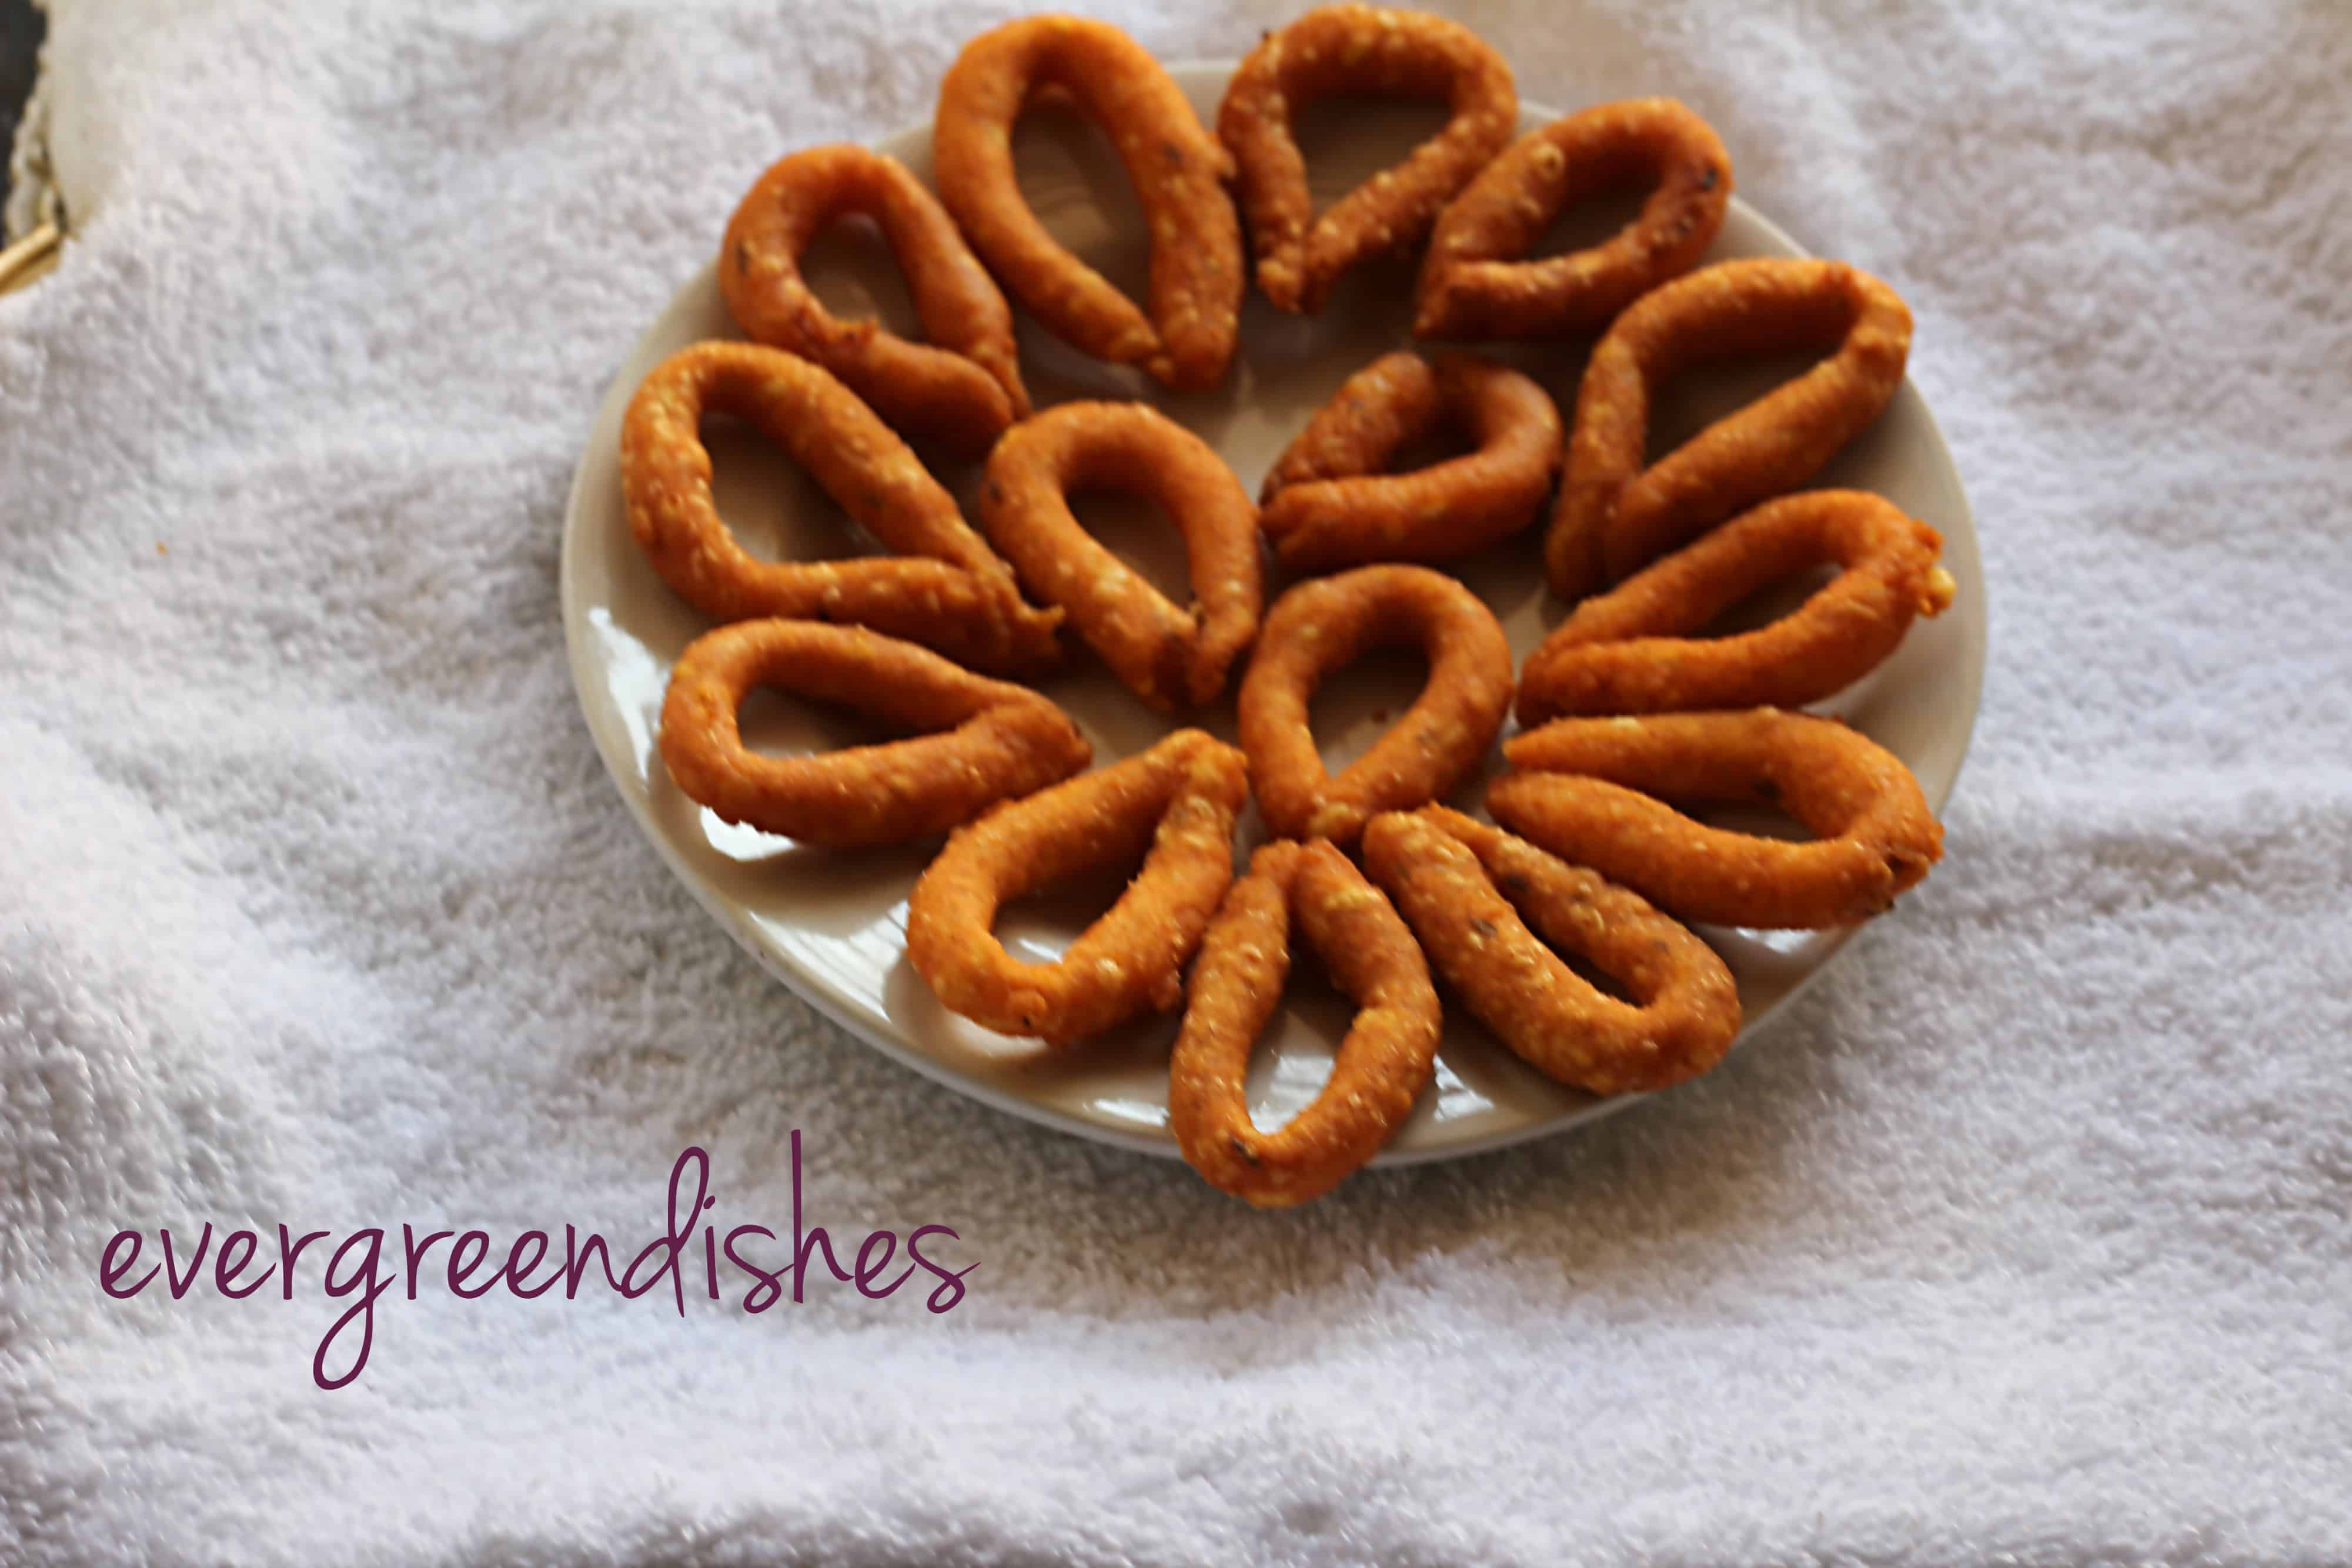
Ring murukku is another kind of dry snacks. It is from the state of Andhra Pradesh. They are soft but crispy, different from the usual kodbole that we make.
Wash and soak moong dal in water for thirty minutes.
Heat one cup water. Drain the water from the soaked moong. Put it in water along with salt.
Once it boils, add rice flour and stir continuously, it should come to a thick consistency.
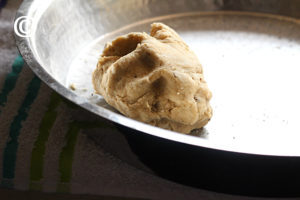
Let cool. Add chilli powder and asafoetida to it and knead well.
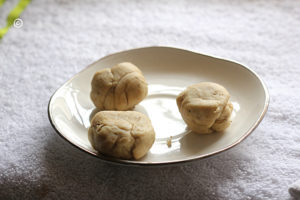
Take a small ball of the dough and roll into a ring shape.
Make a few more rings.
Heat oil in a pan.
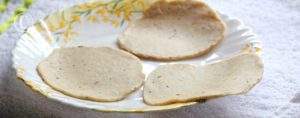
Once it is hot, put a few rings (about six or seven) and deep fry on medium flame until golden in colour.
Remove them on an absorbent paper.
Repeat for the rest of the dough. Ring murukku are ready to serve.
Notes
Make them more circular in shape like a small ring. Mine are not exactly like a ring, could not make them again for the photograph.
Breakfast is one of the most important meals of the day. Are you struck for ideas in the busy mornings? Do check out this book of mine, “South Indian Breakfast” on Amazon.
South Indian Breakfast
It is always good to have your feedback. Please do leave a comment below, it really motivates me to write more. If you have liked this post, do share it further.
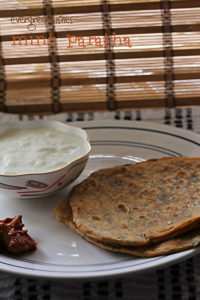
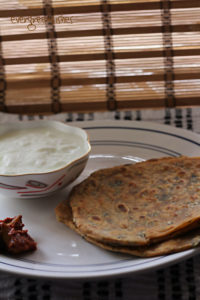
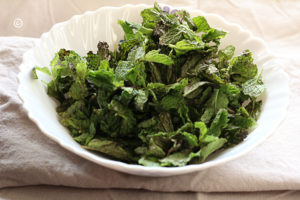
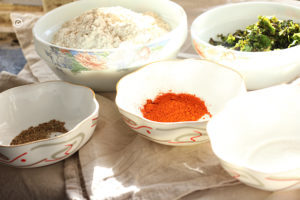
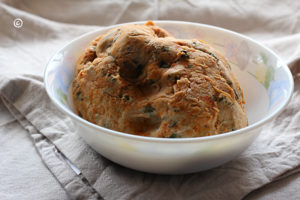
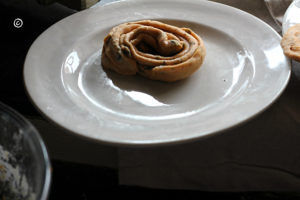
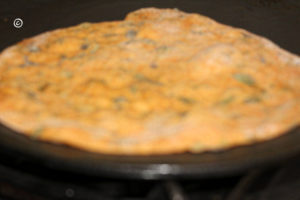
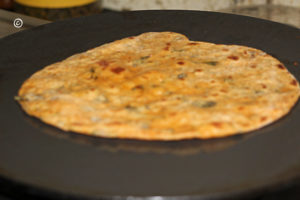
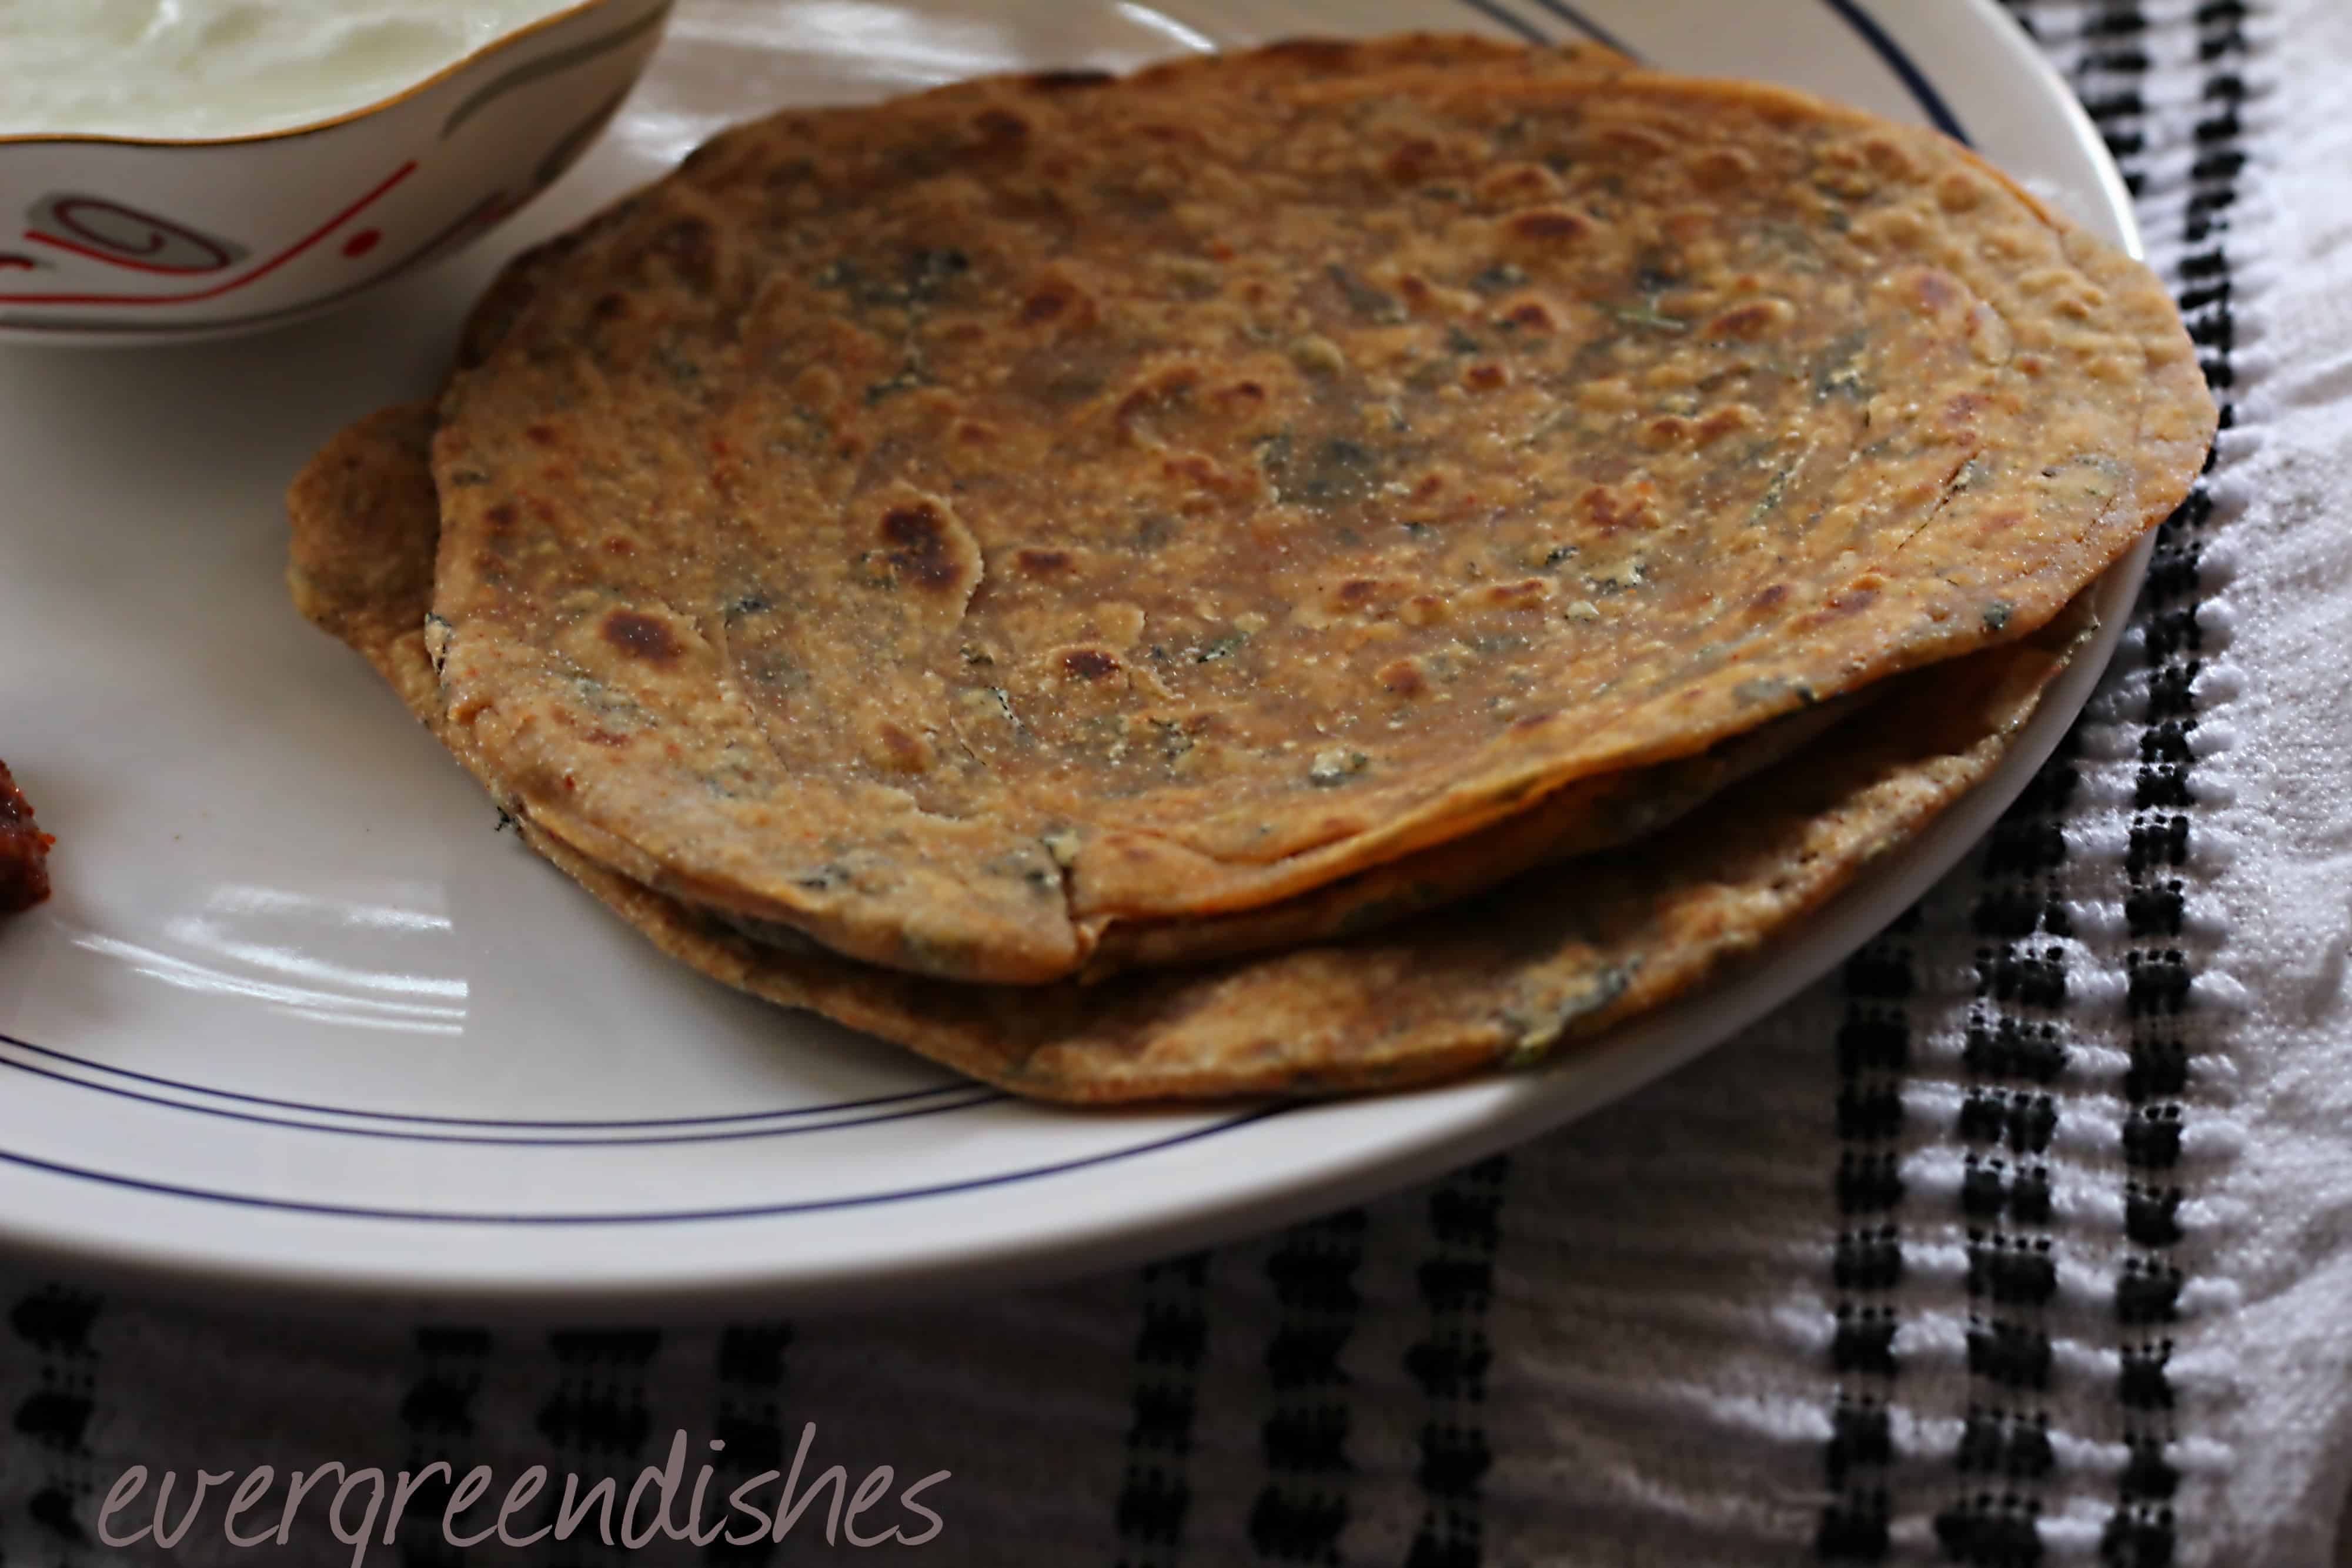
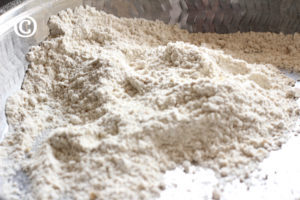
Have you ever tried making mint paratha? If not, do give a try to it. They are aromatic and refreshing. The smell of mint leaves can never be locked, it spills everywhere. No need of any accompaniment, you can serve it with curds and pickle.
Last year, I was going through Tarla Dalal vegetarian cook book and it was then I found this mint paratha. Since then, I have made it many times.
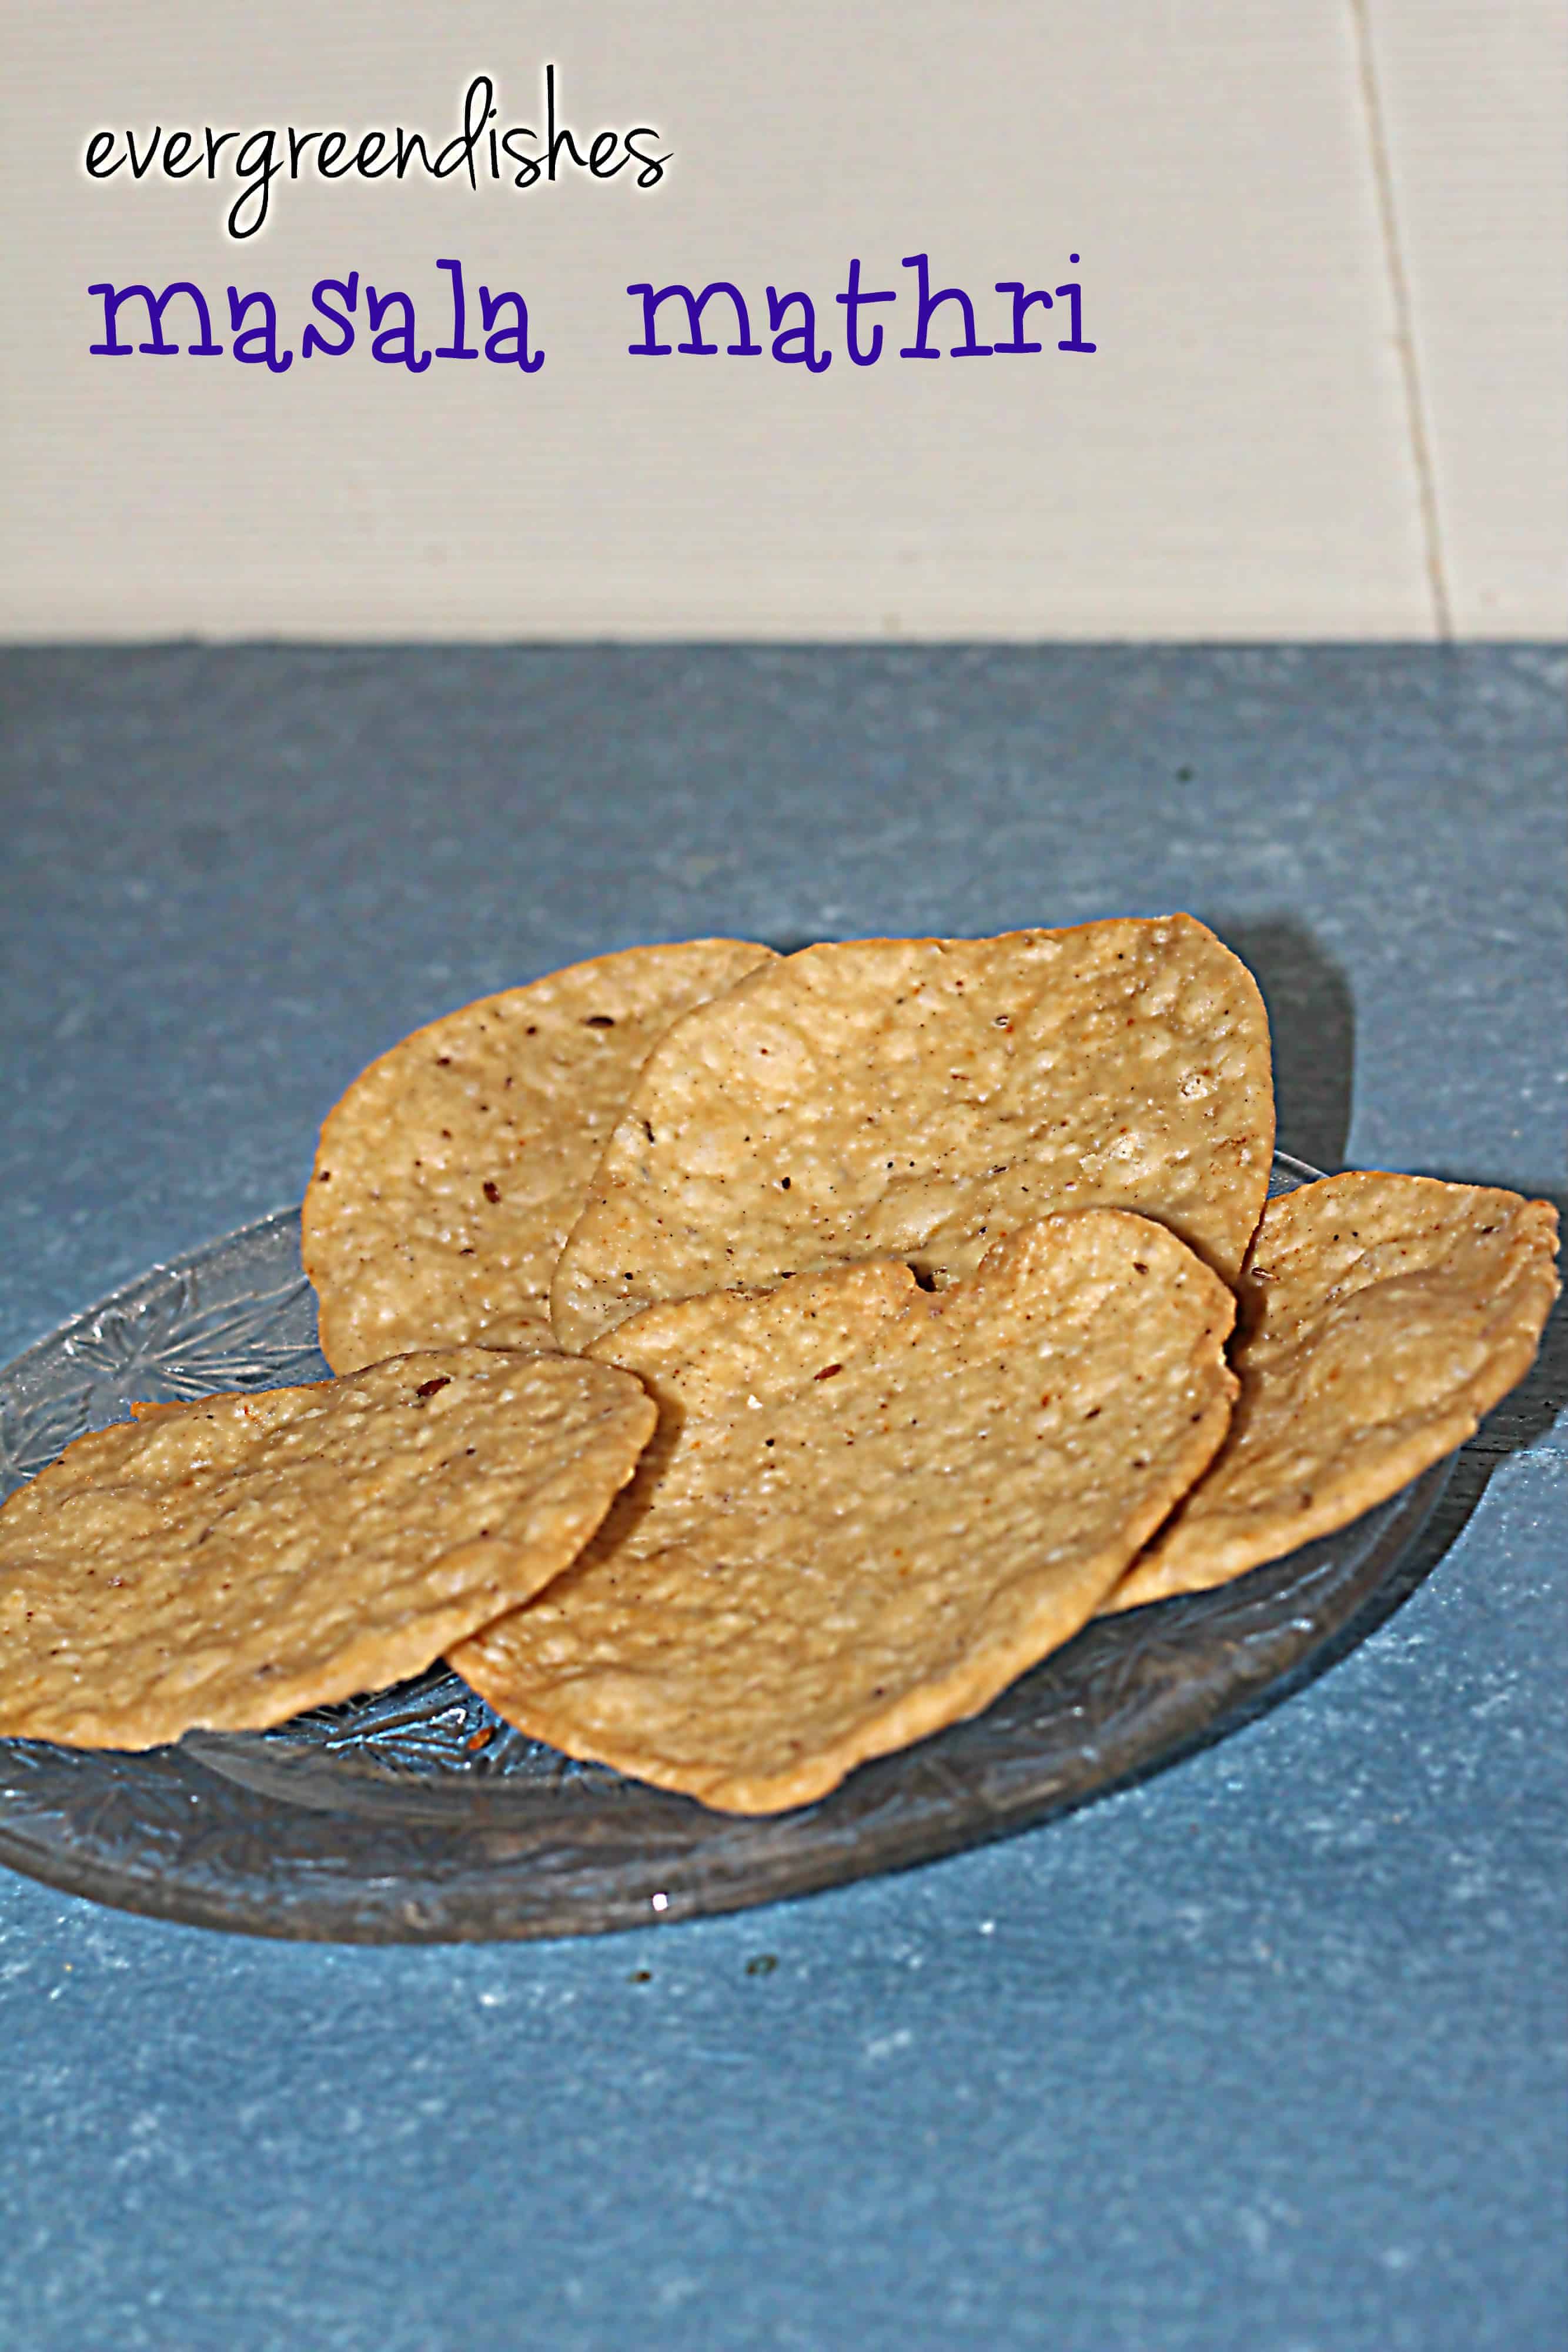
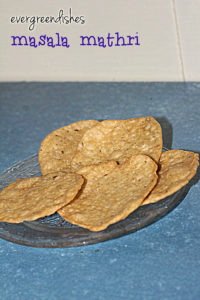
Mathri is a popular Rajasthani snack, that is usually had with a cup or tea or with pickle. It is crispy, flaky, mild spicy and tasty. It’s been one of the favourite at home. Masala mathri is a slightly modified version to the regular one.
Mathri is usually made with all purpose flour. But it can be made healthier by mixing equal quantity of wheat flour along with it, for now I am enjoying this version.
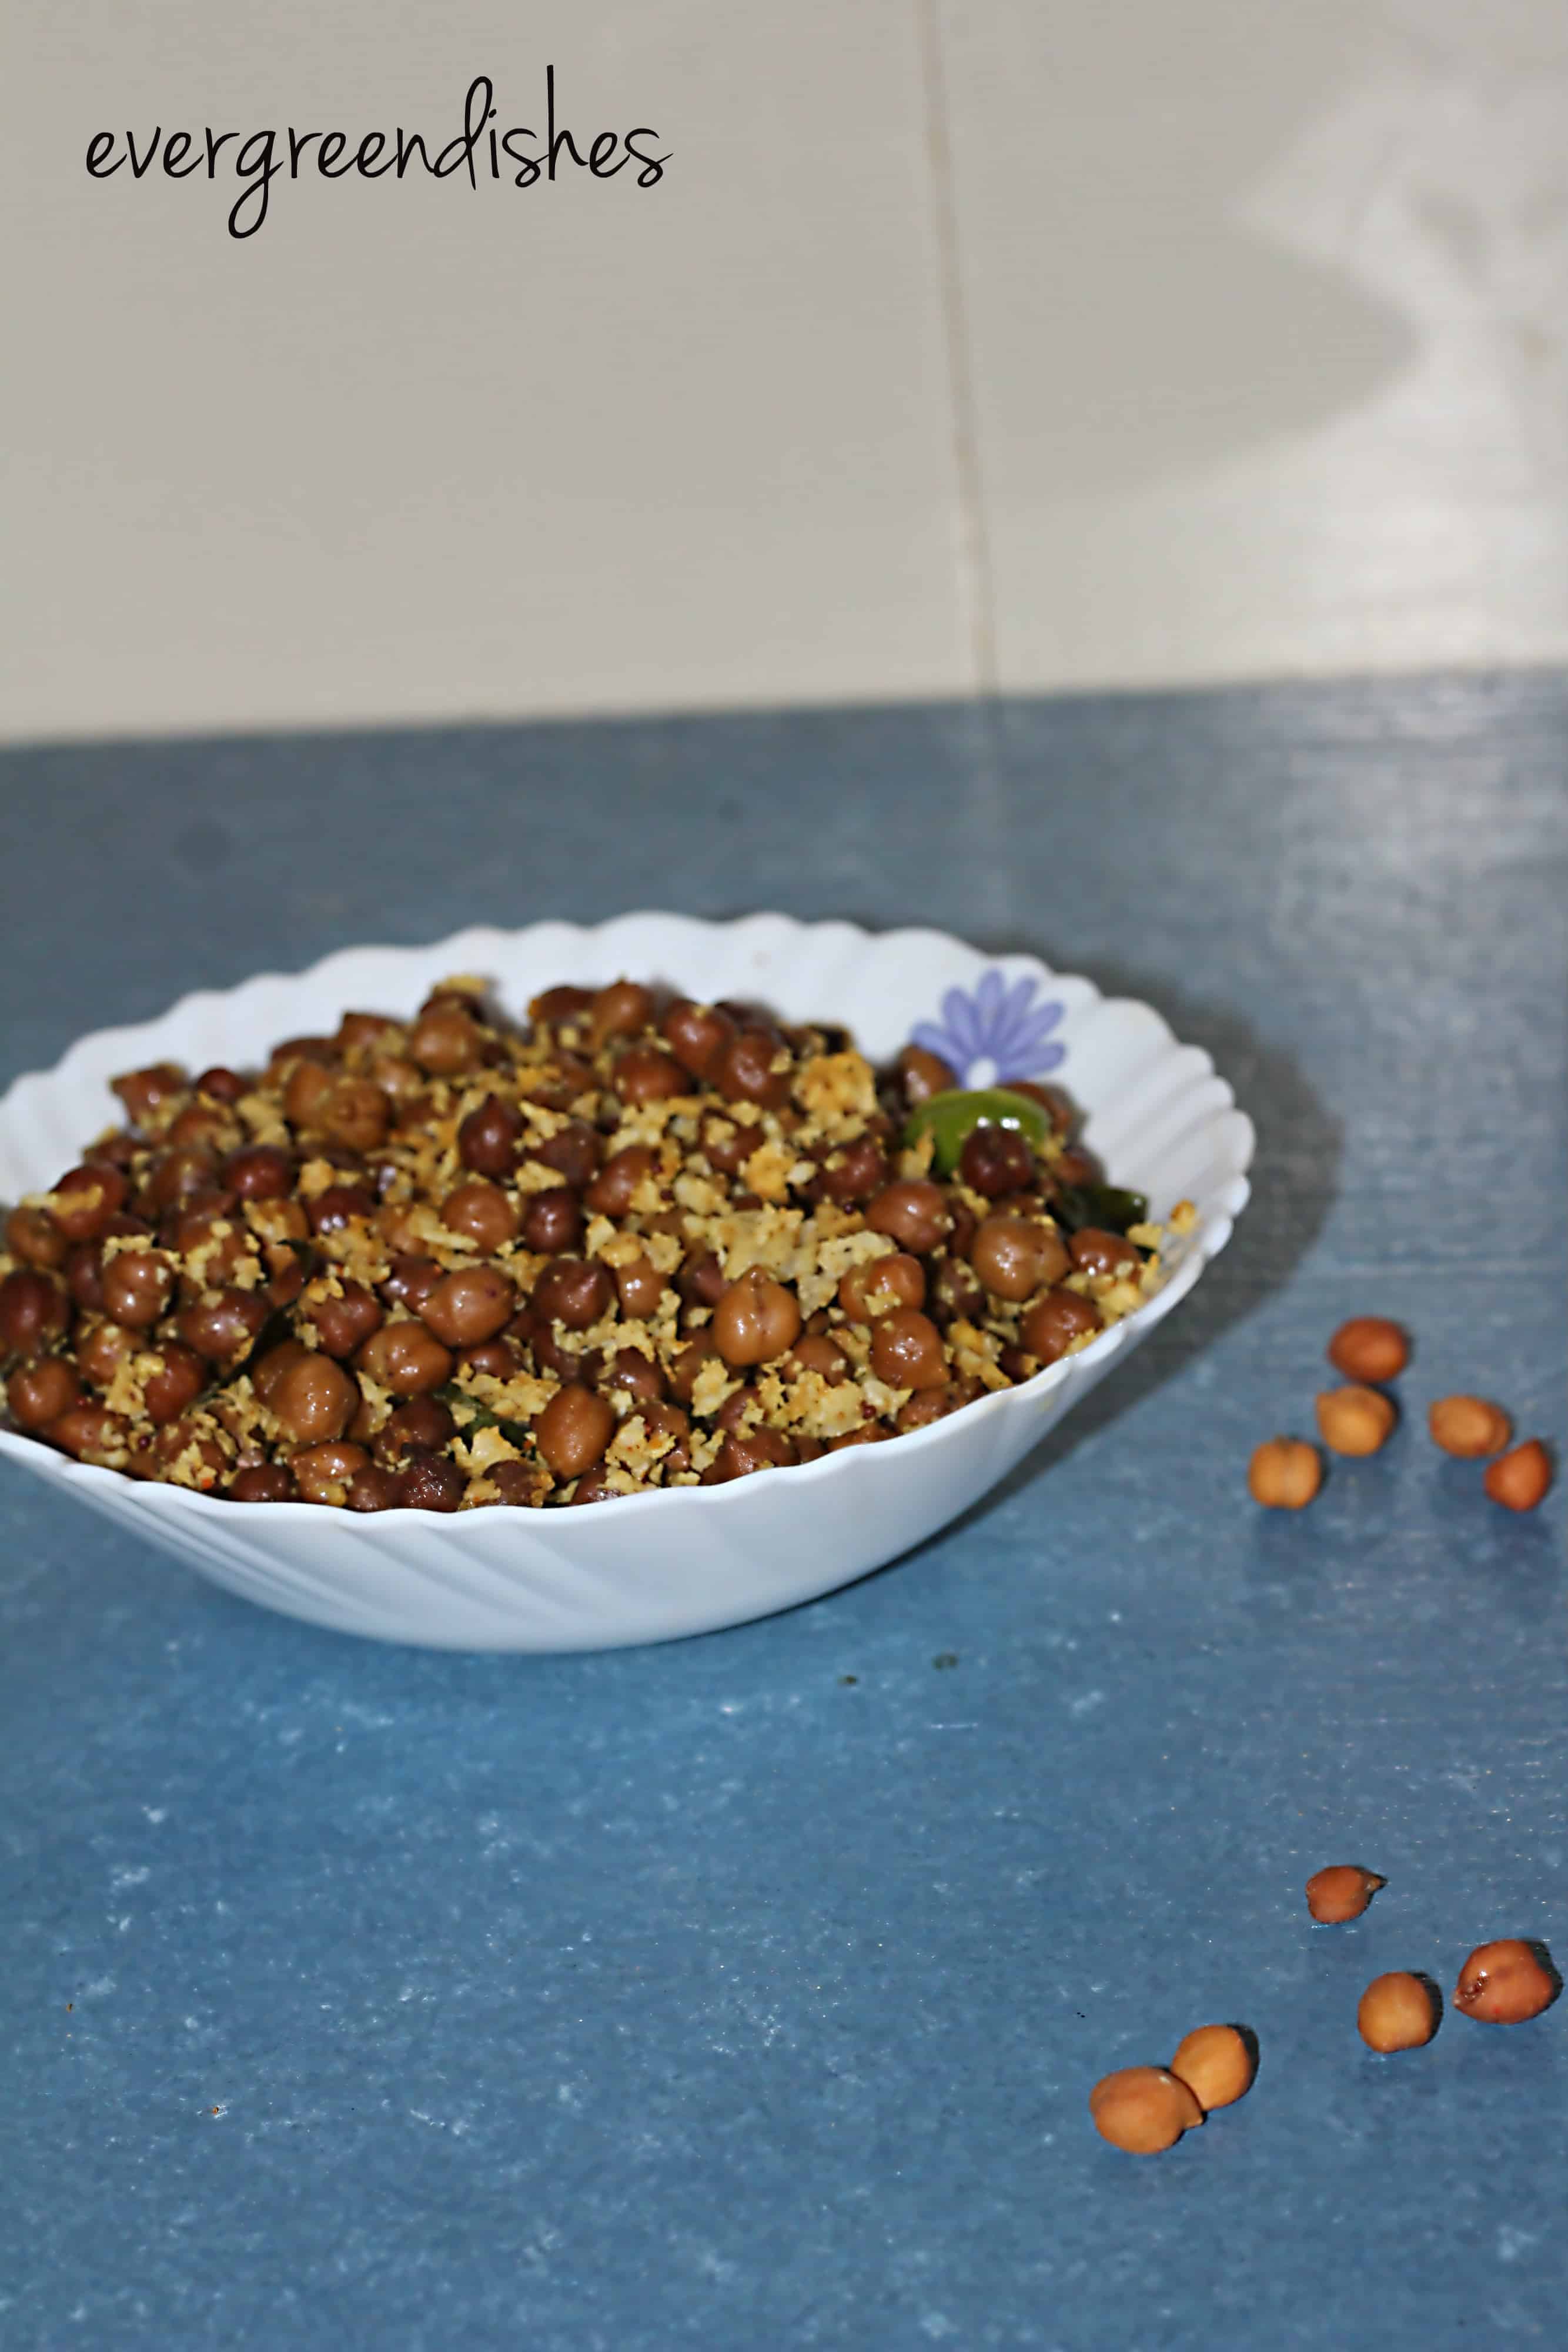
Kadale Kalu Usli / Black Chana Sundal is often made during Ganesh Chaturthi and Naga Chauti. It is usually served during haldi kum kum to married ladies.
Black chana is predominantly used during religious ceremonies. It is usually made as a spicy usal or sundal and served during poojas and ceremonies. Ganesh puja, Naga chauti and during Mangal Gowri puja it is prepared. Today is Naga Chauti and thought I will post the recipe of kadale kalu usli / black chana sundal. It is tasty and can be prepared more often as a snack or accompaniment.
Kala chana is dark brown and smaller in size than yellow chick peas. It needs to be soaked overnight for eight hours.
The Hindu month of Shravan brings in a lot of festivities. Time to worship the Lord and celebrate with family and friends. Much as we try to move from our civilisation, our thoughts will not permit to, we want to continue with the rituals and poojas but we cannot do as much as our parents and grand parents have done. Let’s worship and do in the best possible way. Happy celebrations ahead.
Kadale kalu usli
Kadale Kalu Usli/ Black Chana Sundal
Ingredients:
250 grams black chana
1 tablespoon oil
4 green chilly
1/2 teaspoon mustard seeds
1/4 teaspoon asafoetida
1/4 teaspoon turmeric powder
a few curry leaves
1 bowl fresh coconut
coriander leaves for garnishing
1/2 lemon
Method:
Wash the black chana and soak it overnight.
Next day, drain the water, rinse it and put fresh water to it. Cook it in pressure cooker for three whistles.
Take a pan and make the seasoning. To make the seasoning, put oil. Add mustard seeds, as it crackles, put the green chilly, asafoetida, turmeric powder and curry leaves.
Remove the whistle. Drain the water and put the cooked chick peas.
Add salt and mix well.
Put the grated coconut and heat for sometime.
Garnish with fresh coriander leaves.
Adding of lemon juice is optional.
Take a tip:
Adjust quantity of brown chana as per your need. The quantity given here is big and serves eight people.
Kadale kalu usli
Evergreendishesdev
Kadale kalu usli/ Black chana sundal
Kadale kalu usli is a spicy dish that can be served as a snack or accompaniment. It is prepared during Naga Chauti and Ganesh puja.
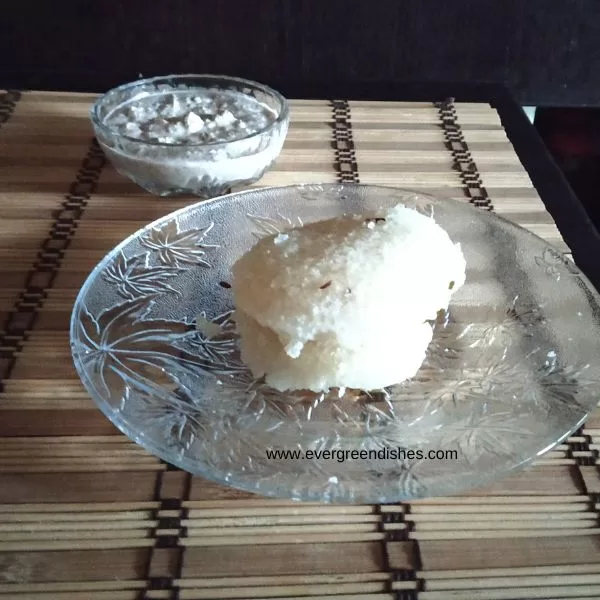
Sago idli is an easy to make recipe, ideal to serve for a quick breakfast. It is another kind of breakfast dish that can be made with a little prior preparation.
I am always in search of good and easy recipes and this one is my recent addition. The first time I had Sago Idli was during a function at my cousins place. Since then, I have made it a couple of times. It needs no grinding; thus a boon for us, to prepare something different on daily basis.
Sago pearls is called as sabudaana in Hindi, Bengali, Gujarati, Punjabi and Marathi. It is Sabakki in Kannada, Javvarisi in Tamil, Chavvari in malayalam and Sagubeeyam in Telugu. It is used during fasting in parts of South India and Maharashtra.
Let’s get cooking Sago Idli. The ingredients are mixed and kept to ferment. The next day or after five hours, one needs to make a seasoning and then put it in the idli stand to steam.
Ingredients:
3/4 cup sago pearls
1 cup semolina (idli rawa)
1.5 cup curd
1 cup water
salt to taste
1/4 teaspoon soda
1 teaspoon oil
1/4 teaspoon mustard seeds
asafoetida a pinch
1 teaspoon bengal gram
4 cashew broken
a few curry leaves
Method:
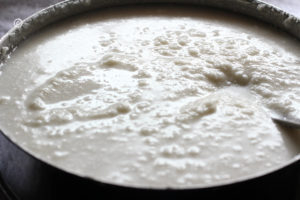
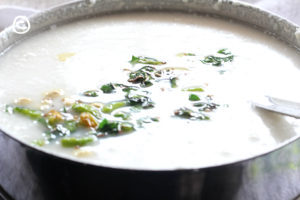
Take sago and semolina in a bowl. Wash it well and drain the water. Put curd and water to it. Mix it well. The consistency should be moderate. Close a lid and keep it in a warm place to ferment overnight or for five hours.
Add salt to the batter.
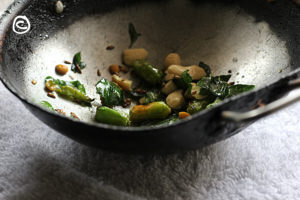
To make the seasoning: take the oil in a small pan. Add the mustard seeds, as it crackles, put cumin, bengal gram, green chilly pieces, cashew pieces and curry leaves.
Pour it over the batter.
Heat the idli steamer. You may grease the plates, I just wash them and use it.
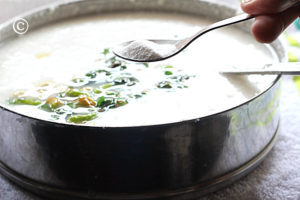
Add soda to the batter, mix well and put a ladle full in each cavity.
Put it in the steamer and allow to cook on medium flame for fifteen minutes.
Idlis should be well cooked.
Remove the idlis with round edged spoon after sometime.
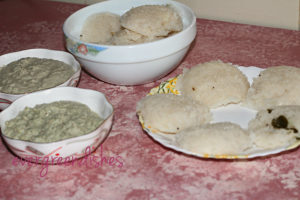
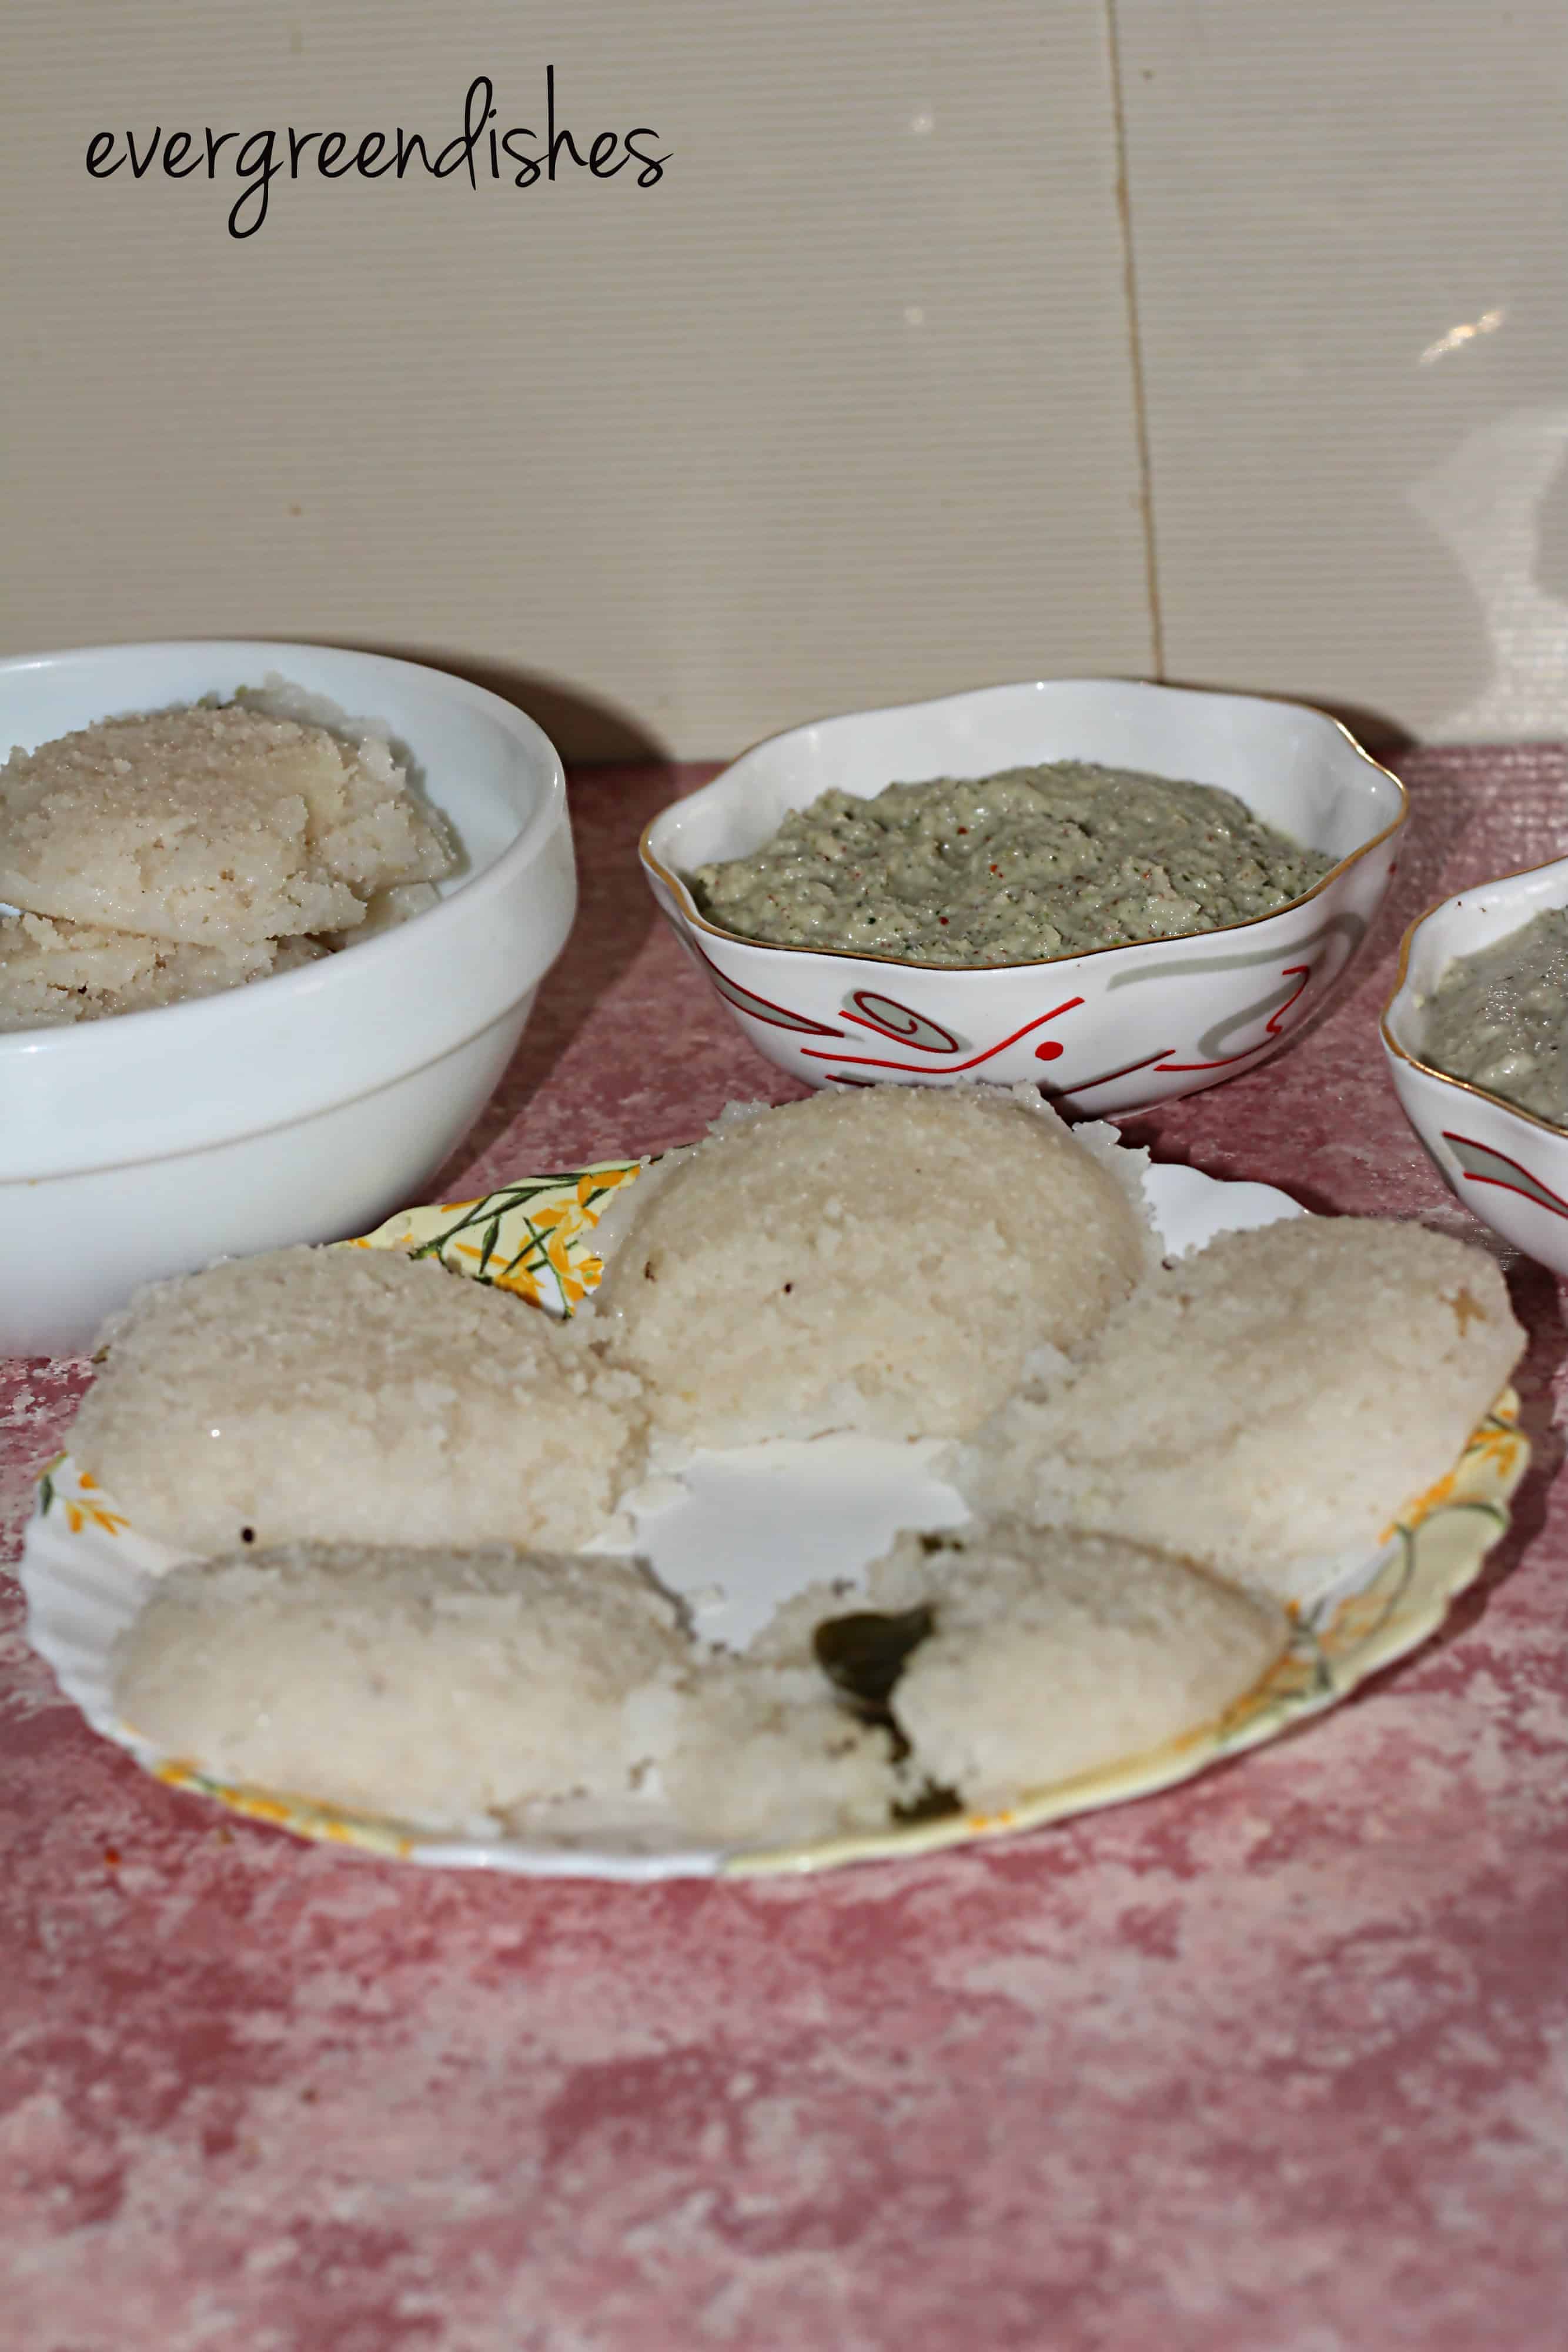
Serve with chutney, sambar or sago.
Take a tip:
The curds used must be sour.
Small sago pearls are usually used for this. But, I have used the regular ones itself.
idli batter
Mix sago pearls and semolina in curd. Add a little water to get the medium consistency. Set it aside to ferment for a few hours.
seasoning
Heat oil in a small pan. Add mustard seeds, as it crackles put cumin, bengal gram, green chilly, cashew and curry leaves.
put the seasoning
Put salt to the batter and add the prepared seasoning.
and the soda
Lastly, add a little soda and mix it.
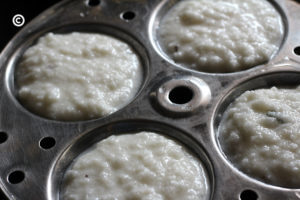
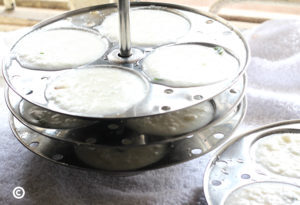
batter into the idli moulds
Put the batter in the cavity of the idli moulds.
ready to be steamed
It is ready to be put in the idli maker. Cook it on medium heat for 15 to 20 minutes. The idli should be well cooked from inside also.
Sago idli are ready to serve.
Sago Idli
You can serve with chutney, sambar or sago.
Evergreendishesdev
Sago Idli
Sago idli is another variety of idli that needs no grinding. It is a boon for ladies to prepare idlis easily.
Put sago and semolina in a bowl. Wash it and drain the water.
Put yoghurtand water to it. Mix them together. The consistency should be moderate.
Cover it with a lid and keep it to ferment overnight (atleast five hours)
The next day, add salt to it.
Make seasoning. Take oil, put the mustard seeds, as it crackles, put cumin, bengal gram, green chilly, curry leaves, cashew pieces and asafoetida.
Pour it over the batter.
Heat the idly steamer.
Grease the plates if you wish. I usually wash them and use right away.
Add soda to the batter.Give a stir. Adjust the consistency of batter by adding a little water.
Put a ladle full of batter in each cavity.
Keep it in the idly cooker and steam for twenty minutes on medium flame.
The idly should be well cooked.
Remove them after sometime. Serve with chutney, sambar or sago.
Notes
The sago pearls used for this are the smaller ones, but I did use the regular ones.
Yoghurt should be sour.
If you ever make this recipe, take a picture and share it by tagging @foodiejayashree on Instagram or @evergreendishes on Facebook. I will be glad to see and share your creation further.
Check out my e-books on Amazon. Do not miss any post, subscribe to get all updates and an e-book for free !
About the event :
Sending this to Foodies_Redoing Old Post111, a fortnightly event. Here, I have changed the main picture and put pinterest image too. The post was written six years back and it has been edited with a few better pictures.