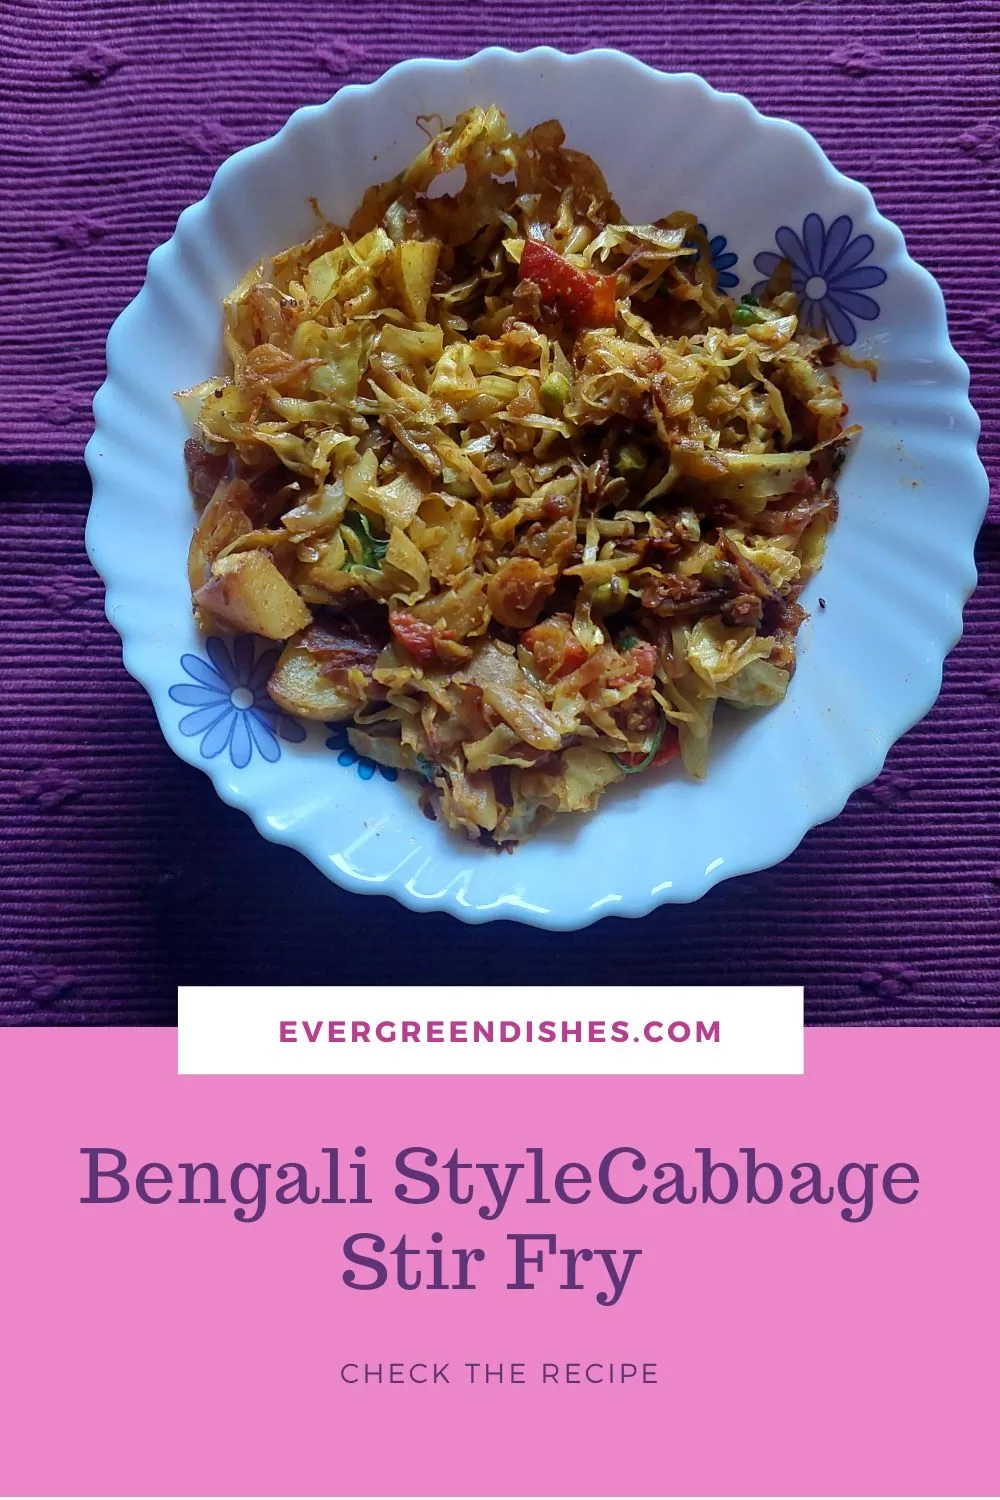
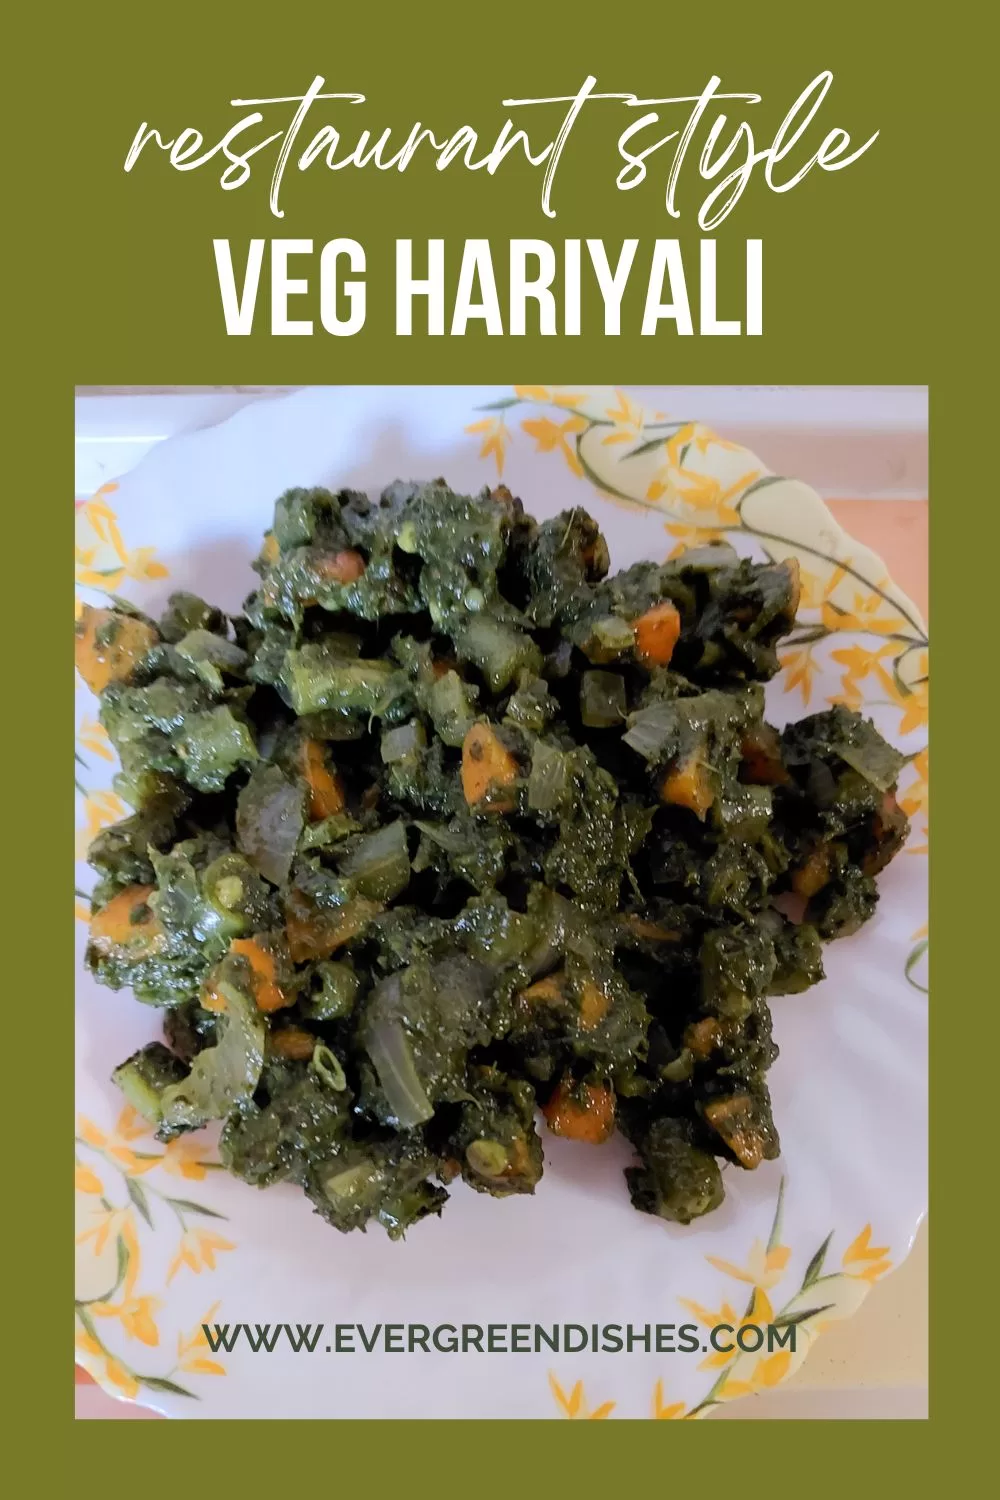
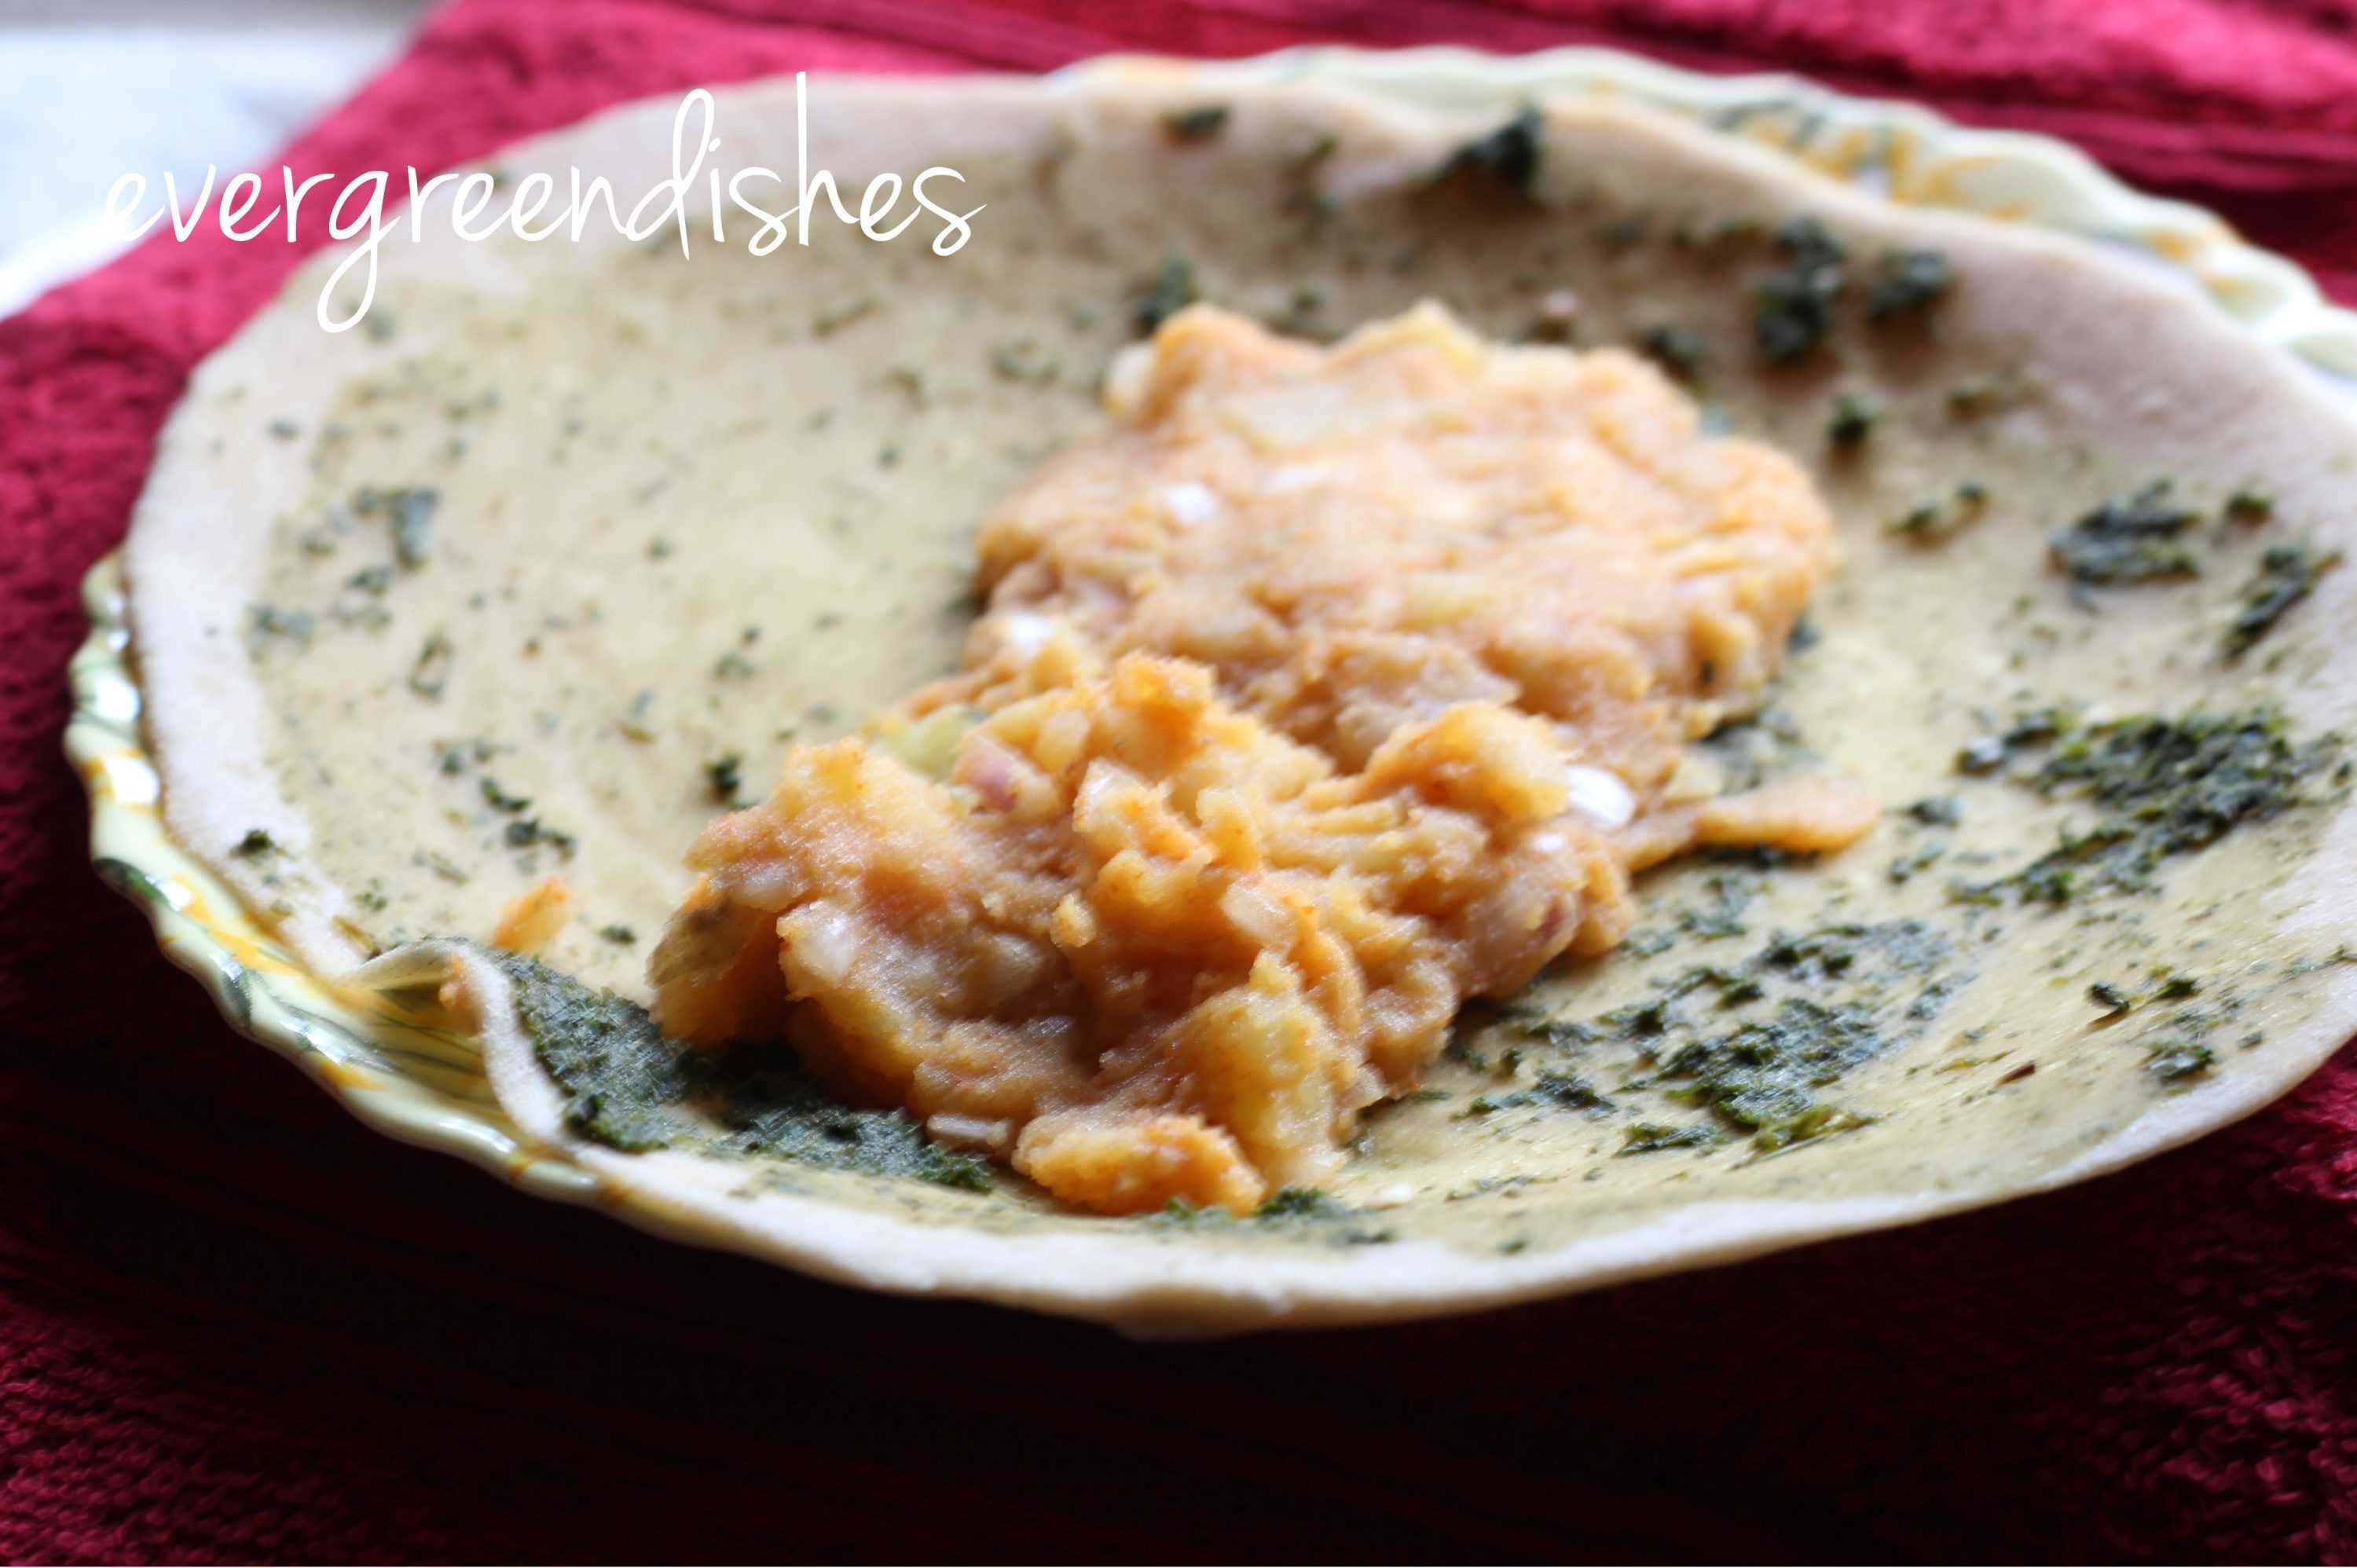
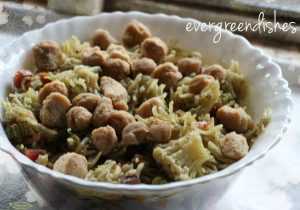
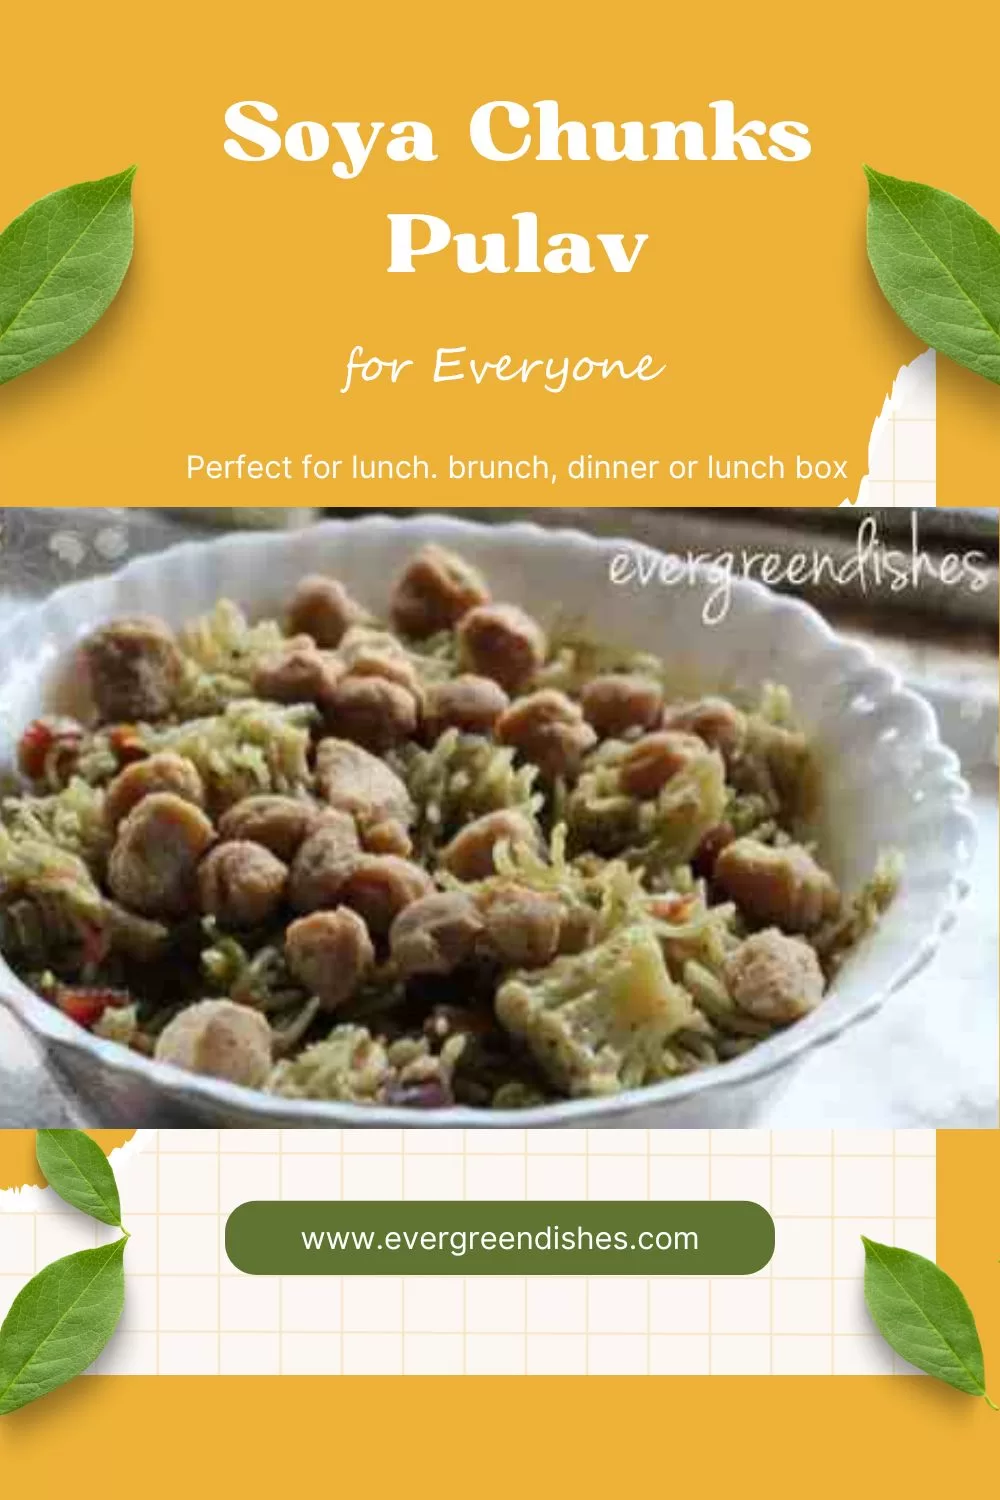
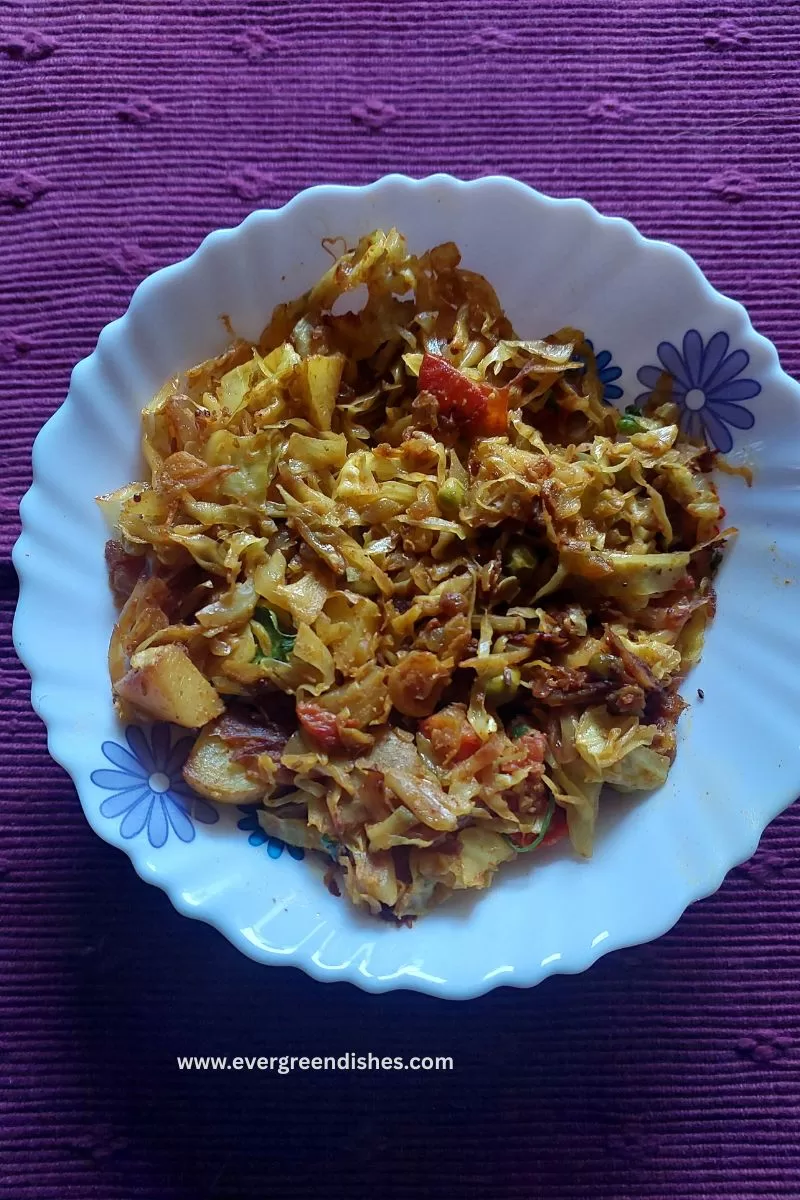
Bandhakopir Torkari is a cabbage stir fry cooked in Bengali style. Bandhakopir is the regional name for cabbage which is closed. Torkari or Ghonto as it is also called translates to a curry. It is easy to prepare and pairs well with any meal.
Cabbage is one of the few vegetables that we bring regularly at home. The toughest task seems to be planning the menu for the day. Coming across this stir fry, I kinda new that it is meant for me and soon it found a place in my daily menu. Bengali Dry Cabbage Curry with potatoes and peas or Bandhakopir Torkari is a tasty side dish that can be easily made for lunch or dinner. It is tasty with many flavours.
I first read this on my friends Shubha’s blog. She had made it during our blog hop. It was a love at first sight with this stir fry, but I did take some months to make it. You can find the recipe here
Bandhakopir Torkari Recipe | Bengali Dry Cabbage Curry
Ingredients :
- 1(1/2kg) medium sized cabbage finely cut
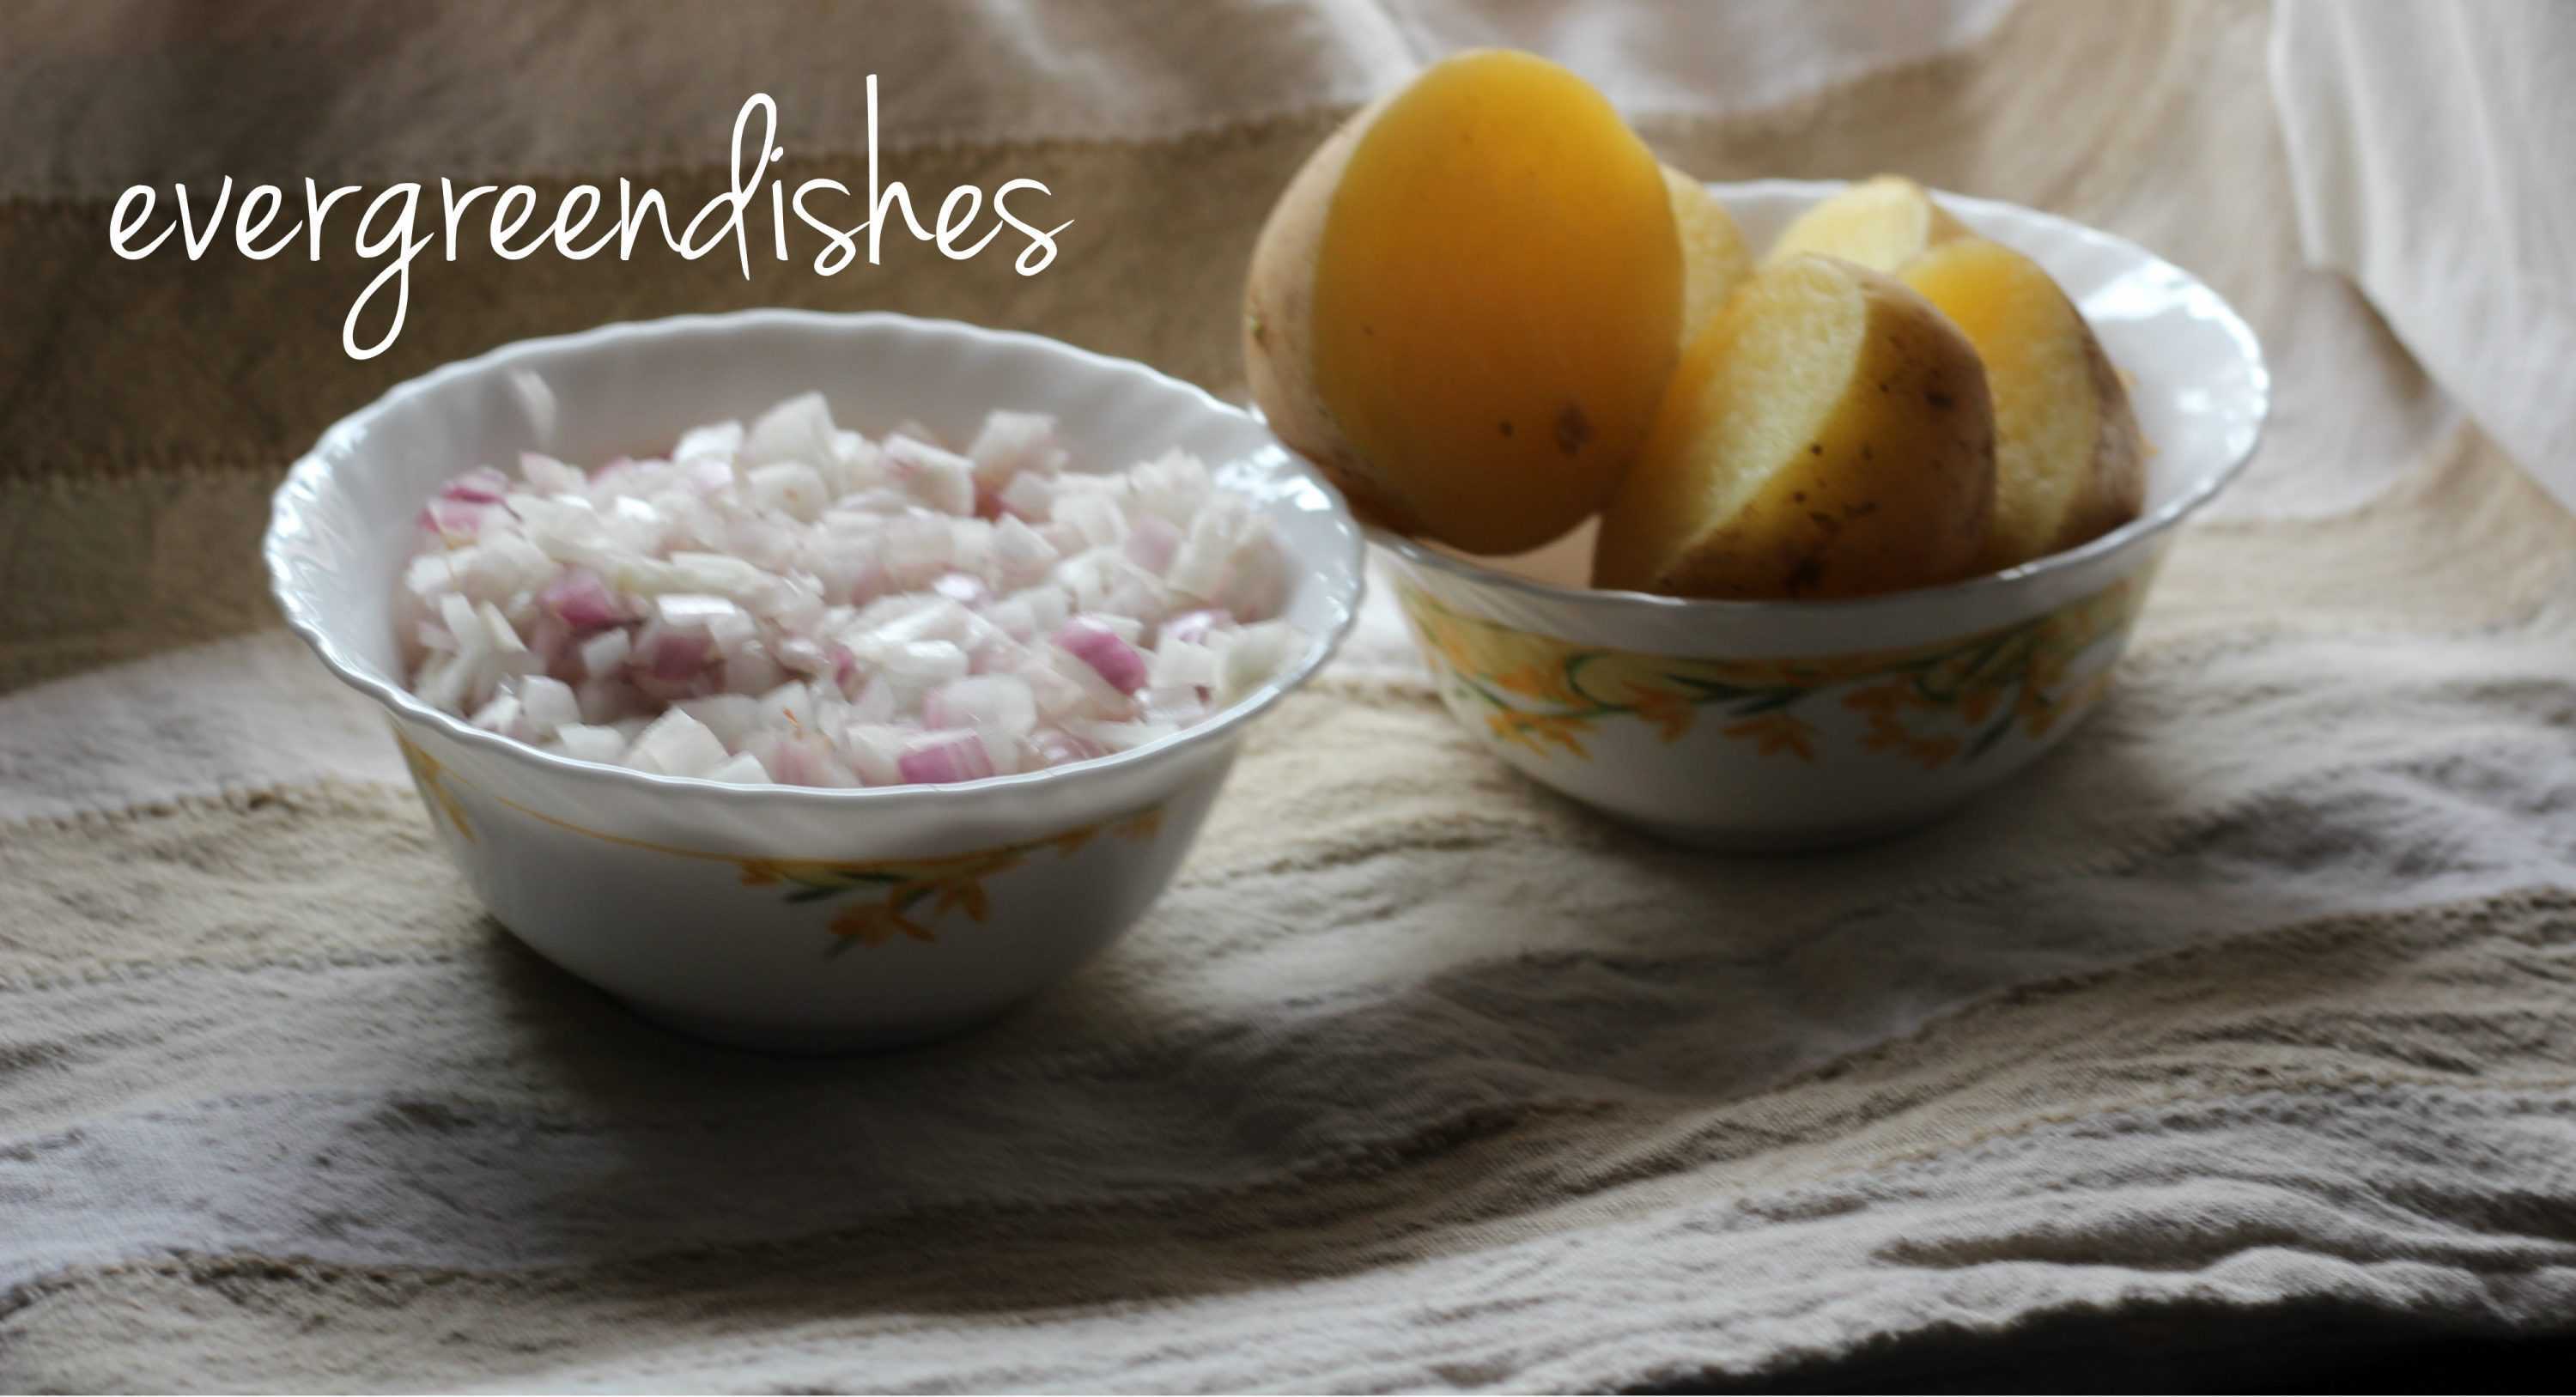
- 1 potato cut into cubes
- 1 tomato cut into small pieces
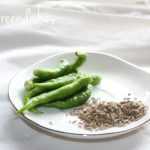
- 1 bowl green peas
- 2 green chillies slit
- 2 tsp oil
- 1 tsp cumin
- 1/2 inch ginger grated
- 1 tsp cumin powder
- 1/2 tsp coriander powder
- 1/2 tsp chilly powder
- 1/2 tsp turmeric powder
- 1 tsp garam masala powder
- 1/2 tsp sugar (adjust according to taste)
- salt to taste
- 1/4 cup water
Method :
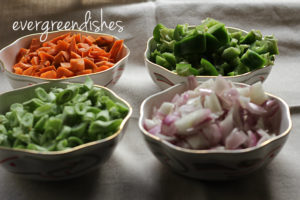
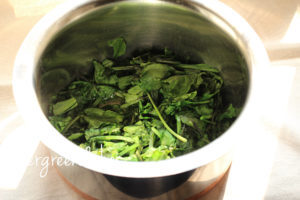
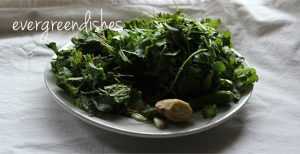
- Cut the veggies and keep them ready.
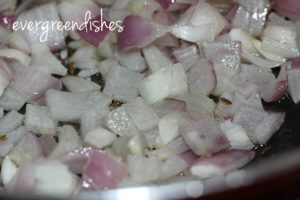
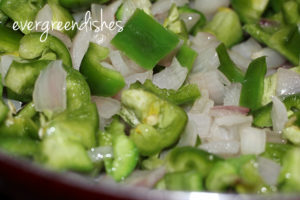
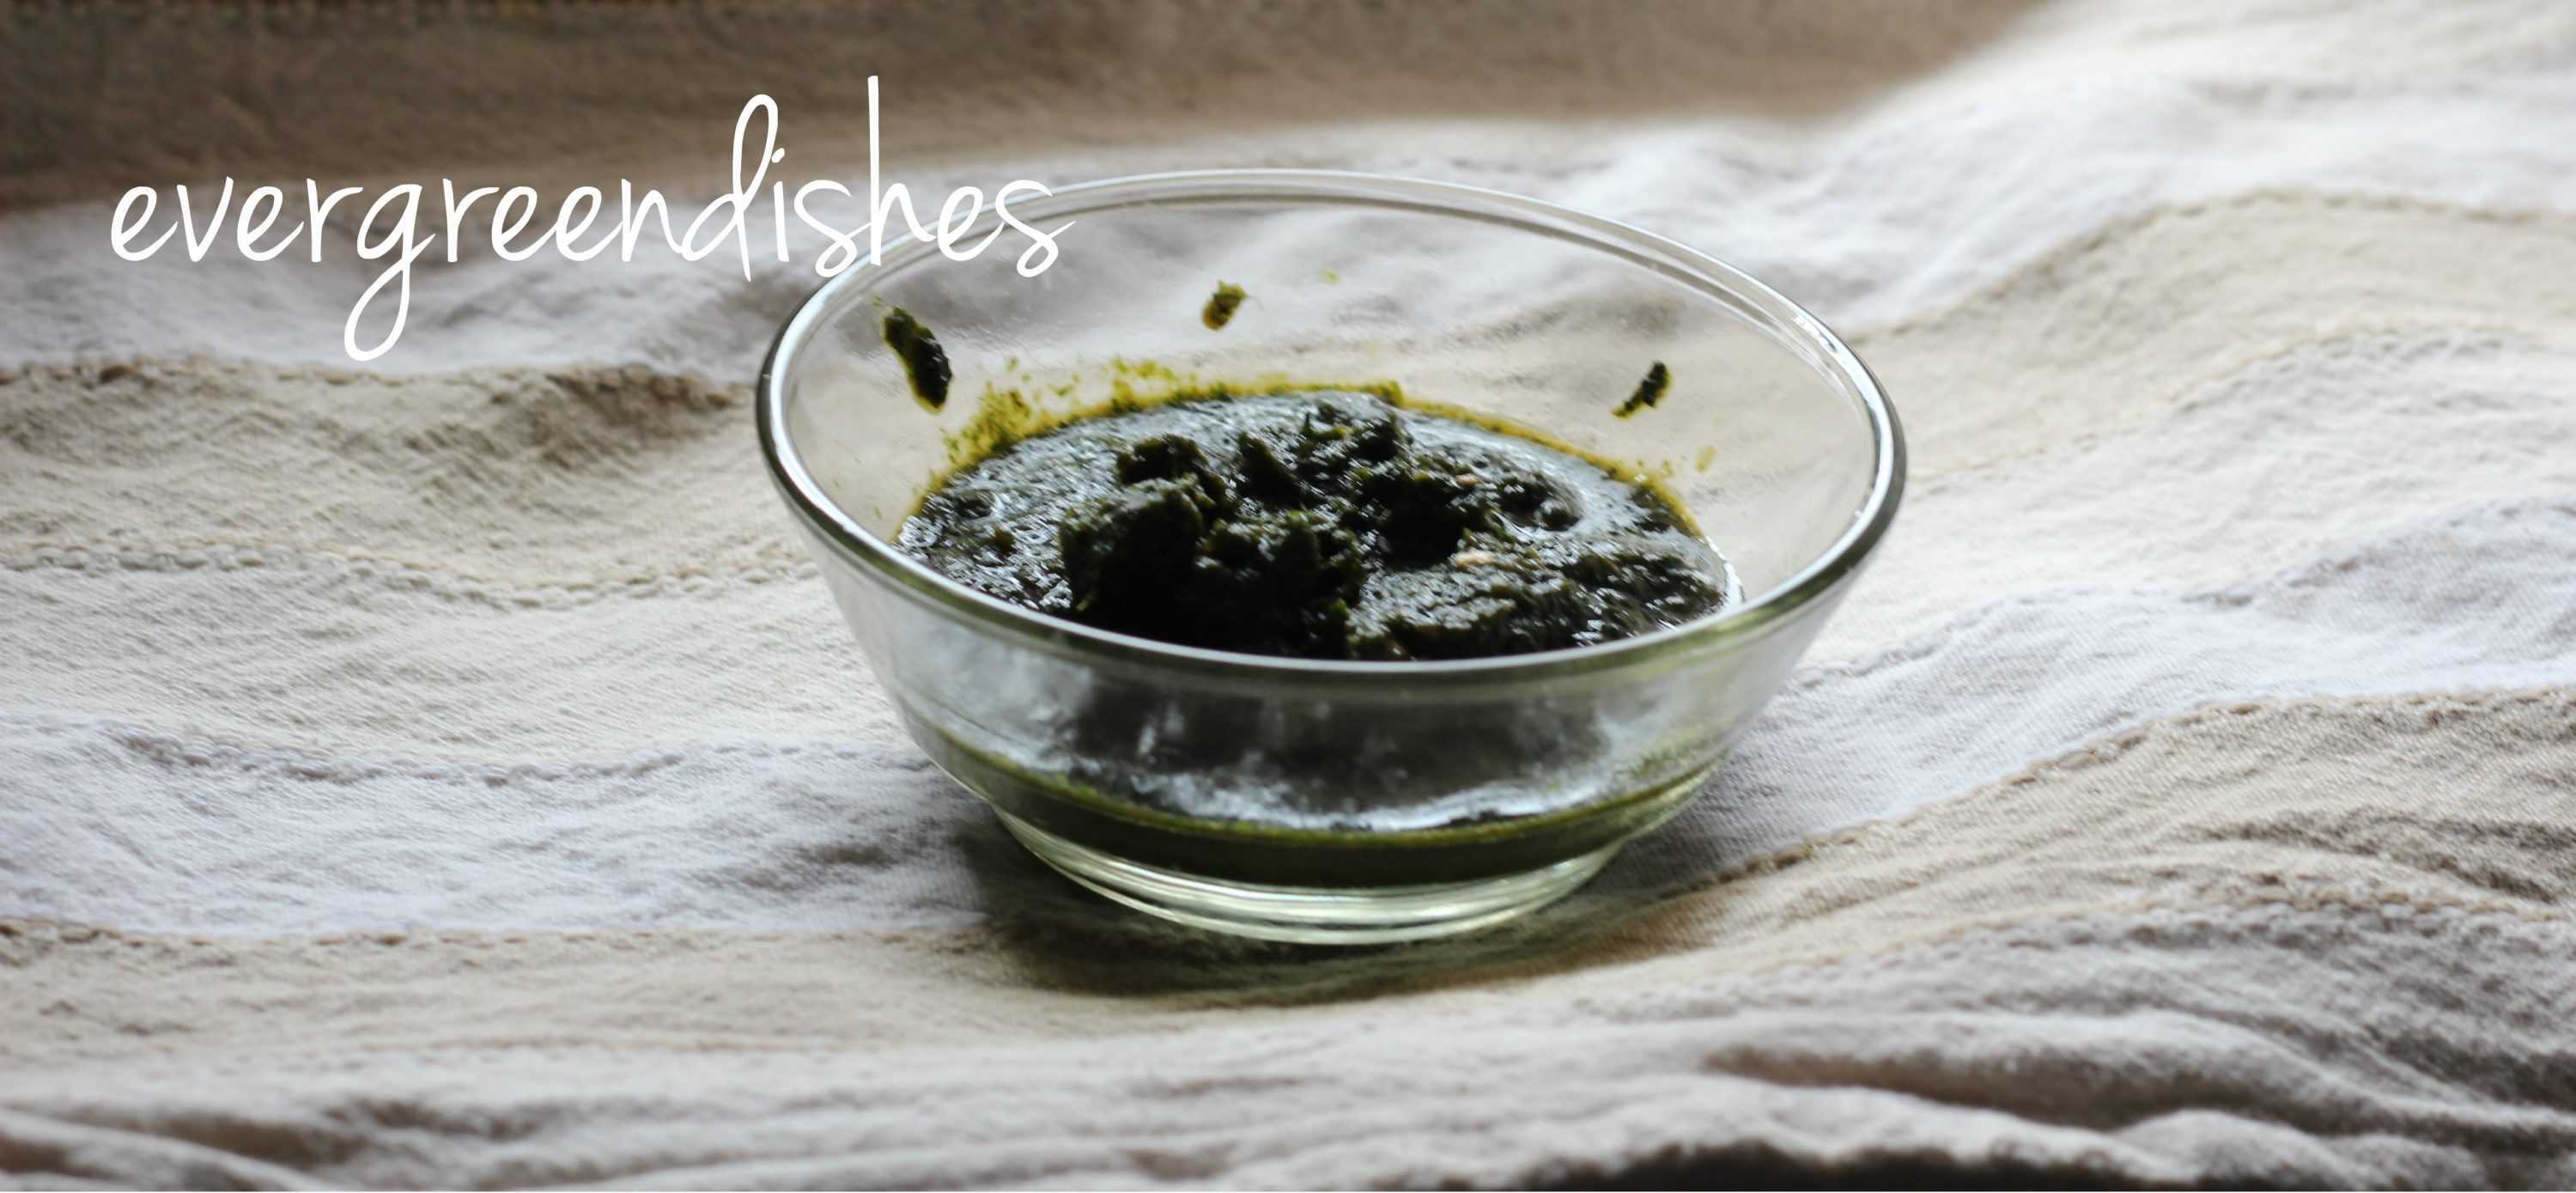
- Take oil in a pan. Add oil and put the cumin and slit green chilly.
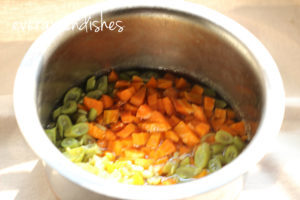
- As it crackles, put the cubed potatoes. Sprinkle a little salt and allow to cook.
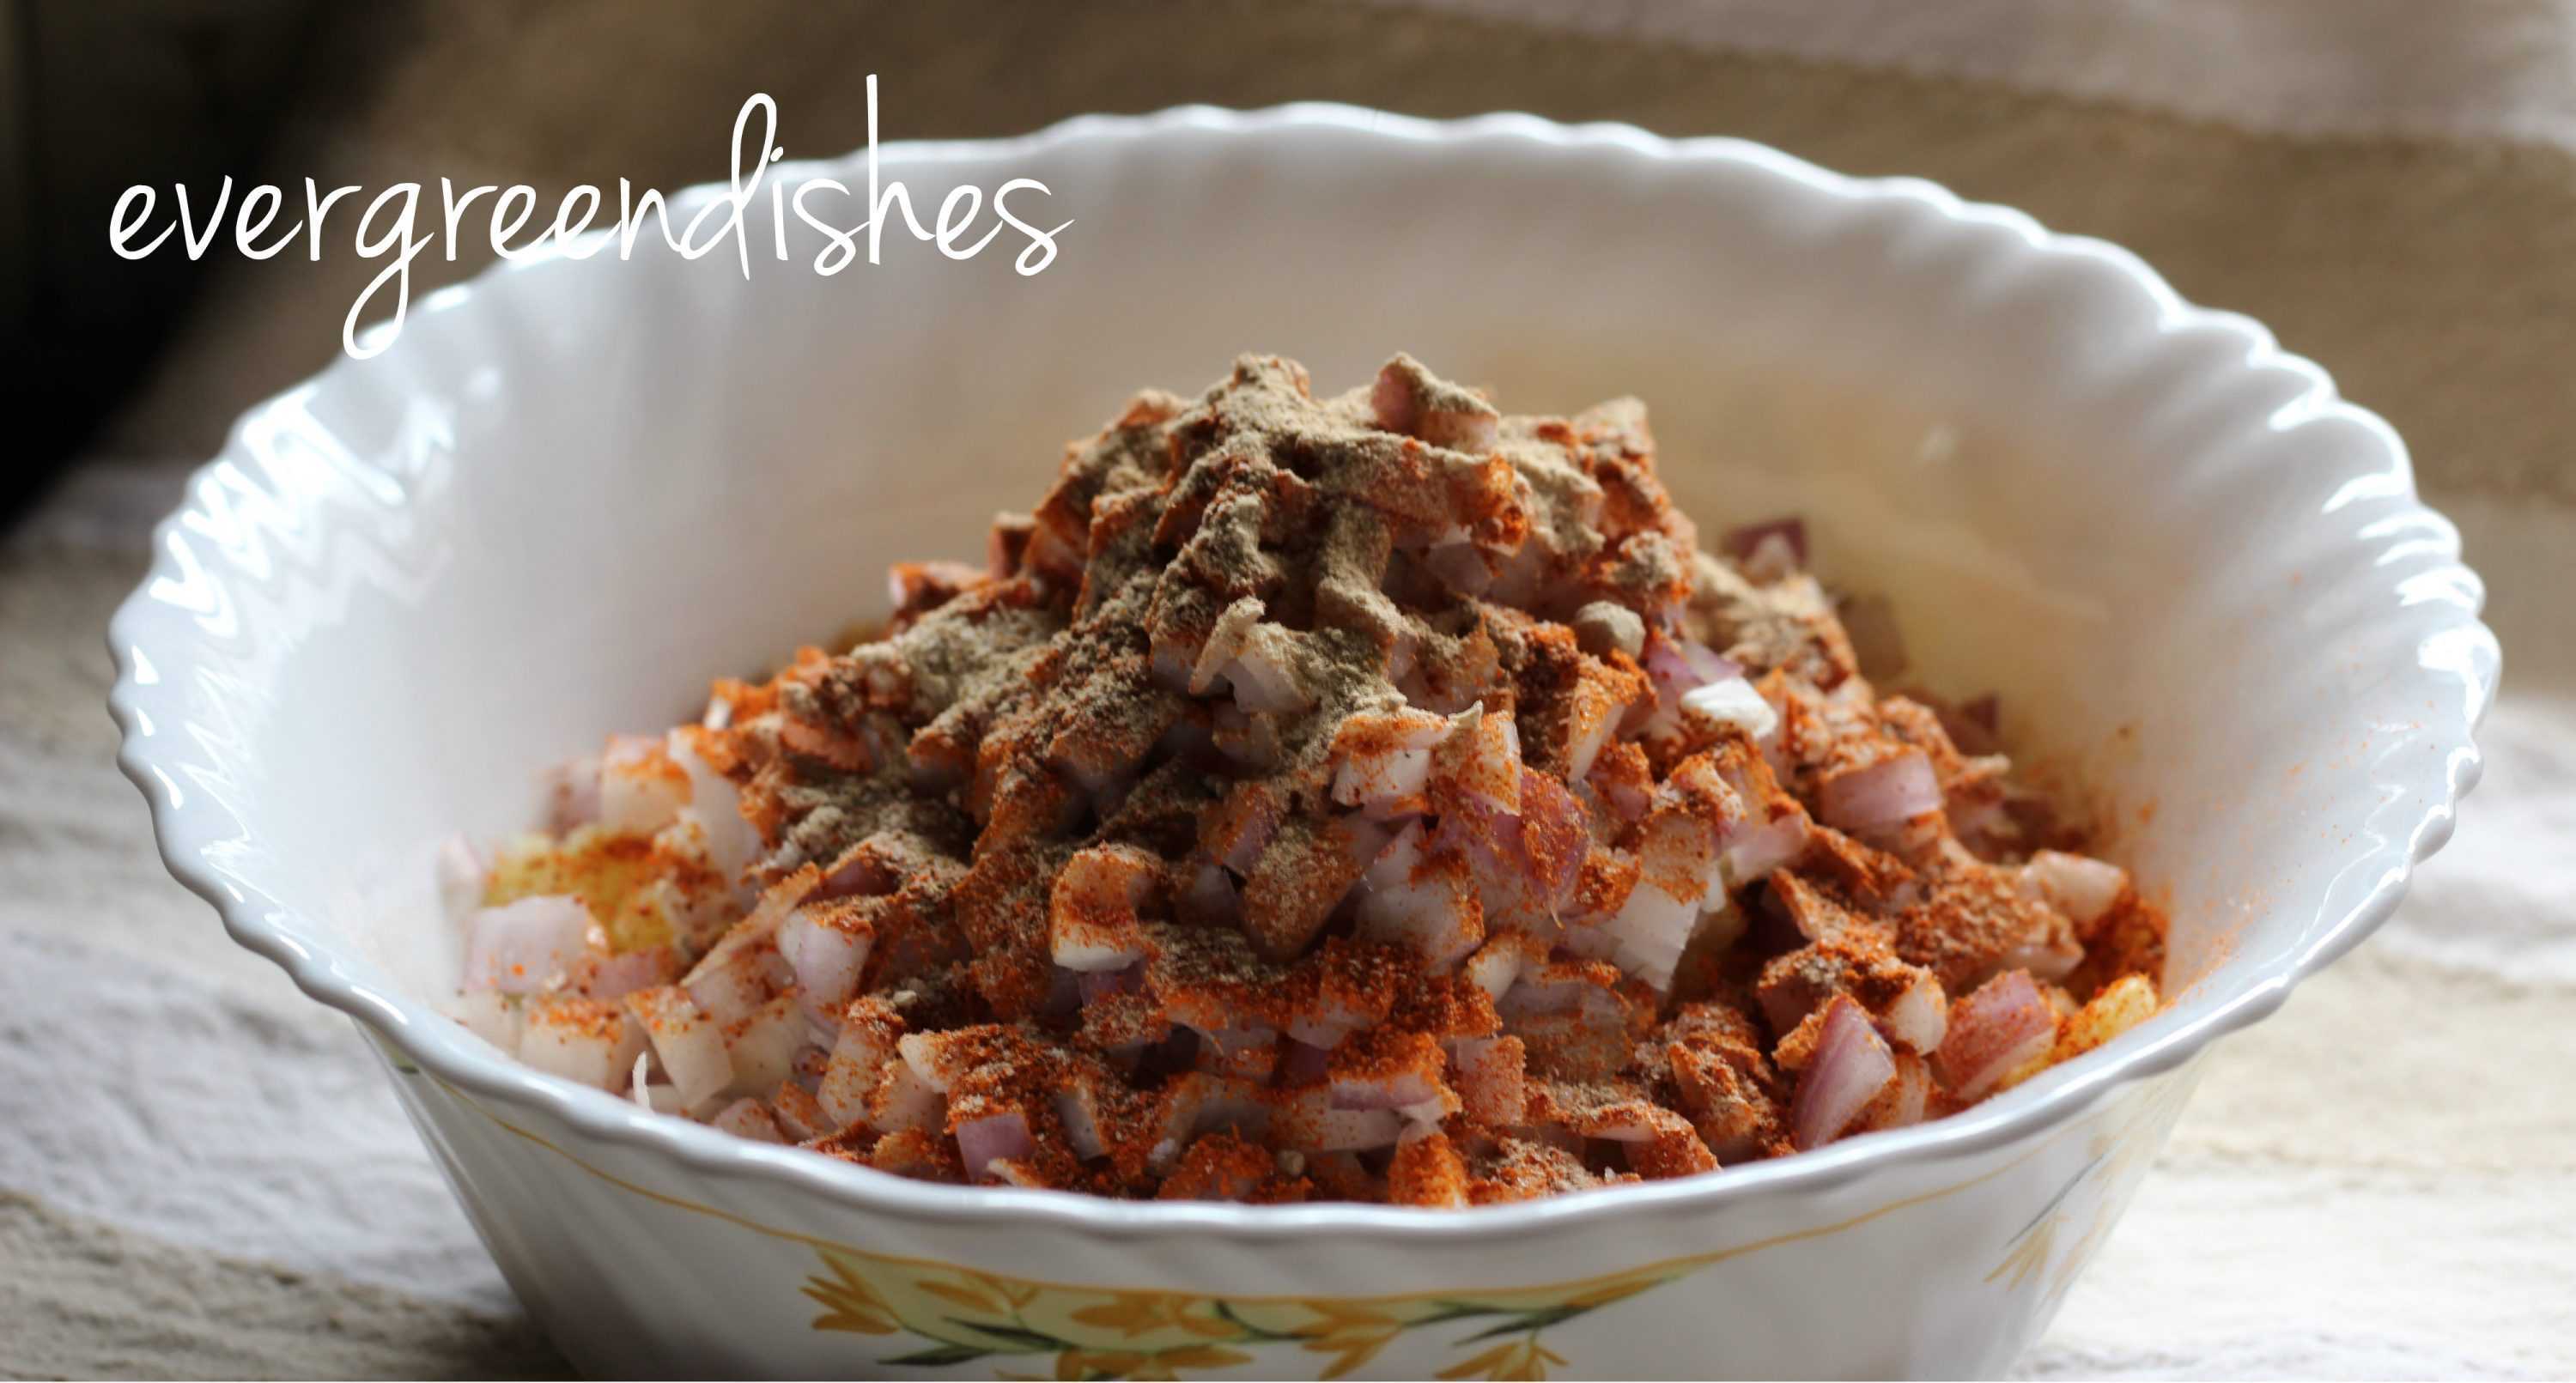
- Once it is cooked, put cumin powder, coriander powder, turmeric powder and chilli powder. Add some water and allow to cook.
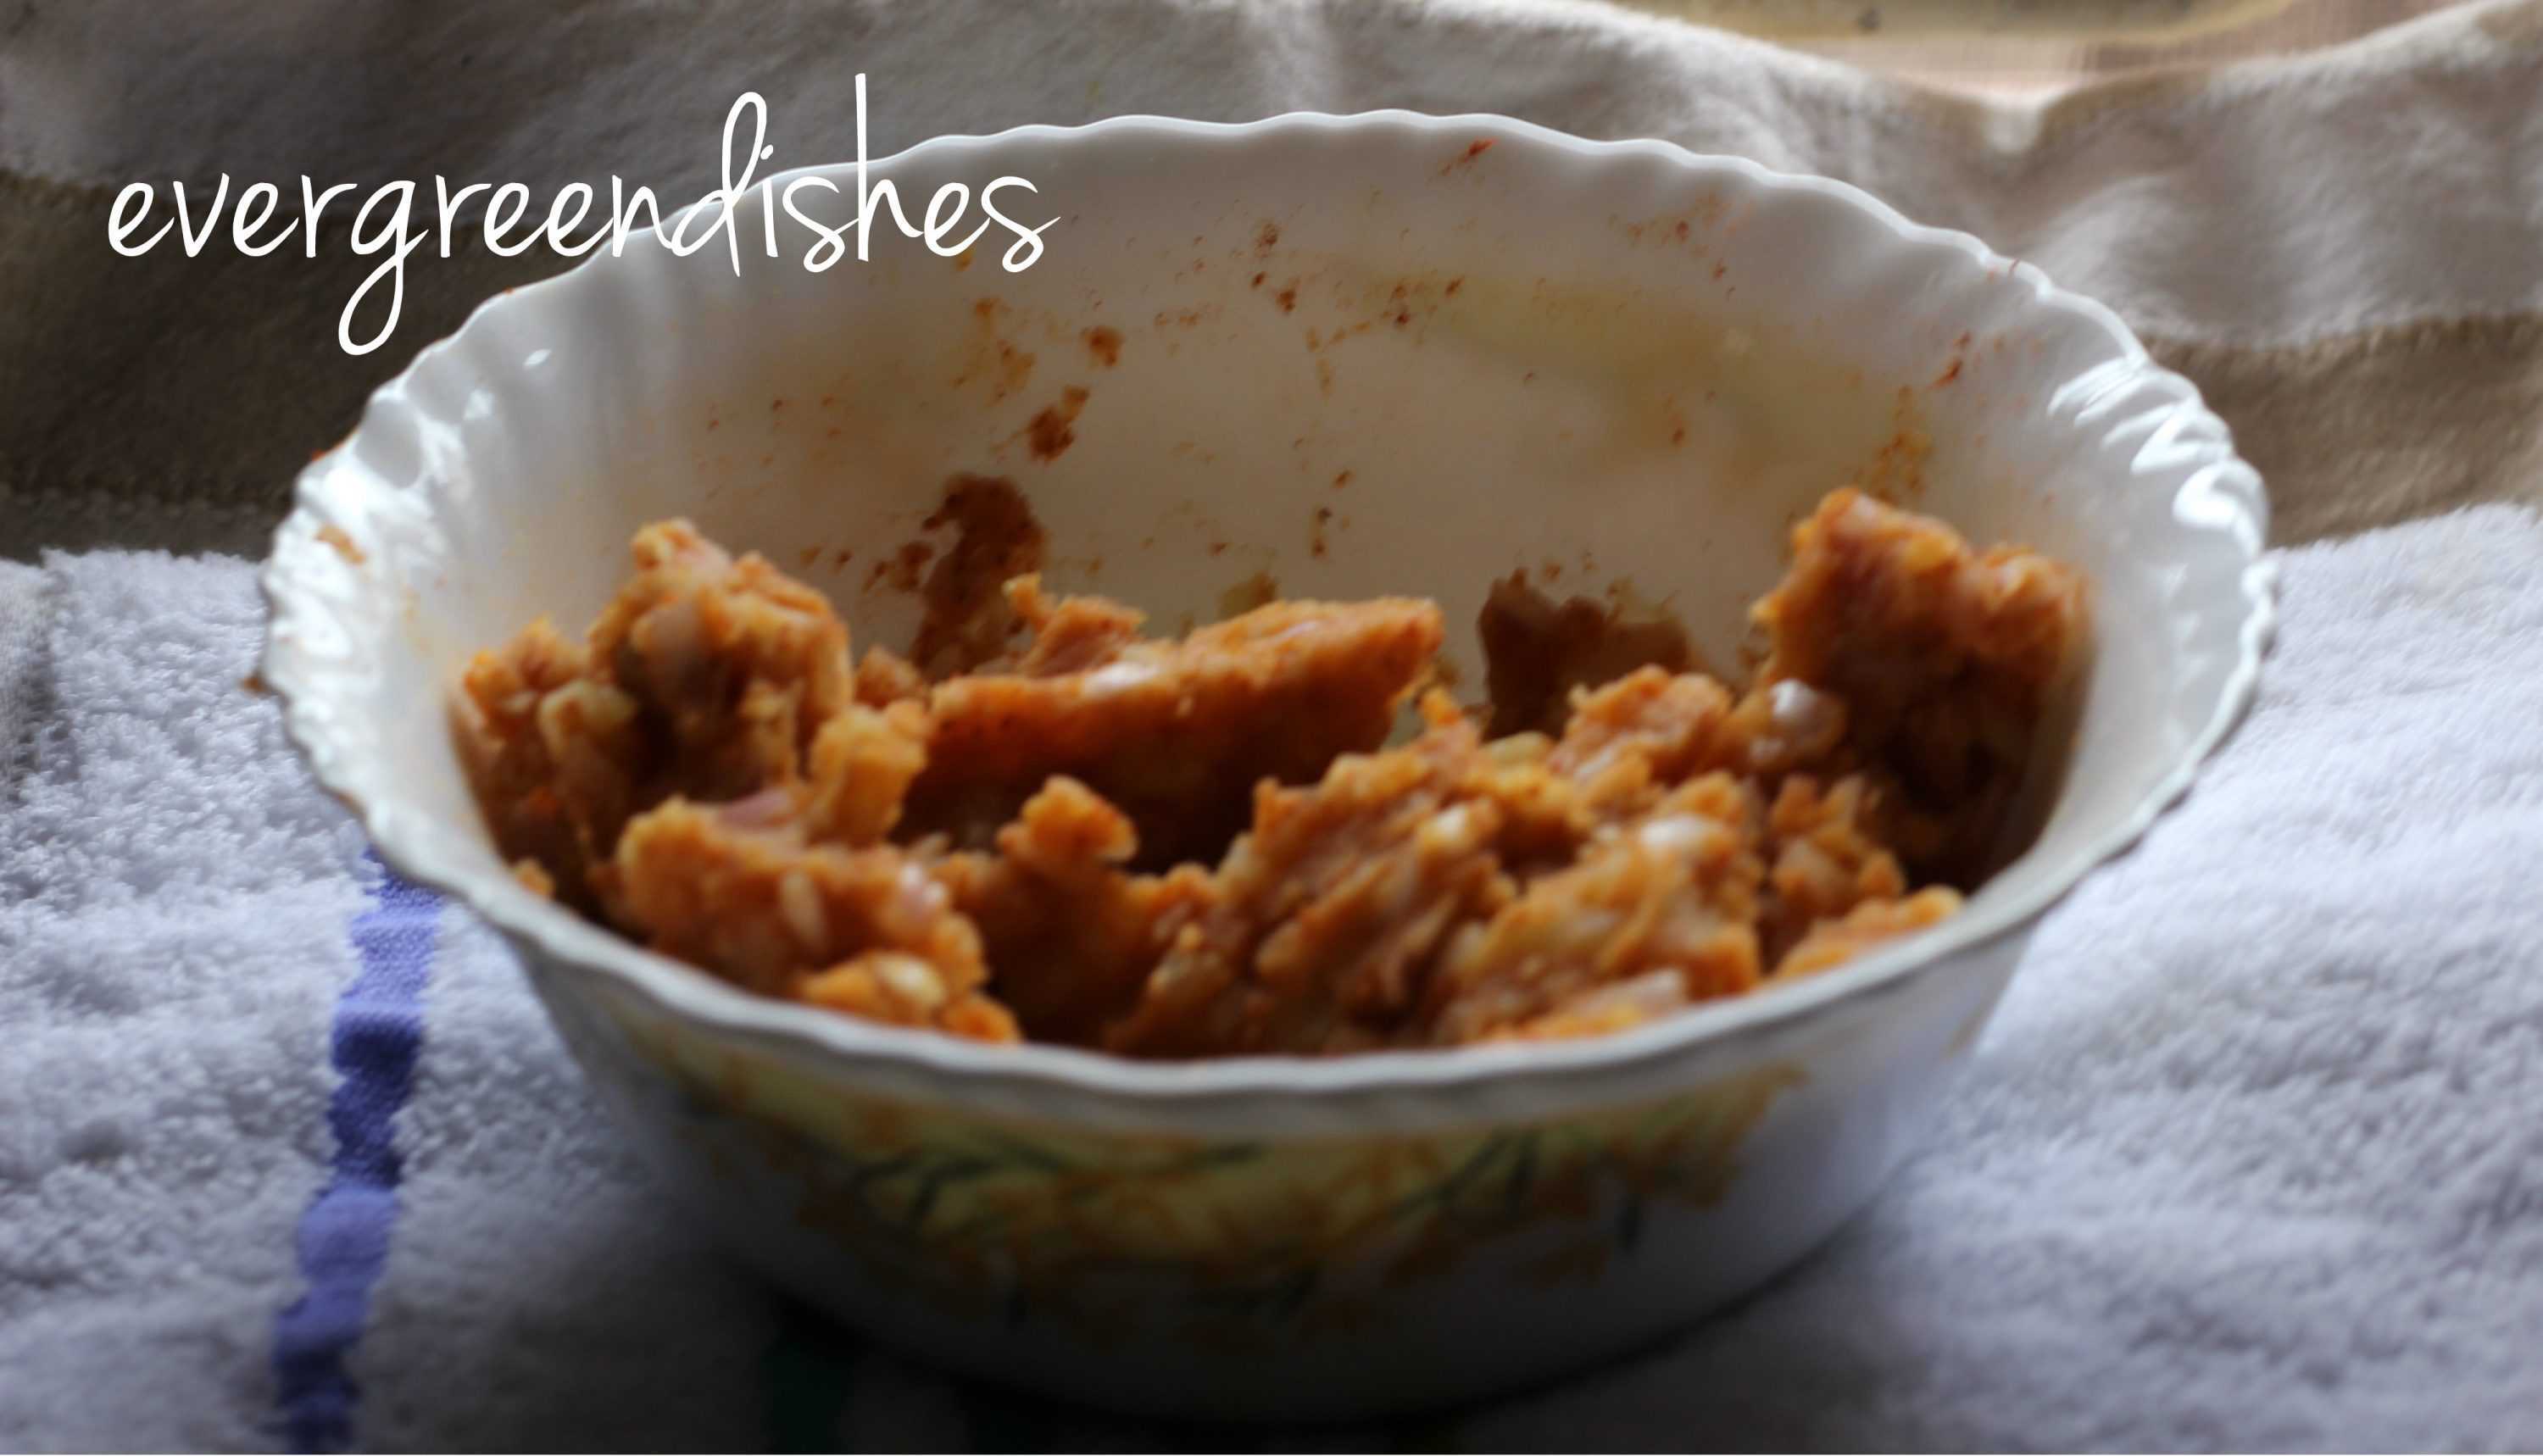
- Add tomato and let cook till it is soft.
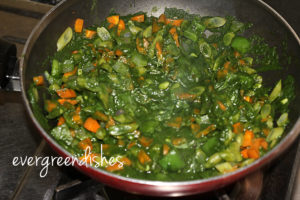
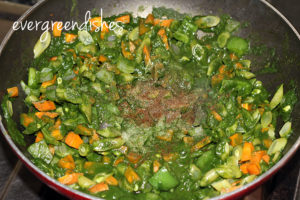
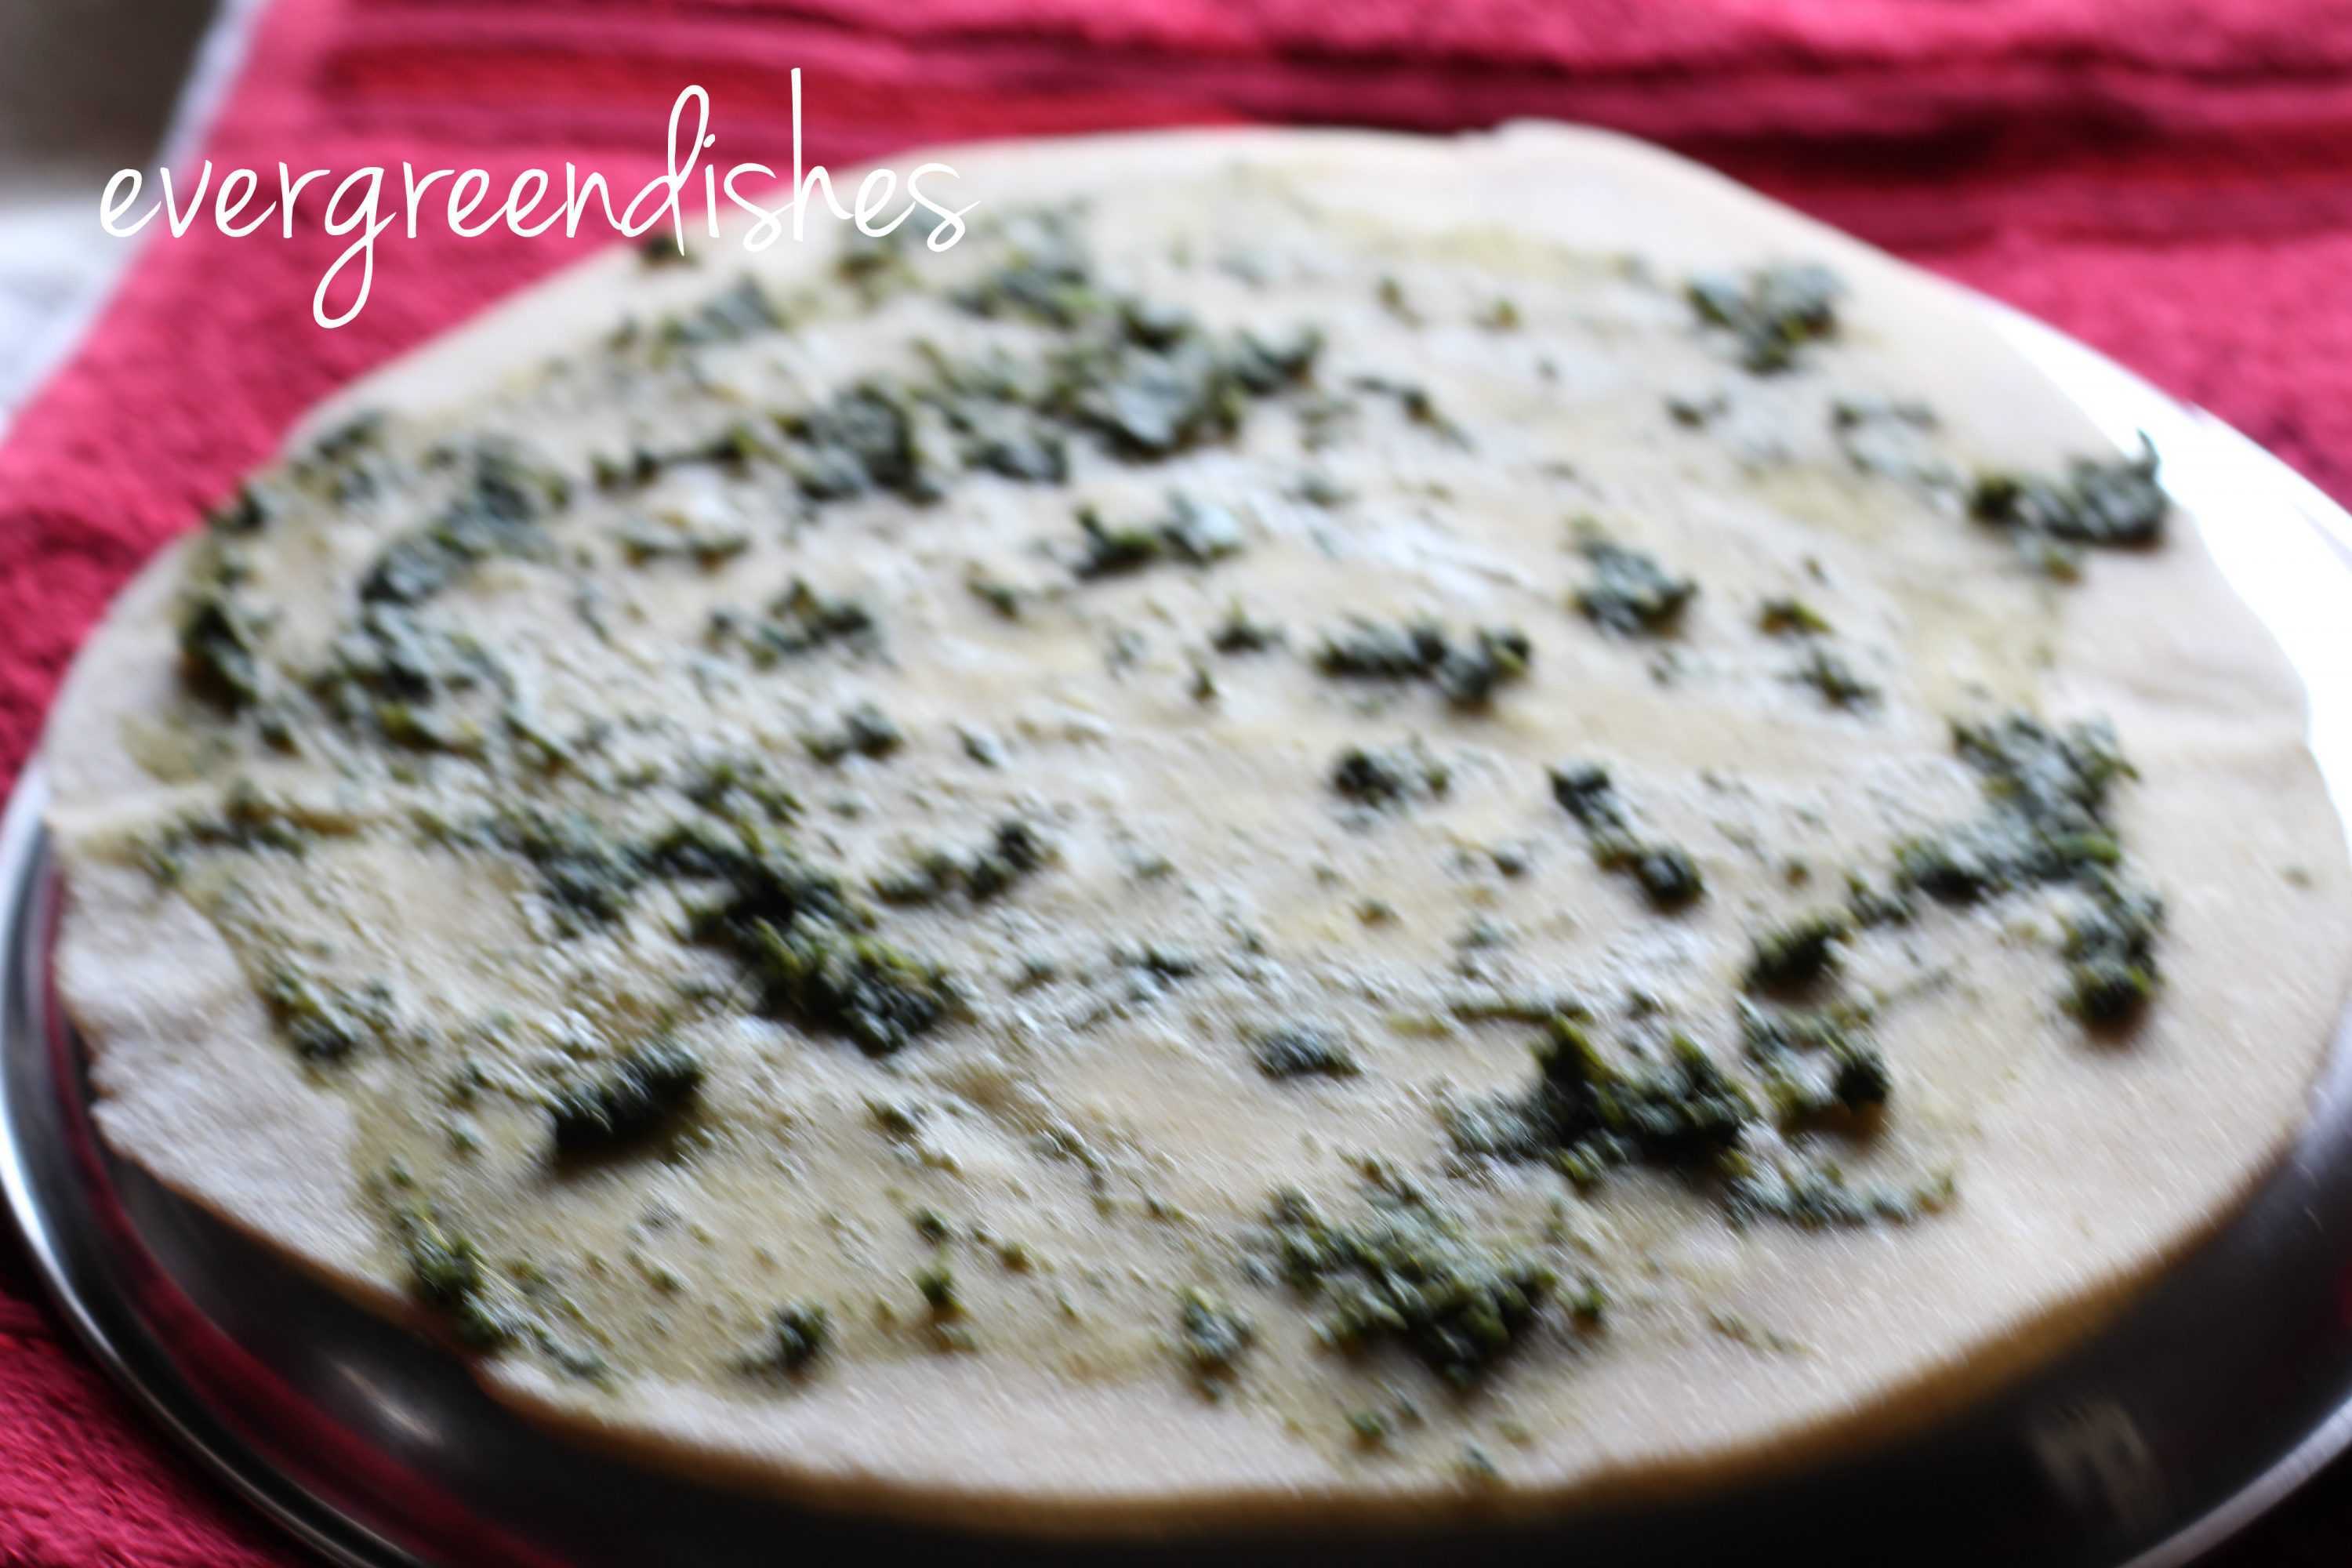
- Put in the chopped cabbage to it.
- Add the green peas and salt to it.
- Let cook for sometime.
- Lastly add garam masala powder to it.
- Ghee may be added to enhance the taste.
Bandhakopir tarkari
Ingredients
Method
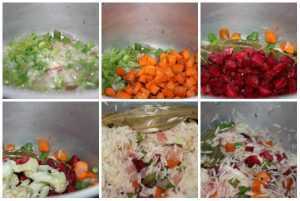
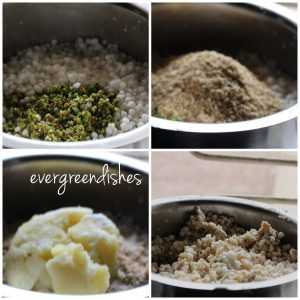
- Take oil in a pan. Add cumin and slit green chilly to it.
- Add the cubed potatoes to it. Sprinkle some salt to it. It imparts taste and helps in cooking faster.
- Let cook for sometime. Then add the
- Add the dry spices, put some water and allow to cook.
- put the chopped cabbage
- And the green peas
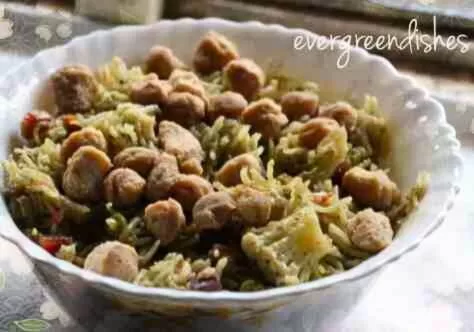
- Let cook for sometime. Then add the garam masala powder and sugar to it. Cabbage Stir fry is ready. A little ghee put over it enhances the taste.
Notes
Update :
This is an old post published in 2016. Today, I have changed the pictures, the recipe remains the same. Sending it to Foodies _Redoing Old Post 154. It is a fortnightly event, a group of bloggers work on an old blog post either with better poctures, structured content or anything else related to the topic.

Pin it for later :