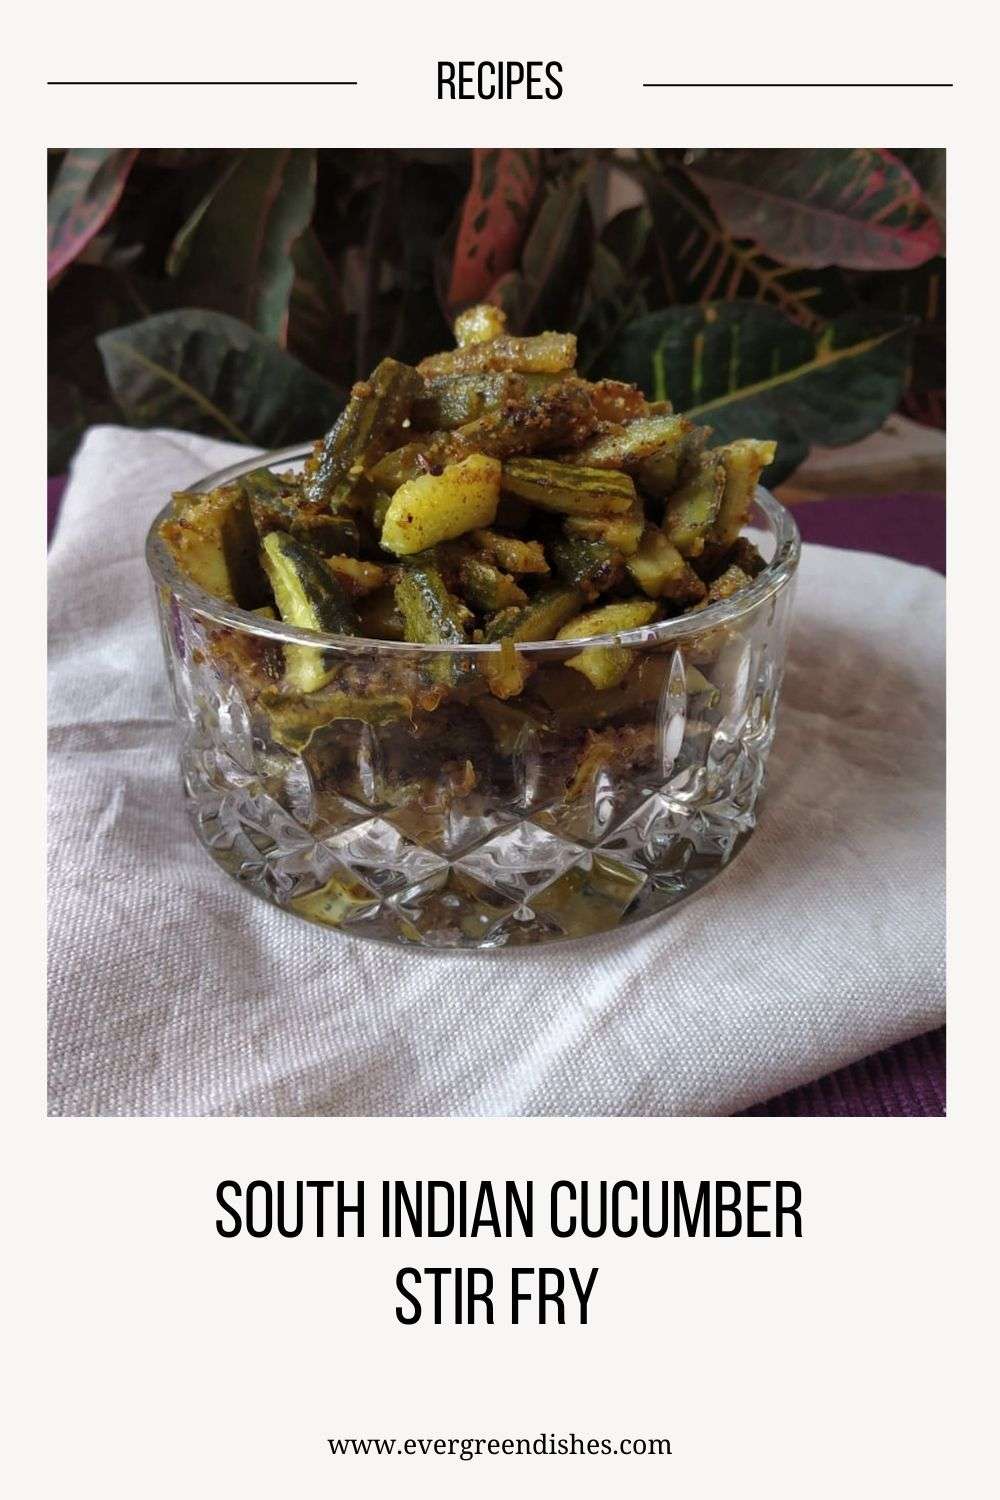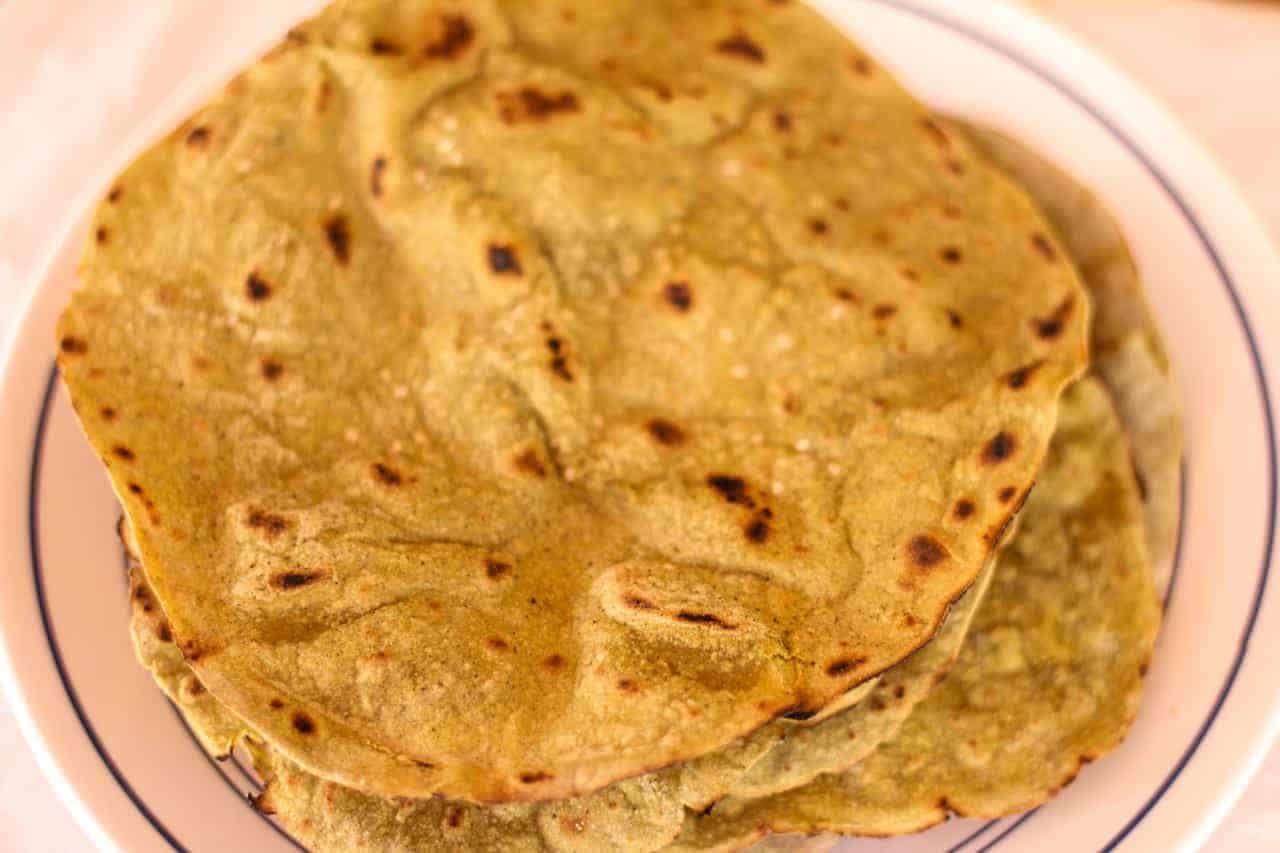
Sabudana Papad is a popular summer treat from South India. It is made in large quantities and stored in air tight containers for further use. It is ideal to serve as an accompaniment with any meal.
Summer is the time we indulge in many activities as making papad and pickles. Papad and fryums should be sundried as they are stored throughout the year. The scorching heat makes them crisp and ready to eat in two or three days. The different kind of sundried recipes are rice fryums, poha papad, pumpkin sandige {aralu sandige} and majjige mensinakai (chillies in buttermilk).
Today, I am sharing the recipe of Sabudana Sandige or Sago Papad as it is commonly called.
Sabudana Papad, sabakki sandige, sabudani sandige are the different names associated with it. It is made from tapioca pearls. The sago or sabudana is commonly used during fasting in many parts of India. To make sabudna papad, we use the large ones. It is soaked and cooked with some spices and later dried in the sun. It is quite easy to make as the making does not involve much labour. One needs to keep an eye while boiling it, lest it gets burnt.
The sabudana sandige can be made as simple as you wish. You may add only salt and asafoetida. Otherwise with a little cumin tastes good, I love the taste of cumin along with some chillies put in it. The other options are addition of pepper powder, chilli powder, or garlic. I do not add any of these.
The method I follow requires one day. I soak sago pearls in the afternoon. By evening, it is bloomed. I cook it at night and keep it it closed in a warm place. Next day, early in the morning, I adjust the consistency and put them on the terrace. Later, by evening, they are semi-dried. I remove them and keep them in wide plates which help me to keep easily in the sun on the following days. I need to sun dry them for a couple more days as they are stored all year long.

Let us get to the recipe of Sabudana Papad.
Ingredients:
- ½ kilogram white sabudana ( large )
- 4 + 8 + 8 cups water
- 1 teaspoon cumin
- 6 green chilly
- 1 tablespoon curd
- ½ teaspoon asafoetida
Method :
Making of sabudana papad includes 6 steps :
- Soaking of sago
- Boiling of the mixture
- Making of papad
- Drying of papad
- Storing of papad
- Frying
Let us discuss each step now.
- First, clean the sago pearls and wash them once. Soak it in four cups of water for five hours.
- Now, in a thick bottom pan, add the soaked sabudana along with eight cups of water. Put it to boil. Add cumin and asafoetida to it. Keep stirring.
- It becomes a gelatinous like substance, transparent in colour. The sago pearls are soft and well cooked. Turn off the stove. You can put it after an hour. But I prefer to put it on the next day.
- Grind green chilly to a paste.
- Put it into the boiled mixture along with a spoon of curd.
- Use clean plastic sheets to make papad.
- Smear some oil on the sheet. With a wide spoon, take a spoonful and pout it on the sheet, spread a little with the back of the spoon.
- Repeat by putting them in a row. Continue to the next row and so on.
- Allow it to dry in the sun.
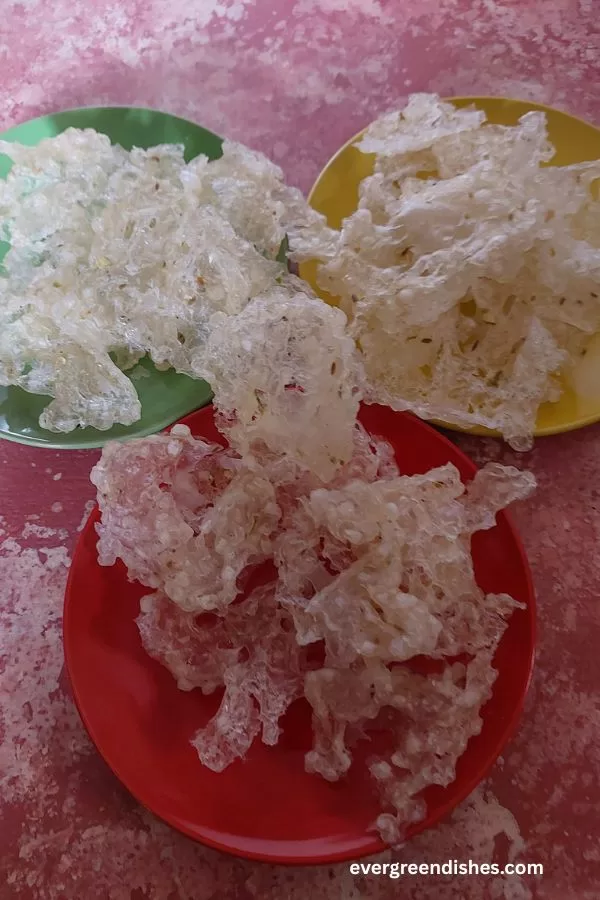
- By evening, only one side is dried. We need to put them carefully on a plate and dry the other side the following day.
- Once they are dry on both sides, you need to keep them in the sunlight for a few days.
- Later, store them in a clean, dry container.
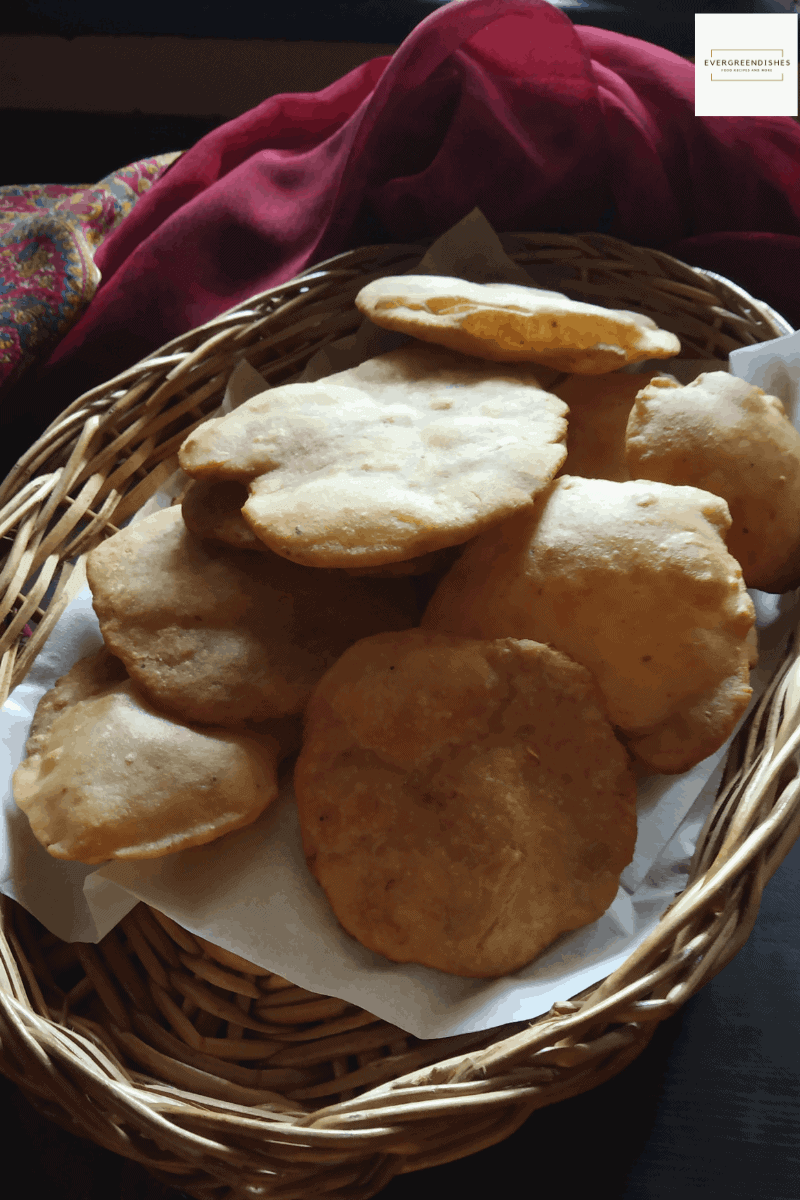
- To fry, heat oil in a pan. Take a few sun dried sago papad and slowly fry them.
Take a tip :
- Collect all materials before you start doing the work. You need sheets which are dry and clean. Also, not to forget the bricks or tiles to hold them as you lay them in the sun. Food cooked at home takes care of all these things, isn’t it ?
- Adjust the consistency if it is too thick by adding some water to it.
- Green chilly may be avoided. You can do plain ones only with cumin.
Other sabudana recipes I have shared earlier are :
Sabudana Papad
Ingredients
Equipment
Method
- First, clean the sago pearls and wash them once. Soak it in four cups of water for five hours.
- Now, in a thick bottom pan, add the soaked sabudana along with eight cups of water. Put it to boil. Add cumin and asafoetida to it. Keep stirring.
- It becomes a gelatinous like substance, transparent in colour. The sago pearls are soft and well cooked. Turn off the stove. You can put it after an hour. But I prefer to put it on the next day.
- Grind green chilly to a paste.
- Put it into the boiled mixture along with a spoon of curd.
- Use clean plastic sheets to make papad.
- Smear some oil on the sheet. With a wide spoon, take a spoonful and pout it on the sheet, spread a little with the back of the spoon.
- Repeat by putting them in a row. Continue to the next row and so on.
- Allow it to dry in the sun.
- By evening, only one side is dried. We need to put them carefully on a plate and dry the other side the following day.
- Once they are dry on both sides, you need to keep them in the sunlight for a few days.
- Later, store them in a clean, dry container.
- To fry, heat oil in a pan. Take a few sun dried sago papad and slowly fry them.
Notes
Adjust the consistency if it is too thick by adding some water to it.
Green chilly may be avoided. You can do plain ones only with cumin.
If you have liked this post, do share it with your family and friends.. Follow @foodiejayashree on Instagram and @evergreendishes on Facebook.
Pin it for later :