Raw mango rice / mavina kayi chitranna is a delicious rice preparation from South India. It is known by different names as mavin kayi chitranna in karnataka , mamidkayi pulihora in Andhra pradesh or mangai sadam in Tamil nadu. (more…)
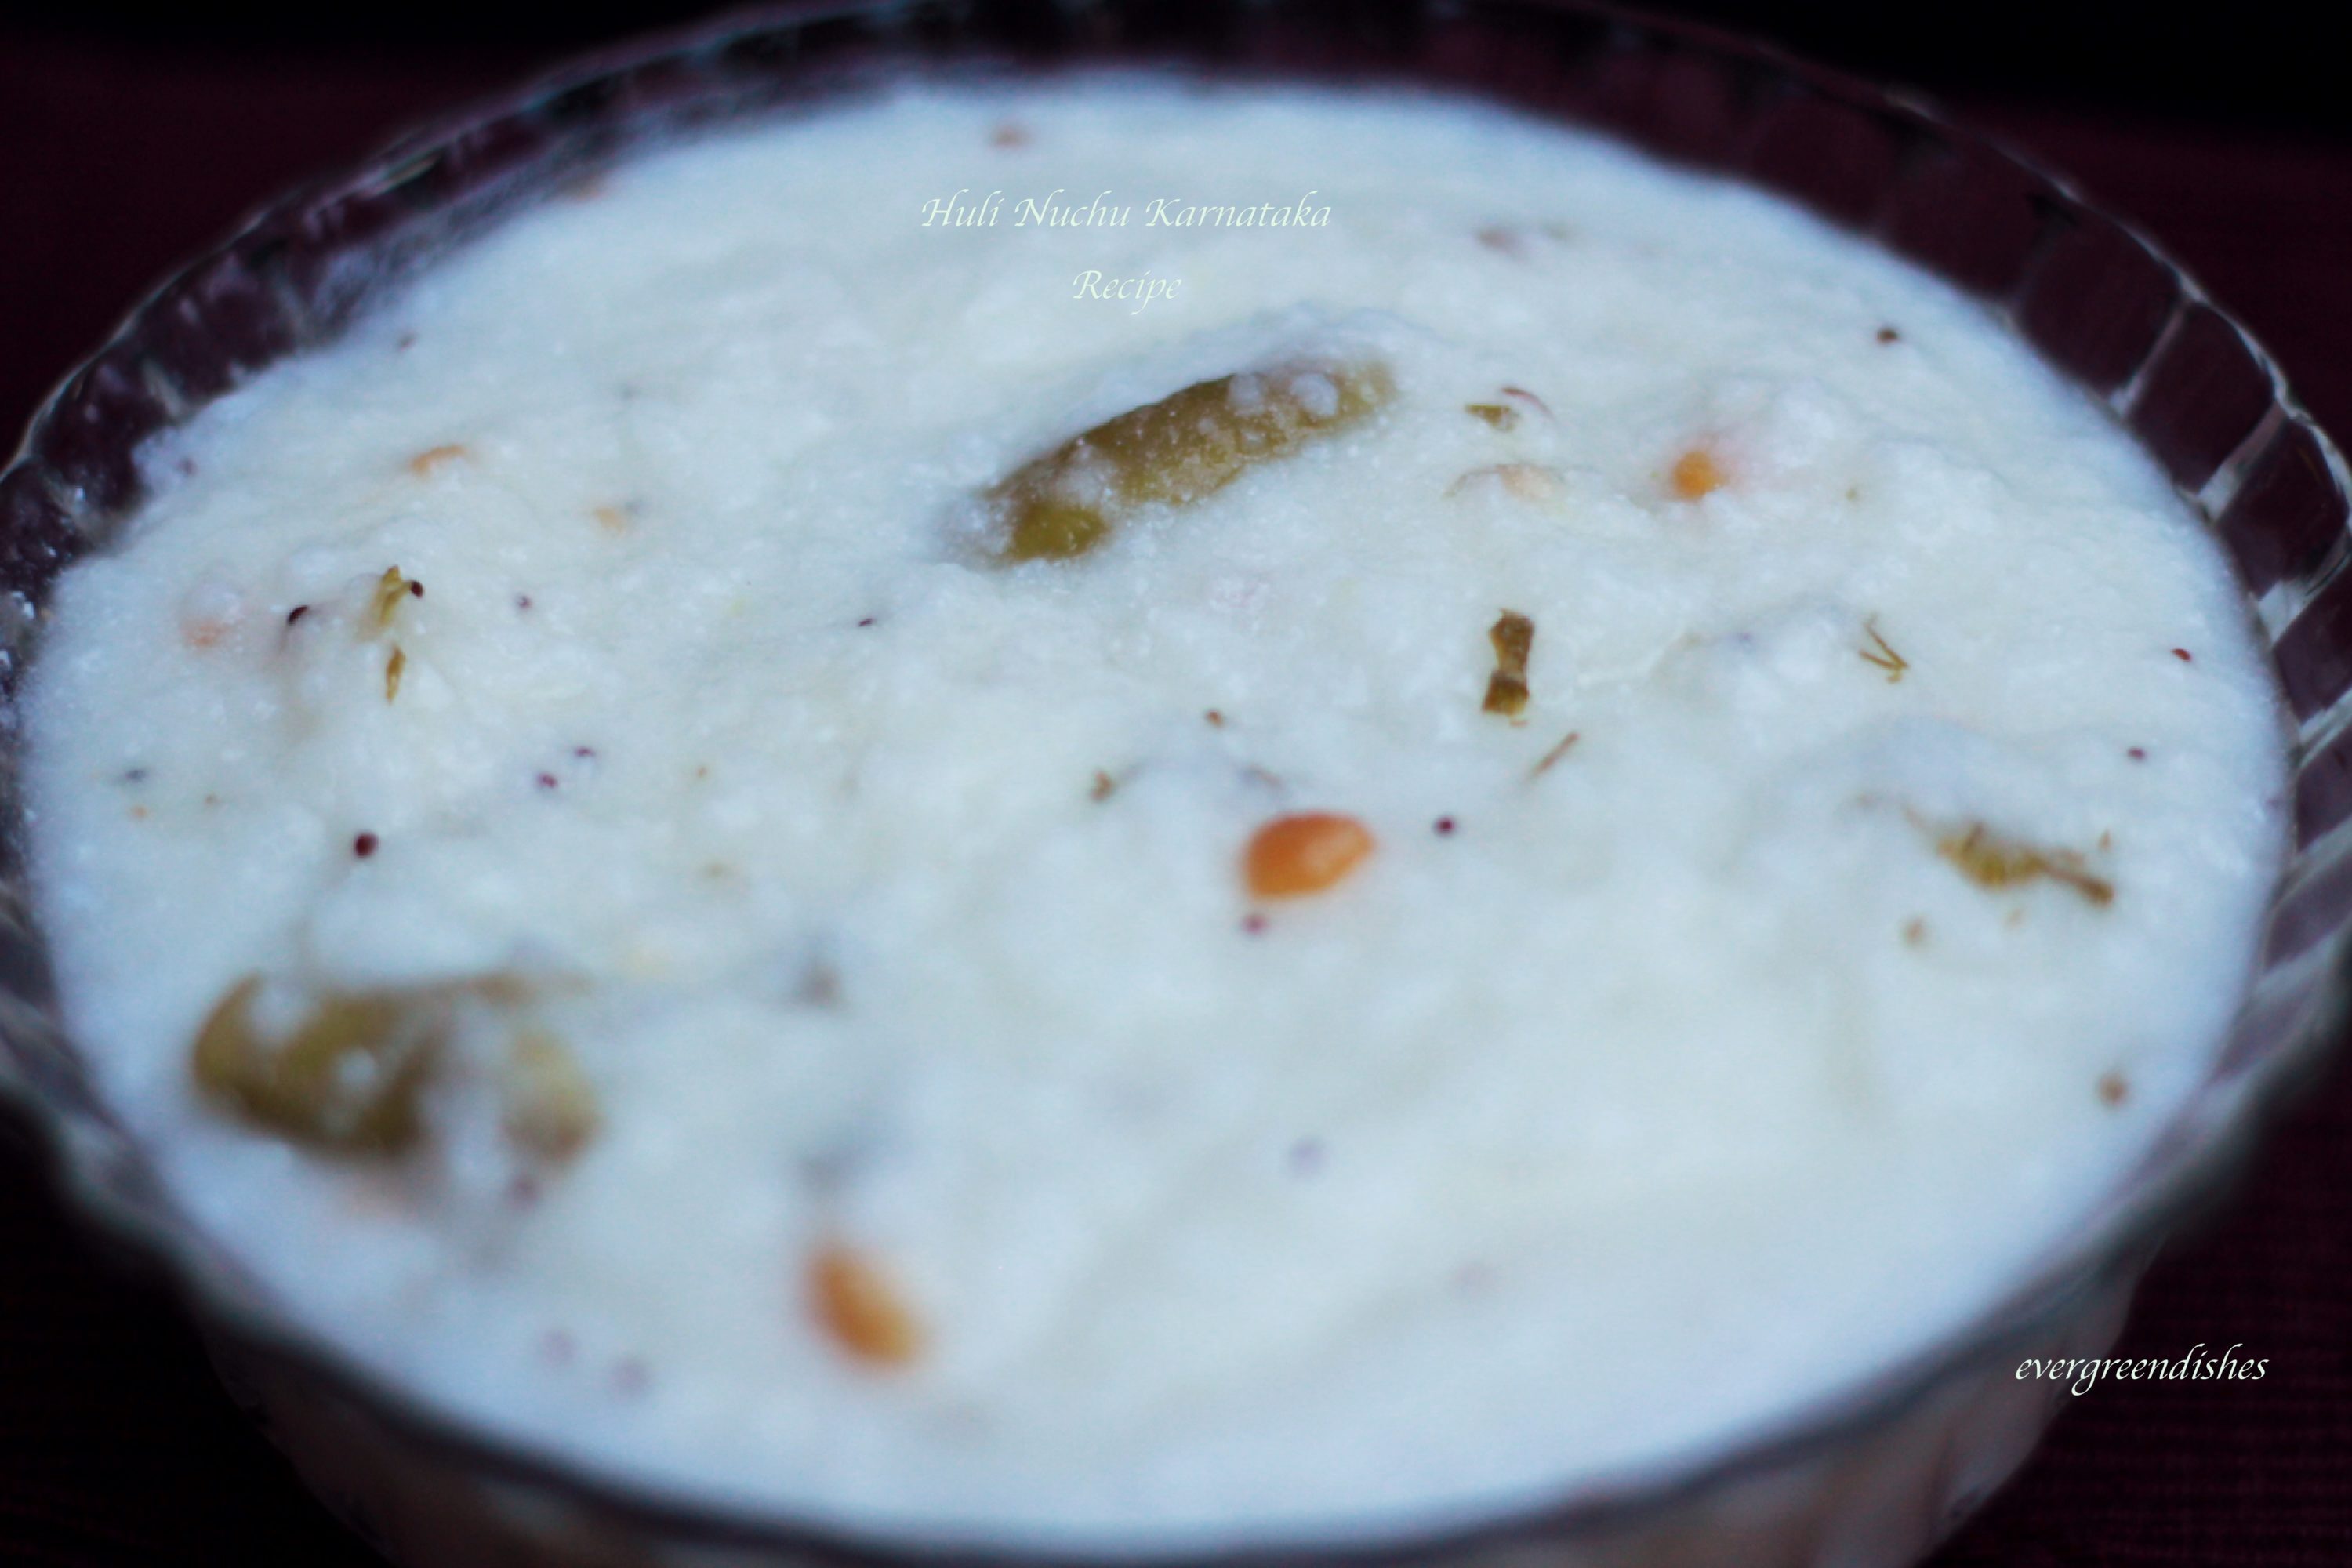
Huli nuchu or katambli is a traditional food that is made using broken rice and buttermilk. It is a coolant food for summer from Karnataka.
Some recipes are cherished since ages, they have stood the test of time and are worth mentioning. May be with time, life is moving super fast these days, some dishes will be soon forgotten and face a silent death with time. Writing it here, for all the kannadiga fans who love these dishes, Huli nuchu or katambli is one such unique dish, it’s one of the heirloom recipes, passed on through generations.
It makes a good dish for lunch or breakfast. Huli nuchu is a kannada word, where “huli” means “sour” and ” nuchu ” is the term used for broken rice granules. Thus, the broken rice granules are cooked in sour buttermilk. With the recipe written down here, I hope many will continue to cook and enjoy this rare dish.
huli nuchu or katambli
Broken rice granules are cooked in sour buttermilk with seasoning and spices, it makes a comfort meal by itself. One can serve it for breakfast or lunch. A simple mango pickle tastes good with it.
One needs a little prior preparation here. Raw rice needs to be washed and dried on a cloth. It is then coarsely grinded in the mixie. You can make this a day earlier and keep it ready.
How to make the broken rice:
It is usually available in the market, but one can make it at home also. Take a cup of rice, wash and soak it for two hours. Later, discard the water put it to dry on a cotton cloth in shade. Once, it is partially dry, grind it coarsely in the mixer.
Heat oil in a thick bottom pan, it is good to use a pressure cooker if you do not have a thick bottom vessel. Add mustard seeds, as it crackles, put bengal gram and urad dal to it. Add asafoetida, after a few seconds, put the green chilly and curry leaves to it. Mix water to the curds. Pour it into seasoning, add salt.
As it boils, mix the broken rice granules (akki tari) slowly to it. Keep stirring, lumps may be formed here. Let cook on a slow heat for some time. Keep stirring in between.
Add fresh coriander to it.
Add more water, if the consistency is thick.
The rice granules should be soft, once it is done, remove and serve. Mango pickle tastes good with it.
Take a tip:
Sour curds is essential.
Adjust chilly as per your needs.
Ginger may be grated and put in the seasoning.
Do not skip adding ginger, it gives a good taste to thhe dish.
It needs time to prepare this dish.
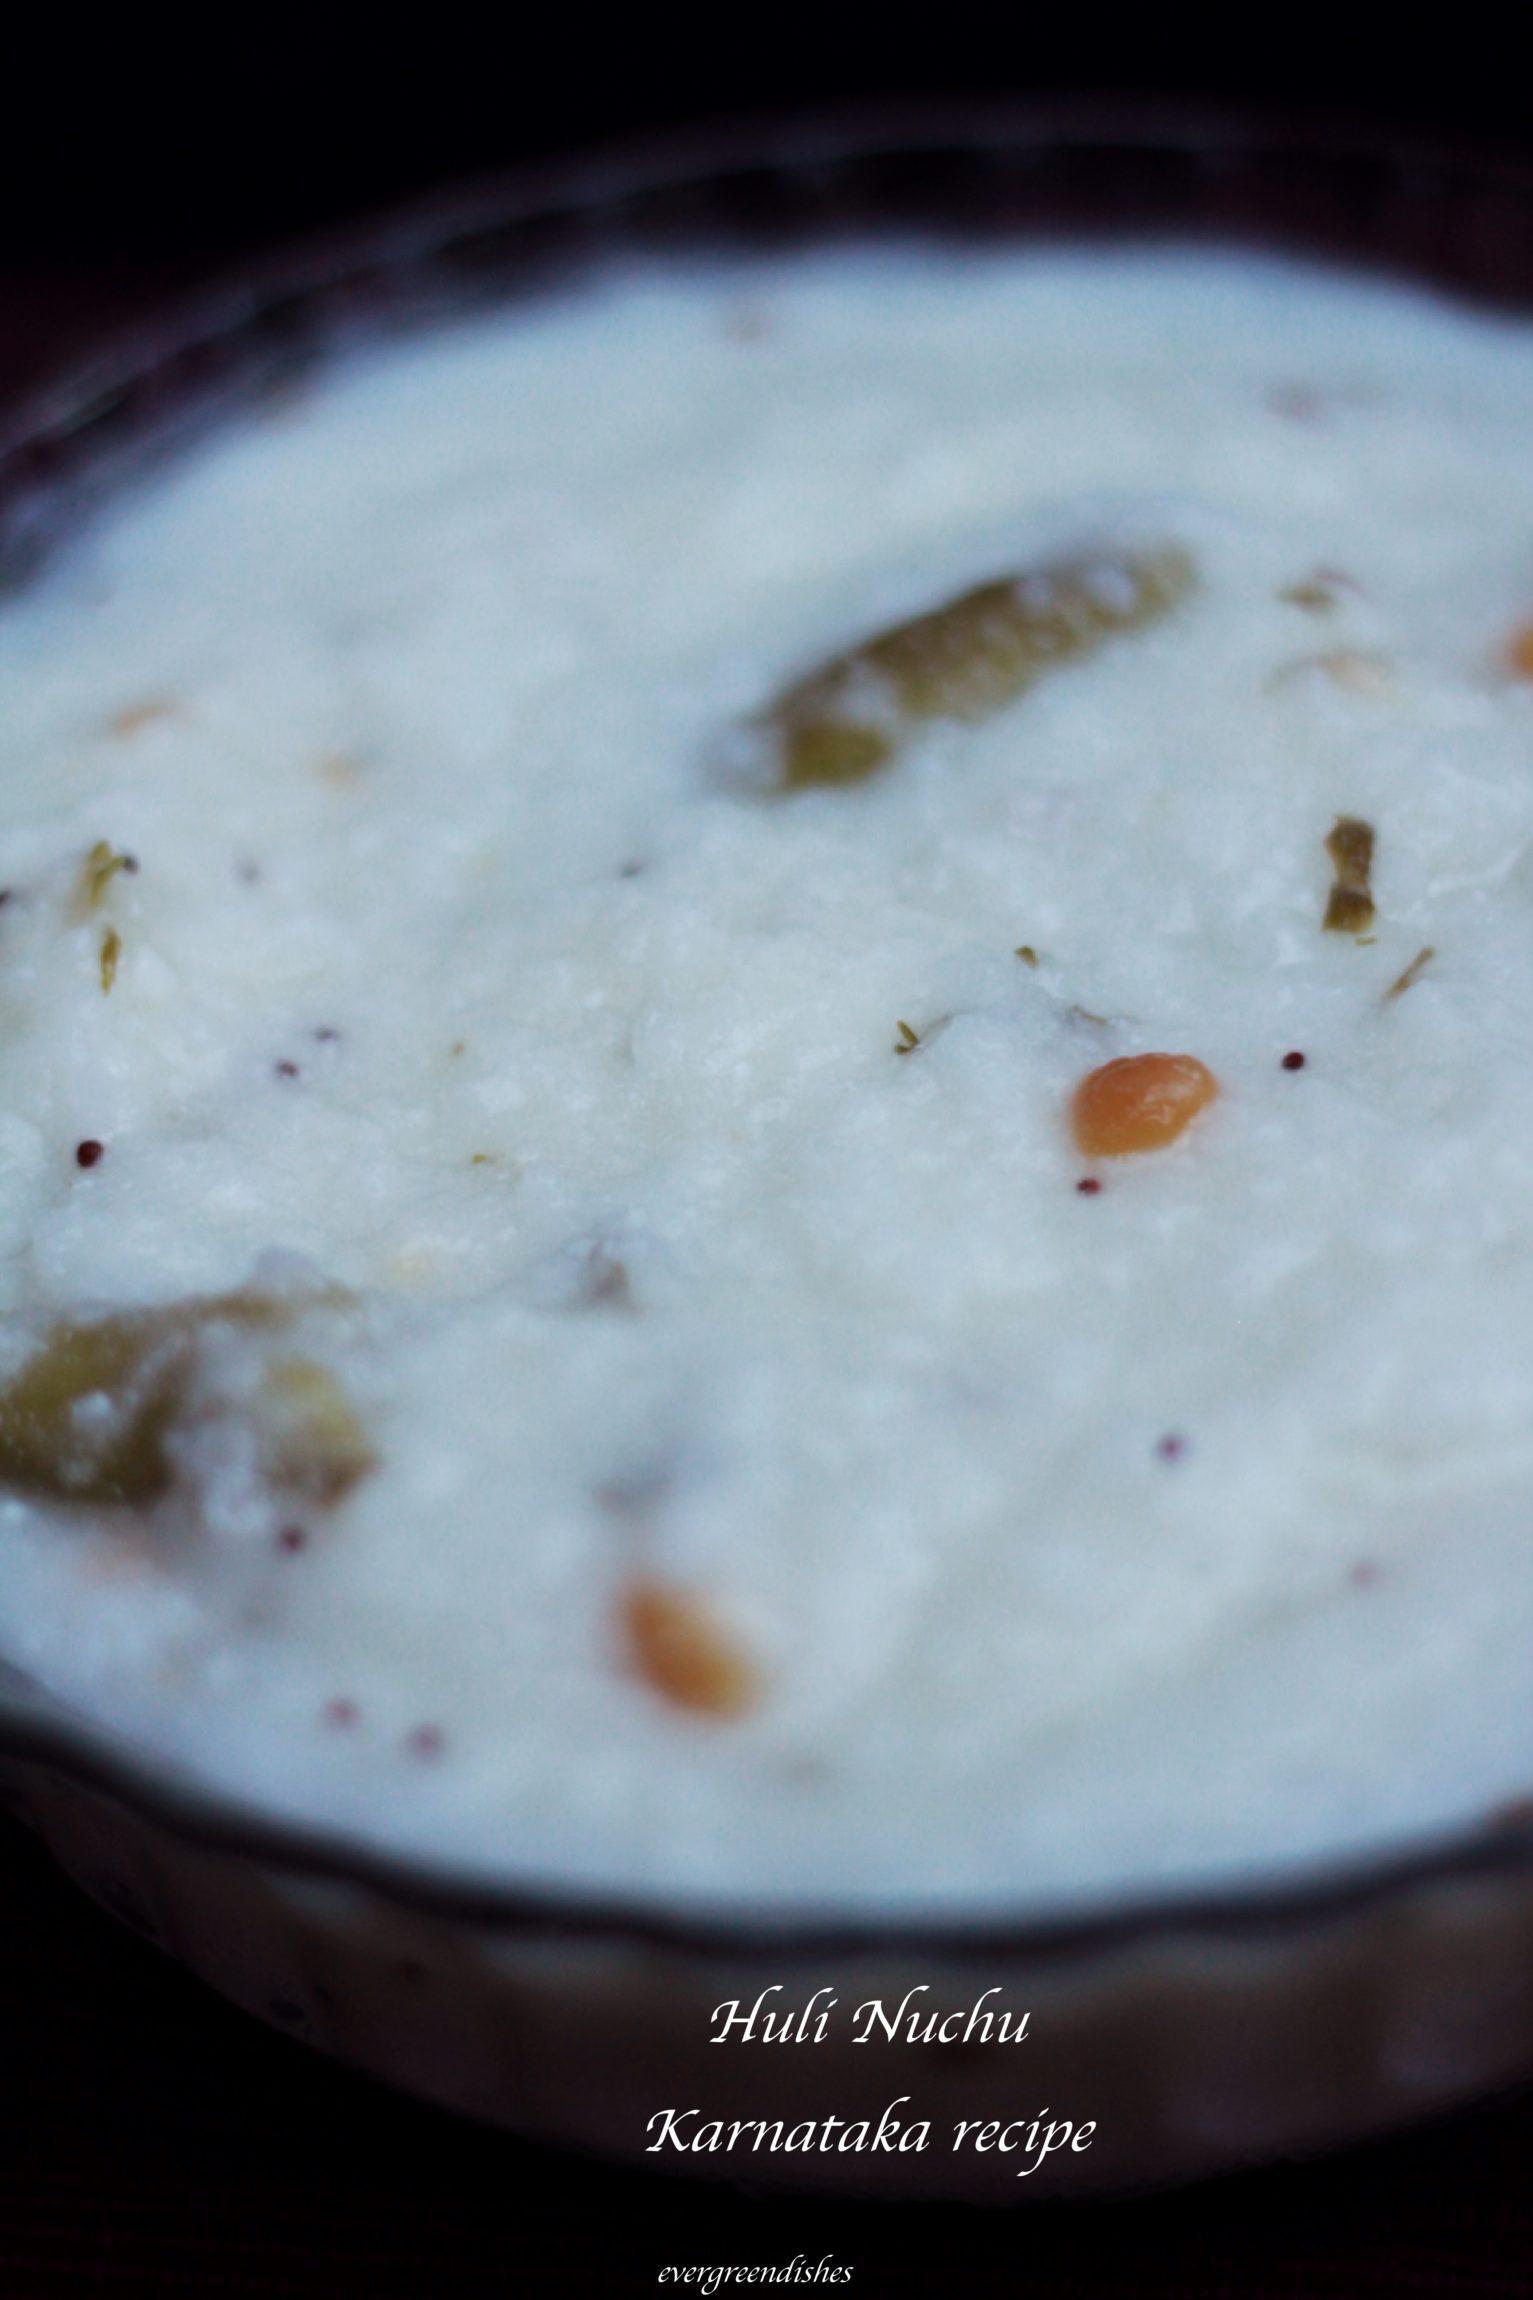
huli nuchu or katambli
Evergreendishesdev
Huli nuchu | Katambli | Karnataka recipe
5 from 8 votes
Huli nuchu is one of the heirloom recipes that is prepared by me. Broken rice are simmered in buttermilk with a seasoning for a long time, it makes a tasty meal by itslef.
Whisk the curds, add water to it and keep it aside.
Heat oil in a thick bottom pan, add mustard seeds, as it crackles, put asafoetida, bengal gram, urad dal, ginger pieces, green chilly and curry leaves. Let cook for a few seconds. Now, add the buttermilk (curds and water mixed) to it.
Once it boils, slowly add the broken rice to it, keep stirring in between. Add salt and let cook on a slow flame for half an hour.
Keep stirring in between. Add water if necessary, the consistency should be moderately thick.
Add fresh chopped coriander to it while cooking. It imparts good smell.
Notes
To make broken rice, wash the raw rice and put it to dry on a cloth. Later, coarsely grind it.
Curds should be sour.
Adjust the consistency of water.
Grated ginger can be added.
Pin it for later :
huli nuchu / katambli
Subscribe to get updates in your inbox and a free e-book ! If you ever recreate this dish, do tag me on Instagram using the @foodiejayashree
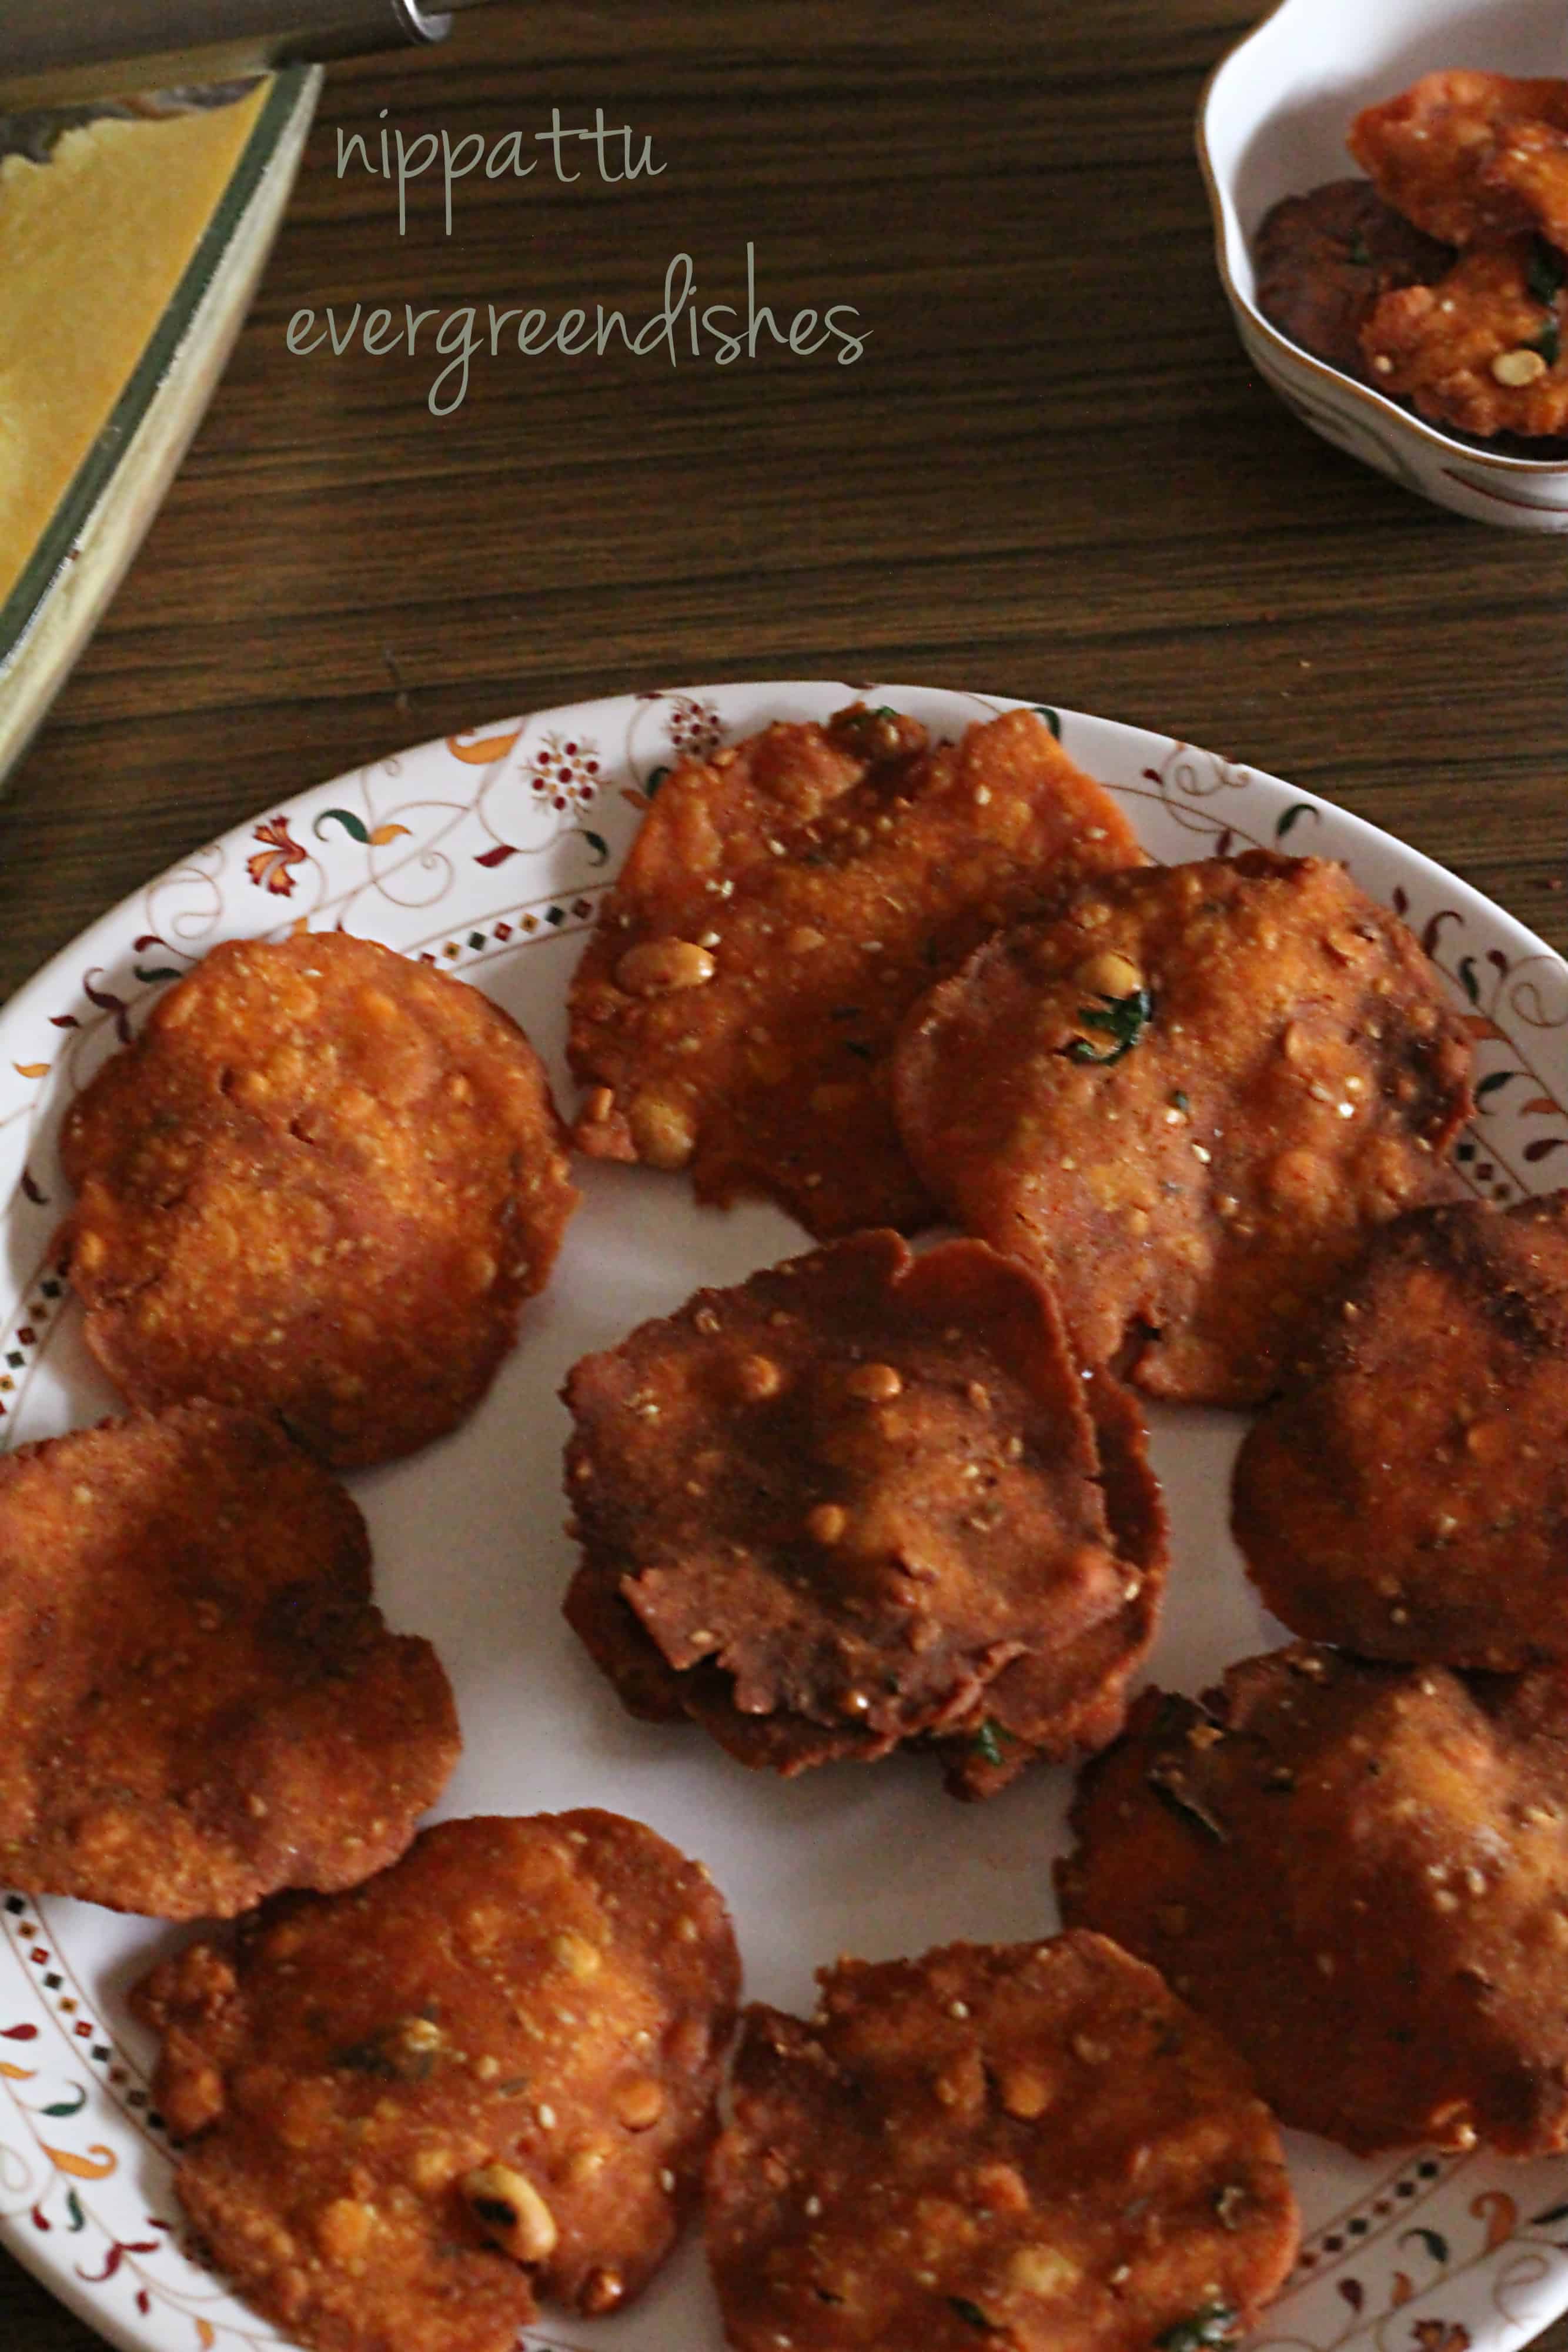
Nippatu or rice crackers as they may be called are popular snacks prepared during festivities. They can be stored for a long time and can be used with tea or as an evening snack. In Karnataka, nippattu is different from other states. Here is one such kind. (more…)
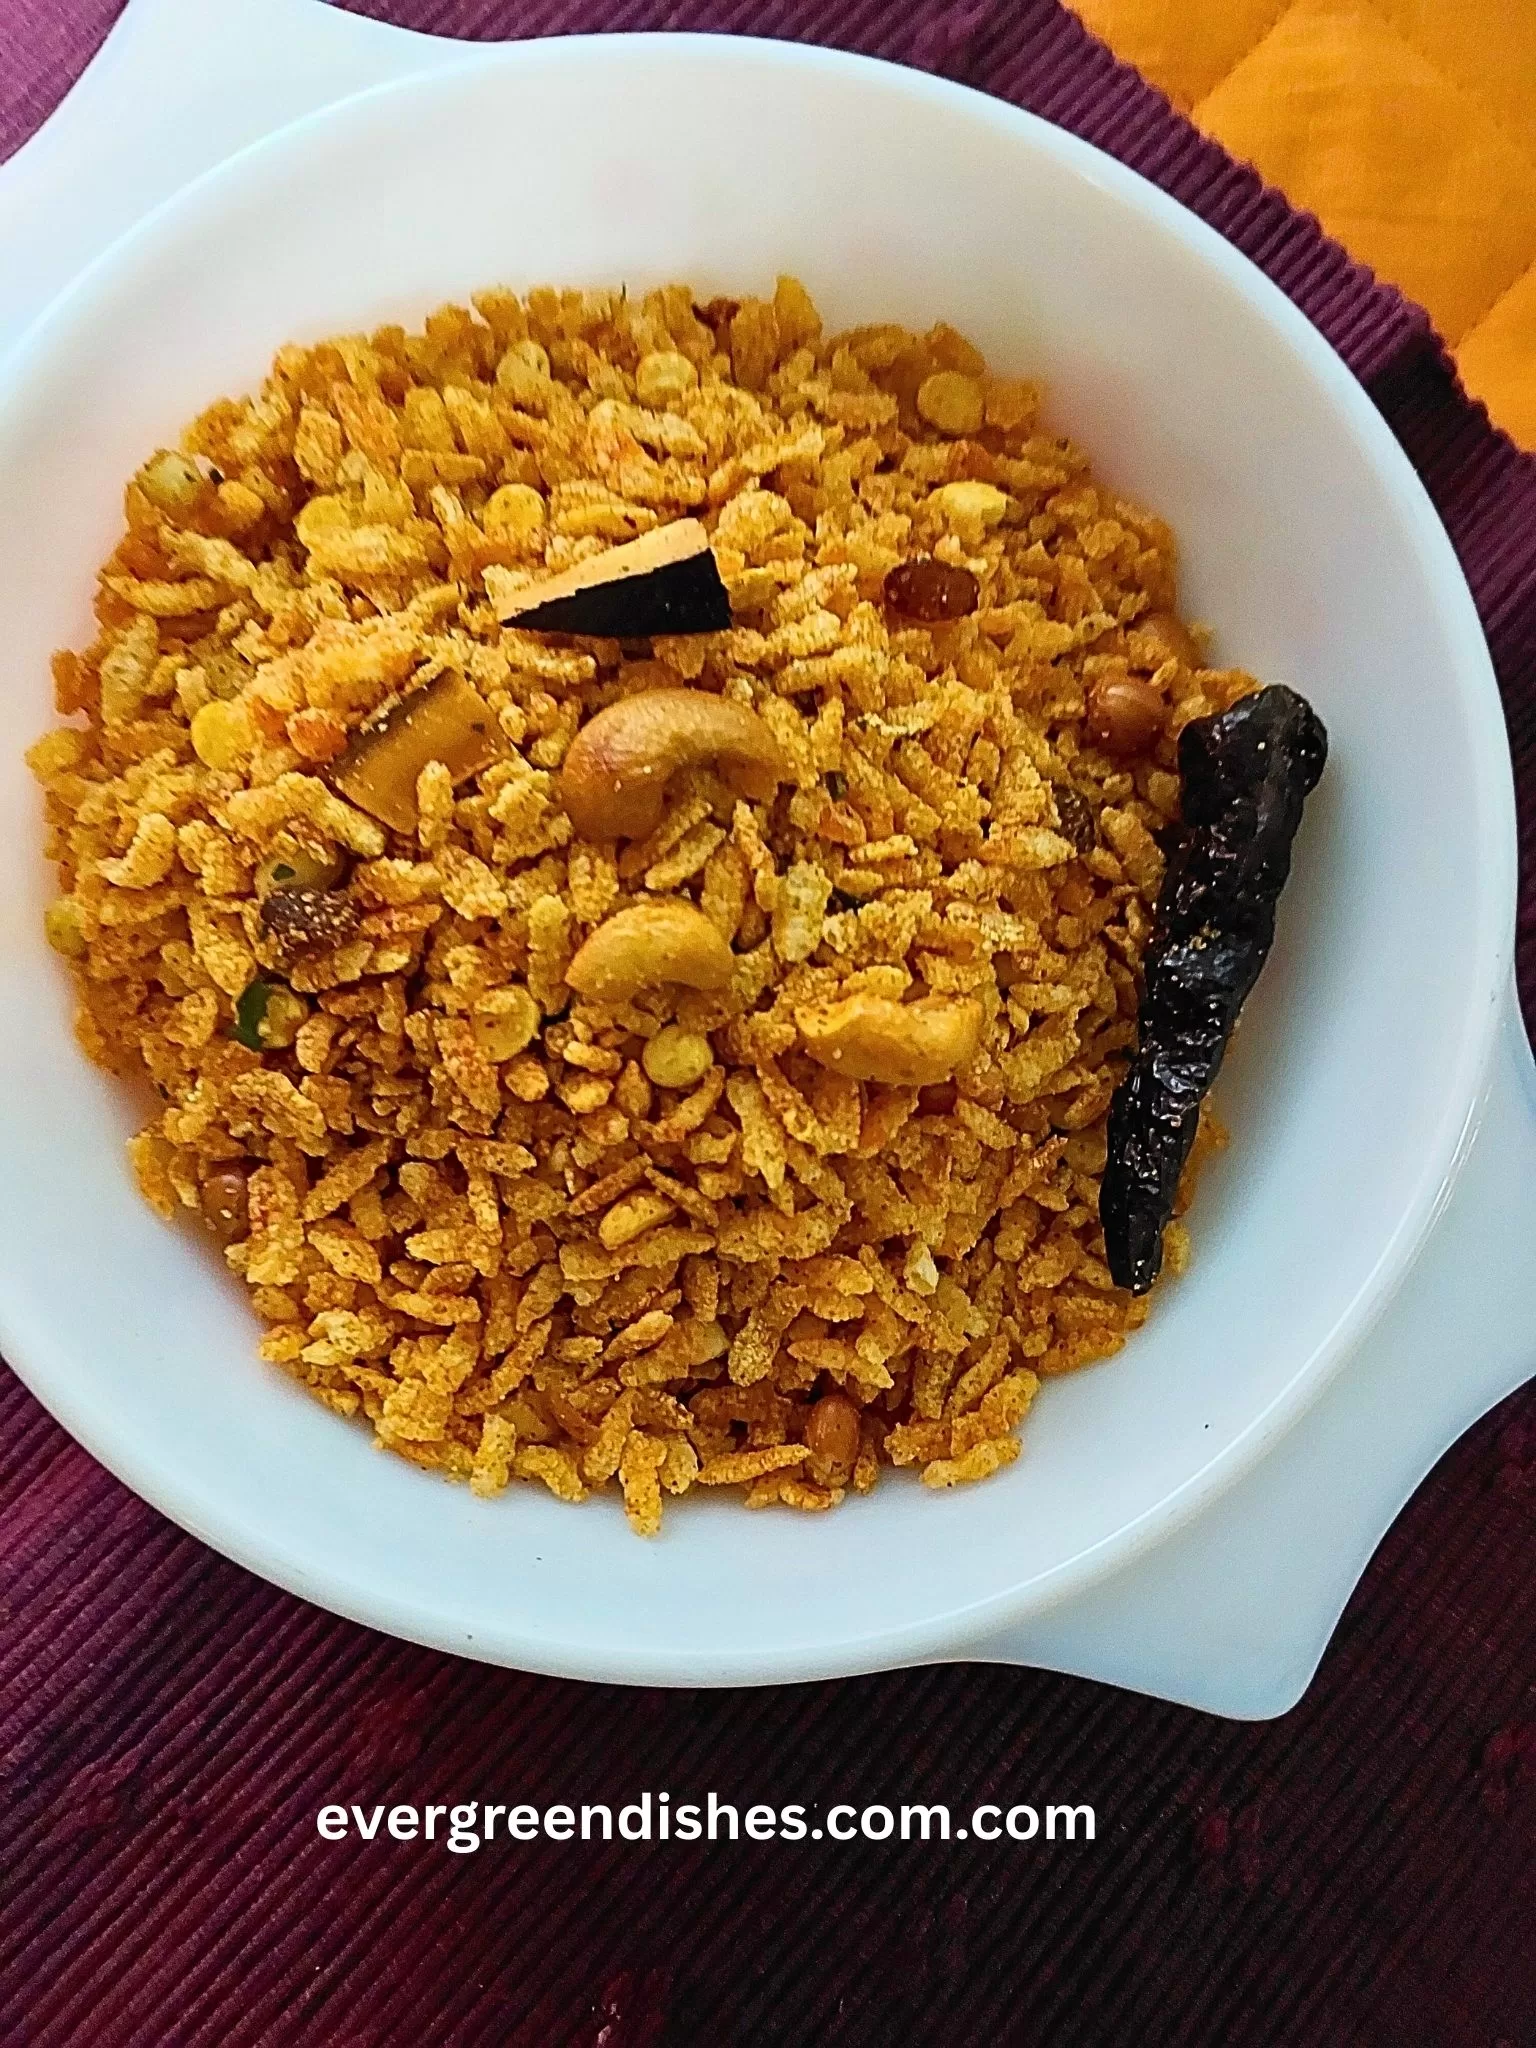
Chiwda is one of the snacks stored in the kitchen shelves. It is primarily made during Diwali, when a variety of snacks are prepared. Here is my version of Chiwda recipe. It is a tasty, guilt free snack.
Plain chiwda is usually made by frying flattened rice or poha. It is then mixed with spices and other condiments. But, here we are lucky enough to get the ready, roasted version of it. Thus, a guilt free snack is ready in no time.
Update : Plain chiwda is available in all outlets as half kilogram and one kilogram packets.
Snacks in the jar as avalakki, chiwda and murmura are always seen in the kitchen shelves. Along with it comes other snacks as chakli, nippattu and kodbole which are loved by all but not made often.
Chiwda makes a good snack with tea. It is ideal to serve with breakfast as an accompaniment. An easy to make, quick snack is more than welcome here. Check out the recipe.
Can we store chiwda ?
Yes, chiwda can be stored for a long time. Keep it in a clean, air-tight container.
Is it a festive snack ?
Yes, it is mostly made during Diwali.
What goes in the chiwda ?
Chiwda : It is the star ingredient. You can use the store bought chiwda or fry the rice flakes in oil and use them. Using the store bought is easier and healthier. Just clean it once and use it.
Oil : Use good quality oil.
Sesame seed : Use the white sesame seed.
Cumin : A dash of cumin elevates the taste.
Turmeric powder : A dash of turmeric in the seasoning gives a good colour. It also has anti-bacterial properties.
Dry coconut : Cut them into thin and small pieces.
Curry leaves : Cooking seems to be incomplete without the humble curry leaves.
Red chillies : Throw in one or two in the seasoning.
Asafoetida: Sprinkle a little bit of asafoetida for that nice aroma.
Dry fruits: Cashew pieces and raisins are usually dded. You may add almond pieces too.
Ground nut and dalia: For that crunchy taste in between.
Chilli powder : To give a spicy taste to the dish.
Evergreendishesdev
How to make chiwda
Chiwda is a delectable snack to binge on. It is usually made during festivals as Diwali and Holi.
Take oil in a pan. Deep fry the groundnuts. Remove them and keep aside.
Similarly, fry the split dahlia, cashew nuts, raisins and curry leaves seperately.
Take two tablespoon of that oil and make the seasoning. Add mustard seeds, as it splutters, put cumin and sesame. Add asafoetida and turmeric. A few seconds later, add chilly powder, salt and sugar.
Mix well. Put the fried ingredients into it. Add the plain chiwda and mix well.
Heat it for a few minutes. Tasty chiwda is ready to binge.
Notes
To make chiwda, take flattened rice (poha or aval) and deep fry in oil. Do not make it brown in colour.
About the event :
An old post was updated today31/8/2025 with better pictures. Sending this to Foodies_Redoing Old Post_159. Here, I have changed both the text and the pictures, a lot of changes has been made in the post. The recipe remains the same.
Subscribe to get updates of new posts and a book of handy hints for free! If you have liked this recipe, do like, comment and share.
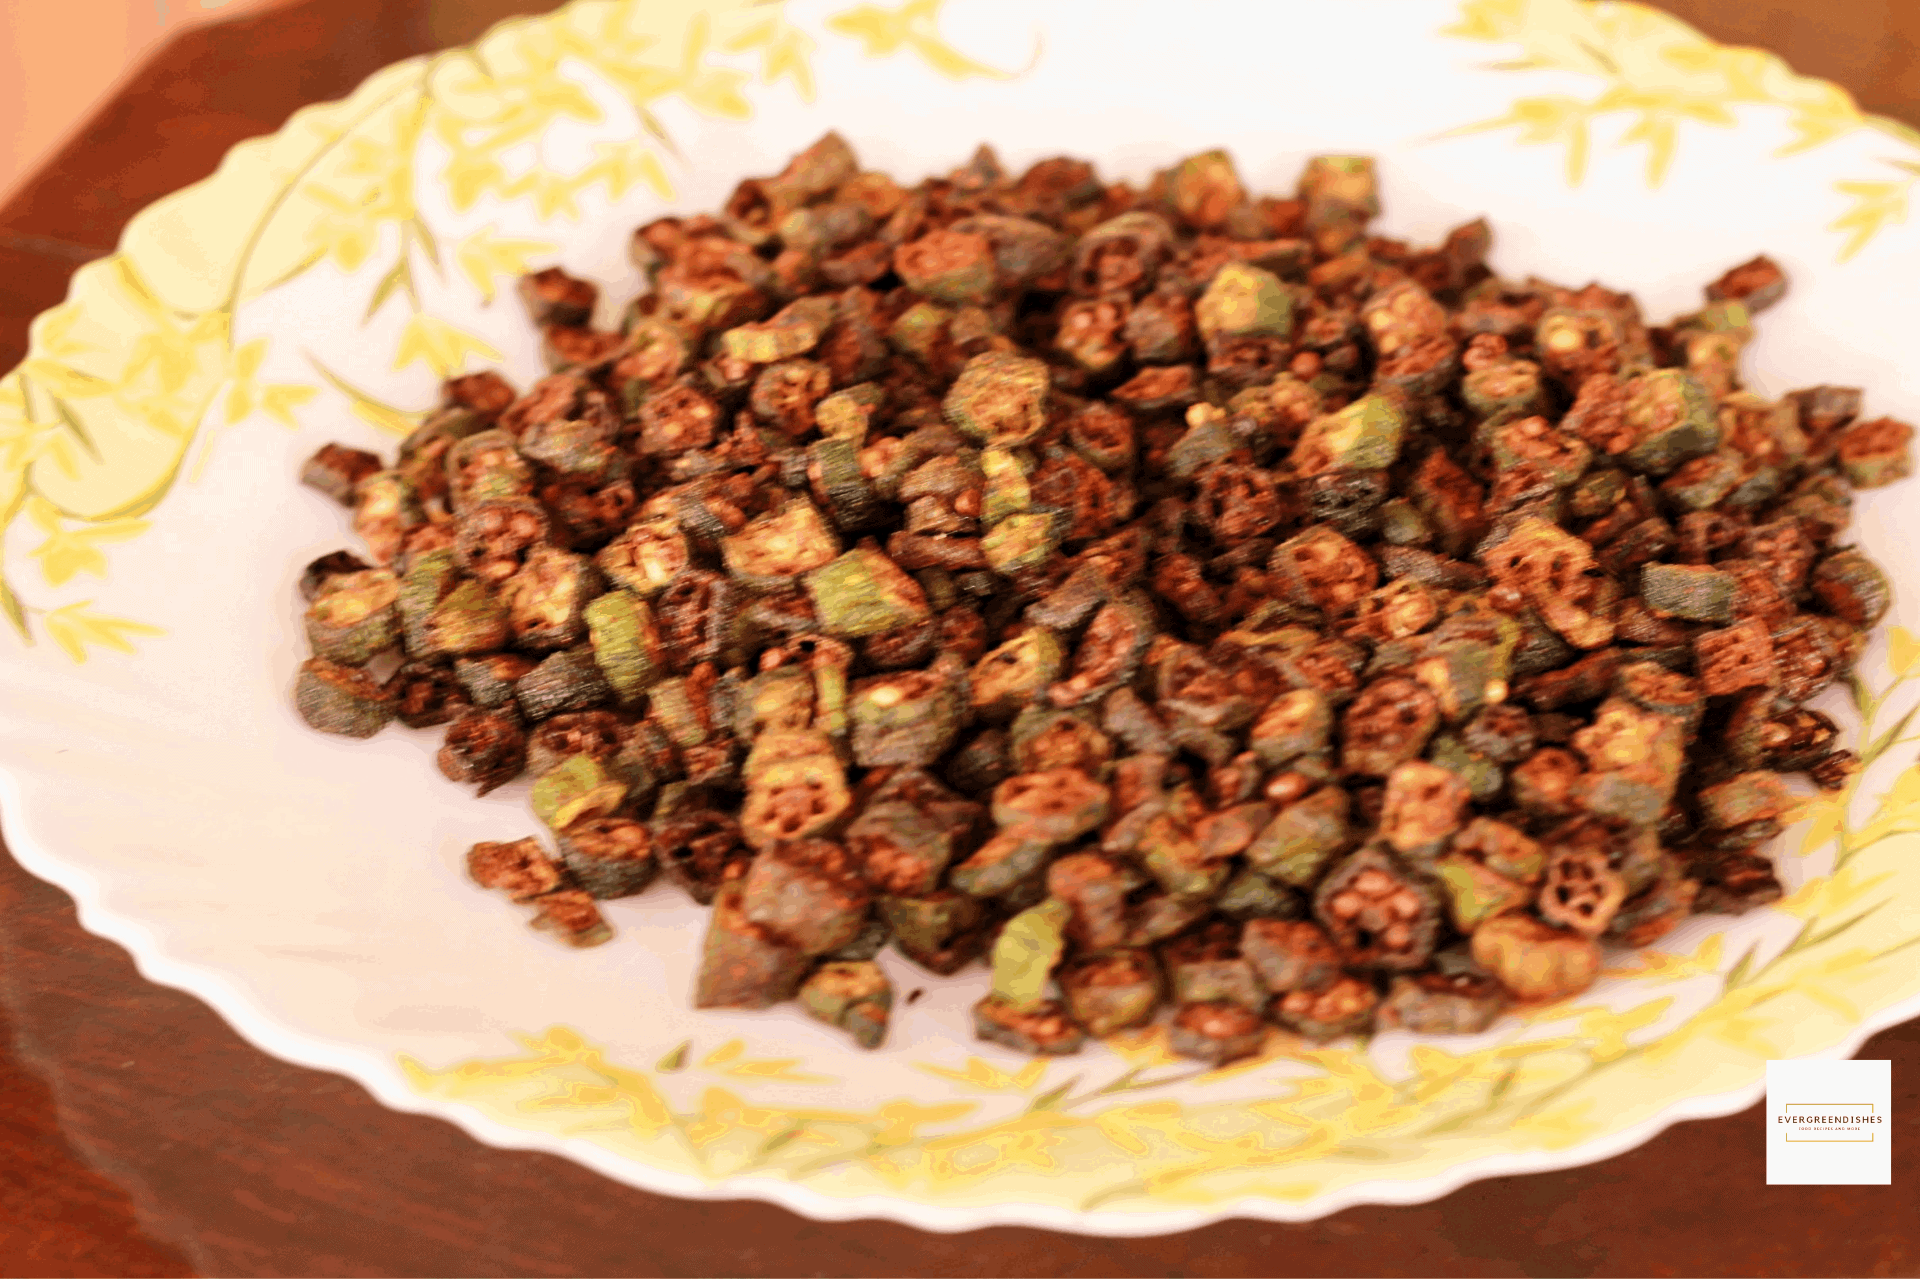
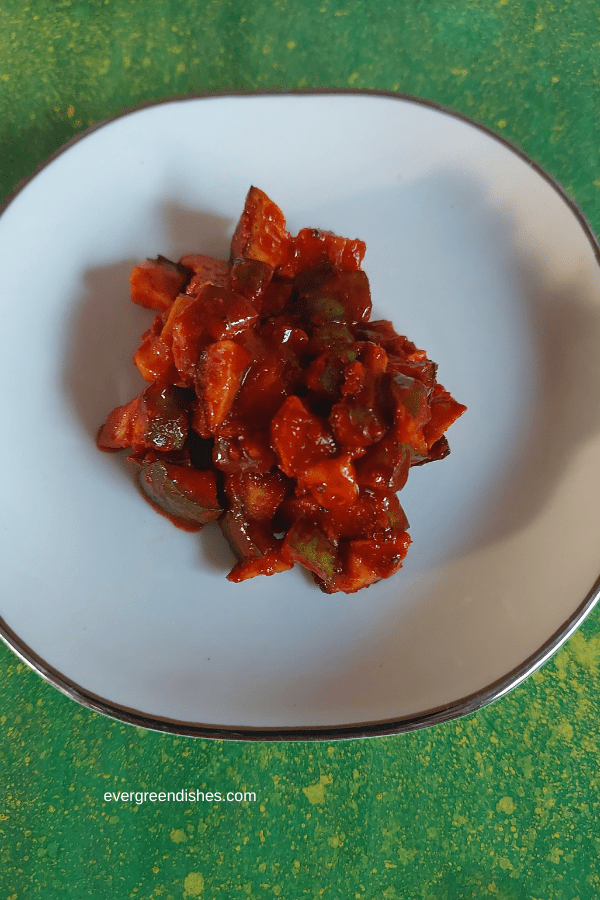
Crispy Bhindi Fry makes a tasty accompaniment with any meal. It is loved by one and all.
Bhindi is the common name for ladies finger or okra. It is a versatile vegetable which can be turned into crispy fried savouries or as a stir fry. The stuffed okra is simply irresistible. The weather calls for fried food and I ended up frying it, Tasty Bhindi Fry is on the blog today. I like this recipe for it’s simplicity, no extra dressings or garnishing; but yet, it is tasty and loved by all.
It makes a good accompaniment with hot steamed rice, a dollop of ghee elevates the taste. The best way is to eat it along with rice and sambar.
Wash and pat dry the okra. Cut them into thin pieces.
Heat oil in a pan.
Once it is heated, add handful of cut pieces slowly into the oil.
Deep fry on medium flame. After a few minutes, fry on high flame for one minute.
Once it is light brown in colour, reduce the flame and remove it on a tissue paper.
Put the next badge of okra pieces to fry.
Put the fried okra in a bowl. Add a little salt and chilly powder to it. Mix it. It is ready to serve.
Repeat for the rest of the cut pieces.
Notes
Cut okra into thin pieces.
Add salt and chilly powder accordingly.
About the event:
This is an old post which I have redone with better pictures. Sending it to Foodies_Redoing Old Post 30, a fortnightly event, where we work on a old post. Here I have changed the pictures.
If you have liked this post, do share it with your family and friends. If you ever make this, take a picture and share it by tagging @foodiejayashree on Instagram or @evergreendishes on Facebook or Twitter.
Majjige huli is a popular accompaniment used with steamed rice. It is made of whisked curds with seasoning and other spices. It makes a good meal for summer. This is a signature dish of Karnataka. It is known by different names in various states. Paladya, mor kozhambu, majjige huli and kadhi are the different versions prepared in different parts of the country. Kadhi is popular in Maharashtra while Mor Kozhambu is familiar to South Indians.
There is a slight variation in the preparation of each one of these, but the primary ingredient remains the same, it is sour curd.
I have made using ash gourd. Take ash gourd which is fresh and firm . Remove the skin slowly, you need to have practice as it hard. Other vegetables you can use are cucumber, lady finger and potato. Cucumber is cut into rings and cooked in the seasoning. The okra needs to be sauted and then put after the curds is put. If using potato, boil, peel and cut them into chunks. Put them in the curd mixture and boil.
Remove the skin of the ash gourd. Cut into pieces, the soft pith and seeds are discarded.
Grind coconut, coriander, green chilly, cumin and the soaked bengal gram to a fine paste.
Take oil in a pan, make the seasoning. Add the mustard seeds, as they crackle, put asafoetida and turmeric powder and methi seeds. Then goes the ash gourd pieces and the curry leaves. Put some water and allow to cook.
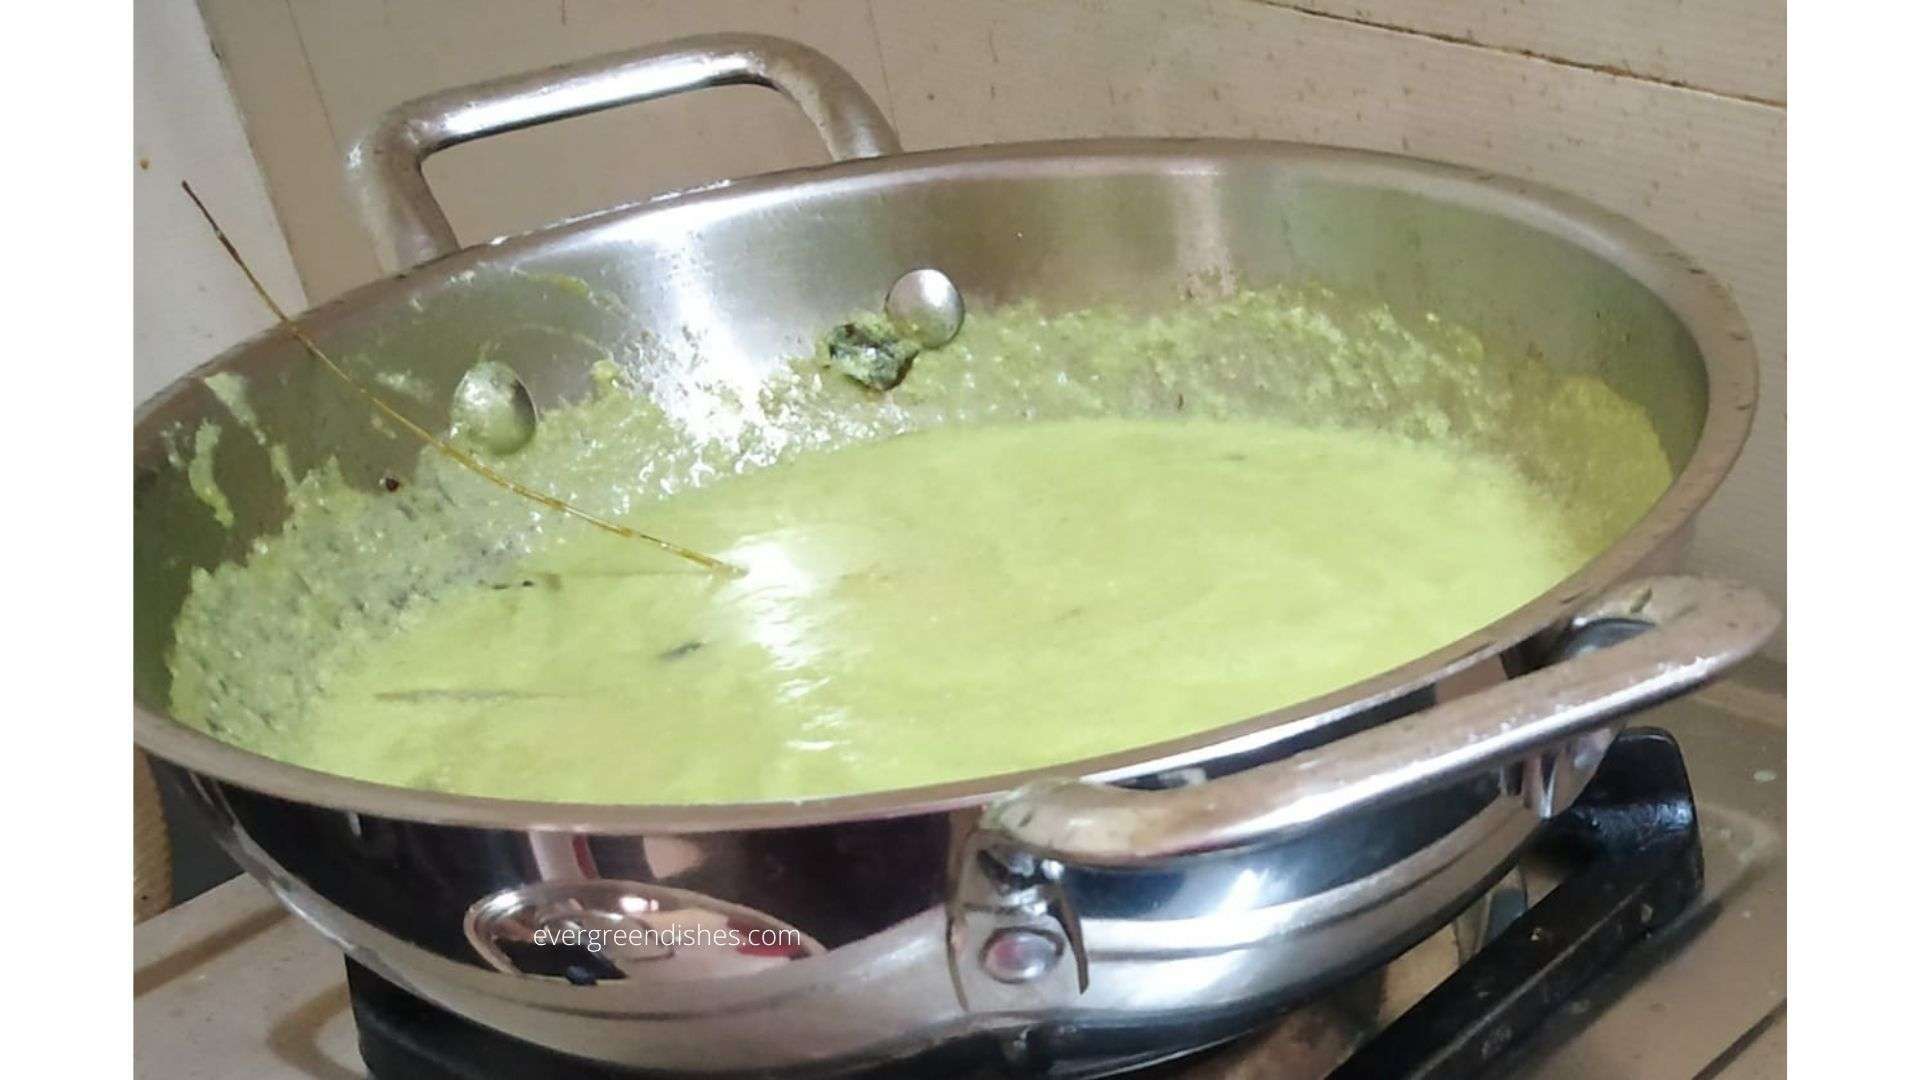
Whisk the curds. Mix the paste into it.
Once the ash gourd is tender, put the curd mixture into it. Add salt and the required quantity of water.
Let boil for sometime.
Majjige huli is ready to serve.
Take a tip:
Use slightly sour curds.
Ginger may be added while grinding.
Adjust the consistency by adding adequate amount of water.
Do not add salt while cooking the vegetable, it absorbs very quickly.
Evergreendishesdev
Majjige huli
5 from 4 votes
Majjige huli is a comfort food cooked in yoghurt along with other spices and vegetables. It is usually served as an accompaniment with steamed rice.
Soak the rice and bengal gram in water for two hours.
Remove the skin of ash gourd, cut it into pieces, pith and seeds are to be discarded.
Take oil in a pan, add the mustard seeds, as it crackles, put asafoetida and turmeric powder, put the ash gourd pieces, curry leaves and some water. Let cook till tender.
Grind all the ingredients to paste mentioned under “to grind”.
Whisk the curd and mix the paste to it.
Now add the paste, salt and required quantity of water to it.
Let boil for sometime.
Majjige huli is ready to serve.
Notes
Other vegetables as cucumber, potato or bhendi may be used. Method of cooking differs for each one.
Ginger may be used while grinding, I do not use.
Curds should be slightly sour. Do not use very sour or curds kept for a longtime. It imparts a bad taste to the food.
Add water accordingly.
If you ever make Majjige Huli / Paladya in your kitchen, take a picture and tag @foodiejayashree on Instagram or @evergreendishes on Facebook. Subscribe to get all updates in your inbox and an e-book for free!
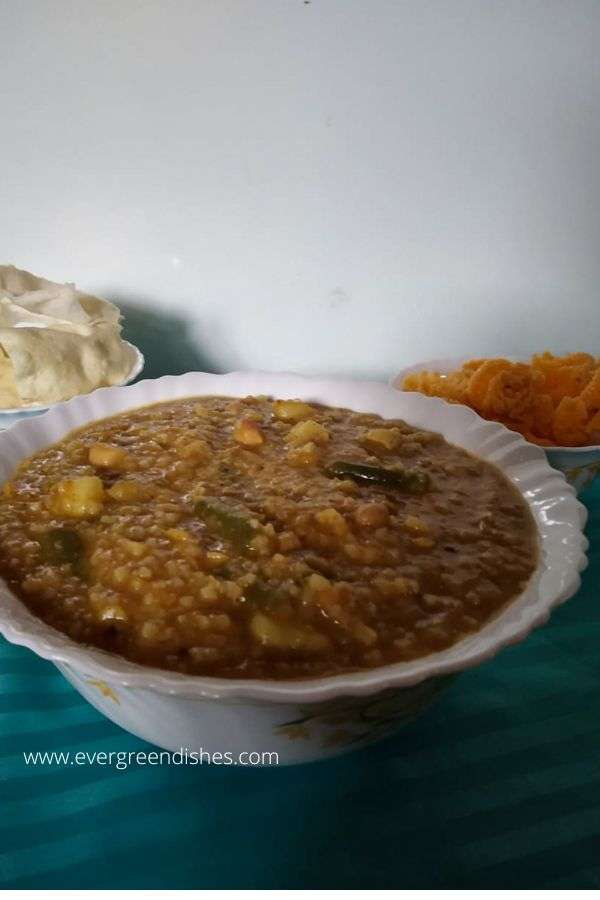
Bisebelebath is a popular dish from Karnataka cuisine. It is a rice and lentil based dish cooked with vegetables and a different spice miix. It is usually prepared during festivities.
It’s that time of the year, when the weather is wonderful and our heart calls out to enjoy. It’s the season of fun and frolic. Time to celebrate with colours, yes it’s Holi. To mark this ocassion I present to all of you, a dish very close dish to my heart, Bisebelebath. It is a one pot meal which can be relished on many occasions. A rice savoury with lentils and vegetables makes a good meal with some papad.
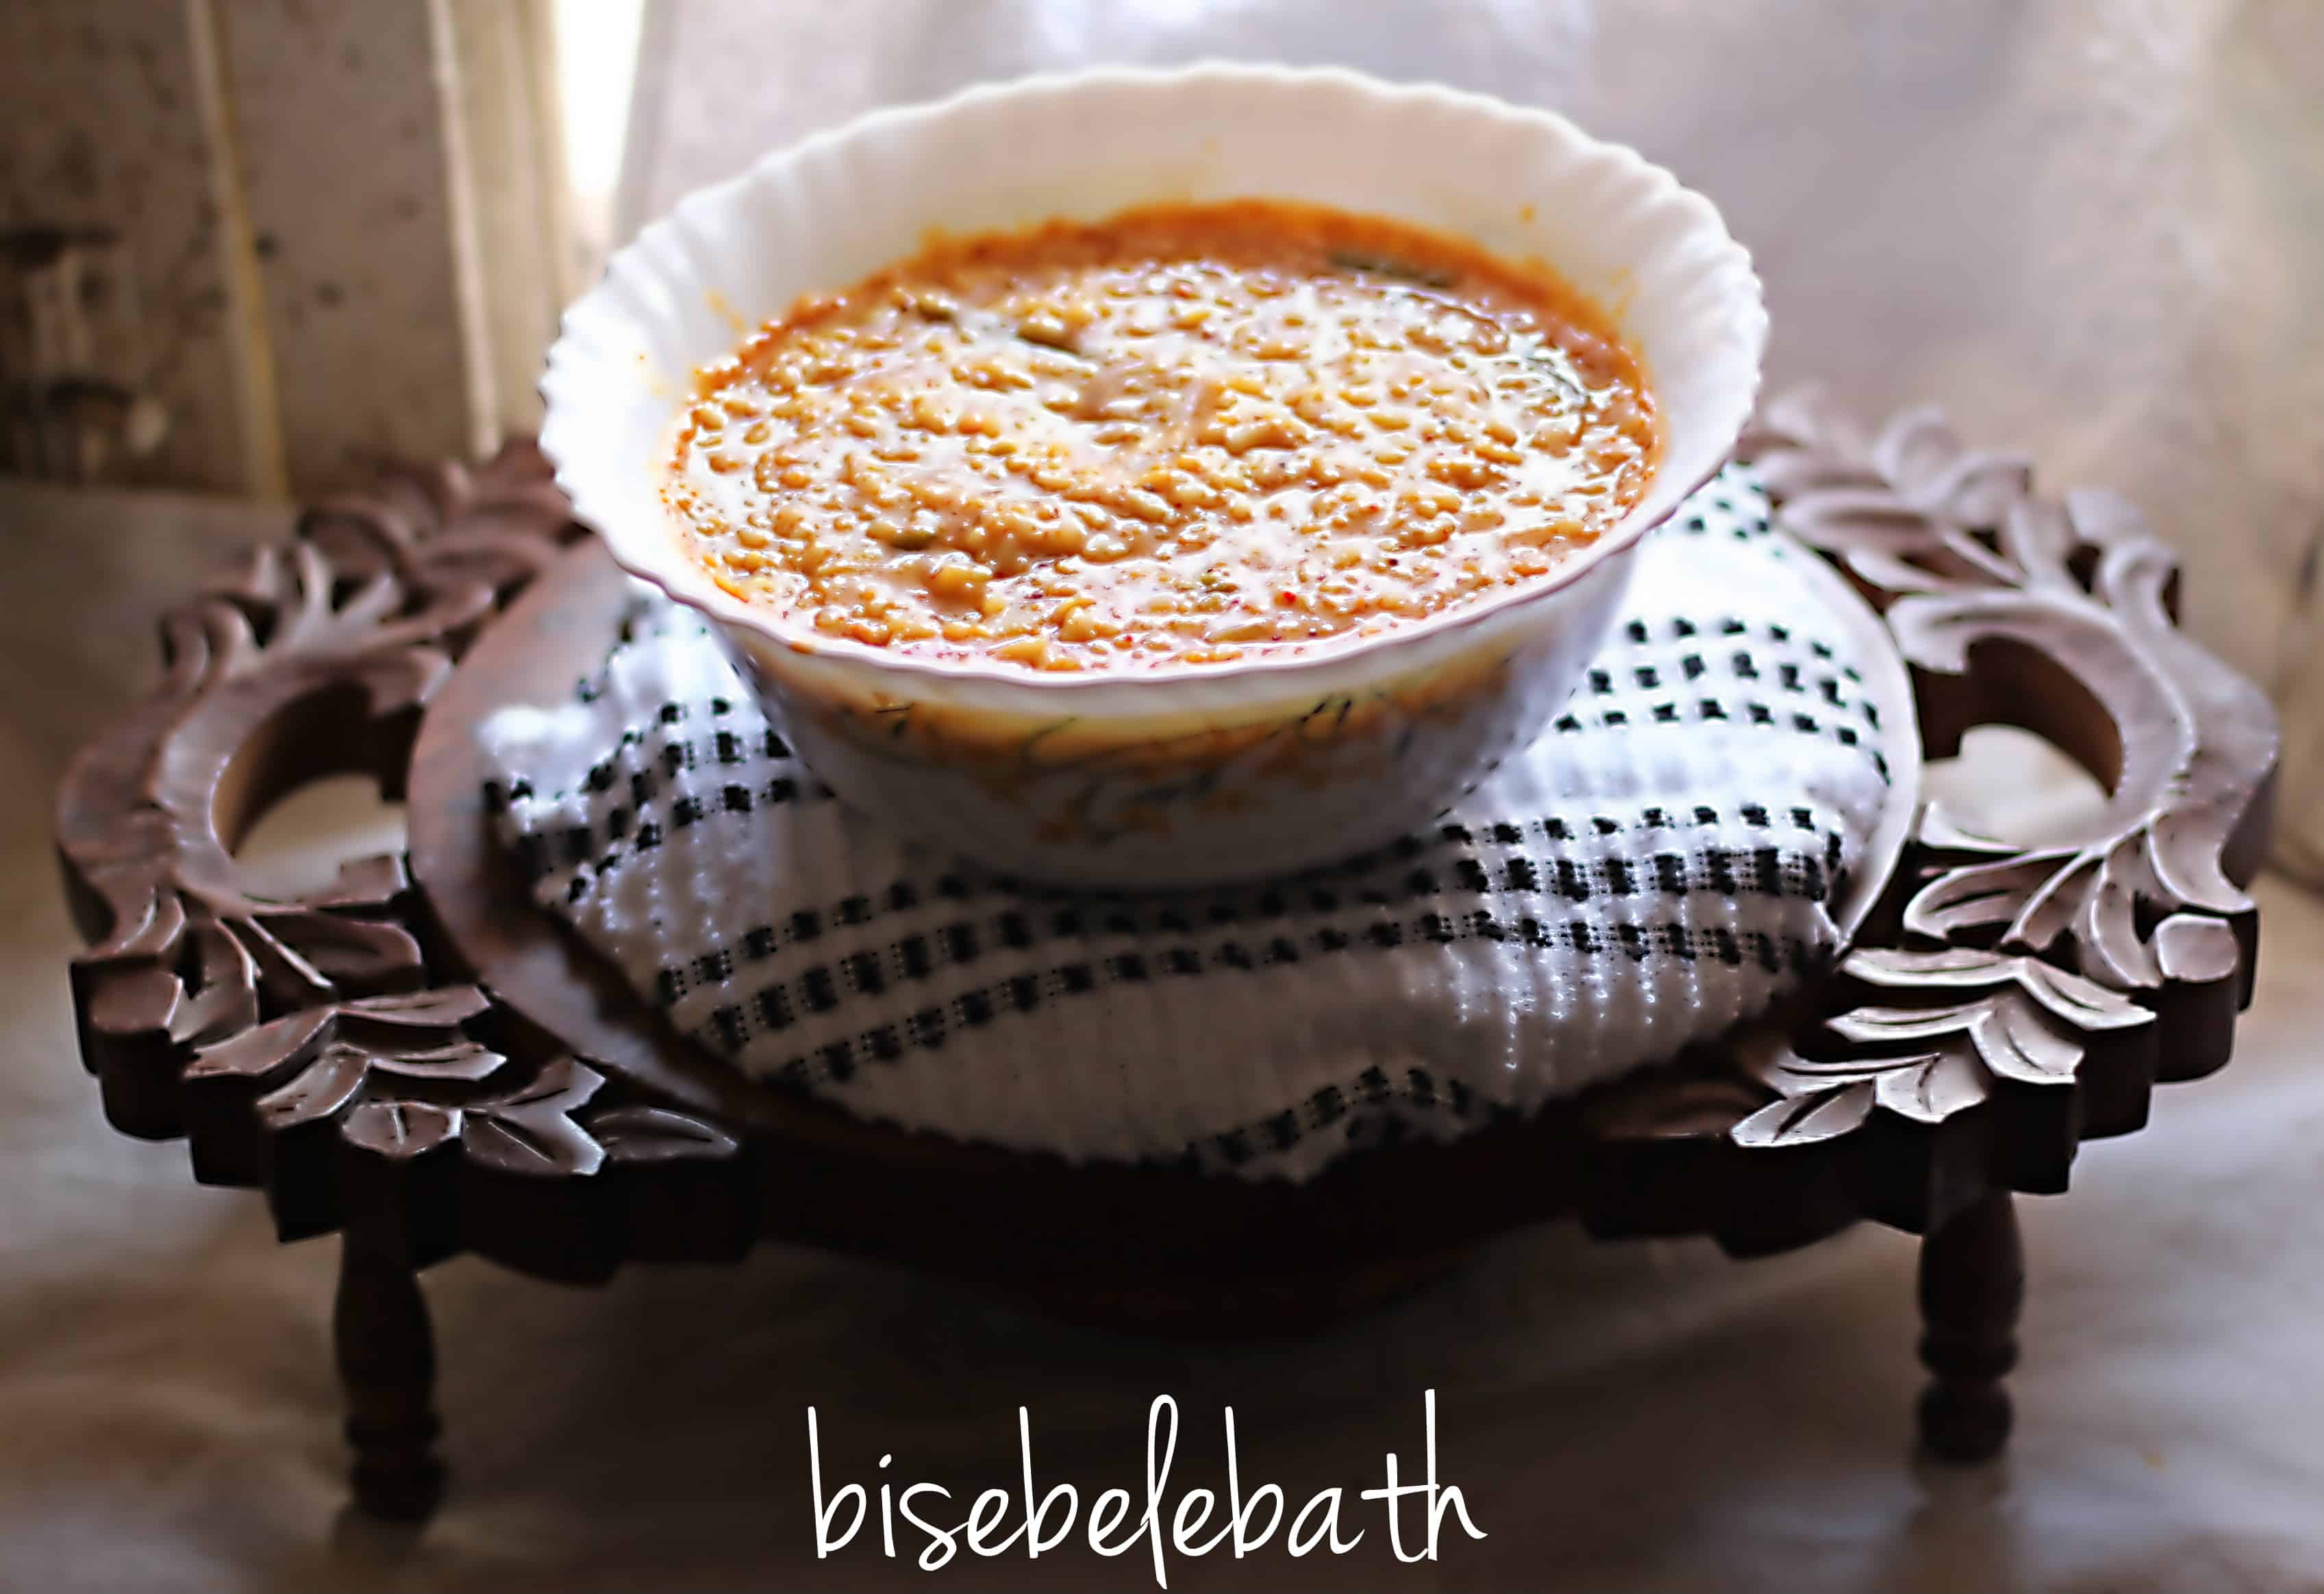
bisebelebath
Bisebelebath is a kannada phrase which translates to Hot Lentil Rice. Bisi is the kannada term for hot. Bele translates to lentil and bath is a rice dish. It is a one pot, hearty meal. You can serve it potato chips and fryums. Curd based salads also pair well with it.
At home, bisebelebath is usually prepared during lunch. But, one can serve it for breakfast, brunch or dinner. The traditional method of cooking is generally followed by me. It is more tastier and makes a delicious meal. But, it does require more time. One can allow it to cook on slow flame while doing other chores.
Over to the recipe of Bisebelebath
Preparation time: 15 minutes
Cook time: 1 hour
Total time: 1hour 15 minutes
Serves: 4
Cuisine: South India
Type: Main Course
Ingredients: Measurement: 1cup = 150 ml
1 cup tuvar dal (arhar dal)
1.5 cup rice
20 french beans
1 potato
1 bowl green peas
lemon sized ball tamarind
4 teaspoon spice mix
salt to taste
12-15 cups water
¼ teaspoon turmeric powder
For the seasoning:
2 tablespoon oil
2 tablespoon ghee
½ teaspoon mustard seeds
1 teaspoon chana dal
1 teaspoon urad dal
¼ teaspoon turmeric powder
1/3 teaspoon asafetida
4 cashew broken into pieces (optional)
curry leaves
For the spice mix:
¼ cup urad dal
¼ cup bengal gram
1 cup coriander seeds
1 tsp cumin
1 tsp methi
1 tsp pepper corns
½ cup desiccated coconut
½ inch cinnamon stick
2 cloves
8-10 red chilly
2 teaspoon oil
Method :
Cut the potatoes into big chunks and put them in water. Remove the string of the beans and break them into medium sized pieces ( around an inch).
Soak tamarind in water and keep it aside.
Take a thick bottom pan, put water and keep it to boil. Wash tur dal and put into boiling water. Add a little turmeric powder to it.
Let it cook on a low flame. In the mean time, make the spice mix. Roast each one separately with a little oil. Once it cools, grind them together to a powder. Keep it aside.
Once the tur dal is half-cooked, put beans into it.
A little later put the green peas.
After five minutes, wash the rice and put into it. Give a stir. Adjust the level of water accordingly.
Lastly, put the potato pieces.
Allow them to cook well. The rice should not only be cooked but mushy also.
Extract the pulp from the soaked tamarind.
Put spice mix in the tamarind pulp and pour it over the rice dal mixture.
Mix well and let cook.
Make seasoning in another pan. Take oil and ghee mixture, put mustard seeds, as it splutters add bengal gram, urad dal, cashew pieces and curry leaves. Finally, put asafetida and turmeric powder, pour it over the dish and give astir
Serve bisebelebath with fryums and papads. Ghee may be added over it.
Take a tip;
Adjust spice mix according to your taste.
Groundnuts may be used instead of green peas.
Other vegetables as carrot and capsicum may be added. You can use varied vegetables but keep a check on the quantity used.
Keeping a lid over the vessel fastens cooking.
Evergreendishesdev
Bisebelebath
Bisebelebath is a popular dish from Karnataka. A rice variety which is cooked along with lentils and vegetables makes a good food anytime.
Cut the potatoes into big chunks and put it in water. String the beans and break them into long pieces (about an inch)
Soak tamarind in water.
Take a thick bottom pan, put water and keep it to boil. Wash tur dal and put it into it along with a pinch of turmeric powder.
Once tur dal is half cooked, put beans into it. A little later put green peas into it.
In the mean time, prepare the spice mix. Roast each ingredient seperately with a little water. Grind it to a powder and keep it aside.
After five minutes, wash the rice and put into it. Adjust the level of water accordingly.
Lastly, put potatoes.
Allow it to cook for sometime. Keep stirring in between. It should not only be well cooked but mushy. Put salt to it.
Extract the tamarind pulp.
Add spice mix to the tamarind pulp. Put it over the rice dal mixture. Give a stir. Let the flavours imbibe for sometime.
In another pan, make the seasoning. Take the oil and ghee mixture, add mustard seeds, as it crackles put bengal gram and urad dal. Then add cashew pieces, asafoetida, turmeric powder and curry leaves. Pour it over the bisebelebath.
Bisebelebath is ready to serve,
Notes
Adjust the spice mix accordingly.
The remaining spice mix can be stored and used later.
Adjust the consistency by adding more water to it.
Keep stirring in between.
Other vegetables as groundnuts, capsicum may be used.
If you do not have vegetables, then make it only with a few ground nuts.
A little ghee over it tastes good.
About the event :
Recently, I had prepared Bisebelebath and clicked some pictures. I thought of putting better pictures here. Sending this to Foodies_Redoing Old Post 82, a fortnightly event. Here. I have only modified the picture of the dish, the recipe remains the same.
Pin it for later :
bisebelebath
Wishing one and all a happy Holi ! May the year be filled with colourful events for all.
Subscribe to get a book of handy hints for free! If you have liked this post, do share it further. If you ever make this dish, take a picture and tag us on Facebook or Instagram by tagging @evergreendishes and @foodiejayashree respectively. I will be glad to see it and shall share it further.
instant raw mango pickle | easy recipes | vegan recipes | summer special recipes
Instant Raw Mango Pickle is a simple yet tasty accompaniment. With raw mangoes available, I often make it.
The best thing about summer is the availability of seasonal fruits as mangoes, watermelon and grapes. I love these fruits, especially mango. It’s also the time when I try my new recipes with these. Here is another version of mango pickle. This instant raw mango pickle is popular in South India. It is not only tasty but can be made quickly with a few ingredients. Use it with curds rice for that gratifying sense of satisfaction.
Among all the pickles, mango pickle is most popular. Instant variety are a hit as they can be prepared easily and stored in refrigerator for a couple of days.
instant raw mango pickle
Instant raw mango pickle
Recipe Type: Pickles
Cuisine: south india
Author: Jayashree
Prep time:
Total time:
Serves: 4
An easy to make pickle served at all functions in South India
Ingredients
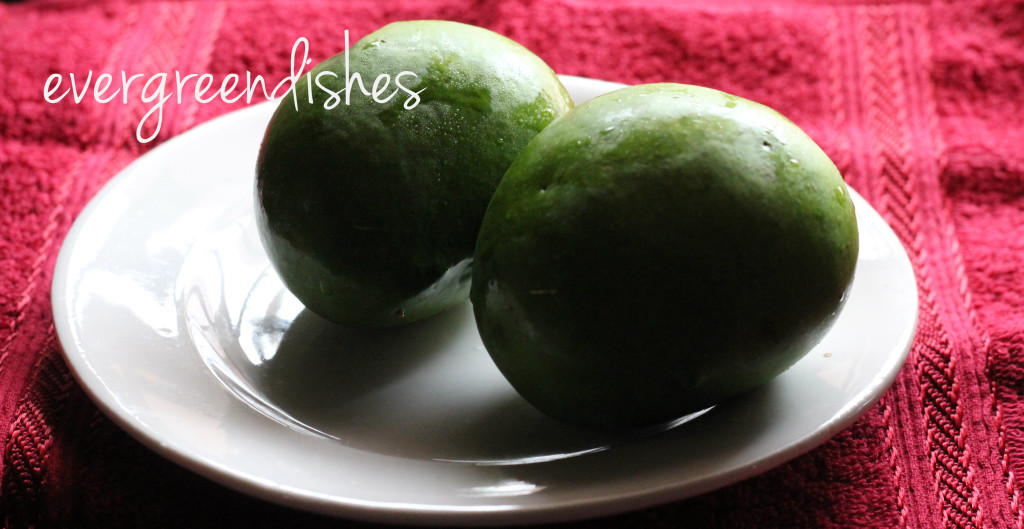
2 Raw mango
1 teaspoon chilly powder
1/4 teaspoon turmeric powder
1 teaspoon pickle mix
1 teaspoon salt (adjust accordingly)
1 tablespoon oil
1/4 teaspoon mustard seeds
1/4 teaspoon asafoetida
Instructions
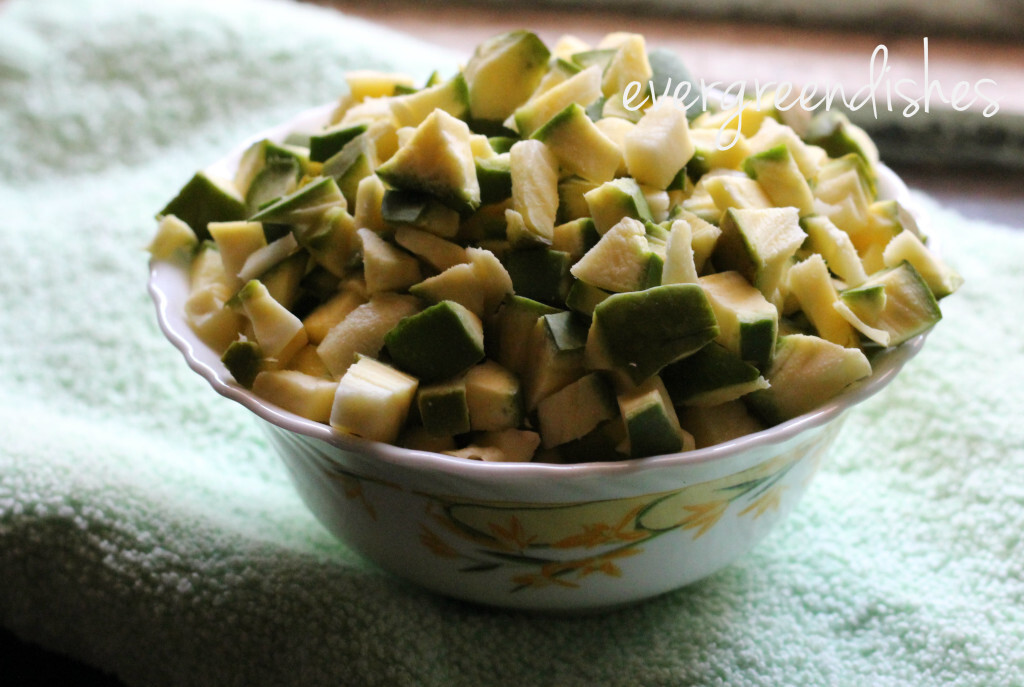
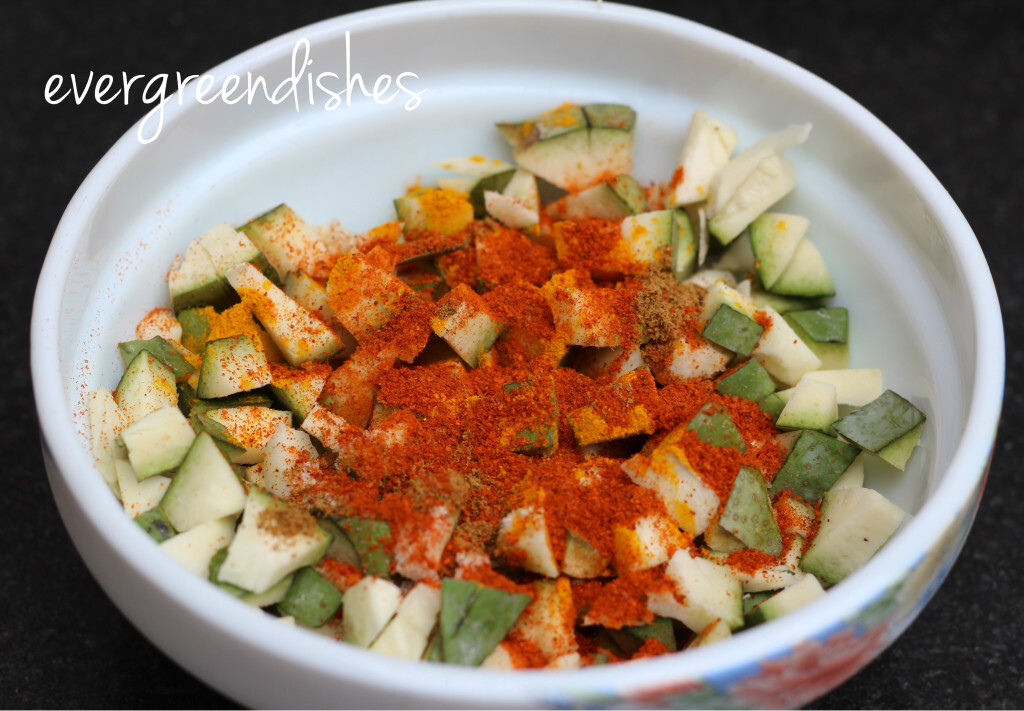
wash and cut the mango into small pieces.
Add salt, turmeric powder, chilli powder and pickle mix.
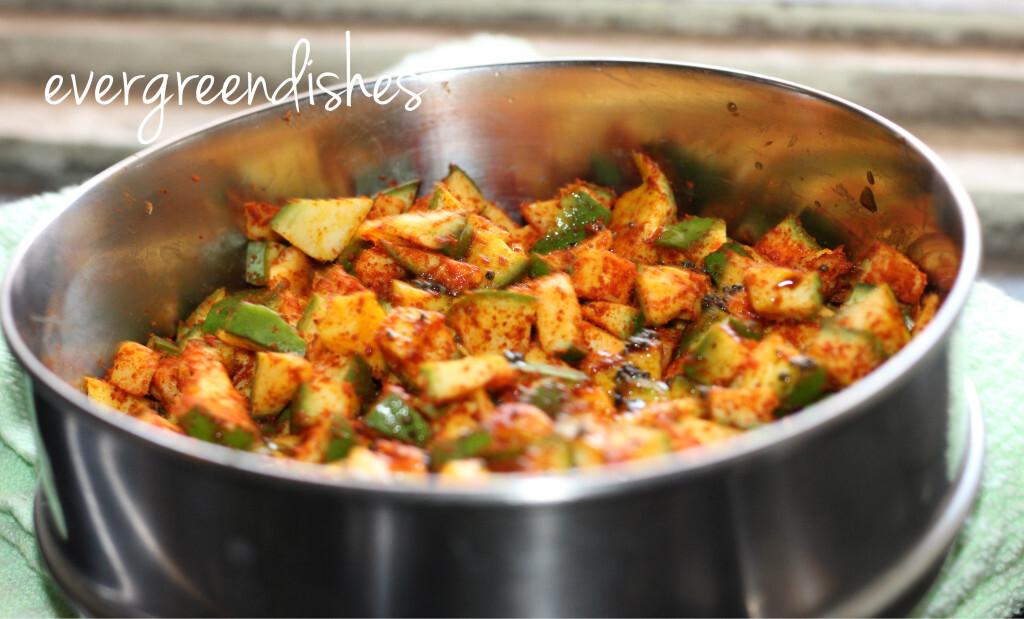
Make seasoning by heating oil. Add mustard seeds, as it crackles add asafoetida.
Pour it over the pickle and mix.
Instant raw mango pickle is ready to serve.
Notes
Adjust salt and chilly powder according to the taste. Consume within two or three days.
3.5.3208
raw mangoes
Raw mango, wash and wipe it dry.
mango pieces
Raw mango is cut into small pieces. It should be firm and sour to make pickles.
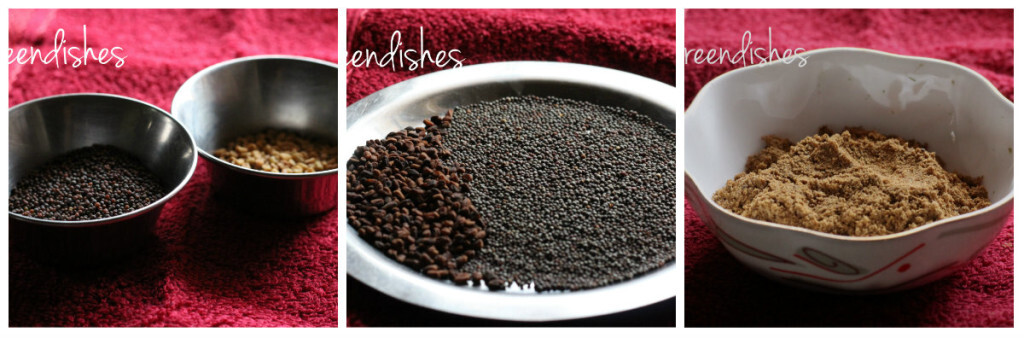
pickle mix
The pickle mix powder can be made and kept in a small air tight bottle. Dry roast two table spoons of mustard seeds and one table spoon of methi seeds seperately. When cool, grind them to a powder and store .
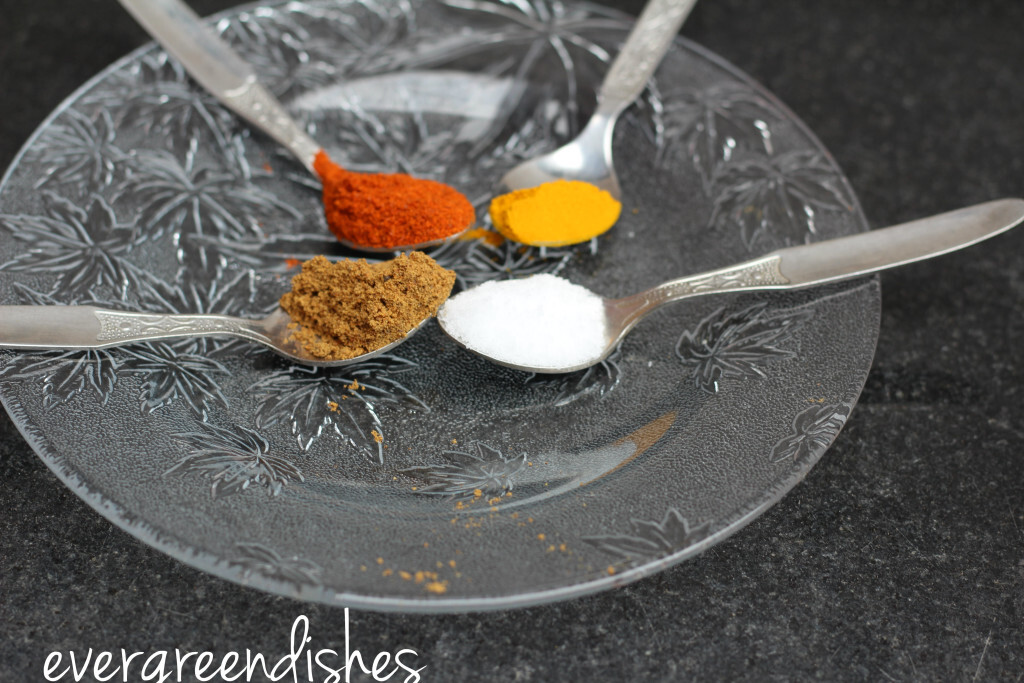
dry powders
Turmeric powder, chilli powder, salt and pickle mix
all spices sprinkled
all the spice powders are sprinkled.
mango pickle with seasoning
Make the seasoning and put it over it.
instant raw mango pickle
Instant Raw Mango Pickle is ready.
Drooling !
The other variety of pickle is here. Click the link below
An old post just got updated with a better final picture. Sending this to the Fooodies_Redoing Old Post 103. Here, I have added a few better pictures, the recipe remains the same.
Moongdal payasam is a tasty sweet which has a cooling effect on the body. Thus, with summer at its peak, you can enjoy this delicacy. Moreover, with Ugadi round the corner, it may be in the wish list.
Each state have adapted their own method of cooking. The North Karnataka recipe I had written long time back. You can check it here.Today, I am presenting to you Mangalorean style or Udupi style ( South Canara) style of this payasam.
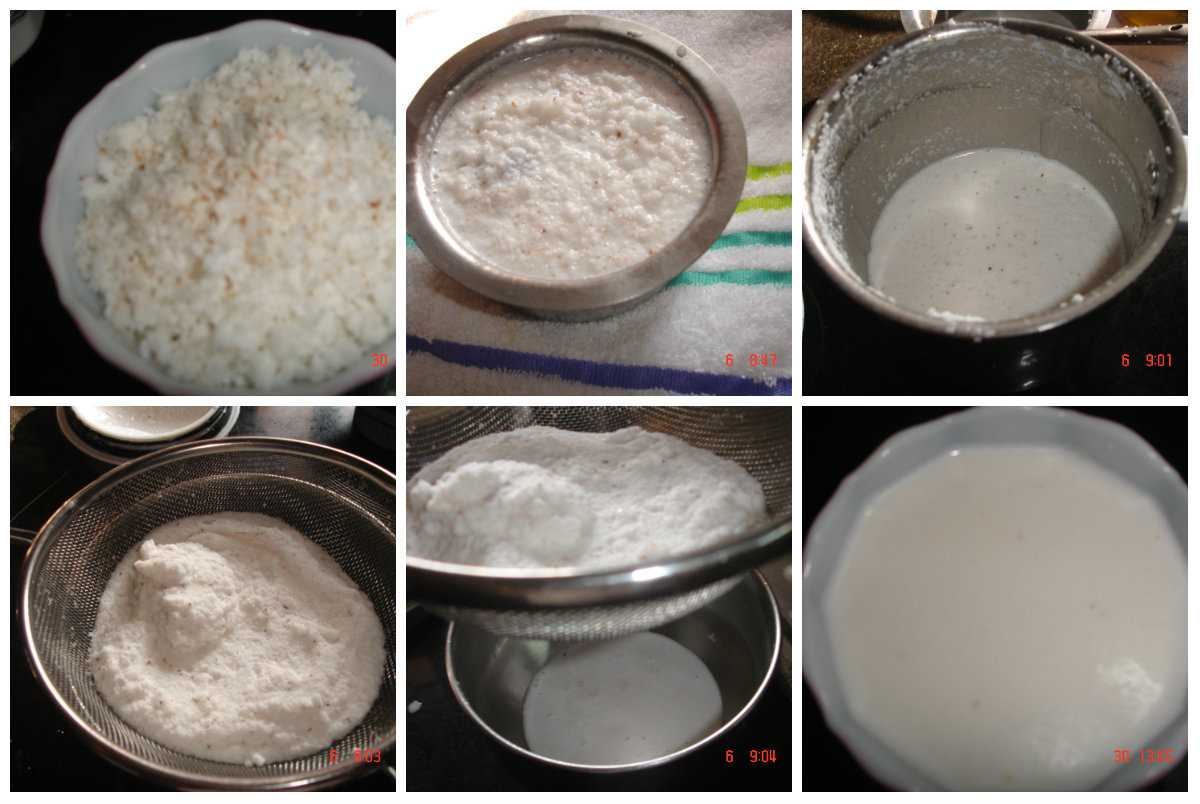
Coconut milk is used here. I have grinded cashews with a little coconut and mixed it. Thus it is both vegan and gluten free food.
With Ugadi approaching, I am planning to write a few good posts and finally make a collection of recipes too from bloggers for you. Please do keep watching this space.
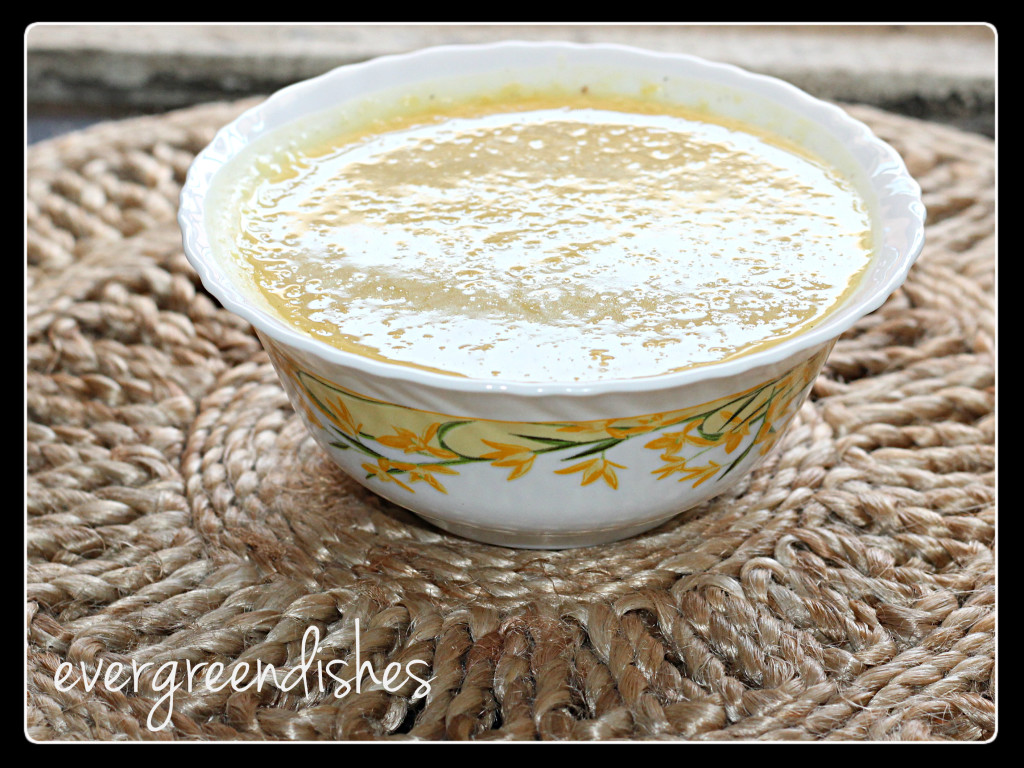
moongdal payasa
Moongdal payasam, mangalore style
Recipe Type: Sweets
Cuisine: Udupi
Author: Jayashree
Cook time:
Total time:
Serves: 4
A tasty and cool dish to beat the heat
Ingredients
Moongdal 1cup
ghee 2tsp
coconut milk 2 cup
jaggery 1cup
grated coconut 1tbsp
cashew 6
cardamom 4
Instructions
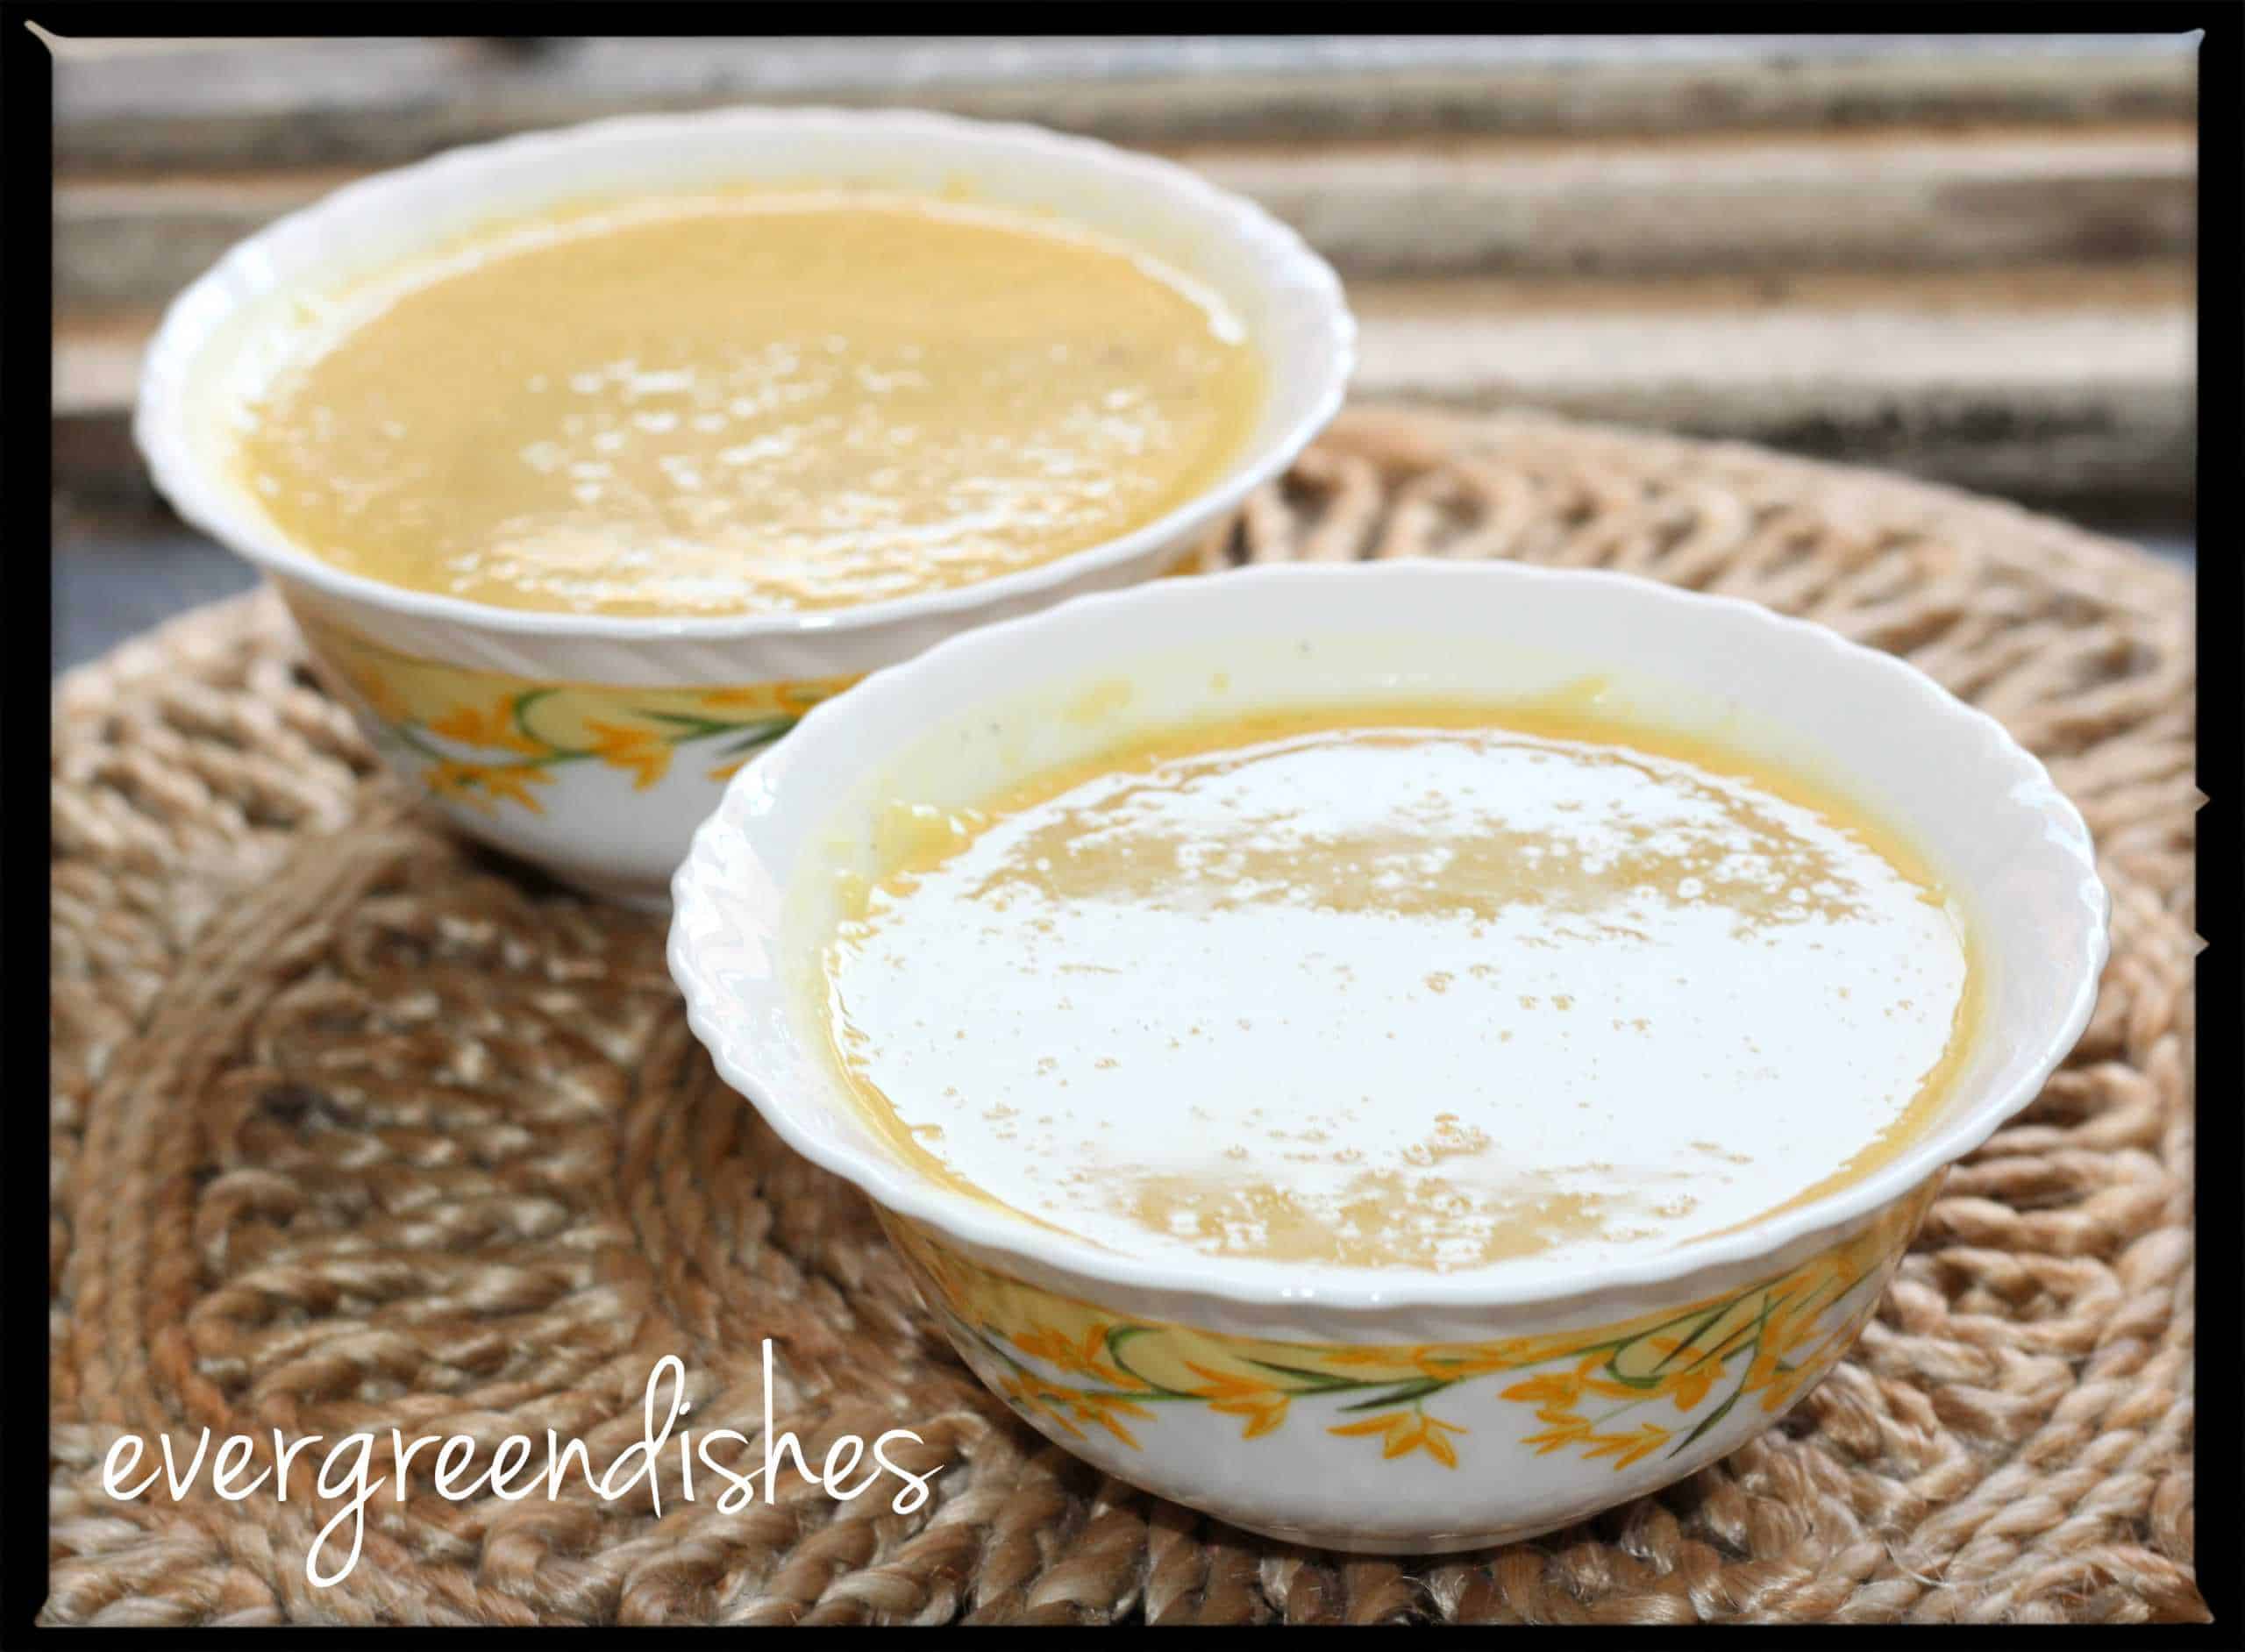
Wash the moongdal and keep it aside. Take a thick bottom pan,add the ghee and roast the moong dal. Add water and cook it. Alternately, you can put it in the pressure cooker at this stage.
But, this does not require much time, so I prefer to cook by the direct method. Once it is cooked, add the coconut milk and stir well. Add the jaggery. Grind the coconut with cashew and cardamom. Add this to it. Boil for a minute. Remove from fire. Moongdal payasam is ready
Notes
You can avoid adding the extra coconut. Cashews can be garnished over also.
Wash the moongdal and keep it aside. Take a thick bottom pan,add the ghee and roast the moong dal. Add water and cook it. Alternately, you can put it in the pressure cooker at this stage.
But, this does not require much time, so I prefer to cook by the direct method. Once it is cooked, add the coconut milk and stir well. Add the jaggery. Grind the coconut with cashew and cardamom. Add this to it. Boil for a minute. Remove from fire. Moongdal payasam is ready.
If you ever make this recipe, take a picture and share it by tagging @foodiejayashree on Instagram or @evergreendishes on Facebook. I will be glad to see and share your creation further.
Check out my e-books on Amazon. Do not miss any post, subscribe to get all updates and an e-book for free !
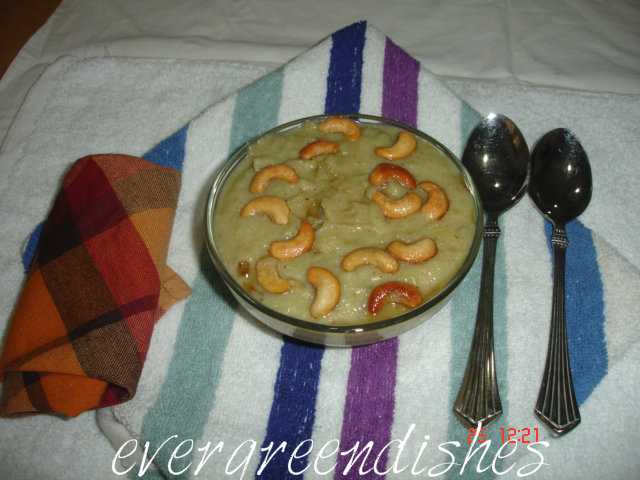
Sweet Potato Kheer is a tasty sweet dish from South Canara cuisine.
Since the beginning of the new year, I have been on a sweet spree here ! My third sweet dish in a row Sweet potato kheer! I recently made this kheer and it was too good, so I decided to share with you all. Sweet potato is again another healthy food . It is rich source of Vitamin A. It also contains Vitamin B, Vitamin C along with other minerals as calcium, magnesium, iron and phosphorous.
Some facts of sweet potato :
Sweet potato is neither a potato nor a yam . It is totally different from both of these.
Sweet potato is a dicotyledon plant and belongs to the family of Convolvulaceae.
It is regarded as one of the worlds healthiest food.
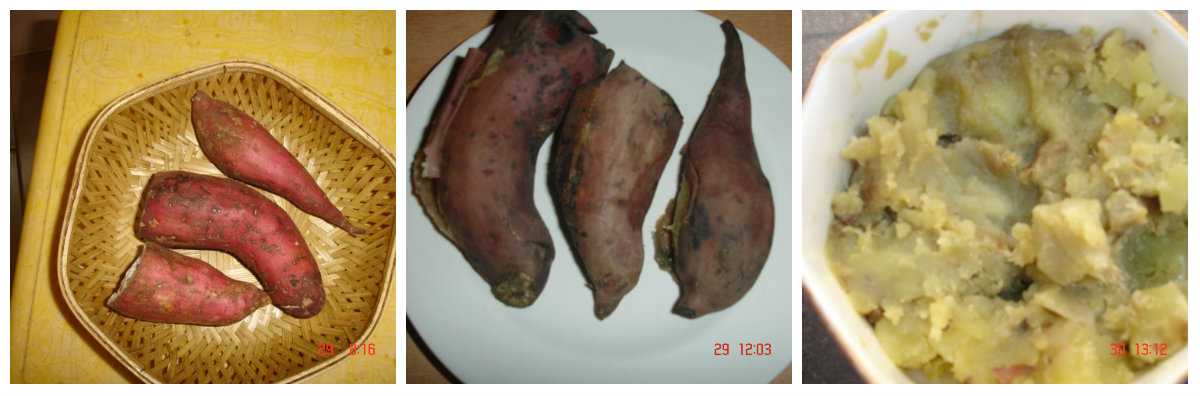
Steaming is the best way to consume this veggie, though it can be boiled or roasted.
It grows well in the tropical region, thus it is found in abundance in Africa, Asia and America.
This post is part of the Culinary Hoppers Blog hop with the theme “Udupi Cuisine”
Udupi cuisine is part of the Karnataka cuisine. Udupi is a small district with a religious background. Thus, this cuisine was formed primarily by the Asthamathas of Udupi. It is a satvic food which makes use of rice, greens and pulses.Coconut is one of the essential ingredients of their cooking. Vegetables as pumpkin, bitter gourd, cucumber, jackfruit and plantain are primarily used.
Now, their cuisine consists of sambar made with fresh spices and coconut, rasam, chutney,gojju, variety of payasams, pickles, and tasty stir fry. It is worthy to mention here that masala dosa is from this place. A wide variety of dosas and idlis are made for breakfast.