Category: south indian

  • Menthe Kadabu  | Karnataka recipes

    Menthe Kadabu | Karnataka recipes

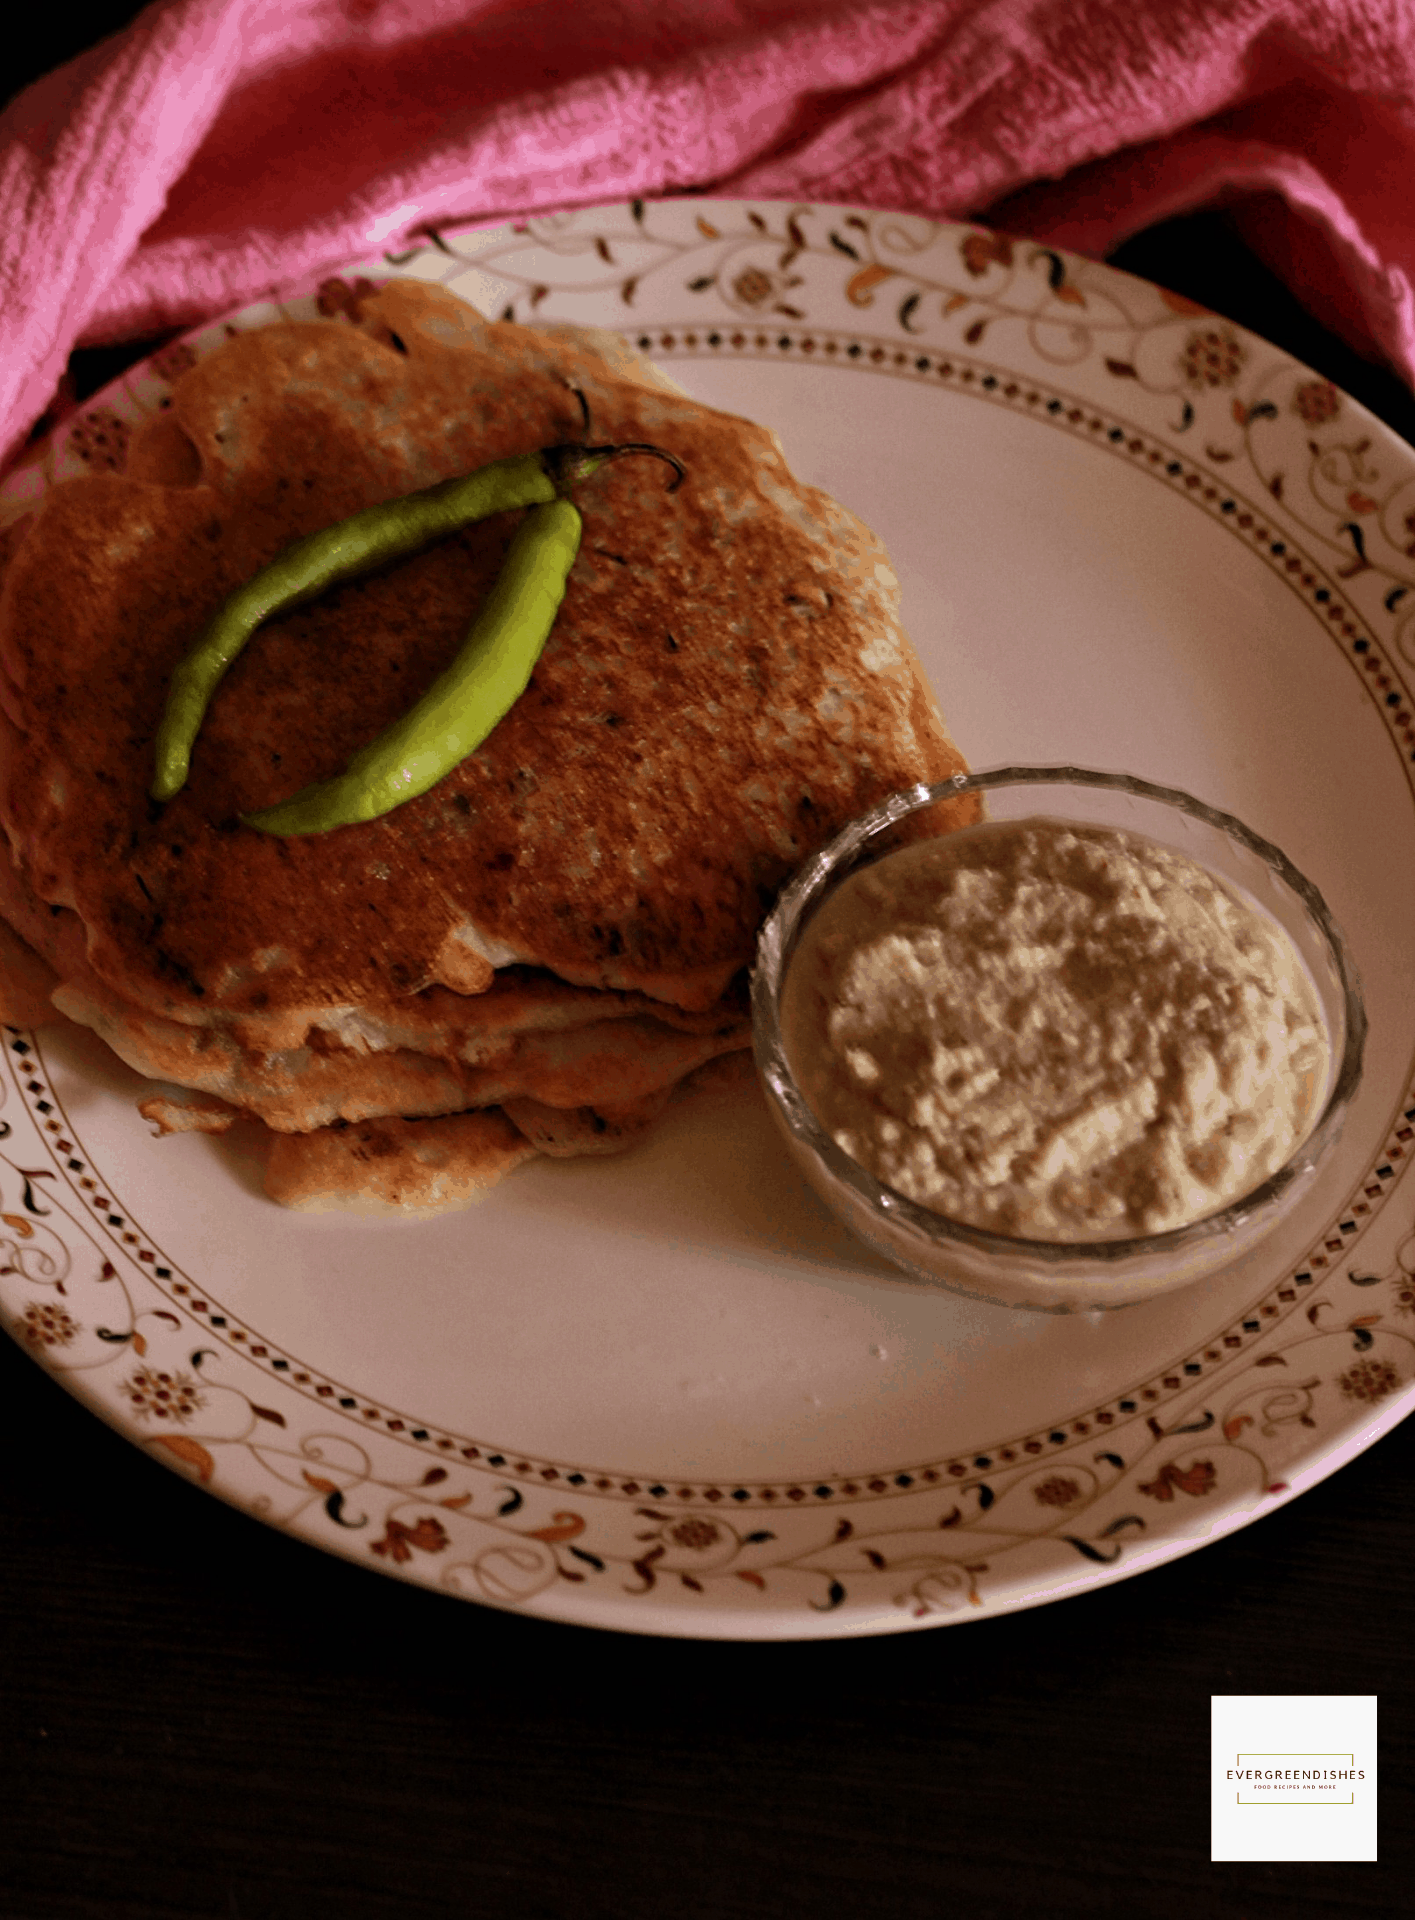
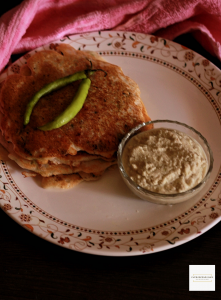
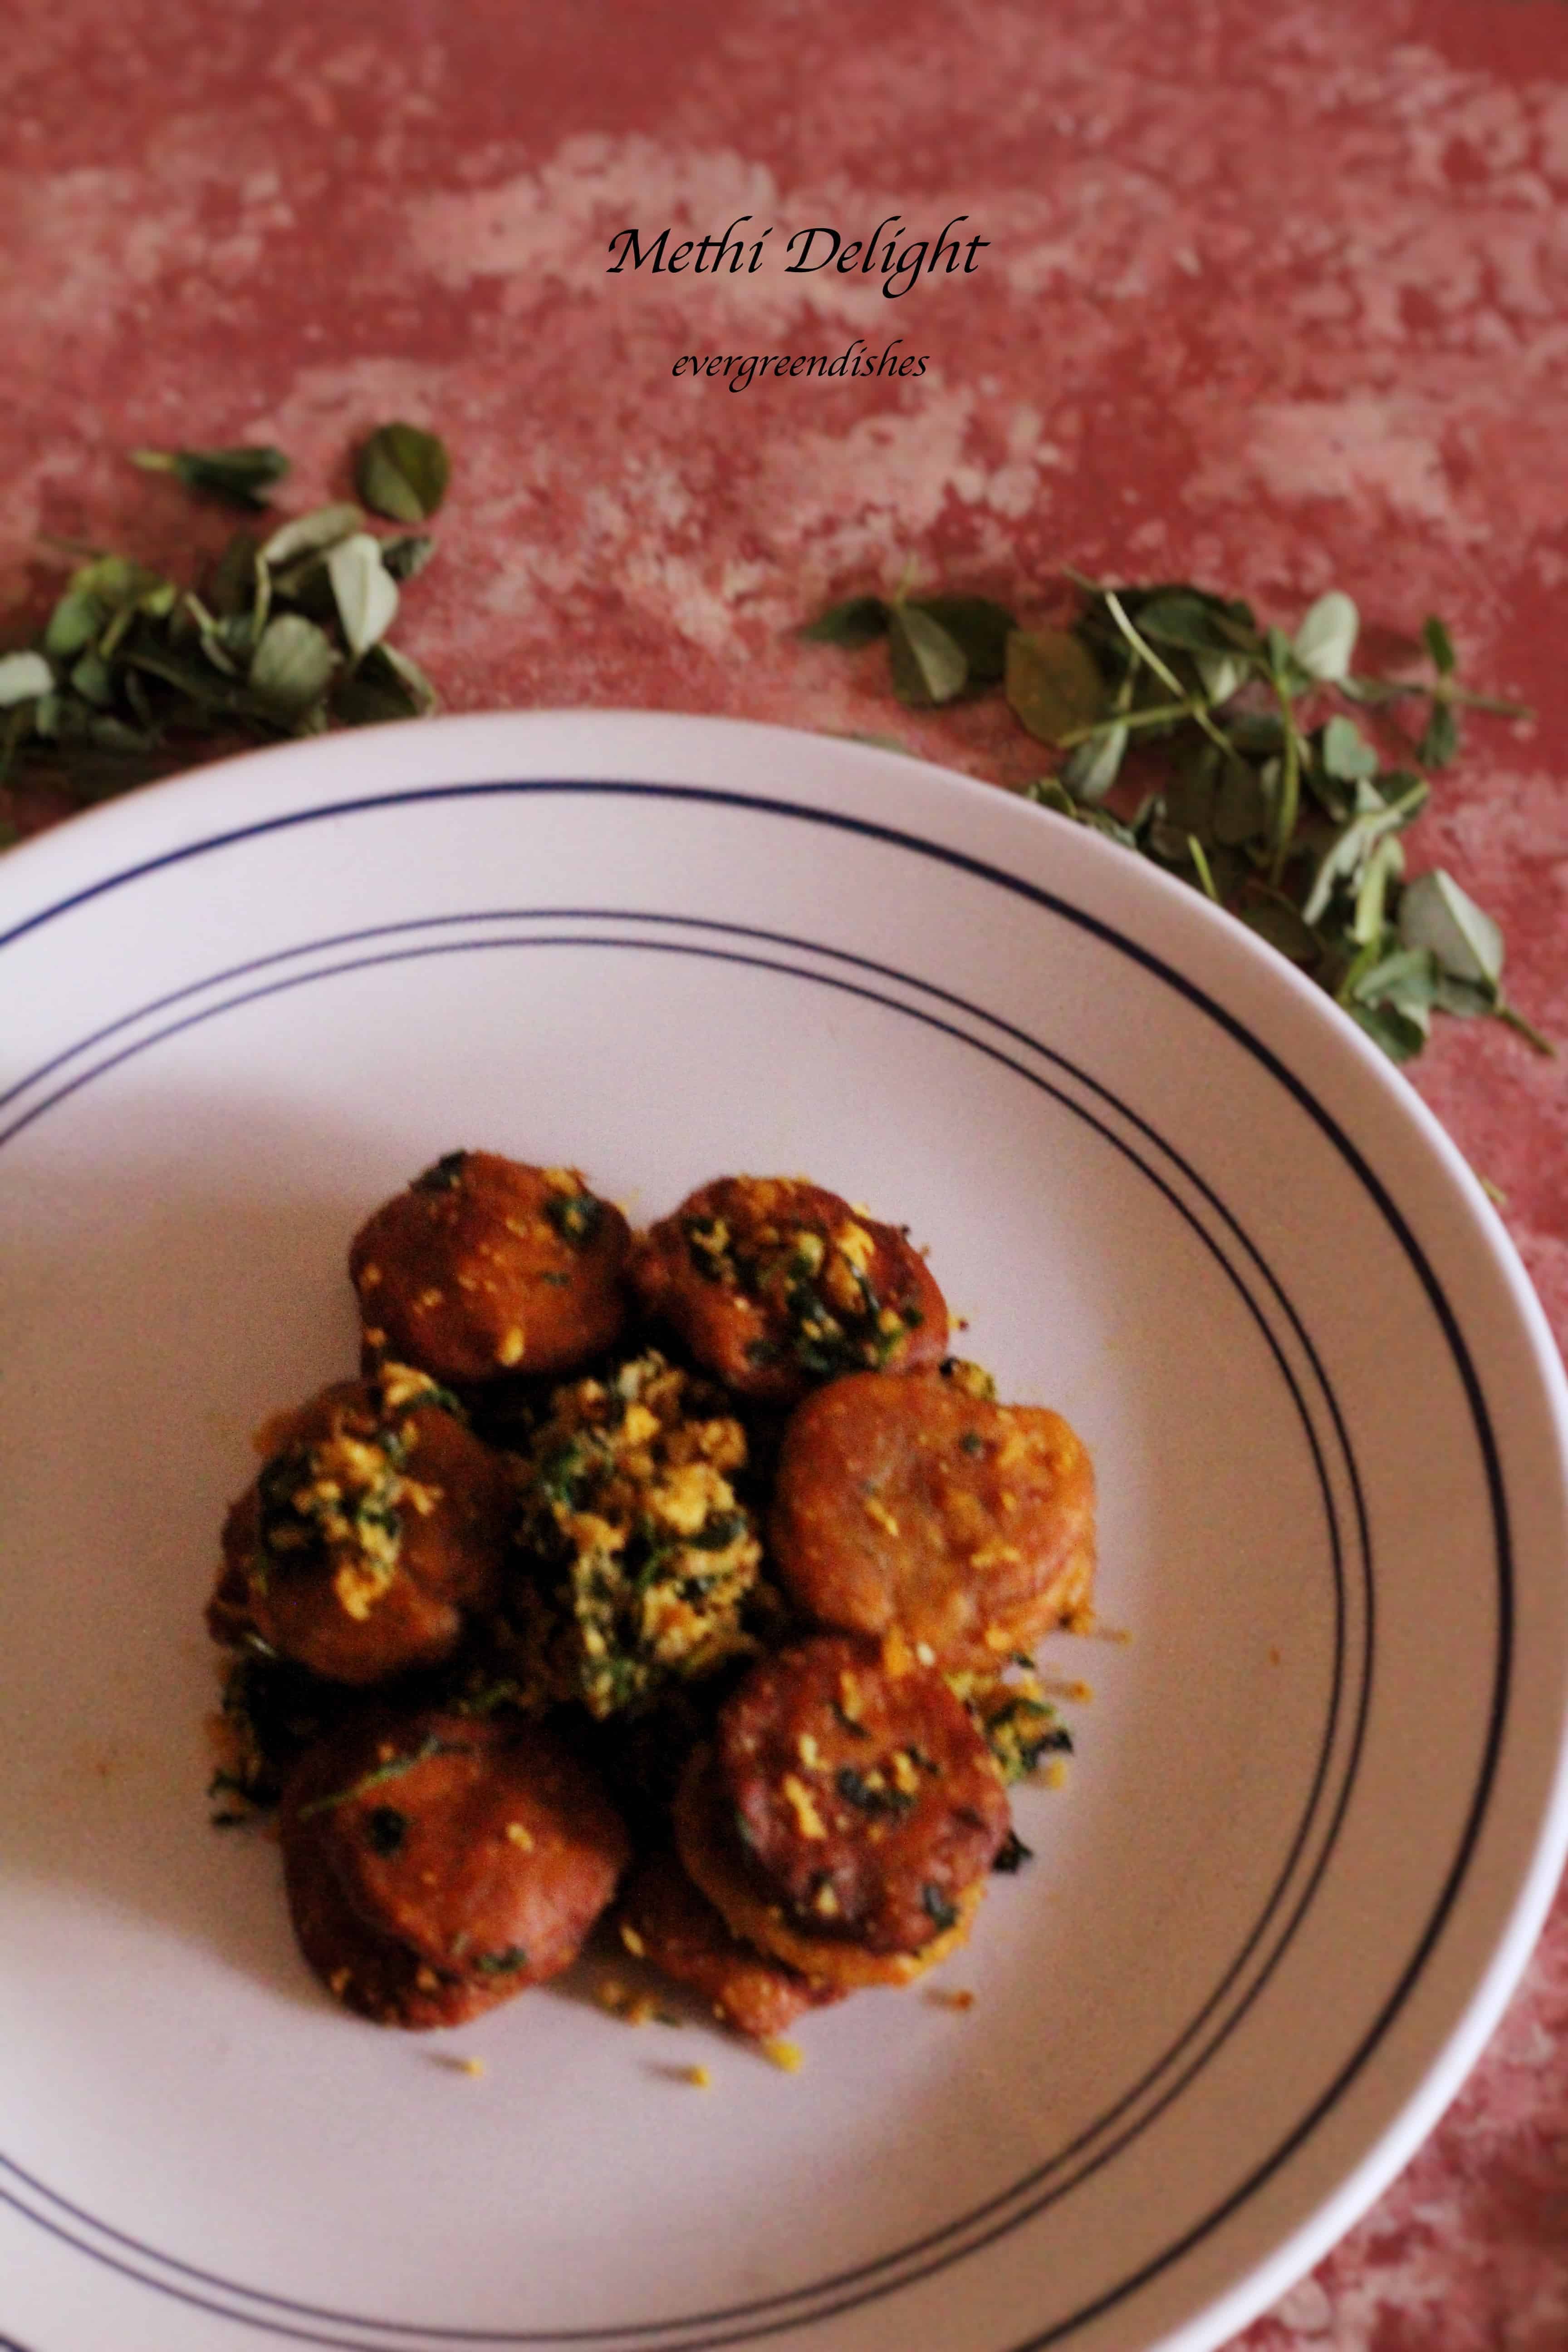
    Menthe Kadabu is a traditional recipe from Karnataka. It makes a good menu for lunch. Small, flattened discs of wheat flour are fried and sauted in a seasoning of fenugreek leaves, garnished with coconut.

    I attribute my cooking skills to my mom and mother in law and indebted to them. Both,  have been good cooks during their hay days and give good guidance.

    Methi or fenugreek leaves are extensively used by me. I like the pungent taste that it gives besides the nutrition.Here is one such kind where methi leaves are tossed in flattened puris. It is known as” menthe kadabu” in kannada.  I am sure  that you will love this recipe. Do let me know.

    methi delight
    methi delight

    INGREDIENTS :

    A  for the flattened puri or kadabu :

    • wheat flour 2 cups
    • chilli powder 1/2 tsp
    • salt
    • turmeric powder
    • asafoetida
    • rice flour 1tsp

    B   for the seasoning :

    • fenugreek leaves 2 bowls
    • chilli powder 1tsp
    • fresh coconut 1/2 bowl
    • oil for seasoning
    • cumin seeds 1/2 tsp
    • asafoetida
    • turmeric powder
    • salt

    Method :

    A  to make kadabu or flattened puri

    Mix the wheat flour with all the given ingredients into a thick dough. Keep aside for sometime.


    DSC01820

    Then, take a small ball and flatten between palms. Keep aside.

    Heat oil in a kadai and fry them. Keep aside.

    DSC01825

    B   For the seasoning :

    Cut and wash the fenugreek leaves. Take a kadai and make the seasoning using cumin seeds. Add the washed green leaves and saute for two minutes. Then, add chilli powder,salt and fresh grated coconut and mix well. Now, add the flattened puris , simmer for two minutes and remove from flame. Methi delight is rezdy to serve.

    methi delight
    methi delight


    Let’s be connected. Do follow on other social media Twitter, Facebook, G+, Pinterest, Instagram

    methi delight
    Evergreendishesdev

    Methi delight / menthe kadabu

    Methi delight or menthe kadabu makes a tasty dish, serve it for breakfast or with the lunch. 
    Prep Time 10 minutes
    Total Time 30 minutes
    Course: Breakfast, lunch, weekend
    Cuisine: Indian

    Ingredients
      

    For the flattened puri /kadabu
    • 2 cups wheat flour
    • 1 teaspoon rice flour
    • 1/2 teaspoon chilli powder
    • 1/4 teaspoon turmeric powder
    • 1/4 teaspoon asafoetida
    • salt to taste
    • water for kneading
    For the seasoning
    • 2 cup fenugreek leaves
    • 1 tablespoon oil
    • 1/2 teaspoon cumin
    • 1/4 teaspoon asafoetida
    • 1 teaspoon chilli powder
    • 1/2 bowl fresh coconut
    • salt to taste
    Other ingredients
    • oil for shallow frying

    Method
     

    To make the flattened puri / kadabu
    1. Mix all the ingredients into a stiff dough. Keep it aside
    2. Take a small piece of the dough, flatten between palms and keep aside on a plate. Repeat for the rest of the dough.
    3. Heat oil and fry them. 
    To make the seasoning
    1. Cut and wash the fenugreek leaves. Take a kadai and make the seasoning using cumin seeds. Add the washed green leaves and saute for two minutes. Then, add chilli powder,salt and fresh grated coconut and mix well. Now, add the flattened puris , simmer for two minutes and remove from flame. Methi delight is rezdy to serve.

    Subscribe to get a book of handyhints !

    [social_share style=”bar” align=”horizontal” heading_align=”inline” facebook=”1″ twitter=”1″ google_plus=”1″ linkedin=”1″ pintere
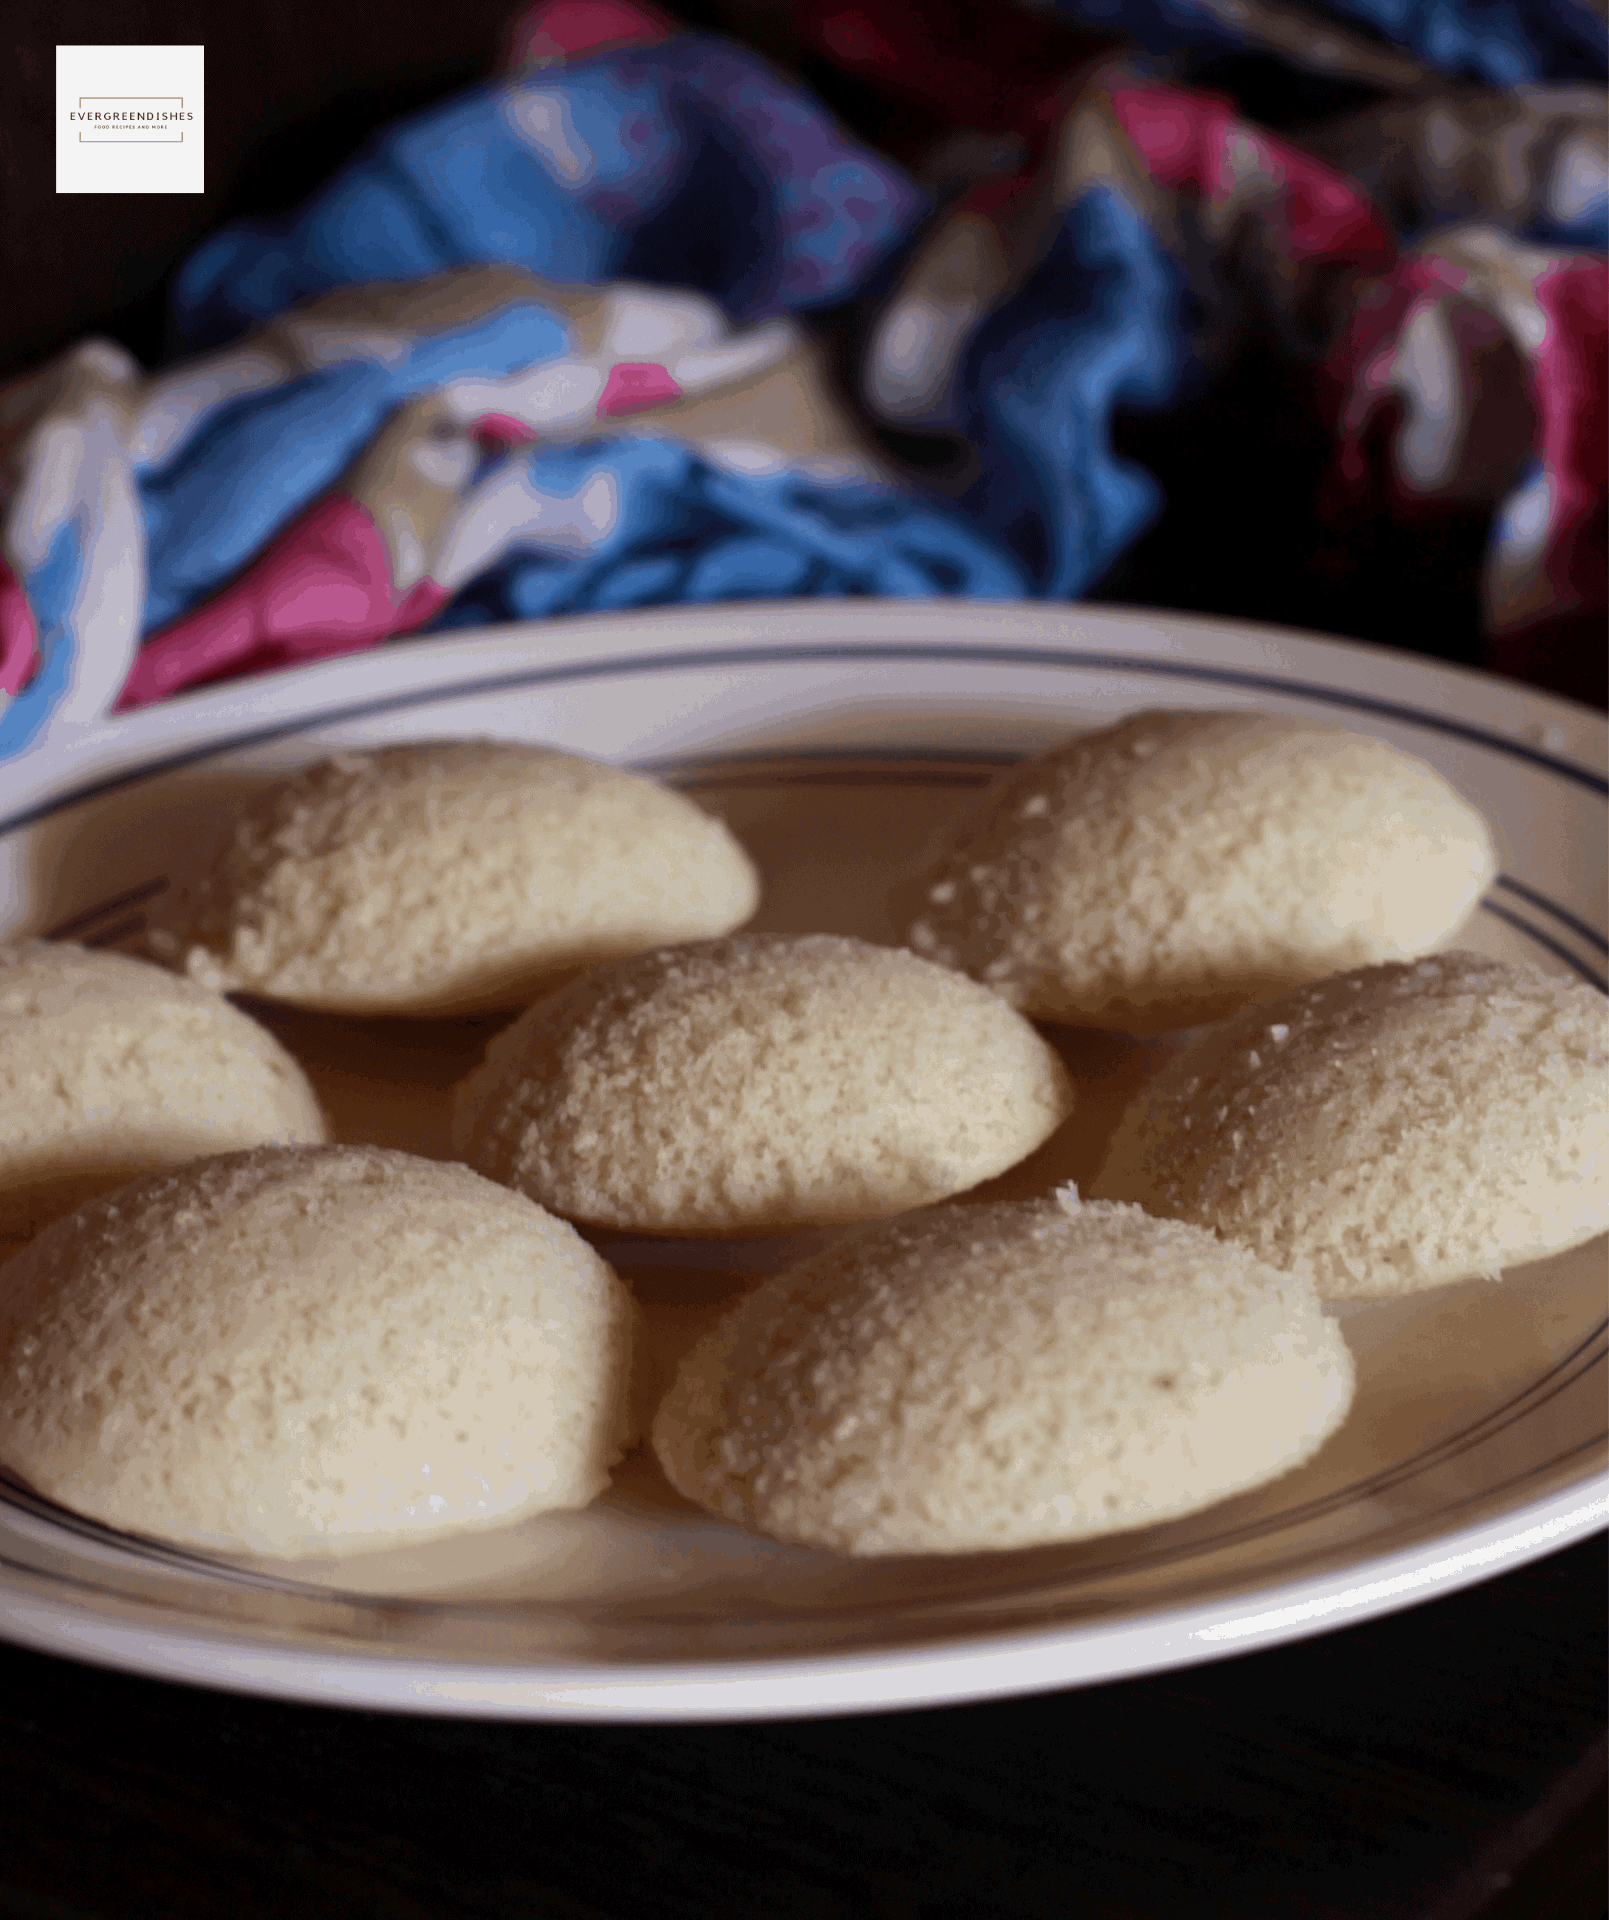
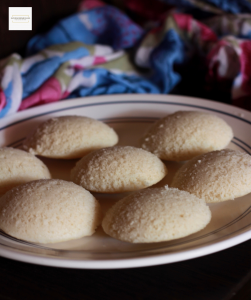
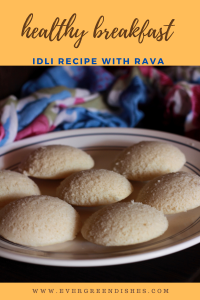
  • Gundapongal | Paddu| Kuzhi Paniyaram

    Gundapongal | Paddu| Kuzhi Paniyaram

    ( Disclosure : As an Amazon Associate, I will get a small commission for qualifying purchases without no addition cost to you.)

    Gundapongal | Paddu | Kuzhi Paniyaram | South Indian Breakfast | Indian food | Tamilnadu | Andhra Pradesh | Karnataka


    Gundapongal is a popular breakfast in South India. It is also known as paddu, guliyappa and kuzhi paniyaram. The batter is mixed with onion and other ingredients and cooked in a paddu maker, it makes a good breakfast.

    Mornings are quite busy, many errands and you have to prepare breakfast and pack the lunch box. Well, we Indians love idly and dosa for breakfast. I think it is ideal to keep a box of batter in the refrigerator, it just saves some time. The chutney too can be pre-made and refrigerated.

    I often have dosa batter as I can make gundapongal or uttappam the next day. The same batter can be used for all the three recipes. Serve gundapongal with coconut chutney. Crispy dosa smeared with ghee and some podi tastes good.

    About the pan:

    Gundapongal is made in a special pan with cavities. The number of cavities depends on the size of the pan and the cavities in-built. You can either buy a cast iron or a non-stick as per your convenience.  Cooking in non-stick is easier and needs a small quantity of of oil. The cast iron  pan gives  a different taste, it is crispy on the outside and soft inside.

    Other South Indian breakfast recipes:

    Gundapongal / Gundu Pongal / Paddu / Kuzhi Paniyaram

    Ingredients:

    • a bowl of dosa batter
    • a bowl of finely chopped onions
    • curry leaves
    • a teaspoon of soaked bengal gram

    Grind to a paste :

    • 4 green chillies
    • a bowl of coriander leaves
    • 1 inch ginger
    • 1 tsp cumin

    Method:

    1. Take the required quantity of batter in a bowl. Make a paste of the listed ingredients. Put the onions, green chilly paste, salt if needed. Tear the curry leaves and throw them in it.
    2. Take the gundapongal pan, heat it on a low flame. Smear some oil in each of the perforations. Add a spoonful of batter in each of the perforations and close it with a lid.
    3. Let cook for sometime. Turn each of them with a spoon. Allow it to cook for sometime.
    4. Once they are done, remove and serve hot with chutney.

    Take a tip:

    • You can make plain paddus also.
    • Addition of onion is optional. You can make sans onion on festive days.
    • Adjust the level of spiciness.
    • Addition of soaked bengal gram is optional, it gives a good taste in it. It should be soaked for two hours atleast.


    gundapongal
    gundapongal


    gundapongal
    gundapongal

    About the event:

    The old posts are often neglected but they need to be looked up. I am sending this to Foodies_Redoing Old Post 23, a group where we every fortnightly, work on an old post and share it. This is one of the first few posts I wrote, now I have changed both the text and pictures.

    Gundapongal

    Gundapongal is a popular breakfast from South India. It is also known as Paddu or Kuzhi Paniyaram. Onion pieces and other ingredients are mixed in the dosa batter and cooked in a paddu pan, it is served with coconut chutney.
    Course: Breakfast
    Cuisine: South Indian

    Ingredients
      

    • a bowl of dosa batter
    • a bowl of finely chopped onions
    • curry leaves
    • a teaspoon of soaked bengal gram
    • Grind to a paste :
    • 4 green chillies
    • a bowl of coriander leaves
    • 1 inch ginger
    • 1 tsp cumin

    Method
     

    1. Take the required quantity of batter in a bowl. Make a paste of the listed ingredients. Put the onions, green chilly paste, salt if needed. Tear the curry leaves and throw them in it.
    2. Take the gundapongal mould, heat it on a low flame. Smear some oil in each of the perforations. Add a spoonful of batter in each of the perforations and close it with a lid.
    3. Let cook for sometime. Turn each of them with a spoon. Let cook.
    4. Once they are done, remove and serve hot with chutney.

    Notes

    Addition of onion is optional.
    Adjust the spiciness as per the taste required.

    Pin it for later:

    gundupongalu
    gundapongal

    If you have liked this post, do share it with your family and friends. You can save the above image on Pinterest for further reference.

    If you ever make this recipe, do take a picture and tag @foodiejayashree on Instagram or @evergreendishes on Facebook

    Let’s be connected, do follow us on social media. Subscribe to get a book of handy hints for free !

    ( Disclosure : As an Amazon Associate, I will get a small commission for qualifying purchases without no addition cost to you.)


  • Ghee Rice Recipe

    Ghee Rice Recipe

    Jump to RecipePrint Recipe

    Ghee Rice is a popular rice dish from South Indian cuisine..  It is usually served with a curry or kurma. It is ideal for parties or a get-together.

    Ghee rice and gravy  always makes a sumptuous meal at parties or on weekends and family get togethers. I always prefer the rice dishes to be prepared in a rice cooker as it is perfectly cooked and the heat is retained, but it is a personal choice. In all my recipes, I am giving the traditional method of cooking, but you can easily switch it over to the rice cooker after you saute  it in a wok.

    Memories of ghee rice :

    When we were young, mummy used to prepare ghee rice frequently. It was a delight to have it with kurma. It was only in the later years, we were introduced to jeera rice. Last month, I prepared ghee rice after a long time and the ghee rice recipe got a face lift.

    ghee rice
    ghee rice

    Ghee Rice Recipe

    Ingredients :

    • 1 cups long grain rice
    • 1 cup onion slit length wise
    • 2 tbsp ghee
    • 2 sticks of cinnamon
    • 4 cloves
    • 4 cardamom
    • 1 bay leaf
    • 1 star anise
    • 2 green chillies slit lengthwise
    • cashew nuts and raisins
    • salt
    • 2 cup water ( depends on the mode of cooking and the kind of rice used )


    Method:

    1.  Wash the rice and keep aside for fifteen minutes.
    2. Take ghee in a pressure pan, put the cashew pieces. After a while, add the raisins. Saute them for sometime. Once they are golden in collour, remove and keep them in aplate.
    3. In the same oil, put the spices. Put green chilli to it. After a few seconds, put the  onions and saute it until translucent.
    4. Then add the rice and continue to saute for three minutes
    5. Add 2 cup of water and salt to it.  A little bit of lime juice creates wonders.
    6. Initially, keep the flame high, then reduce it to a low flame  and allow to cook until it is done. Keep covered for ten minutes.
    7. Put the cashew and raisins kept aside and gently mix the ghee rice. Serve with any curry or kurma.

    Take a tip :

    1. Always use good quality ghee to make ghee rice.
    2. To cook in pressure cooker, put one three-fourth cup of water and salt. Mix it and close the lid. Put the whistle and allow to cook for one whistle. Let the pressure release by itself. Later, garnish with the roasted nuts.
    3. To cook in the rice cooker, transfer it after you saute the rice. Put two cups of water and salt, mix and switch on the power.
    4. To use left over rice, make sure the rice is aromatic and the grains are separate. Take ghee in a pan, add two cardamom, cloves, green chilli and onion. Once you saute the onions, put half a teaspoon of pepper powder and salt. Mix the rice to it.

    ghee rice
    ghee rice

    A few other rice recipes from South India I often make at home are :

    About the event :

    Sending this to Foodies_Redoing Old Post 93. This is one of the first few posts I wrote when I started my blog.

    ghee rice

    Ghee Rice

    5 from 4 votes
    Ghee Rice is an aromatic rice dish from South India. It pairs well with curry or kurma.
    Course: dinner, holiday, lunch ideas
    Cuisine: South Indian

    Ingredients
      

    • 1 cups long grain rice
    • 1 cup onion slit length wise
    • 2 tbsp ghee
    • 2 sticks of cinnamon
    • 4 cloves
    • 4 cardamom
    • 1 bay leaf
    • 1 star anise
    • 2 green chillies slit lengthwise
    • cashew nuts and raisins
    • salt
    • 2 cup water depends on the mode of cooking and the kind of rice used

    Method
     

    1. Wash the rice and keep aside for fifteen minutes.
    2. Take ghee in a pressure pan, put the cashew pieces. After a while, add the raisins. Saute them for sometime. Once they are golden in collour, remove and keep them in aplate.
    3. In the same oil, put the spices. Put green chilli to it. After a few seconds, put the  onions and saute it until translucent.
    4. Then add the rice and continue to saute for three minutes
    5. Add 2 cup of water and salt to it.  A little bit of lime juice creates wonders.
    6. Initially, keep the flame high, then reduce it to a low flame  and allow to cook until it is done. Keep covered for ten minutes.
    7. Put the cashew and raisins kept aside and gently mix the ghee rice. Serve with any curry or kurma.

    Notes

    Always use good quality ghee to make ghee rice.
    To cook in pressure cooker, put one three-fourth cup of water and salt. Mix it and close the lid. Put the whistle and allow to cook for one whistle. Let the pressure release by itself. Later, garnish with the roasted nuts.
    To cook in the rice cooker, transfer it after you saute the rice. Put two cups of water and salt, mix and switch on the power.
    To use left over rice, make sure the rice is aromatic and the grains are separate. Take ghee in a pan, add two cardamom, cloves, green chilli and onion. Once you saute the onions, put half a teaspoon of pepper powder and salt. Mix the rice to it.

    If you ever make Ghee Rice recipe, take a picture and tag @foodiejayashree on Instagram or @evergreendishes on Facebook. Subscribe to get all updates and an e-book for free.

  • Sambar / south indian cuisine

    Sambar / south indian cuisine

    Sambar is a thick lentil based, thick soup like dish made with the addition of vegetables and spice mix, usually served with steamed rice. It is commonly made in every household in South India, though the spice mix varies.

    Sambar is thicker than rasam and usually, some kind of vegetables or green leaves are added to it. It is also served with idly and wada. Onion may or may not be added to it. This is a vegan food.

    Here is one kind of sambar that you can make on a regular basis.

    The ingredients that you need are:

    • 1 cup  tur dal
    • 1.5  cup beans,carrot and potato
    • 1 onion cut into small pieces
    • 1 tomato finely cut
    • 2 tsp of sambar powder
    • 1 tsp of chilly powder
    • a lemon size ball of tamarind
    • salt to taste
    • 2 tbsp of  ghee and oil mixed together for seasoning
    • 1/2 tsp of cumin seeds
    • a few curry leaves
    • coriander for garnishing


    Method:

    • Wash the tur dal and cook it in the pressure cooker with the veggies. Keep aside.
    • Soak tamarind in water for fifteen minutes.
    • Take oil in a kadai and make the seasoning. Add cumin seeds,curry leaves and onions. Saute till light pink in colour.
    • Add tomatoes and allow to cook till tender.
    • Extract the pulp from the tamarind. Strain it and measure a small glass of it. Pour it into the kadai.
    • Add sambar powder, chilli powder and salt.
    • Allow to boil for sometime.
    • Now add the cooked vegetables in dal .
    • Add sufficient quantity of water.
    • Allow to boil on slow flame,Garnish with fresh finely cut   coriander leaves.

    Take a tip:

    • Sambar powder is easily available in market.
    sambar
    sambar

    Pin it for later:

    Sambar / south indian cuisine


    This is an old post which I have redone with better pictures and text. Every fortnightly, a group of bloggers visit our old posts and edit one of them. Sending this to Foodies_ Redoing_Old Post19


    If you have liked this recipe, do share it with your family and friends. If you ever recreate it, take a picture and tag @foodiejayashree on Instagram, or @evergreendishes on Facebook and Twitter.

    Let’s be connected !

    Subscribe to get all updates and a book of handy hints for free !


  • Idli Recipe | idli with homemade idli batter

    Idli Recipe | idli with homemade idli batter

    Idli is a popular breakfast from South India. It is the healthiest breakfast that we can serve to our family.

    Idli is a steamed cake made from the batter of lentil and rice or rava. It is ideal for people of all age groups from babies to old grand parents.

    Idli is prepared in two ways by using rice along with lentil or rava with lentil. Today, I am sharing the second kind of recipe here.

    The making of idli involves three steps:

    1. Soaking of lentil
    2. Grinding of lentil
    3. Mixing of cream of wheat
    4. Fermentation
    5. Preparation

    Soaking of lentil : Wash the urad dal and soak it in water for two to four hours.

    Grinding of lentil: You can either grind it in a mixer or wet grinder.

    Mixing of cream of wheat : It is soaked for half an hour and later mixed in the lentil batter.

    Fermentation: It should be kept in a wide vessel in a warm place to ferment  for five to six hours, preferably overnight.

    Preparation: The next day, mix salt in the batter and prepare the idlis.

    About the Idli Cooker and Idli Maker :

    Different brands of Idli Cooker and Idli Maker are available in the market. Idlis can be made in pressure cooker too but do not use the whistle. Idli can be made in different shapes too. Plate Idli (Thatte Idli), Glass Idli ( lota idli), button idli. Do you know that they are also made in moulds made of jackfruit leaves and banana leaves ?  It gives a good aroma to idli.

    idli
    idli

    I have many idli recipes on the blog. Some of them are Chennai Idli, Ragi Idli, Instant Ragi Idli and Sago Idli.

    About the event:

    This is an old post which I had written in the beginning, when I started blogging. Now I have redone with better pictures and text, sending this to Foodies_Redoing OldPost 24. This is a fortnightly event where we work on one old post regularly.

    How to make Idli

    Ingredients:

    • 1 bowl of urad dal
    • 2 bowl of idli rava for batter made in wet grinder ( 1 bowl of idli rawa for mixer)
    • water
    • salt to taste

    Method:

    1. Wash the urad dal and soak in water for one and a half hour.
    2. Grind into a fine paste by using adequate amount of water.
    3. Soak the semolina in water for fifteen minutes. Addition of semolina depends on the mode of making the batter. If you use the wet grinder, mix two bowl of idli rawa as the quantity of batter is adequate here. In case of mixer jar, you can use only one cup of idli rawa.
    4. Squeeze the water out from the semolina and mix it in the batter.
    5. Keep it for fermentation in a warm place for five to six hours, preferably overnight.
    6. The next day, add salt to the batter and mix it . If the consistency is thick, add some water.
    7. Pour the batter into idli moulds and cook it in a idli  pan or pressure cooker. If using pressure cooker, do not use the whistle.
    8. For the first ten minutes, steam it on high flame, later reduce it. De mould them slowly after a few minutes. You need 15 -20 minutes to make a batch of idlis.
    9. Serve hot with chutney and sambar.

    Take a tip:

    • Fermentation time varies from region to region. It is quicker during summer and takes longer during winter.
    • Mix the batter using hand, the heat of the human body gives a good texture.
    • Idli Rava is made from rice. It is slightly coarse in texture. This is different from Bombay Rava that is used for upma.


    idli
    Evergreendishesdev

    Idli

    Idli is an ideal breakfast to serve any day. It is steamed, easy to prepare and filling. 
    Prep Time 20 minutes
    Cook Time 30 minutes
    6 6 hours
    Total Time 6 hours 50 minutes
    Servings: 6 people
    Course: Breakfast
    Cuisine: Indian

    Ingredients
      

    • 1 cup urad dal
    • 2 cup semolina
    • water
    • salt

    Method
     

    1. Wash the urad dal and soak it for two hours.
    2. Grind it to a smooth batter. 
    3. Soak the semolina in water for ten minutes. Mix into the batter, close and keep it in a warm place to ferment. 
    4. Next day, add salt to it. Heat a idli maker, grease the moulds (not necessary) and put batter in the cavity. 
    5. Steam it for fifteen to twenty minutes. 
    6. Serve with chutney and sambar.

    Pin it for later: 

    IdliIdli

    If you have liked this post, do share it with your family and friends. If you ever make this, take a picture and share it by tagging @foodiejayashree on Instagram or @evergreendishes on Facebook or Twitter.

    Subscribe to get all updates and an e-book for free.


  • Raw Mango Chutney

    Raw Mango Chutney

    Raw Mango Chutney is a popular summer accompaniment. It is usually made and stored in the refrigerator for later use. It pairs well with both rice and chapati.

    Raw mangoes are sour and mouth watering. One cannot resist eating them. A wide range of dishes can be made with raw mango, but make sure it has a sour taste, to give its  zing.

    Today, let us make the tasty raw mango chutney. Different states have different versions of the same chutney. The sad part is there is change in the method of preparation from one region to another. The same chutney is made sweeter by adding more jaggery to it in one part of the state, while in the other, they love it tart.

    Raw Mango Chutney
    Raw Mango Chutney

    Here is my version of Raw Mango  Chutney.

    Ingredients:

    • 2 cup raw mango pieces, skin has to be removed
    • 1cup fresh coconut.
    • 1/2 tsp of methi seeds
    • 2 tsp chillipowder
    • 1tsp salt
    • 1/2 tsp jaggery

    For the seasoning:

    • 2tsp oil
    • a pinch of asafoetida
    • 1/4 tsp of turmeric powder
    • a few curry leaves

    Method:

    1. Roast the methi seeds and keep aside.
    2. Roast the chilli powder with a little oil .
    3. Grind the mango pieces, then add the other ingredients and swirl again. Add seasoning and serve.
    Raw Mango Chutney
    Evergreendishesdev

    Raw Mango Chutney

    Raw mango chutney is tasty and tangy and makes a good accompaniment with any meal. It is one of the essentials of summer season.
    Prep Time 10 minutes
    Cook Time 10 minutes
    Total Time 20 minutes
    Course: chutney,
    Cuisine: karnataka, South Indian

    Ingredients
      

    • 2 cups raw mango pieces
    • 1 cup fresh coconut
    • 1/2 teaspoon fenugreek
    • 2 teaspoon chilly powder
    • 1/2 teaspoon jaggery
    • 2 teaspoon oil
    • 1/2 teaspoon mustard
    • 1/4 teaspoon asafoetida
    • 1/4 teaspoon turmeric powder
    • salt to taste

    Method
     

    1. Wash the mango, pat dry. Peel the skin and cut into small pieces.
    2. Take a little oil and roast the mustard seeds. 
    3. Roast the chilly powder.
    4. Grind mango pieces. Add other ingredients and grind them together.
    5. Take oil in a pan and make the seasoning. Add the mustard seeds, as it splutters, add asafoetida and turmeric. 
    6. Put it over the chutney, mix and use.

    Notes

    • Mango should be tart.
    • If you like it sweet, add more jaggery. Different versions of the same chutney are made.

    A few other recipes with raw mango are : Raw mago rice, Raw mango salad, Instant mango pickle.

    If you have liked this post, leave a comment. It really motivates me to write more. Do share it further.

    If you ever make this recipe, take a picture and share on Instagram by tagging @foodiejayashree or on Facebook by tagging @evergreendishes.

    Subscribe to get an e-book for free and all updates in your inbox.


  • Raw Tomato Chutney

    Raw Tomato Chutney

    Raw tomato chutney is one of the chutney variety that I often prepare at home. It is tasty and spicy. Now, that tomatoes are in season, I usually have it in my refrigerator. Give a try to this variety, you will not regret.

    Raw Tomato Chutney
    Raw Tomato Chutney

    Raw Tomato Chutney :

    Ingredients :

    • 1/4 kg raw tomato
    • 1 cup grated coconut
    • 1 tbsp  white sesame
    • 4 green chillies
    • salt to taste
    • 1 tsp oil

    For the seasoning:

    • 2 teaspoon oil
    • 1/4 teaspoon mustard seeds
    • 1/4 teaspoon asafoetida
    • a few curry leaves

      Method:

    • Wash and cut the tomatoes.
    • Dry roast the sesame seeds
    • Take a little oil and roast the green chillies. Keep aside.
    • Now, add  a little more oil and put the tomatoes into it. Add salt and allow to cook till tender.
    • Allow to cool.
    • Grind all ingredients together.
    •  In a small pan, make the seasoning, put it over the chutney and serve with chapati or jowar roti.

    Raw Tomato Chutney

    Raw tomato chutney is a tasty accompaniment with any meal. It tastes good with chapati , jowar roti or even as an accompaniment with rice.
    Course: accompaniments, chutney,, Side Dish
    Cuisine: Indian, karnataka

    Ingredients
      

    • 1/4 kilogram raw tomato
    • 1 cup grated coconut fresh
    • 1 tablespoon white sesame
    • 4 green chilly
    • salt to taste
    • 1 teaspoon oil
    For the seasoning:
    • 2 teaspoon oil
    • 1/4 teaspoon mustard seeds
    • 1/4 teaspoon asafoetida
    • a few curry leaves

    Method
     

    1. Wash and cut the tomatoes.
      Dry roast the sesame seeds
      Take a little oil and roast the green chillies. Keep aside.
      Now, add  a little more oil and put the tomatoes into it. Add salt and allow to cook till tender.
      Allow to cool.
      Grind all ingredients together.
      Serve with chapati or jowar roti.
    2. Dry roast the sesame.
    3. Take a little oil and roast the green chillies. Keep it aside.
    4. Now, add a little more oil and put the tomatoes to it. Add salt and allow to cook until tender.
    5. Allow to cool. 
    6. Grind all ingredients to gether
    7. Take oil in a pan, make the seasoning. Put it over the chutney and serve with roti or chapati. 

    Notes

    • Adjust green chilly as per your need.
    • Use firm raw tomatoes for a tasty chutney.


    Gongura chutney


  • Lemon rice for festive season

    Lemon rice for festive season

    Lemon is one of the easiest , tasty and wholesome food which can be prepared in fifteen minutes. It is customary in our traditions to make this during festivals.

    It is popular as Chitranna in South India. It is ideal to pack for lunch box. The various variations that you can make here are many. If it is not festive season, use onions in the seasoning. If it is the season of peas, you can use them. (more…)

  • Uttapam / how to make uttapam

    Uttapam / how to make uttapam

    Uttapam is a thick savoury pancake like dish made from dosa batter that has a topping of onion and vegetables. It is filling and tasty.

    A dosa batter in the refrigerator is handy and can be used in many ways. It makes an easy breakfast option, evening snack if the kids are hungry or make a few uttapams for dinner along with steamed rice.

    To make the dosa batter, check out this post.

    The consistency of the dosa batter should be moderately thick  for uttapam.

    Our sunday breakfast is usually Rava Dosa. Jowar dosa is an healthy option to use millets. Neer dosa batter needs no fermentation.

    uttapam

    Uttapam


    Ingredients:
    • 1 bowl of dosa batter
    • 2 onions finely cut
    • 1 tomato cut into small pieces
    • 1/2 inch ginger
    • 2 green chillies
    • coriander leaves
    • curry leaves
    • oil


    Method:
    1. Grind the green chilly and ginger together to a fine paste.
    2. Mix the onion, tomato and the  paste to the dosa batter. Put the soaked chana dal into it.
    3. Chop the curry leaves and coriander leaves and mix them.
    4. Take a pan and heat it. Smear some oil and add a ladle of batter to it. Cover with a lid, allow to cook, flip it over to the other side. Once it is cooked properly, remove and repeat with the rest of the batter.
    5. Serve with coconut chutney.


    Uttapam

    Uttapam

    Uttapam is a savoury, lentil based, thick flatbread from Indian cuisine
    Course: Breakfast
    Cuisine: Indian

    Ingredients
      

    • 1 bowl of dosa batter
    • 2 onions finely cut
    • 1 to mato cut into small pieces
    • 1/2 inch ginger
    • 2 green chillies
    • coriander leaves
    • curry leaves
    • oil

    Method
     

    1. Grind the green chilly and ginger together to a fine paste.
    2. Mix the onion ,tomato and the grind paste to the dosa batter.
    3. Chop the curry leaves and coriander leaves and mix them.
    4. Take a pan and heat it. Smear some oil and add a ladle of batter to it. Allow to cook until brown on both sides.
    5. Serve with coconut chutney.
    Pin it for later:
    uttapam

    If you have liked this post, do share it further. If you ever make it, do take a picture and tag @foodiejayashree on Instagram or @evergreendishes on Facebook. Let’s be connected, do follow us on social media.

    Subscribe to get all updates in your inbox and a  book of handy hints for free!

  • Aviyal / easy avial recipe/ Kerala cuisine

    Aviyal / easy avial recipe/ Kerala cuisine

    Avial / aviyal is a popular dish from Kerala cuisine. Assorted vegetables are used to make this delicious stir fry, it tastes good with hot steamed rice.

    This is a popular dish of Kerala. It is lightly spiced with various kinds of umpteen vegetables. It makes a good dish when you have a stack of veggies at home or a few assorted ones. It is usually served with rice but can also be eaten with chapati.

    Avial / aviyal

    Avial / Aviyal / Kerala cuisine

    Ingredients:

    • 20 beans
    • 1 carrot
    • 1 potato
    • 2 cucumber
    • 1/2 bowl green pea
    • 2 drumstick
    • 1/4 yam
    • 1/2 bowl fresh grated coconut
    • 1 teaspoon cumin
    • 2 green chilly
    • 1 tablespoon coconut oil
    • 1/2 teaspoon mustard seed
    • 1/4 teaspoon asafoetida
    • 1/4 teaspoon turmeric powder
    • a few curry leaves
    • salt to taste
    • water for grinding

    Method:

    1. Wash and cut the veggies.
    2. Boil them separately in a pan with water. Remove the stock and use it for any other purpose.
    3. Grind coconut, green chilly and cumin together with some water to a fine paste.
    4. Heat oil in a pan, add mustard seeds, as they crackle, put asafoetida, curry leaves and turmeric powder. Put the veggies, the ground paste and salt, give a stir.
    5. Heat for sometime, let the flavours imbibe.
    6. Serve hot with rice or chapati.

    Pin it for later:

    easy avial recipe

    This was one of the first few posts that I wrote when I started my website. I have joined a group Foodies_Redoing Old Posts and we give a new look to one post every fortnight. This post is part of Foodies Redoing Old Post 5. Believe me, I had not even put a single picture for this post ! Well, I have come a long way since then.

    If you have liked this post, do leave a comment and share it with your family and friends. If you ever make this dish, take a picture and tag @foodiejayashree on Instagram or @evergreendishes on Facebook.