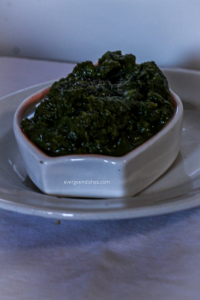
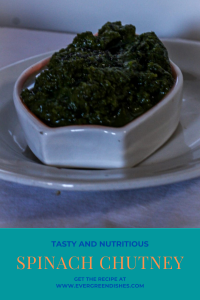
Spinach chutney is one of the lesser known accompaniment to many. It pairs well with hot steamed rice. It is ideal to serve with chapati or jowar roti too.
Chutneys form an integral part of the lunch menu in many households, it can be served both with plain rice or the flat breads. Here is one kind of chutney, that is sure to be a crowd pleaser. Spinach chutney is not only healthy but also tasty.
Spinach is a super food consisting of Vitamin A and K, magnesium,iron , folate and potassium. It helps increase insulin level. lower blood pressure, prevents cancer, good for asthamatic patients. Being rich in dietary fibre, it helps in preventing constipation. One needs to find ways to incorporate spinach in their diet.
My other posts of this wonderful spinach can be read here in the post 5 ways to use spinach
Spinach Chutney Recipe / Palak Chutney
- spinach leaves of 2 bunch
- green chilly 3-4
- methi seeds 1/2 tsp
- coconut 1/2 bowl
- tamarind pulp 2tsp
- salt to taste
- oil
Instructions
- Remove the stalk of spinach leaves.Chop and put them in water. All the impurities settle down. Put them in a colander.
- Take a drop of oil and roast the fenugreek seeds. Put them aside.
- Add half teaspoon of oil, add the green chilly and then the spinach leaves and salt . Let cook for a while. Switch off the gas and let cool.
- Grind all ingredients together in a mixer.
- To serve;
- Make seasoning with a little asafoetida anda pinch of turmeric powder. Add it to the prepared chutney and serve.


Spinach Chutney / Palak chutney
Ingredients
Method
- Remove the stalk of spinach leaves.Chop and put them in water. All the impurities settle down. Put them in a colander.
- Take a drop of oil and roast the fenugreek seeds. Put them aside.
- Add half teaspoon of oil, add the green chilly and then the spinach leaves and salt . Let cook for a while. Switch off the gas and let cool.
- Grind all ingredients together in a mixer.
- Make seasoning with a little asafoetida anda pinch of turmeric powder. Add it to the prepared chutney.
Pin it for later:
If you ever make any of these recipes, take a picture and share it by tagging @foodiejayashree on Instagram or @evergreendishes on Facebook. I will be glad to see and share your creation further.
Check out my e-books on Amazon. Do not miss any post, subscribe to get all updates and an e-book for free !
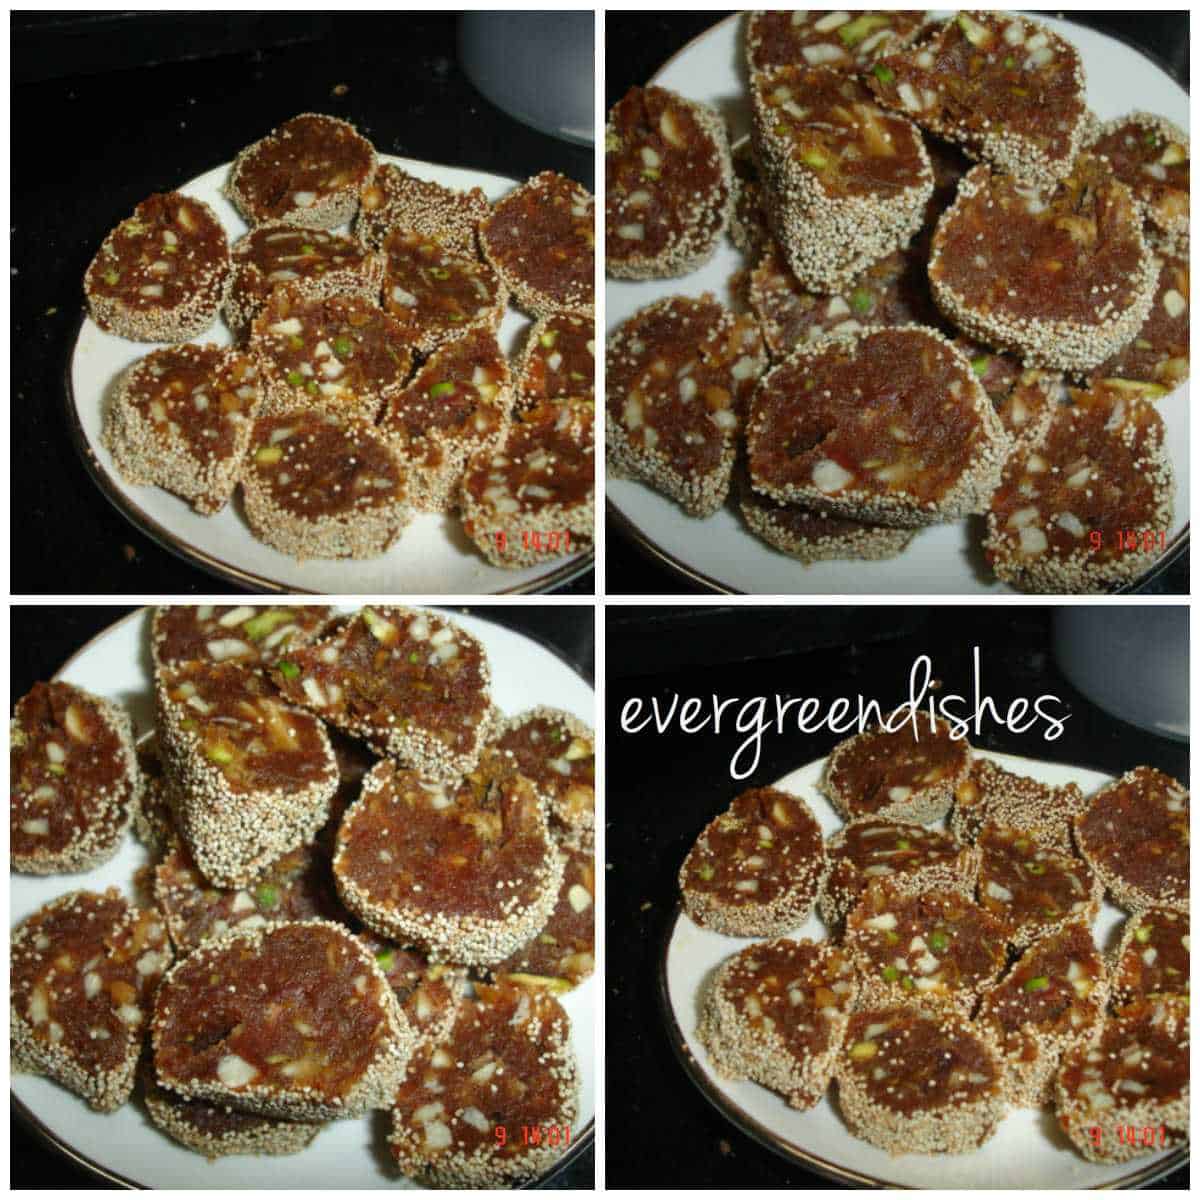
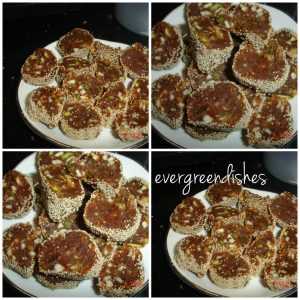

 Dates Burfi
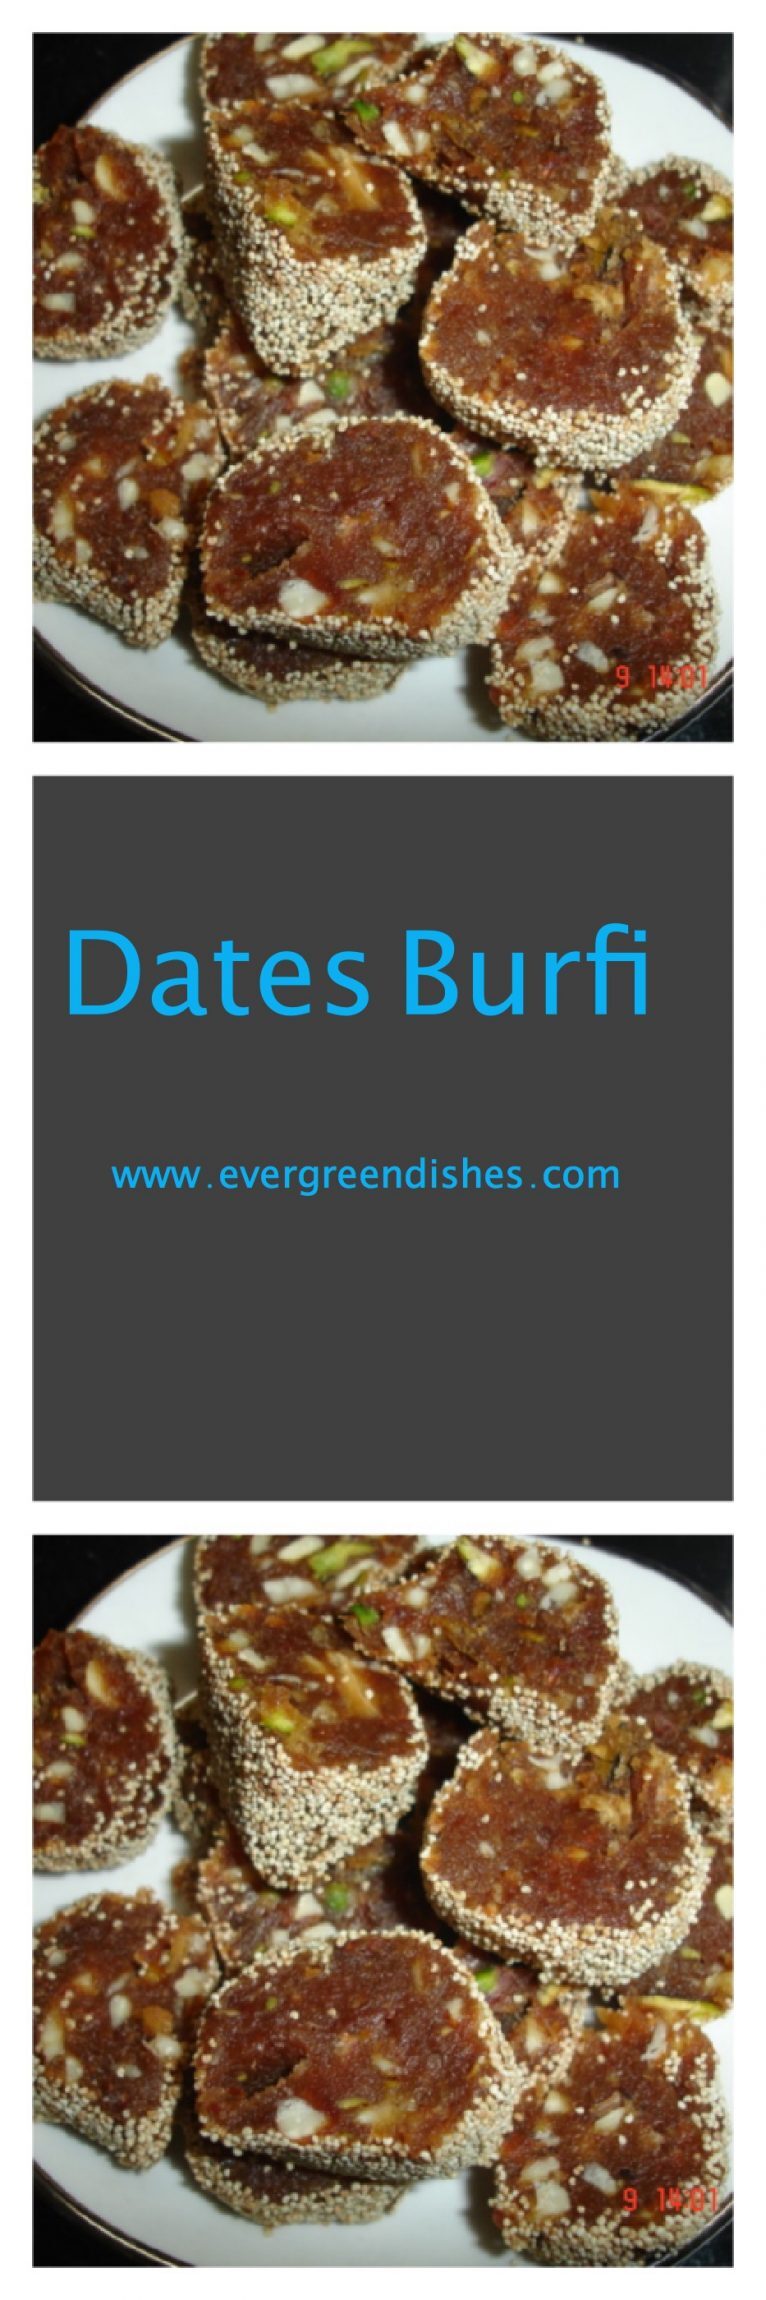