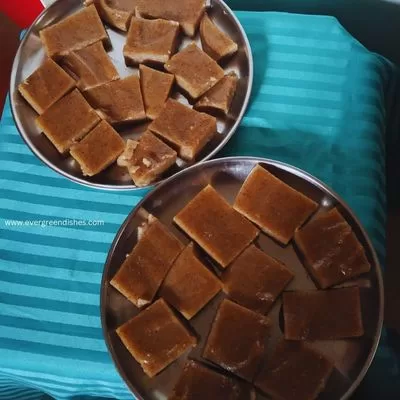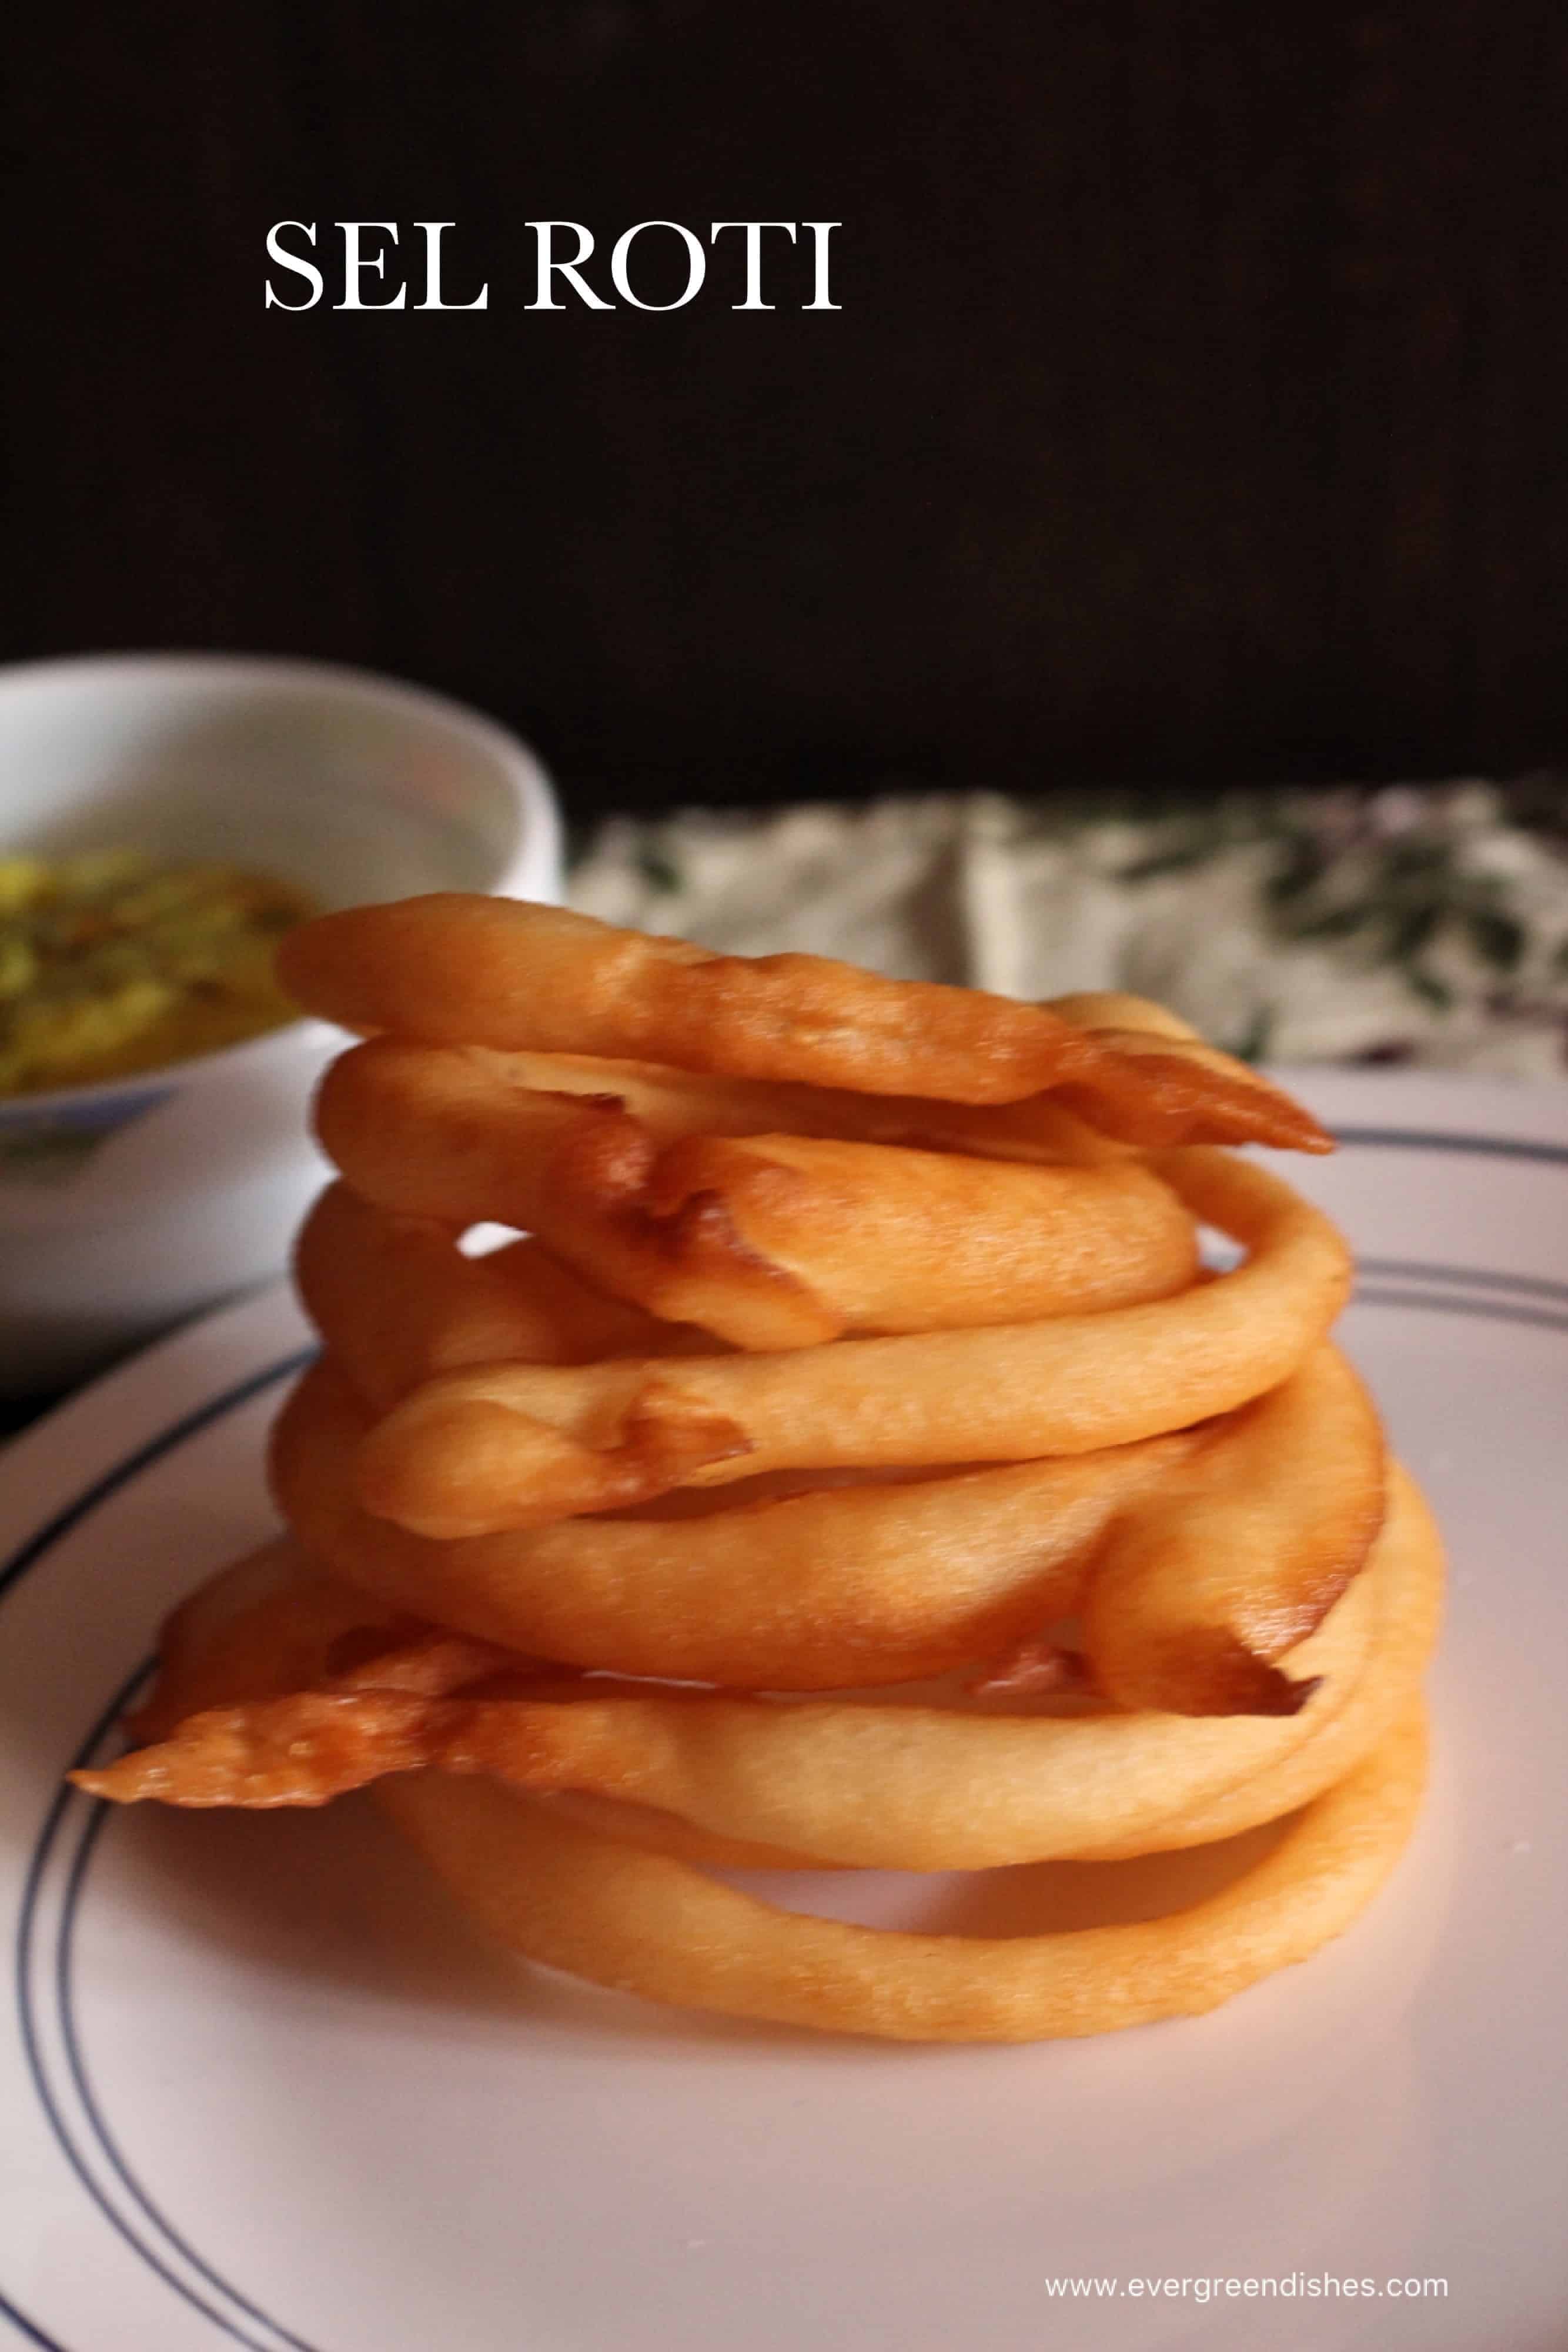
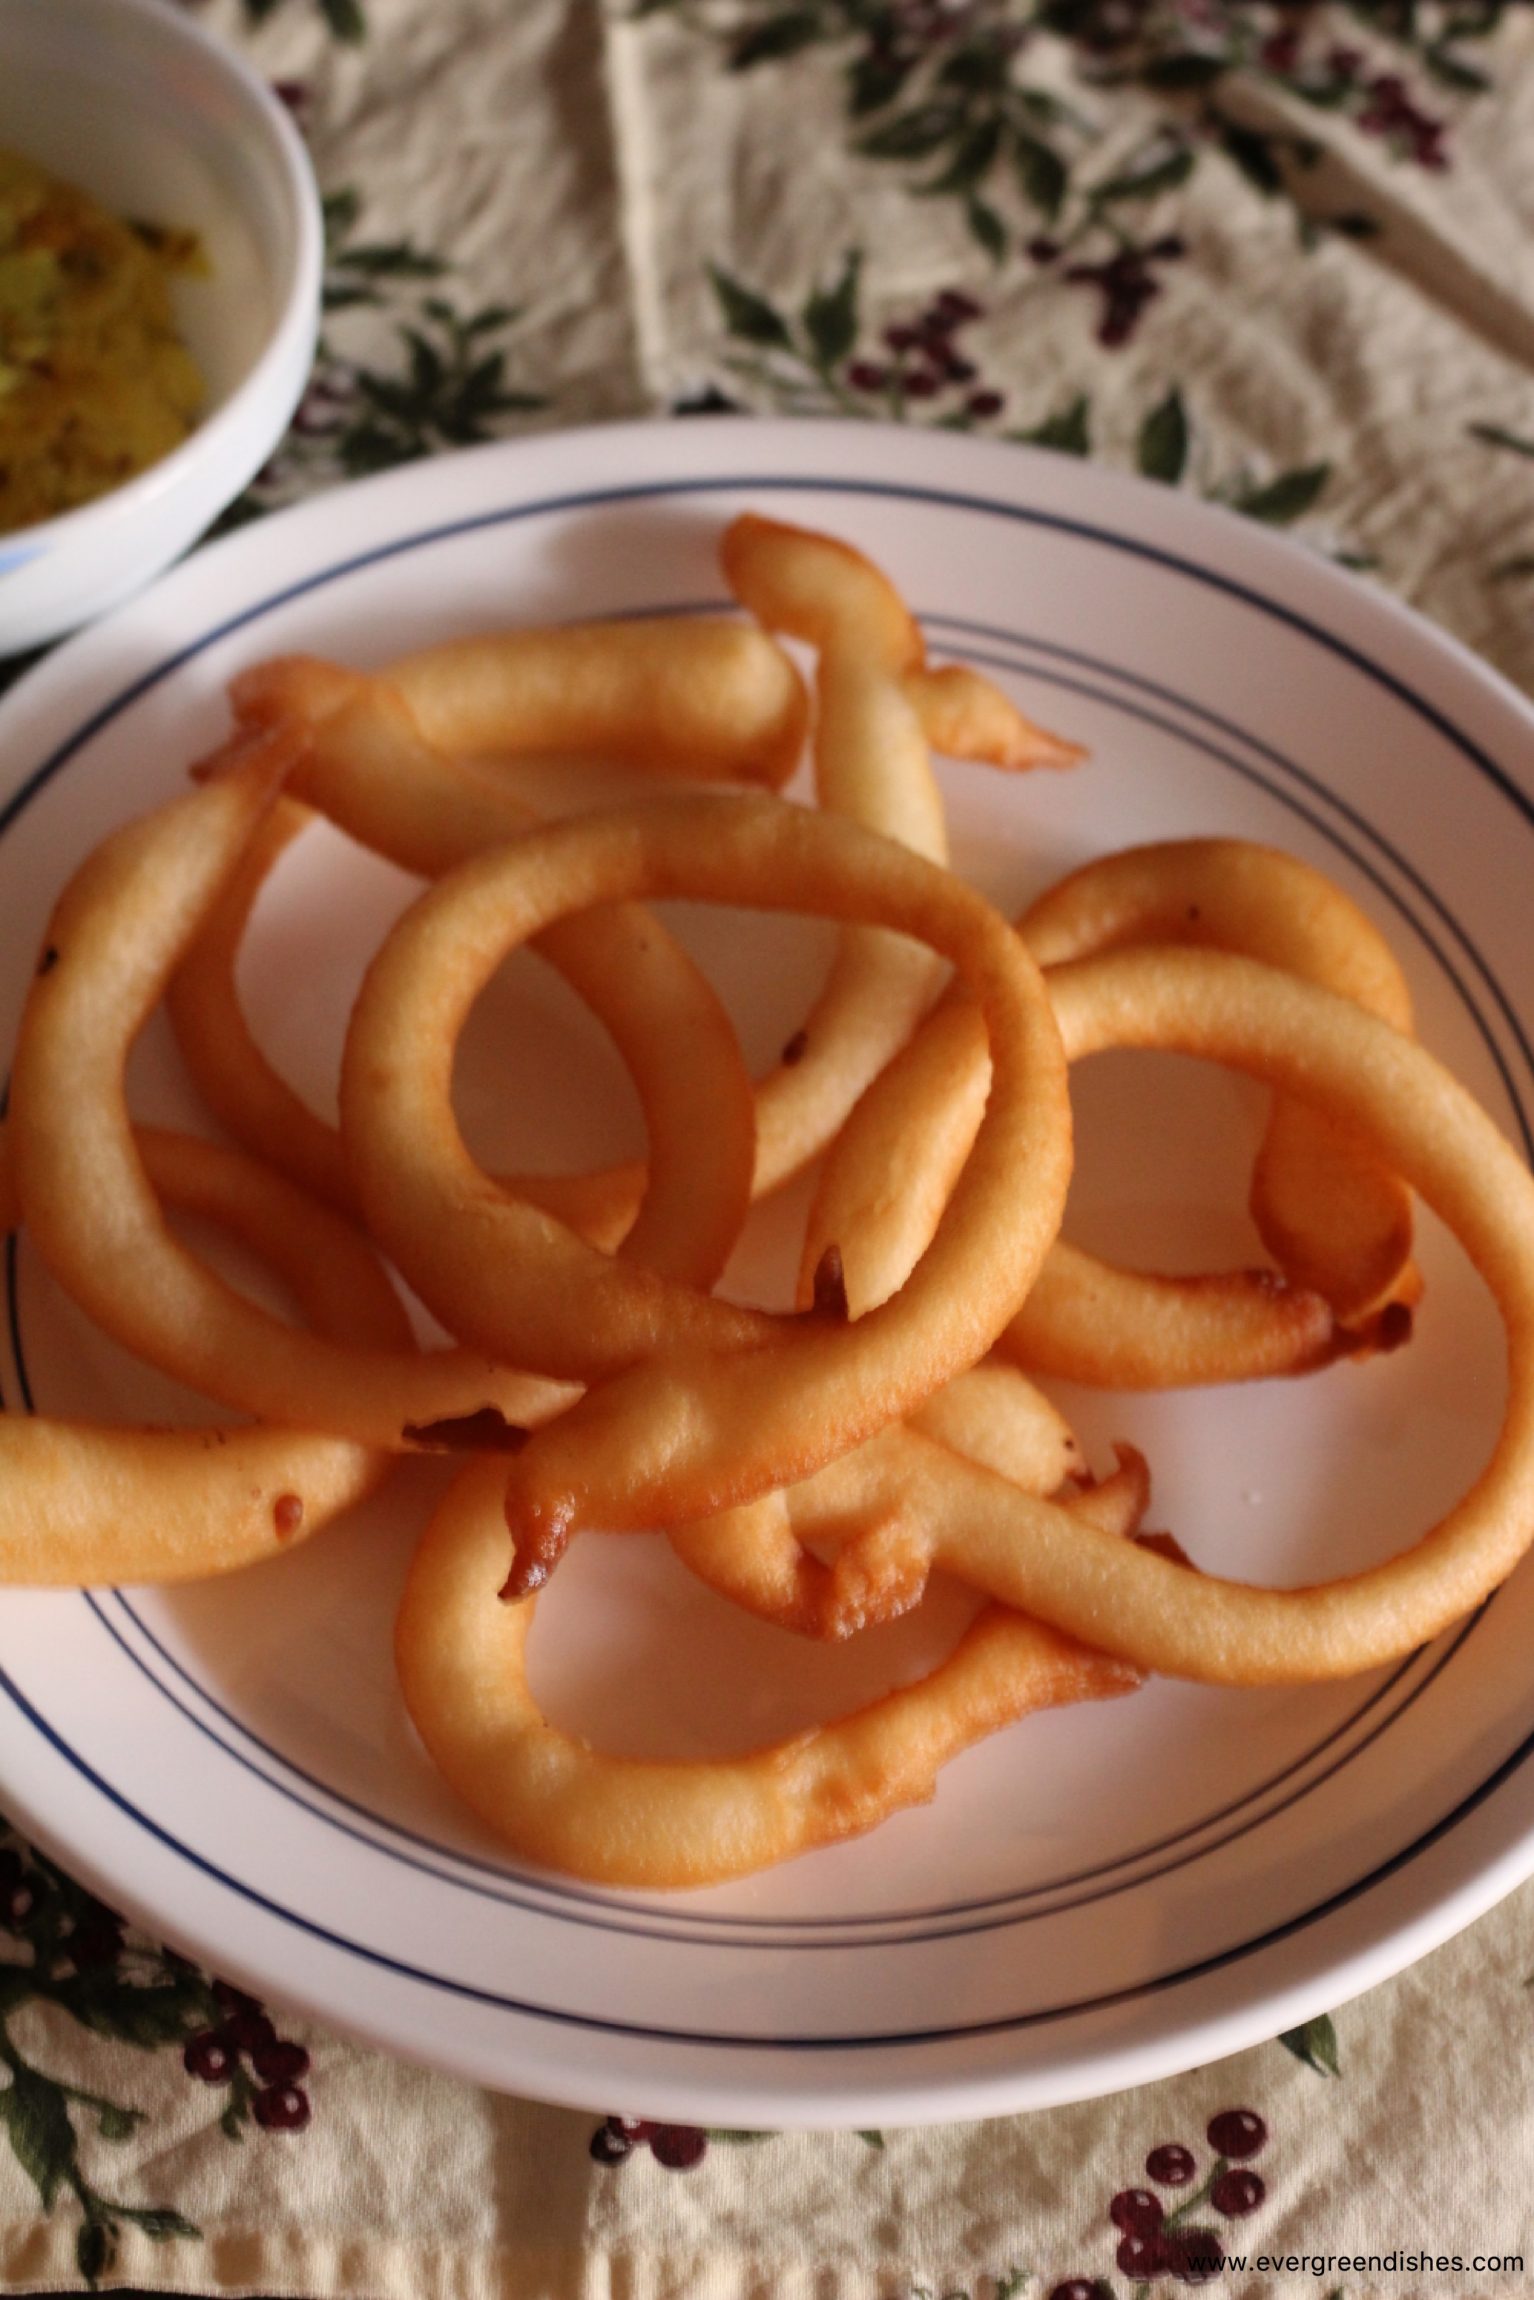
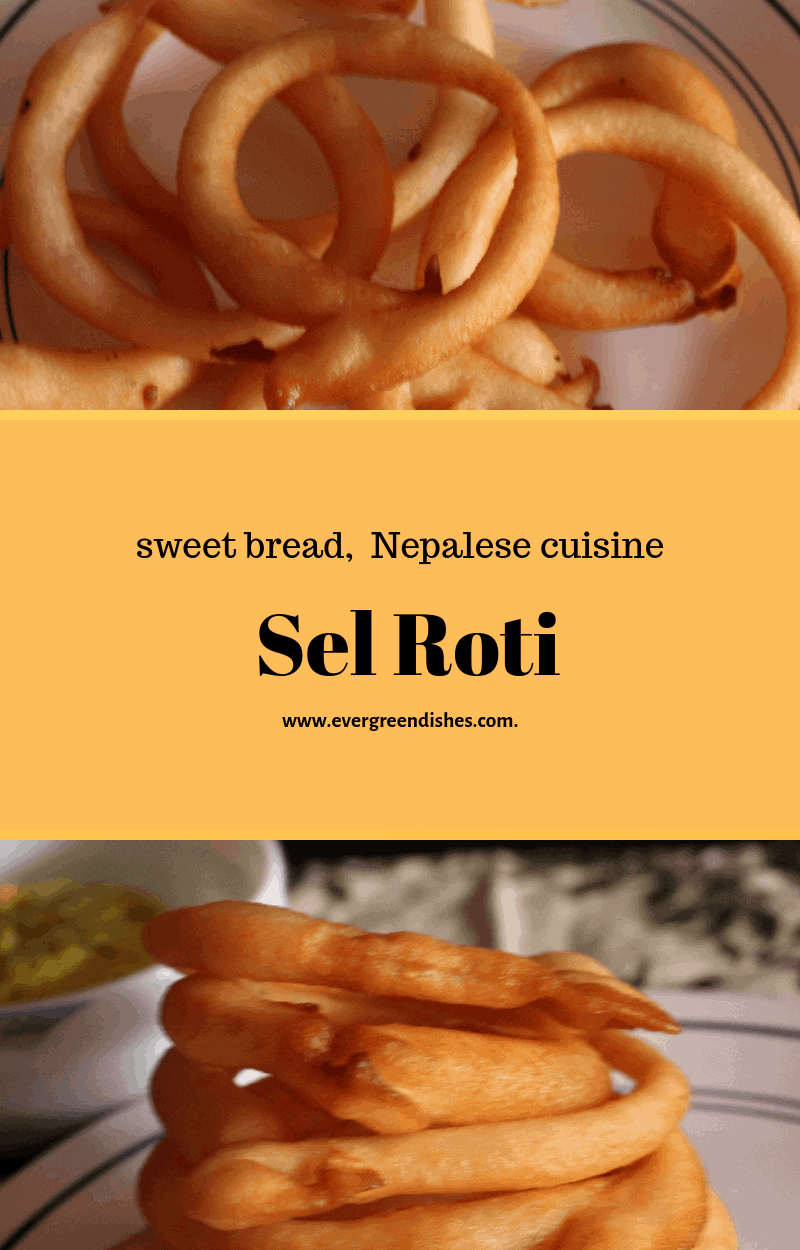
Sel Roti is a ring shaped, mildly sweet bread from Nepalese cuisine. It is commonly made during festivals of Dashain and Tihar in Sikkim and Darjeeling. It is one of the essentials during ceremonies and functions.
It’s that time of the month, when we folks at Shhhh Secretly Cooking Challenge Group cook from a particular state and for the month of August it is Sikkim. My partner was unavailable due to personal reasons and the secret ingredients, oil and rice were given by Mayuri. Do check out her blog Mayuris-Jikoni where she has a wide range of dishes from different cuisine. I want to try the Veg /Thukpa soup that she made for this cuisine, it looks so tempting.
Rice is the staple food of many people in the world. Sikkimese are mainly rice eaters. They have a lot of influence from Nepal as it is the only state in India with ethnic majority of Nepalese. Gundruk and Sinki are the two popular vegetarian dishes from Sikkim. (Source : Wikipedia)
Now, here is the Sikkimese dish that I prepared, amazingly unique, I loved trying and making this one. It needs a little practice initially, but you can do it.

Sel Roti
Ingredients:
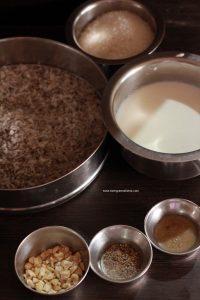
- 1/2 cup rice
- 2 tablespoon sugar
- 2 tablespoon ghee
- water for soaking + some water for grinding
- oil for frying
Method:
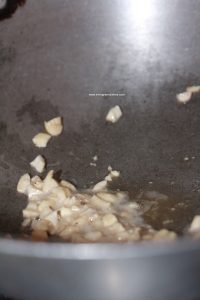
- Wash the rice and soak it overnight.
- Drain the water, rinse it again, put in a colander.
- Grind it along with ghee and sugar along with a little water to a batter. The batter should be moderate in consistency.
- Remove the batter in a bowl.
- Keep it aside for fifteen minutes.
- Mix the batter well .
- Take a squeezy bottle or use an old bottle as I did. Take a disposable half litre bottle and cut it at one-third of its length. You can easily put the batter in it and slowly open the cap when you are ready to drop the batter in the oil. It is fine if you pour it with the ladle.
- Heat oil in a pan, pour into ring shape and deep fry on a high flame to golden colour. Remove it on a plate with tissue paper and repeat for the rest of the batter.
- It is usually served with a potato stir fry, but may be eaten by itself.
Take a tip:
- Sel Roti has a long shelf life, but when making for the first time, make a small quantity.
- It can be eaten as a snack.
- The batter should be neither too thick nor thin. It can be put with hand but needs practice. Using an old bottle is ideal.
Sel Roti
Ingredients
Method
- Wash the rice and soak it overnight in water.
- Next day, discard the water and rinse it. Grind rice along with ghee and sugar. Let the batter be of medium consistency
- You may use a squeezy bottle to make the rings, otherwise cut a disposable half litre bottle and use it. It comes out good with it too.
- Heat oil in a pan. once the oil is hot, put batter in the mould and drop it in the shape of a ring. Deep fry until golden in colour. Repeat for the rest of the dough.
Notes
- Jhir are long sticks used to deep fry and remove the rings from oil.
- The batter can be put using hand but it needs practice.
- The used bottle technique works good, just ensure the lid is closed, open the lid while you are ready to drop the batter.
If you ever make this dish, take a picture and share it by tagging @foodiejayashree on Instagram or @evergreendishes on Facebook.
You can also save this recipe on pinterest, pin it for later:
Subscribe to get a book of handy hints for free and all updates in your inbox. Check out my e-books on Amazon.