You are going to enjoy the wonderful contributions from my fellow blog friends. This is truly a dinner from across the miles, with bloggers from sunny L.A., and the Bay Area of California, Saginaw Michigan, Idaho,India, France, and British Columbia Canada.
We look forward to having you join us in the venture that we have worked on for the past month. We hope you enjoy the beautiful dishes, the story of each of us, and the beautiful photography that brings it all together. We hope you enjoy our complete meal that all seven of us have been working on together. We will start out with a beautiful tablescape just perfect for you and your guests. Nothing makes a meal taste better than being seated at a carefully created place setting. You will enjoy the varied components of our meal, and finish with a warm and cozy dessert. Thank you for joining us, we hope you enjoy our first virtual dinner. We look forward to hearing from those of you who enjoy this creative meal.

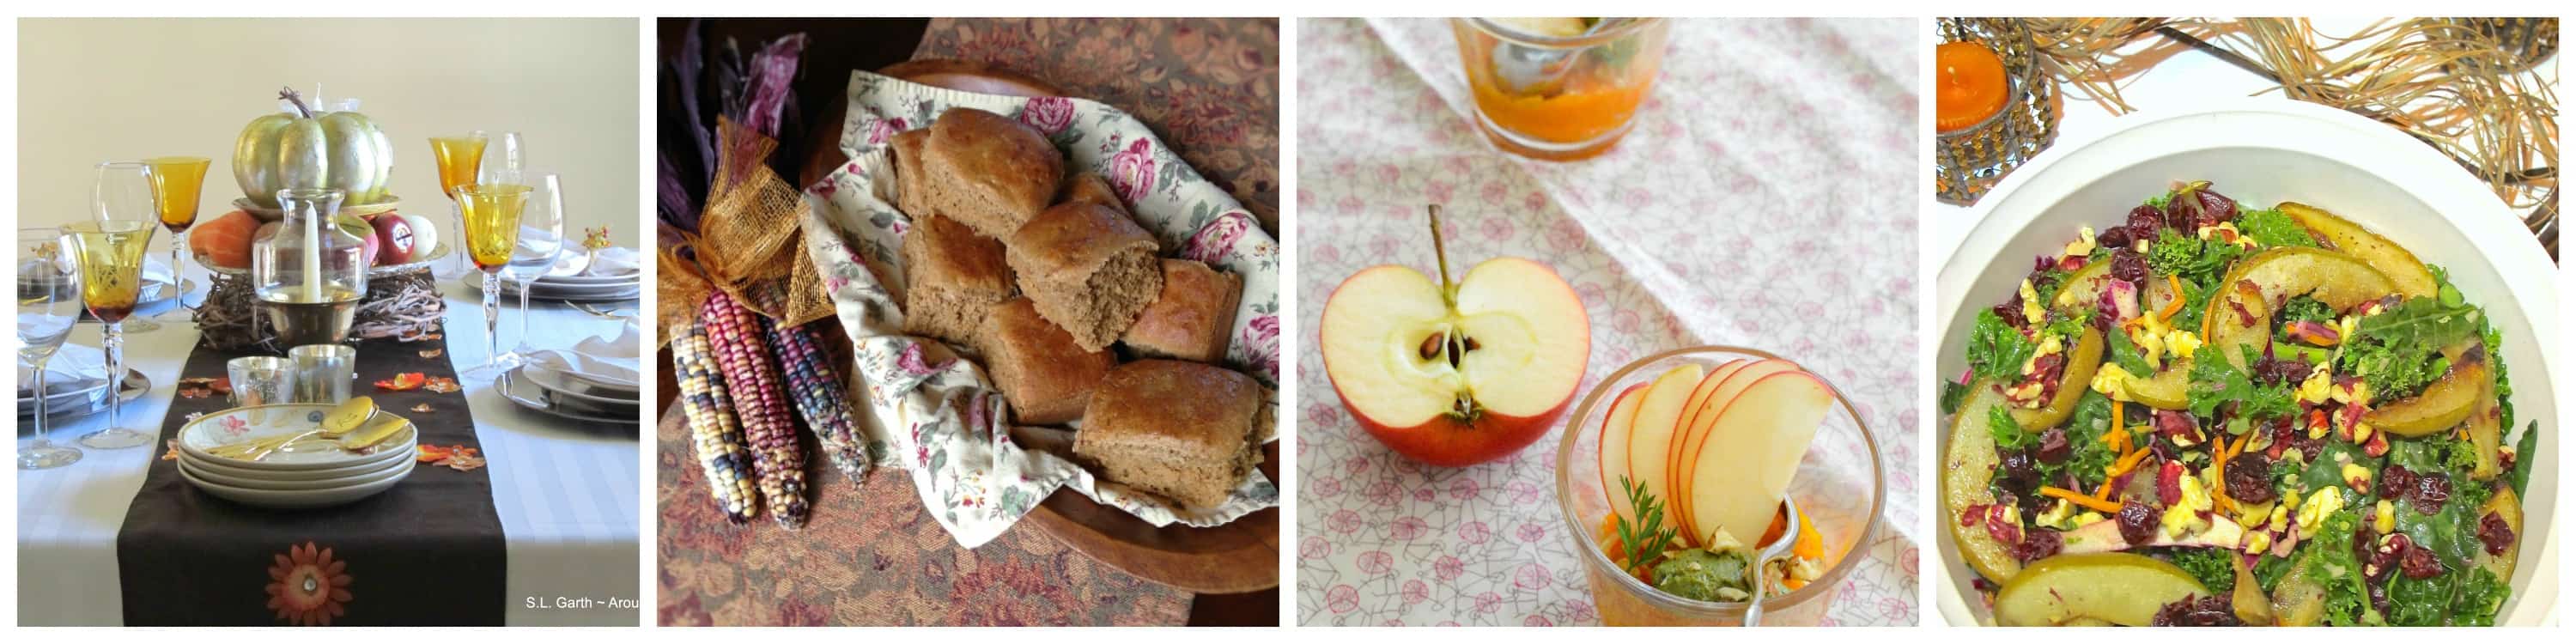
Autumn Harvest Tablescape:
Hi my name is Sandra Garth. I design tablescapes as well as dessert buffets. I’ve been a cake decorator for over 25 years and also enjoy styling parties. It’s a pleasure to meet you. I used warm autumn colors for this table that could easily last for the season. It’s fancy enough for a holiday and casual enough for everyday. The napkins and stemware could easily be swapped out if you become bored with the setting.
http://www.aroundmytable.com/?p=2414
Gluten and Dairy Free Honey-Oat Rolls
Hi all, my name is Laurie Barrie and I blog about all things gluten-free. I was diagnosed gluten intolerant at the age of two, so consider yourself somewhat lucky, there was really nothing edible on the market for the past 40 years! I chose to create a dinner roll recipe because everyone used to ooh & awe about my grandmother’s rolls that I could never eat. I think she would have approved of my gluten & dairy-free Honey-Oat Rolls.
My blog name is http://www.glutenfreeyummy.com.
http://www.glutenfreeyummy.com/gluten-dairy-f…oney-oat-rolls/
Appie from Sarah
I am delighted and excited and very happy to be part of this Autumn Harvest collaboration! My name is Sarah and I’m the French one here 😉 Since I also cooked a red Kuri squash and carrot pie for this Autumn Harvest collaboration, I suggest that you scroll down a bit if you would like to read more about me J
http://thecookwhophotographedinenglish.tumblr.com/autumnharvestdinner
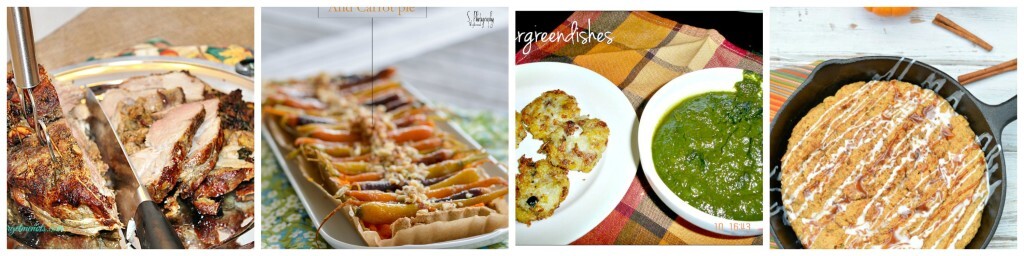
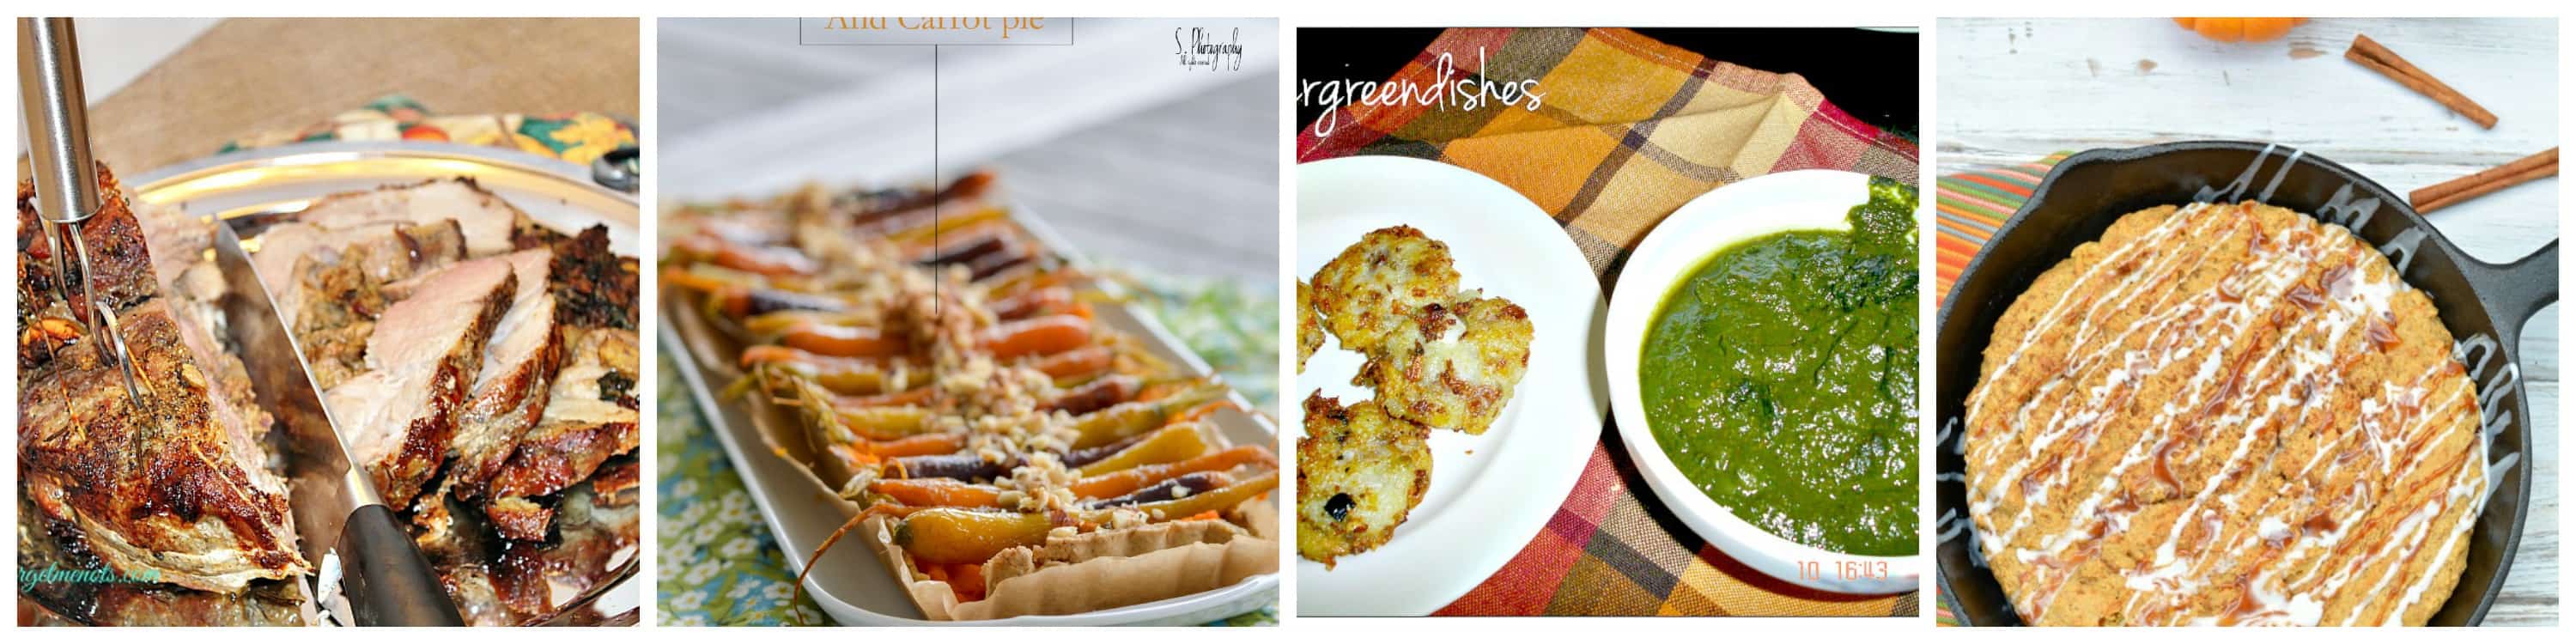
Main Course: Gluten Free Stuffed Pork Roast with a side of Crispy Roast Potatoes
Welcome to our Autumn Harvest Virtual Dinner Party. My name is Cherie and I blog at www.cheriesforgetmenots.com. I have been blogging about a year and a half and am always learning new things as I go. I have a very restricted diet that I follow to help improve my health so I started blogging so that I could share my journey to good health and wellness. I have been diagnosed with celiac disease and also with multiple food allergies. This makes eating out very challenging so for me there is nothing better than a safely prepared home cooked meal. I usually end up having a salad when I am out as it is hard getting food that is not cross contaminated (but that is a blog by itself). In Autumn I find we start to cook comfort food again after a summer of light meals from the barbeque and garden. My contribution to this virtual dinner is gluten free stuffed pork roast and a side of crispy roasted potatoes. The stuffing is a blend of spinach, dates, apple, red onion and gluten free bacon. Who doesn’t love bacon? Welcome and I hope you enjoy!
Salad: Fall Harvest Roasted Pear, Walnut and Kale Salad
I’m the Page in the food blog, Tasting Page, and I have the good fortune of working out of sunny Los Angeles where we have access to a great selection of fresh fruits and vegetables all year round. I try and eat food that grows from the ground, instead of ingredients that come out of a box or off an assembly line. While fall in LA may not bringing much of a change of season, there is still a subtle shift as nights turn a little cooler and vegetables turn warmer to pumpkins and squash. I especially love when pears come into season. They’re so versatile. I like them in a morning smoothie, stuffed in a pie, or here I roasted them with just a little honey to round out a kale salad tossed with beautiful red walnuts. Enjoy during your Thanksgiving or fall celebration. For more real food recipes, connect with me on Facebook, Twitter, Pinterest or Instagram.
http://www.tastingpage.com/cooking/roasted-pear-walnut-and-kale-salad
Kuri Squash Side
I’m delighted to be part of this Autumn Harvest collaboration. I’m Sarah and I blog at The Cook who Photographed. I invent recipes, which are mostly vegan or vegetarian and gluten free. I try to feed myself with healthy organic foods, home grown or local grown foods and I never eat meat. I study intellectual property law along with being a food photographer. I love cooking too and all I wish is to communicate my passion for good and healthy food. I come from France, a country where food photography is not as popular as it is overseas. I work with StockFood and maybe some day, I’ll be able to host workshops and feed my family thanks to my passion.
You can follow me onFacebook, Twitter, Instagram, Google +andTumblr(pretty much everywhere).
Come and visit my blog. And don’t forget to feedback .
http://thecookwhophotographedinenglish.tumblr.com/autumnharvestdinner
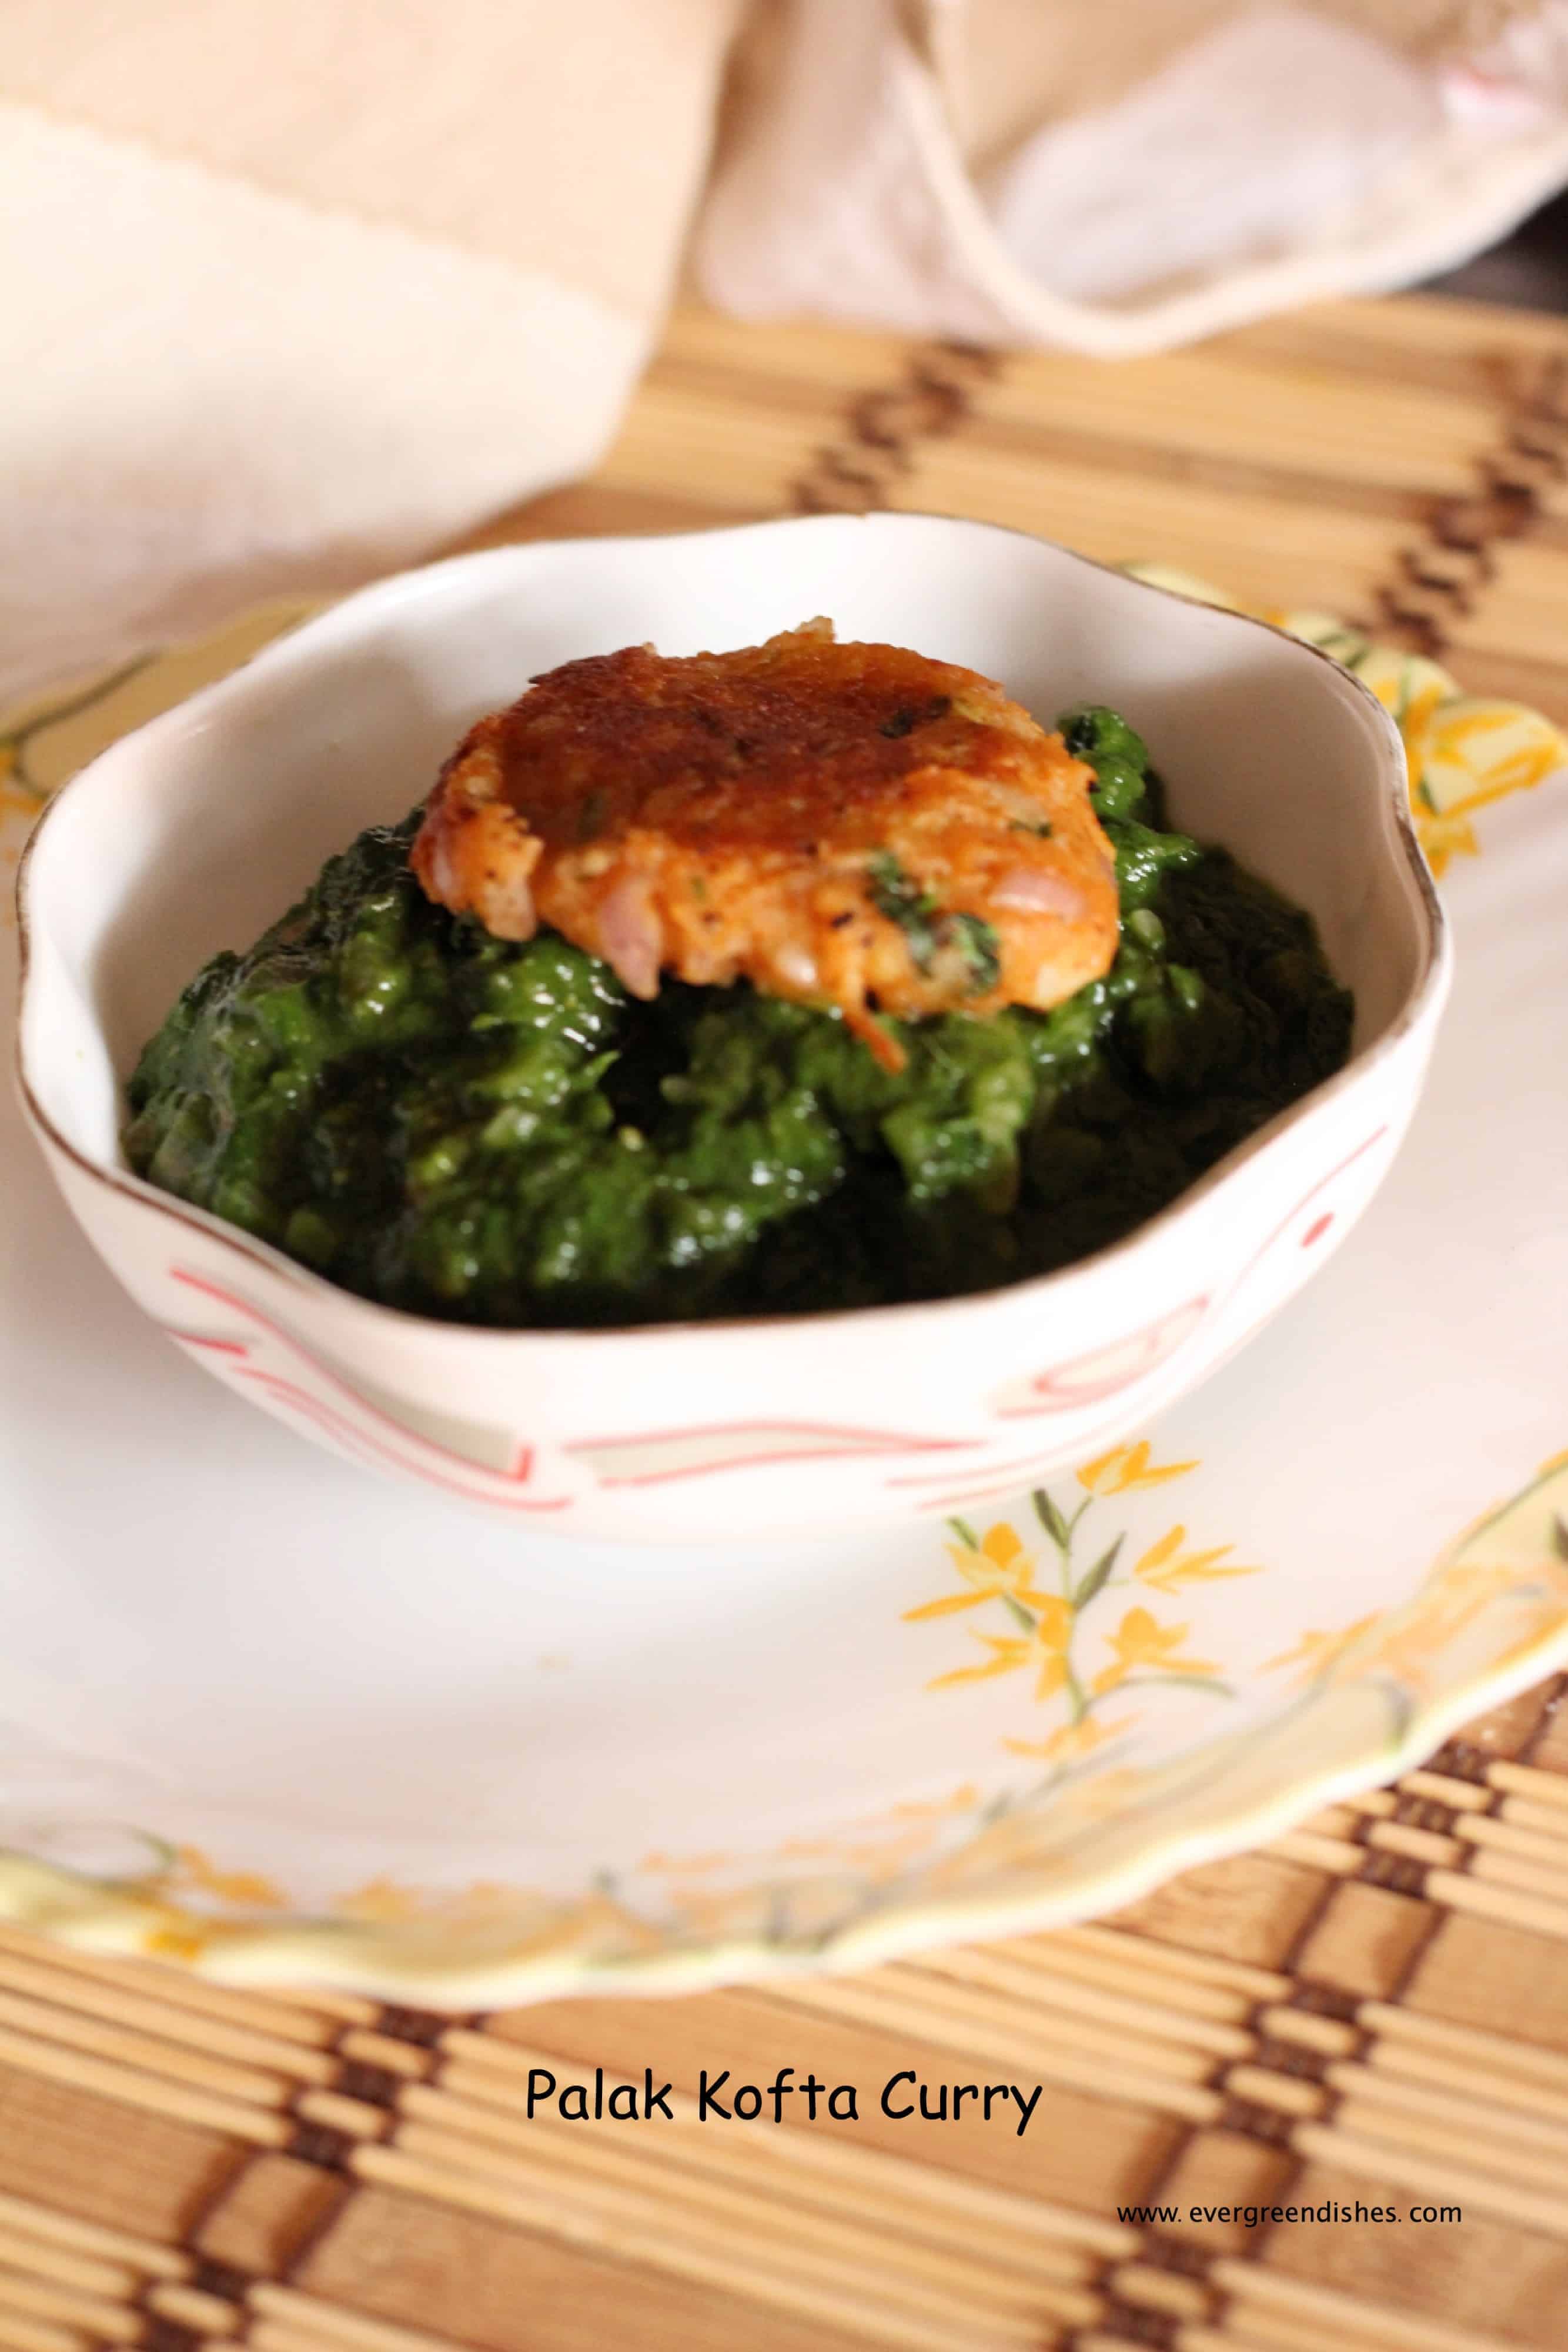
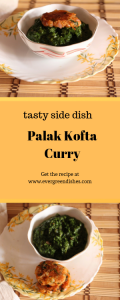
Spinach Kofta:
Spinach is one of the healthiest foods mentioned by the world health foods. It is rich in antioxidants and a store house of nutrients. It consists of Vitamin K, Vitamin A, manganese, iron and Vitamins B2 and B6. One needs to include it on a regular basis in their diet.
About me:
My name is Jayashree and I am an enthusiastic food blogger and recipe builder. I also writes articles,short stories and poems. My recipes can be read onwww.evergreendishes.com.
I believe in living life to the fulles and amhappily married. I live with my family in India.
https://evergreendishes.com/2014/10/19/spinach-kofta-curry
Gluten Free Giant Pumpkin Skillet Cookie with Icing & Caramel Drizzle
I am really excited to be a part of this Autumn Harvest collaboration. My name is Sandi and I blog over at Fearless Dining. My blog is all about gluten free recipes and safe dining. I started my blog because I was tired of getting sick when I dined out. Most doctors’ offices just don’t give you much detail about how to live gluten free and I had no idea how dangerous cross contamination could be. I started to call around to Bay Area restaurants and asked lots of questions about how they handle gluten free orders. Within just a few months, I had built up a database of over 645 Bay Area restaurants’ safe gluten handling procedures. I would love to connect via Pinterest, Facebook, Twitter, Google+, or Instagram.
http://www.fearlessdining.com/2014/10/17/autumn-harvest-dinner-party
We really hope you have enjoyed our progressive dinner and hope you will join us again. We are thinking about our next group blog with something pertaining to Christmas. We are so glad you have joined us in reading our heartfelt menu. Thank you from
Cherie, Sandi, Sandra, Kelly, Laurie, Jayashree, and Sarah