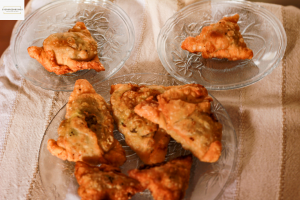
Samosa are an all time favourite snack relished by young and old alike. Crispy, triangular shaped, filled with tasty fillings and deep fried make sumptuous snack to devour anytime. Love the idea of a samosa for a weekend when children can eat and enjoy their favourite serial, isn’t it?
The filling of a samosa can be of many kind. The most popular one is the potato filling. Mixed vegetables along with boiled potatoes makes a good option. The recent trending ones are the corn samosa, paneer samosa and the dry fruit samosa.
Ingredients
for the covering :
- wheat flour 2 cups
- salt a pinch
- ghee 2tsp
for the filling :
- potatoes 3 boiled
- onion 1 finely cut
- green peas 1 bowl
- amchur powder 1/4 tsp
- coriander powder 1tsp
- cumin powder 1 tsp
- red chilly powder 2 tsp
- garam masala powder 1/2 tsp
- salt to taste
- coriander leaves finely cut
Other ingredients:
- flour for dusting
- oil for frying
Procedure :
for the dough :
Take the flour in a wide nowl. Add ghee and salt to it. Mix it well with fingers, it should form a crumbly texture. Now, add water in small quantities and mix into a dough of thick consistency. Cover it with a damp cloth and keep it aside for 15 minutes.

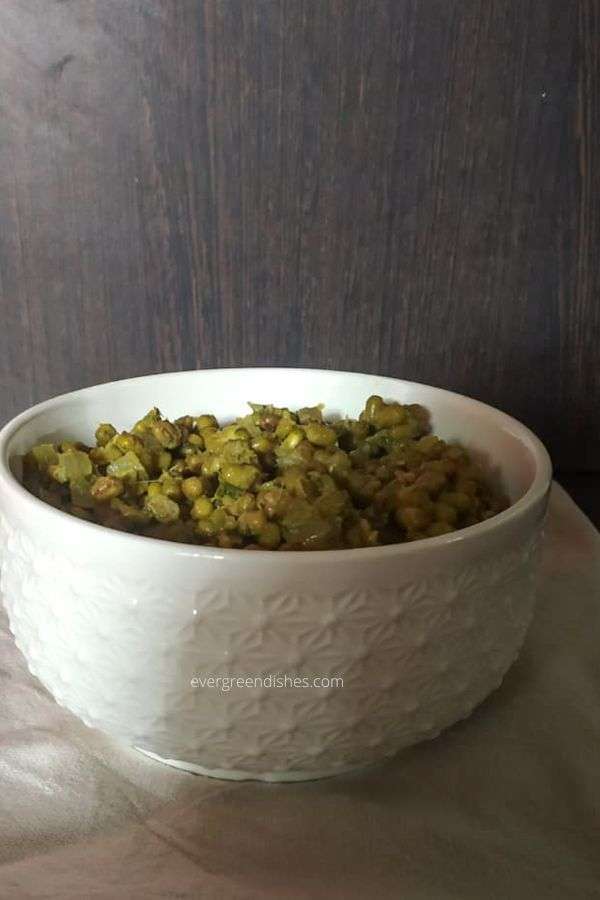
Take oil in a kadai and saute the onions and remove from fire. Add the potatoes and all the ingredients. Mix well and keep aside.


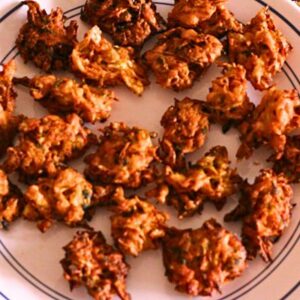
Take a ball and roll into a thin circle of 5 inches. Cut it in the centre. Take one section and keep aside. Now ,you should fold into a cone .Place the stuffing and seal the sides with a little water. Heat oil in a pan, once it is hot, put two and deep fry on low flame. Keep tossing with some oil over them in between. Once they are golden, in colour, remove and put them on a tissue paper. Repeat for the remaining.

I had prepared medium sized ones.
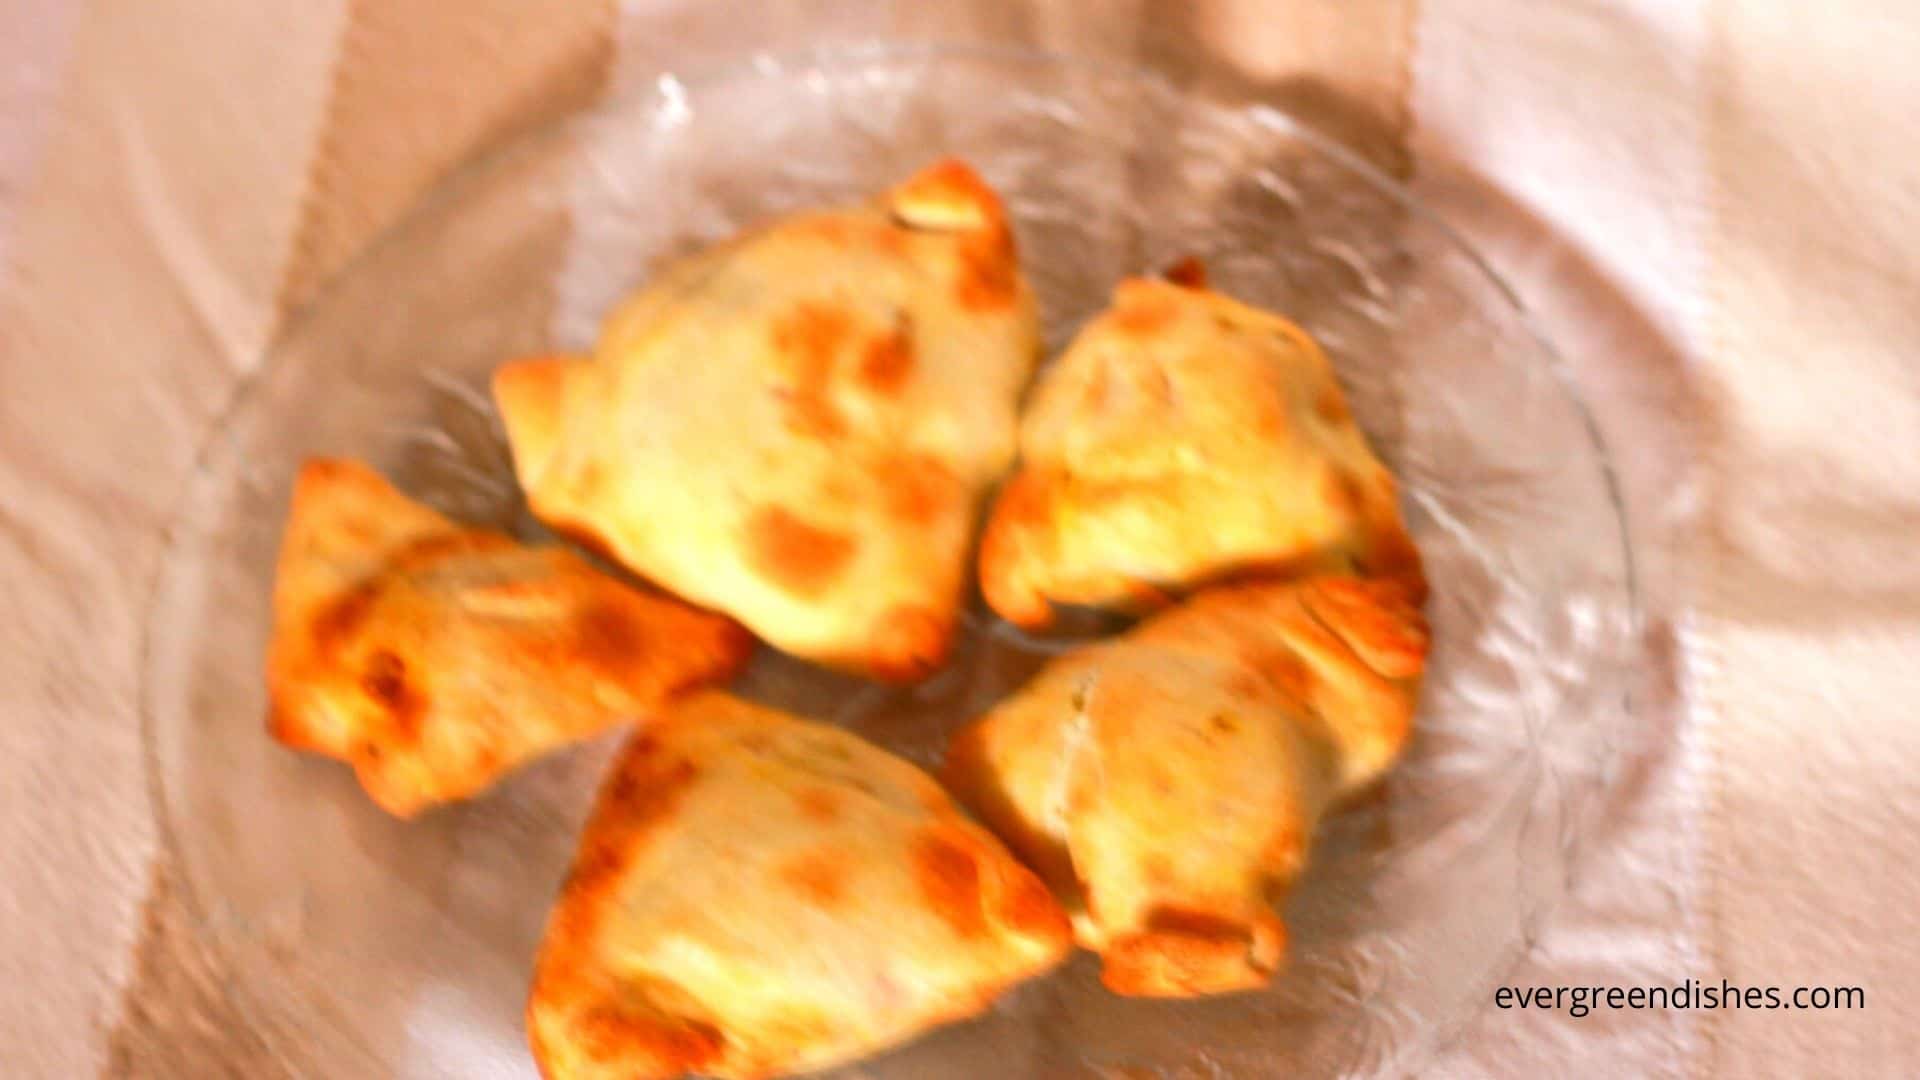
The stuffed samosas can be put in the air fryer and made a guilt-free snack. I used my Philips Air fryer to make these guilt free snacks. In just ten minutes, crispy, tasty, guilt-free samosas were ready.

Samosa in 2 ways
Ingredients
Method
- Take the flour in a wide nowl. Add ghee and salt to it. Mix it well with fingers, it should form a crumbly texture. Now, add water in small quantities and mix into a dough of thick consistency. Cover it with a damp cloth and keep it aside for 15 minutes.
- Take a ball and roll into a thin circle of 5 inches. Cut it in the centre. Take one section and keep aside. Now ,you should fold into a cone .Place the stuffing and seal the sides with a little water.
- Heat oil in a pan, once it is hot, put two and deep fry on low flame. Keep tossing with some oil over them in between. Once they are golden, in colour, remove and put them on a tissue paper. Repeat for the remaining.

So, here’s something to cook for the weekend ! Happy Cooking and have a great weekend ! Do subscribe to get a copy of Book of Handyhints. If you have liked this Samosa recipe, do share it with your family and friends. If you ever make this, take a picture and share it by tagging @foodiejayashree on Instagram or @evergreendishes on Facebook or Twitter.


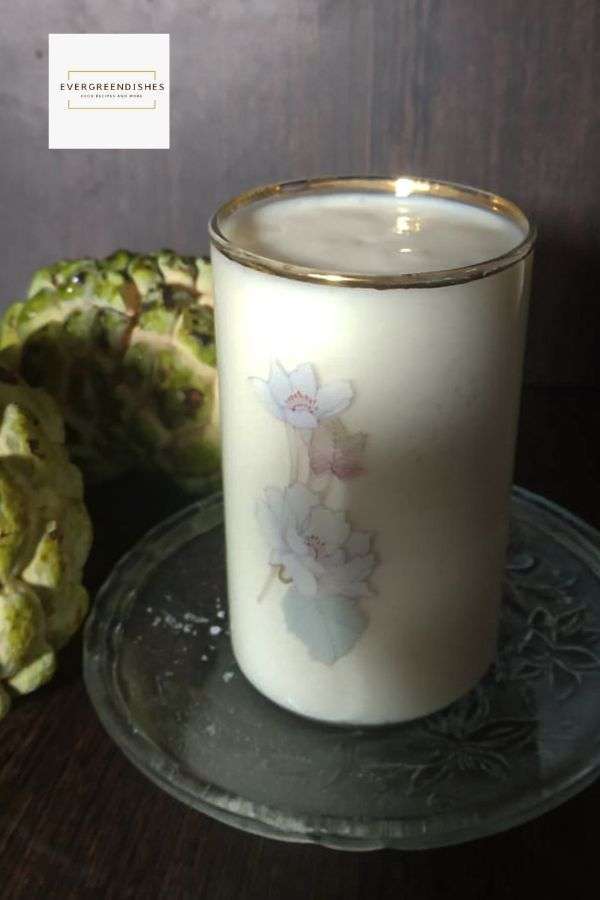


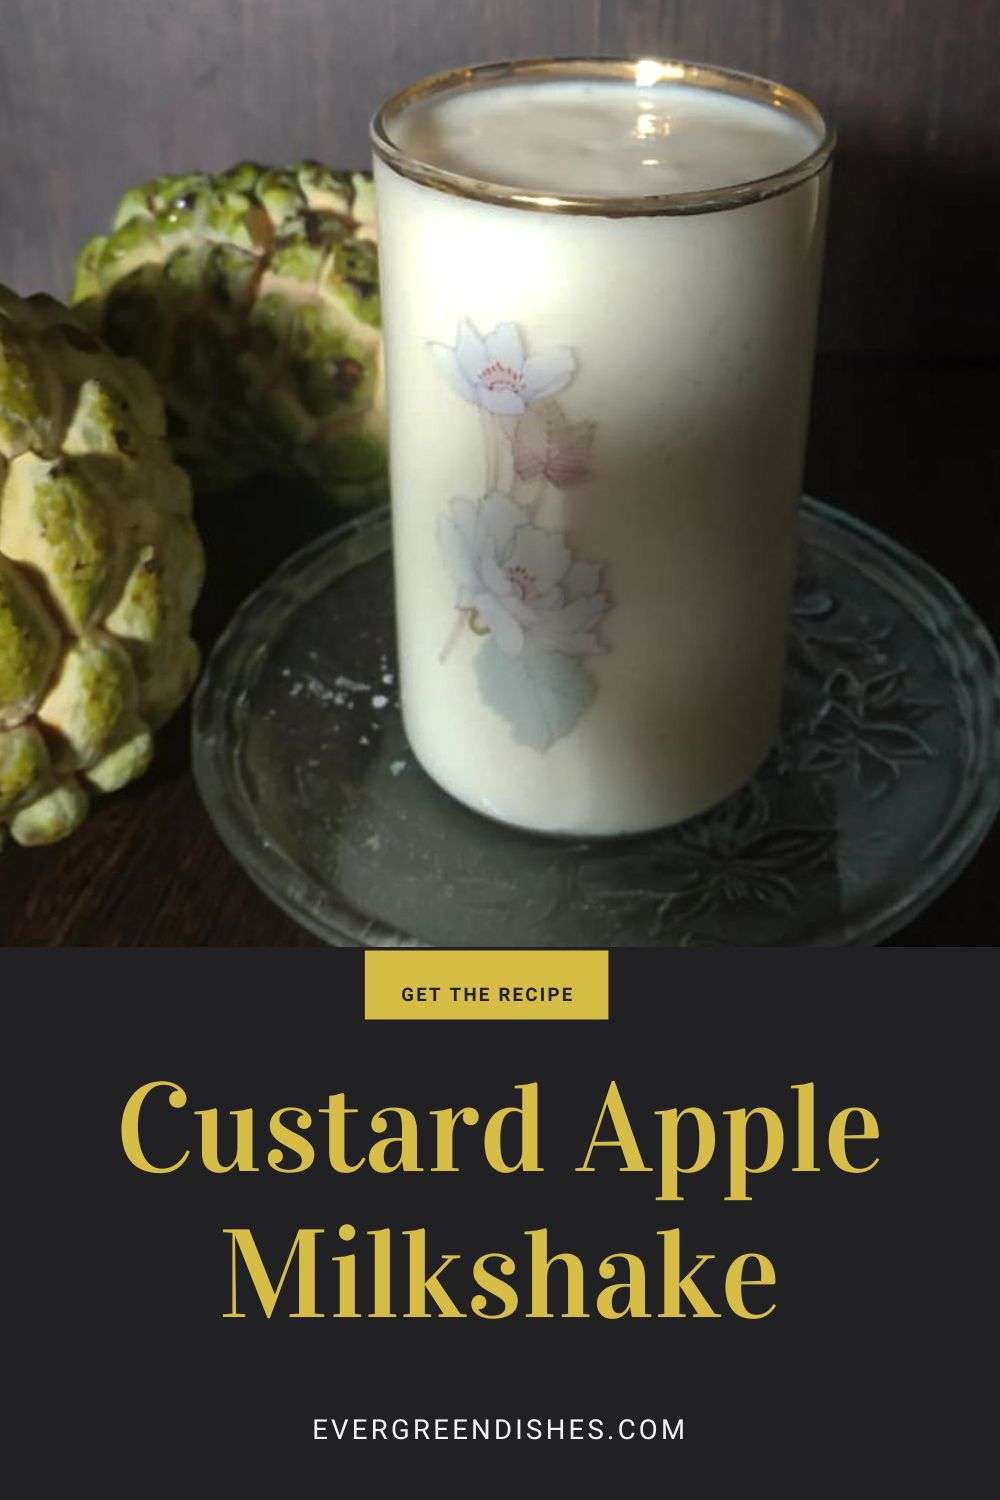 custard apple milkshakeIf you ever make Custard Apple Milkshake, take a picture and share it on Facebook or Instagram by tagging @evergreendishes and @foodiejayashree respectively. I will be happy to see your creation and share it further.