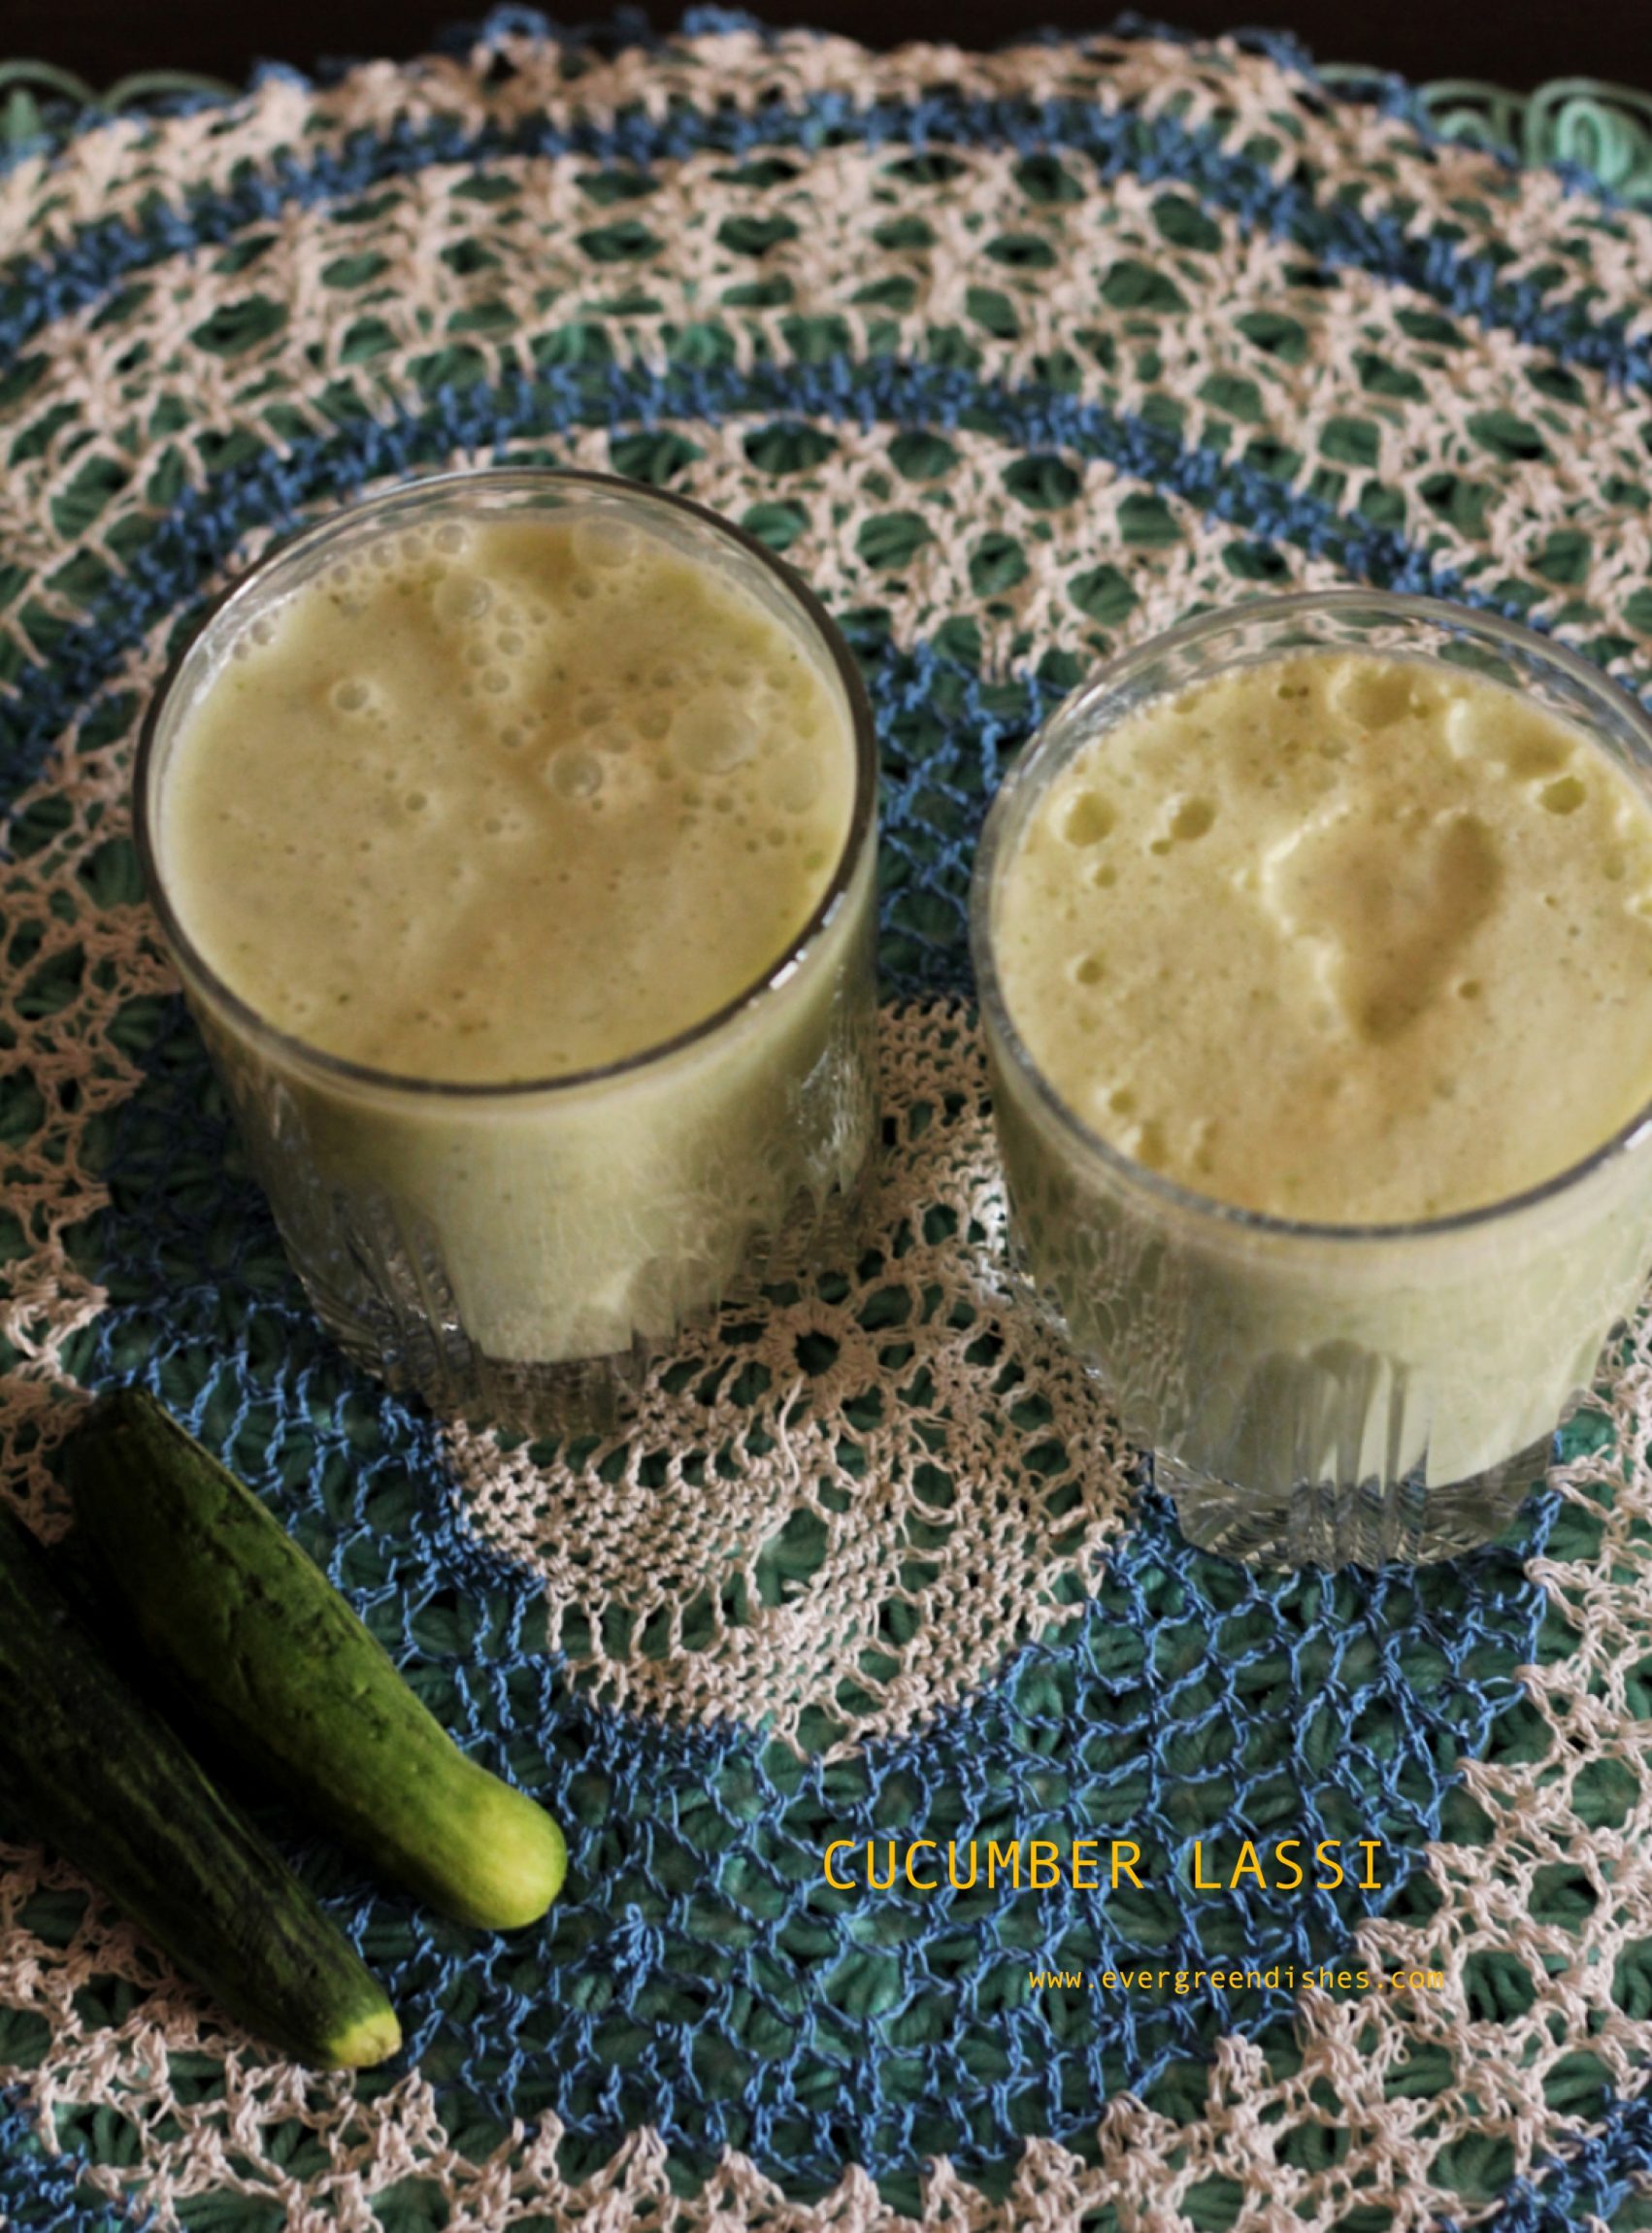
Summer is at its peak in India, nothing is more good than a glass of cold water. We tend to dislike food during this season, juice, fruits and ice cream taste best. Lassi is an ideal drink during summer.
Lassi is a traditional Indian yoghurt based drink. It is made using curd, water and a few spices. It may be sweet or salted. Fruits may be added in sweet lassi.
If you ever make this recipe, take a picture and tag @foodiejayashree on Instagram or put it on my FB page. I will be glad to see your creation.Let’s be connected: Facebook, Twitter, Pinterest and Instagram
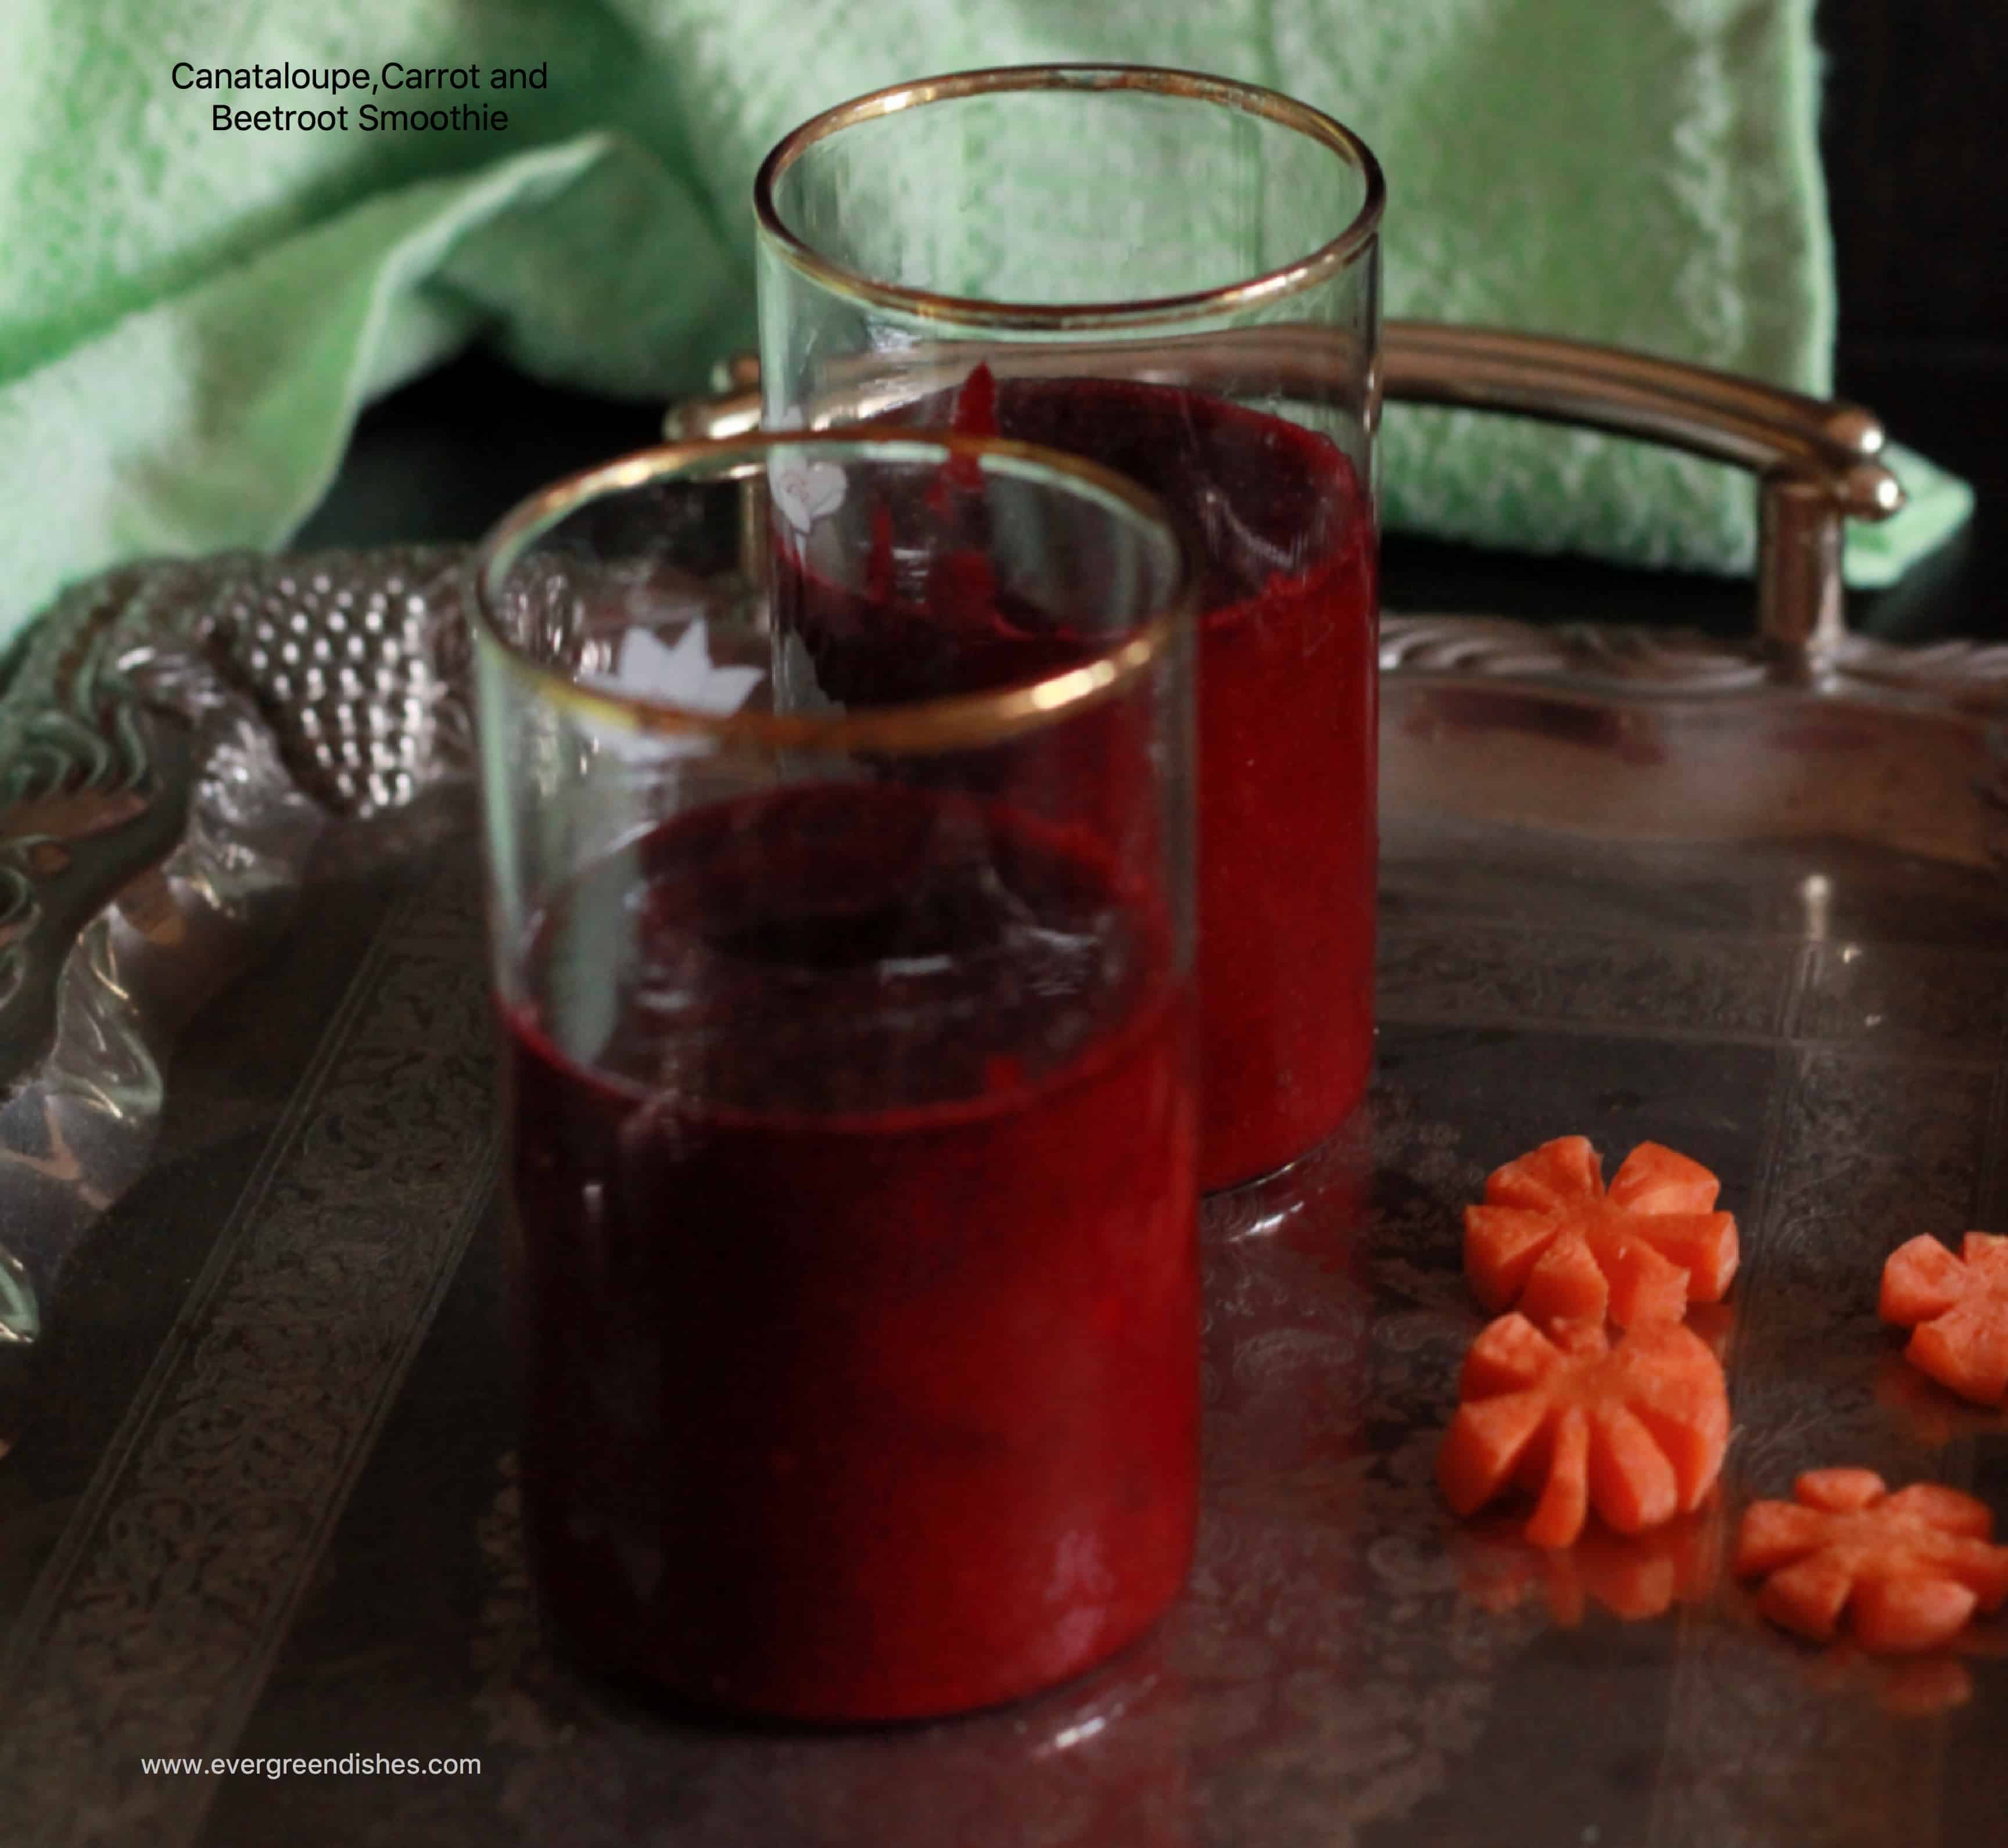
Cantaloupe Carrot and Beetroot Smoothie is a nutrient rich, vibrant, ten-minute recipe.
Smoothie is filling and low on fat, ideal for those who are looking for a low fat diet or healthy and filling food to have as breakfast.
Cantaloupe, Carrot and Beetroot smoothie is tasty and vibrant in colour. The cantaloupe gives a good flavour to it.
I have recently joined the Bloggers Swap Challenge group and we are paired in groups. The pair has to prepare a dish from the other persons blog, a nice way to explore and cook from our co-bloggers blog.
I had to create a dish from Nayna Kanabar’s blog www.simplysensationalfood.com Soon, I did hop to her blog. Nayna has a good collection of dishes from salads to desserts, do check them out. She has also got two books published. Among all the recipes what caught my attention were her smoothies. She has a wide range of different variations and I loved this Purple Carrot, Melon and Beetroot Smoothie the most. I did follow the recipe with a slight variation. I used the regular carrots instead of the purple ones and it was awesome.
cantaloupe, carrot and beetroot smoothie
Ingredients:
2 cups cantaloupe
1 cup carrot
1/2 cup beet
1 cup water
1 teaspoon honey
1 tablespoon lemon juice
1/2 teaspoon nutmeg powder
Method:
Put the cut fruit and veggie in a blender and swirl for one minute. Add honey, nutmeg powder powder and lemon juice and again swirl once more.
If you have liked this recipe, do leave a comment. If you ever create this in your kitchen, take a picture and share it with @foodiejayashree on Instagram. I will be glad to see it.
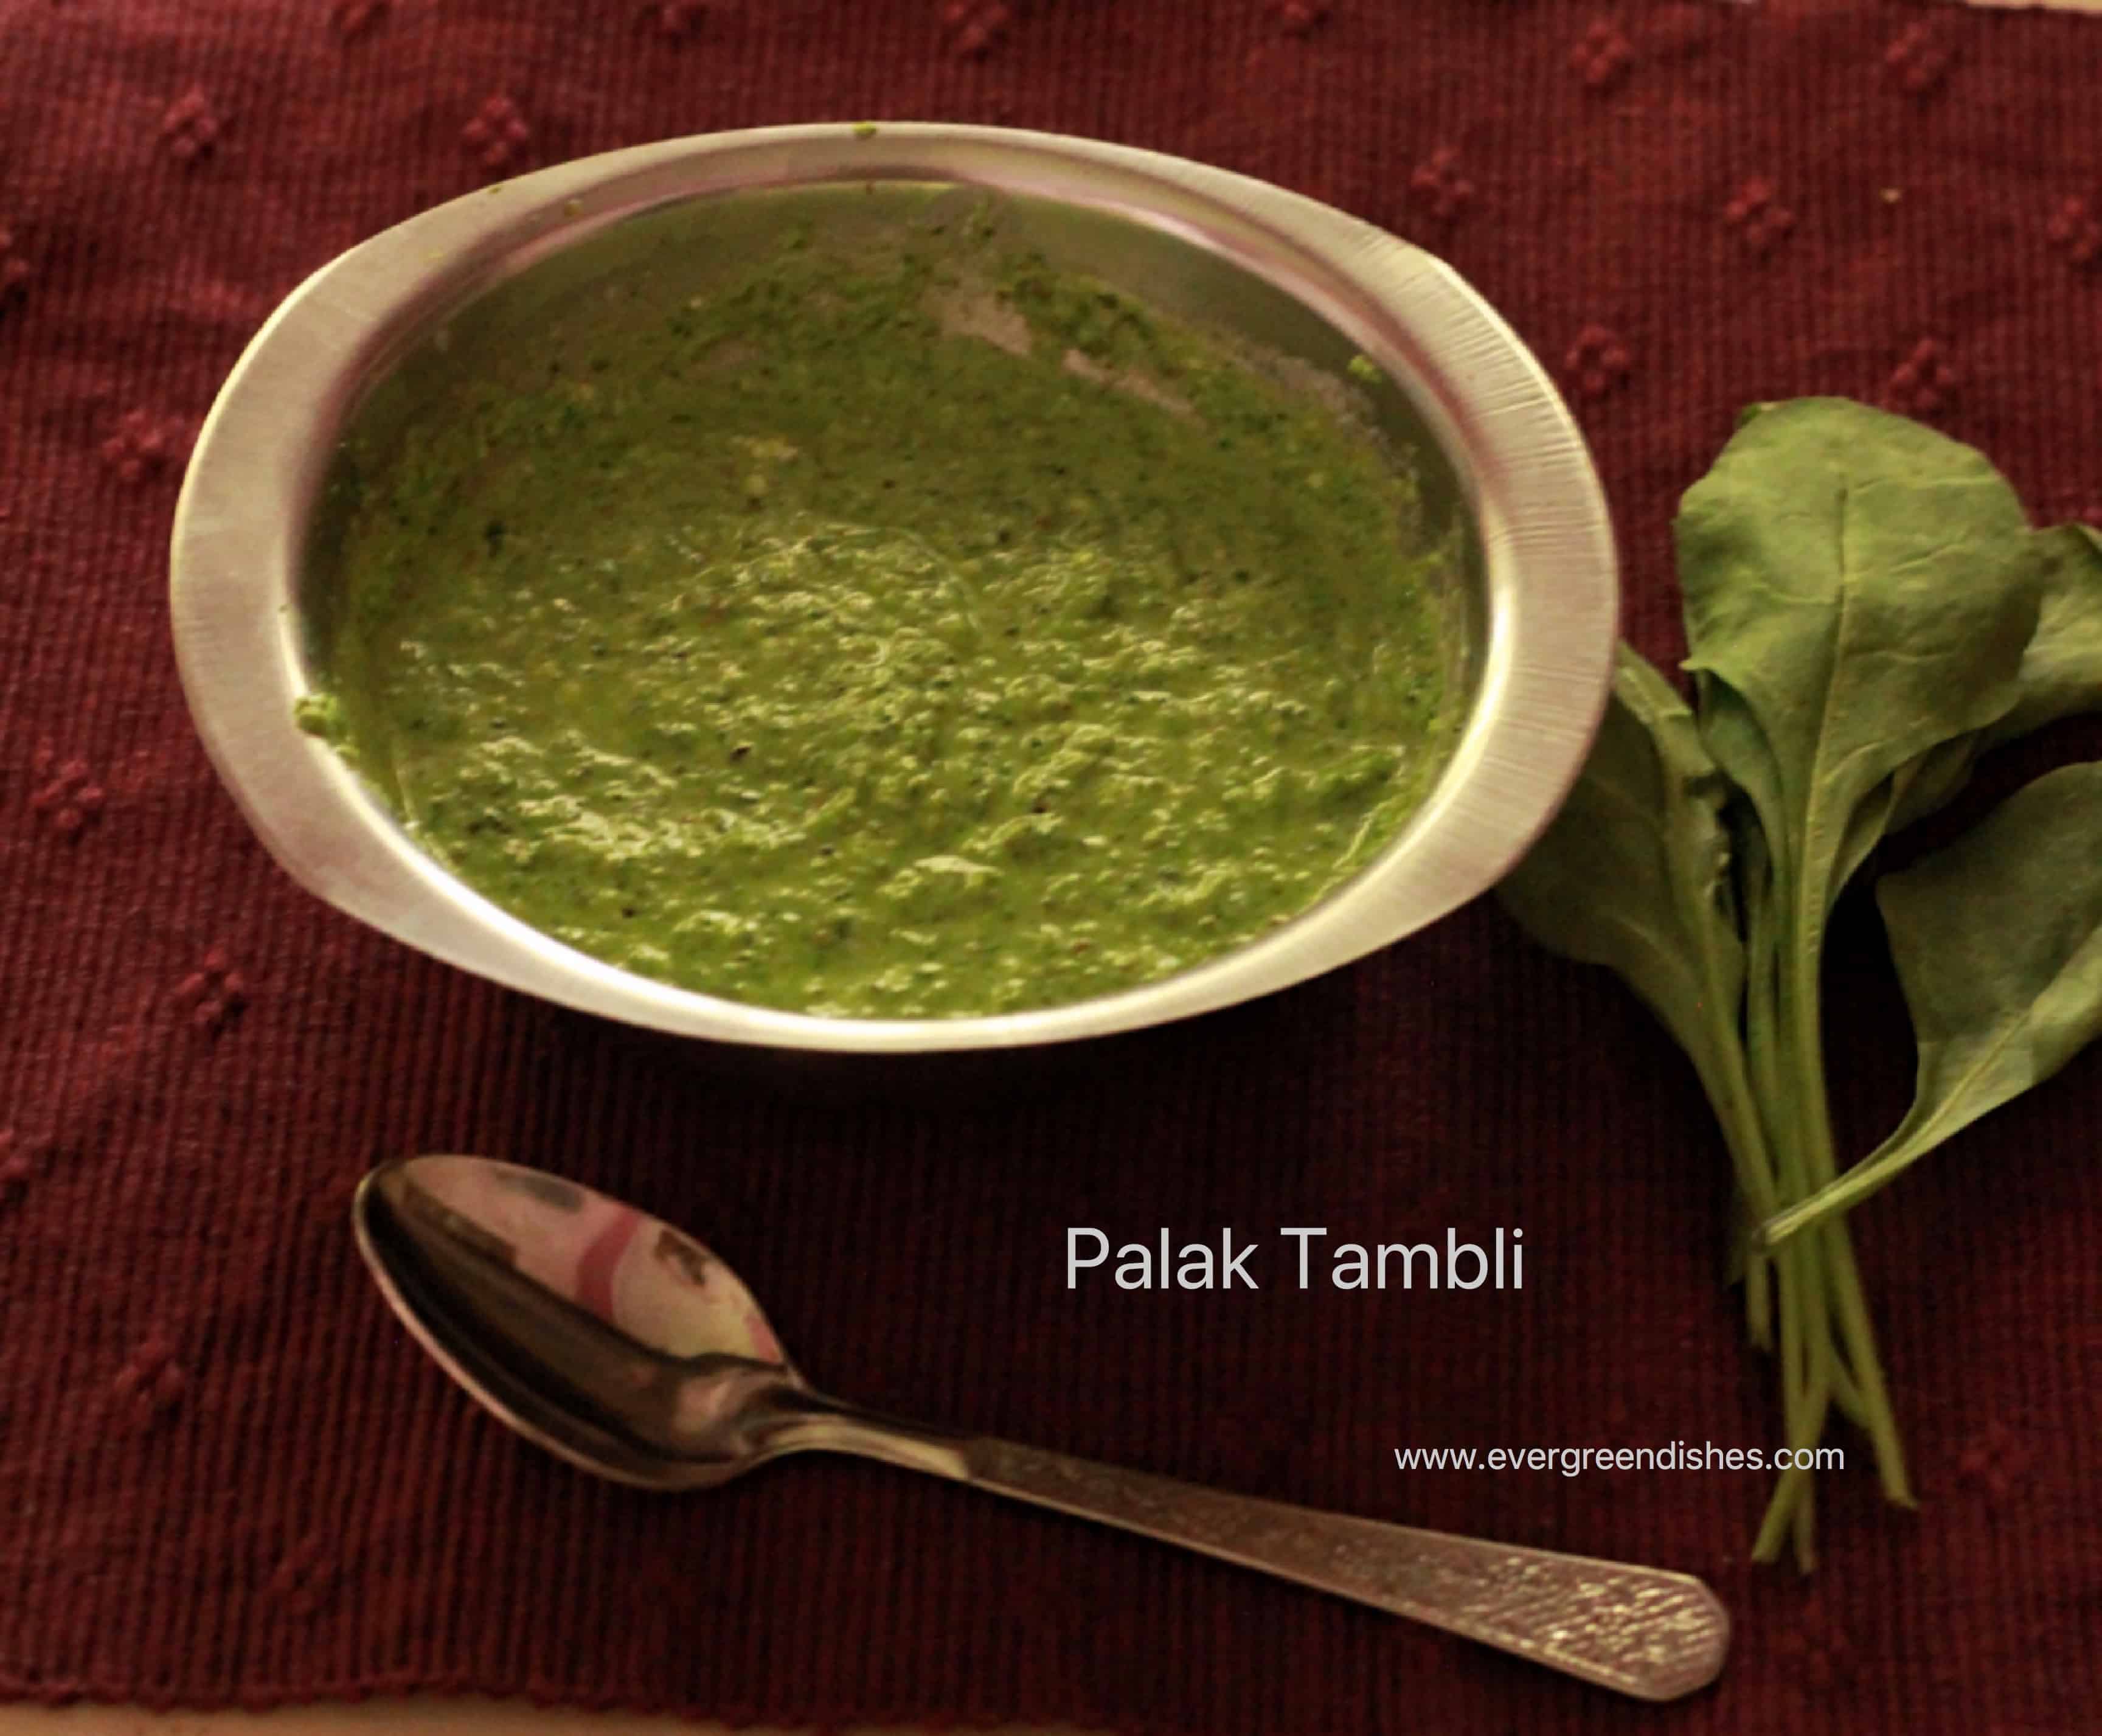
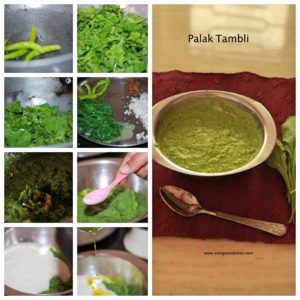
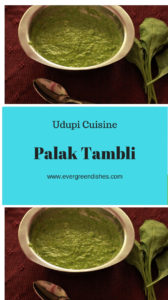
Palak Tambli is a popular dish from South Canara cuisine. It is regularly prepared in daily menu. It tastes good with hot steamed rice.
Winter is my most loved season, pleasant climate, waking up to a nail biting cold day and have plenty of fresh vegetables and green vegetables. Spinach, fenugreek, cilantro, mint are all farm fresh and smell so good.
Tambli is a dish from South Canara cuisine. It is yoghurt based dip like with a green leaf, coconut and few other ingredients. Tambli can be made using different green leaf and vegetables as Spinach, Fenugreek, Ginger, Cucumber to name a few.
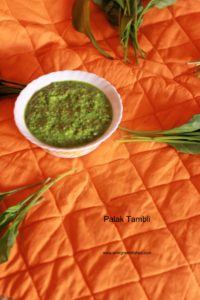
Palak Tambli is tasty and makes a good accompaniment with hot steamed rice. With fresh spinach available, do try this.
Clean the spinach leaves, discard the stalk. Cut the leaves. Wash them and put in a colander for sometime.
Take a little oil, saute the green chilli, put them aside in a plate, roast cumin for few seconds. Put it aside along with green chilli. Now,saute the spinach leaves for two minutes.
Once it cools, grind them along with coconut.
Remove in a bowl. Add salt to it. Whisk the curd and put it.
Make seasoning. Take oil in a pan, add mustard seeeds, as it splutters, add turmeric powder and asafoetida and pour it over the tambli.
Spinach tambli is ready to serve.
Notes
Use fresh curds. Do not add water to it.
Adjust the green chilly as per your taste.
Remove the stalk and cut the spinach leaves.
Take a little oil and saute the green chilli, put them aside in a plate, roast cumin for a few seconds. Put it aside along with green chilly. Now, saute the spinach leaves for the two minutes.
Grind them along with coconut.
Whisk the curd and put it. Add salt and mix.
Make seasoning. Take oil in a pan, add mustard seeds, as they splutter, put turmeric powder and asafoetida, pour it over the tambli.
Palak tambli is ready to serve.
palak tambli
palak tambli
This post is part of Winter Special at Healthy Well Cuisines. Here are a few other recipes by other co-bloggers
If you have liked this post, do leave a comment. If you recreate this dish, click a picture of the dish and share with @foodiejayashree on Instagram or @evergreendishes on Twitter or Facebook.
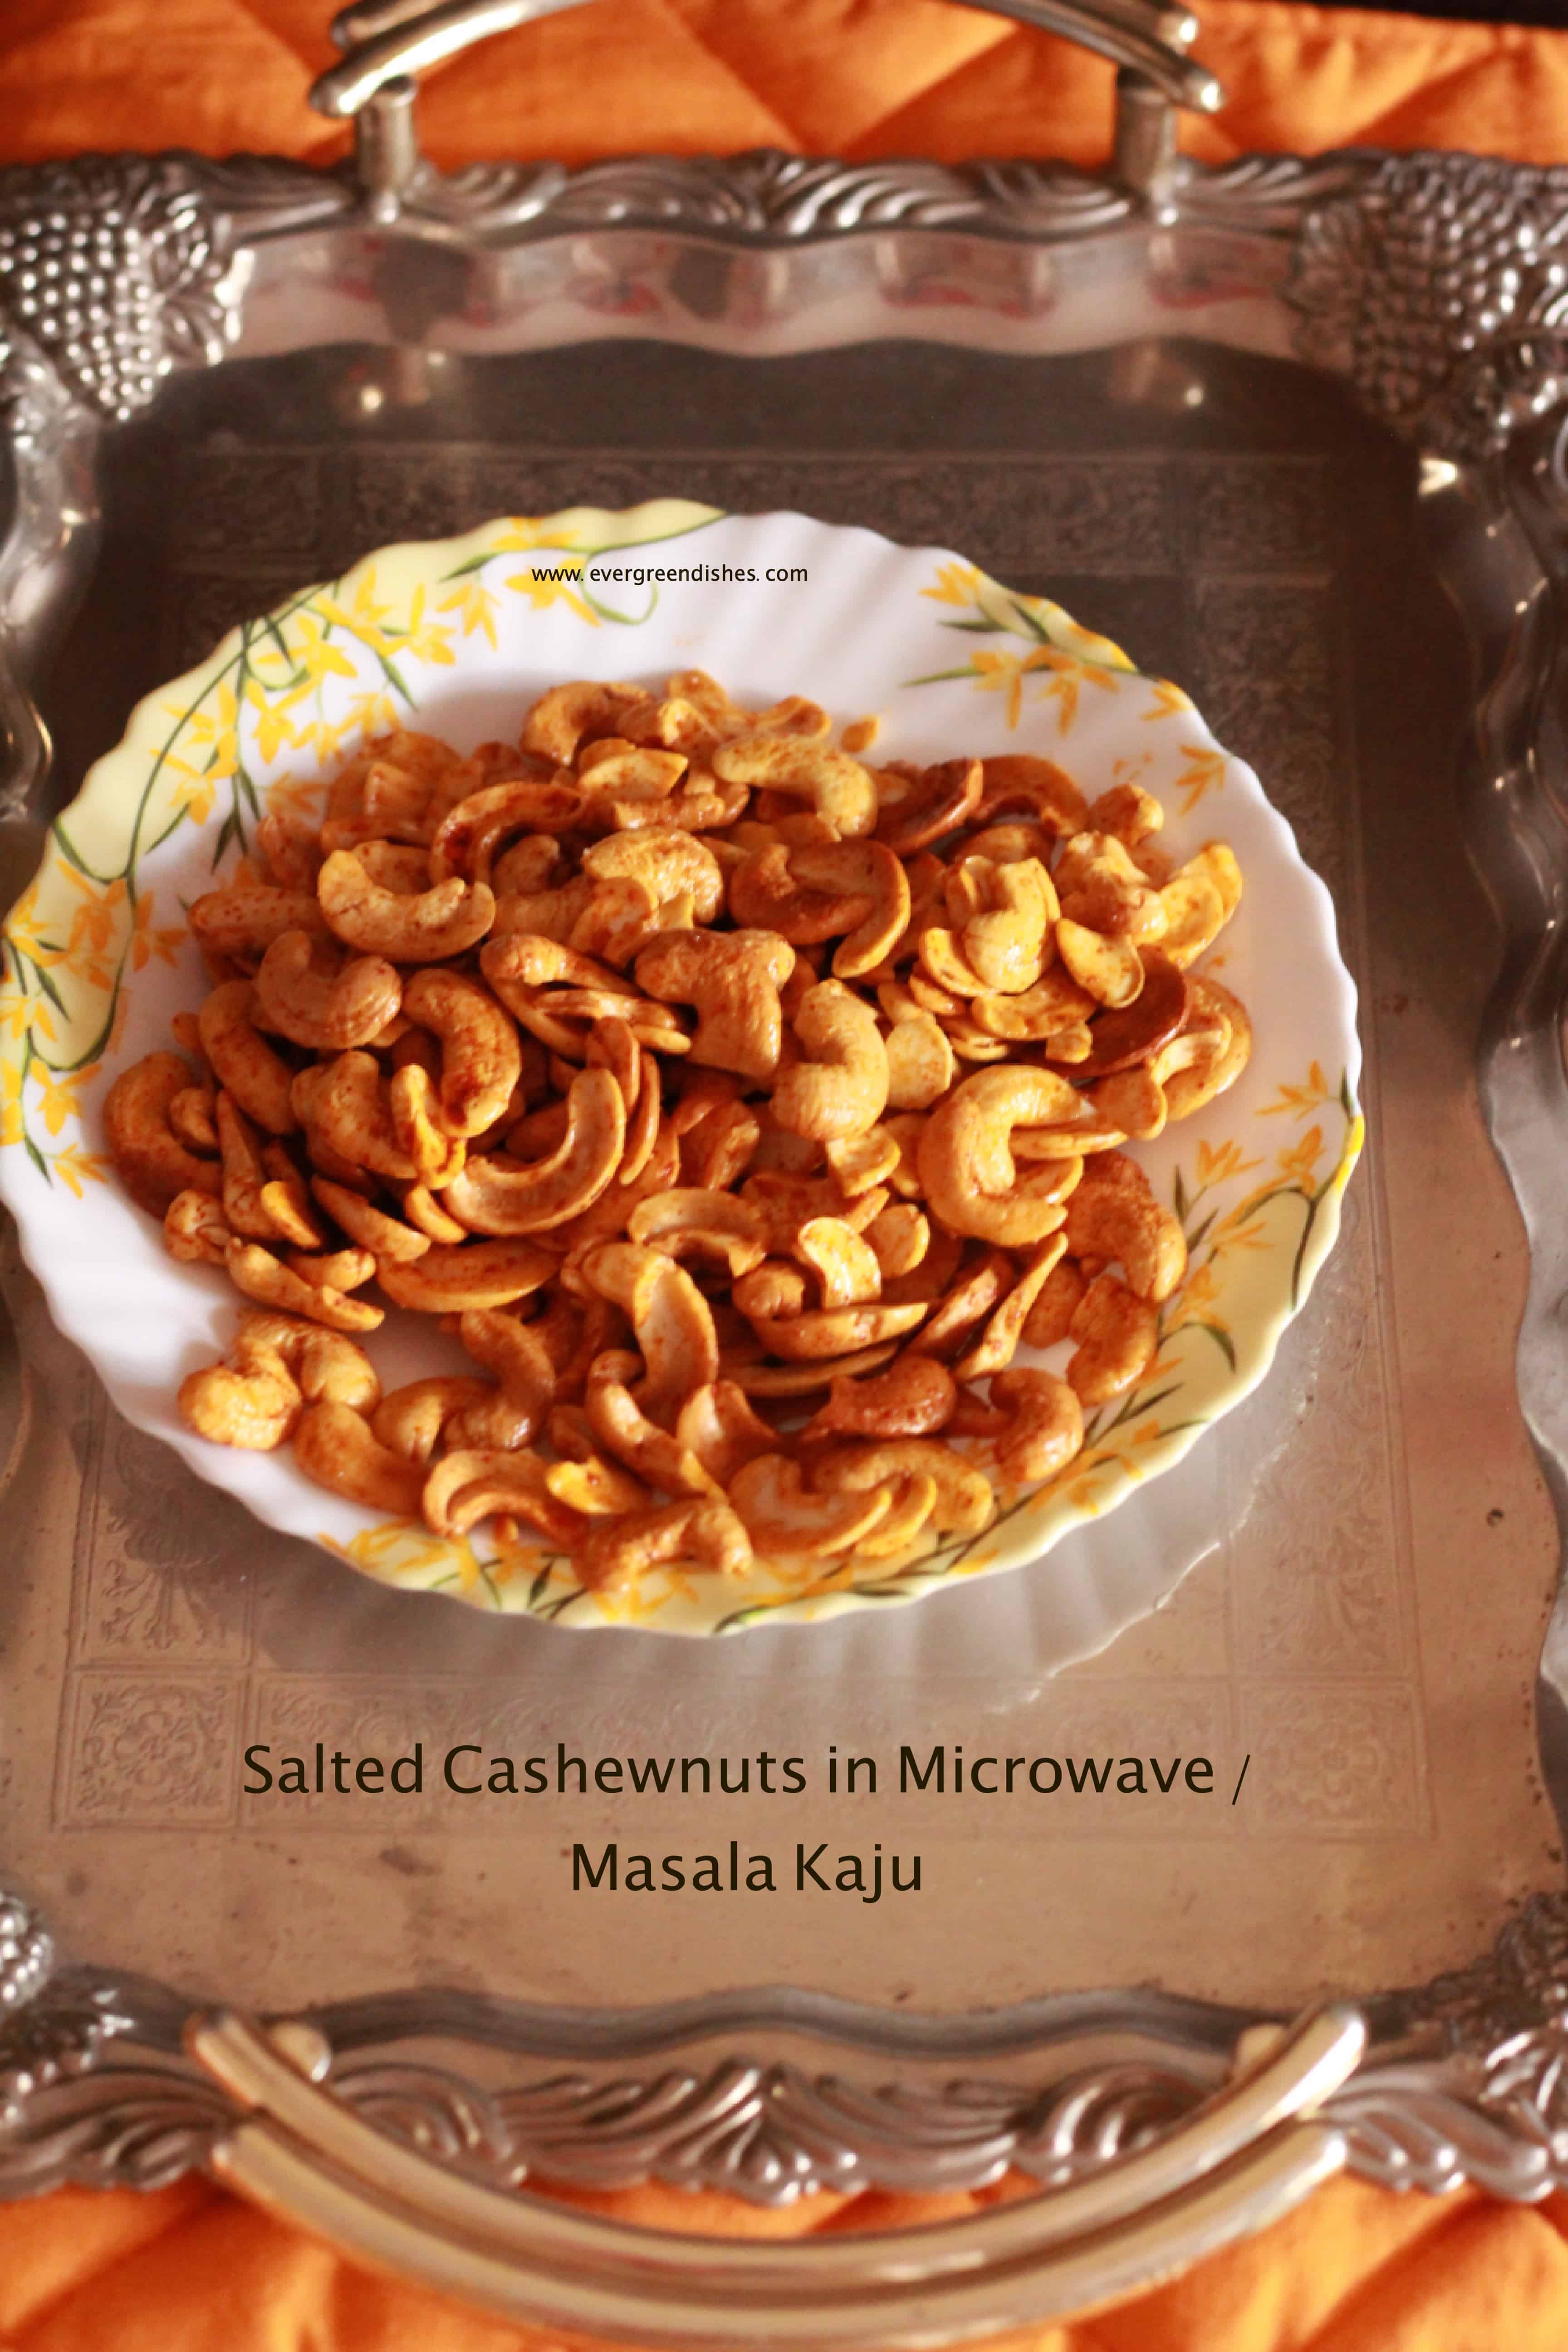
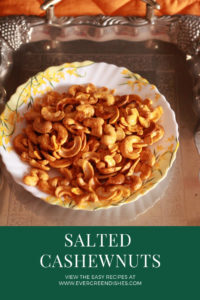
Salted cashew nuts / Masala Kaju as we Indians commonly name it, make a great appetiser. It is ideal to binge during mid-day or serve as a snack to guests with tea. These are made in microwave and are ready in fifteen minutes.
Microwave oven is ideal to toss the nuts, they are evenly made, lesser time is needed, little oil is used. Most of all I find it a good experience in using it.
Recently, I tried making stuffed tomato and it came out good. Other microwave recipes that I have on blog is Stuffed Capsicum
Let’s get making Salted Cashew nuts in Microwave / Masala Kaju
Ingredients:
1 cup cashew nut (Measurement : 1 cup = 250 ml)
1 teaspoon ghee
1/2 teaspoon chilli powder
1/4 teaspoon chaat masala
salt to taste
Method:
Take a microwave safe bowl, a flat bowl is preferred as it helps in even heating. Put the cashew nuts in it and microwave on medium power for 5 minutes. Check and if it needs to be roasted, reduce the temperature and keep again for 3 minutes. Initially, I kept at 600 power and then at 300 power.
Once, they are golden in colour, remove in a plate, add ghee and put the roasted cashew, microwave for 30 seconds, add salt, chilli powder and chaat masala, mix and again microwave for 30 seconds. Salted Cashew nuts aka Masala Kaju is ready to serve !
Different options :
use only salt
use salt and pepper
use salt, cumin powder, chilly powder and chaat masala
To make Salted Cashew nuts / Masala Kaju in Pan:
Ingredients:
1 cup cashew nuts
3 tablespoon ghee
1 teaspoon chilly powder
1/2 teaspoon chaat masala
a few curry leaves
a pinch of asafoetida
salt to taste
Method:
Take ghee in a pan, fry the curry leaves until crisp and put them aside.
In the same ghee, roast the cashew nuts until golden in colour. Put them in a plate.
In a bowl, mix the roasted cashew along with curry leaves and all spice powders.
Isn’t this an easy one? If you ever try this recipe, take a picture and tag me @foodiejayashree on Instagram
I love using Catch spice powders, they come in handy sprinklers and are good in taste.
Evergreendishesdev
Salted Cashew Nut in Microwave / Masala Kaju
Salted cashew nut make a good snack to binge in the evenings. They are roasted in the microwave and can be made quickly.
Take a flat microwave safe bowl, put the cashew nuts in it. Spread them evenly and microwave on medium power for five minutes. Check, toss, reduce the temperature and microwave for three more minutes. I put them at 600 power for five minutes, checking every minute and again put at 300 power for 3 minutes.
Once they are golden in colour, remove in a plate, add ghee, put the cashew nuts and switch on the power for 30 seconds. Sprinkle salt, chilly powder and chaat masala, mix and heat it for 30 seconds again.
Notes
Use microwave safe glass bowls for cooking.
Time may vary for each model, check when they are done, you get a good aroma and they are golden in colour.
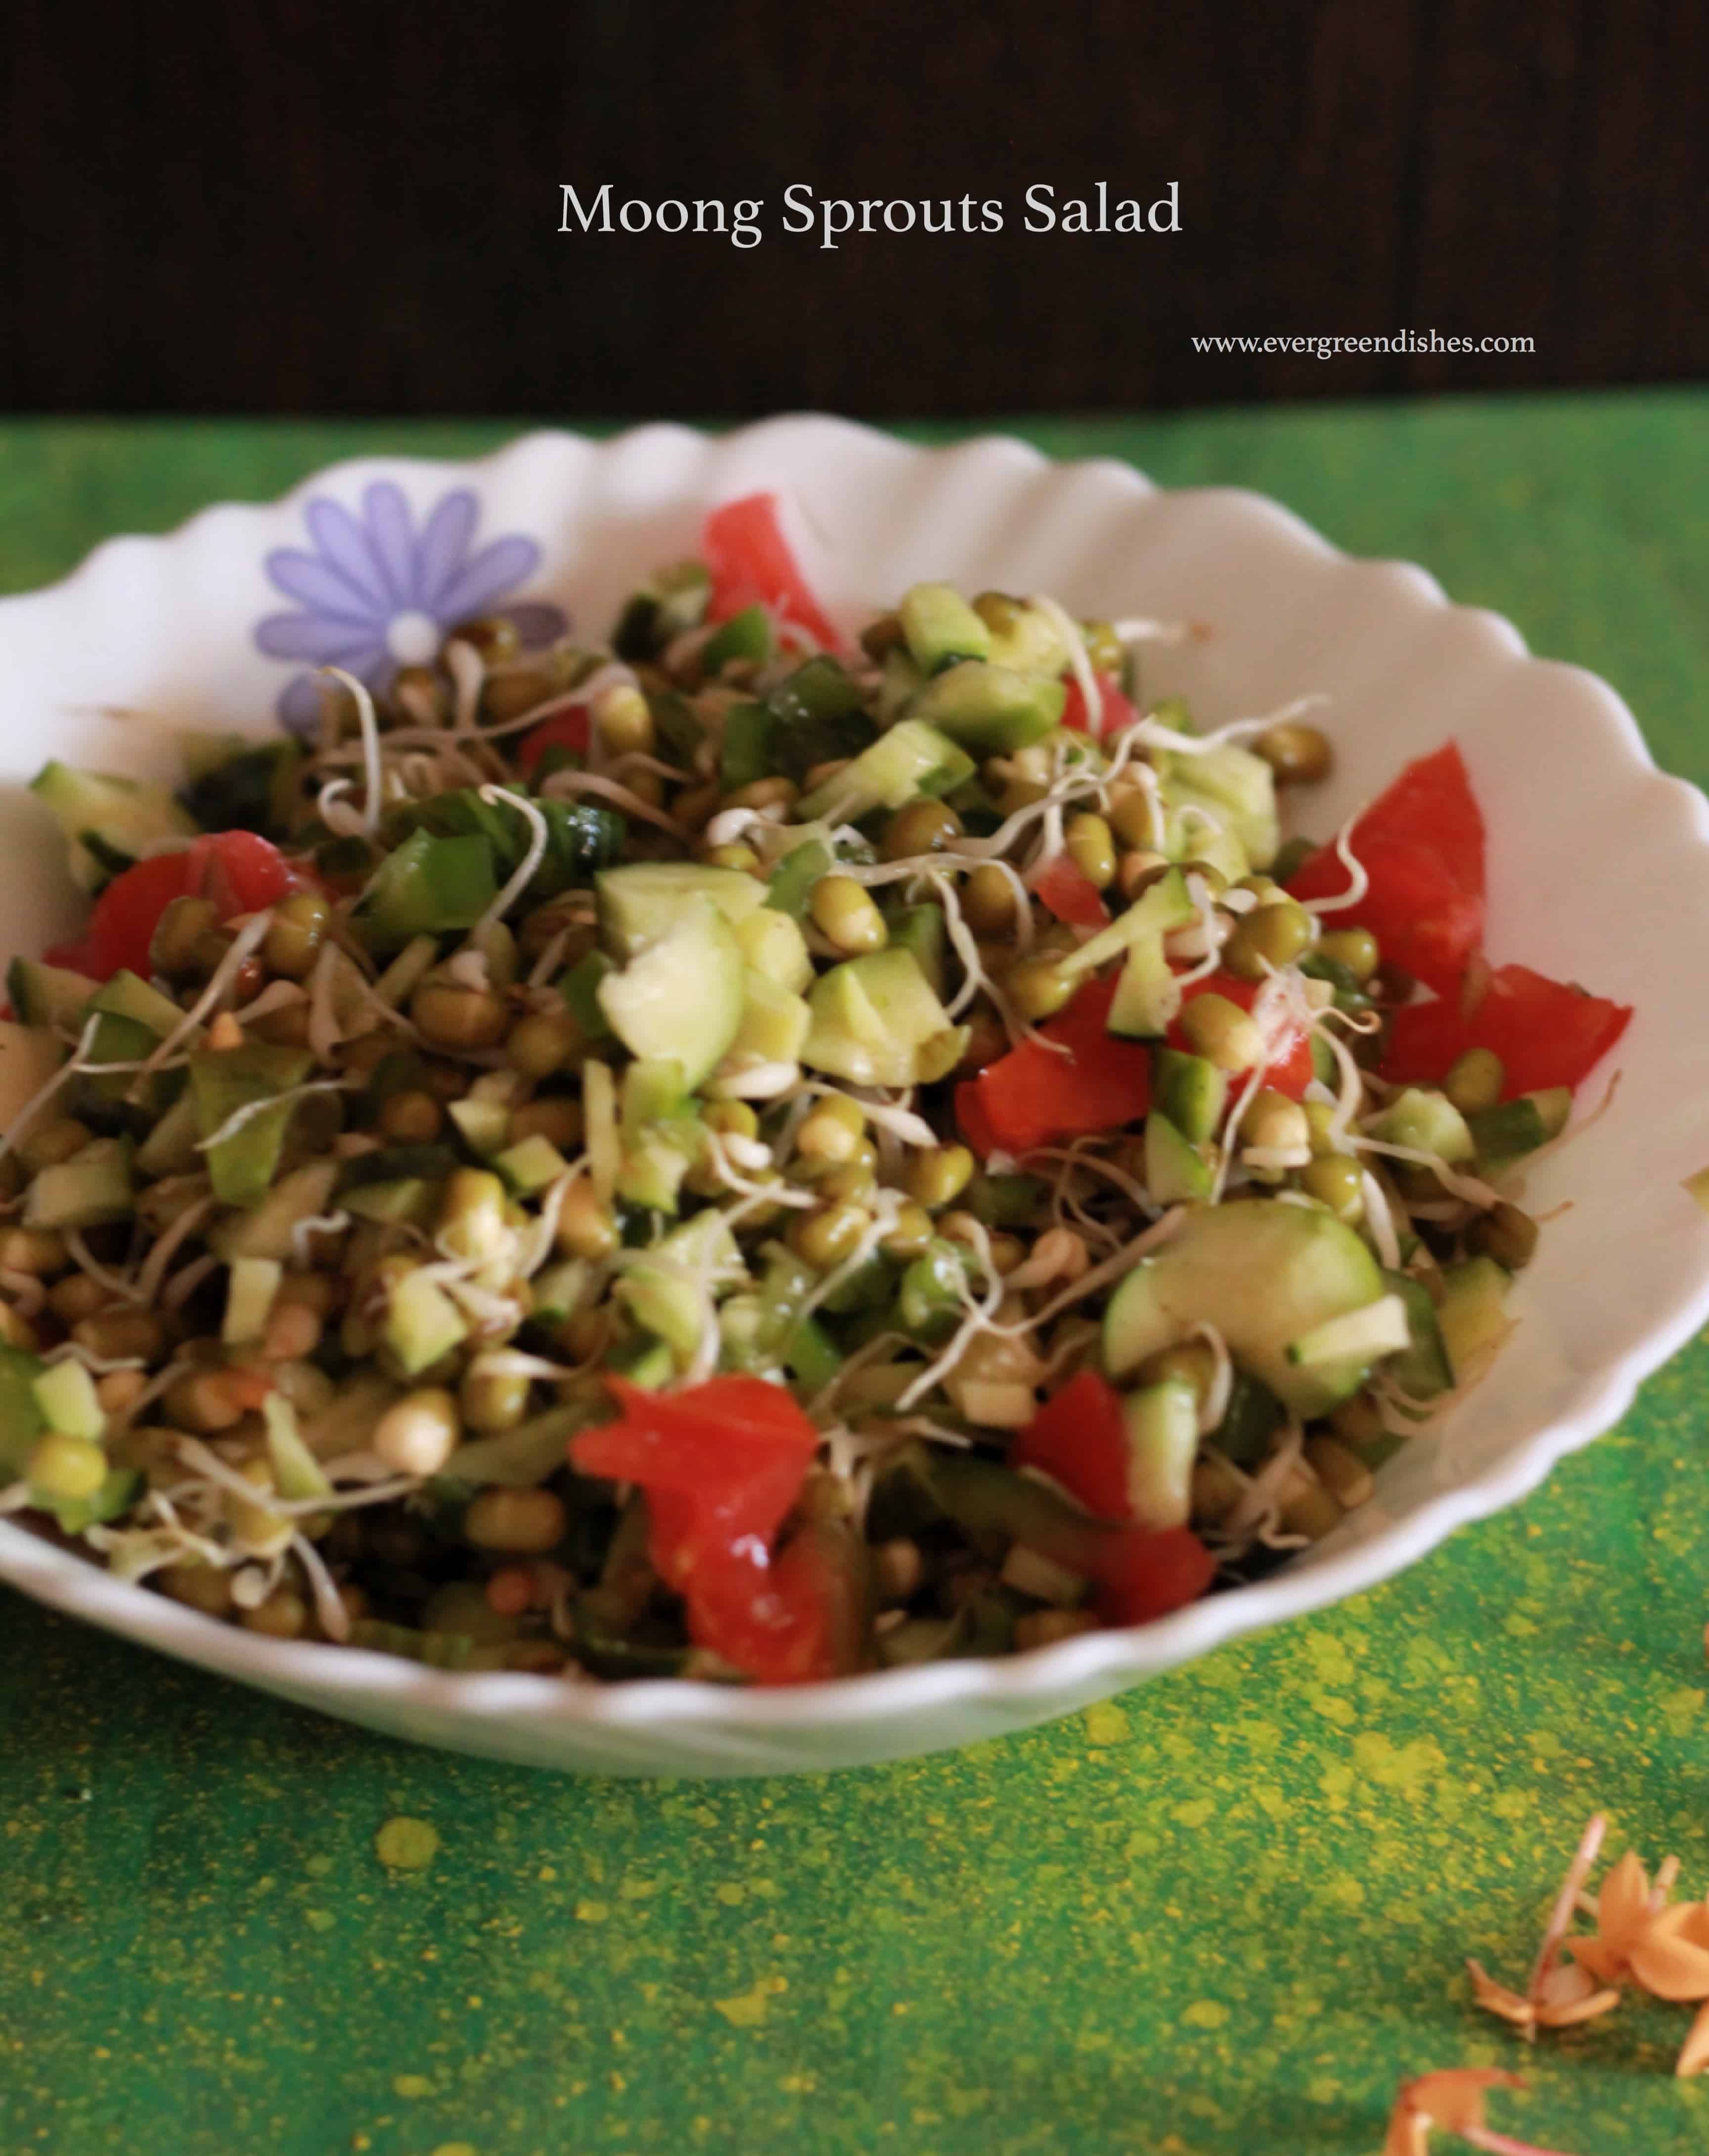
Sprouted Moong salad is an easy to make, tasty and healthy snack to serve for people of all age group. It is ideal as a side dish with any meal, pairs well with chapati or phulka too. It is ideal to eat as a snack too.
sprouted moong salad
What are sprouts?
Sprouts are seeds that have germinated and become tiny plants.
How to make sprouts ?
I had written a post earlier, do take a look at it.
Can it eaten be raw?
Yes, it can be eaten raw. In fact, we like it that way only. I never boil or steam moong sprouts for salads. They are sweet and easily chewable. But, I make sure I am putting in the fresh ingredients, a few days old, stored in the refrigerator will never taste good. It needs to be cooked. But, there has been a controversy, saying that, raw sprouts may contain harmful bacteria. The reason raw sprouts are risky is because they need to be grown in warm, humid conditions in which harmful bacteria such as E Coli and Salmonella also happen to thrive. There are chances of food poisoning taking place.
How to prevent food poisoning?
Store them in refrigerator at temperature below 8 degree Centigrade. Wash hands before using sprouts. Avoid eating sprouts with a strong smell or slimy appearance. If you are buying sprouts from stores, go for chilled ones.
What are the benefits of using sprouts?
Sprouts are rich in nutrients and low in calorie. The sprouting process helps to increase protein content. They also contain lower level of antinutrientsm making it easier for your body to absorb all the nutrients they contain. They contain higher amount of insoluble fiber, which eases digestion and may help reduce constipation. The sprouts also help to control the blood sugar level.
Cut the veggies finely, do not cut the chilly into small pieces, it may be hot.
Take a bowl, add the ingredients, mix. Add lime juice and chopped coriander to it.
Take a tip:
Onion may be added, but we prefer without it.
This glass bowl from Borosil is ideal for mixing salad or evebn to make puddings. It is made from high quality borosilicate glass, can with stand high temperatures and can be used both in microwave and oven. I love this product which I have since many years.
Evergreendishesdev
Sprouted Moong Salad
Sprouted moong salad makes a good snack to binge in the evenings. It is ideal to serve as a side dish in any menu too.
Cut cucumber, capsicum and tomato into small pieces.
Add the sprouts and all the veggies in a bowl.
Put salt, chat masala, olive oil, give a mix. Finally, add lemon juice to it.
Notes
Onions may be added.
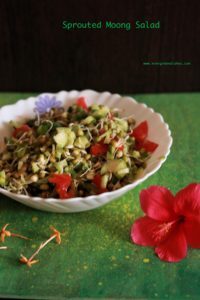
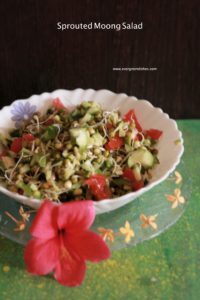
Pin it for later :
sprouted moong salad
This is my entry to My Legume Love affair #122 fondly called as MLLA – an event which celebrates the glory of pulses/ legumes. It was started by Susan of The Well Seasoned Cook of and been hosting by Lisa of Lisa’s Kitchen. The MLLA #122 is hosted by my friend and co-blogger Renu Agarwal Dongre of Cook With Renu
If you ever recreate this salad, do tag @foodiejayashree on Instagram or @evergreendishes on Twitter, I will be happy to see and share your work further.
Do follow Evergreendishes on Facebook and be the first one to be notified.
I hope you have got our e-book of handy hints by now !
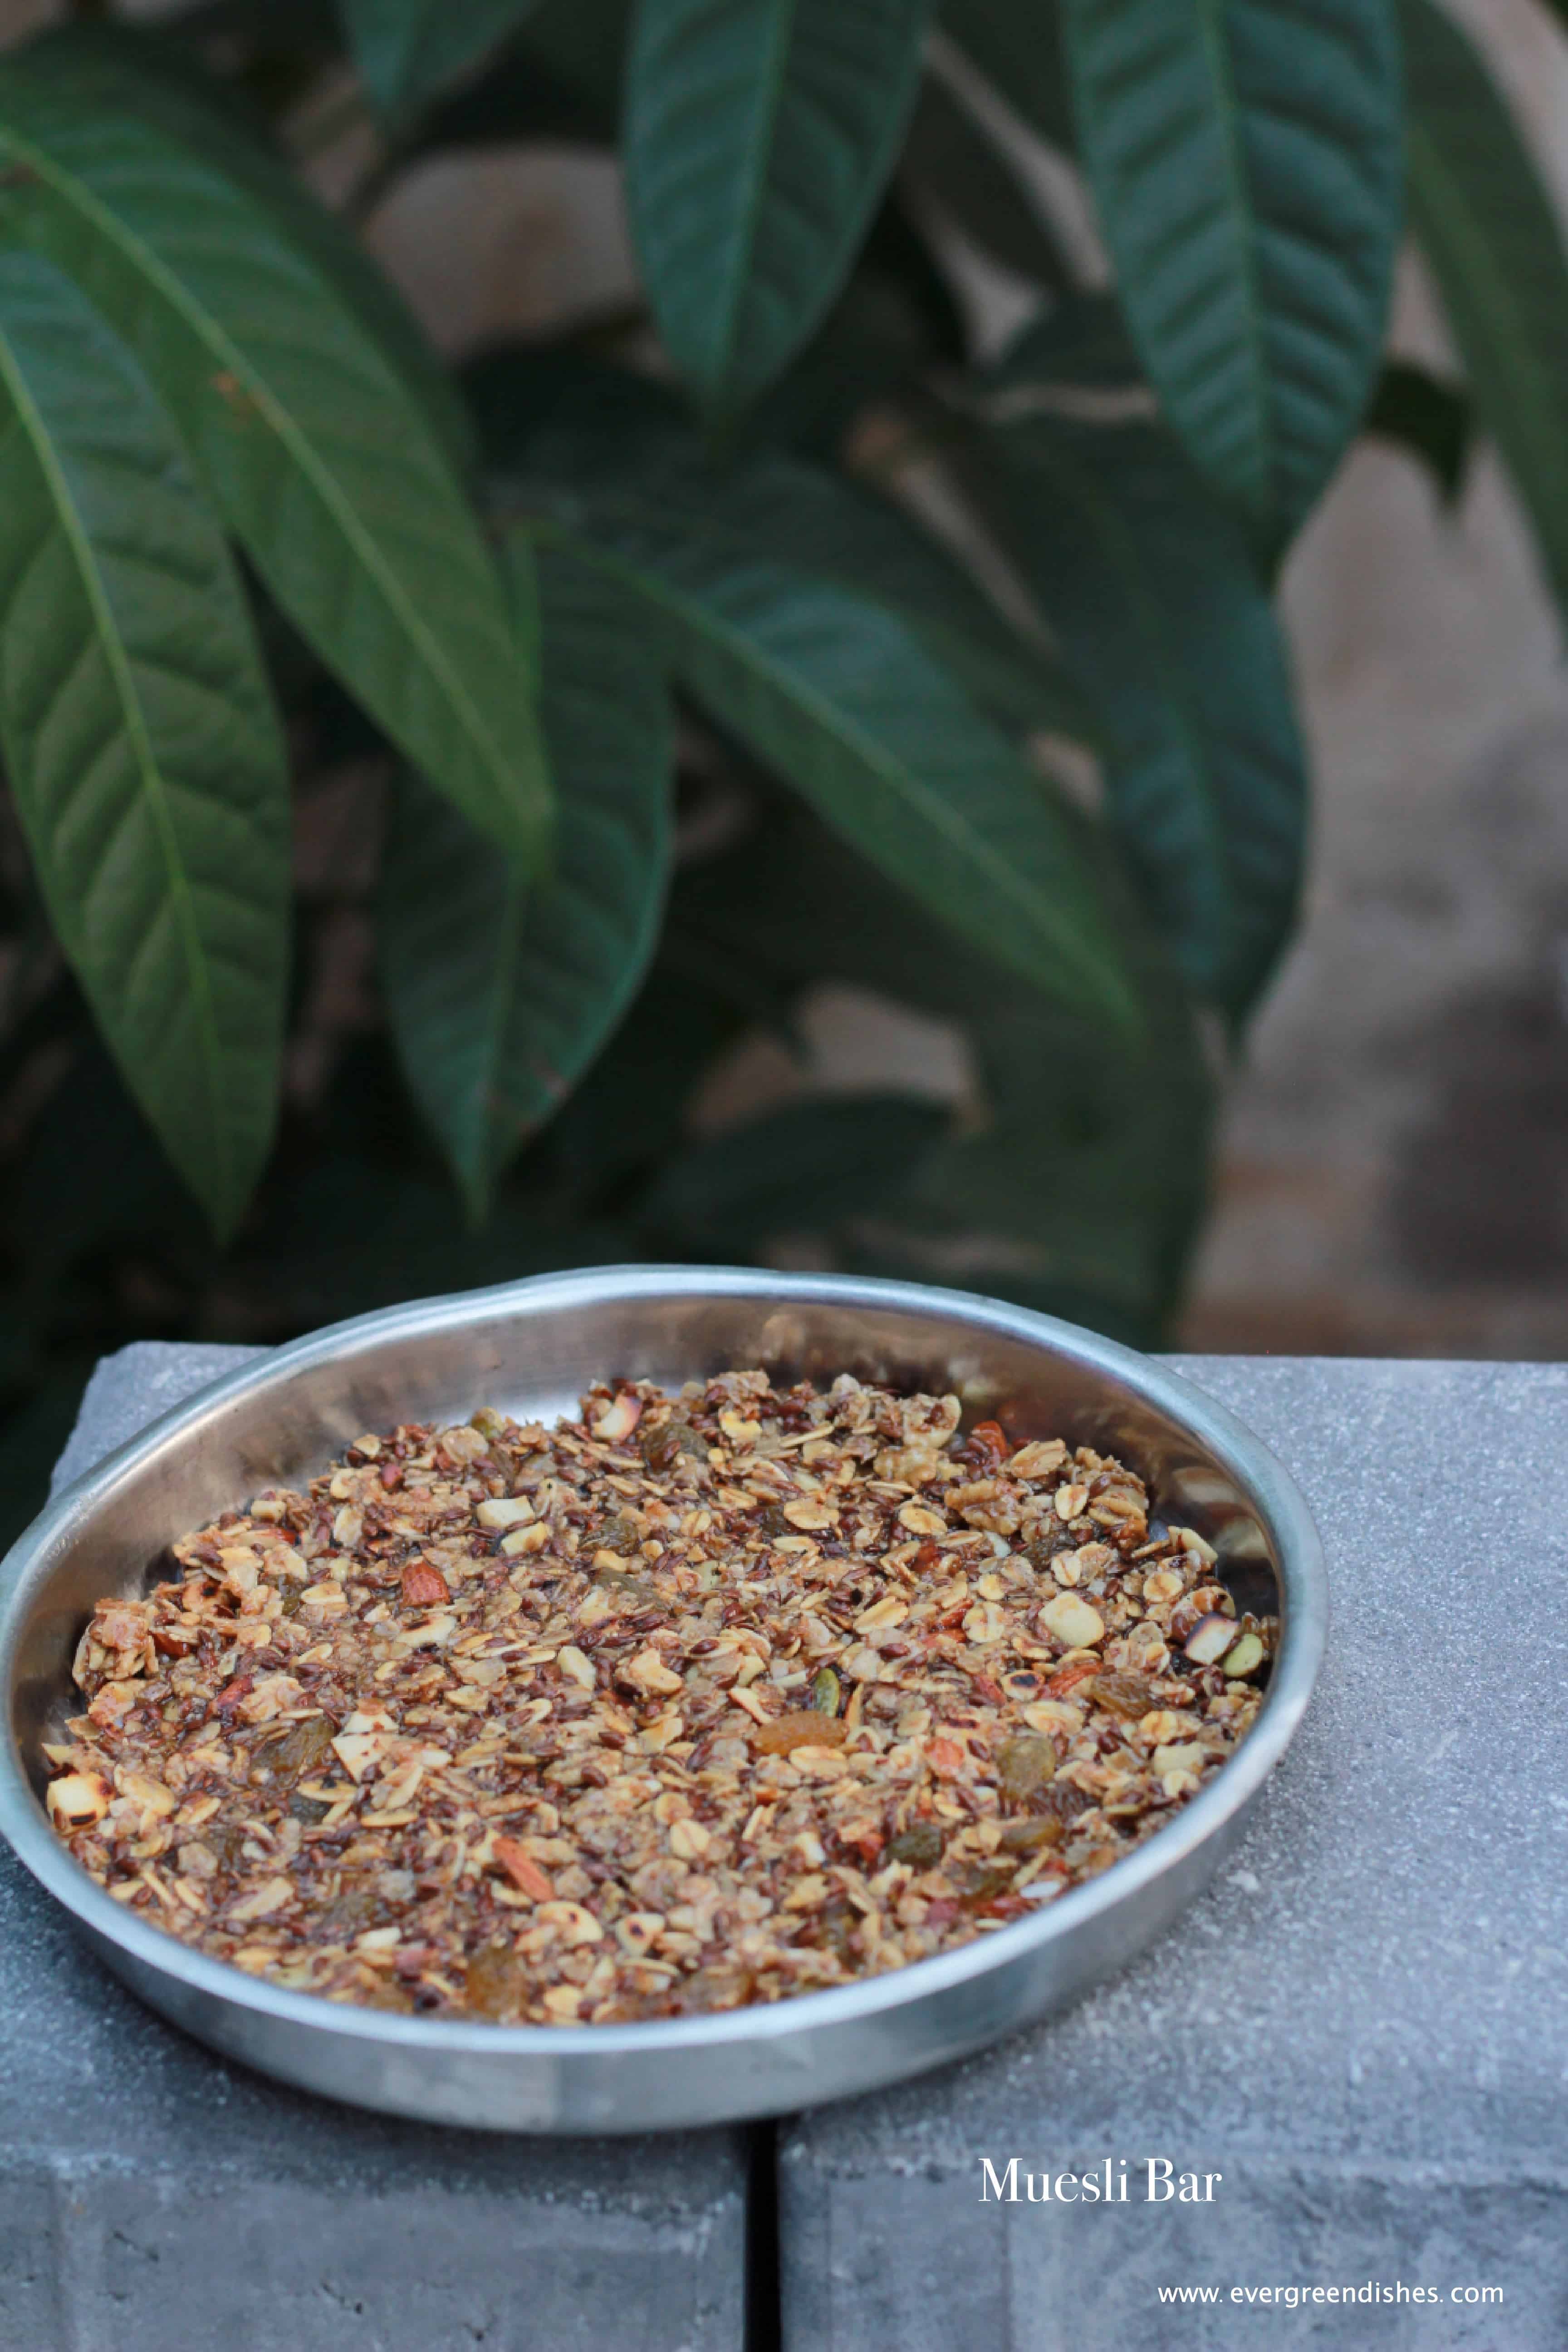
Muesli is a healthy snack for breakfast. It is easy to serve and a good option for busy days. Zerobeli Mueseli is tasty, crunchy and filled with nuts in it. I made muesli bars that were tasty and just awesome. (more…)
Breakfast is the most important meal of the day. Start the day with a bowl of oats porridge, it keeps you energised for a long time.
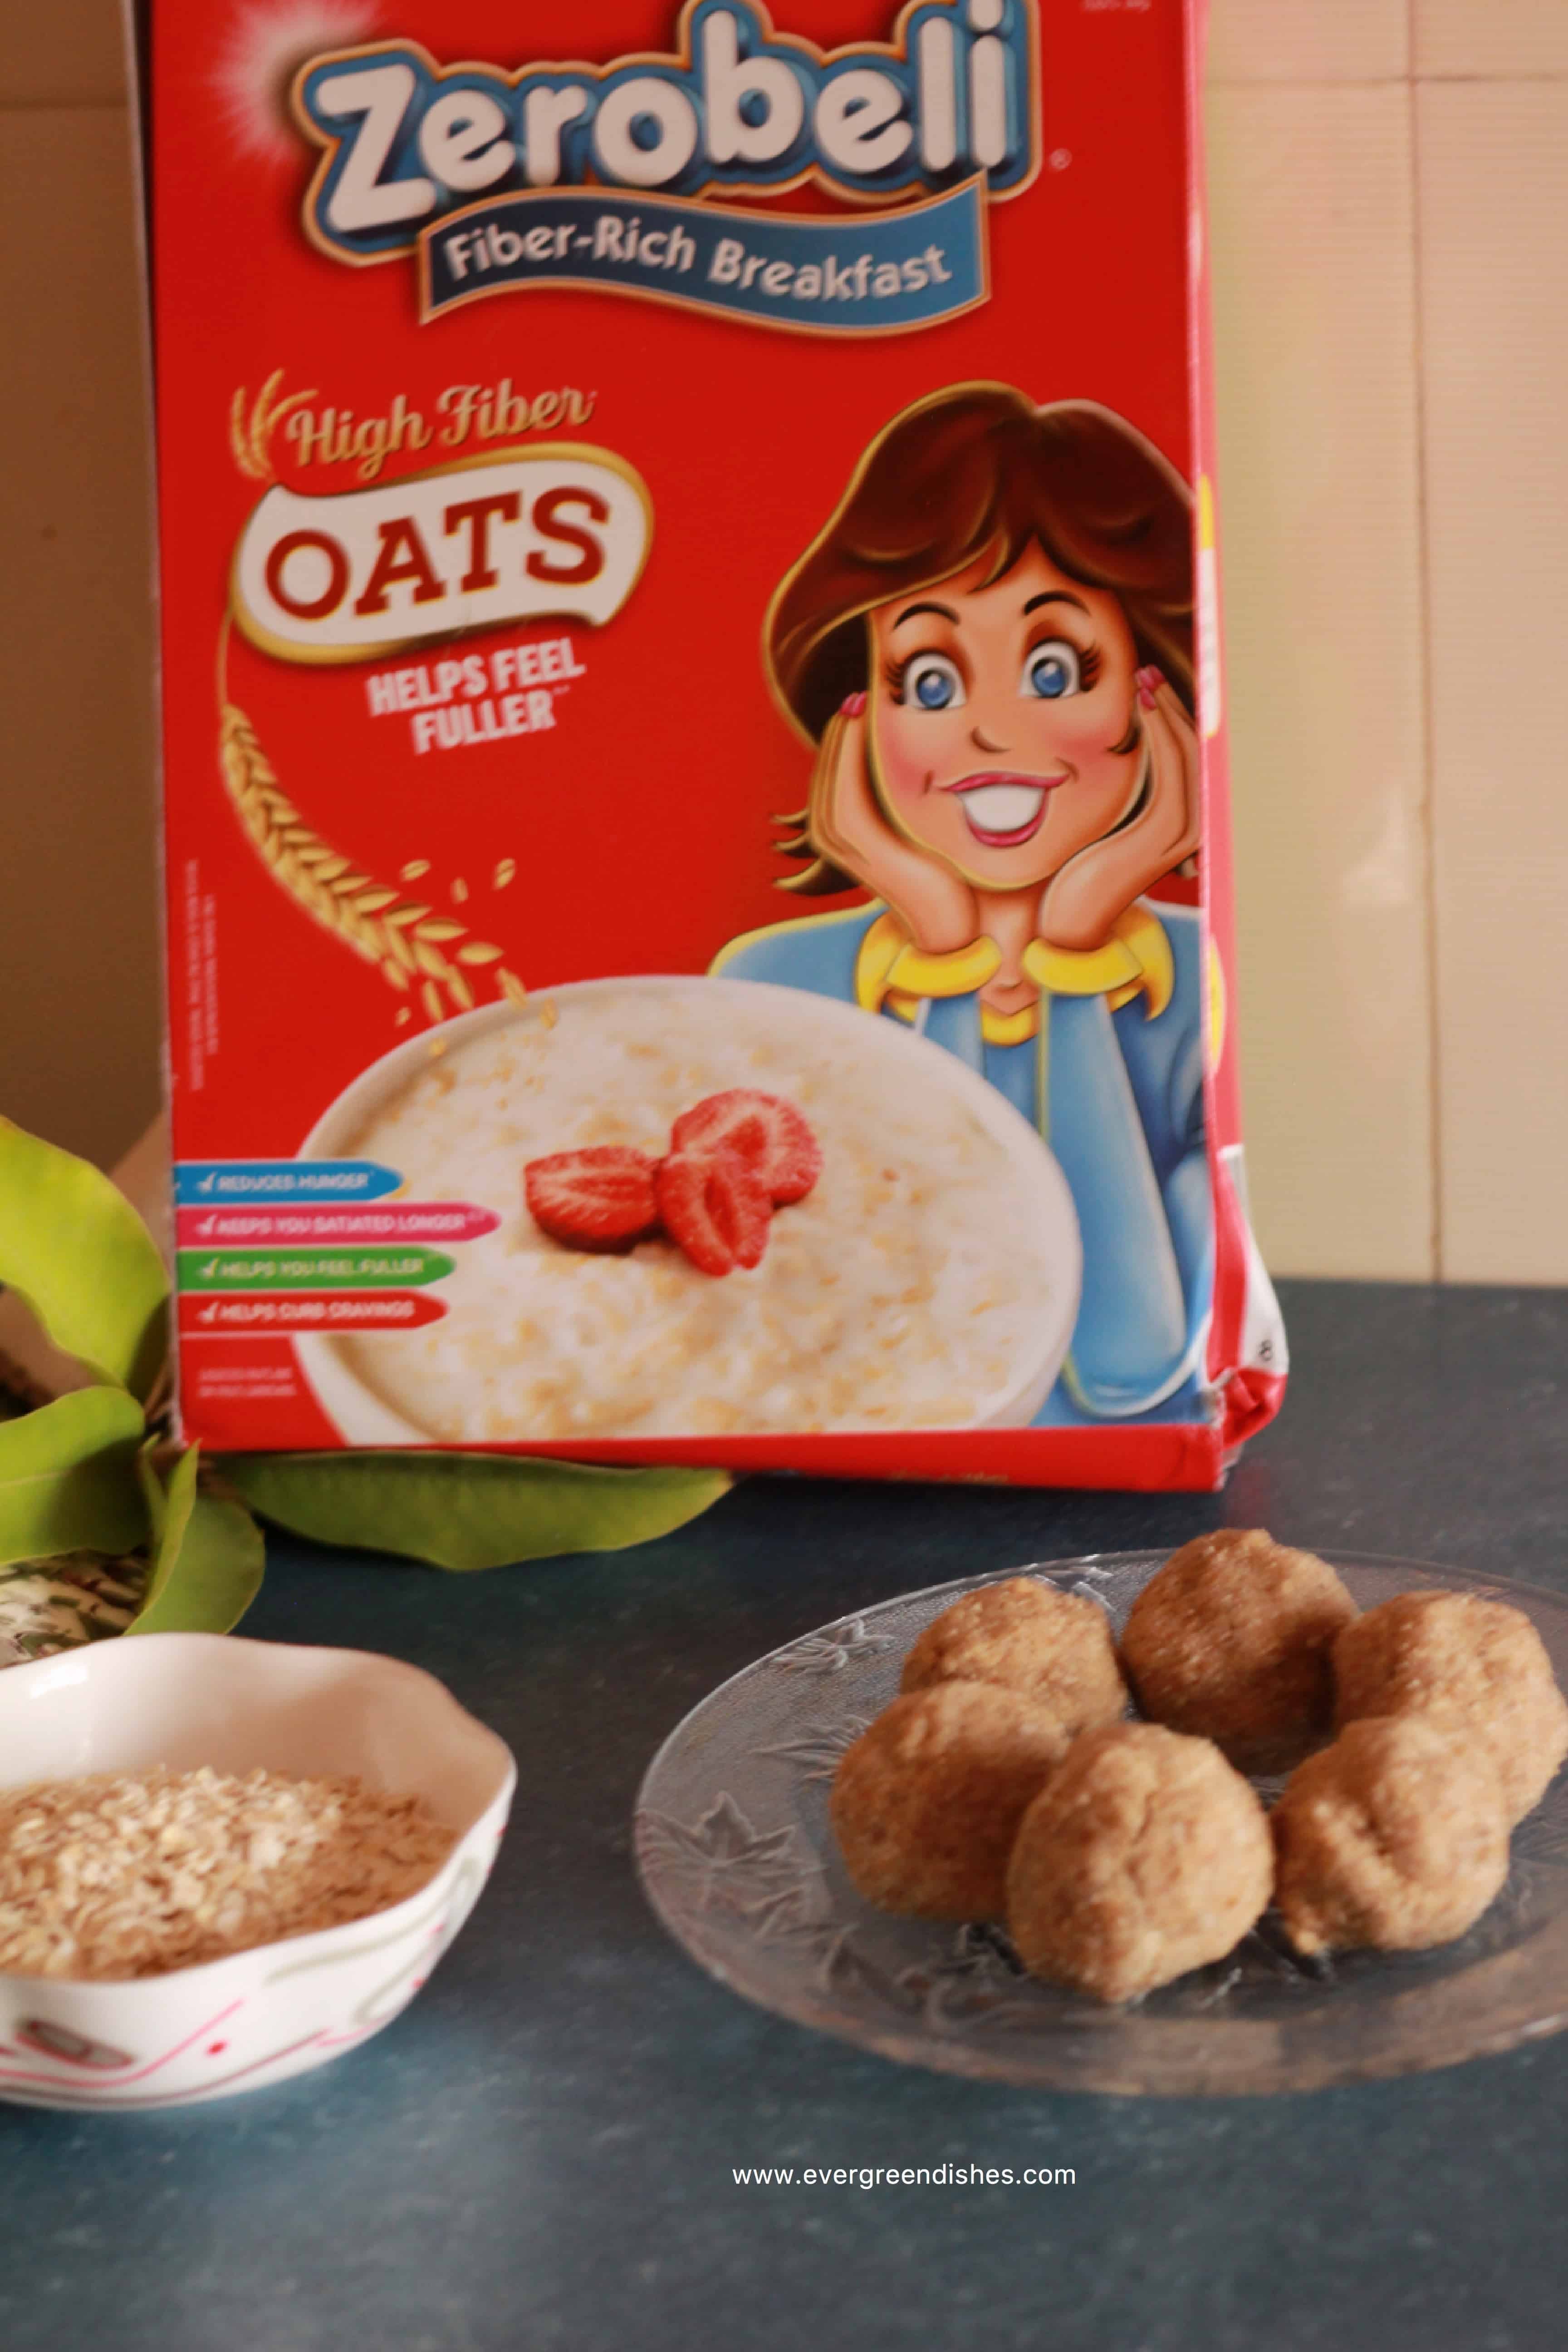
Recently, I was sent two packets of cereals labelled Zerobeli by Georgia Foods Company to review the products. Zerobeli Oats is high fiber and protein rich, thus it helps to keep hunger pangs away for a longer time. One feels energized for long hours. It may help in reducing weight.
Today, I had Oats porridge made with Zerobeli for breakfast. It was tasty and cooked so fast. One needs no additional topping of nuts as it tastes good by itself. Next, shall try making the overnight oats, it is even more simpler, just mix oats in milk with any sweetener of your choice and refrigerate overnight, top with some fruits and it’s ready.
Many different kind of dishes can be prepared using Zerobeli Oats. I made Oats ladoo and it was yummy. It is ideal to use in the mornings for breakfast or as a mid-day snack. Children are fussy eaters and should be given such healthy food.
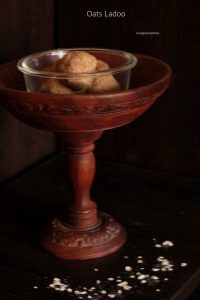
oats ladoo with zerobeli
I had prepared Oats Dhokla too and it was super soft. It’s wonderful to replace our intake with oats in it. A healthy lifestyle begins with what we eat and Zerobeli is the ideal way to start with. They have other cereal breakfast options too. It is available in outlets around Delhi but one can order online on their website.
We are happy with the product and will be purchasing the same in the near future.
Today, I am sharing the recipe of Oats Ladoo. I have tried to keep it healthy, it’s easy to make and can be made in fifteen minutes.
Oats Ladoo
Ingredients:
1 cup Zerobeli oats
1 cup peanuts
1 cup white sesame
1 cup desiccated coconut
1 cup jaggery grated
8 dates pitted
1/4 teaspoon cardamom powder
Method:
Roast the peanuts on a low flame, put it aside on a plate.
Roast the sesame, you get a good aroma and they slightly crackle.
Roast the desiccated coconut, put it aside.
Dry roast the oats for a minute.
Cut the dates, remove the seeds and put them on it.
Grind all ingredients together.
Remove it in a bowl, make them into balls.
Healthy oats ladoo are ready to serve.
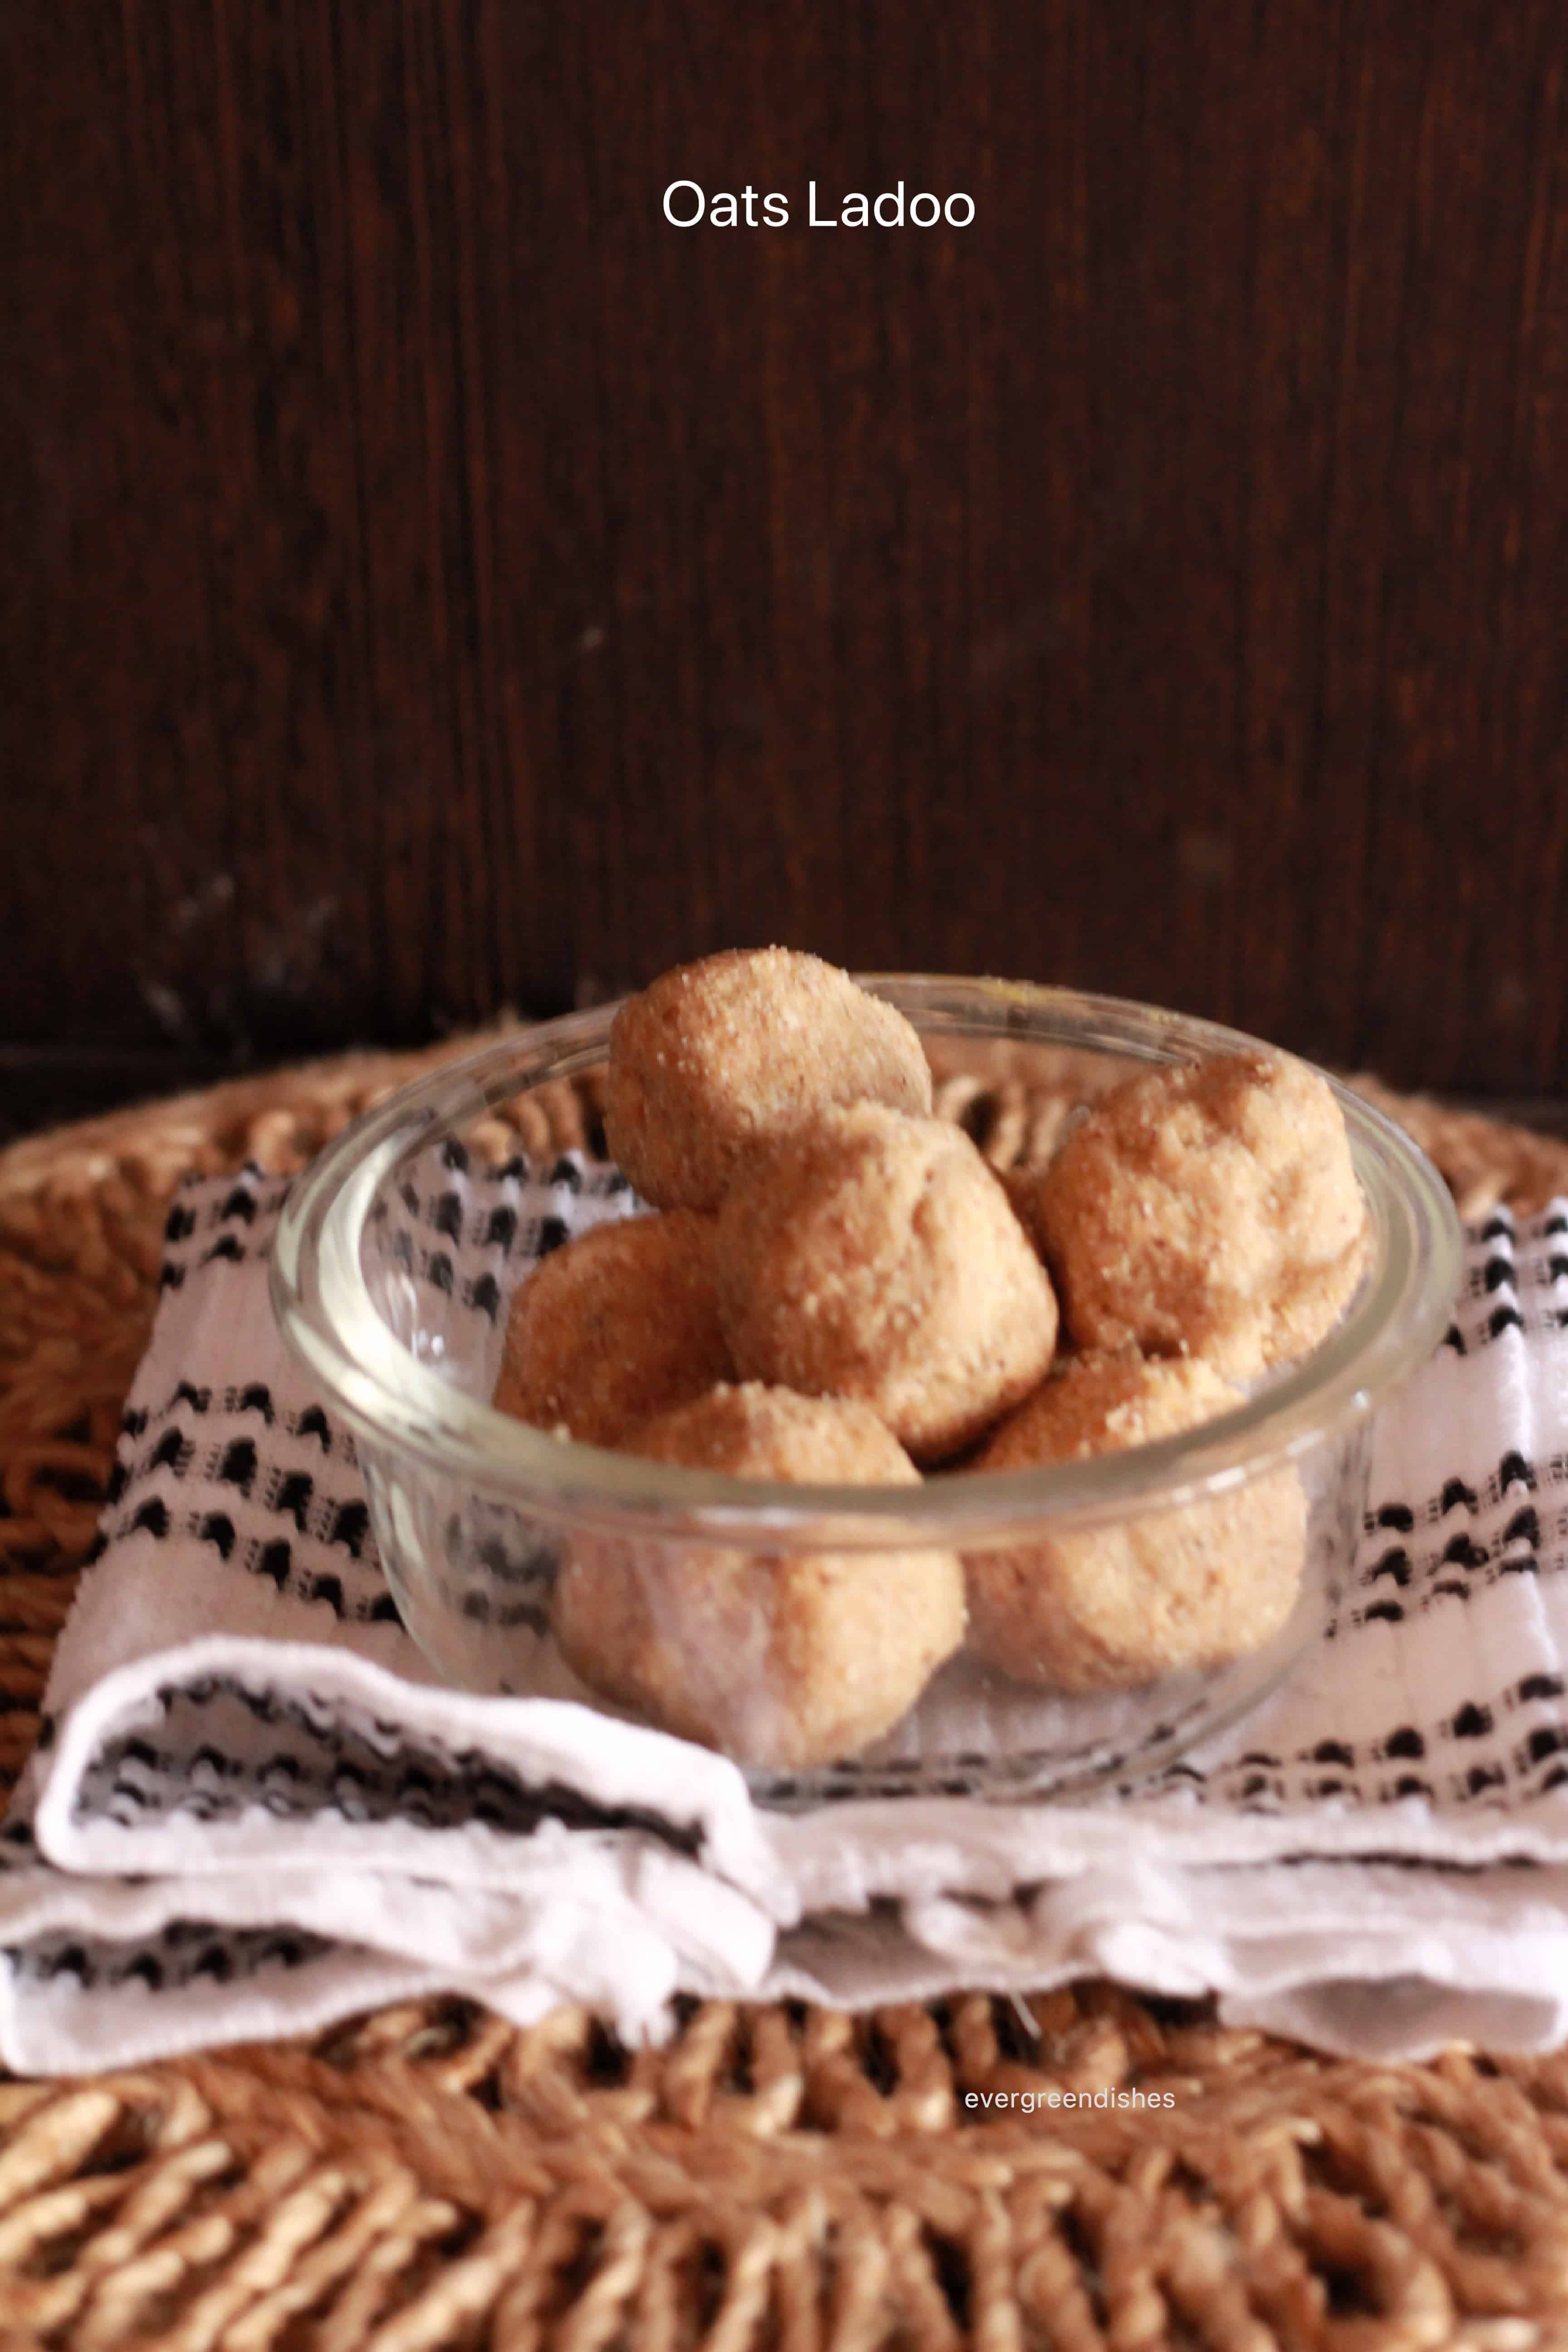
Oats ladoo
oats ladoo
Evergreendishesdev
Oats Ladoo
Oats ladoo is a healthy snack to kick start the day. Give it to adults or children, they are sure to like it.
Roast the peanuts, they should be crunchy and light brown in colour.
Roast the sesame for two minutes, you get a good aroma.
Roast the desiccated coconut for a minute.
Roast the oats for a minute.
Cut the dates, deseed and put them over the ingredients.
Grind all ingredients together.
Remove in a wide bowl.
Make balls of it. Oats ladoo are ready to serve.
Disclaimer: I was sent two packets of Zerobeli cereals by Georgia Food Company to review and use the product, but no monetary benefits were given. All views mentioned here are my own and written by myself.
If you have liked this post, do share it further. Stay tuned for more interesting recipes.
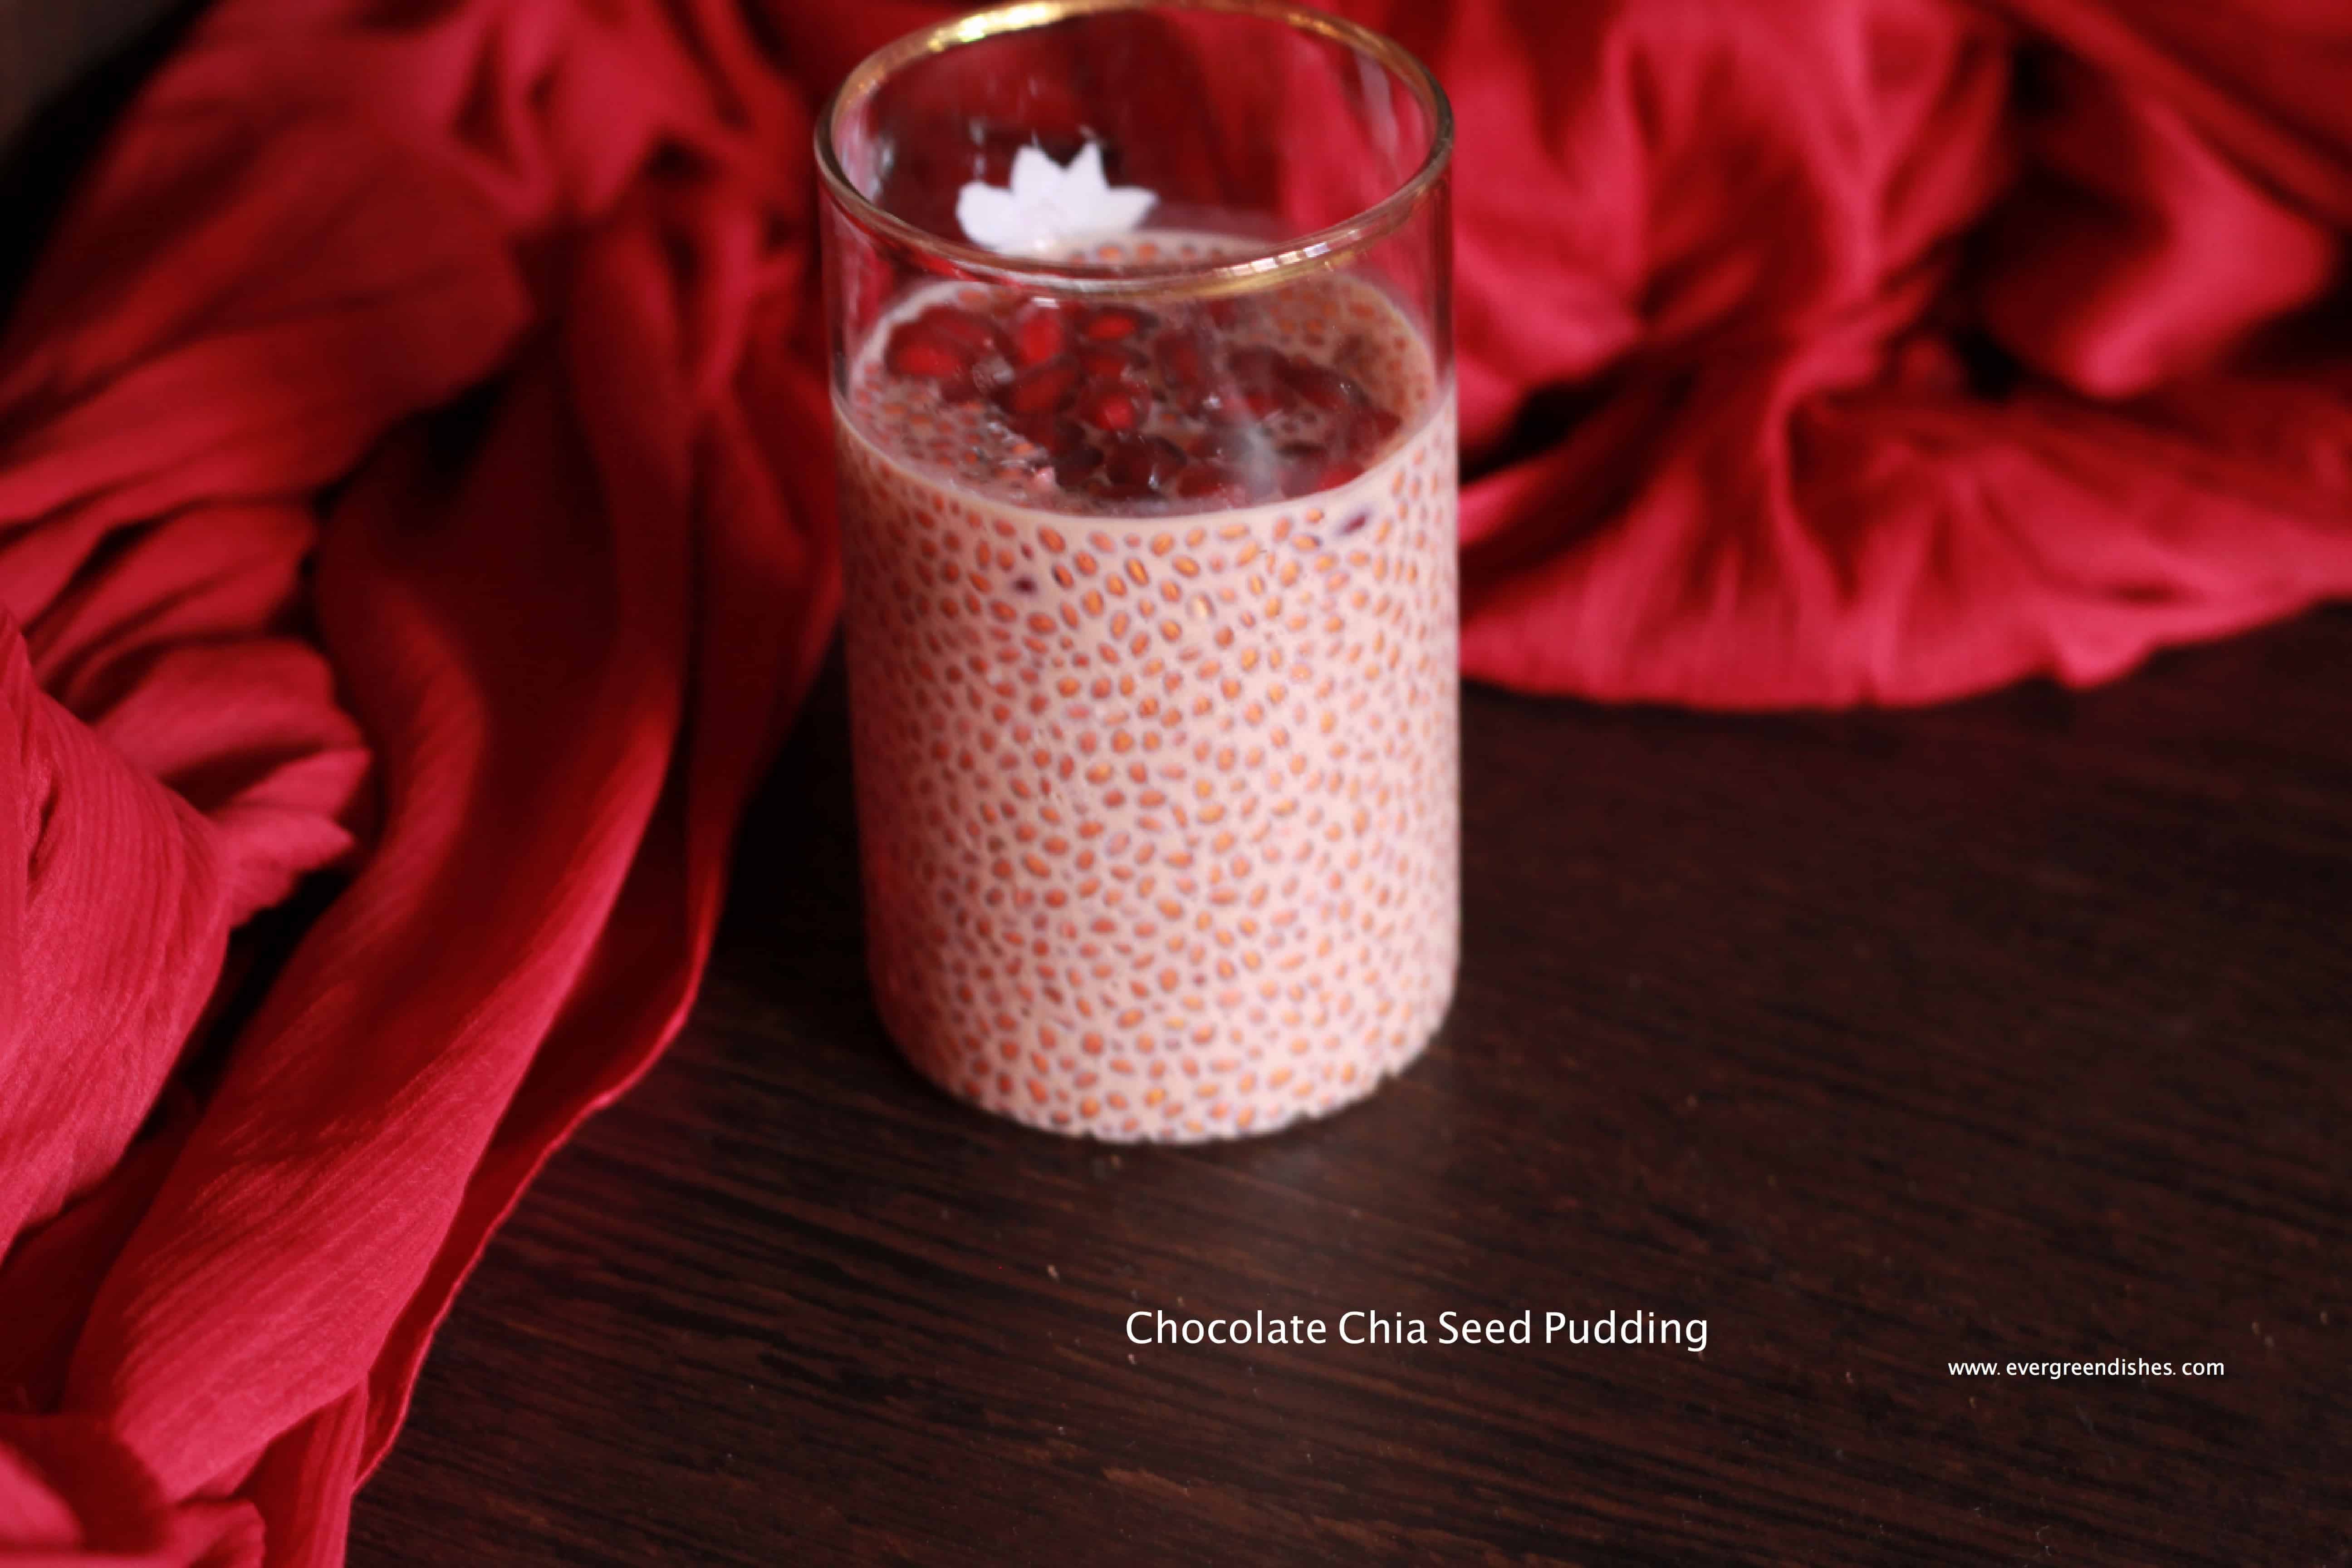
Chocolate chia seed pudding is a tasty, easy to make, high fiber, protein packed ideal for breakfast. It can be made in fifteen minutes with a little preparation. (more…)
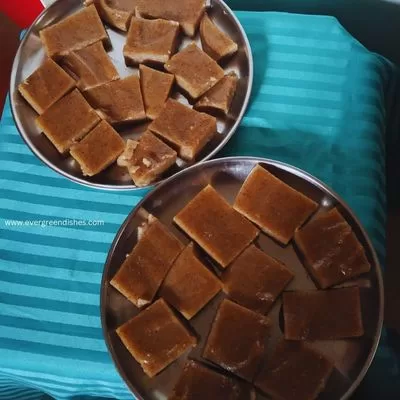
Ragi Halbai or Finger millet fudge is a tasty, soft, chewy fudge made of finger millet, coconut and jaggery. It is a healthy sweet. It is a dish from South Canara region of Karnataka. Here, the whole grain of finger millet is used by soaking and then grinding and cooking it.
The use of millets is more so now than ever as the benefits one reap is abundant. It is nutritious and high in fibre. I prefer using ragi at home since it is liked by all. Do check these breakfast recipes Ragi Idli, Ragi Thalipeeth, Ragi Khichu
South Canara cuisine is delicious and coconut is one of the main ingredients in their cooking. The coconut used is fresh one and it is usually ground to a paste and used in most dishes.
With many festive days ahead, you can try this recipe soon.
What is Ragi ?
Ragi is popularly known as Finger millet or Nachni. Finger millet or Elusine Coracana is an annual herbaceous plant widely grown as a cereal crop in the arid and semi -arid areas in Africa and Asia. It came to India around 2000 BC and since then its been consumed in different ways.
Nutrients in Ragi
Ragi is a whole grain that is gluten free and staple in South India. It is rich in fiber that helps with weight loss and diabete. It is packed with calcium, good carbs amino acids and Vitamin D. The nutrition per 100 grams is as below: ( Source: Wikipedia)
Protein 7.6 g
Fat 1.5 g
Carbs 88g
Calcium 370 mg
Vitamin A 0.48 mg
Thiamine 0.33 mg
Riboflavin 0.11 mg
Niacin 1.2 mg
Fiber 3g
Benefits of Ragi :
Rich in calcium – It is one of the best non- dairy sources of calcium when compared to other grains. Dr. Anju Sood, a nutrionist from Bangalore says, ” It is extremely beneficial for growing kids and can be given in the form of porridge”
Help in controlling diabetes: The grains seed coat is abundant in polyphenol and dietary fibre. The low glycemic index lessens food cravings and helps maintain blood sugar.
Relax the body: The regular usage of finger millet has found to help stress related disorders as insomnia, depression and anxiety.
Helps in weight loss: The high of dietary fibre helps one to keep full for a long time, thus the cravings are less.
Battles anemia: It is rich source of natural iron and thus a boon for anaemic patients. Once it is sprouted, the Vitamin C level increases and leads to easy absorption of iron into the bloodstreams.
Reverts skin ageing: methionine and lysine present in it make tge skin tissue less prone to wrinkles and sagging.
ragi halbai
Now, getting on to the recipe without further ado:
Ragi Halbai / Finger Millet Fudge
Ingredients:
1 cup ragi
1 cup jaggery
1 cup fresh coconut
2 tablespoon ghee
2.5 cup water
1/2 teaspoon cardamom powder
a few cashew
Method:
Soak ragi for five hours.
Grate the coconut.
Discard the water, grind the ragi to a fine paste along with coconut by adding little water.
Strain the liquid through a sieve, press the residue with a spoon Grind it again with some water. I used one and half cup of water to grind.
Grease a plate with a little ghee.
Take the jaggery and melt it with a cup of water. Filter it to remove impurities.
Put the melted jaggery and the strained puree in a thick bottom pan. Let it cook. Add some ghee, keep stirring, otherwise it will stick to the bottom of the pan.
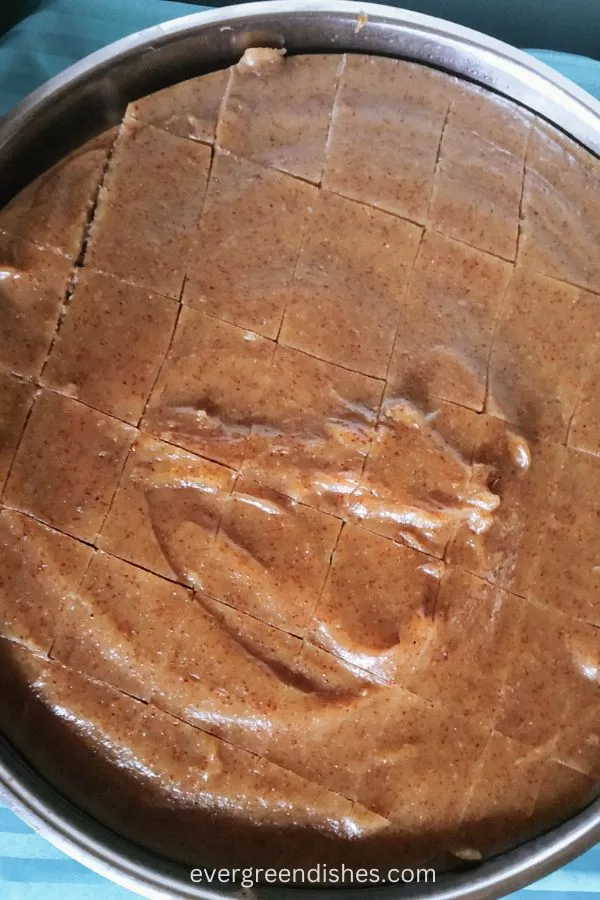
Put the remaining ghee, once it thickens to a mass and leaves the side, put cardamom powder, mix and pour it over the greased plate.
Cut it into squares. Decorate with roasted cashews. Ragi Halbai is ready to serve.
Pre- requirements:
Ragi are small red grains, one needs to clean it properly as tiny specks of impurities are seen. It is usually soaked in water and then the water is slowly discarded. The grains are then put to dry and used.
Evergreendishesdev
Ragi Halbai / Finger Millet Fudge
5 from 7 votes
Ragi halbai is a twist to the usual one that is prepared using rice. It is tasty and healthy. Finger millet, coconut and jaggery are cooked together to form a delicious fudge.
Discard the water, grind ragi and coconut to a fine paste by adding little water.
Strain the liquid through a sieve, press the residue with the back of a spoon to extract the liquid. Grind it again with some water, and again strain it. I used one and half cup of water for grinding.
Smear some ghee on a plate.
Take the jaggery and melt it with a cup of water. Strain to remove impurities.
Now, put the jaggery and the strained mixture in a pan and lett it cook. Add some ghee to it. Keep stirring, otherwise, it will stick to the pan.
Add the remaining ghee, once it foerms a mass and leaves the side, put cardamom powder, mix and spread it over the greased plate.
Cut it into squares, decorate with roasted cashews.
Notes
Ragi needs to be cleaned well before using. Small impurities are present that can damage organs of the body, thus it is highly recommended to clean it properly before using.
It is usually rinsed in water and gently the water is displaced, the impurities are seen lying at the bottom.
While grinding, check the amount of water that you are utilising, it is important you use the recommended amount.
While cooking, keep stirring the liquid.
If you have liked this post, do share it further.
ragi halbai
This post is part of the #HWCuisine with Ragi as the theme. Here are the other Ragi recipes by my co-bloggers
Sending this post to Foodies_Redoing Old Post_113. It is a fortnightly event where we work on an old post either by changing the picture, text, formatting or anything else related to the post. Here, I have changed the pictures.This is an old post which I had written in 2018, now I have changed it with better pictures.
If you ever make this ragi halbai or any of my other dishes, do take a picture and tag @foodiejayashree on Instagram or @evergreendishes on Facebook or Twitter. I will be glad to see your creation and share it further. Let’s be connected, do follow on social media platforms. Until next time, let’s stay connected. Subscribe to get all updates and an e-book for free. Check out my e-books on Amazon. Happy Cooking !
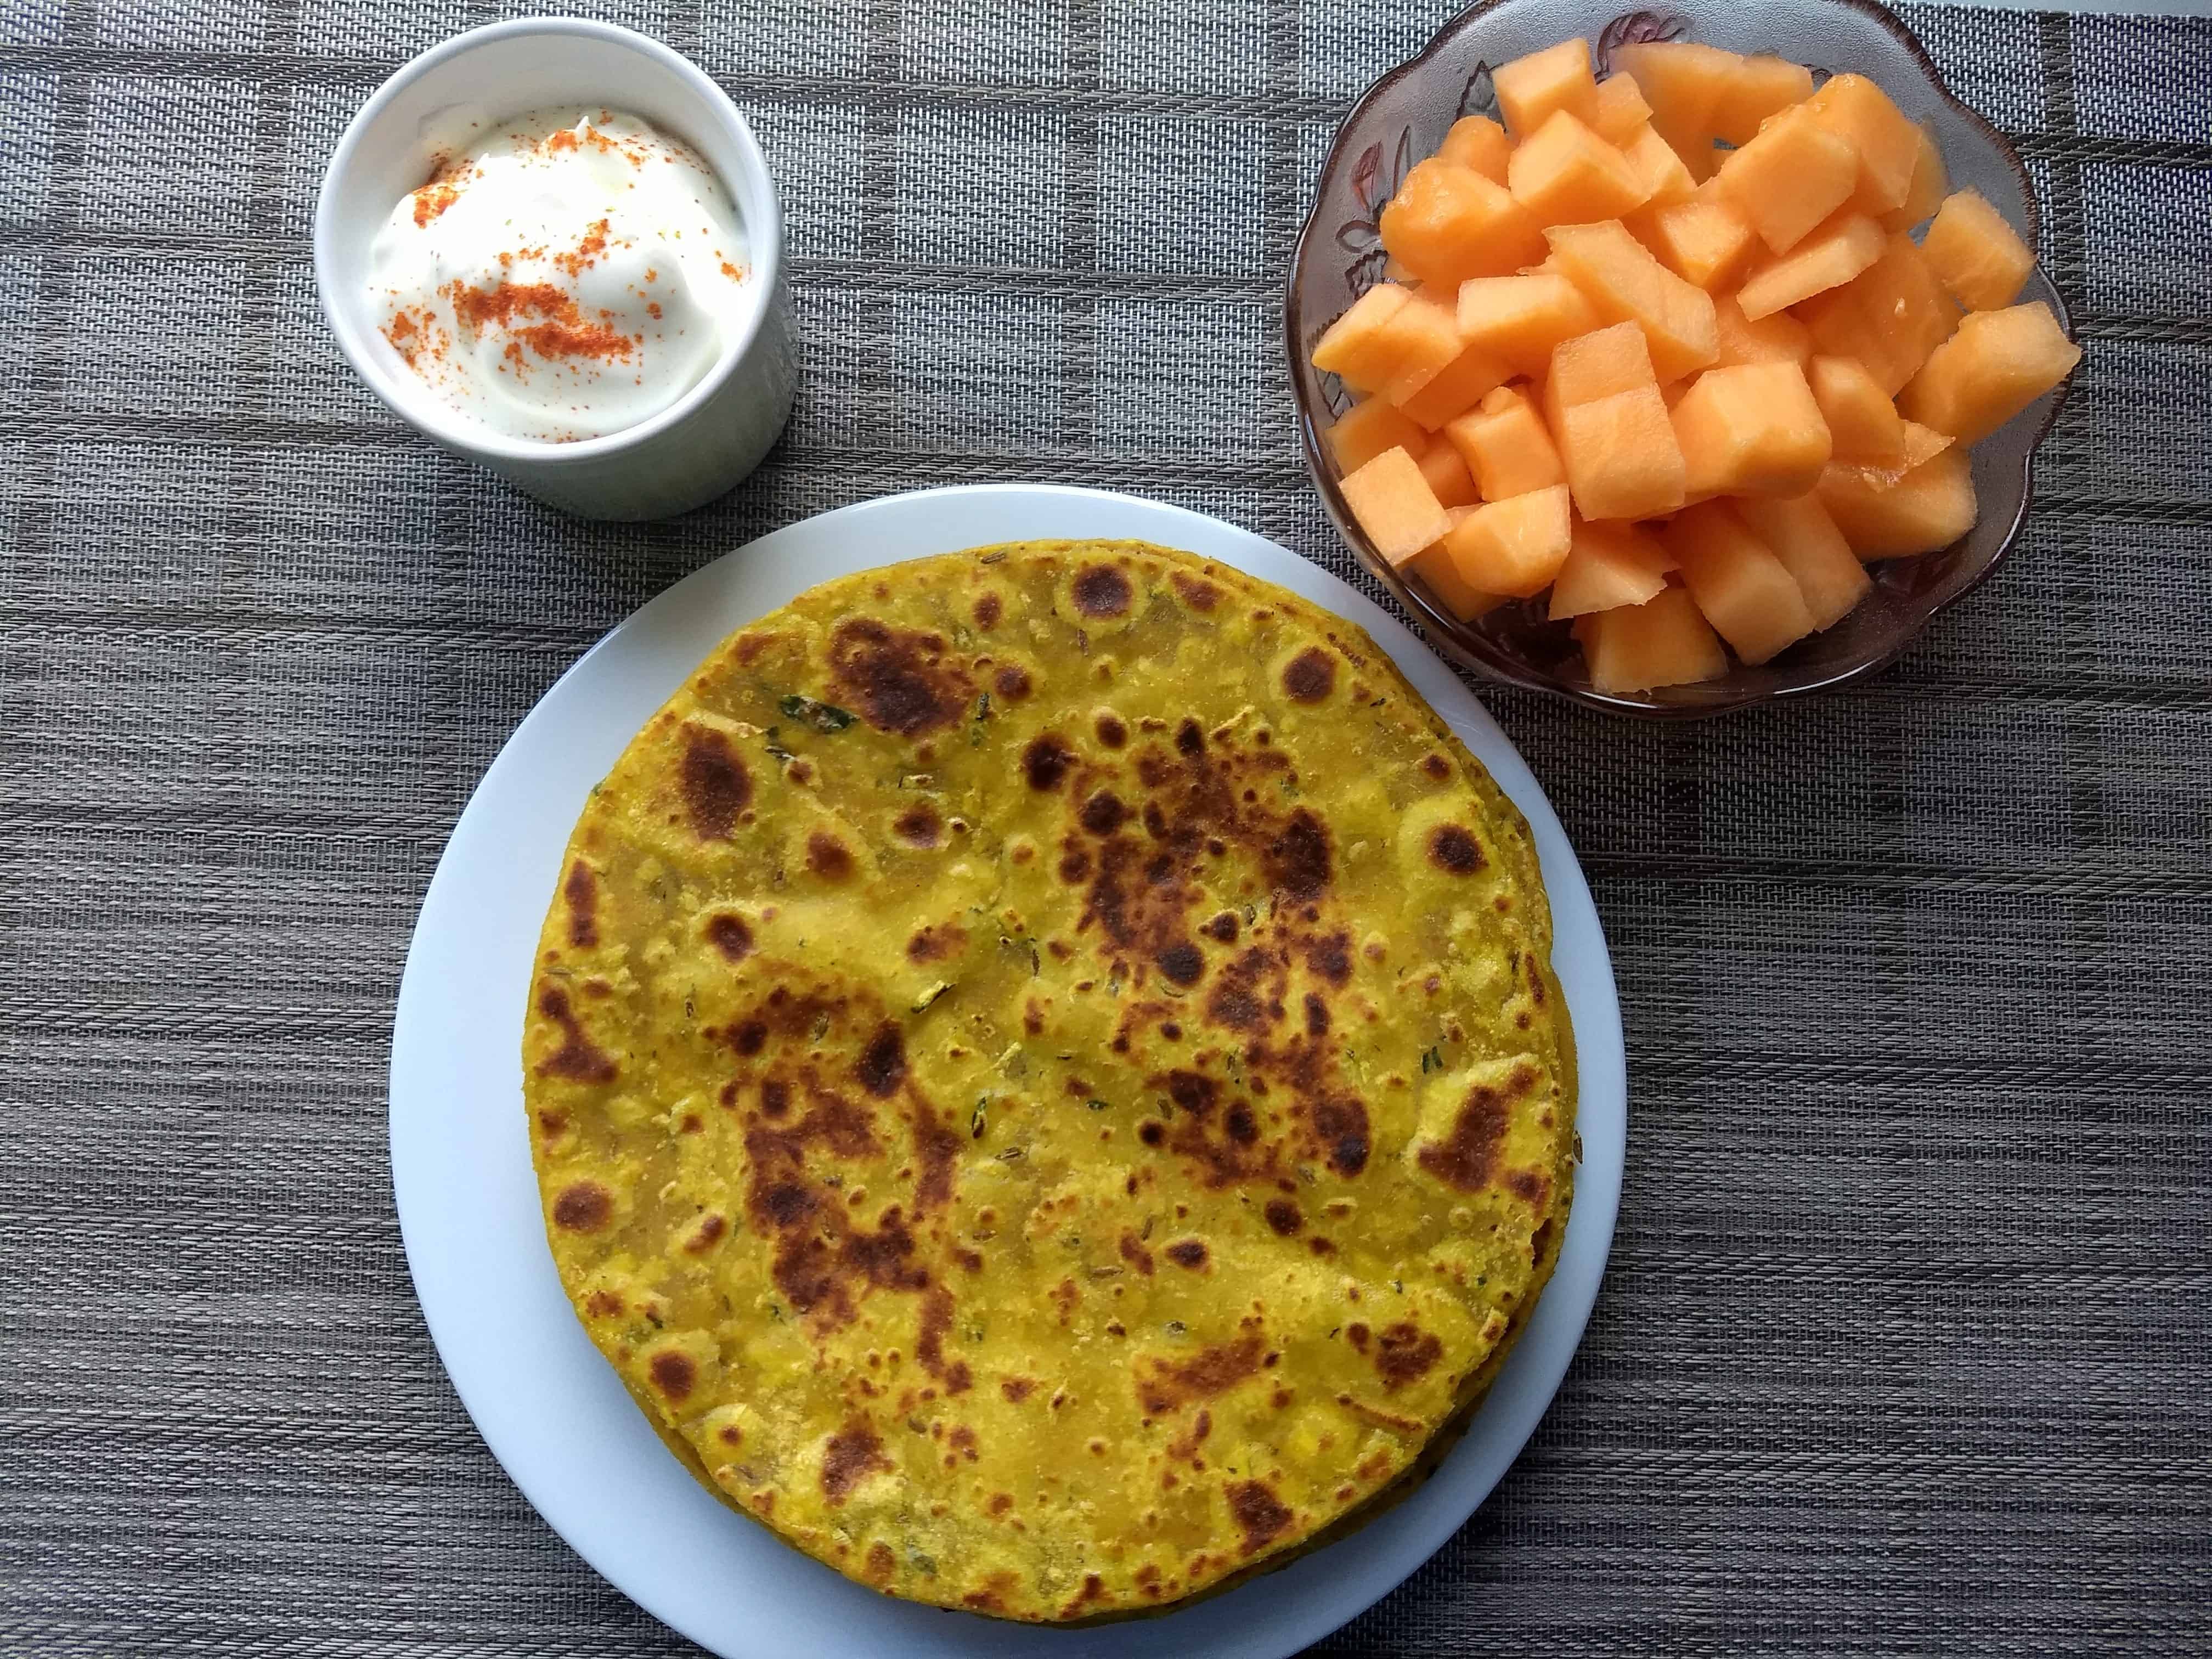
Zucchini Paratha is a tasty and healthy flat bread. It is ideal to treat fussy kids. This is another variety of thepla which is ideal for lunch, breakfast or one can even pack it in the box. (more…)