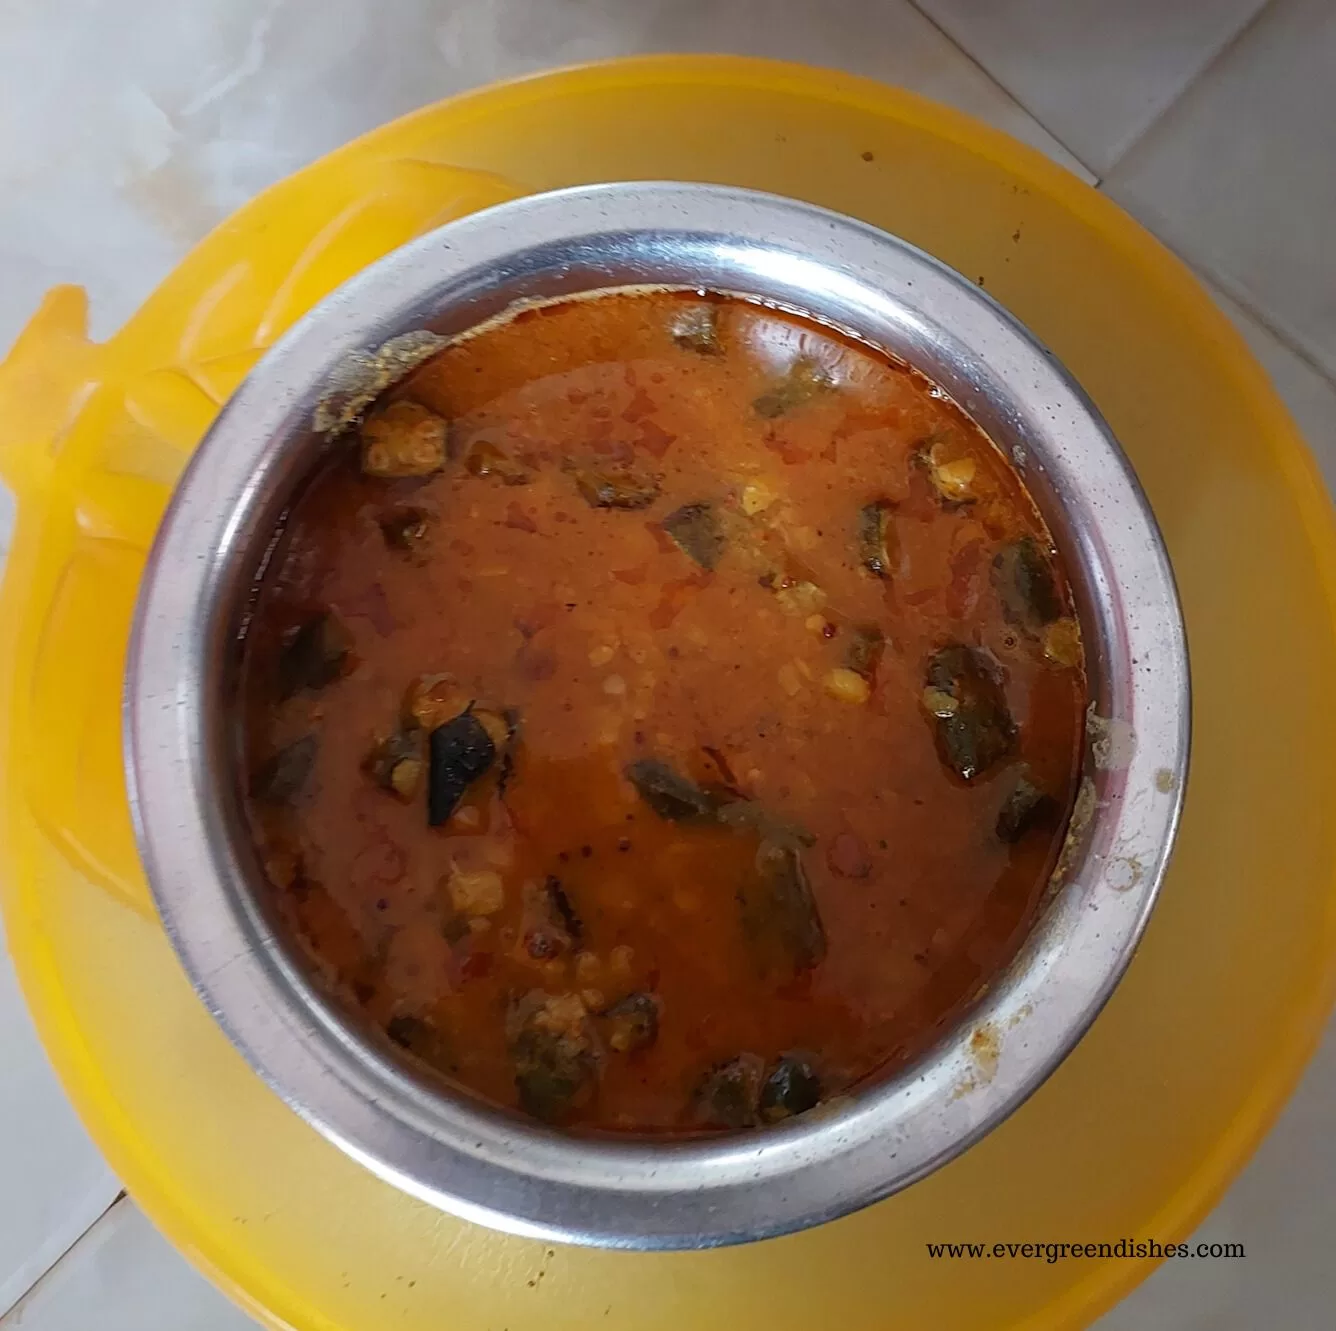
Whole Masoor Curry makes a tasty accompaniment with chapathi, roti or nan. It is easy to prepare.
When you are bored of the regular dishes, give a try to whole masoor curry. It is different and tasty. The taste of masoor is earthy and the spices makes it delectable.
Nutrients in Whole Masoor:
Whole Masoor is a good source of plant protein, fibre, complex carbohydrates, magnesium, iron and potassium. Masoor Dal has the highest source of protein among the lentils.
Why should you make
- Whole masoor can be soaked for for only two or three hours unlike others which need six to seven hours of soaking.
- It makes a healthy side dish with chapathi.
- The dish is easy to prepare, it is ready in half an hour.
- It is vegan, gluten-free.
- It is a good source of protein.
- Something different than the usual cooking.
- It is ideal to pair with chapathi and steamed rice.
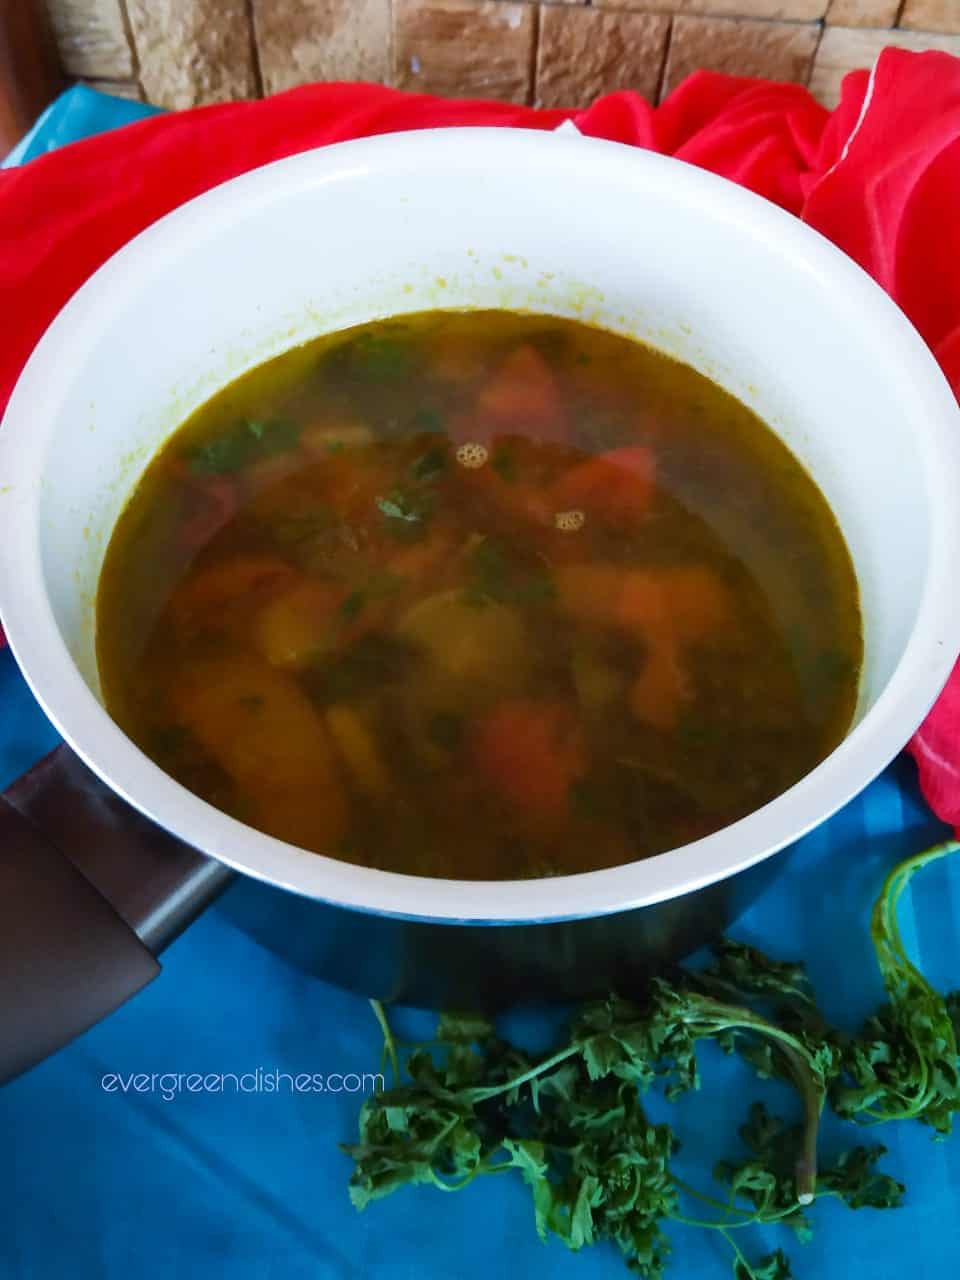
A few other side dishes from the blog:
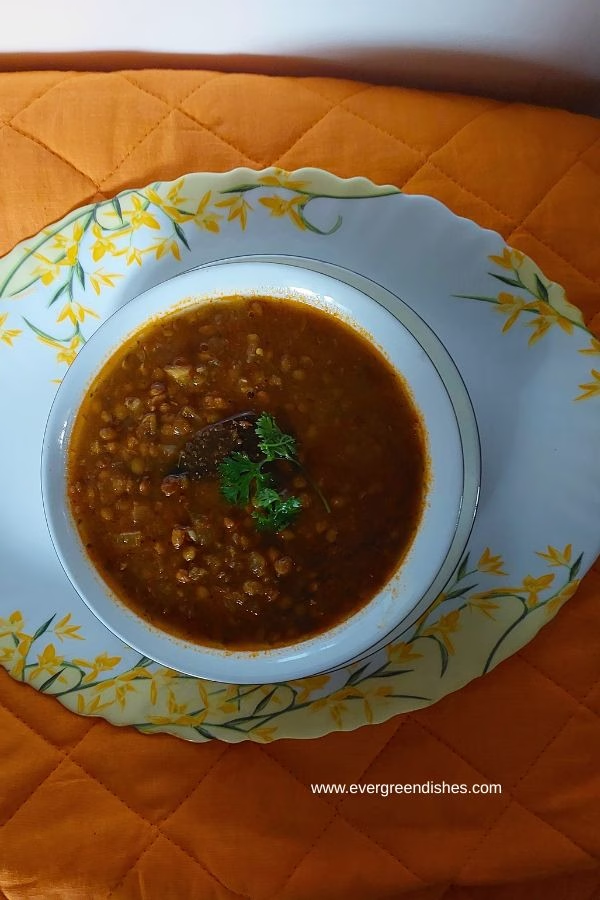
Masoor Dal: Here, we use the whole masoor. It should be soaked for atleast two hours.
Tomato : Blanch the tomato by putting it in hot water.
Ginger : It not only gives a good taste but aids in digestion too.
Garlic : It is made into a paste along with tomato, ginger and coriander.
Coriander: Always use fresh coriander.
Garam Masala: The spice mix that lends a good flavour to the cooking. Use the brand which you like.
This is a one pot recipe. It can be easily made for lunch, brunch or dinner. I usually soak it at 8a.m in the morning and it is easier to cook after my morning routine.
This is a vegan and gluten-free recipe. You can use it to pair with chapathi, roti or even steamed rice.
Here is the Whole Masoor Curry Recipe.
Print RecipeWhole Masoor Curry
Ingredients
Method
- Wash and soak the whole masoor for two hours.
- Blanch the tomato. Grind them with ginger, garlic and coriander.
- Take oil in a small pressure pan. Add cumin, cloves and bay leaf to it. Put the onion and saute it for sometime.
- Add the tomato paste to it and continue to saute it.
- Add turmeric powder, garam masala, chilli powder and anardana to it along with the salt.
- Put the soaked whole masoor to it and mix well.
- Put two cups of water and close the lid.
- Cook it for two whistle. Let the pressure release by itself. Mix and serve
Notes
If you ever make Whole Masoor Curry in your kitchen, take a picture and share it by tagging @foodiejayashree on Instagram or @evergreendishes on Facebook. Until next time, Happy Cooking.
A thought to ponder : Eating healthy is a choice we need to make each day.
Pin it for later:


 If you make Sprouted Moong Methi Stir Fry, take a picture and share it by tagging @foodiejayashree on Instagram and @evergreendishes on Facebook. Subscribe to get all updates and an e-book for free.


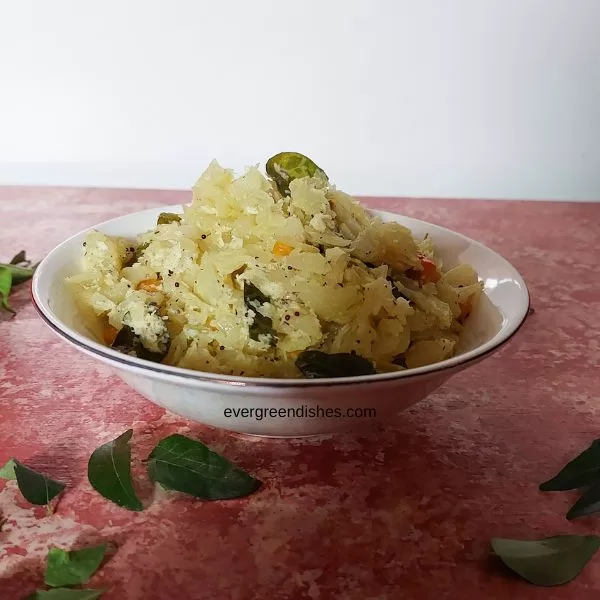


 kohlrabi stir fry