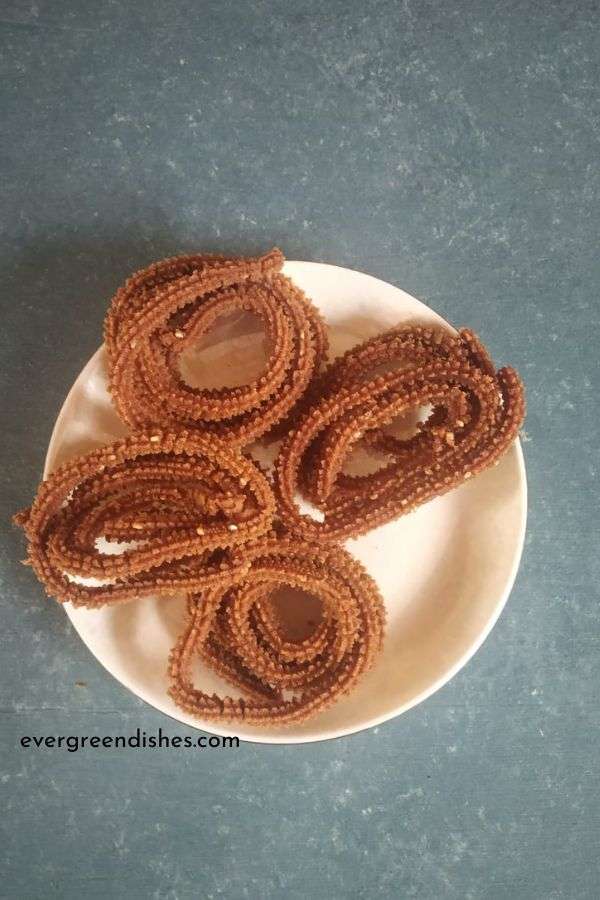
Tuvar Lilva Kachori is a tasty winter snack from Indian sub-continent. It makes use of fresh pigeon peas which is a seasonal produce.
Kachori is a popular snack from Indian sub-continent. Round shaped, crispy and flaky on the outside, it has a tasty filling inside. The filling is varied as moong dal or any other. Every state has it own version of kachori. . Here is the one made with fresh pigeon peas. Green pea is also used, thus it makes use of the fresh winter produce.
Tuvar lilva or Pigeon pea is abundantly available in pods. Indian sub-continent, Africa and Central America are the top three regions producing pigeon pea. India alone grows 63% of the totl produce. It is the fresh produce of legume which we use to make dal. It is used to make stir fry and curries. Today, I am sharing a snack, tuvar lilva kachorii. It is called as togare kalu in kannada, kandi ginjalu in telugu, dinger in Punjabi, lilva in Gujarati, tomara payu in malyalam. in Hindi it is called as arhar while in Assamese and Bengali, it is called as Arahar. ( source : Wikipedia)
What is kachori ?
Kachori is a round shaped, flaky, fried snack from Indian sub-continent. It is medley of flavours with the different spices used in it.
What is lilva kachori ?
Lilva is the Gujarati name for fresh pigeon pea. Fresh pigeon peas are abundantly used in Gujarati cuisine. These kachoris are relished and often made as a snack, thus it called as lilva kachori.
Can I make it only using pigeon peas?
Yes, you can make it with pigeon peas. Since, it is a winter produce, I like to use a combination of green peas and pigeon peas. Alternatively, you can also use boiled potato. It is important to balance the flavours of sweet, spicy and tartness in it. Do not skip on those ingredients.
Tuvar Lilva Kachori Recipe :
Ingredients :
For the filling :
- 1 cup fresh pigeon peas
- 1 cup green peas
- 5 green chilli
- 1 inch ginger
- handful of coriander
- salt
- 1/4 teaspoon cumin
- 1/4 teaspoon asafoetida
- 1/4 teaspoon turmeric powder
- 1/2 teaspoon sugar
- 1/2 lemon juice
For the covering :
- 1.5 cup maida
- 4 tablespoon oil
- 1/2 teaspoon salt
- little water for mixing
Other ingredients :
- oil for frying
- flour for dusting :
Method :
To make the filling :
- Soak fresh pigeon peas and green peas for sometime.
- Drain, wipe and griind to a coarse paste.
- Grind green chilli and ginger to a paste.
- Take oil in a pan, add cumin. Put asafoetida, turmeric powder and green chilli paste. Saute it for sometime.
- Now, put the ground tuvar pasteto it.Saute for five minutes.
- Add salt, coriander and lemon juice. Mix well.
- Allow to cool.
- Make balls of the dough and also of the filling.
To make the dough :
- Take maida in a bowl.
- Add oil and salt to it. Rub it thoroughly with the fingers.
- Put water in small quantities and make a stiff dough.
- Keep the dough covered with a thin muslin cloth.
To make kachoris :
- Make small balls of the filling.
- Make small balls of the dough and keep it covered.
- Take a ball from the covered sheet, roll it into a four inch circle.
- Put the filling in the centre. Seal the edges by making it pleat like. Gently press the ball between palms.
- Heat oil in a wok.
- Once it is hot, deep fry on a low to medium flame to a golden colour. Repeat for the rest of the dough.
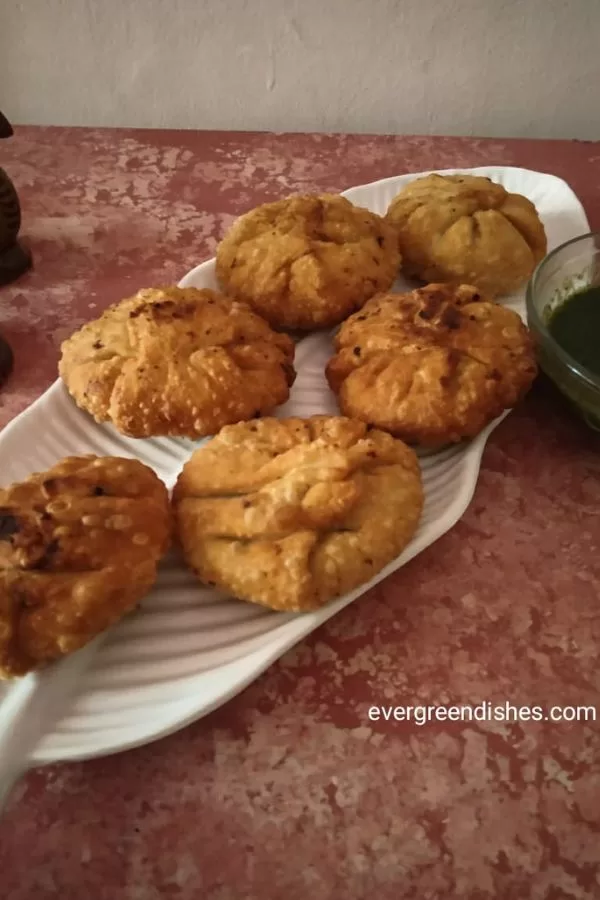
- Serve it with green chutney and tomato ketchup.
Related Recipes :
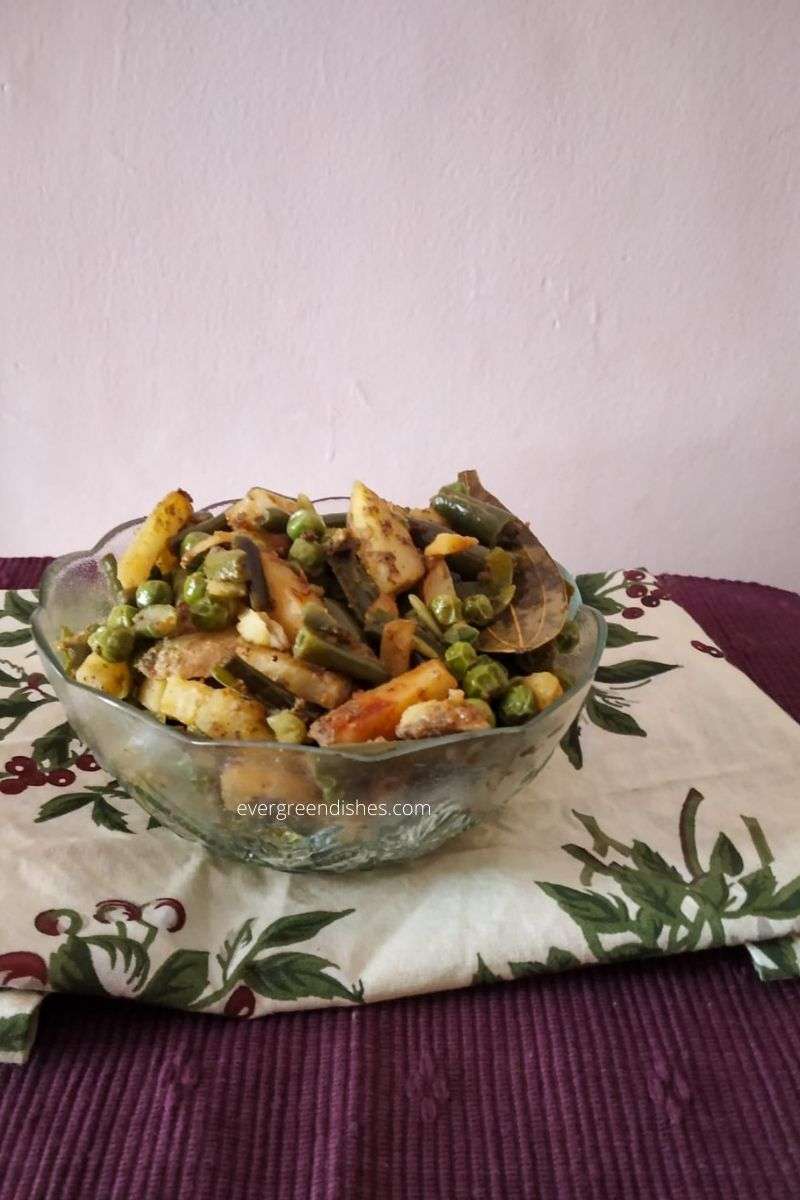
I like to use fresh pigeon peas in my cooking. I usually, make Tuvar and Capsicum Curry, it is tasty and pairs well with chapathi. You can also use it to make a simple sir fry with fresh grated coconut. Here is the other recipe with tuvar lilva.
About the event :
Sending this to Vegan Dishes for the month of January in Shhh Secretly Cooking Challenge group. The theme was suggested by Radha Rajagopalan. Here, we are paired as partners. The partners exchange two secret ingredients to cook, prepare the dish as per the theme and later the ingredients are guessed by other members in the group. It is a fun group where we interact and learn more about different cuisines.
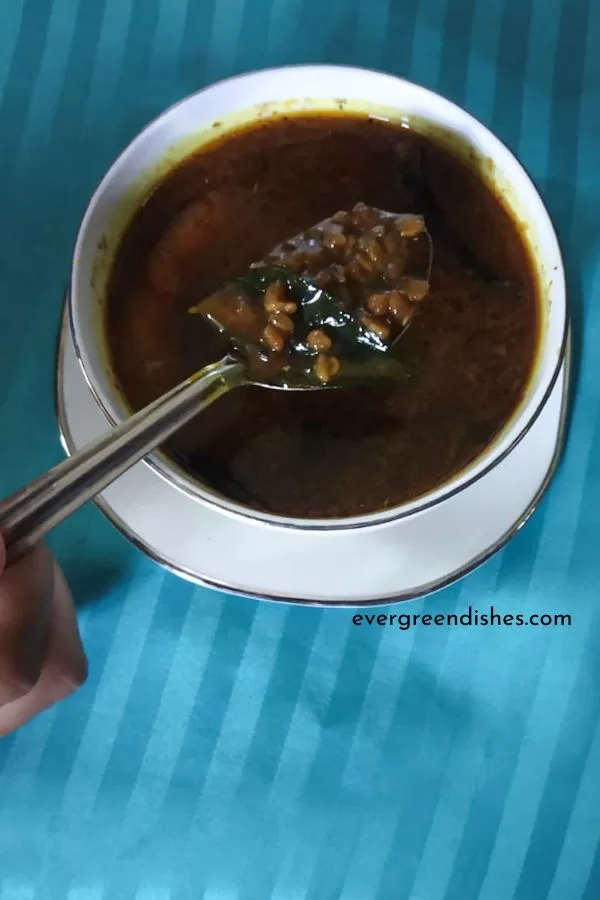
My partner was Radha Rajagopalan. She gave me fresh pigeon pea and salt as the secret ingredients and I have made Tuvar Lilva Kachori. She has made Vegan Kofta Curry with the bay leaf and garam masala which I had given. Do take a look at the delicious curry.
Tuvar Lilva Kachori
Ingredients
Method
- To make the filling :
- Soak fresh pigeon peas and green peas for sometime.
- Drain, wipe and griind to a coarse paste.
- Grind green chilli and ginger to a paste.
- Take oil in a pan, add cumin. Put asafoetida, turmeric powder and green chilli paste. Saute it for sometime.
- Now, put the ground tuvar pasteto it.Saute for five minutes.
- Add salt, coriander and lemon juice. Mix well.
- Allow to cool.
- Make balls of the dough and also of the filling.
- To make the dough :
- Take maida in a bowl.
- Add oil and salt to it. Rub it thoroughly with the fingers.
- Put water in small quantities and make a stiff dough.
- Keep the dough covered with a thin muslin cloth.
- To make kachoris :
- Make small balls of the filling.
- Make small balls of the dough and keep it covered.
- Take a ball from the covered sheet, roll it into a four inch circle.
- Put the filling in the centre. Seal the edges by making it pleat like. Gently press the ball between palms.
- Heat oil in a wok.
- Once it is hot, deep fry on a low to medium flame to a golden colour.
- Serve it with green chutney and tomato ketchup.
- Take a tip :
- You can shape them as round balls also.
Notes
Pin it for later :

If you make Tuvar Lilva Kachori recipe, take a picture and share it by tagging @foodiejayashree on Instagram and @evergreendishes on Facebook. Subscribe to get all updates and an e-book for free. Until next time, happy cooking !