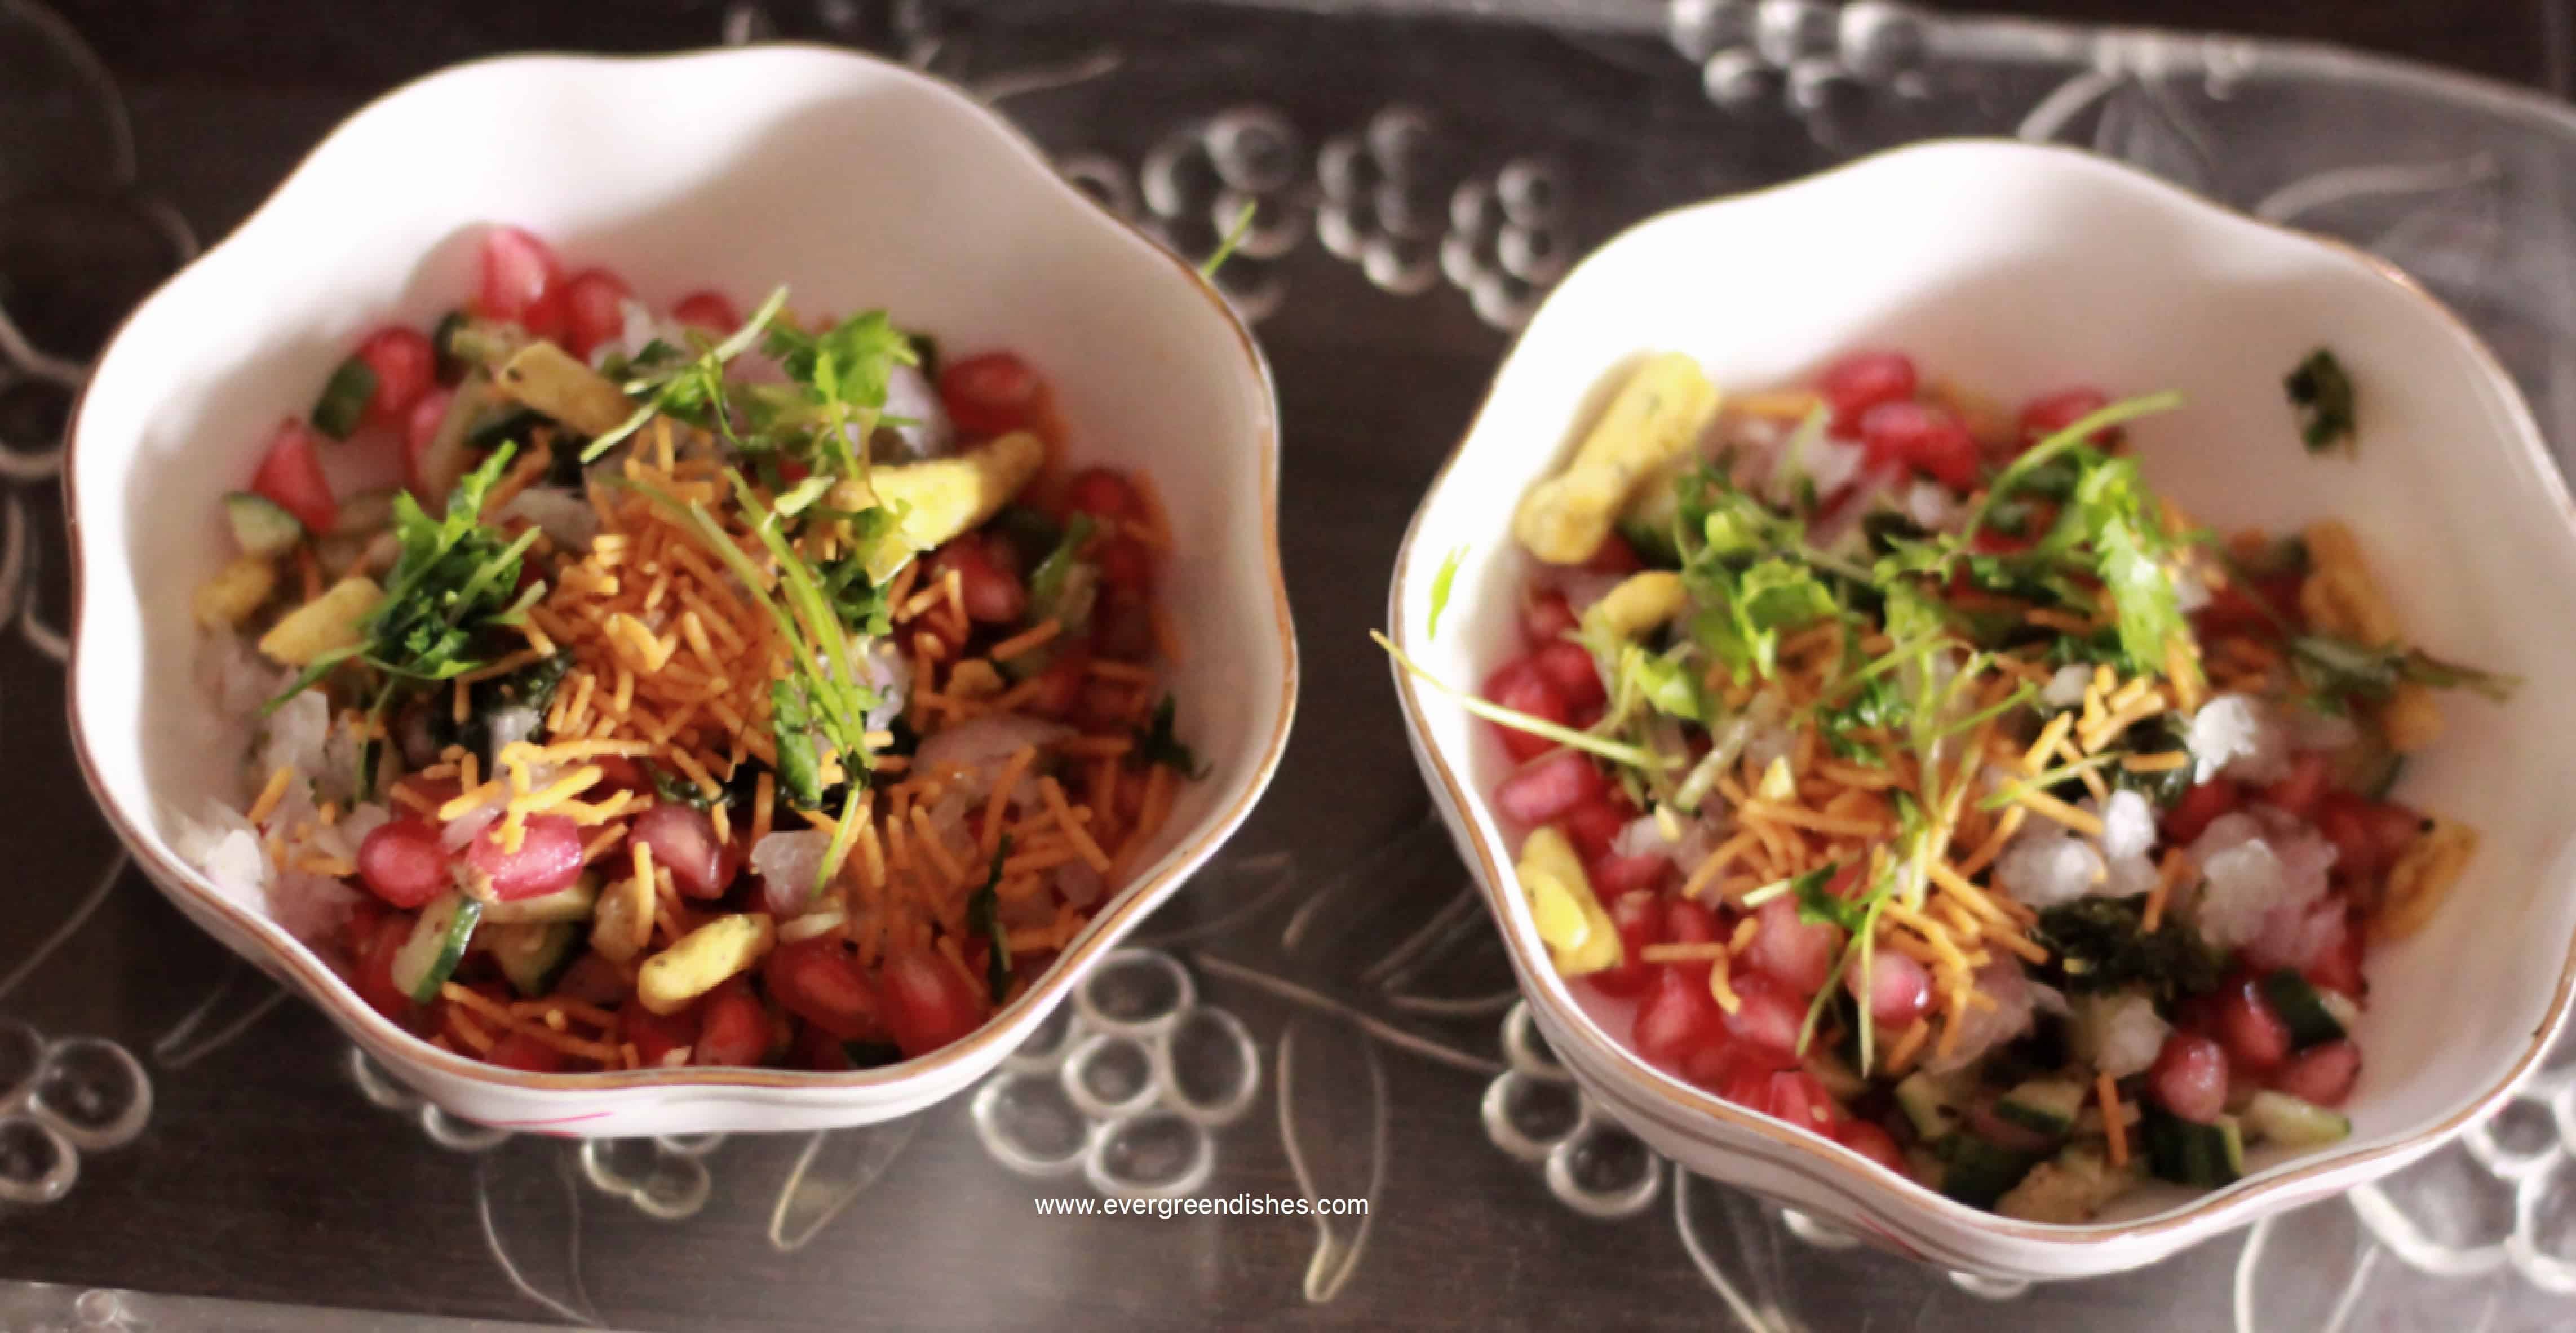
Pomegranate chaat is a tasty and healthy snack to binge in the evenings. It is a healthy twist to the usual chaats that we relish. It is a simple yet tasty enough to fulfil the cravings. (more…)
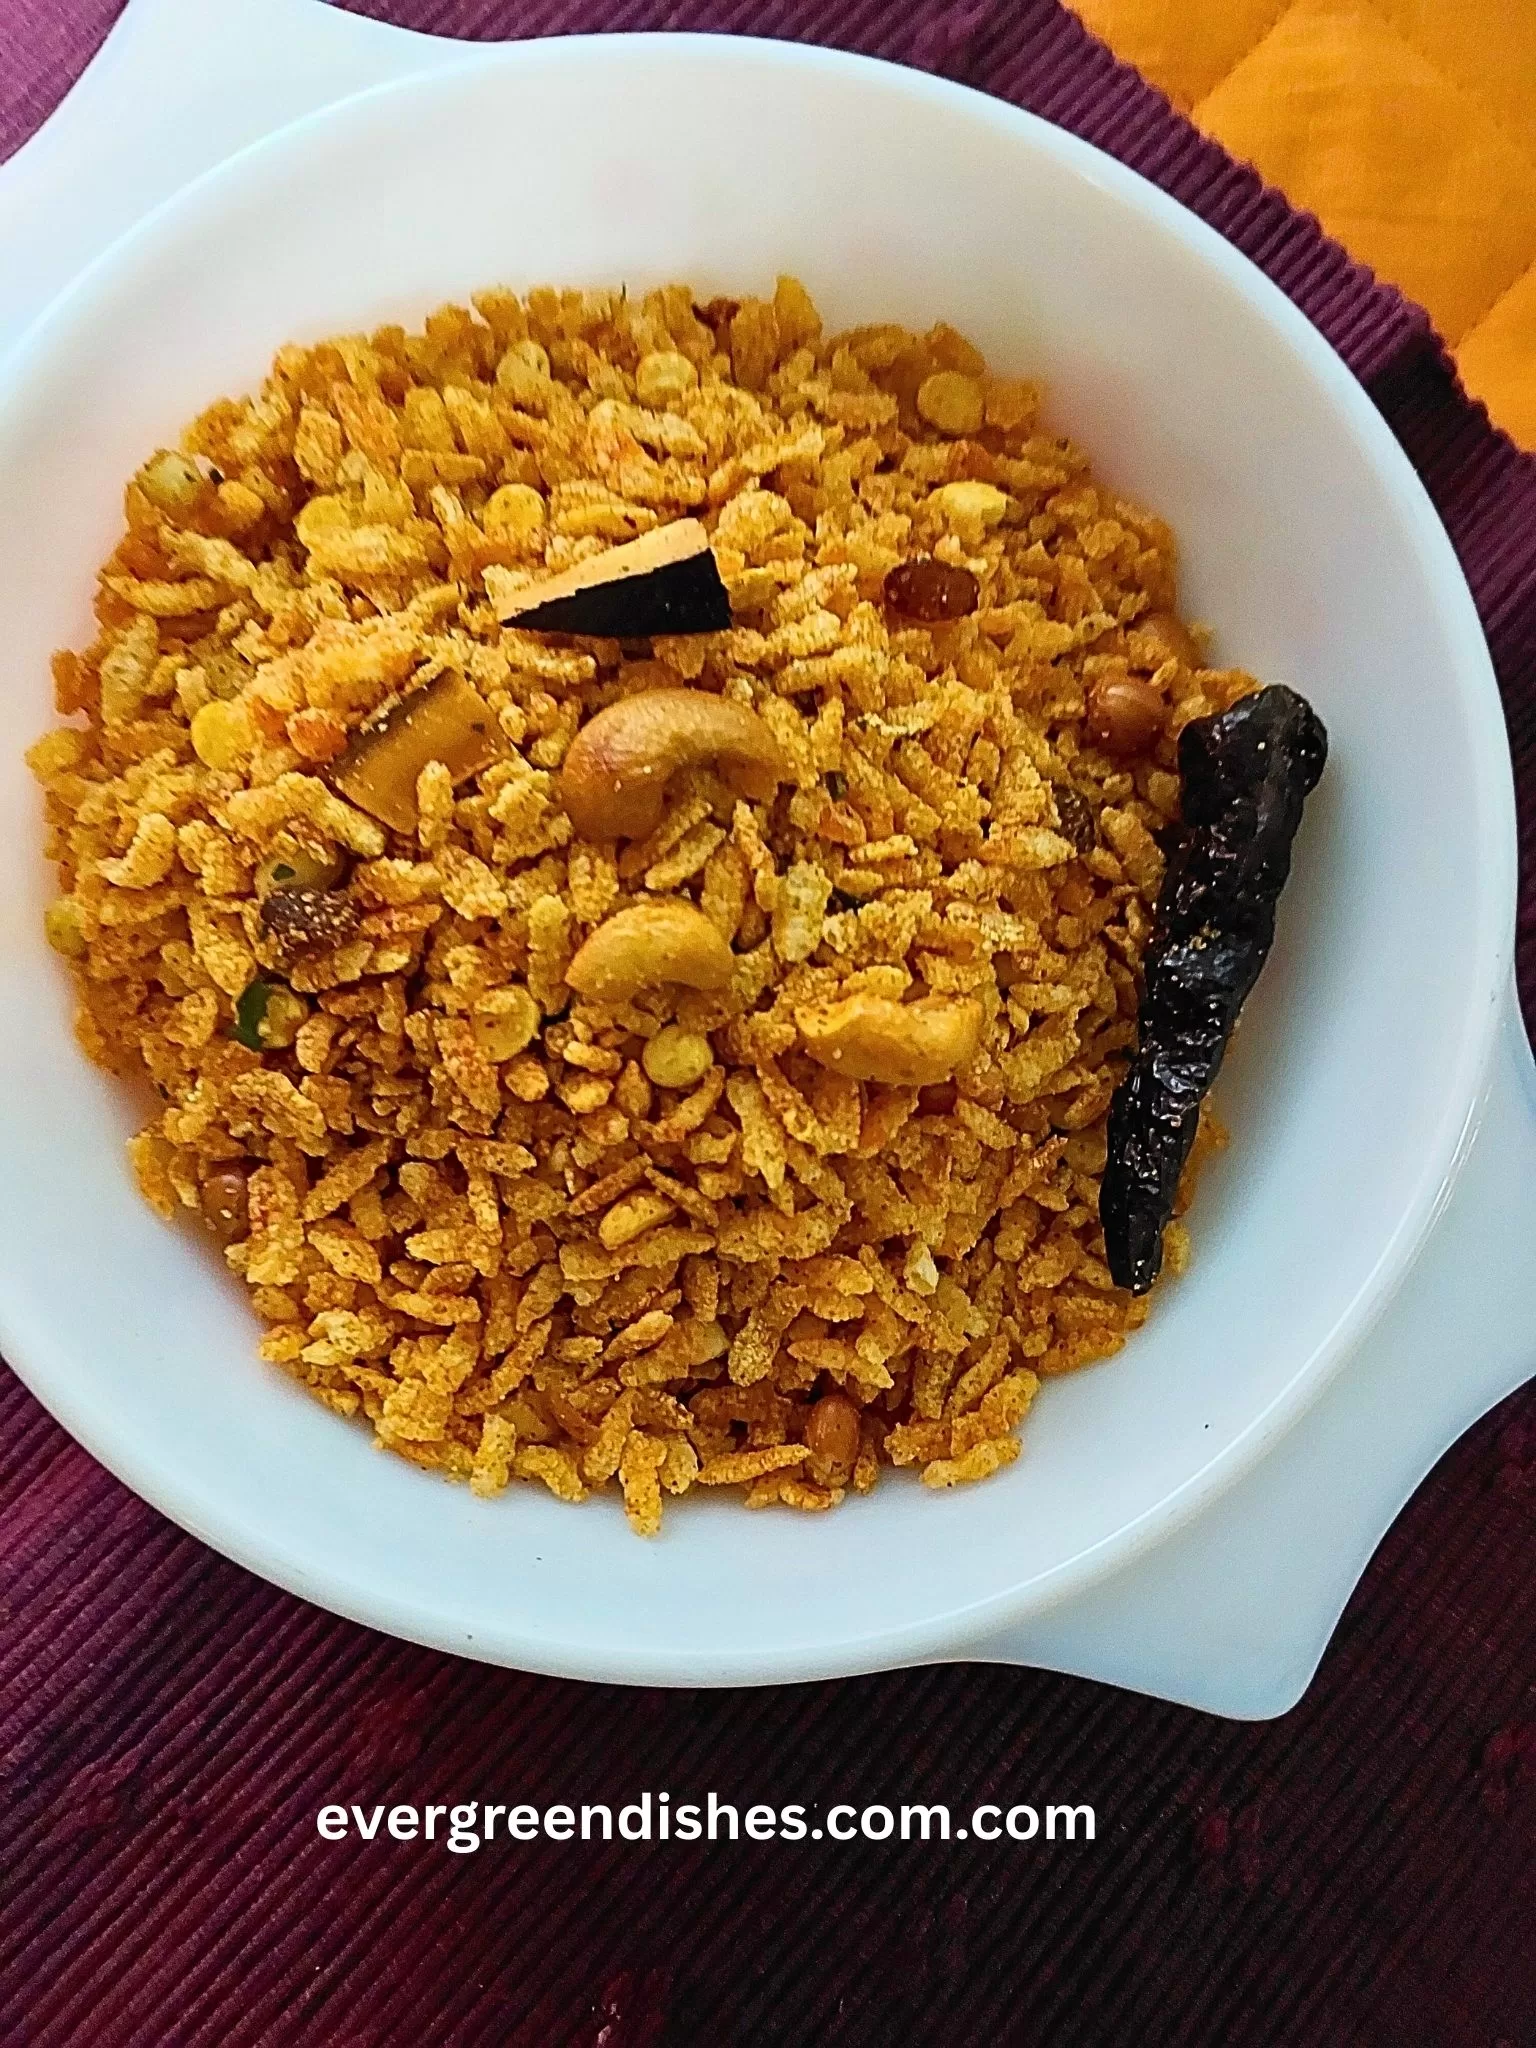
Chiwda is one of the snacks stored in the kitchen shelves. It is primarily made during Diwali, when a variety of snacks are prepared. Here is my version of Chiwda recipe. It is a tasty, guilt free snack.
Plain chiwda is usually made by frying flattened rice or poha. It is then mixed with spices and other condiments. But, here we are lucky enough to get the ready, roasted version of it. Thus, a guilt free snack is ready in no time.
Update : Plain chiwda is available in all outlets as half kilogram and one kilogram packets.
Snacks in the jar as avalakki, chiwda and murmura are always seen in the kitchen shelves. Along with it comes other snacks as chakli, nippattu and kodbole which are loved by all but not made often.
Chiwda makes a good snack with tea. It is ideal to serve with breakfast as an accompaniment. An easy to make, quick snack is more than welcome here. Check out the recipe.
Can we store chiwda ?
Yes, chiwda can be stored for a long time. Keep it in a clean, air-tight container.
Is it a festive snack ?
Yes, it is mostly made during Diwali.
What goes in the chiwda ?
Chiwda : It is the star ingredient. You can use the store bought chiwda or fry the rice flakes in oil and use them. Using the store bought is easier and healthier. Just clean it once and use it.
Oil : Use good quality oil.
Sesame seed : Use the white sesame seed.
Cumin : A dash of cumin elevates the taste.
Turmeric powder : A dash of turmeric in the seasoning gives a good colour. It also has anti-bacterial properties.
Dry coconut : Cut them into thin and small pieces.
Curry leaves : Cooking seems to be incomplete without the humble curry leaves.
Red chillies : Throw in one or two in the seasoning.
Asafoetida: Sprinkle a little bit of asafoetida for that nice aroma.
Dry fruits: Cashew pieces and raisins are usually dded. You may add almond pieces too.
Ground nut and dalia: For that crunchy taste in between.
Chilli powder : To give a spicy taste to the dish.
Evergreendishesdev
How to make chiwda
Chiwda is a delectable snack to binge on. It is usually made during festivals as Diwali and Holi.
Take oil in a pan. Deep fry the groundnuts. Remove them and keep aside.
Similarly, fry the split dahlia, cashew nuts, raisins and curry leaves seperately.
Take two tablespoon of that oil and make the seasoning. Add mustard seeds, as it splutters, put cumin and sesame. Add asafoetida and turmeric. A few seconds later, add chilly powder, salt and sugar.
Mix well. Put the fried ingredients into it. Add the plain chiwda and mix well.
Heat it for a few minutes. Tasty chiwda is ready to binge.
Notes
To make chiwda, take flattened rice (poha or aval) and deep fry in oil. Do not make it brown in colour.
About the event :
An old post was updated today31/8/2025 with better pictures. Sending this to Foodies_Redoing Old Post_159. Here, I have changed both the text and the pictures, a lot of changes has been made in the post. The recipe remains the same.
Subscribe to get updates of new posts and a book of handy hints for free! If you have liked this recipe, do like, comment and share.
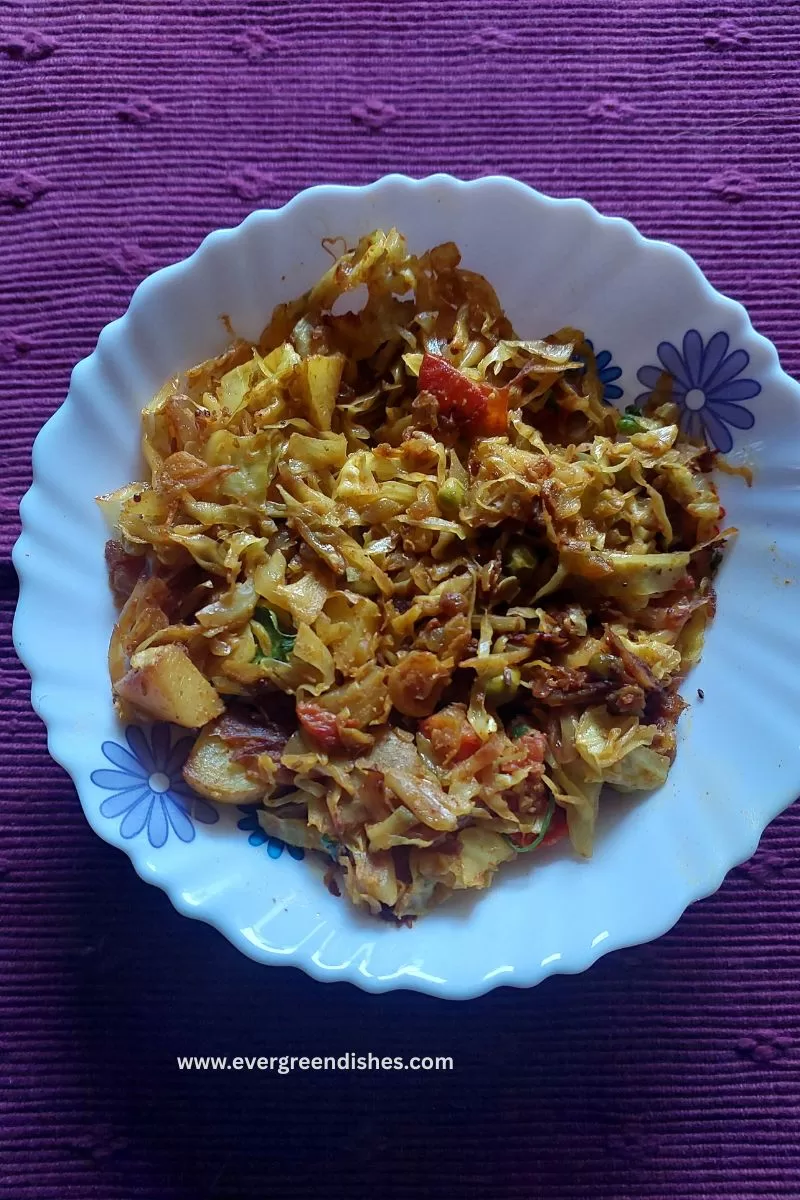
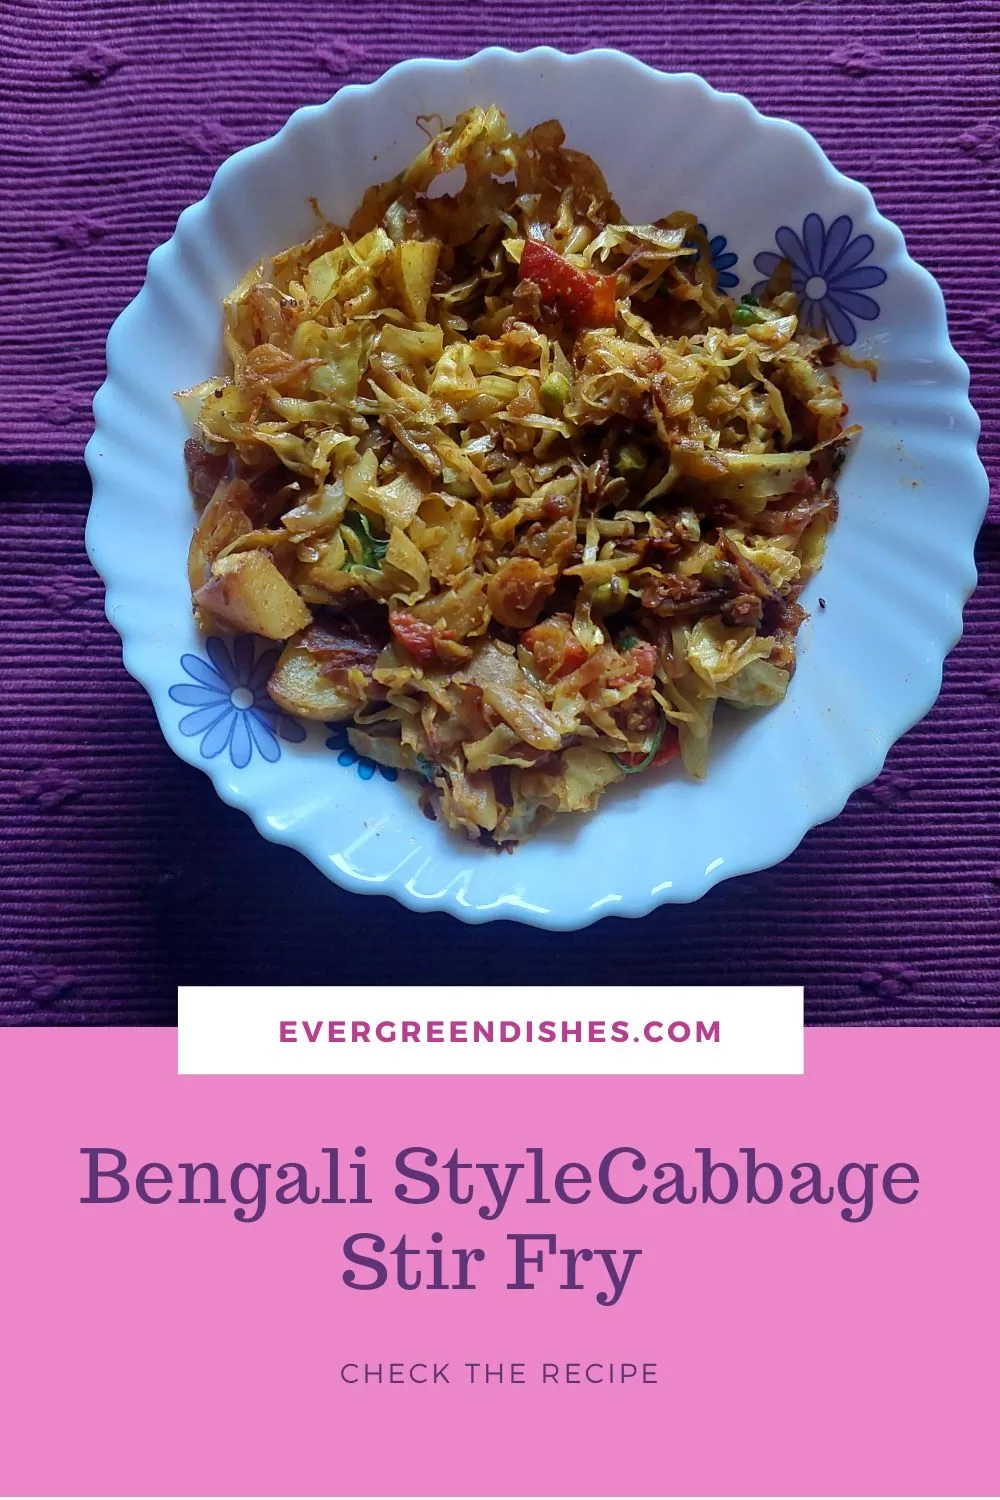
Bandhakopir Torkari is a cabbage stir fry cooked in Bengali style. Bandhakopir is the regional name for cabbage which is closed. Torkari or Ghonto as it is also called translates to a curry. It is easy to prepare and pairs well with any meal.
Cabbage is one of the few vegetables that we bring regularly at home. The toughest task seems to be planning the menu for the day. Coming across this stir fry, I kinda new that it is meant for me and soon it found a place in my daily menu. Bengali Dry Cabbage Curry with potatoes and peas or Bandhakopir Torkari is a tasty side dish that can be easily made for lunch or dinner. It is tasty with many flavours.
I first read this on my friends Shubha’s blog. She had made it during our blog hop. It was a love at first sight with this stir fry, but I did take some months to make it. You can find the recipe here
Take oil in a pan. Add cumin and slit green chilly to it.
Add the cubed potatoes to it. Sprinkle some salt to it. It imparts taste and helps in cooking faster.
Let cook for sometime. Then add the
Add the dry spices, put some water and allow to cook.
put the chopped cabbage
And the green peas
Let cook for sometime. Then add the garam masala powder and sugar to it. Cabbage Stir fry is ready. A little ghee put over it enhances the taste.
Notes
Chop the cabbage as finely as you can.Do not cook the vegetable until mushy.
Update :
This is an old post published in 2016. Today, I have changed the pictures, the recipe remains the same. Sending it to Foodies _Redoing Old Post 154. It is a fortnightly event, a group of bloggers work on an old blog post either with better poctures, structured content or anything else related to the topic.
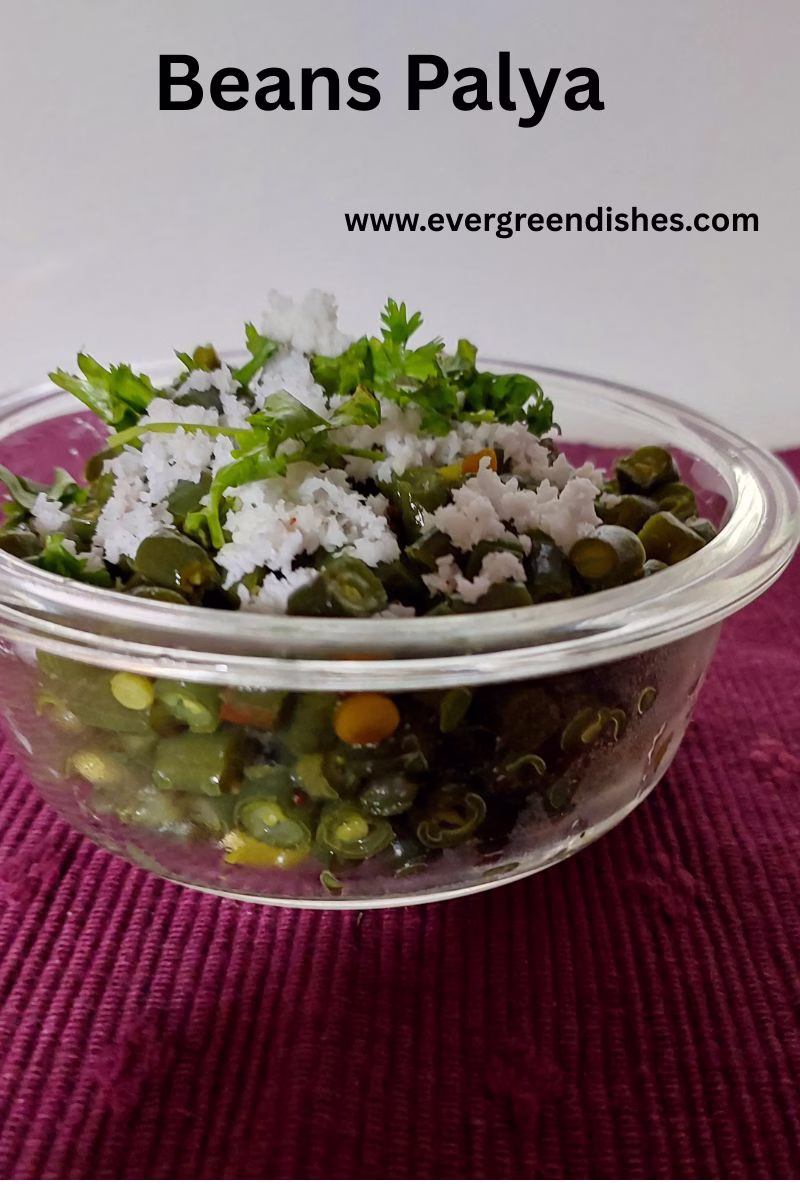
Beans, popularly known as French beans or just by the name of ring beans is a key ingredient in South Indian cooking. It makes a good combo with other veggies such as carrot, peas, capsicum and potato and can be used in various dishes as gravies, pulav or snacks. But, have you tried this simple g bean stir fry? I am sure, many are not aware of this , do give a try. Bean stir fry is a healthy and easy alternative to quick cooking. It can be used as an accompaniment with chapati or rice. Beans palya makes a good accompaniment in South Indian cooking.
Beans Stir Fry / Beans Palya Recipe
Ingredients:
1/2 kg beans
1/2 teaspoon mustard seeds
1/4 teaspoon asafoetida
1 teaspoon bengal gram
1 teaspoon urad dal
4 green chilly
curry leaves a few
coriander for garnishing
fresh coconut
2 teaspoon oil
salt to taste
fresh coconut
coriander leaves
Equipments : chopping board,knife, wok, spatula
Method:
Remove the ends and the strings of the beans Chop them finely.
Wash it in tap water and keep aside.
Take a wok, add the oil and heat on a low flame. Add mustard seeds, as it crackles add the bengal gram and urad dal, leave it for a while, then add the green chilly ,turmeric powder, asafoetida and curry leaves.
Add the chopped green beans along with salt and sprinkle a little water. Allow to cook till tender.
Add grated coconut and fresh coriander leaves to it. Green bean stir fry is ready to serve.
Take a tip:
Addition of coconut enhances the taste. During summer, keep it in the refrigerator.
A few dry red chilly may be added in the seasoning instead of green chilli. Alternatively, you can add red chilli powder after the beans is tenderly cooked.
You may use onion along with it. The traditional recipe does not use it.
In one kind of recipe, coconut and chilli powder are ground and added.
Beans Stir Fry
Beans stir fry is a tasty side dish from South India.
Chop the beans finely . Wash it in cold water and keep aside.
Take a wok, add the oil and heat on a low flame. Add mustard seeds, as it crackles add the bengal gram and urad dal, leave it for a while, then add the green chilly ,turmeric powder, asafoetida and curry leaves. Add the chopped green beans along with salt and sprinkle a little water.
Allow to cook till tender. Add grated coconut and fresh coriander leaves to it. Green bean stir fry is ready to serve.
About the event :
Sending this to Foodies_Redoing Old Post_166. It is a fortnightly event, an old post is worked by editing the post with better pictures or more relevant content. Here, I have changed the picture on this day Dec 7th, 2025.
If you ever make Beans Stir Fry in your kitchen, take a picture and tag @foodiejayashree on Instagram or @evergreendishes on Facebook. Subscribe to get all updates in your inbox and an e-book for free!
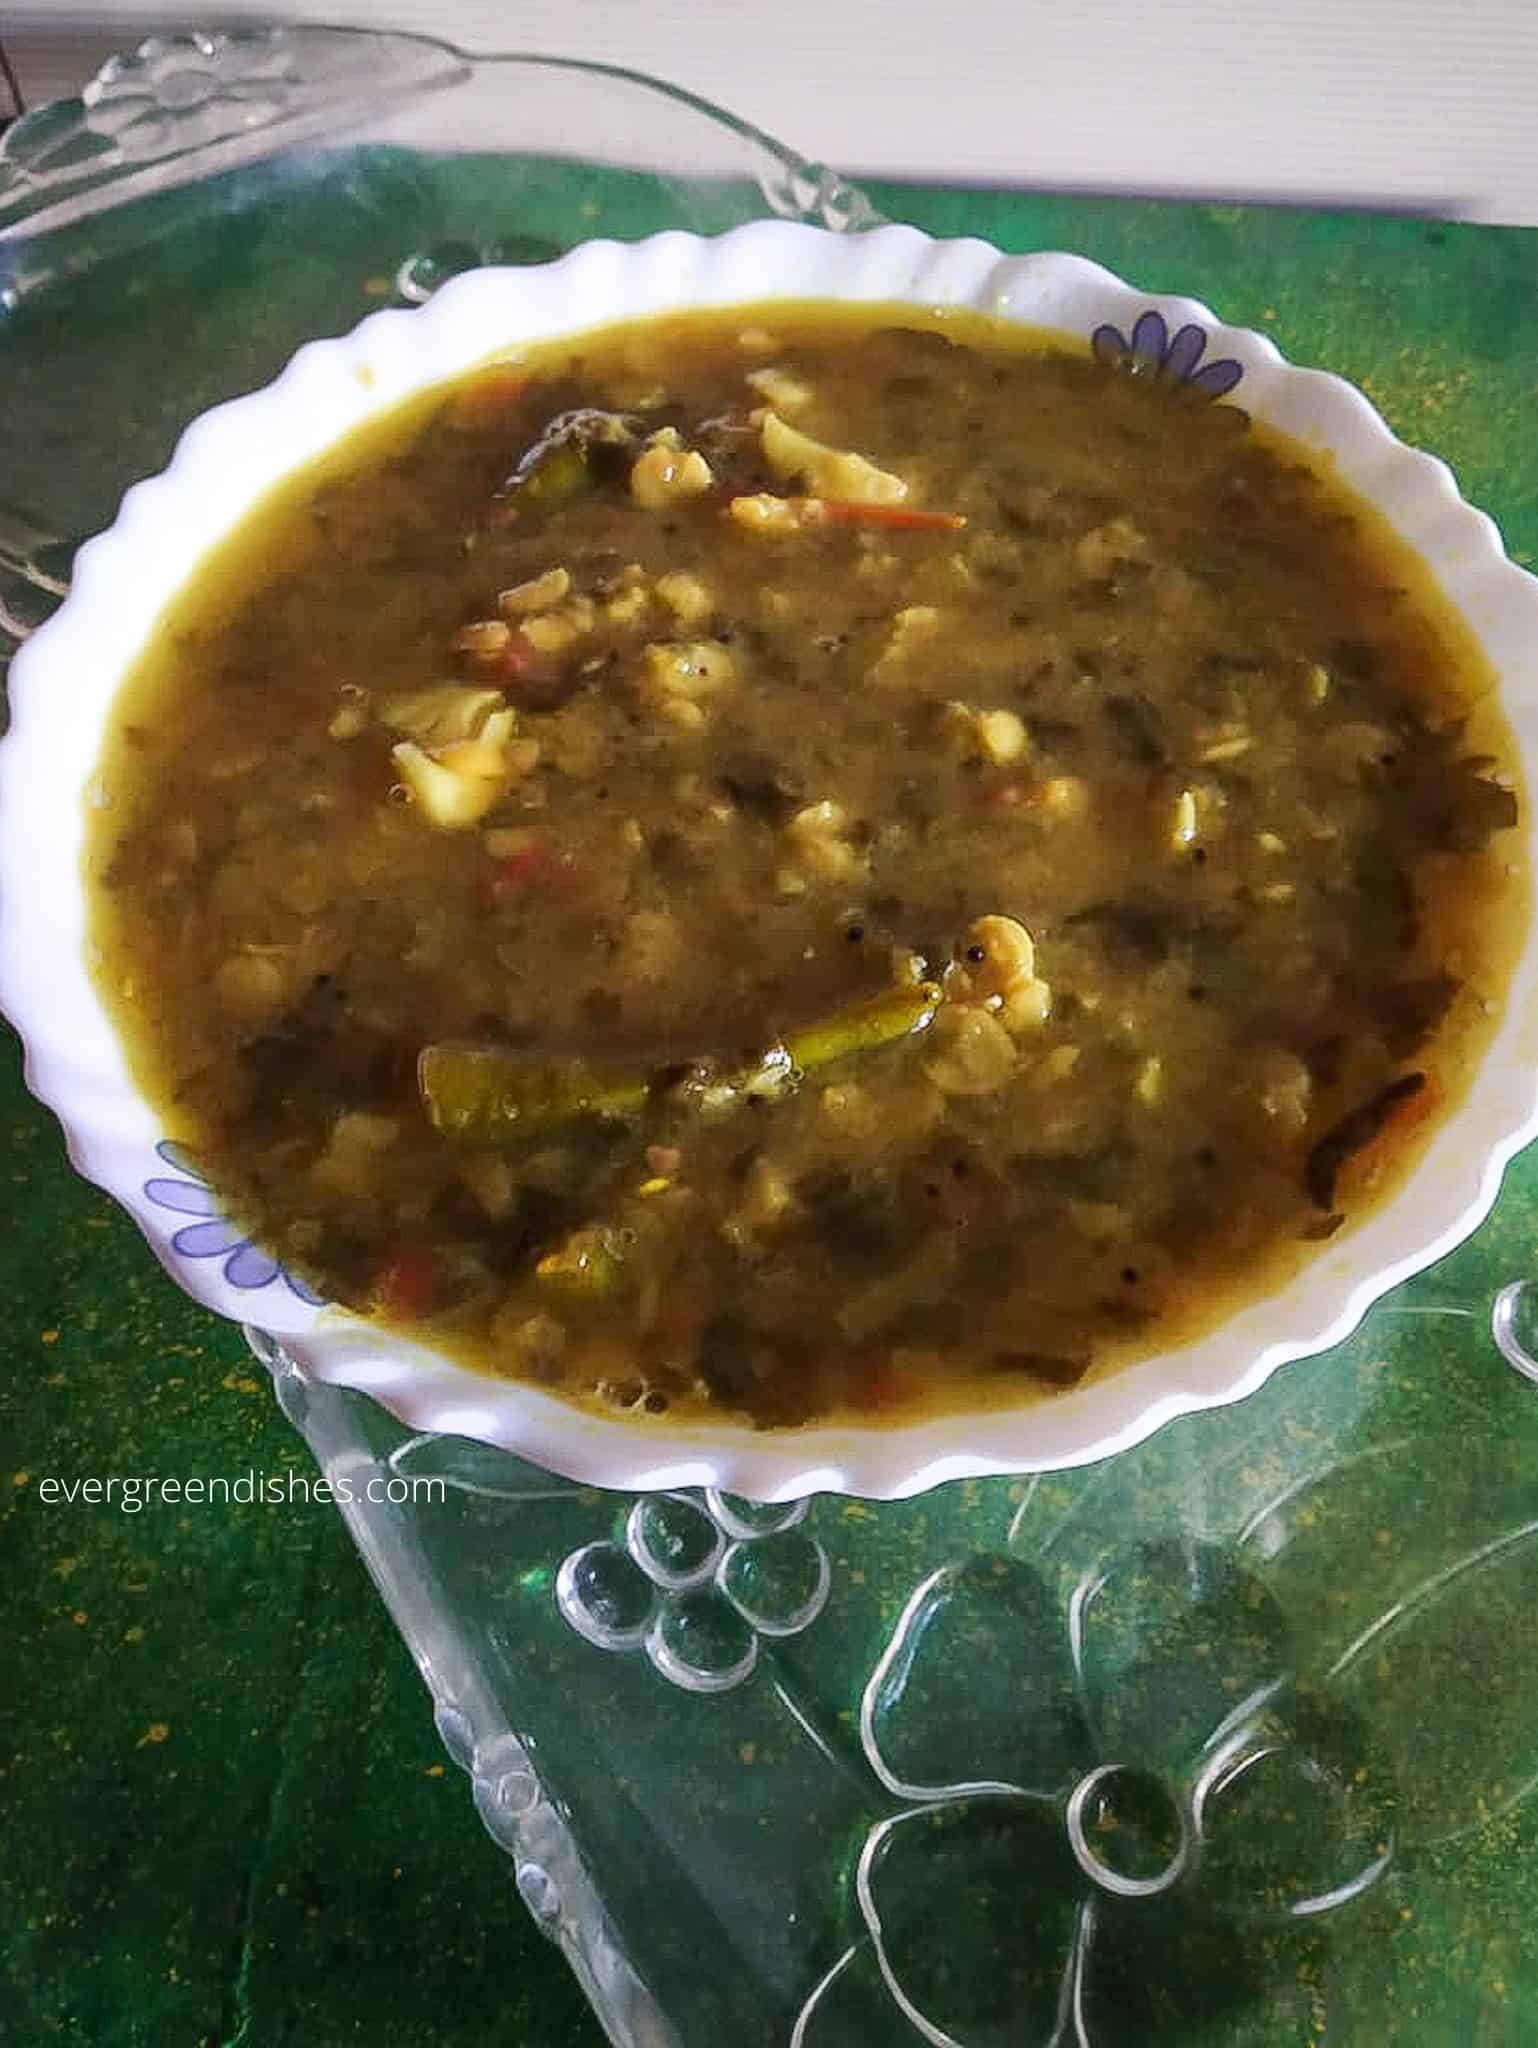
Andhra Pappu / Palak pappu is tasty and healthy. It makes a good accompaniment with any meal. Serve it with hot steamed rice along with a pickle and a few appalams, you will have a delicious meal.
I am happy and excited to introduce a new cuisine in my blog. When the theme of our blog hop was decided as ” Regional cuisine ” I was excited to try new dishes. After much contemplating with myself, I settled on the Telugu cuisine. It is a spicy, tangy and hot in taste.
The Telugu region can be divided into three parts as the Coastal Andhra, Telangana and Rayal Seema. Though the food is of the same kind, there is still a variation within these states. This cuisine is also found in neighbouring states as Hyderabad Karnataka and part of Tamilnadu. One part consumes millet while the other regions are contented with rice. They are lovers of hot and spicy food as pickles and chutneys. Tomato picle and avakai are their speciality.They are known to use the guntur kind of chilly.
Among the breakfast dishes, they prepare idli, dosa , pesarittu, dibb roti, minapattu and upma of rice and semolina.
Today, I am presenting to you “Andhra Pappu ” which is dal cooked with green vegetables. It is tasty and makes an ideal accompaniment with rice or jowar roti. The method involved in cooking this is different from our counterpart. Without much ado, let me take you to the recipe.
ANDHRA PAPPU / PALAK PAPPU RECIPE
Ingredients:
1 cup tuvar dal Measurement used :1 cup = 125 grams
1 cluster spinach (any other green leaf may be used)
2 green chilly
1 tomato
5 cloves garlic
1 teaspoon turmeric powder
1 tablespoon oil
1/2 teaspoon mustard seeds
1/4 teaspoon asafoetida
lemon sized ball of tamarind
salt to taste
Pre- requisites :
Remove the stalk of the green leaf and chop it finely. Wash it by soaking it in water for sometime.
Soak the tamarind in water for half an hour. Then, extract the pulp from it.
Cooking in easy steps :
Cooking of dal along with green leaf and other ingredients mentioned later
Making the seasoning.
Again pressure cook.
1 Wash the dal and put it in a wide bowl. Add the chopped green leaf, tomato pieces, slit green chilly, garlic cloves and turmeric powder with adequate amount of water. Cook it in a pressure pan.
2 Take oil in a wok. Add mustard seeds, as it splutters, add asafoetida and turmeric powder. To this , add the cooked dal. Let cook for sometime. Now, put salt and tamarind pulp. Allow to boil for five minutes.
3 The cooked dal is again put in the pressure pan and allowed to cook for one whistle. Let the pressure release itself. Check the consistency and boil if needed.
4 Andhra pappu is ready to serve.
Andhra pappu
Evergreendishesdev
Andhra Pappu / Palak Pappu
Andhra Pappu is tasty and healthy. It makes a good accompaniment with hot steamed rice.
Remove the stalk of the green leaf and chop it finely. Wash it by soaking it in water for sometime.
Soak the tamarind in water for half an hour. Then, extract the pulp from it.
Cooking in easy steps :
Cooking of dal along with green leaf and other ingredients mentioned later
Making the seasoning.
Again pressure cook.
1 Wash the dal and put it in a wide bowl. Add the chopped green leaf, tomato pieces, slit green chilly, garlic cloves and turmeric powder with adequate amount of water. Cook it in a pressure pan.
2 Take oil in a wok. Add mustard seeds, as it splutters, add asafoetida and turmeric powder. To this , add the cooked dal. Let cook for sometime. Now, put salt and tamarind pulp. Allow to boil for five minutes.
3 The cooked dal is again put in the pressure pan and allowed to cook for one whistle.
If you ever make this Rawa Kesari / Sheera recipe, take a picture and tag @foodiejayashree on Instagram or @evergreendishes on Facebook or Twitter. I will be happy to see your creation and share them further. Subscribe to get all updates and book of handyhints for free.
Pin Andhra Pappu to lunch board for later reference:
( Disclosure : As an Amazon Associate, I will get a small commission for qualifying purchases without no addition cost to you.)
Gundapongal | Paddu | Kuzhi Paniyaram | South Indian Breakfast | Indian food | Tamilnadu | Andhra Pradesh | Karnataka
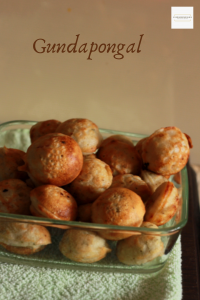
Gundapongal is a popular breakfast in South India. It is also known as paddu, guliyappa and kuzhi paniyaram. The batter is mixed with onion and other ingredients and cooked in a paddu maker, it makes a good breakfast.
Mornings are quite busy, many errands and you have to prepare breakfast and pack the lunch box. Well, we Indians love idly and dosa for breakfast. I think it is ideal to keep a box of batter in the refrigerator, it just saves some time. The chutney too can be pre-made and refrigerated.
I often have dosa batter as I can make gundapongal or uttappam the next day. The same batter can be used for all the three recipes. Serve gundapongal with coconut chutney. Crispy dosa smeared with ghee and some podi tastes good.
About the pan:
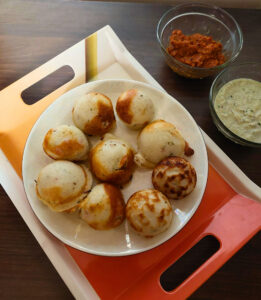
Gundapongal is made in a special pan with cavities. The number of cavities depends on the size of the pan and the cavities in-built. You can either buy a cast iron or a non-stick as per your convenience. Cooking in non-stick is easier and needs a small quantity of of oil. The cast iron pan gives a different taste, it is crispy on the outside and soft inside.
Take the required quantity of batter in a bowl. Make a paste of the listed ingredients. Put the onions, green chilly paste, salt if needed. Tear the curry leaves and throw them in it.
Take the gundapongal pan, heat it on a low flame. Smear some oil in each of the perforations. Add a spoonful of batter in each of the perforations and close it with a lid.
Let cook for sometime. Turn each of them with a spoon. Allow it to cook for sometime.
Once they are done, remove and serve hot with chutney.
Take a tip:
You can make plain paddus also.
Addition of onion is optional. You can make sans onion on festive days.
Adjust the level of spiciness.
Addition of soaked bengal gram is optional, it gives a good taste in it. It should be soaked for two hours atleast.
gundapongal
gundapongal
About the event:
The old posts are often neglected but they need to be looked up. I am sending this to Foodies_Redoing Old Post 23, a group where we every fortnightly, work on an old post and share it. This is one of the first few posts I wrote, now I have changed both the text and pictures.
Gundapongal
Gundapongal is a popular breakfast from South India. It is also known as Paddu or Kuzhi Paniyaram. Onion pieces and other ingredients are mixed in the dosa batter and cooked in a paddu pan, it is served with coconut chutney.
Take the required quantity of batter in a bowl. Make a paste of the listed ingredients. Put the onions, green chilly paste, salt if needed. Tear the curry leaves and throw them in it.
Take the gundapongal mould, heat it on a low flame. Smear some oil in each of the perforations. Add a spoonful of batter in each of the perforations and close it with a lid.
Let cook for sometime. Turn each of them with a spoon. Let cook.
Once they are done, remove and serve hot with chutney.
Notes
Addition of onion is optional.
Adjust the spiciness as per the taste required.
Pin it for later:
gundapongal
If you have liked this post, do share it with your family and friends. You can save the above image on Pinterest for further reference.
If you ever make this recipe, do take a picture and tag @foodiejayashree on Instagram or @evergreendishes on Facebook
Let’s be connected, do follow us on social media. Subscribe to get a book of handy hints for free !
( Disclosure : As an Amazon Associate, I will get a small commission for qualifying purchases without no addition cost to you.)